The Conversation (0)
Sign Up
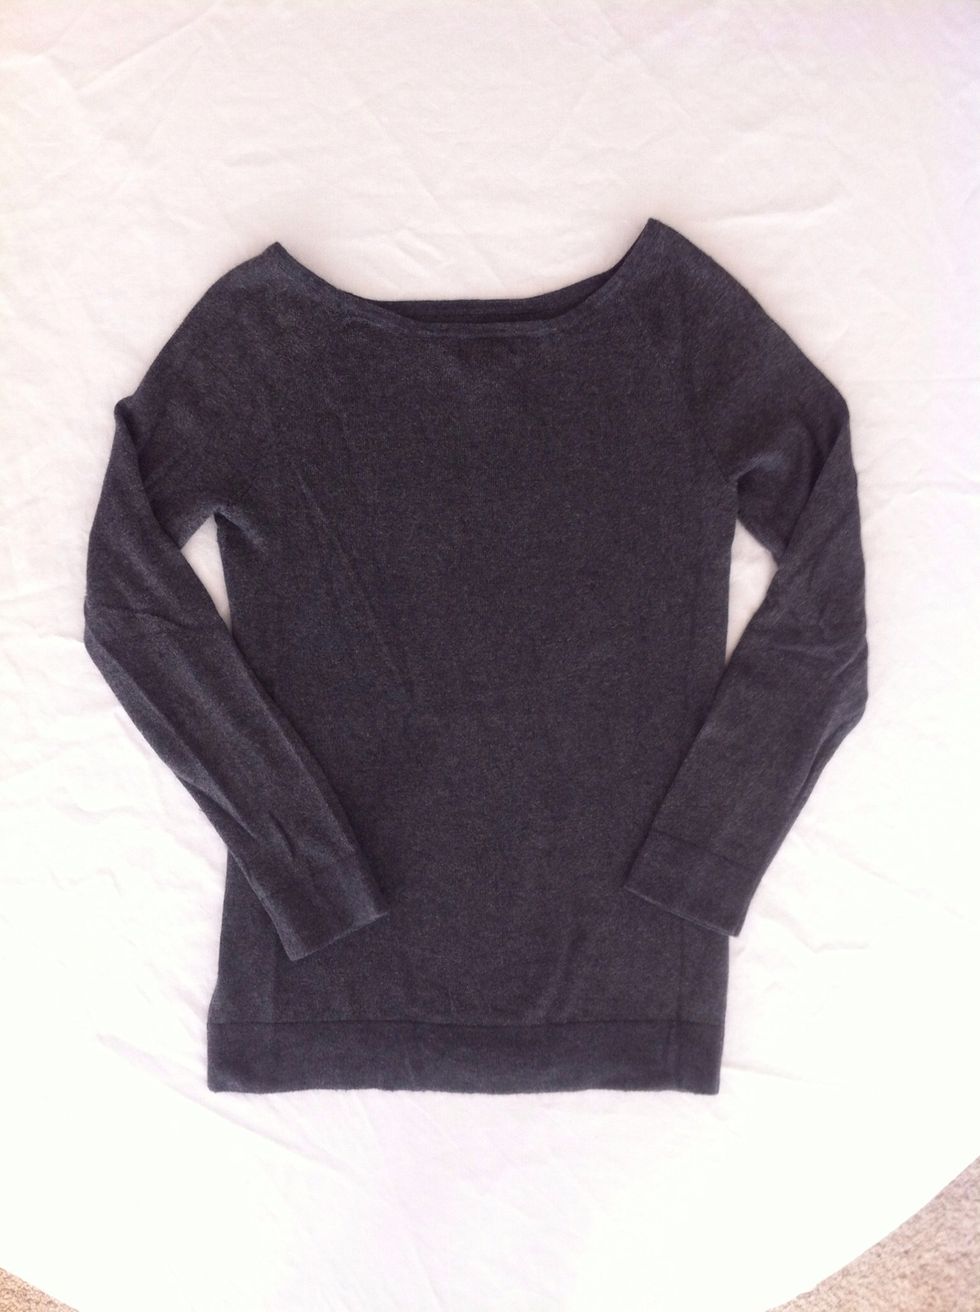
Start by laying out your sweater or shirt onto a flat surface
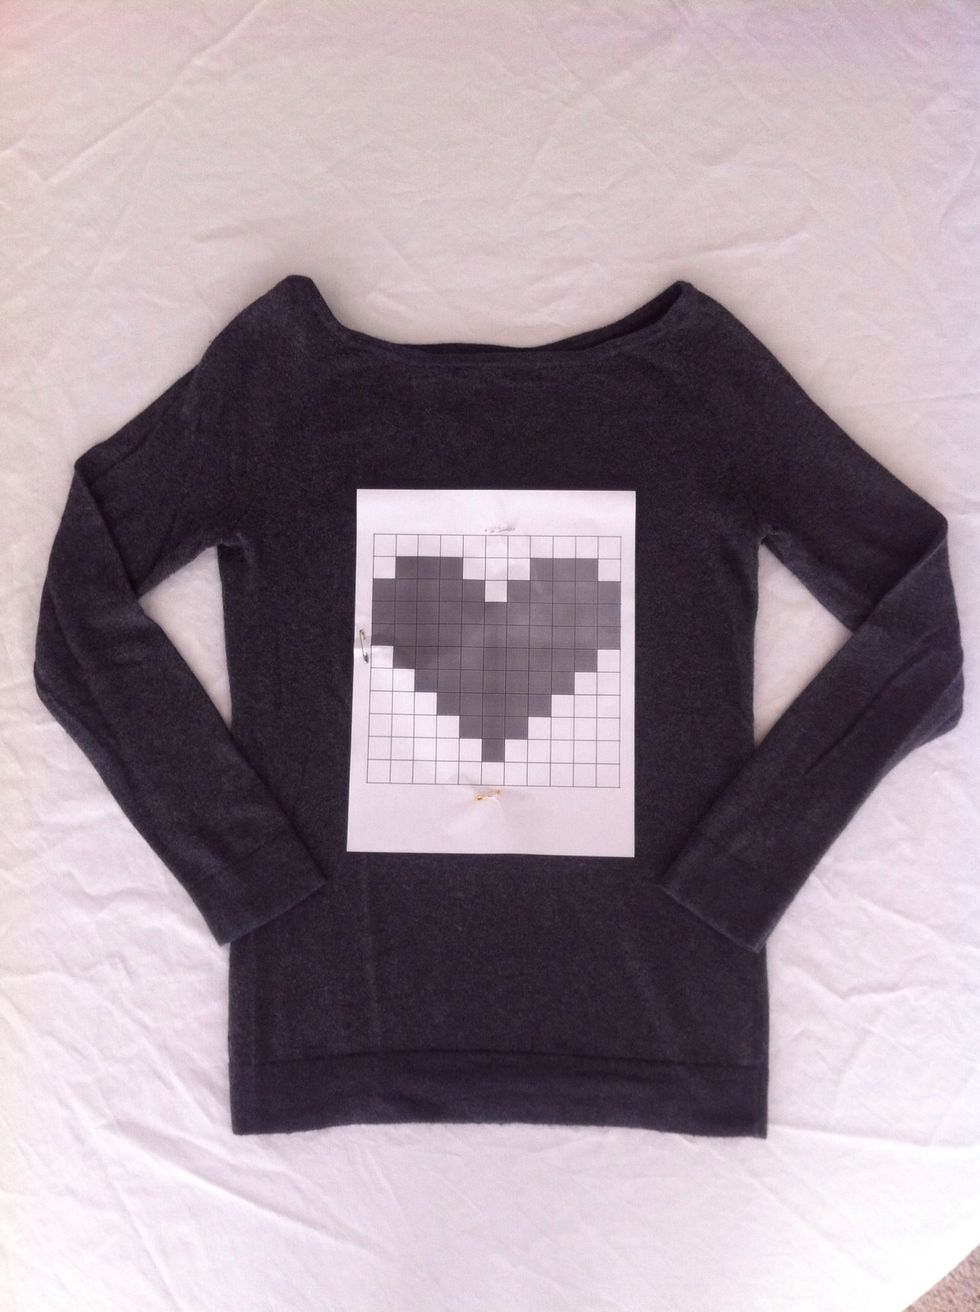
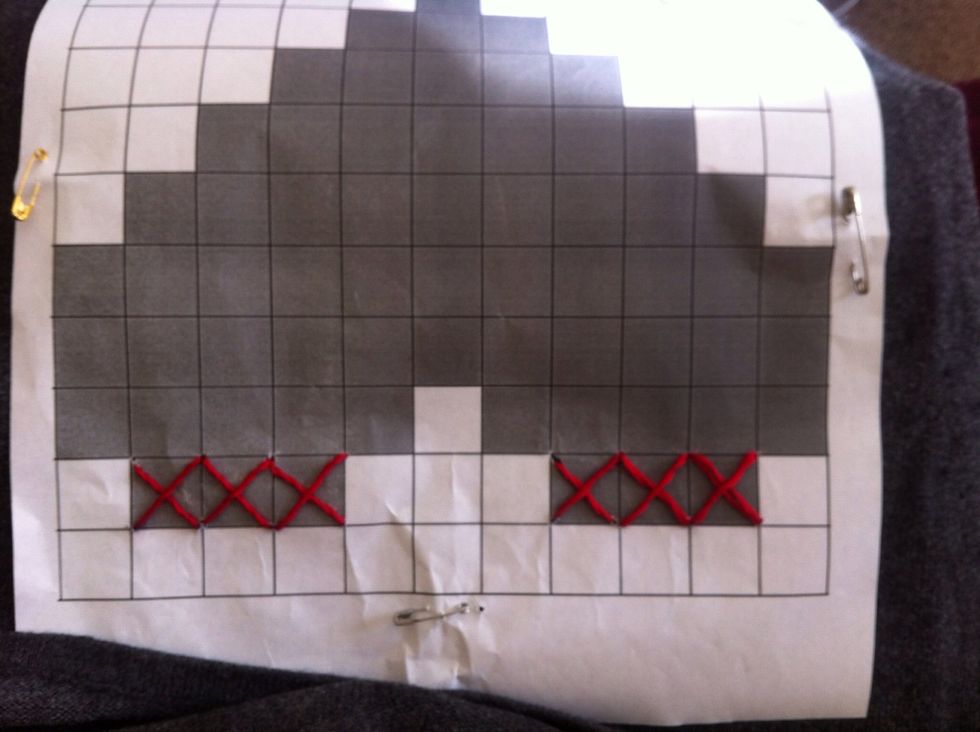
Then take a print out of your grid design (here I used a heart) and safety pin it down.
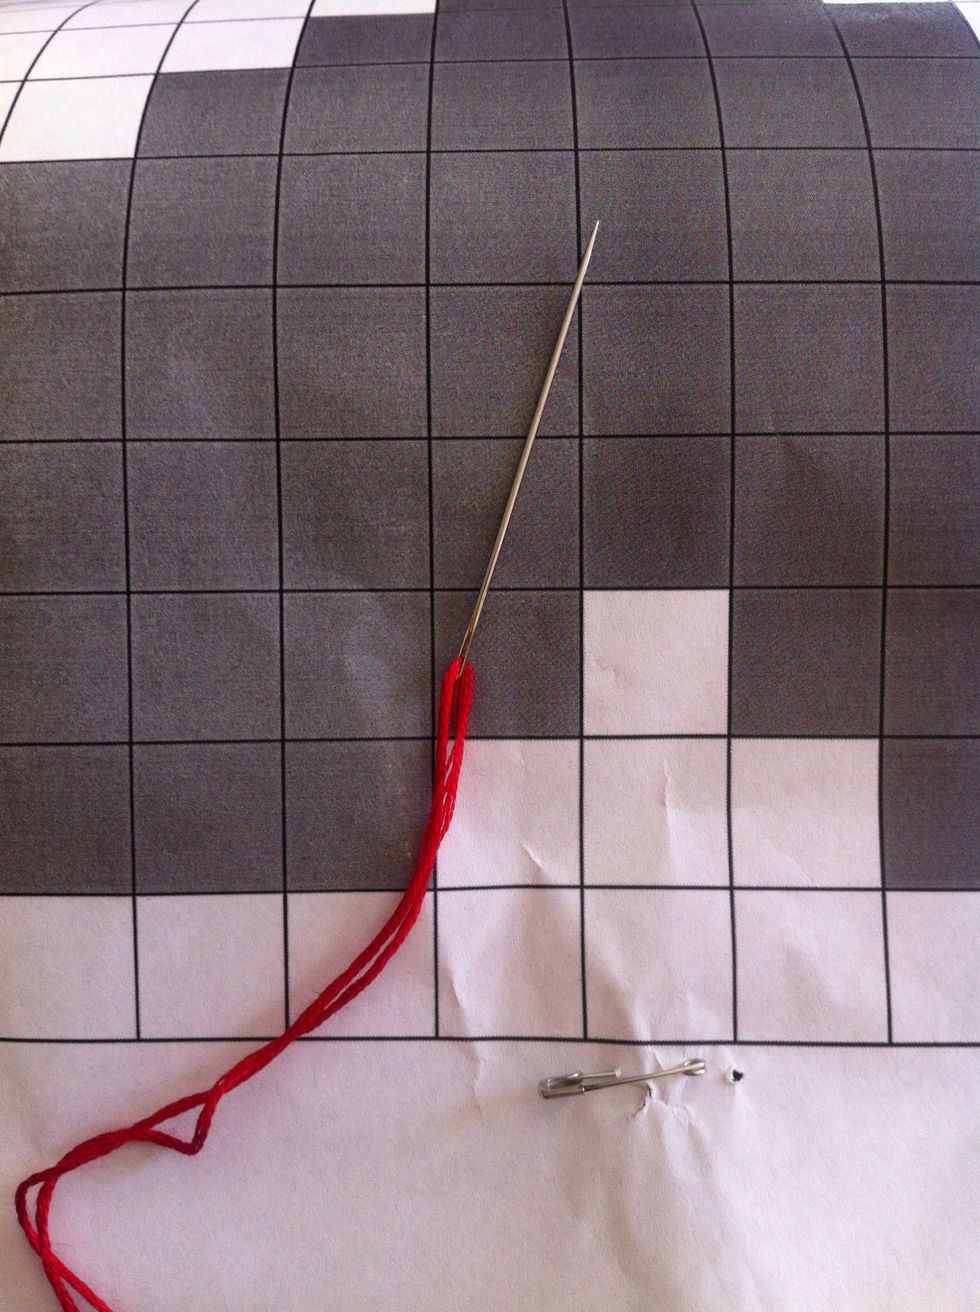
Then begin cross stitching the design through the paper using it as a guide.
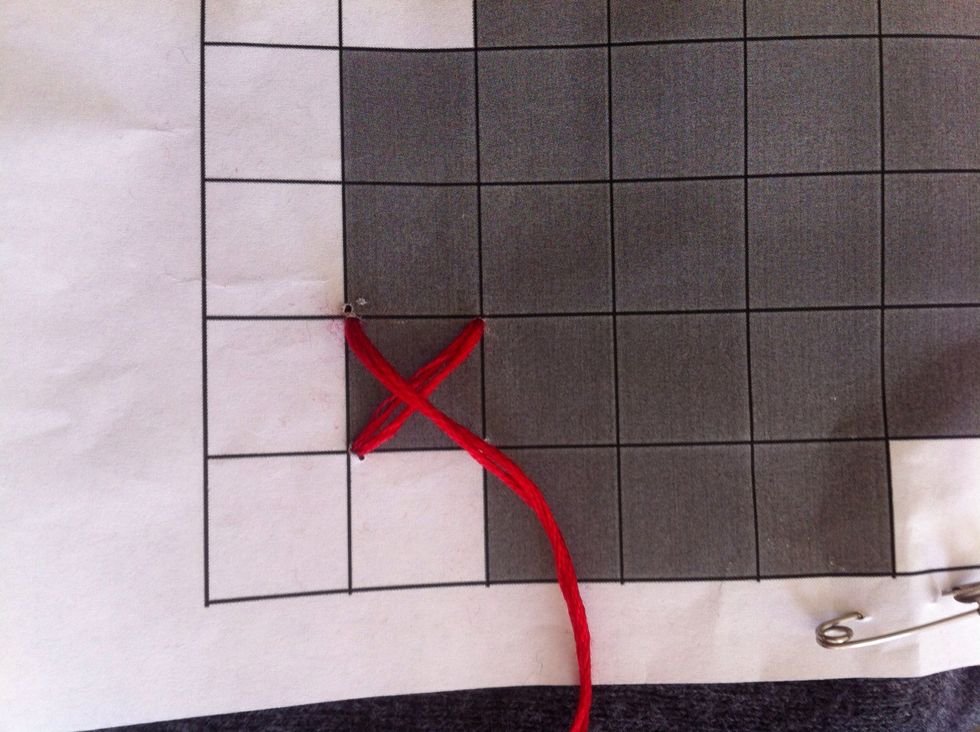
I doubled the floss to make a thicker 'X' but single thickness will work, too.
Just keep going until you finish the entire pattern.
Once the pattern is complete, use a spray bottle to wet the sheet of paper with water (optional). The wet paper is easier to remove out from the stitches but it makes a bit more of a mess.
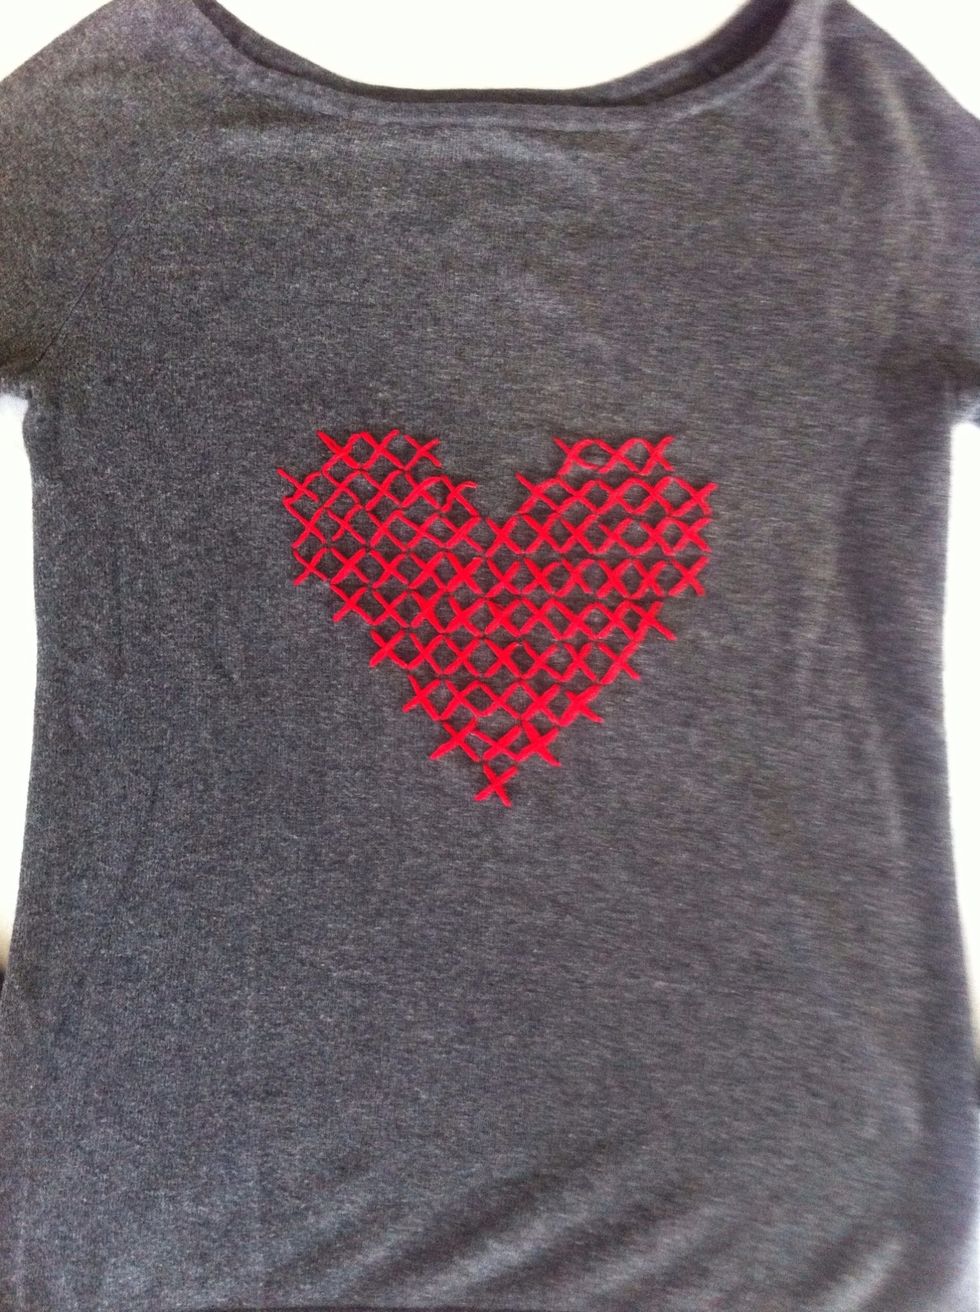
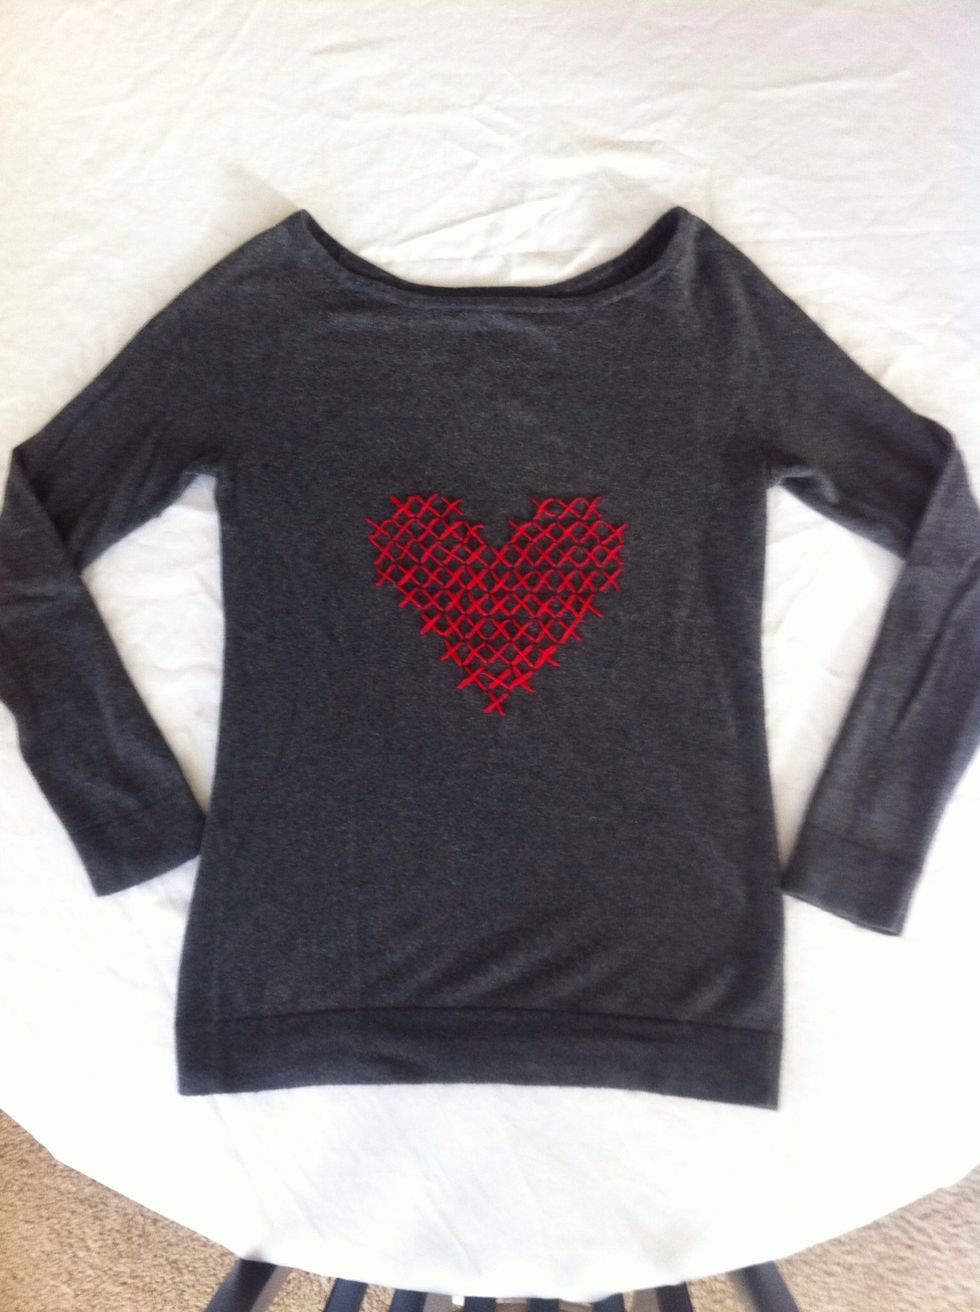
This is the finished design.
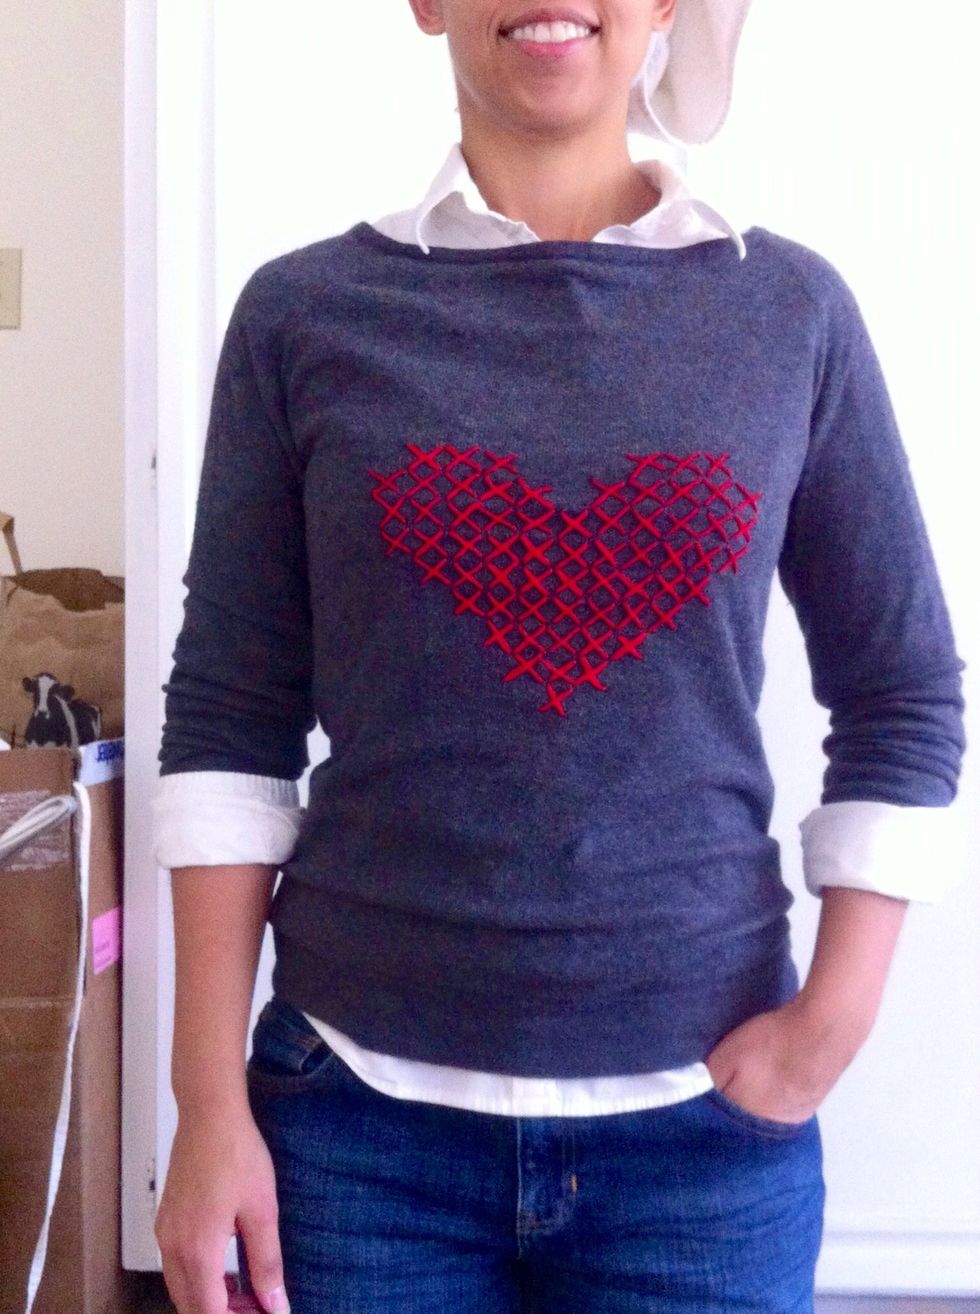
And here's how it looks on!