The Conversation (0)
Sign Up
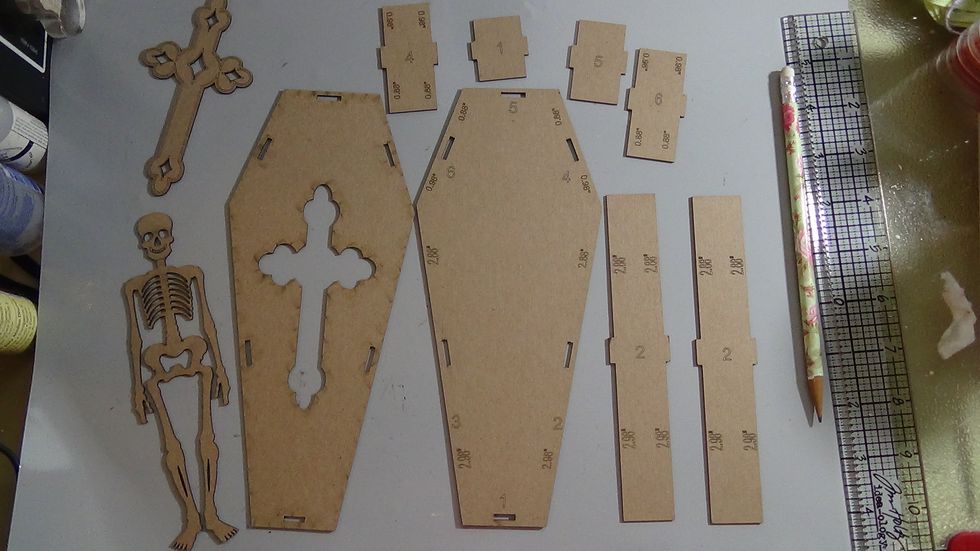
I began by using the chipboard coffin from the online store Creative Scrap Designs.
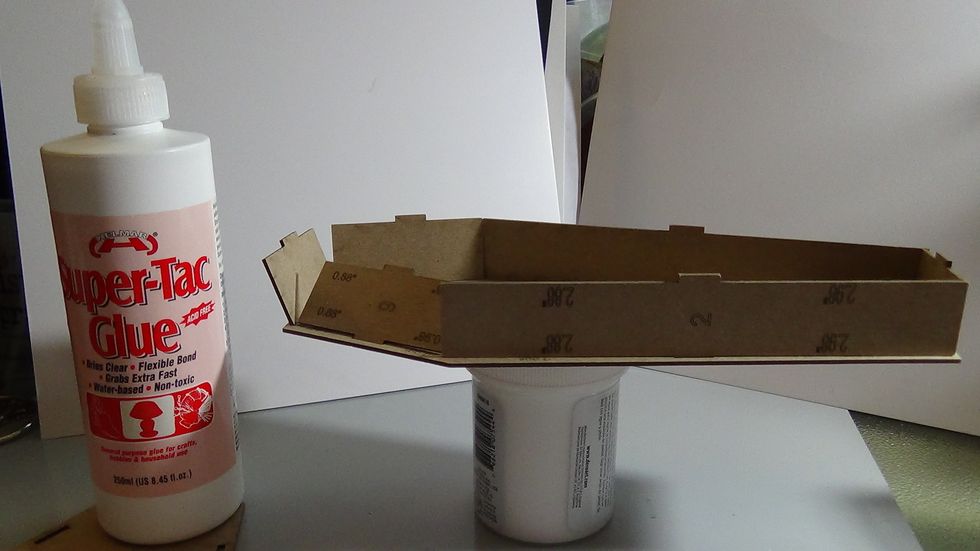
I adhered the base using Helmar Super Tack EVA Glue
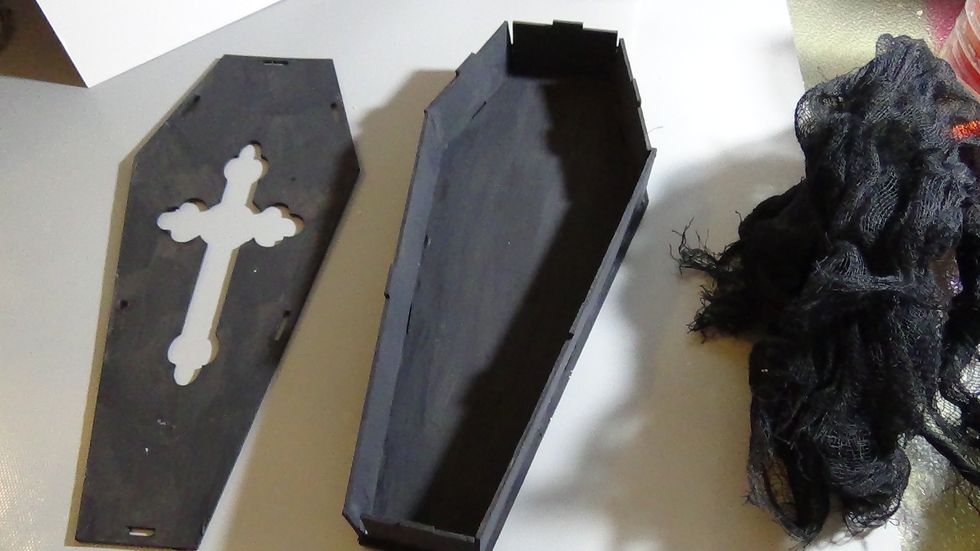
I then added DecoArt Black Gesso to the coffin.

After the Gesso dried I brushed on some DecoArt EXTREME Metallic Rose Gold Paint
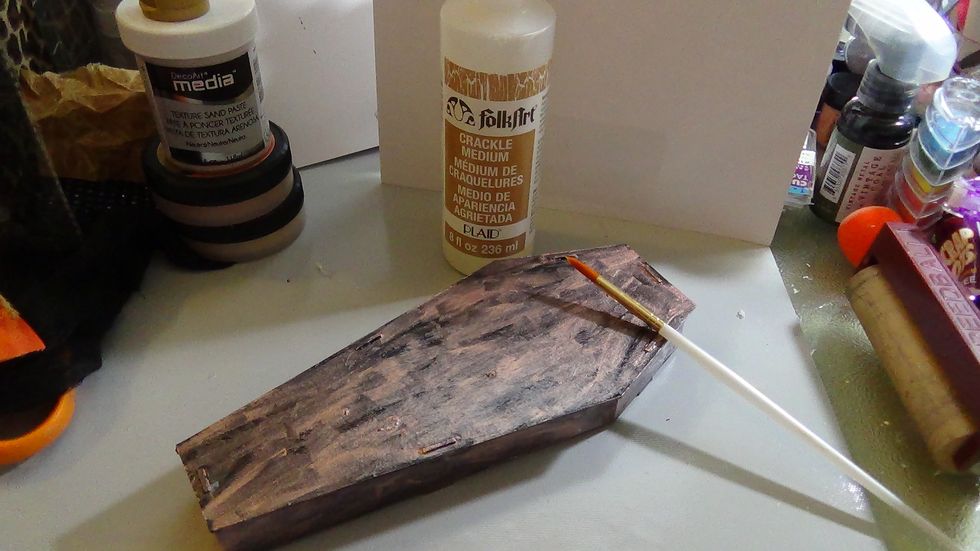
After the Rose Gold Paint dried I brushed on some Folk Art Crackle Medium
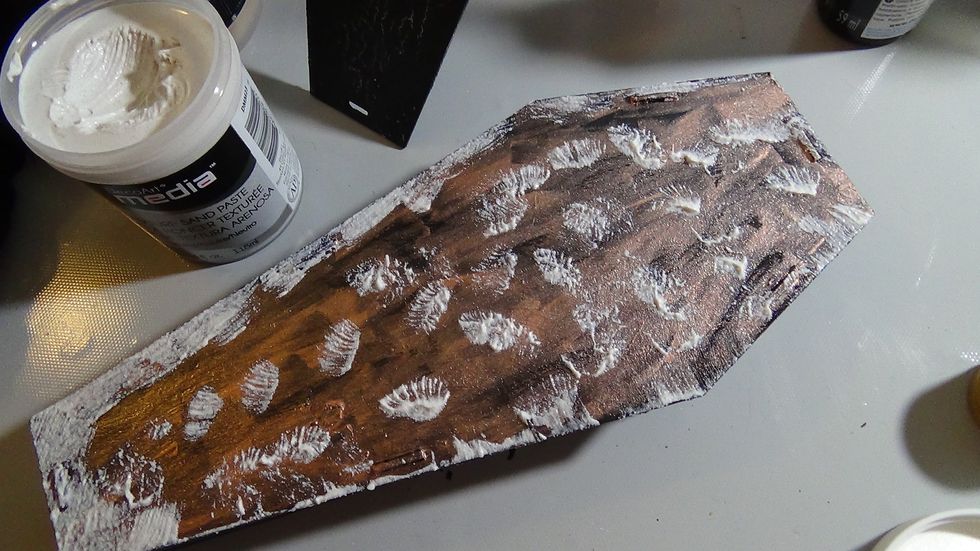
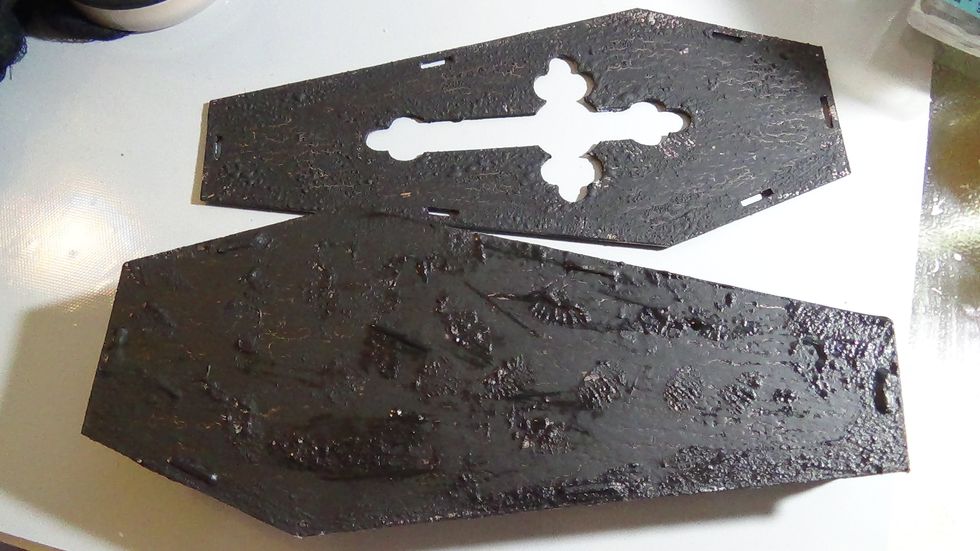
Here I brushed on some DecoArt Texture Sand Paste. I wanted to give my project lots of texture to give it a burnt, worn out, rotten look
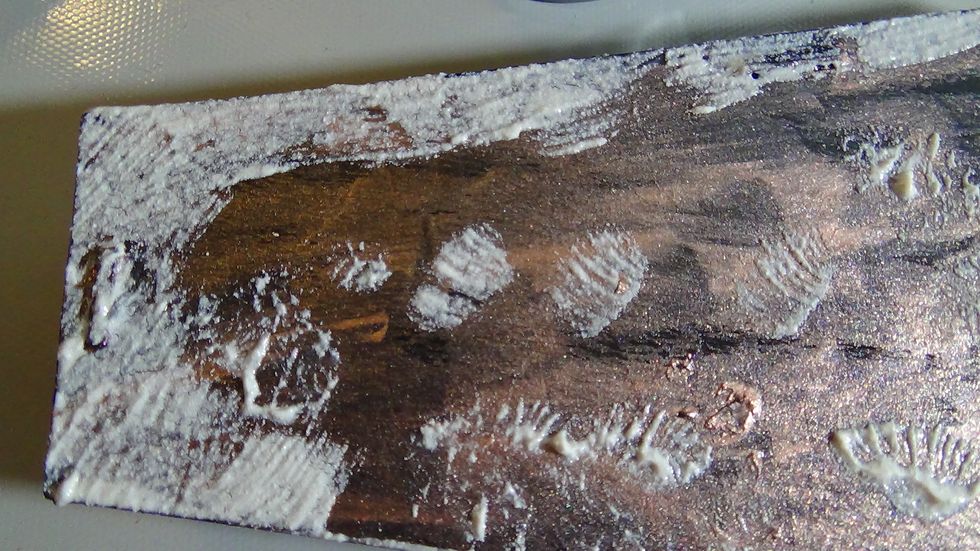
A closer photo with the texture sand paste from DecoArt
I dried the coffin using my heat gun, and painted over it with the Americana Black Acrylic Paint so it activates the crackle medium I had brushed on before.
When I dried the coffin with my heat gun I applied the heat close to it so that it would bubble up and give it the burnt texture
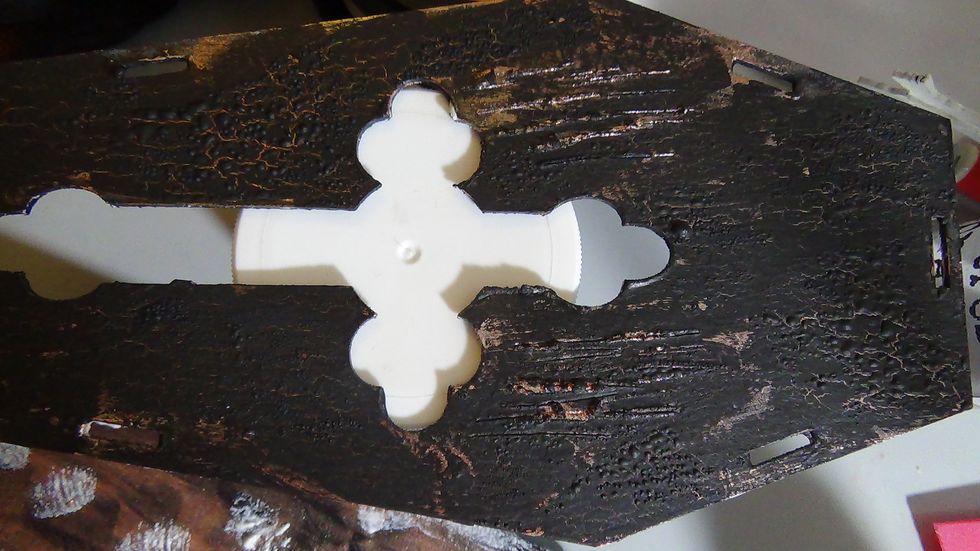
Originally I had intended to have the lid of the coffin be removable so I had used my Tim Holtz craft knife to make some faux scratch marks on the inside. Later I decided to adhere it closed
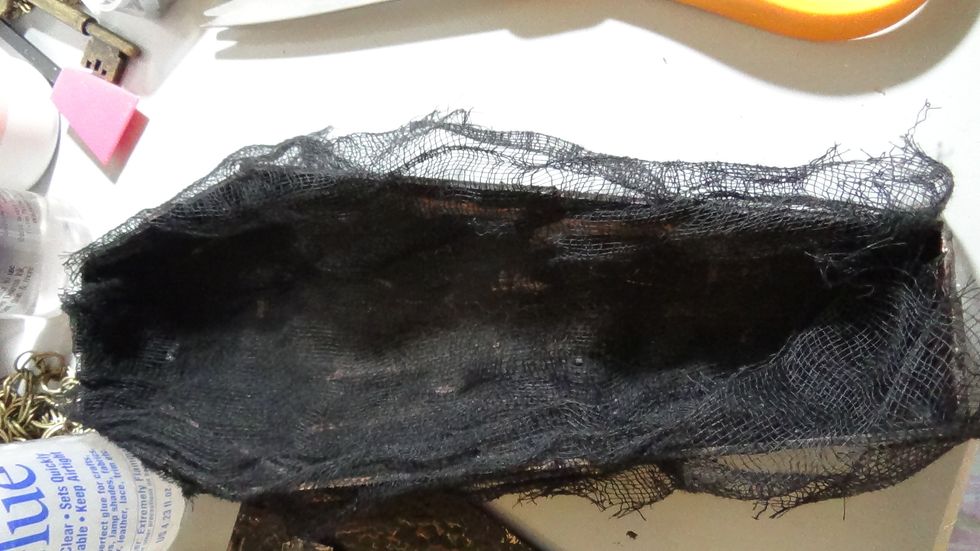
Here I added some black cheese cloth that I had in my stash to the inside of the coffin, I adhered it using my hot glue gun
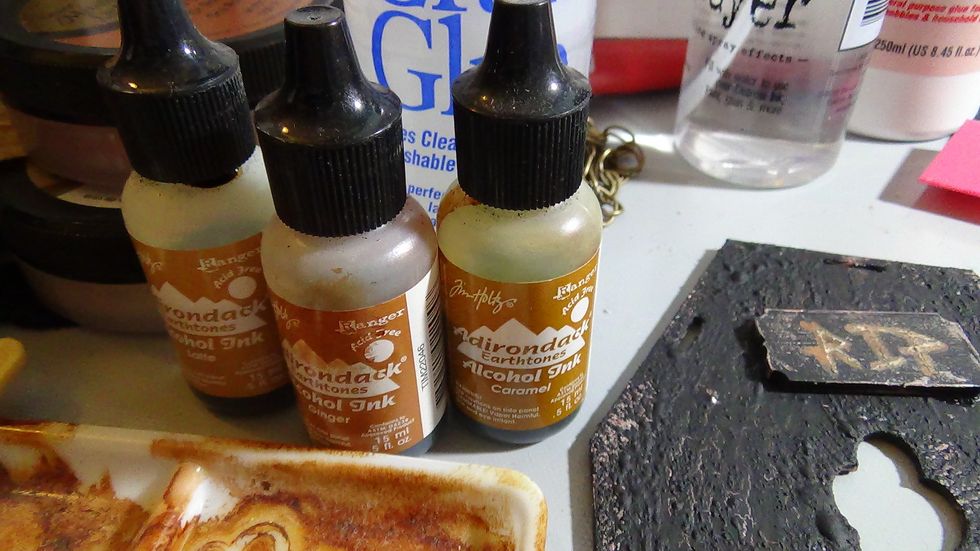
I then pulled out my Earth Tone Alcohol Inks from Adirondack to give a somewhat rust color to the tacks for the lid
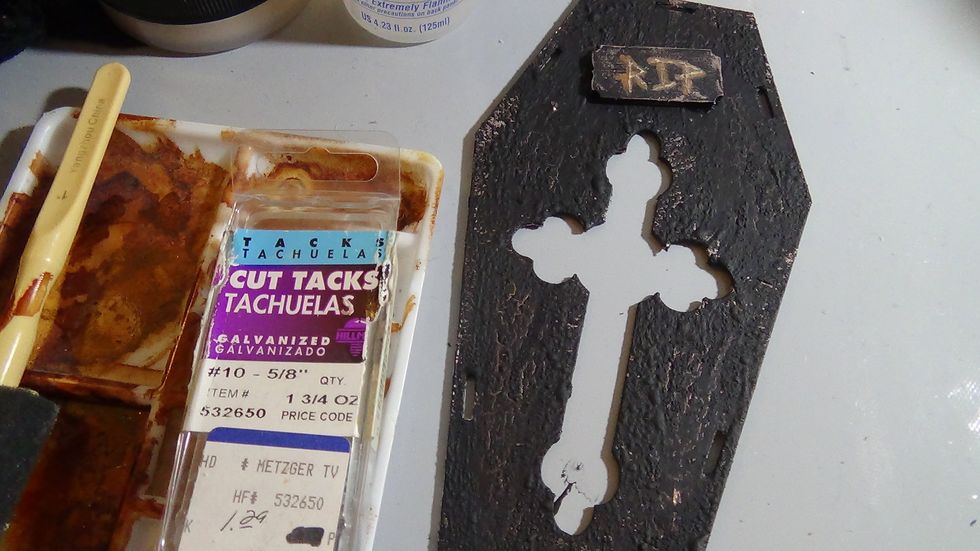
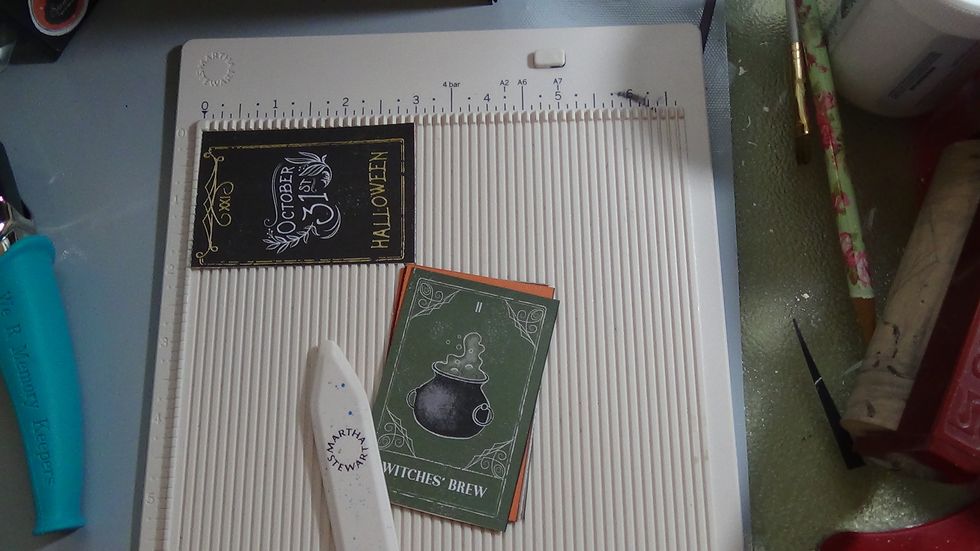
These are the kind of tags that I used. I had also found a bag of small embellishments/buttons , in my stash and found a wooden piece so I can paint and make my RIP sign
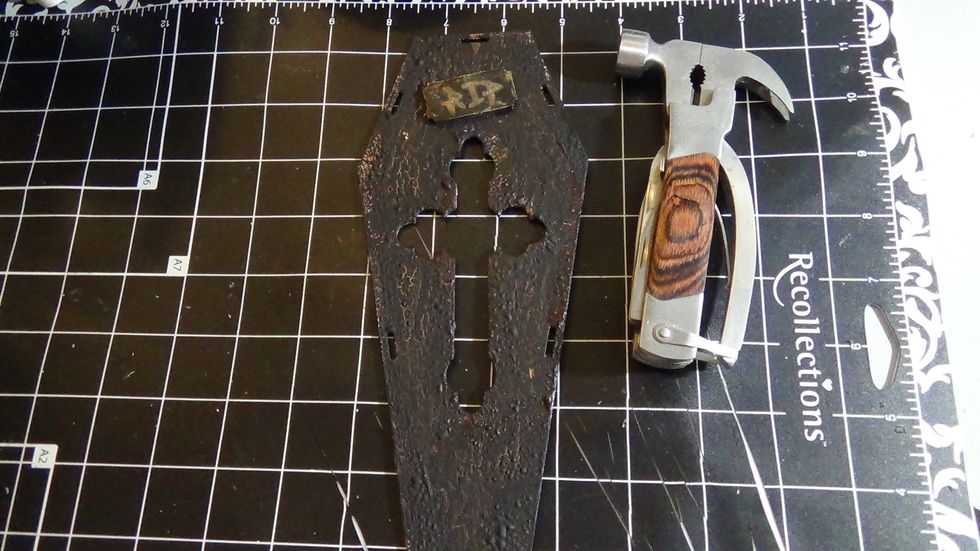
I used this small hammer that I have in my tools to hammer in the tacks on the lid
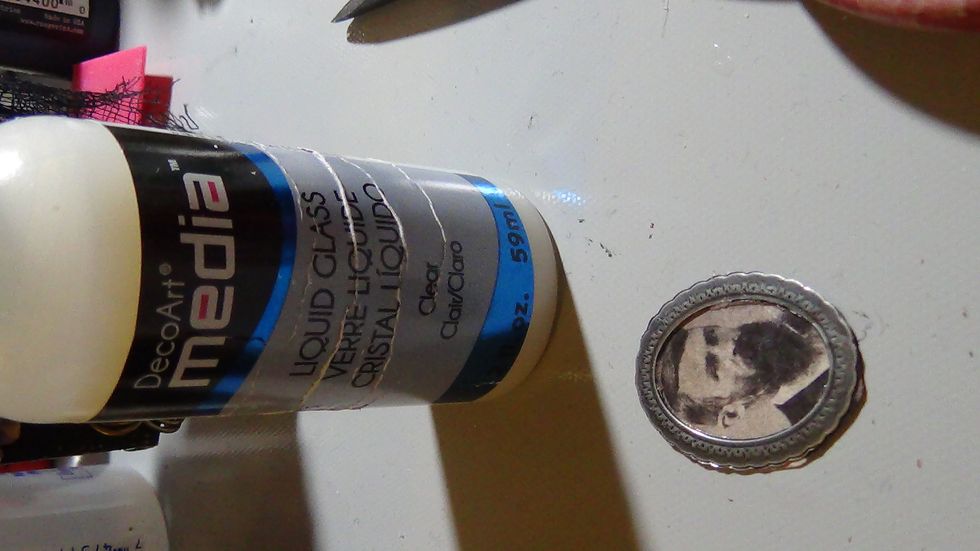
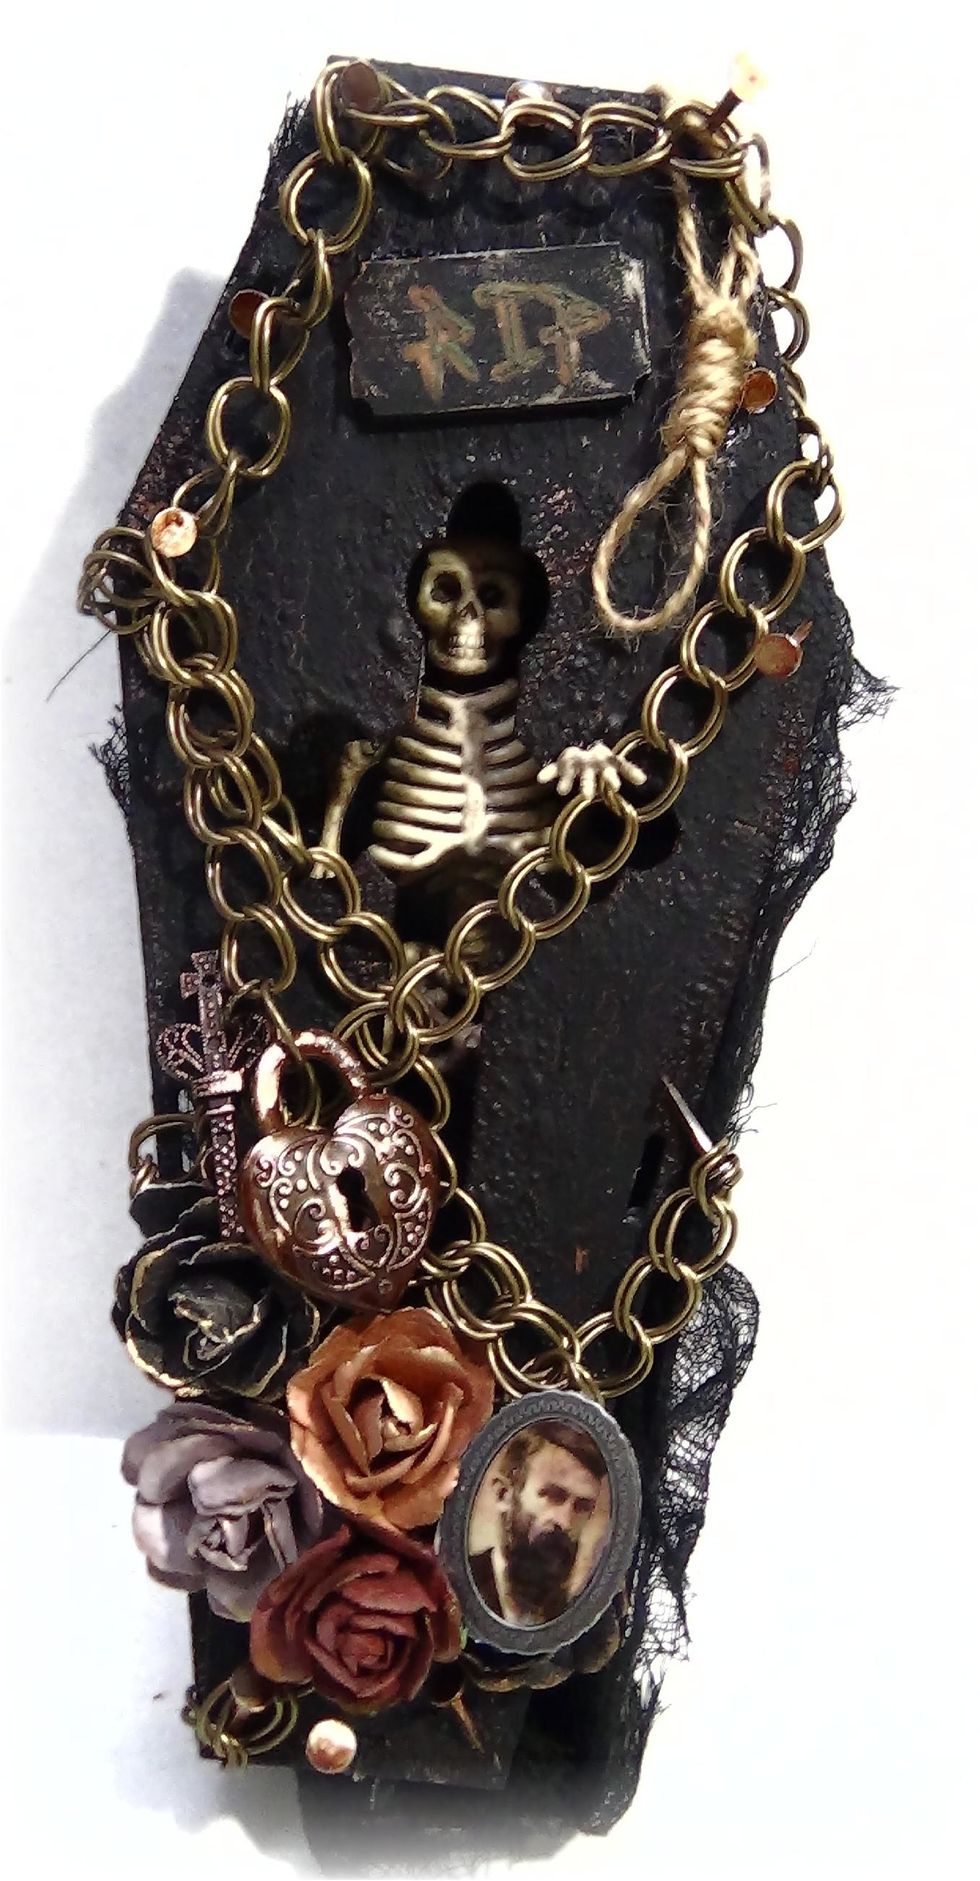
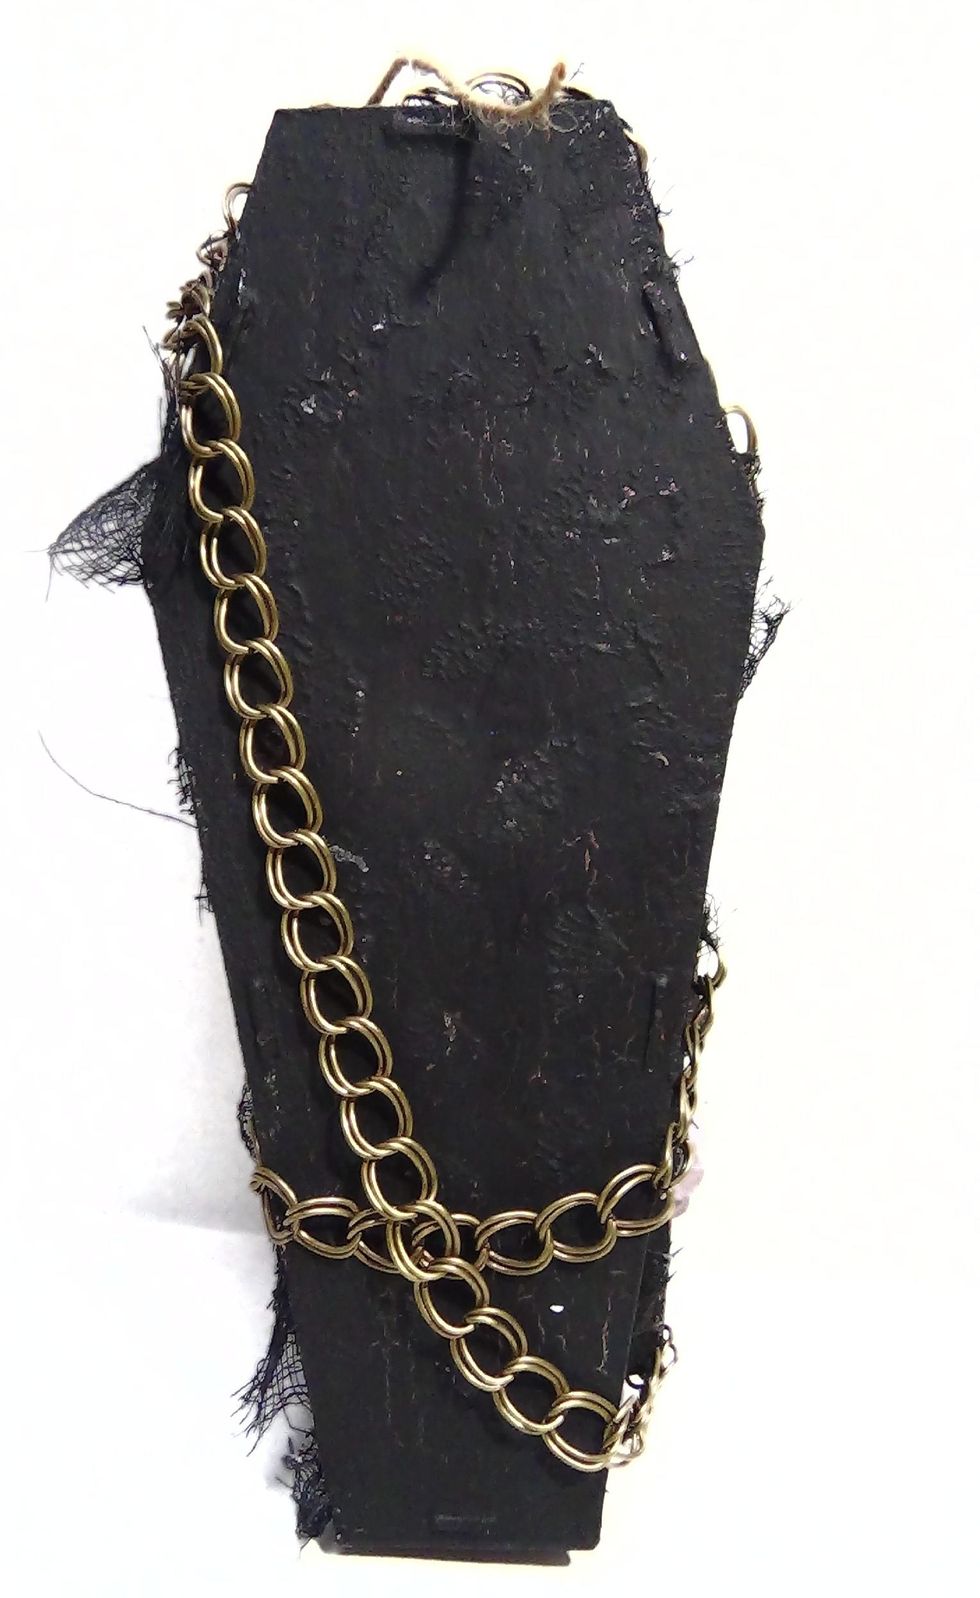
This was the last part of my embellishing, I added a chain, some Prima flowers to the coffin and added this tiny photo on a Tim Holtz sticker. Used DecoArt Liquid Glass on top
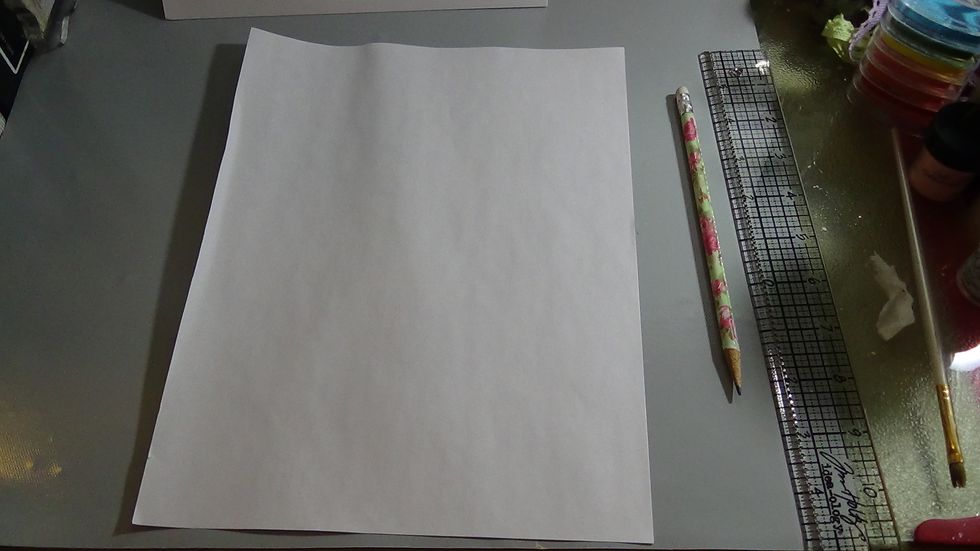
To begin on my Coffin Accordion Mini , I followed the tutorial on YouTube by Anne (Xannero01), Link: https://www.youtube.com/watch?v=3DK7pKwQslA&t=715s
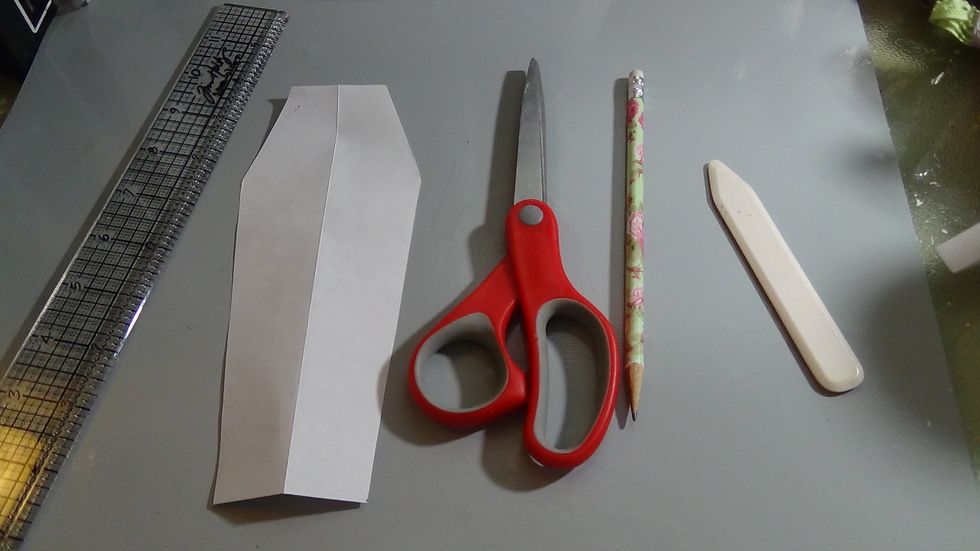
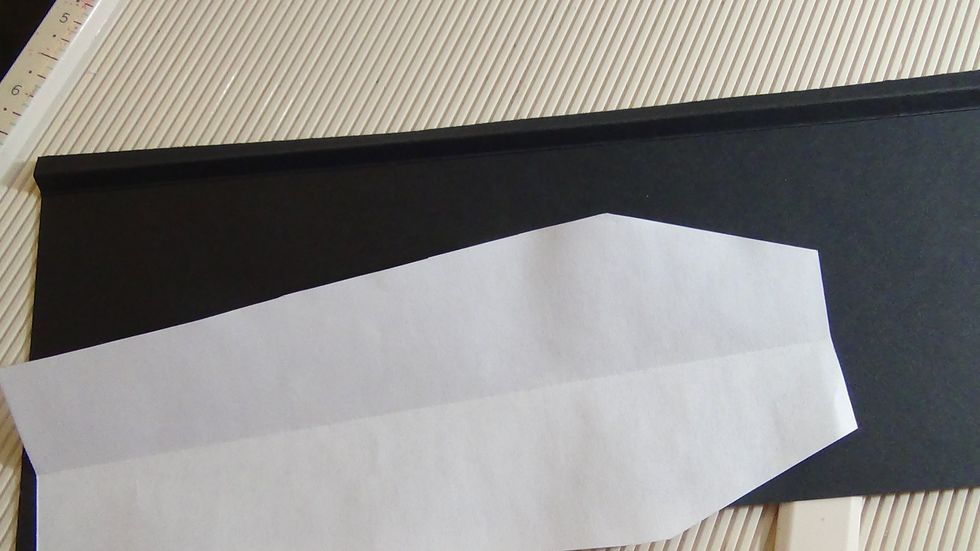
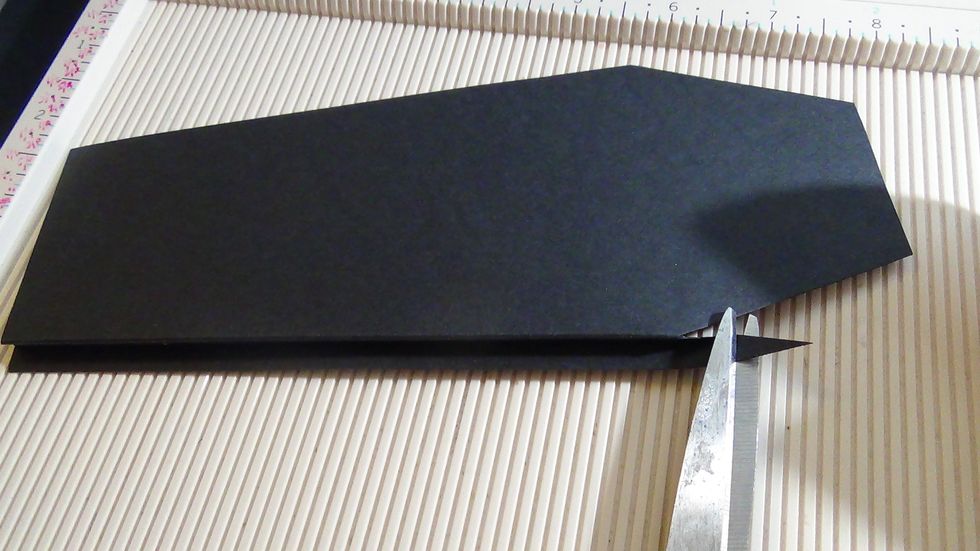
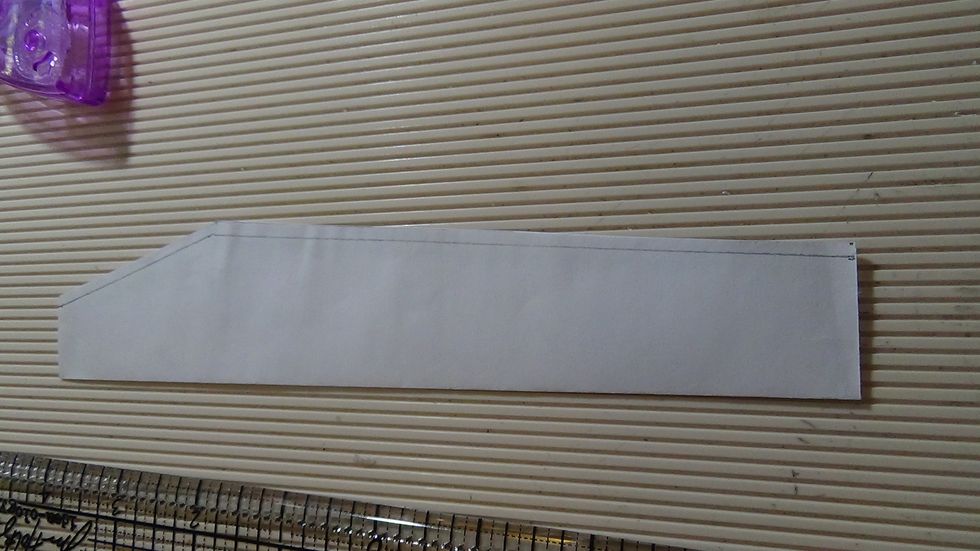
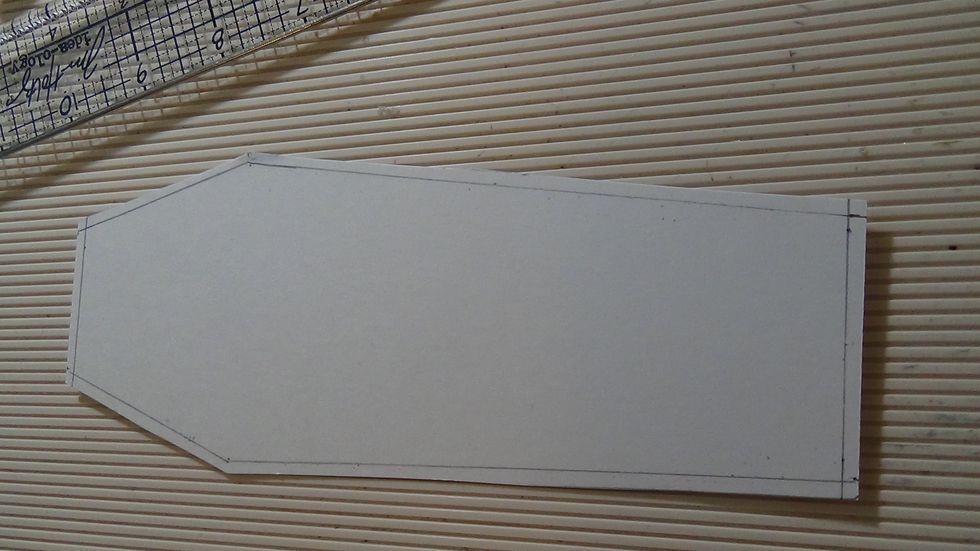
i cut my pattern out on print paper (later i traced it onto white card stock)

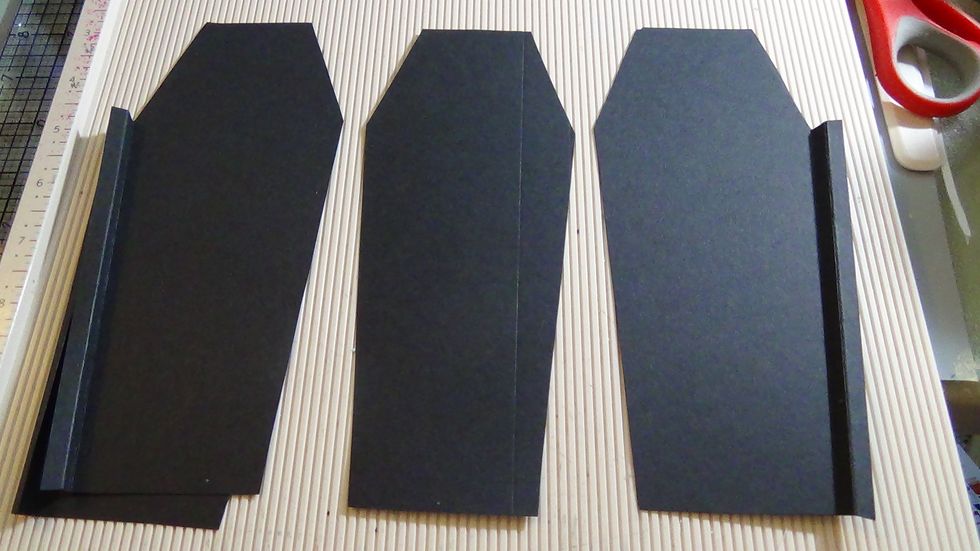
I used black card stock from Michaels
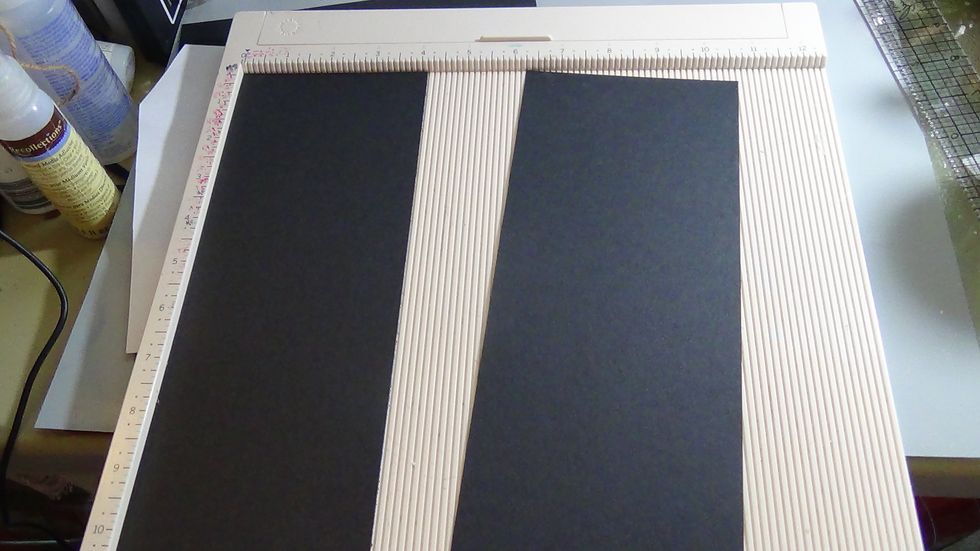
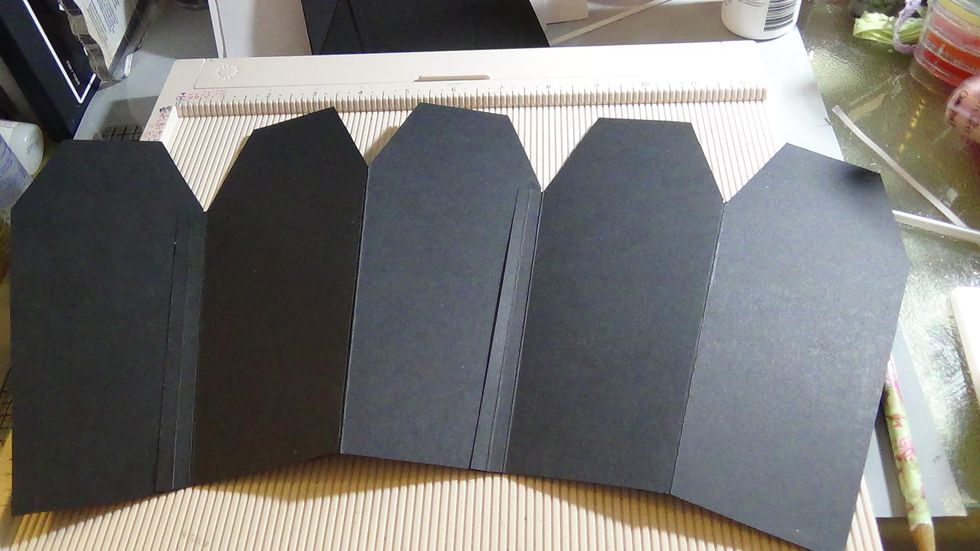
I cut the 8.5 X 11 in half, you can get 2 pages for the album from one sheet. U can also make it as thick as u want. The tutorial also shows how to make it with a regular spine instead of accordion
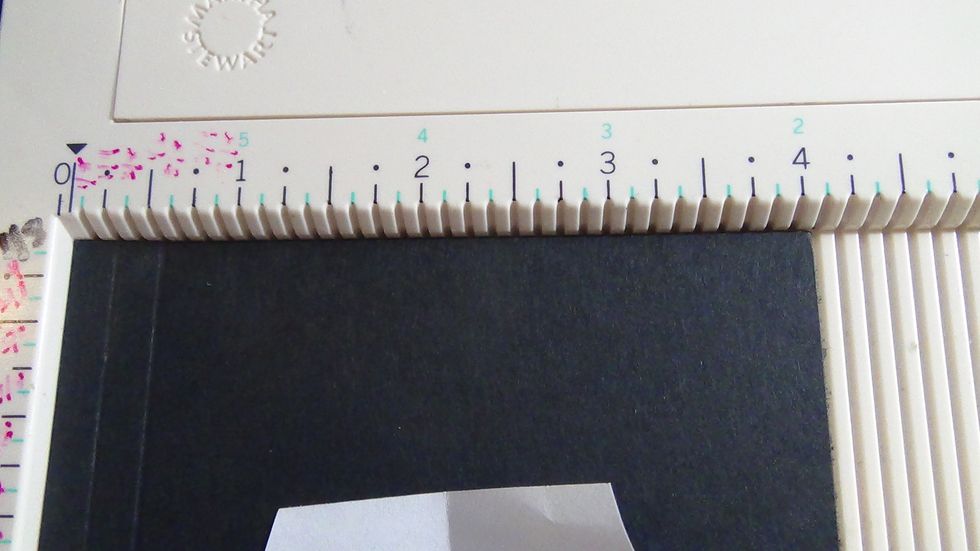
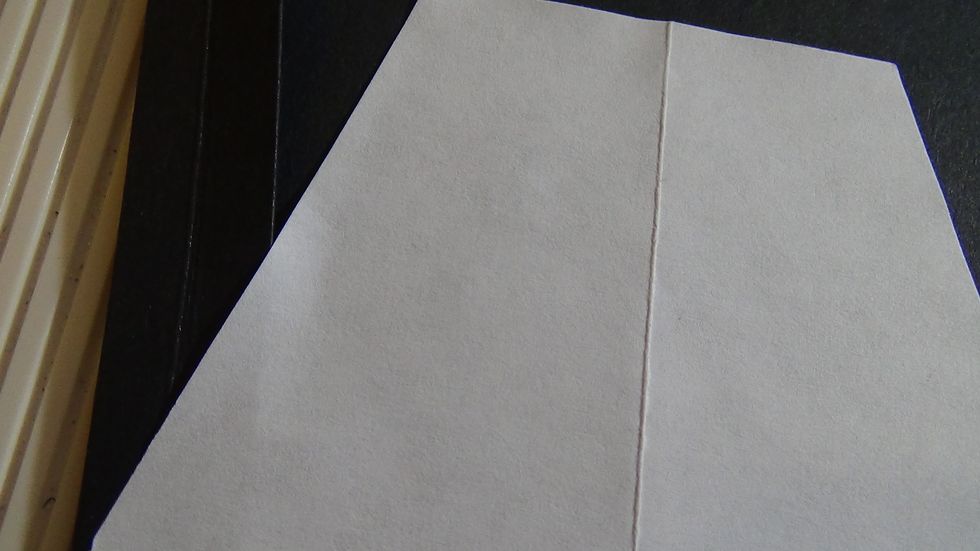
Score each page @ 1/2in & 1in.
I make the folds on the score line

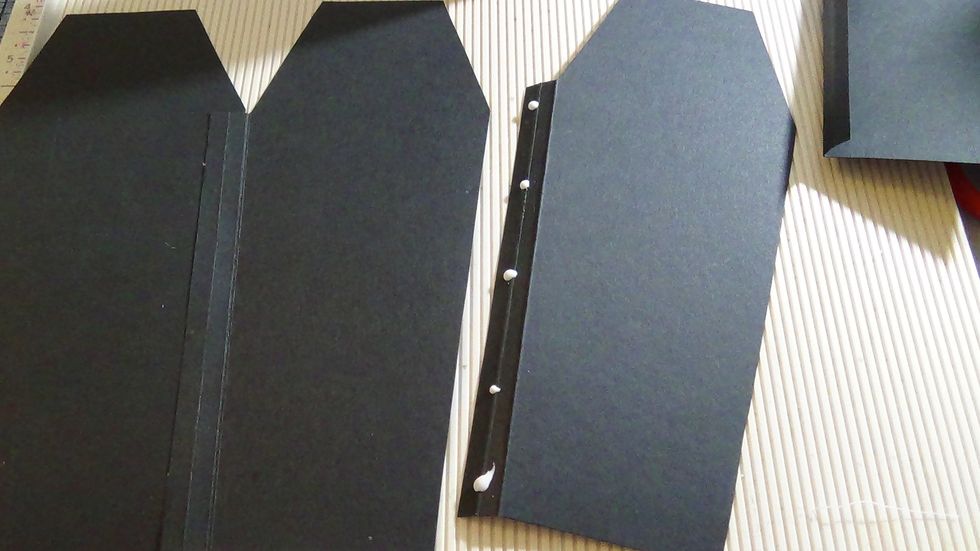
I adhered my pattern with some temporary adhesive so I can remove it easily without it being permanently adhered on there
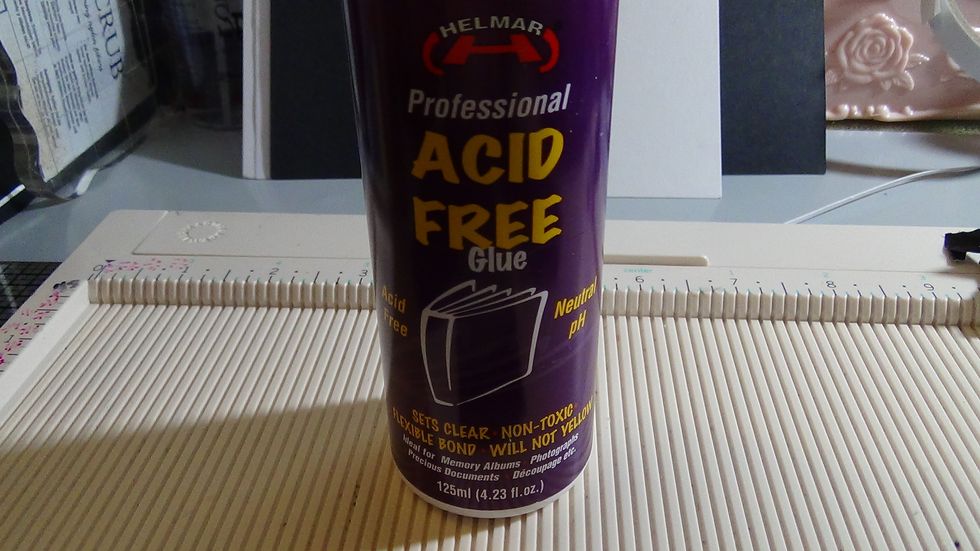
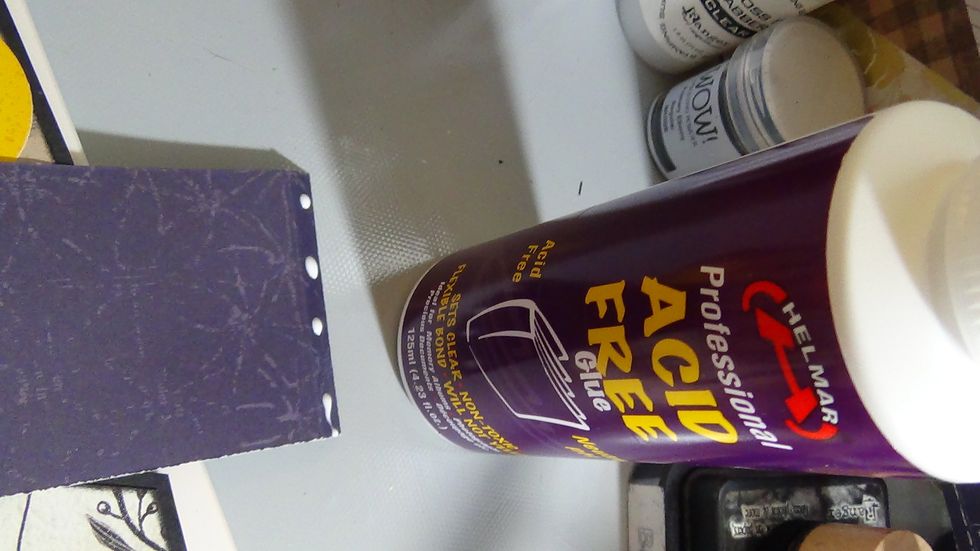
I decided to try using this Helmar Acid Free Glue to adhered my pages together. I love using a wet glue instead of hot glue to adhere paper if I don't have score tape.
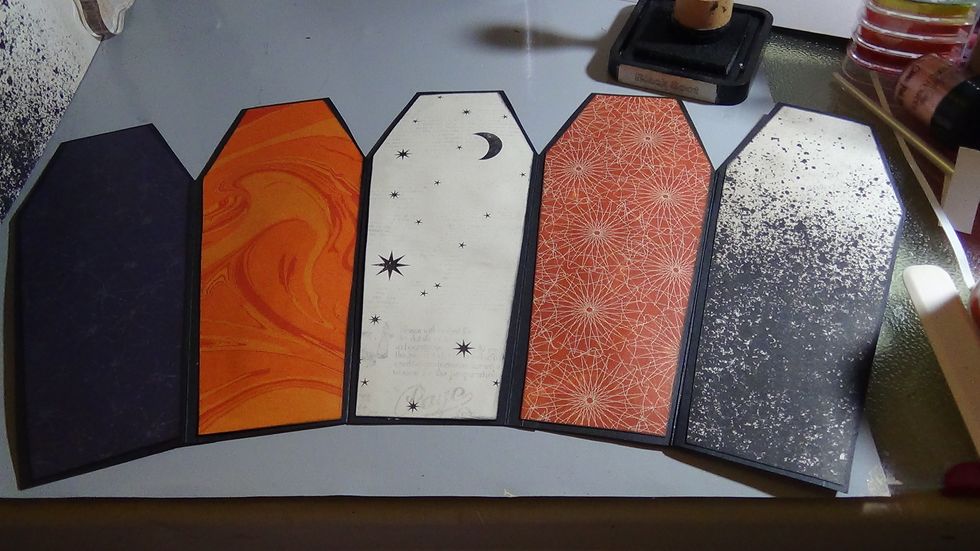
I then drew a 1/8 line around the entire pattern to be able to use it to trace out my design paper that was in my kit from Creative scrap designs and left overs from my mini album I made before too
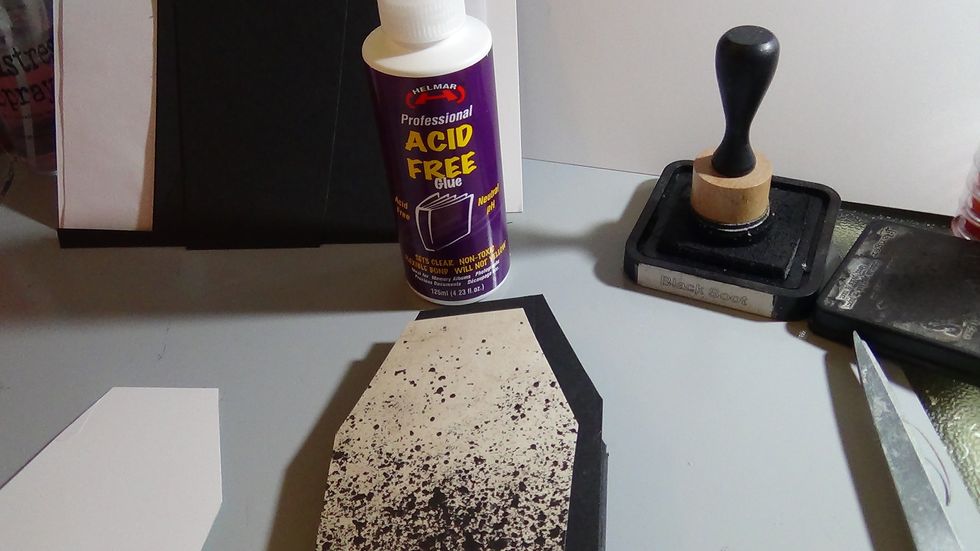
Before adhering the design paper down I inked around the edges using Tim Holtz Black Soot Distress Ink.
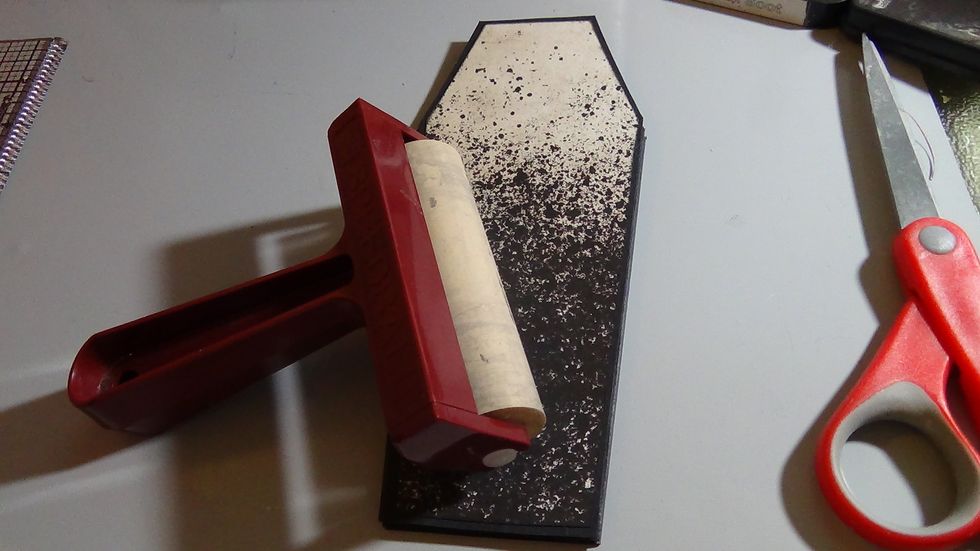
I then used my brayer to even out the glue and so it won't bubble up nor have bumps on it
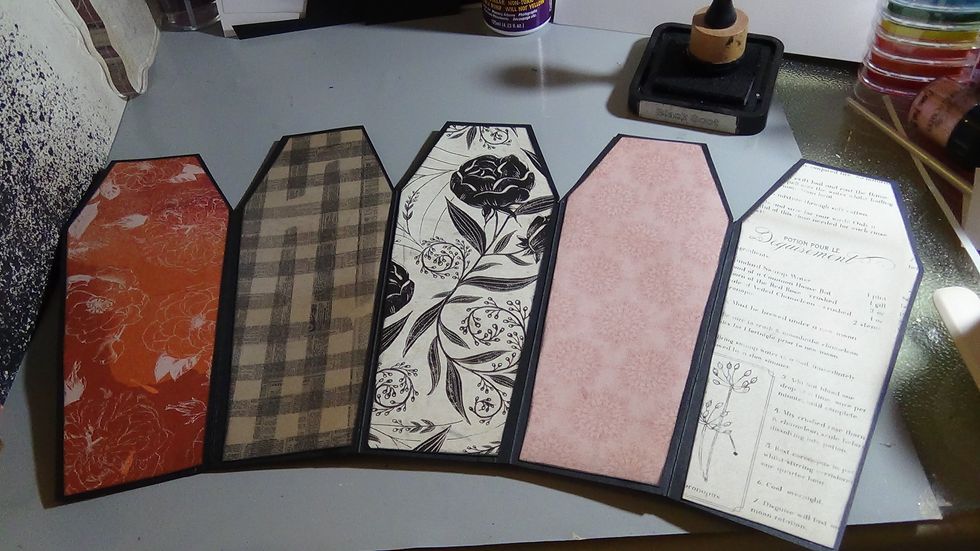
I papered both sides of the album

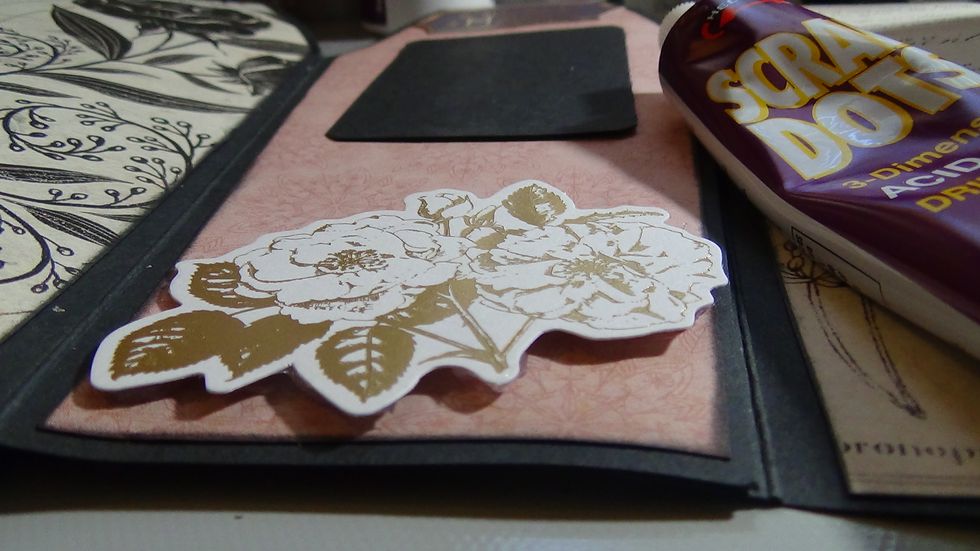
This is the cross that came with the coffin, I decided to use it on here so I embossed it using this clear embossing ink and the Wow powder that came with the Halloween Kit from CSD

I used Helmar Premium Craft Glue to adhere the cross to the cover page of my album
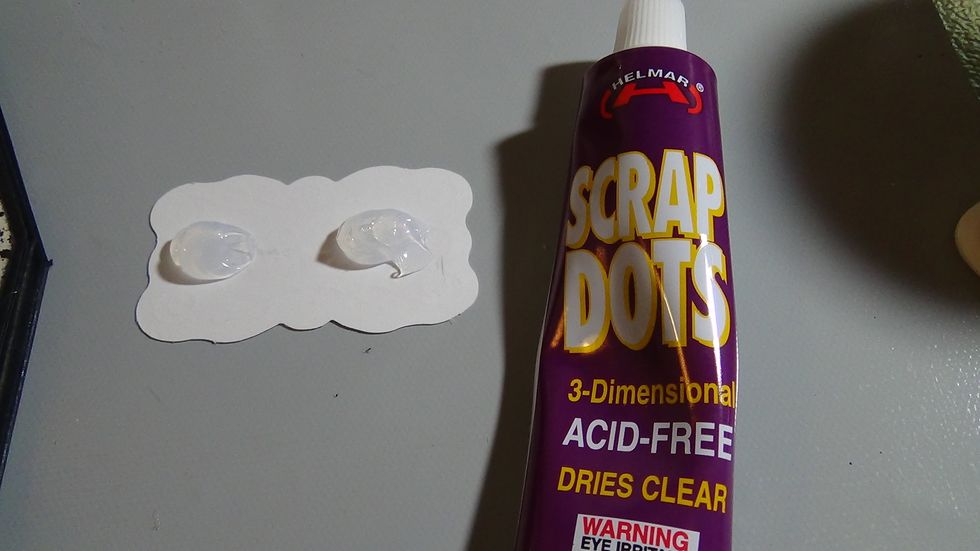
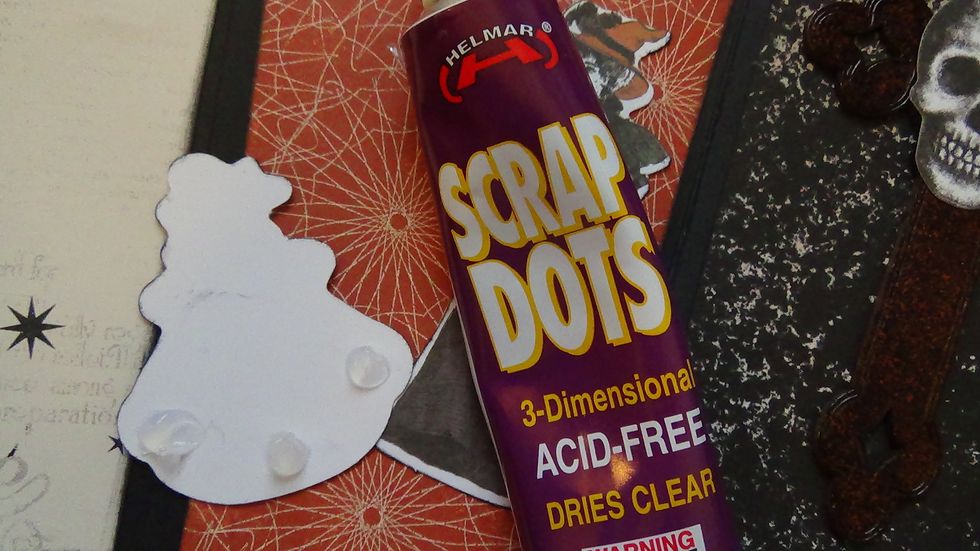
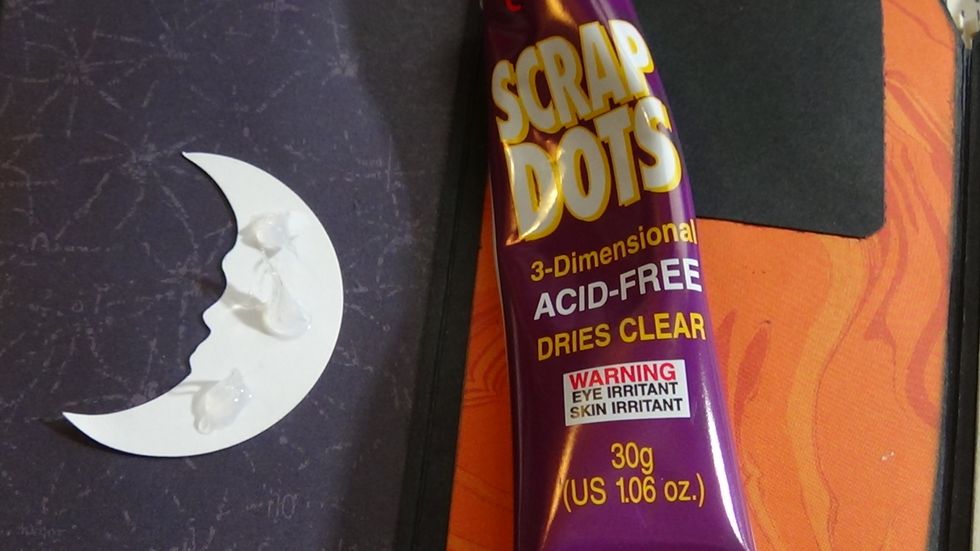
This was the 1st time using these Scrap Dots from Helmar, I absolutely love these!
You can see how great these Scrap Dots are from Helmar, just be careful not to flatten out your piece before it dries
I began embellishing my pages, here I created a small waterfall with the tiny tags from one of the sheets of paper. I just scored it @ 1/8 in
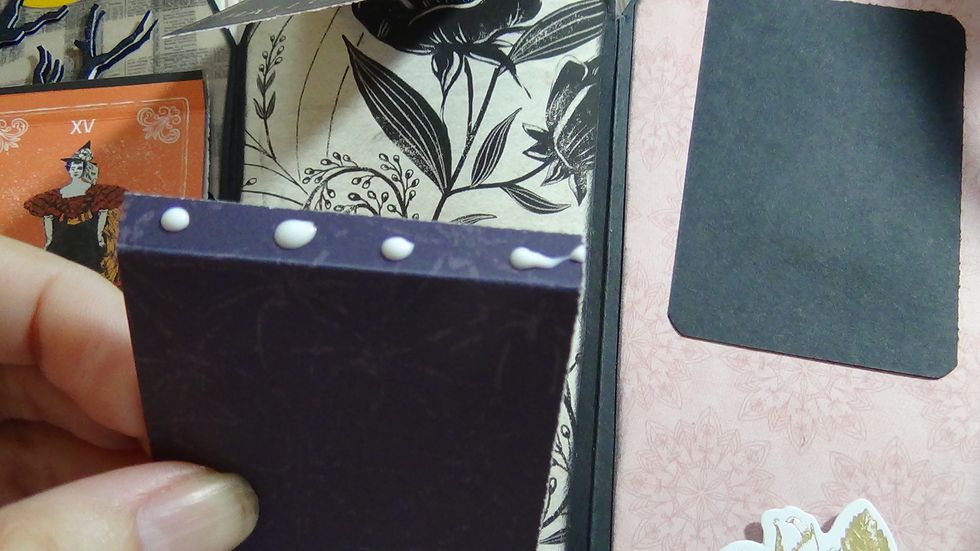
Used some of the Acid Free Glue from Helmar, just some tiny dots on the tags to adhere them down
Finished up all of my embellishing and really loving all the different glues from Helmar