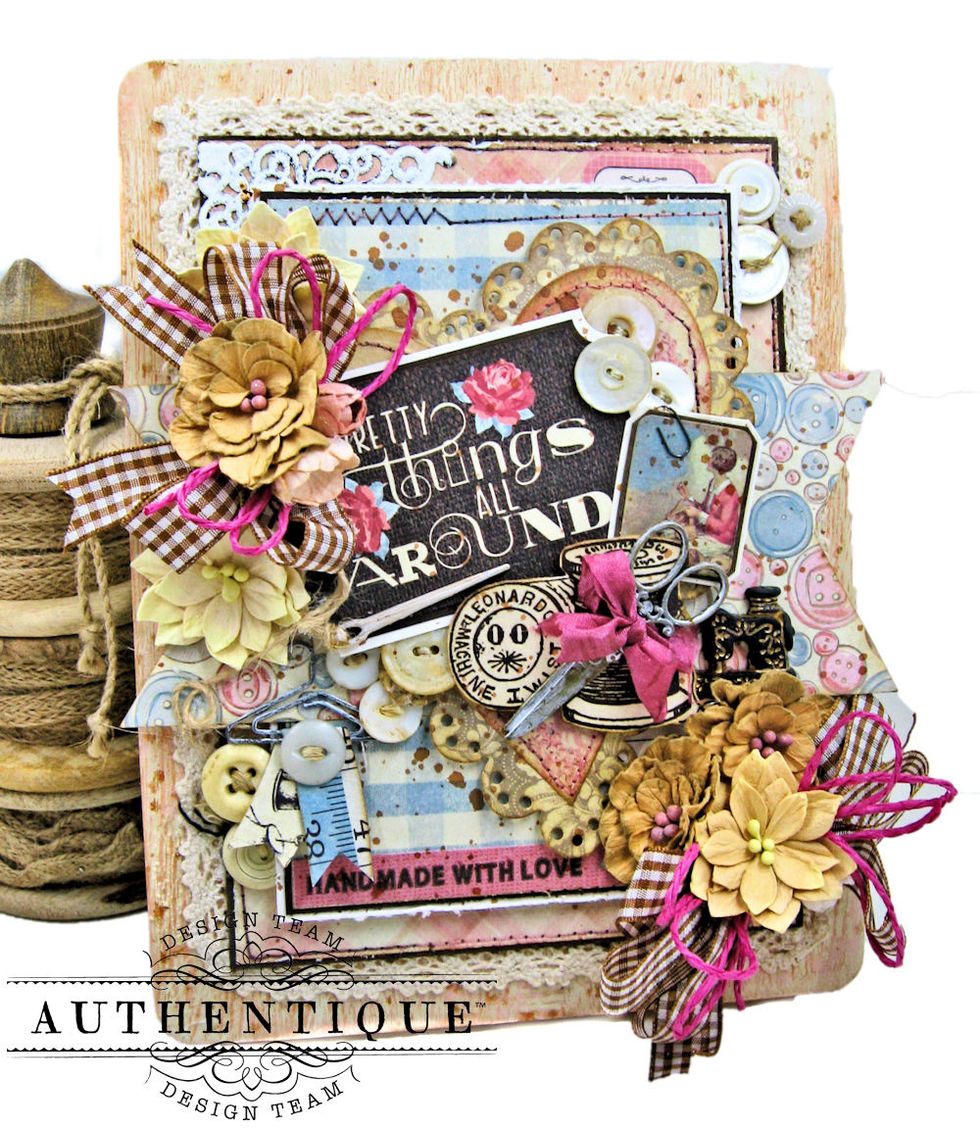
Alter a $1 wood frame with acrylic paint, Elmer's glue and paper? Yes, you can! I worked with Authentique Paper's "Stitches" collection. You can decorate your altered frame however you wish.
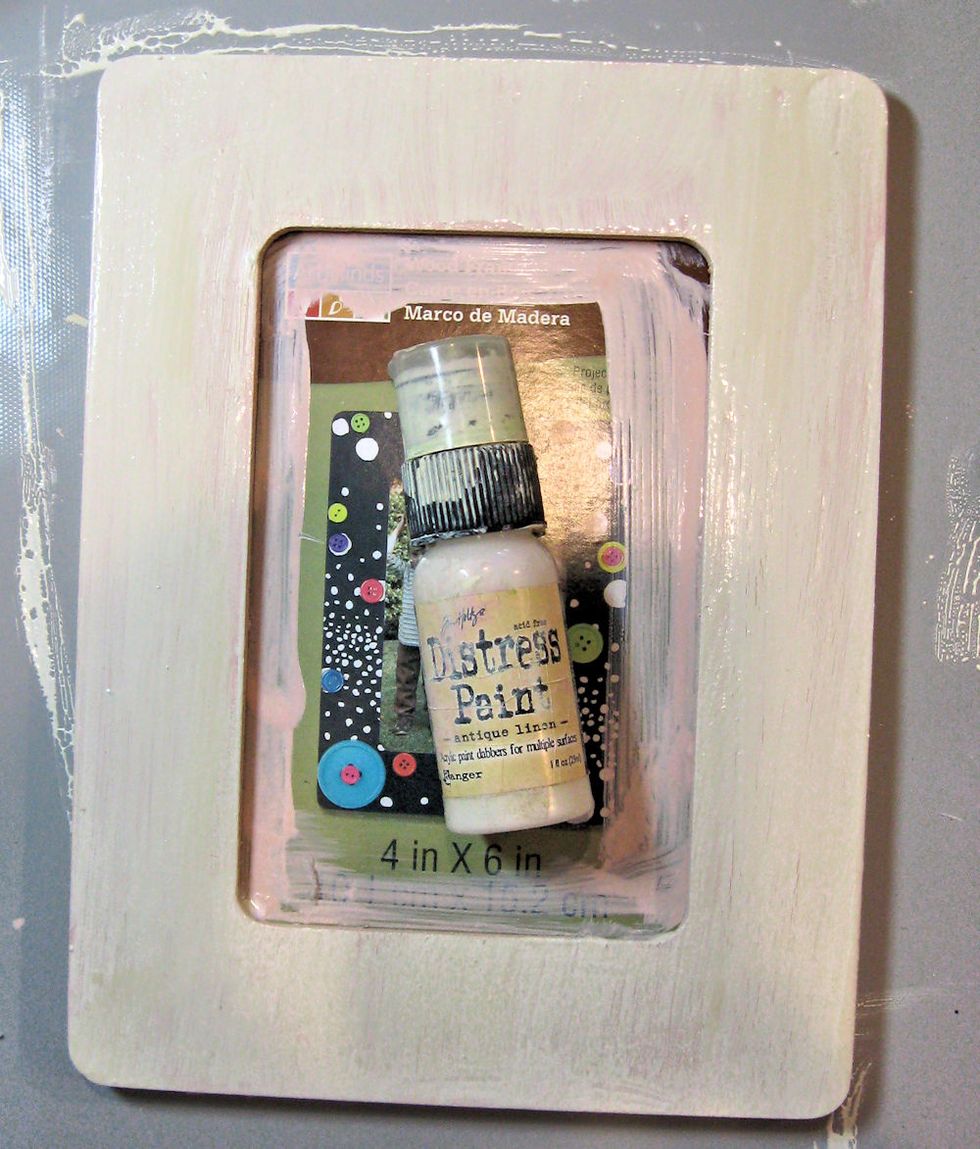
Remove packaging & dust frame to make sure the surface is smooth. I used Tattered Rose Distress Paint as my base layer. Just brush on an even coat, and let dry thoroughly.
Use whatever color you like. Just remember, you want your base coat to be darker than the color you use on top. I did two coats of paint, and let it dry completely.
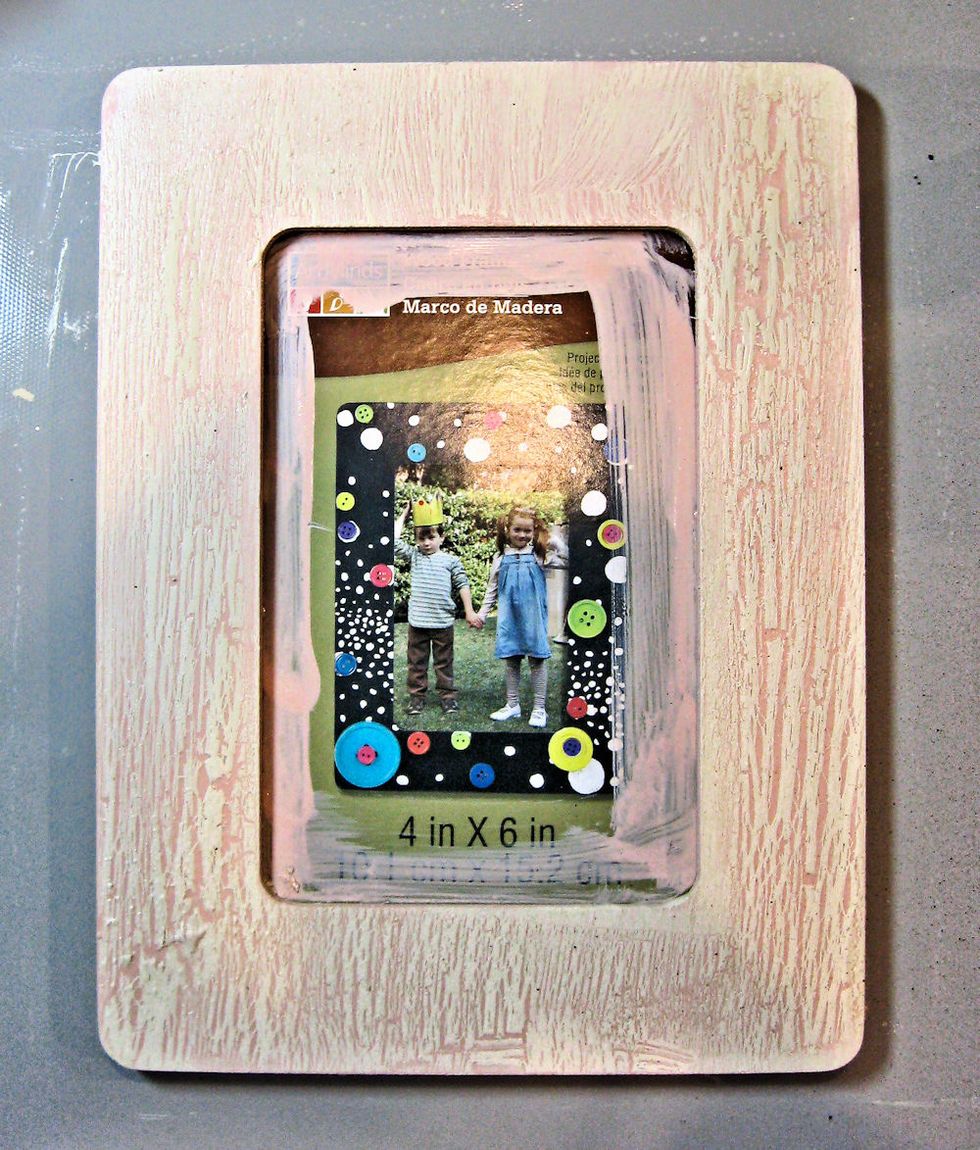
When the paint is completely dry, brush on a layer of Elmer's School glue. Brush in different directions to create an interesting crackle pattern. Thicker layers make finer cracks. Let dry 3 minutes
While glue is still tacky to the touch, brush on a layer of Antique Linen Distress Paint. You can use whatever color you like, just make sure it is lighter in hue than the base paint color.
Let the paint/glue dry for about 3 minutes. Once you see crackles beginning to form, you can finish the job with a heat gun. Don't hold too close to paint, or hold for too long or the paint bubbles.
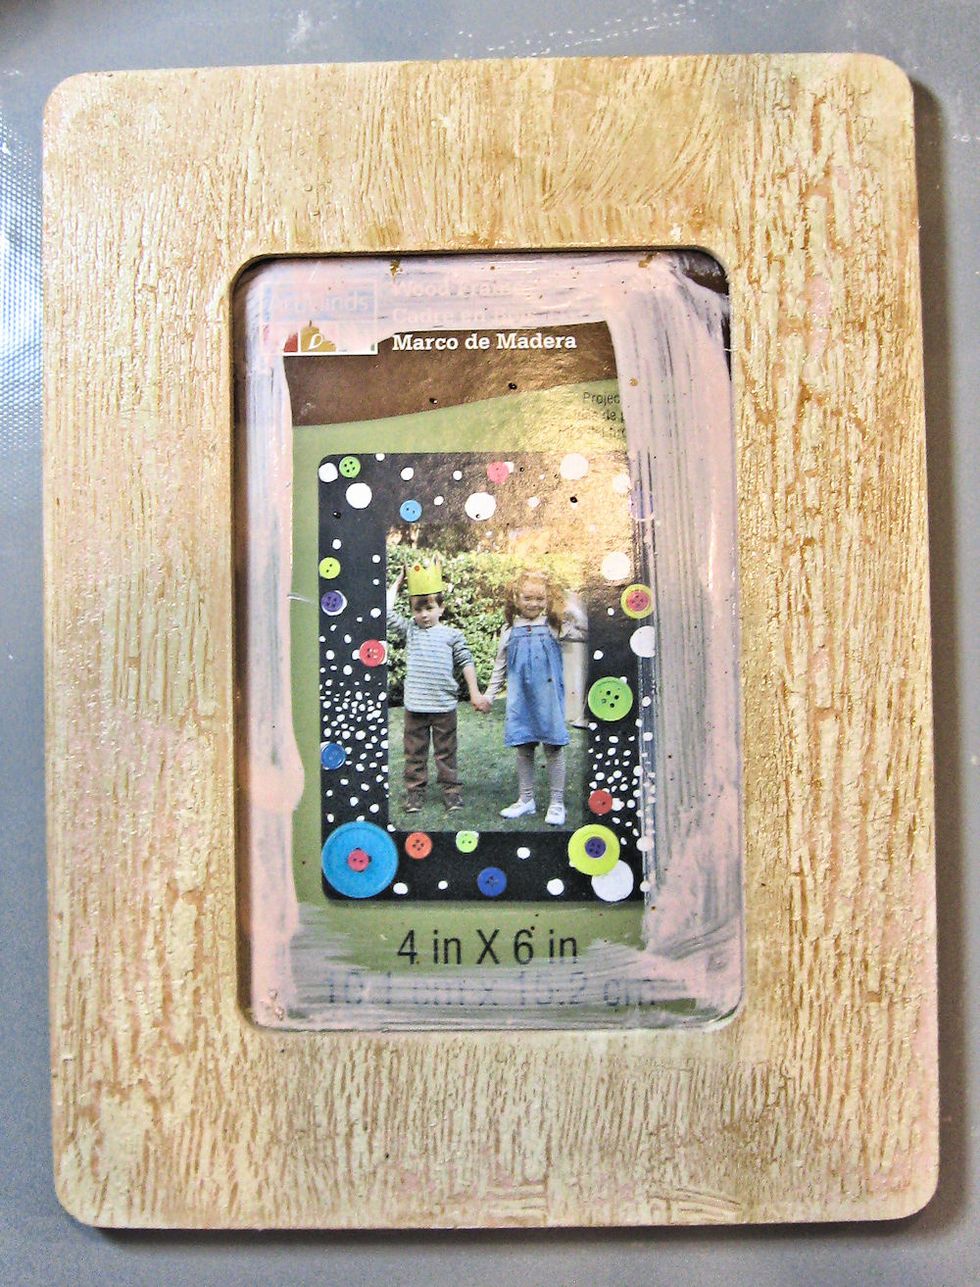
You can leave the frame as it is, or add contrast with walnut ink, or distress stain. Create a quarter sized puddle of ink on your craft mat and mist with water until beads form.
Brush a very light coat of ink over the dried crackle surface.
Use a paper towel or clean rag to tap off excess ink.
Dry gently with a heat gun. Then dilute a small amount of glue with an equal part of water. (1 teaspoon glue/1teaspoon water) and brush over the frame to seal. Let dry. Then decorate as you wish.
Happy crafting!
Wood frame (Michael's Dollar bin)
Tattered Rose Distress Paint
Elmer's School Glue
Antique Linen Distress Paint
Walnut /Ink,Distress Ink /other contrasting medium