The Conversation (0)
Sign Up
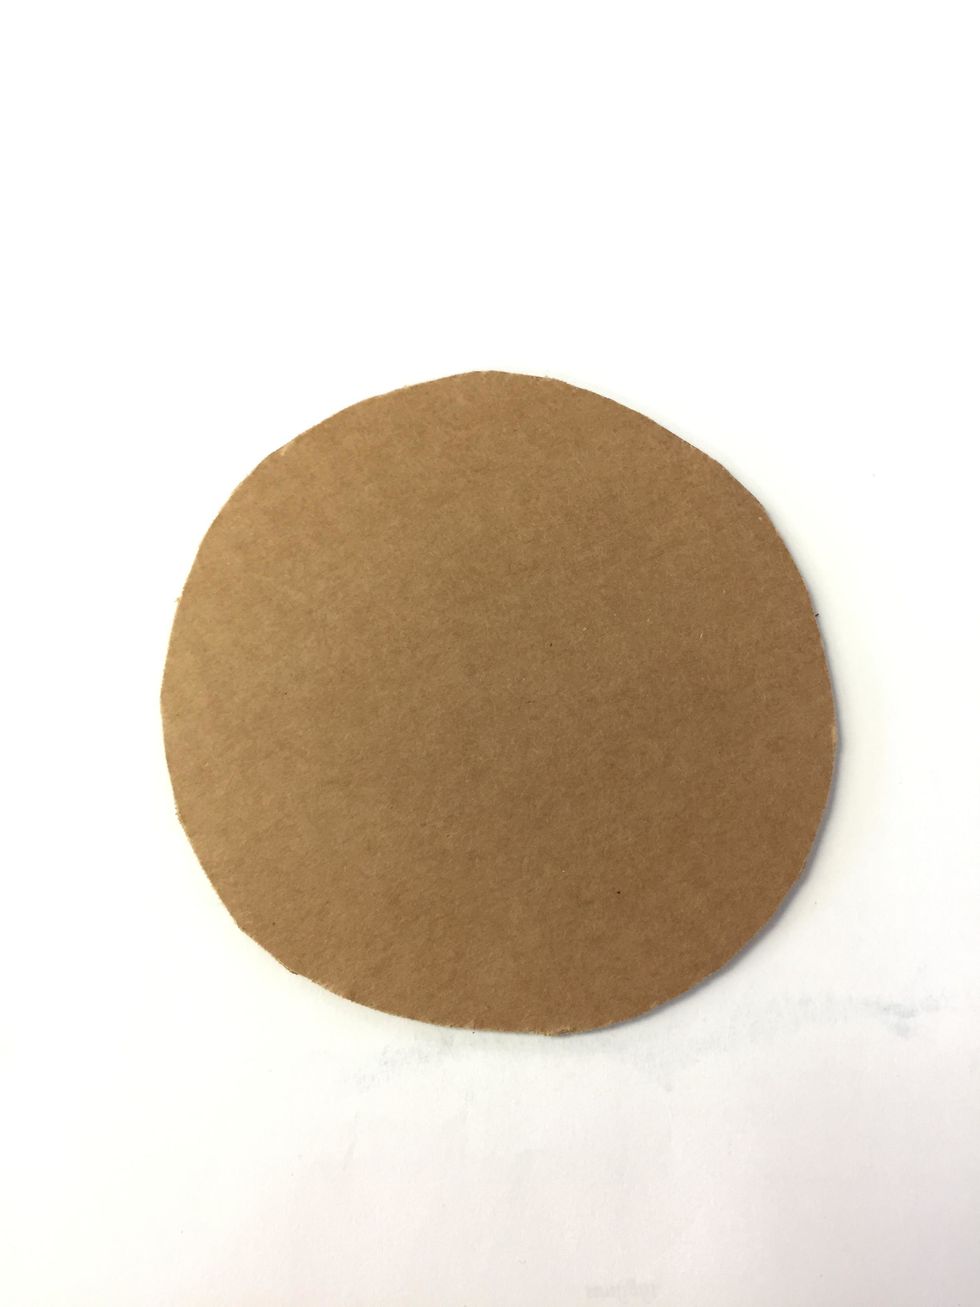
Use utility scissors to cut your cardboard circle. (I used a roll of masking tape as a tracer.)
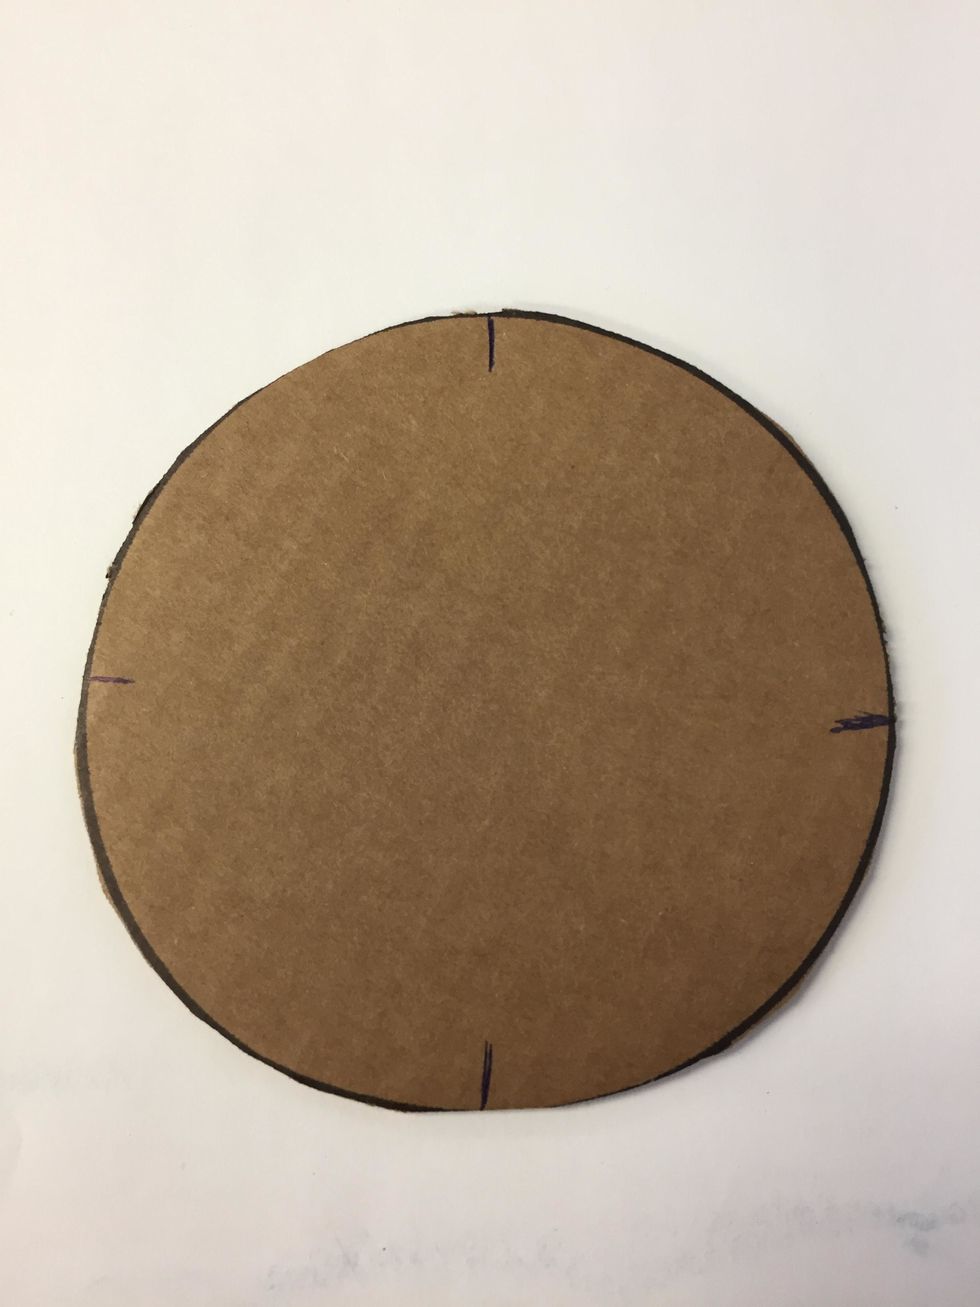
With a pencil, draw some lines at the top, bottom, and both sides of the circle.
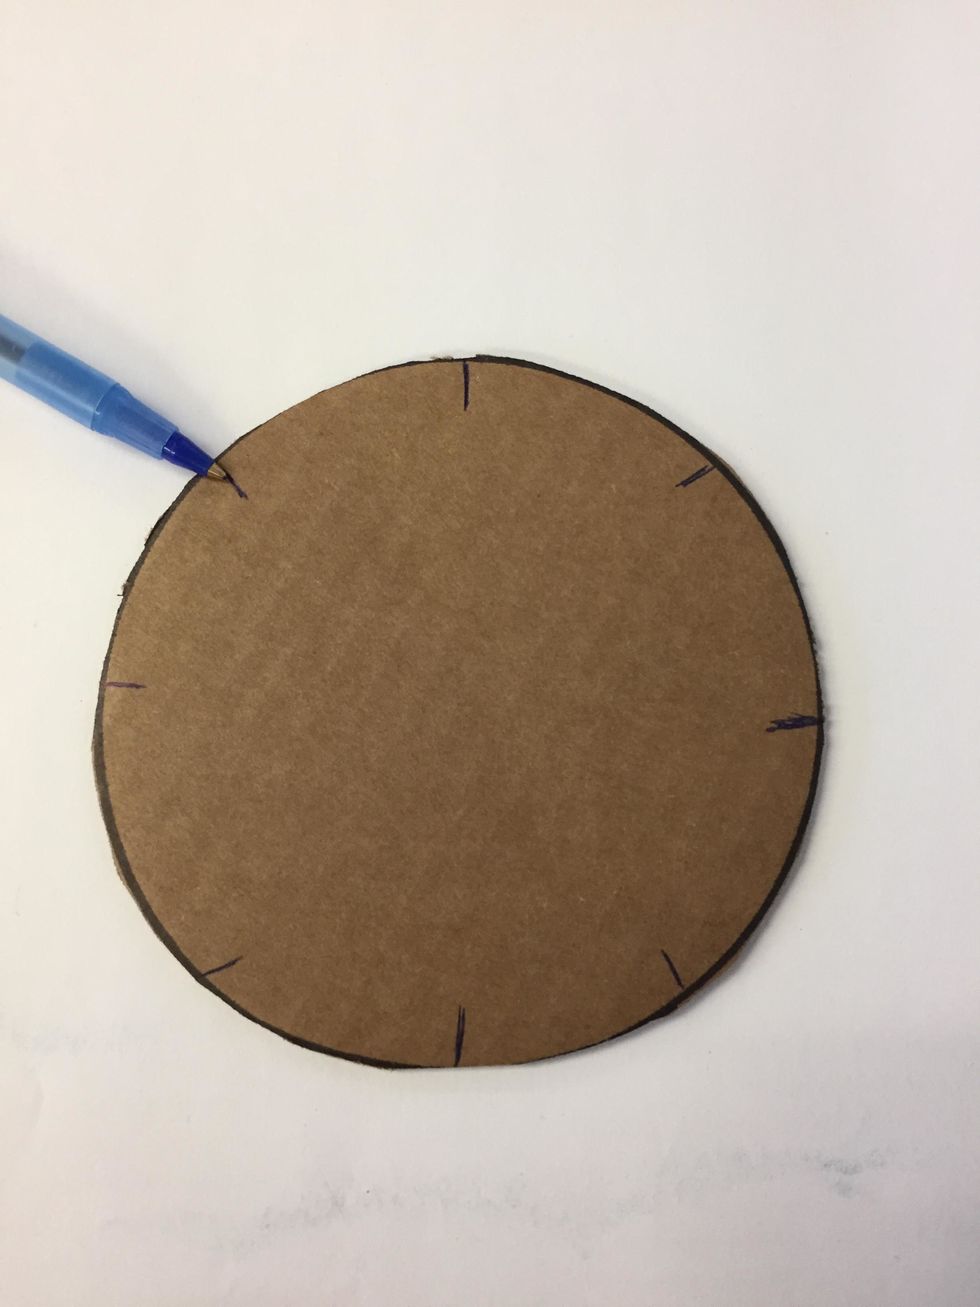
Then, divide each of those segments with another line.
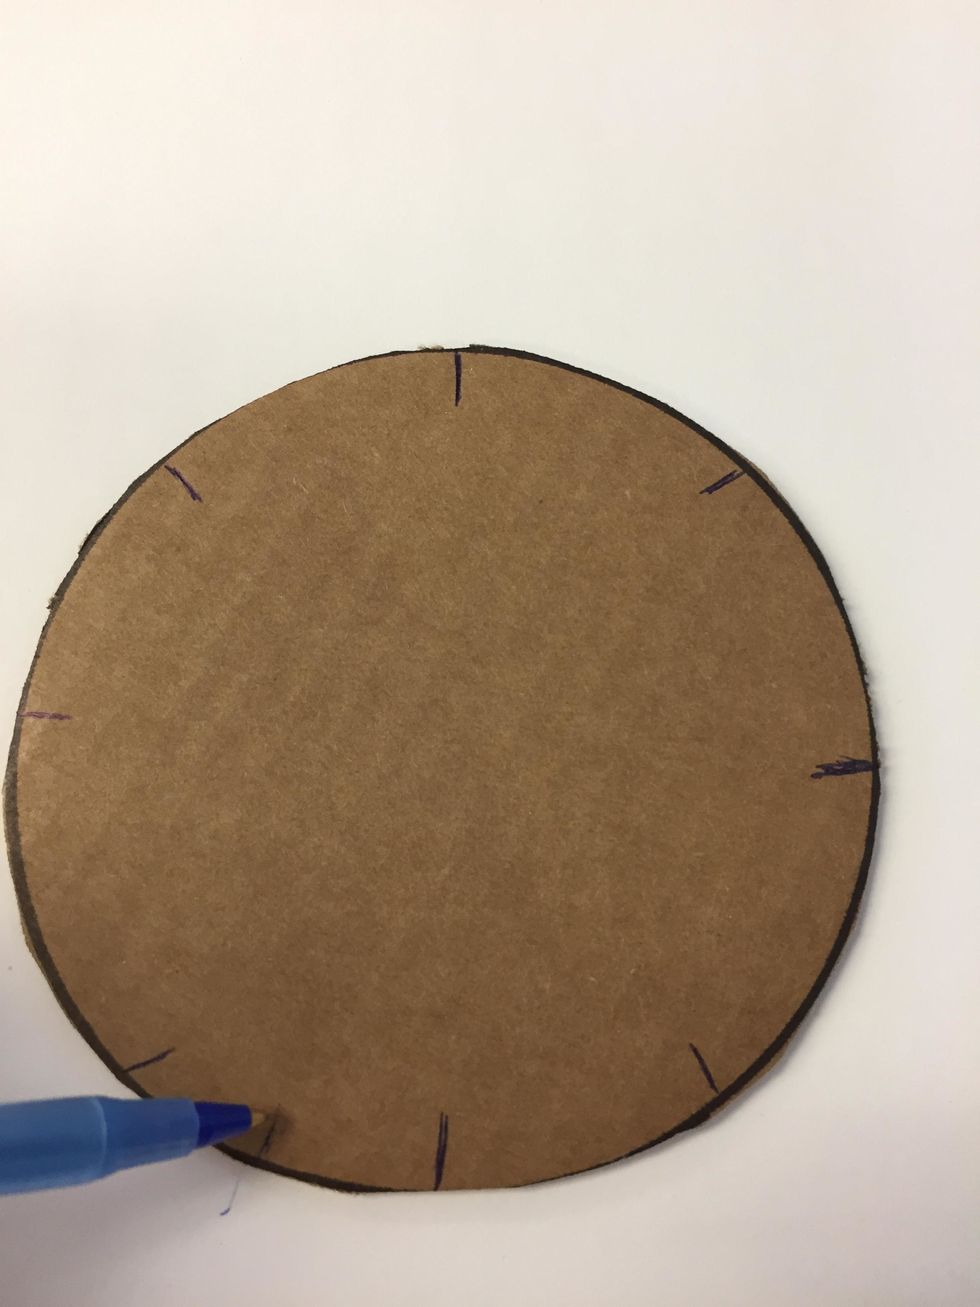
Then, in between each of those line segments, draw another line. At this point, you should have drawn a total of 16 equally spaced lines around the edge of the circle. Count to make sure!
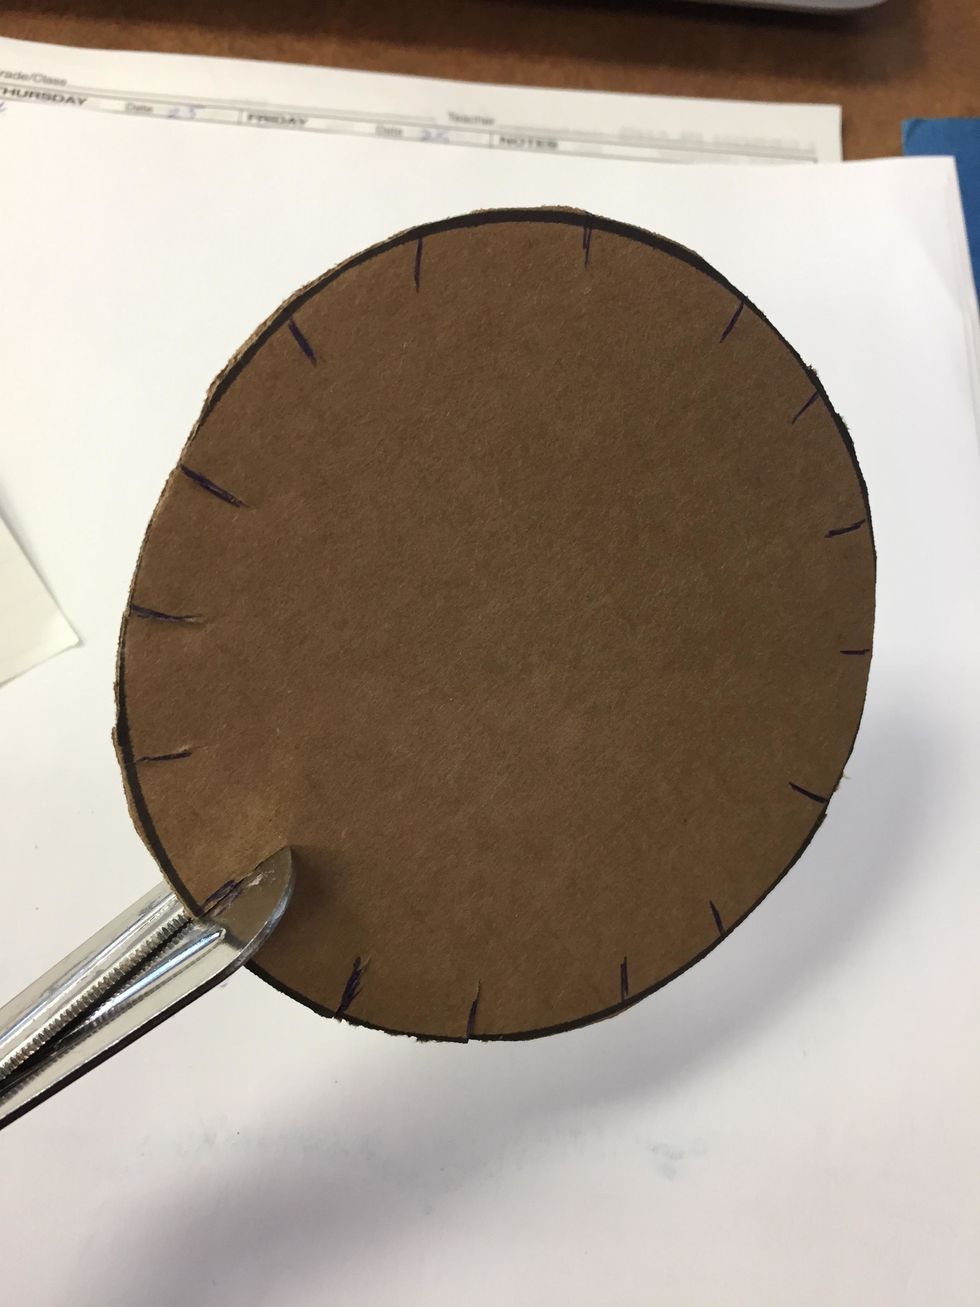
Use utility scissors to cut each of those 16 lines.
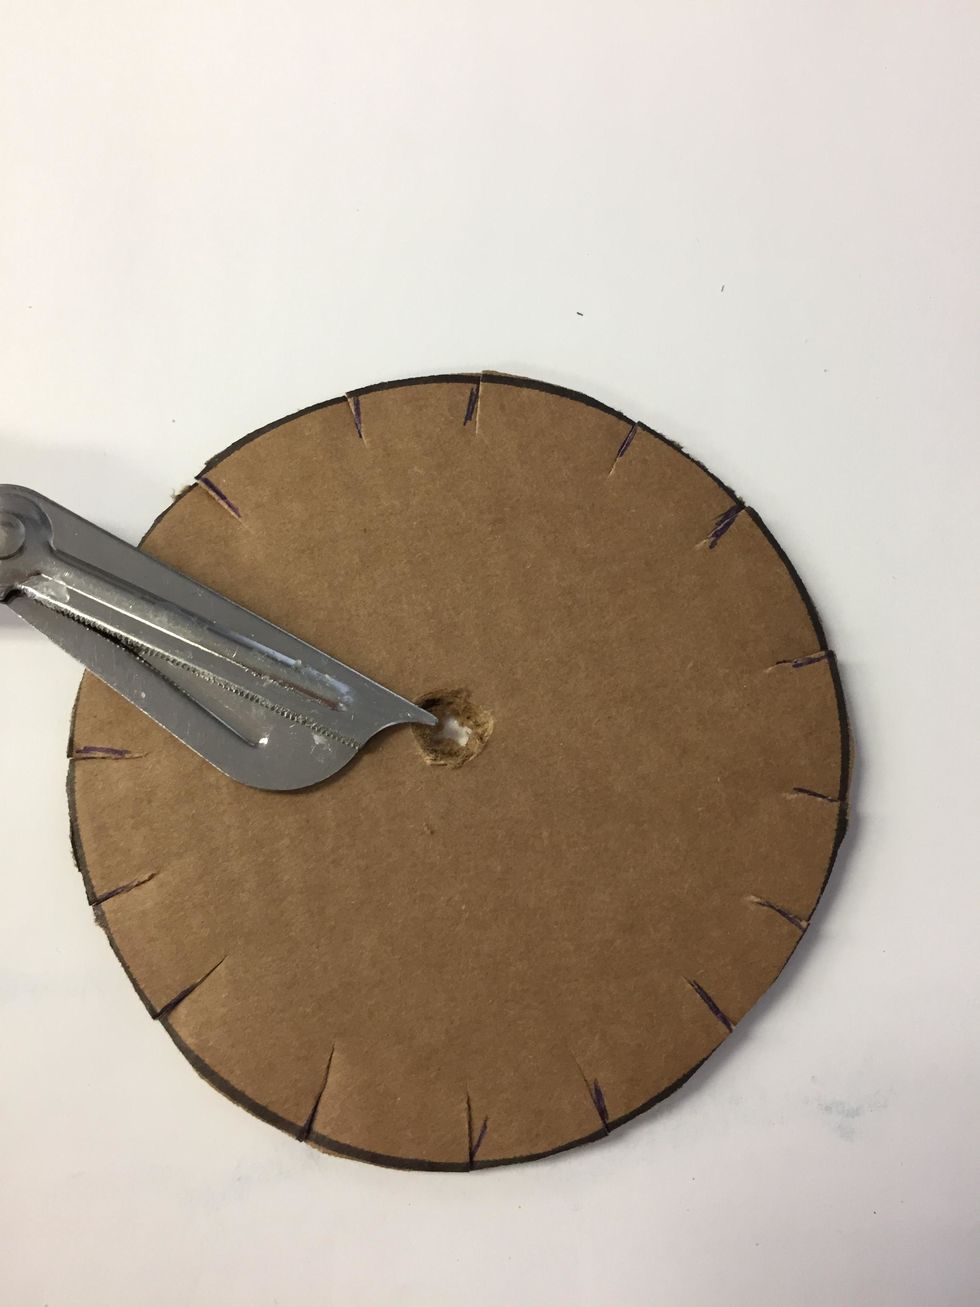
Bring your cardboard circle to an adult to cut a hole on the center.

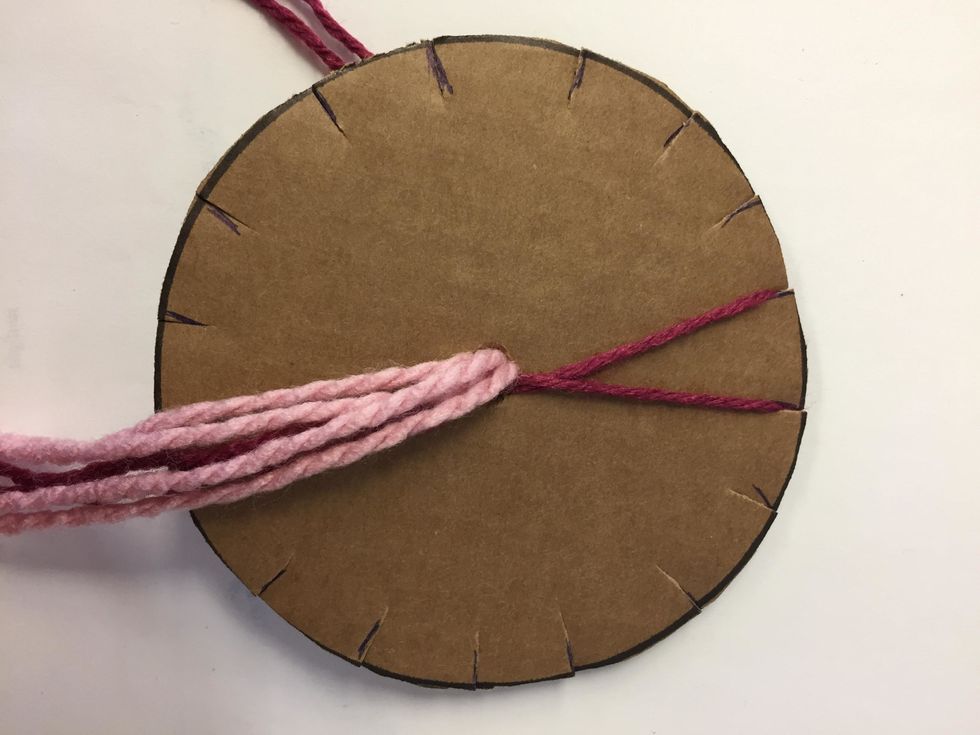
Choose 2 colors of yarn. Cut 4 strands of each color for a total of 8 strands. Each strand should be about an arms length.
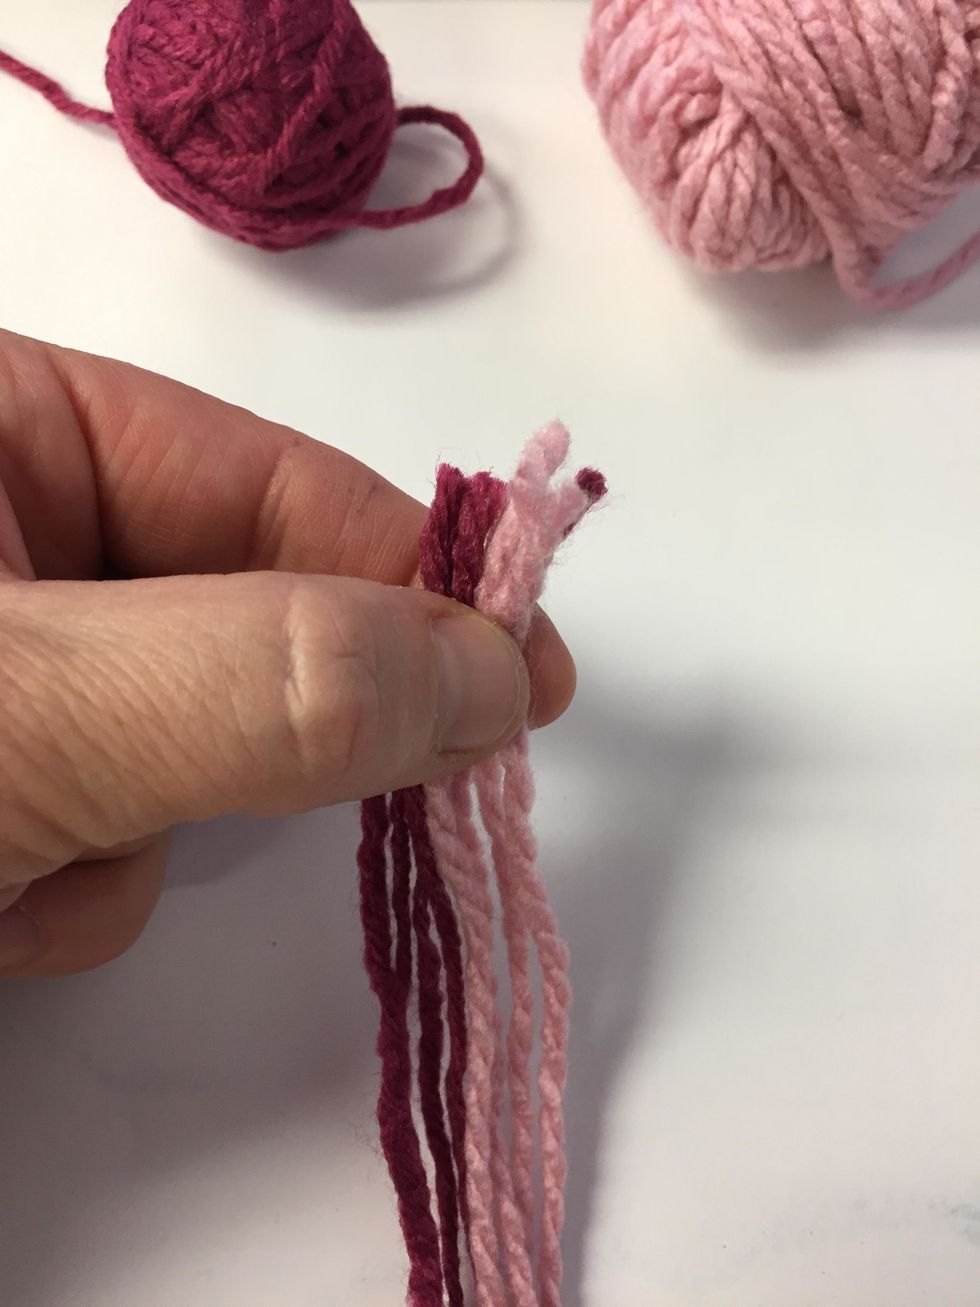
Gather one end of all of the yarn strands together………
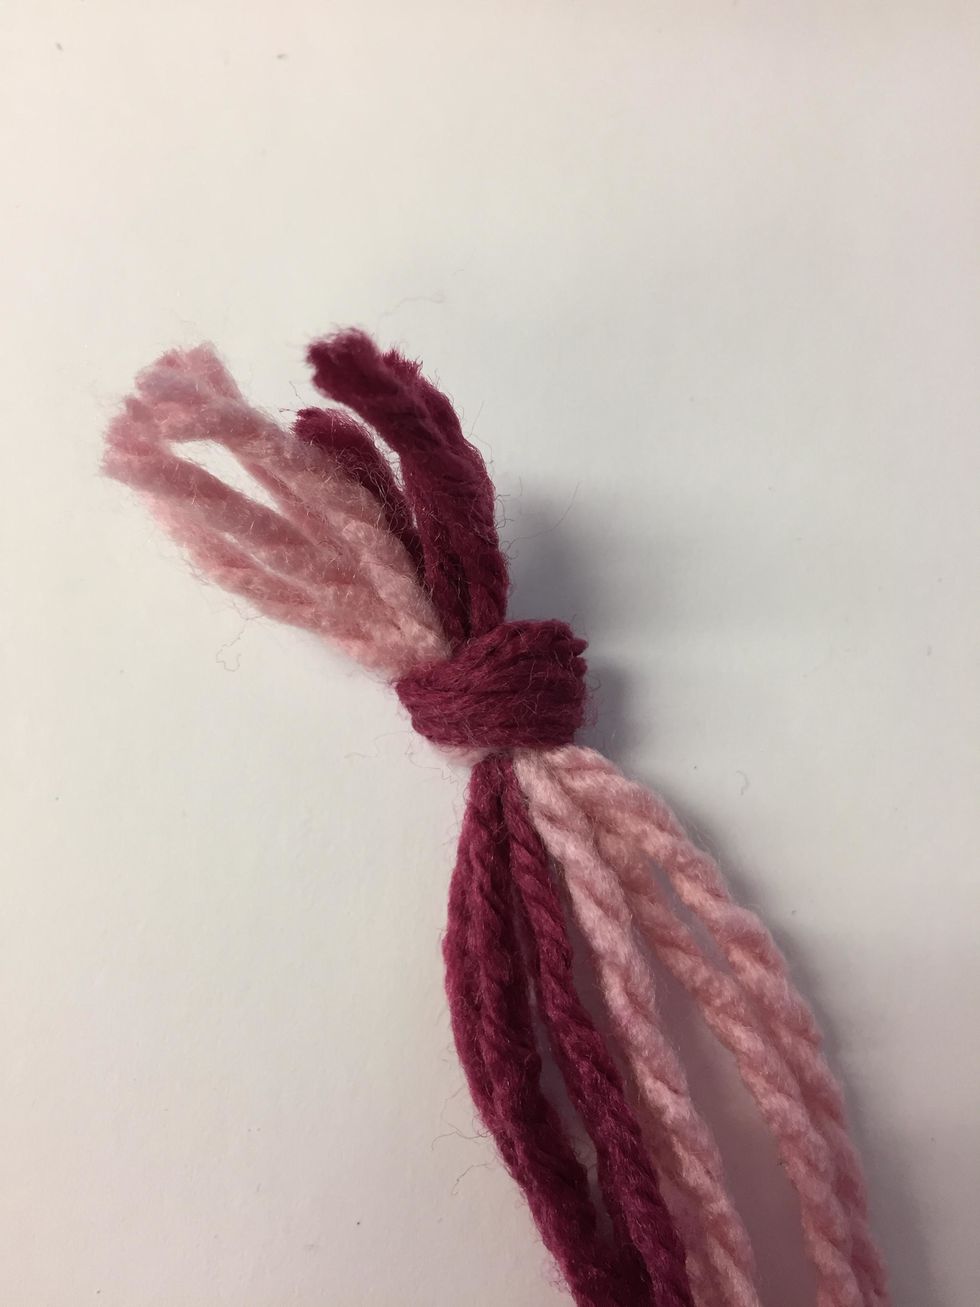

Poke the knotted end through the hole in the center of the cardboard. It should be a snug fit!
Put 2 strands of yarn of the same color side by side into the notches at the top, (North), on the cardboard.
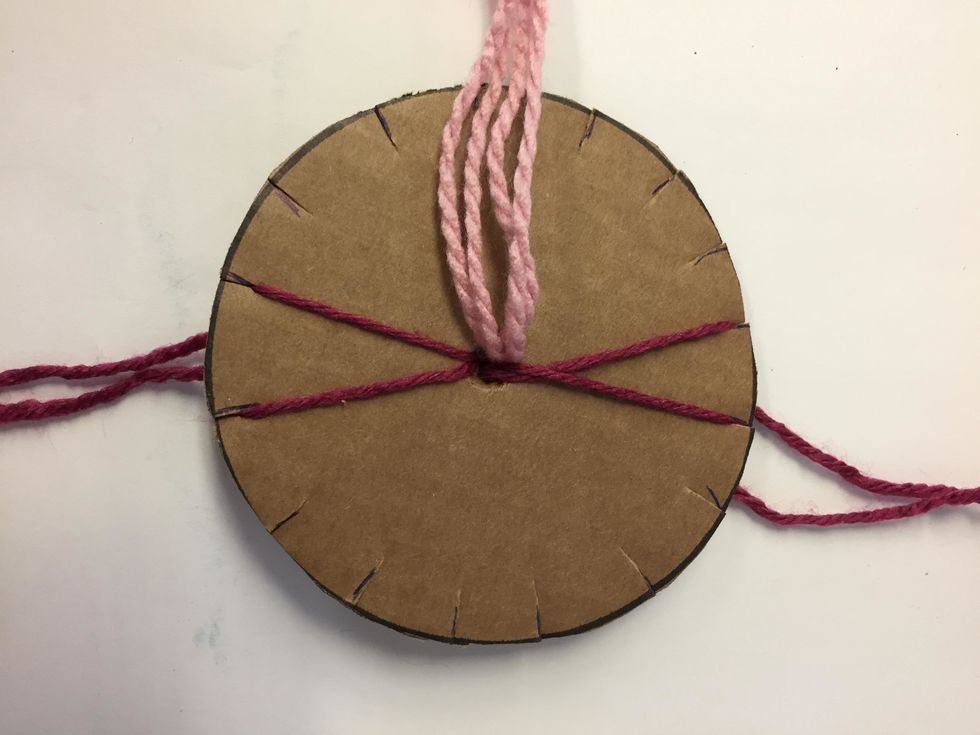
Place 2 strands of the same color side by side in the notches at the bottom (South) on the cardboard. This should create an "X" design.

The color of yarn will be places in the notches side by side to create an "X" going across the piece of cardboard. (East and West)
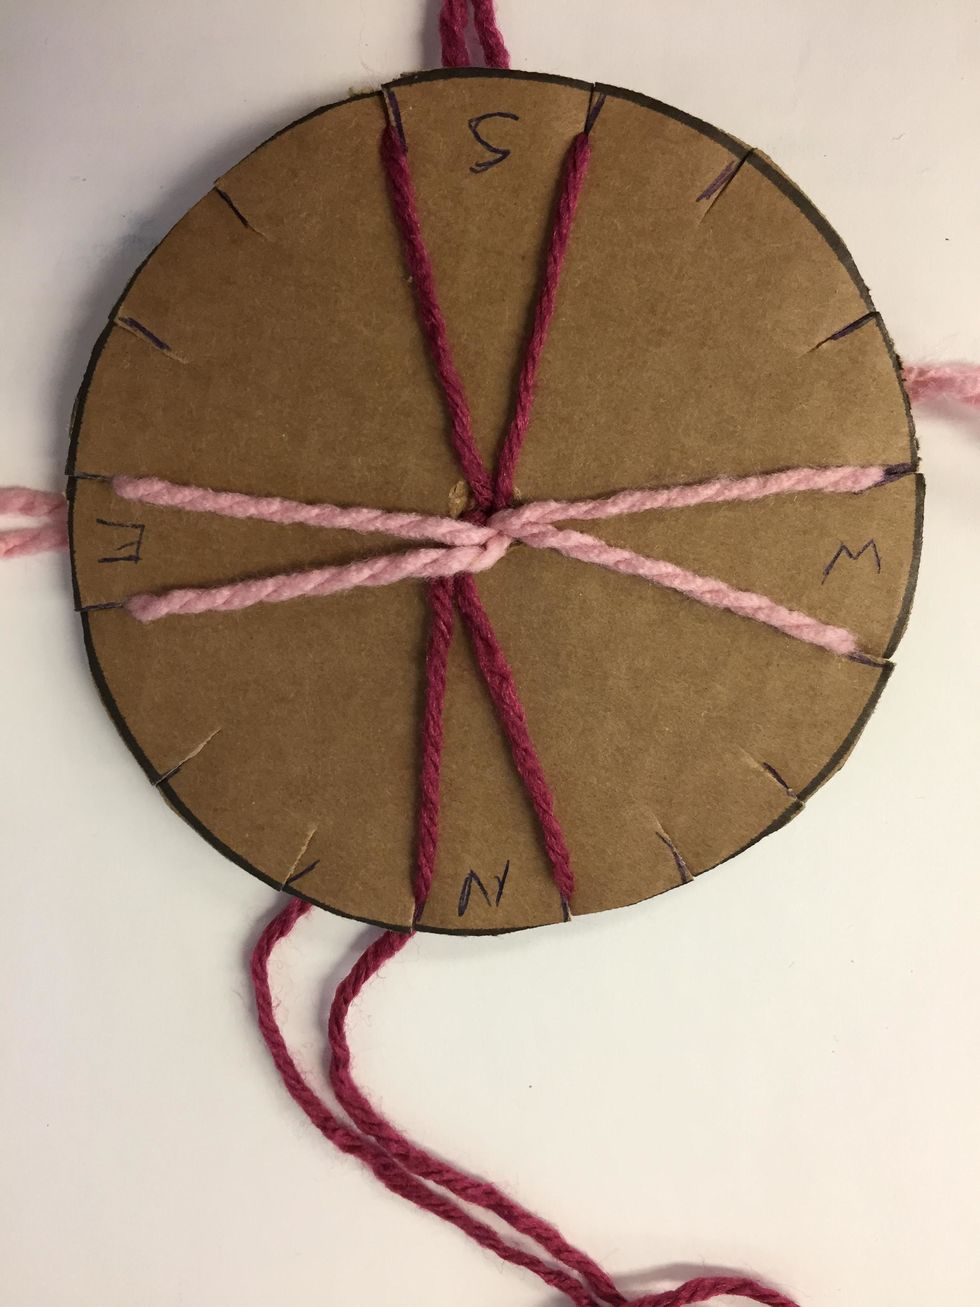
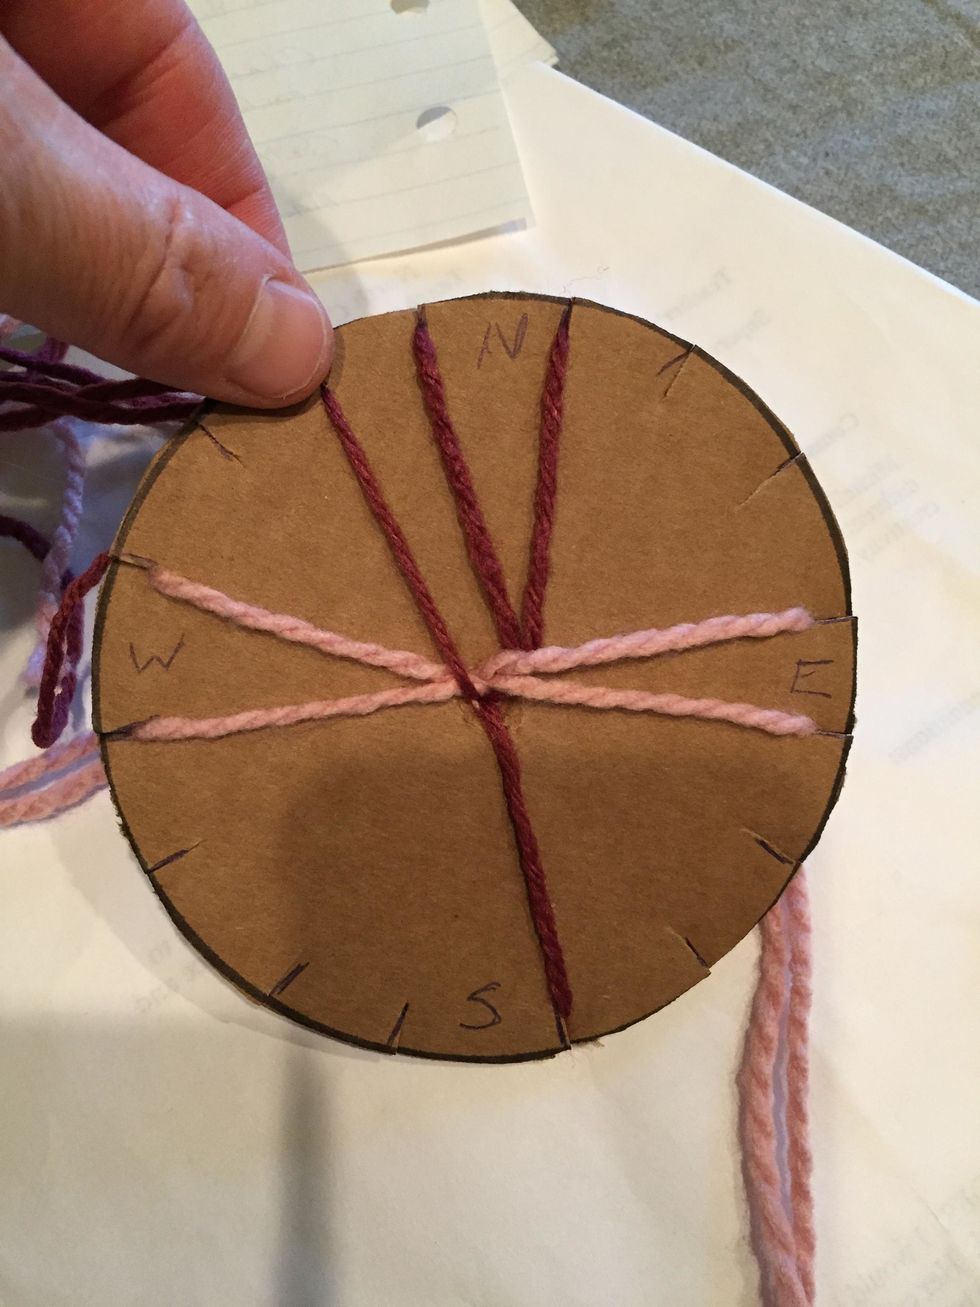
The left hand only moves the left strand from the bottom to the top. With that movement, the "X" shape becomes a "fork" shape.
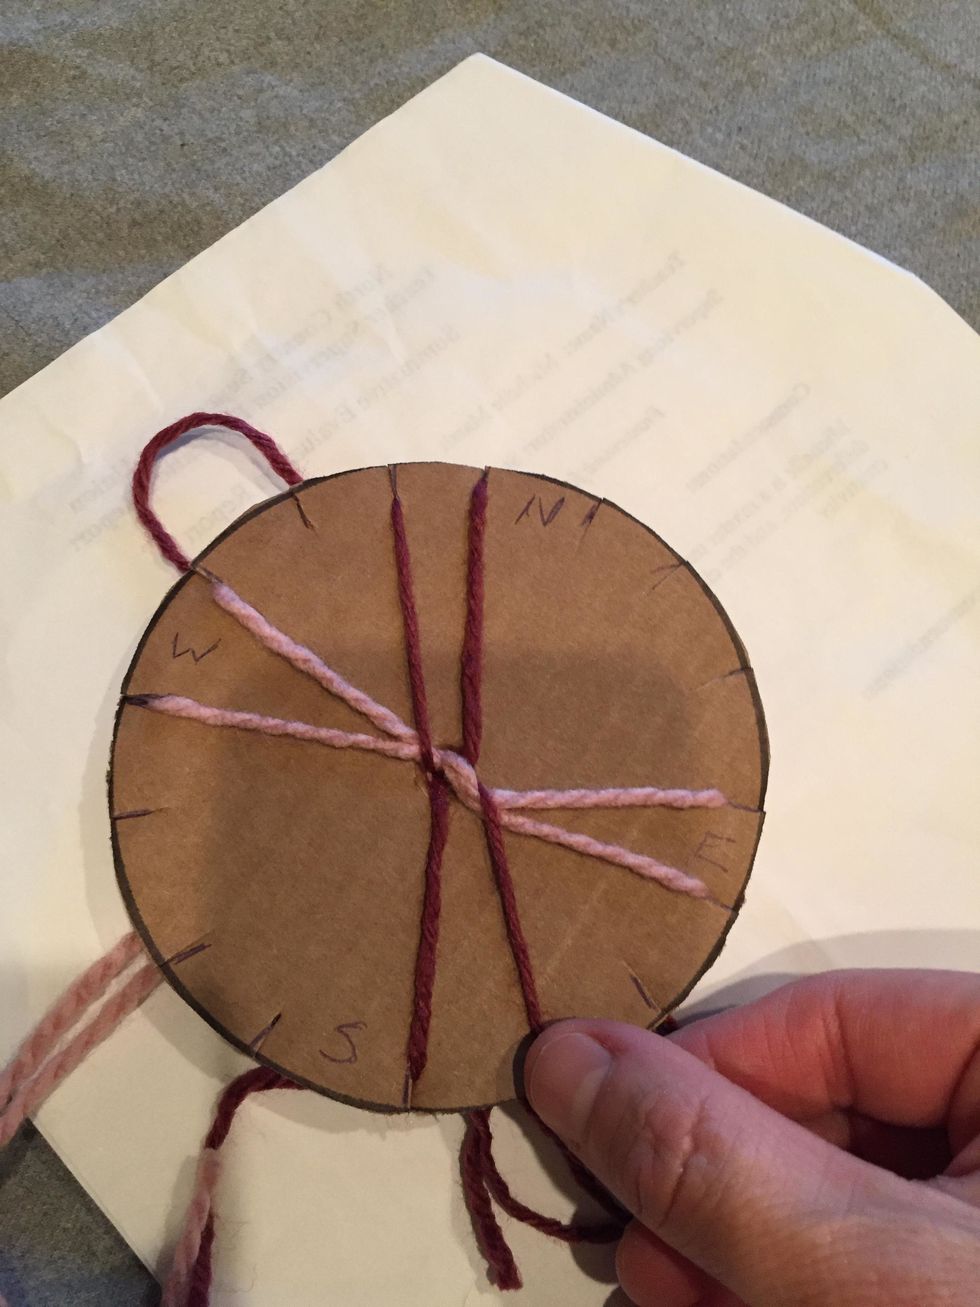
The right hand has the job of moving the top of the "fork" on the right side down to the bottom of the circle to make an "X".

Rotate clockwise, and repeat. Remember this...... "Left to the top, right side drops, turn the circle like the hands of a clock."
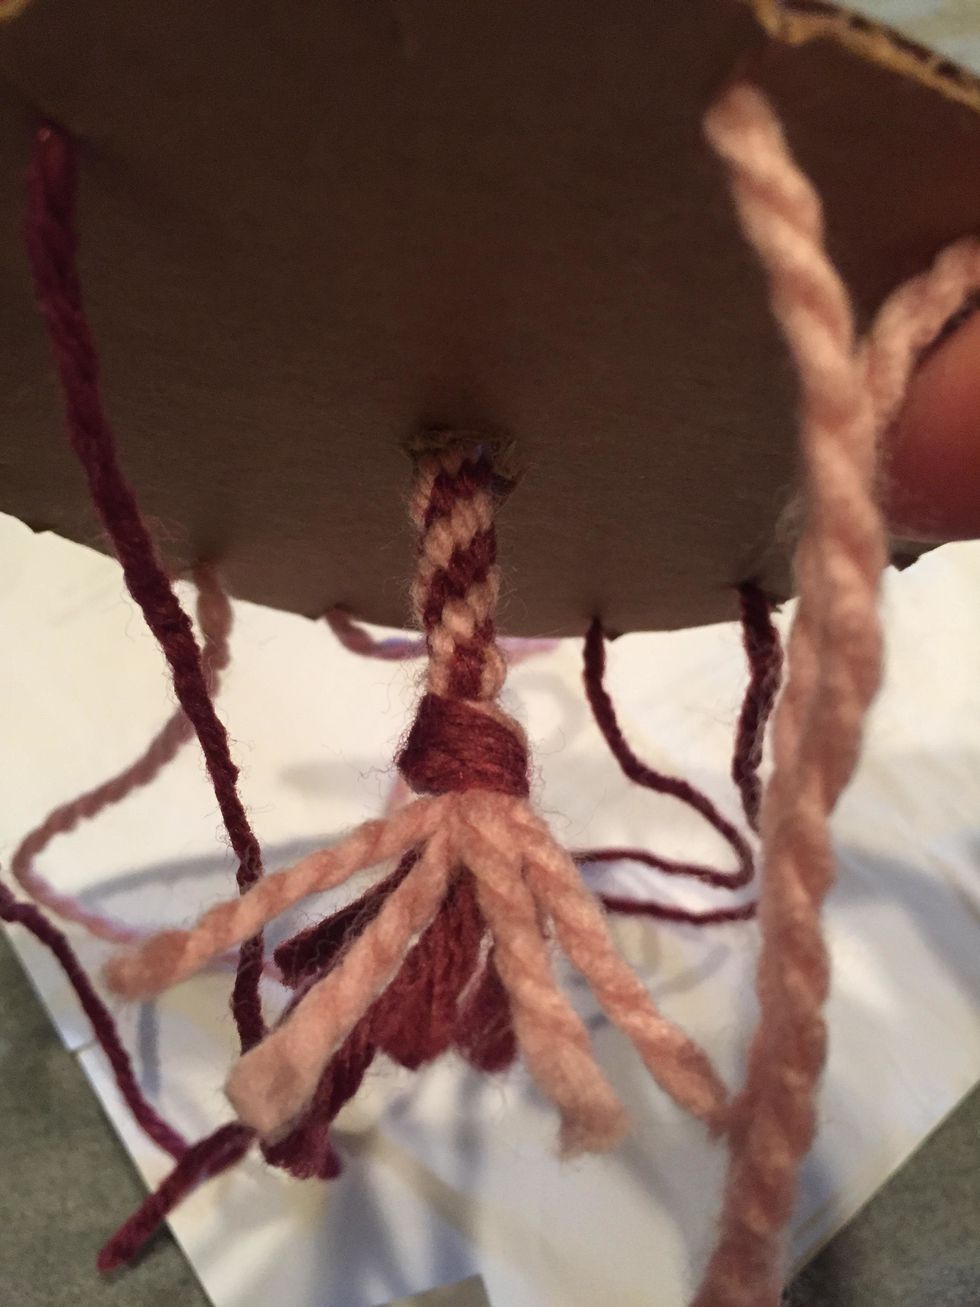
As you work, the weaving will drop through the hole in the center of the cardboard.
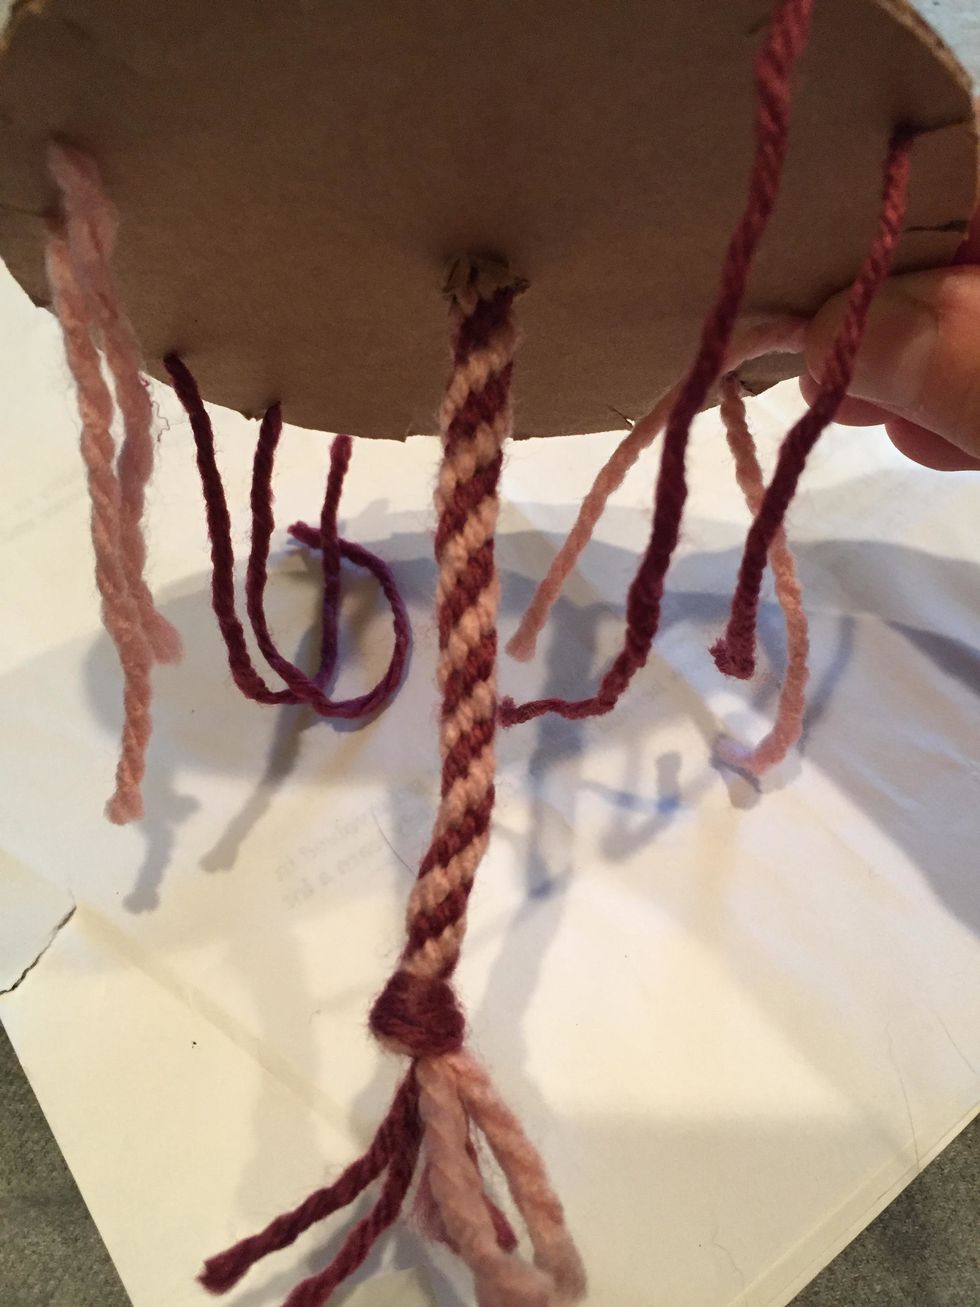
When the cord reaches the desired length, it is time to take your weaving off the board. Lift the strands of yarn out of the notches and pull the cord through the hole.

Tie a knot in the end........

......and congratulations! You have finished your cord weaving.