The Conversation (0)
Sign Up
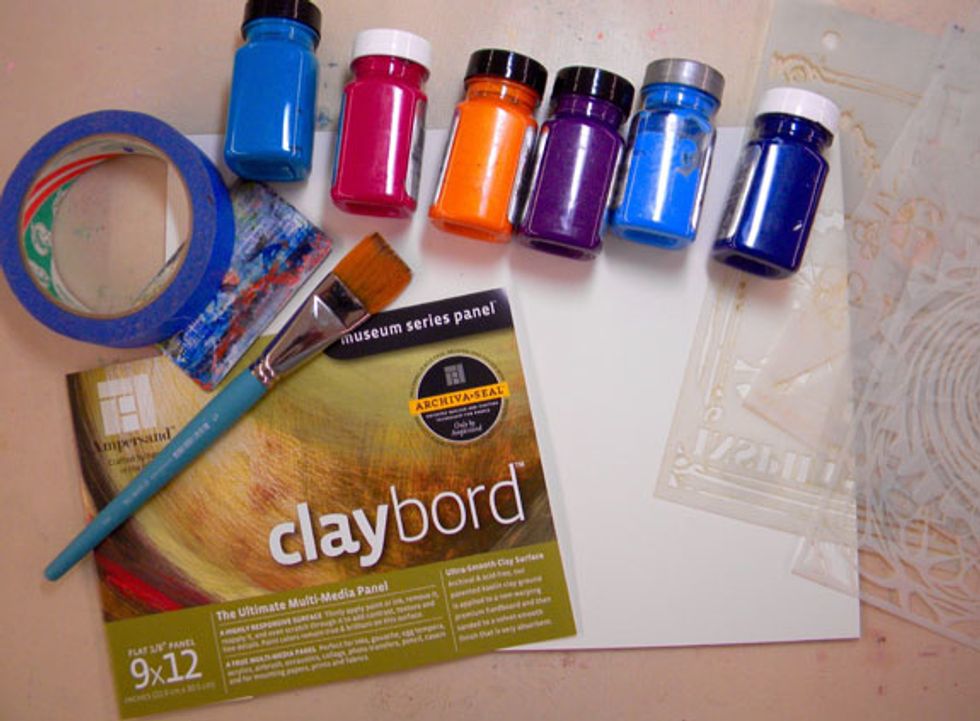
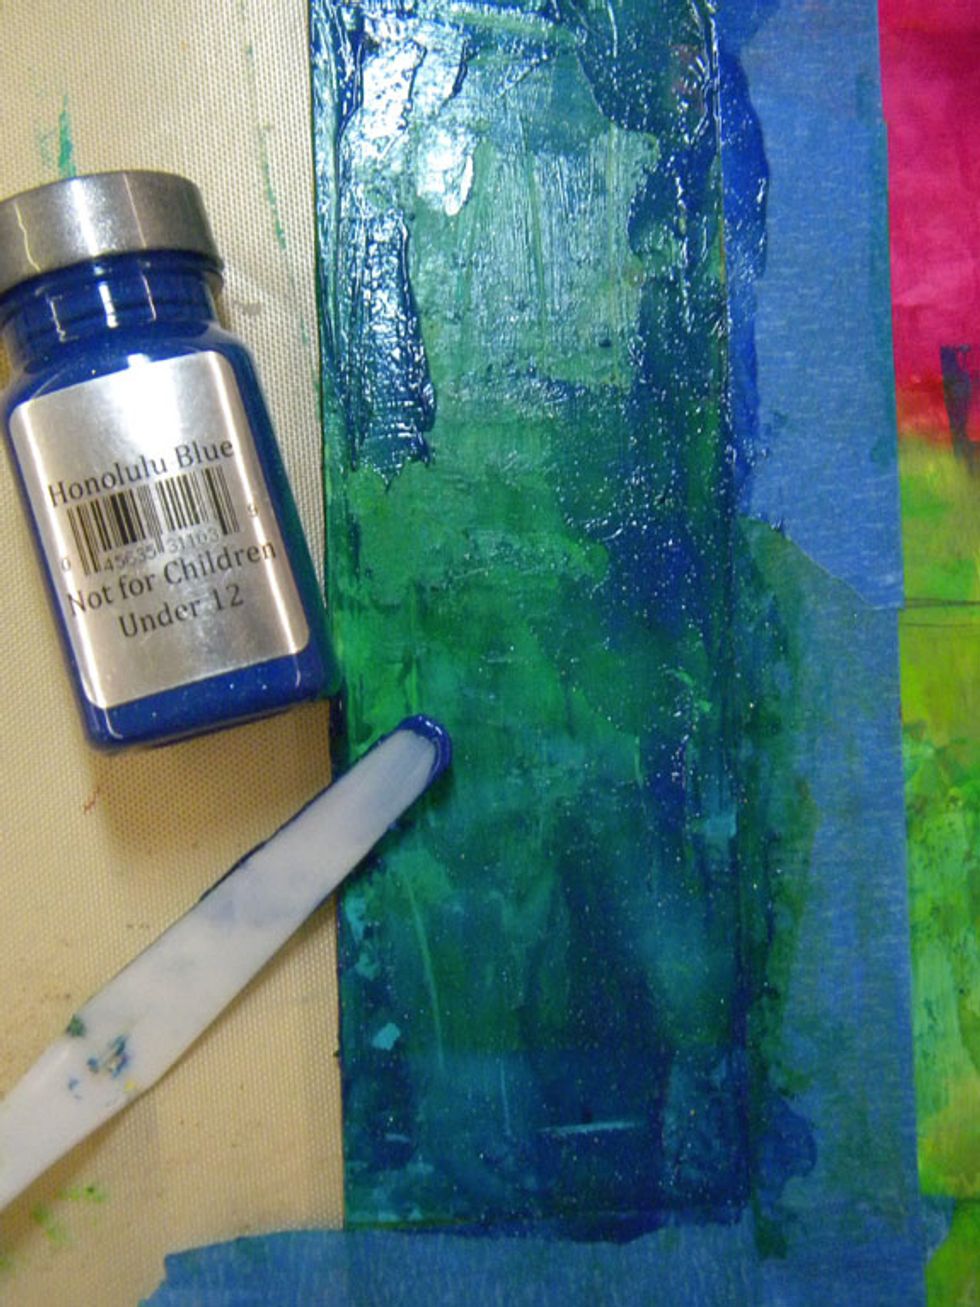
For this technique, I needed a harder surface than stretched canvas so I used Claybord, but a canvas board or a piece of wood is fine.
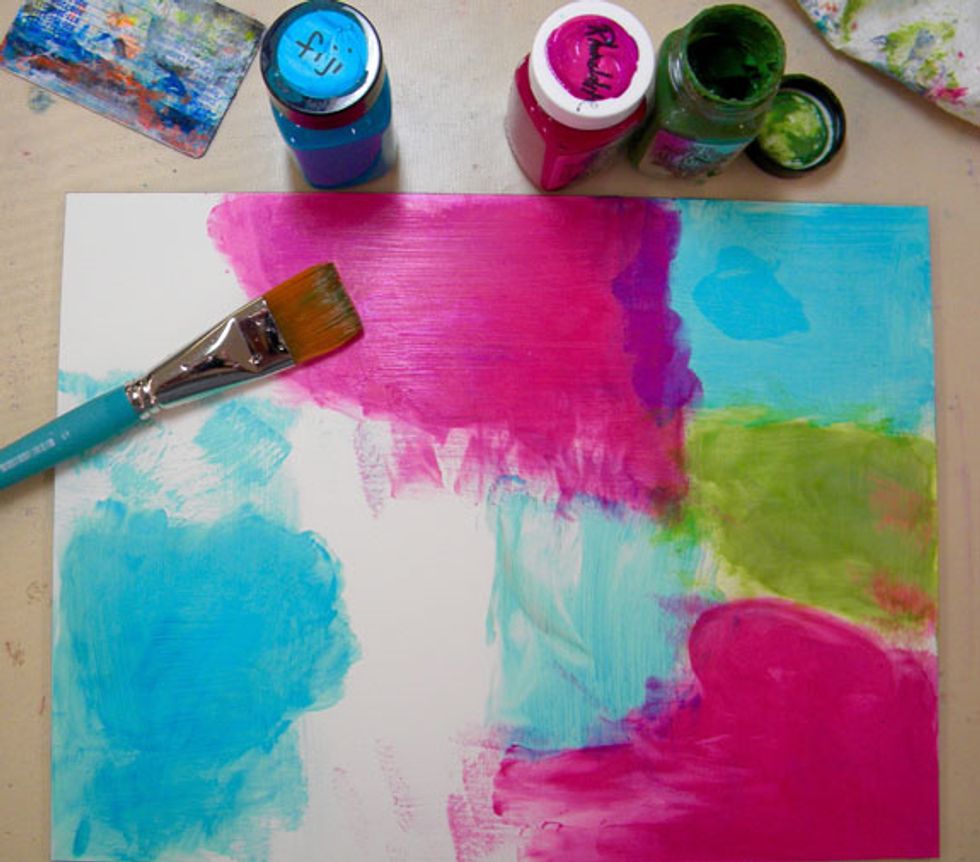
Paint large blocks randomly on the substrate using 3 or 4 colors.
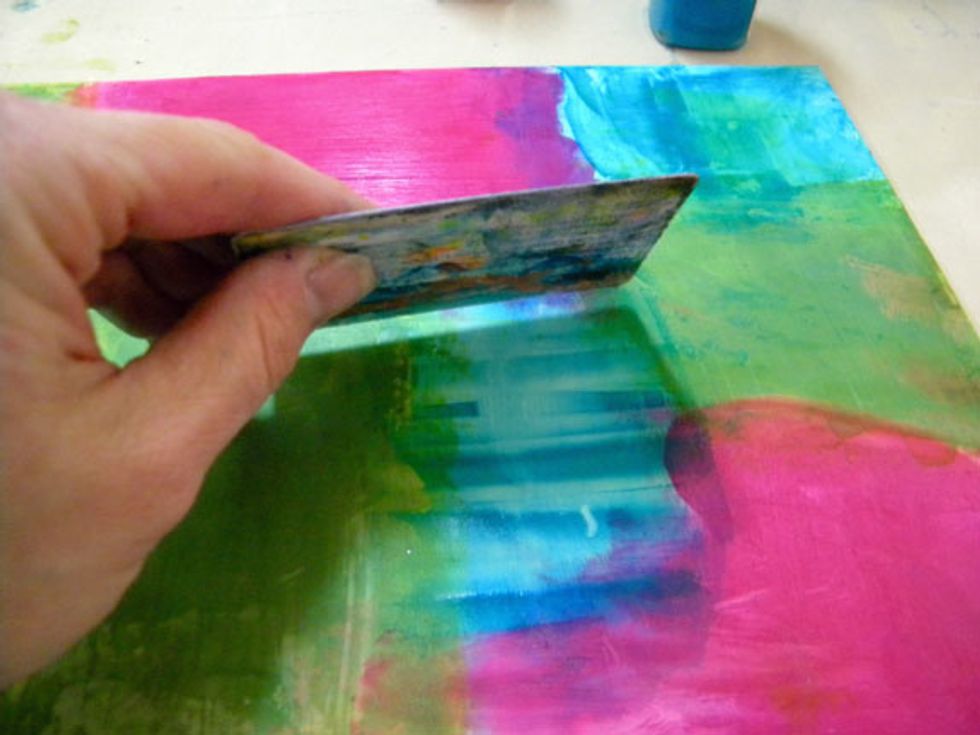
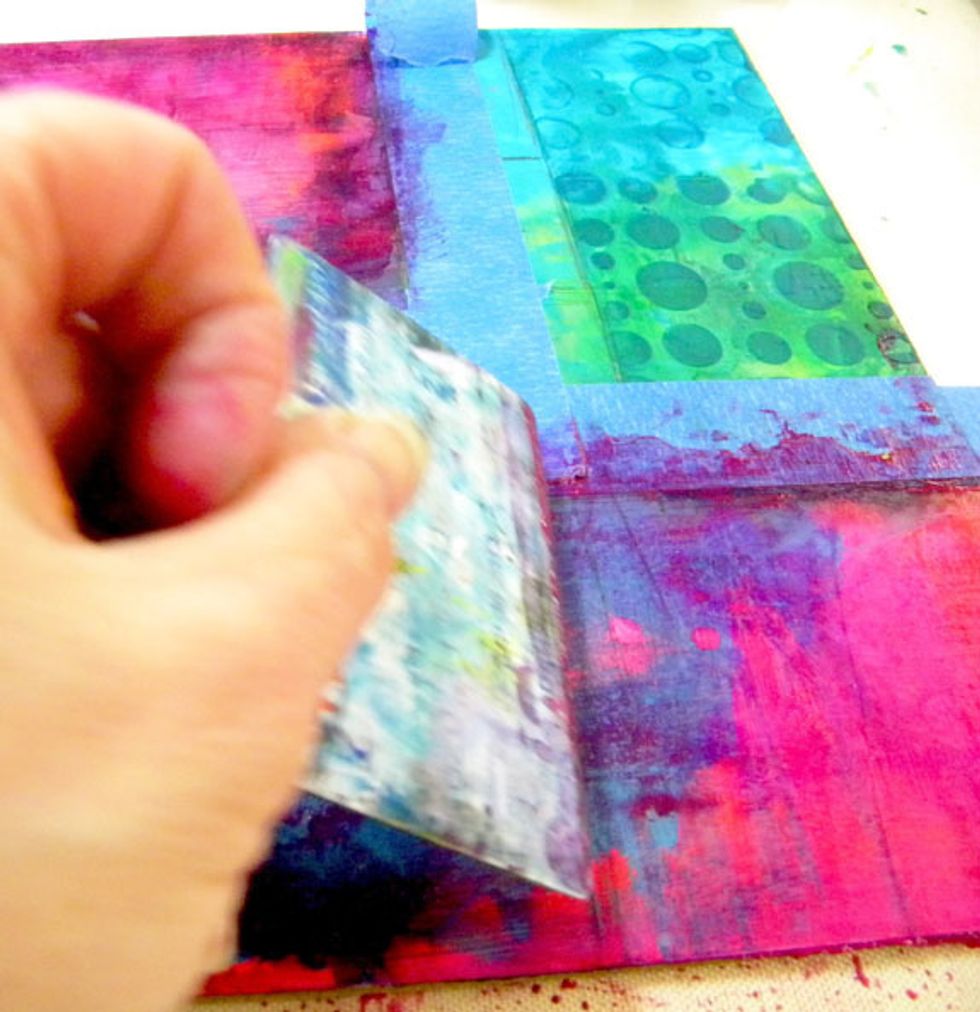
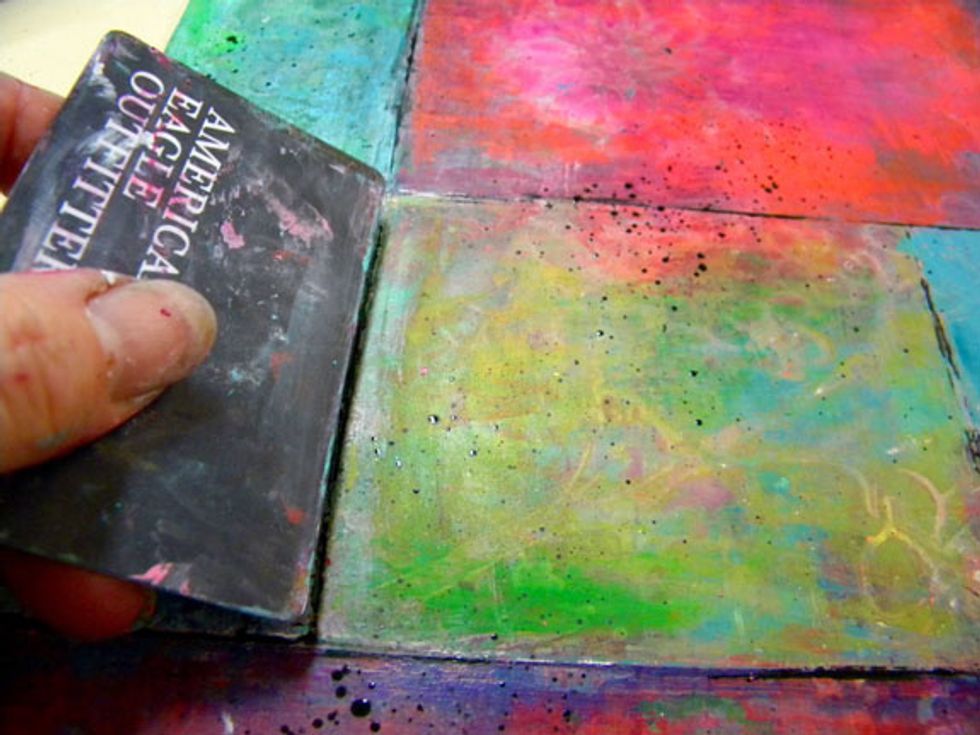
While paint is still wet, drag a key card through the blocks, overlapping the colors.
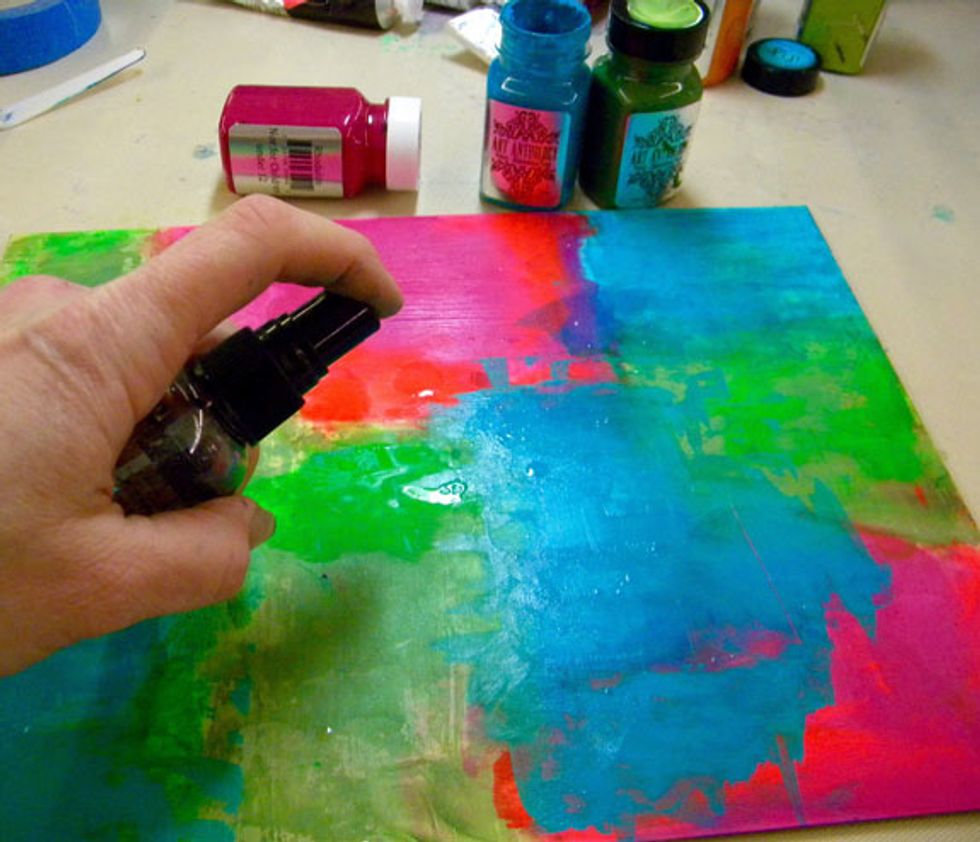
Spritz some water onto the paint and let it sit for a few minutes, then scrape over it with the key card.
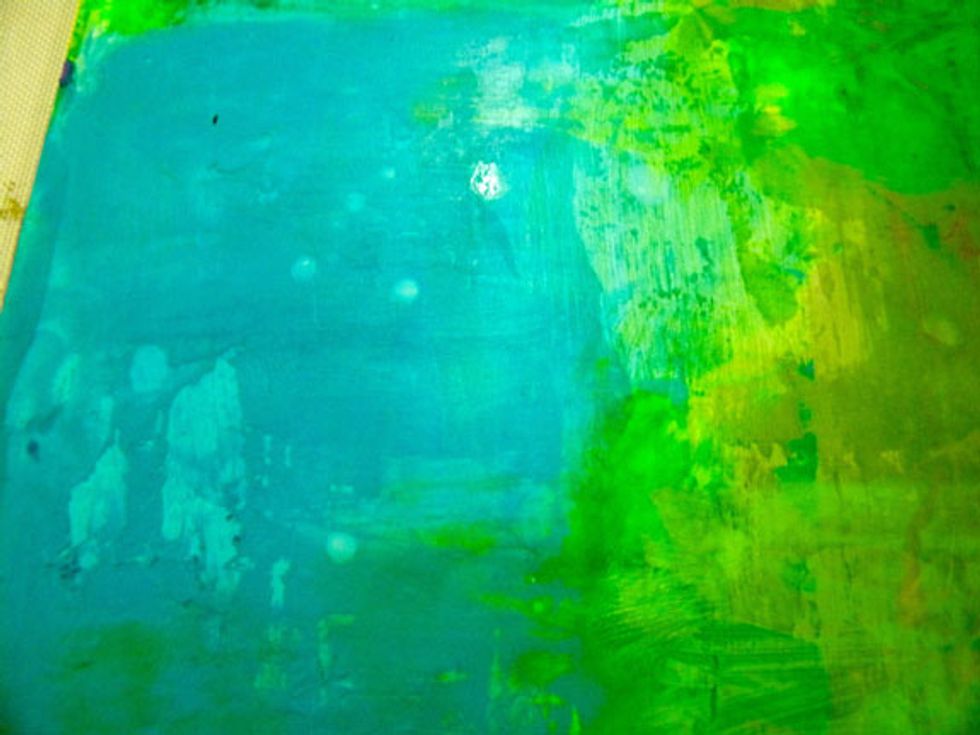
The water eats the paint away and leaves interesting marks. If the paint is dry, try using a heat gun on the water before scraping. Use this technique on all layers to reveal paint below.

Here is the project so far.
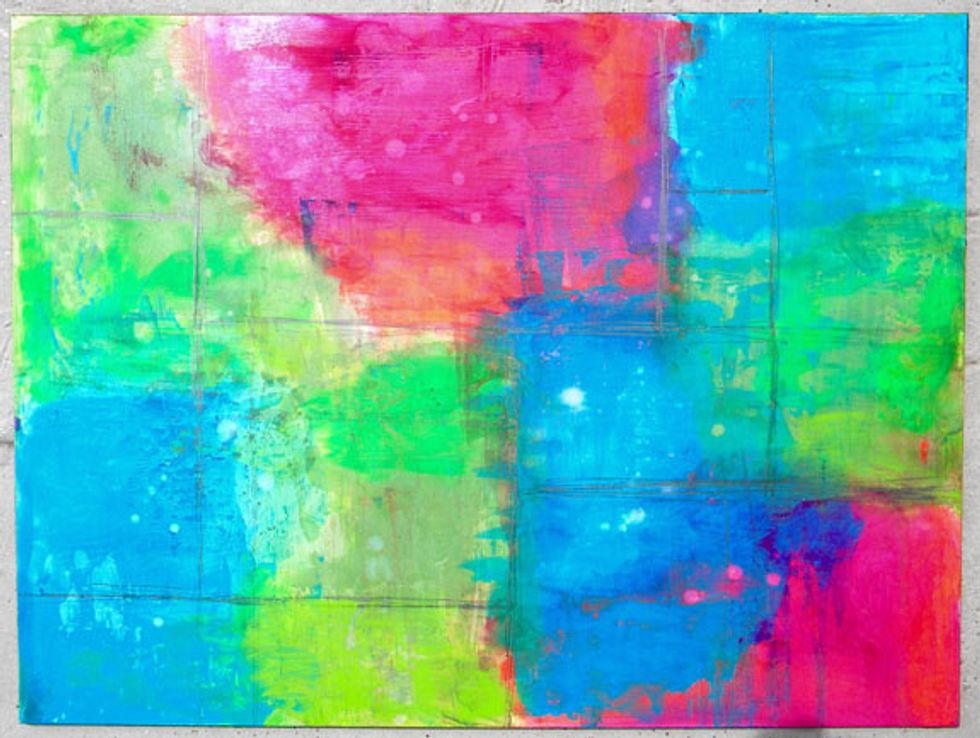
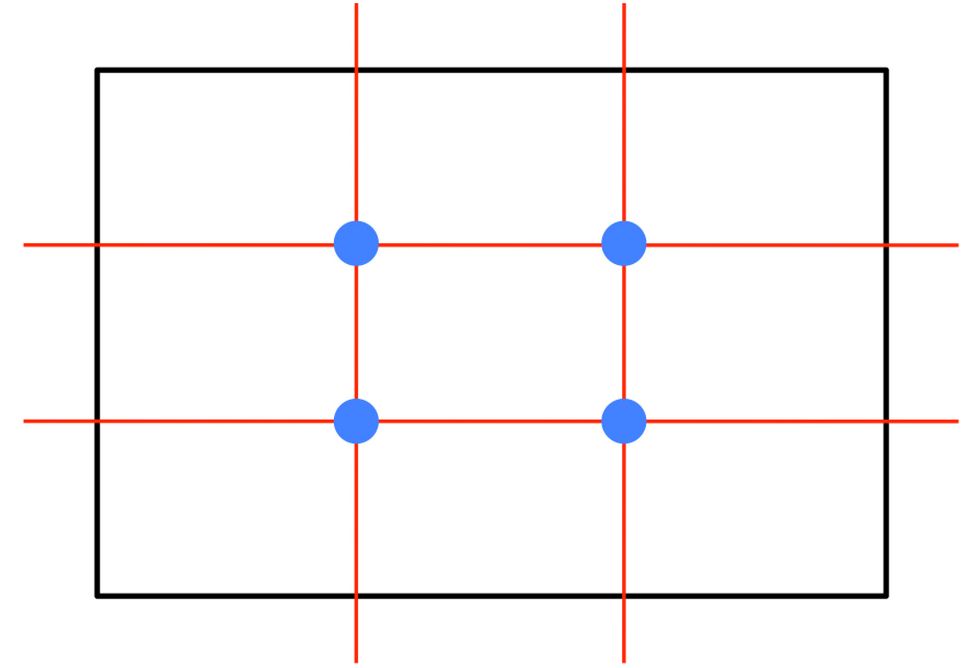
Using a pencil, start making blocks approximately where your color blocks are. The color blocks become the subject of this project so composition is important. I try to stick to the Rule of Thirds.
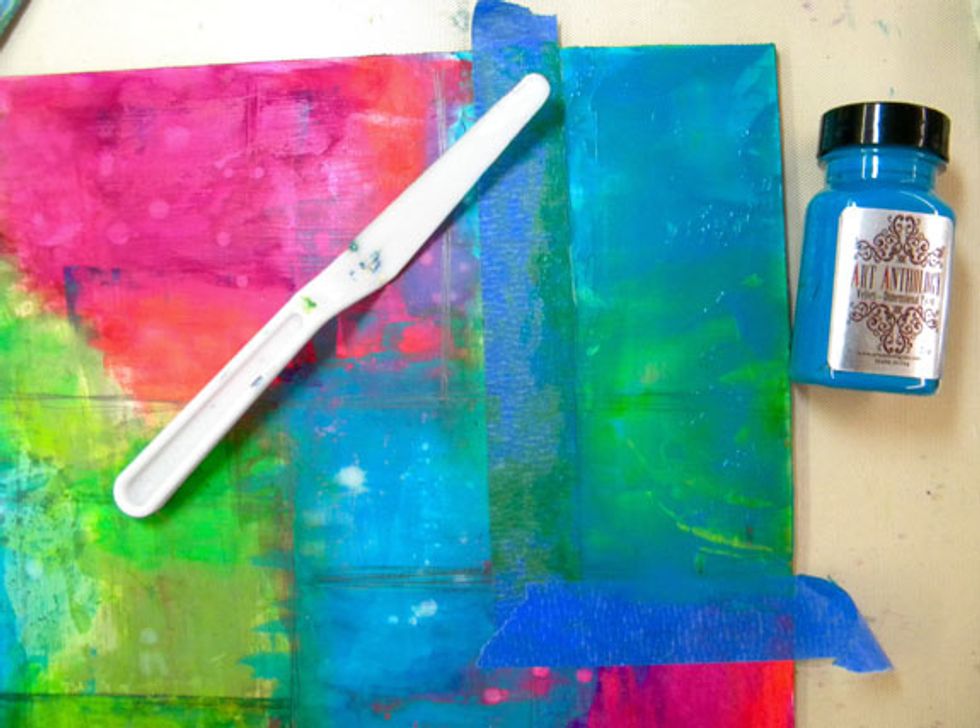
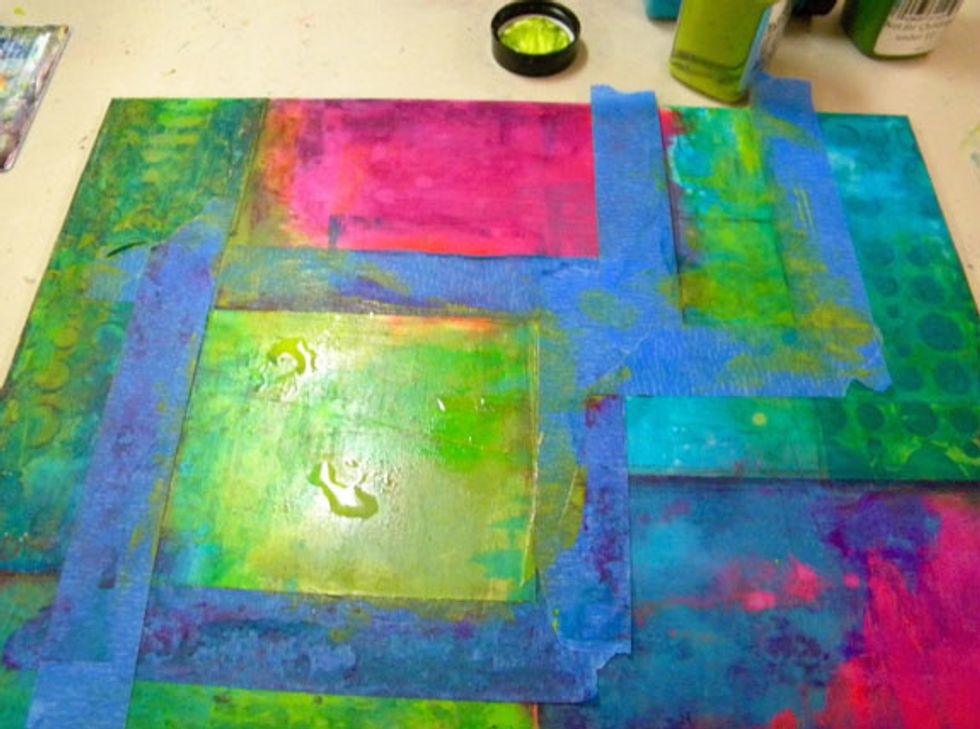
Now add the painter's tape to mask off one or two boxes. I added Baby Blue Eyes to the block that had some green and blue in it and let it sit for a minute, then scraped it off.
I kept adding colors to the boxes and scraping till I liked the effect. I tried to keep the cool colors and warm colors separate.
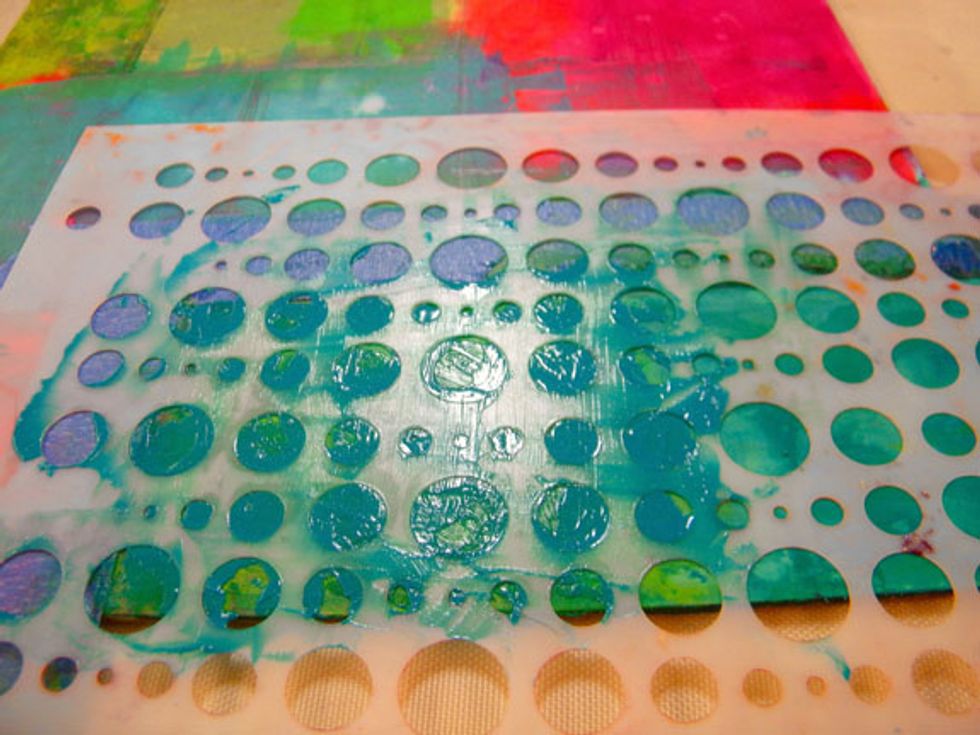
Next start adding stencils to the layers. I used Baby Blue Eyes with the Bubble stencil over one of the green boxes.
Move the tape around until all the boxes have lots of layers that you love. Make sure the paint is dry on one box before adding tape because it may pull the paint off. Not saying I did it..........
Don't forget to spray some water again on top of the layers of paint and heat it with a heat gun. Let it sit for a few minutes, then scrape it off. The more layers the better!
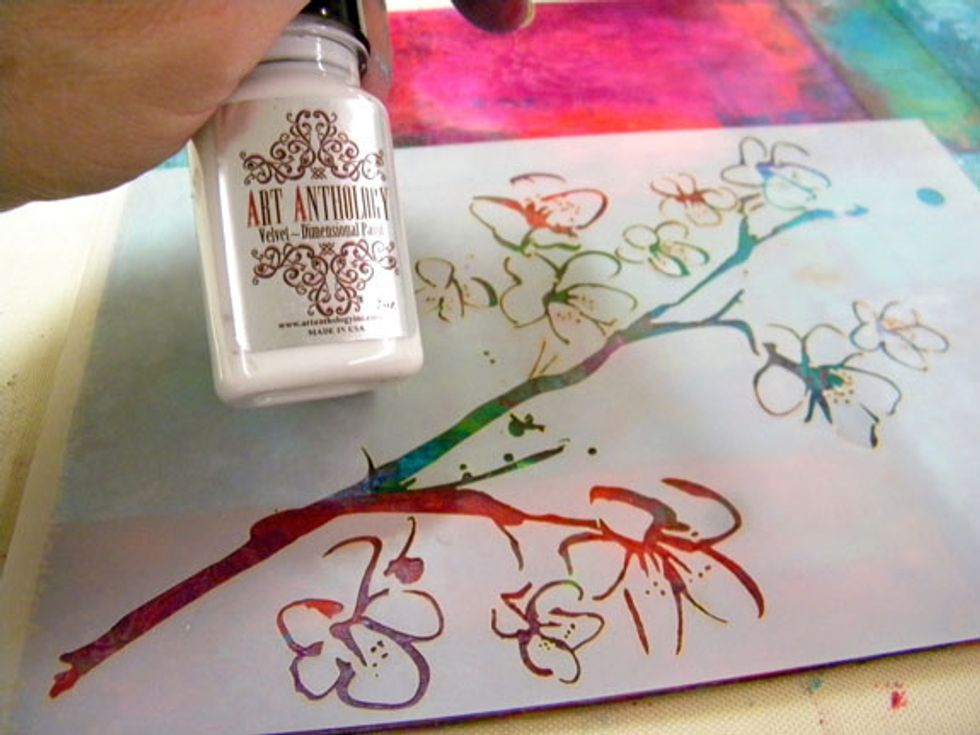
Use Cotton Velvet this time with the Blossom stencil on a few of the color blocks and let dry.
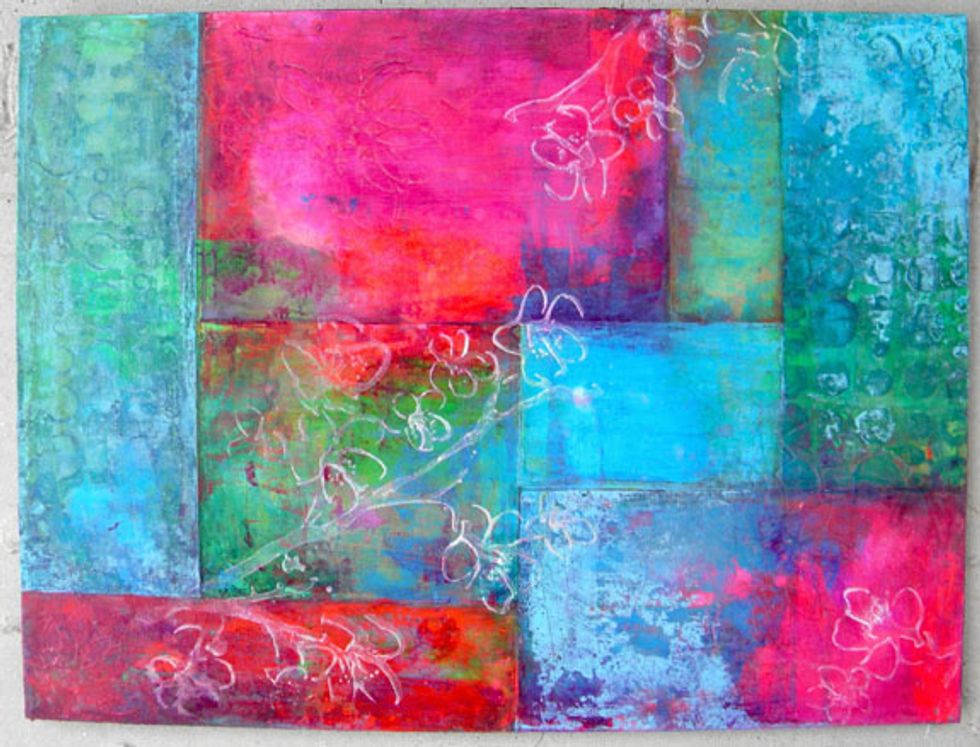
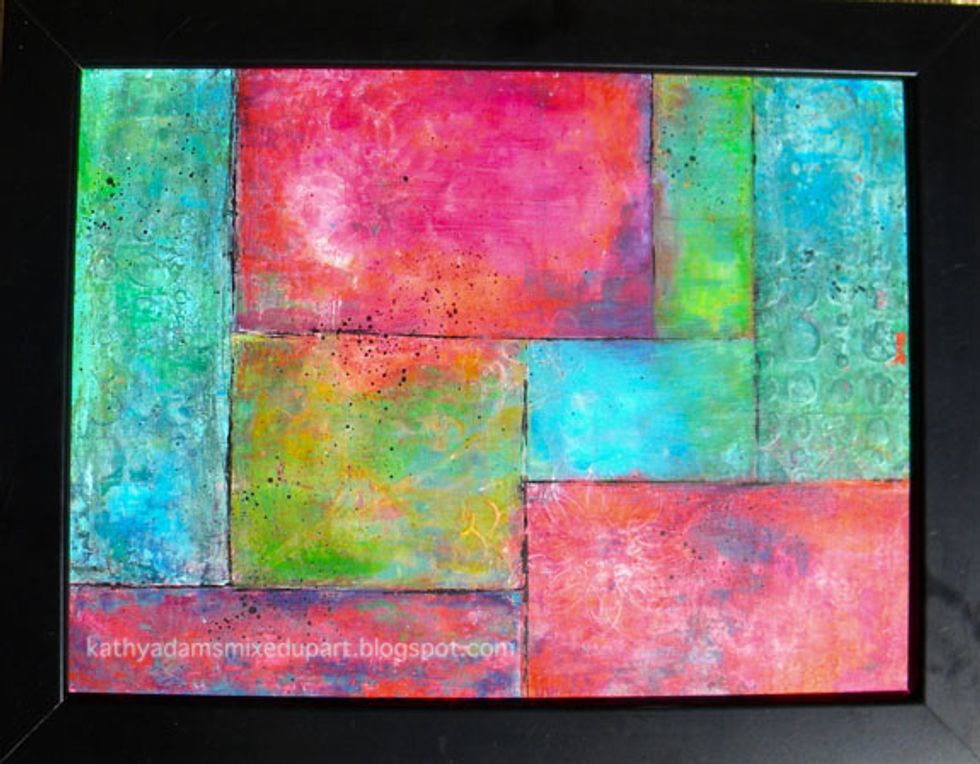
This is what it looks like so far. Using the painter's tape keeps the lines really crisp. If needed, sand the surface with fine sand paper to smooth out the transitions between blocks.
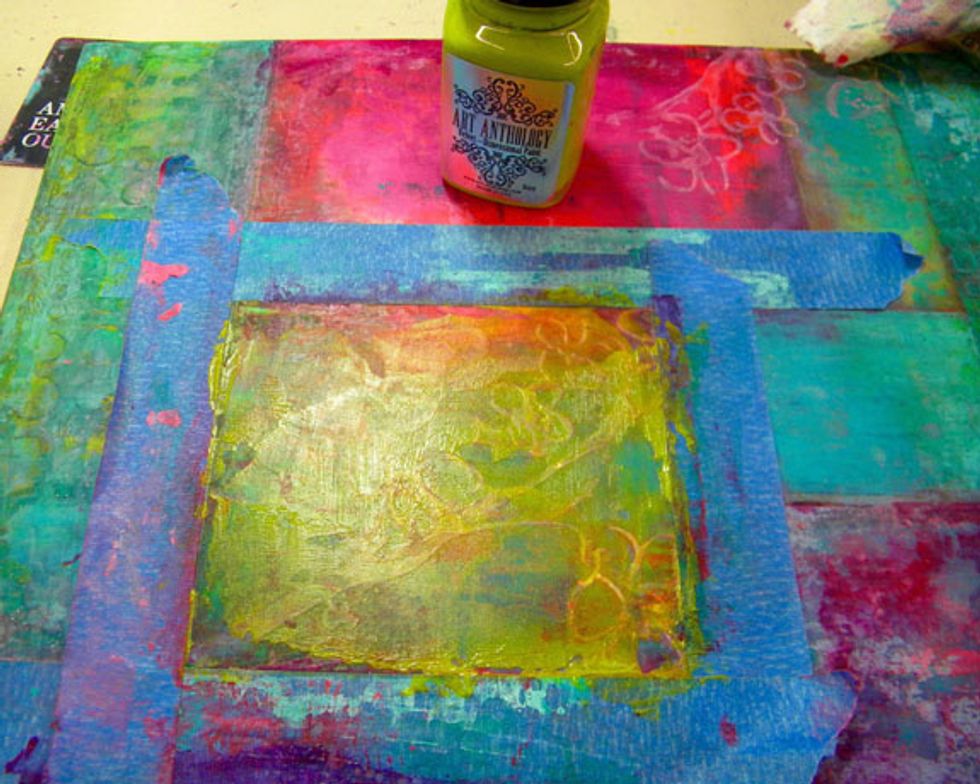
Mask off the boxes with the Blossom stencil and add more color to the top, scraping it off or using a baby wipe for a more subtle look. By adding and removing paint, you add depth to the painting.
When I finally had the color blocks the way I liked them, I took Tuxedo Sorbet and used the edge of my key card to make lines in between the boxes, trying to keep them thin and not so perfect.
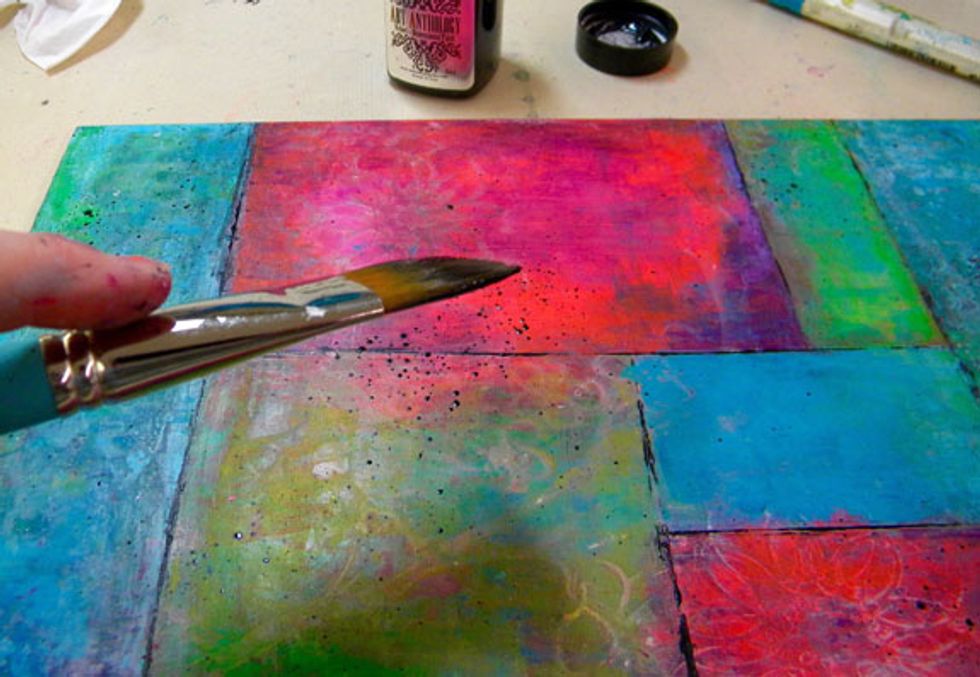
Add a bit of water to the Tuxedo and splatter it around randomly.
Using Art Anthology paints is perfect for this color blocking technique because they are transparent and allow the layers to show through. Why not try this fun and simple technique!