The Conversation (0)
Sign Up
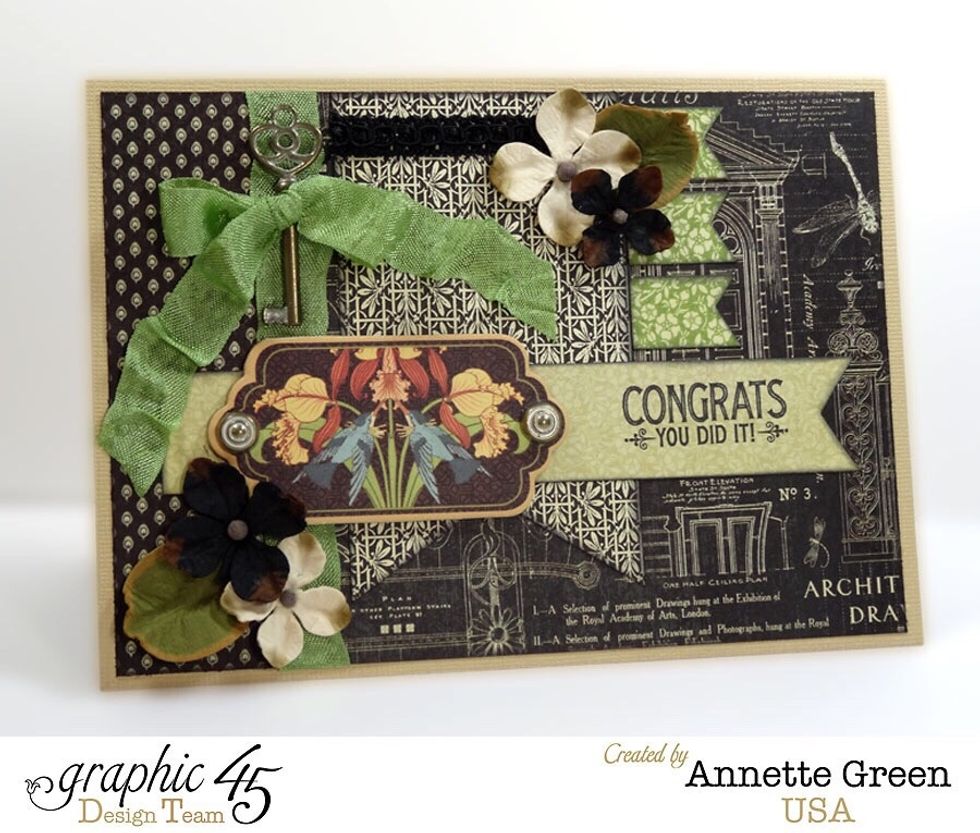
Let's make a 5" x 7" graduation card, good for male or female.
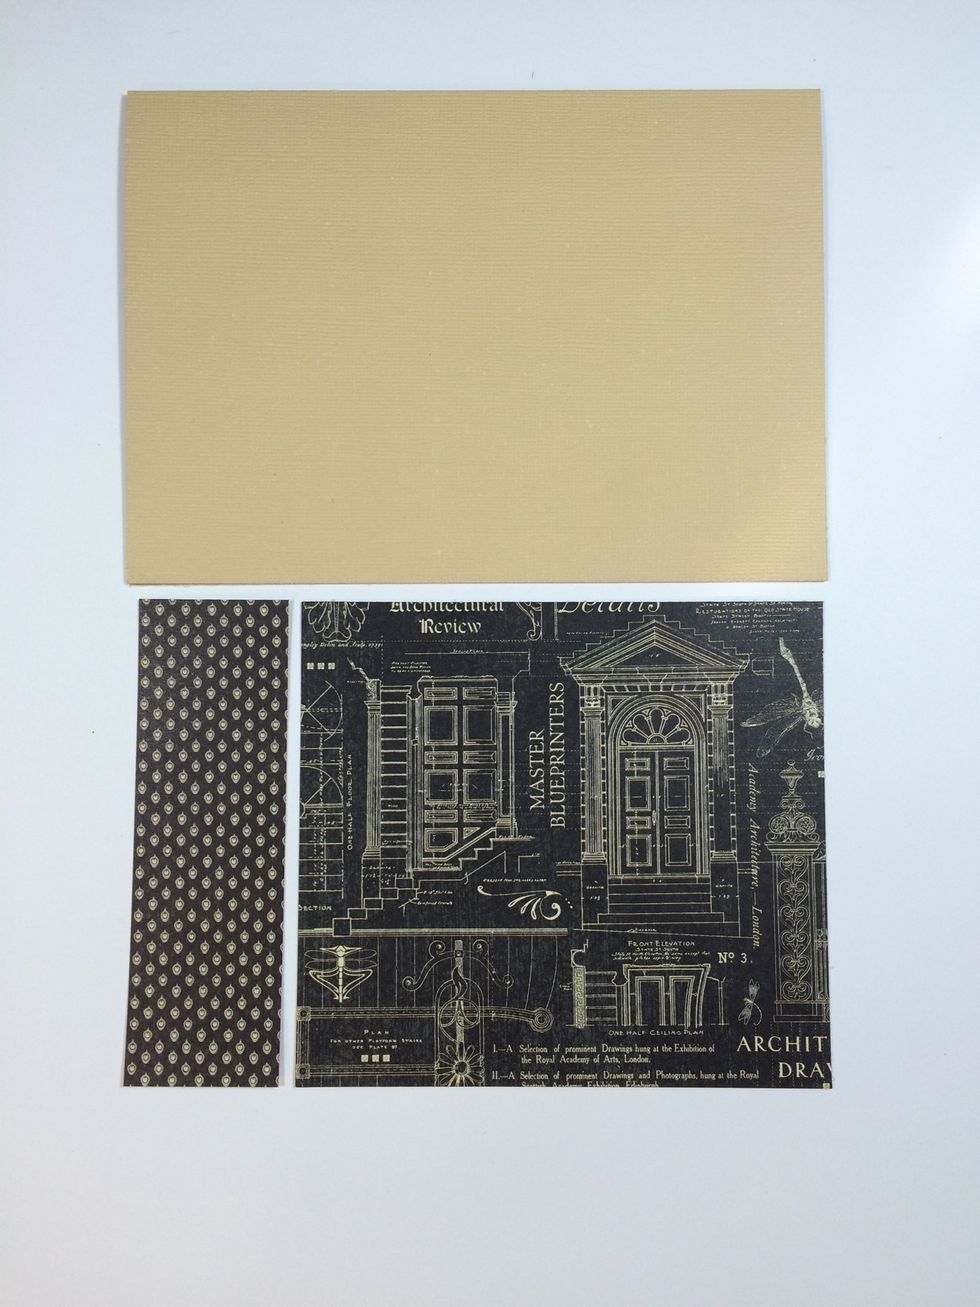
Start with a tan card base folded to a 5 x 7 card. Cut a 1 7/8" x 4 3/4" piece of black print from the 6 x 6 pad. Cut a 4 3/4" square from Craftsmanship paper from the 8 x 8 pad.
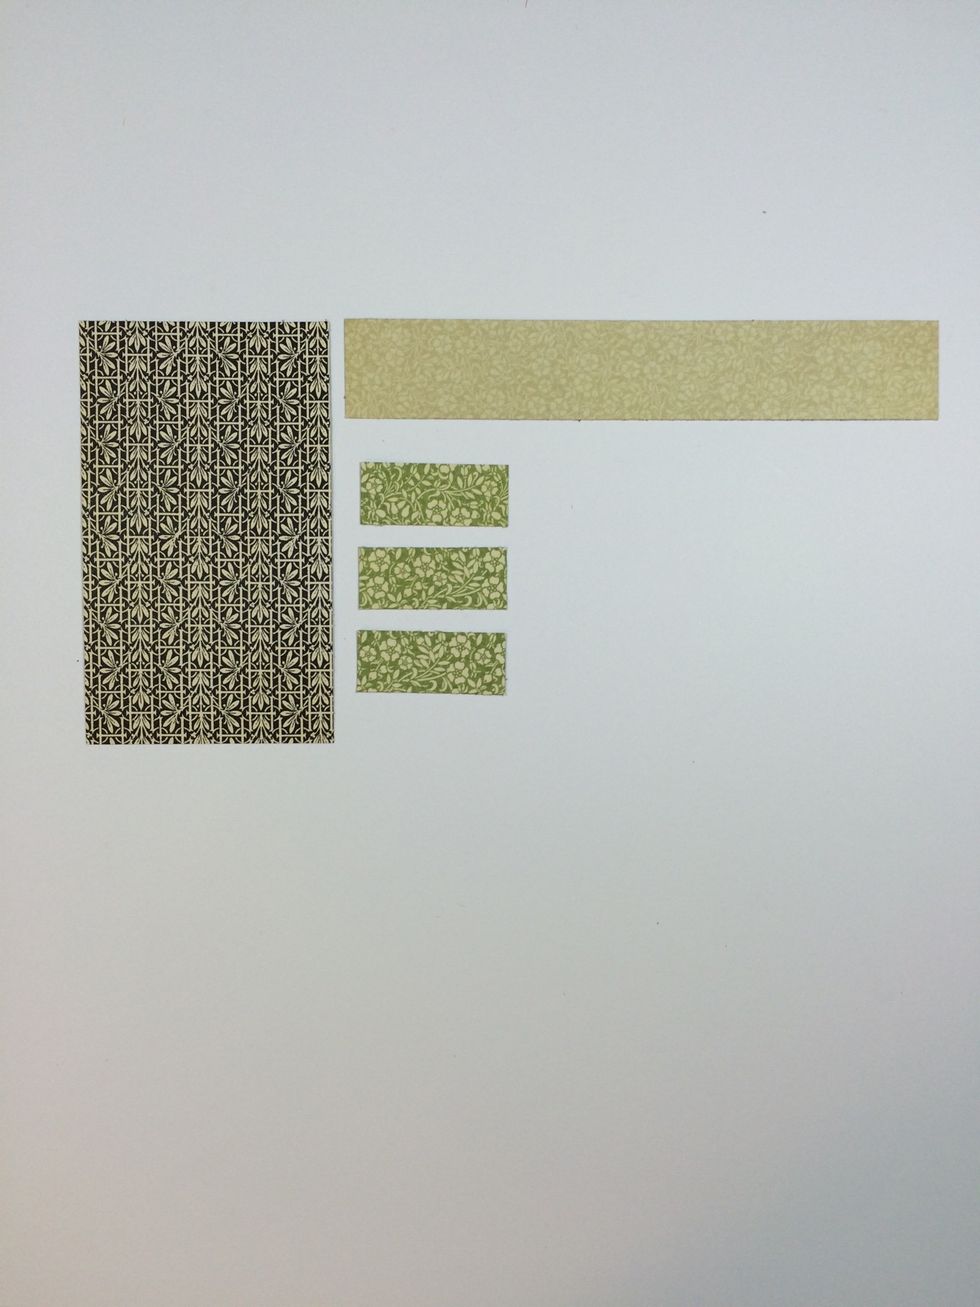
From This Old House paper, cut a 2 1/2" x 4" piece. From Creative Ideal paper, cut a 6" x 3/4" strip, then cut 3 green floral pieces from the 6 x 6 pad at 1" x 1/2" each.
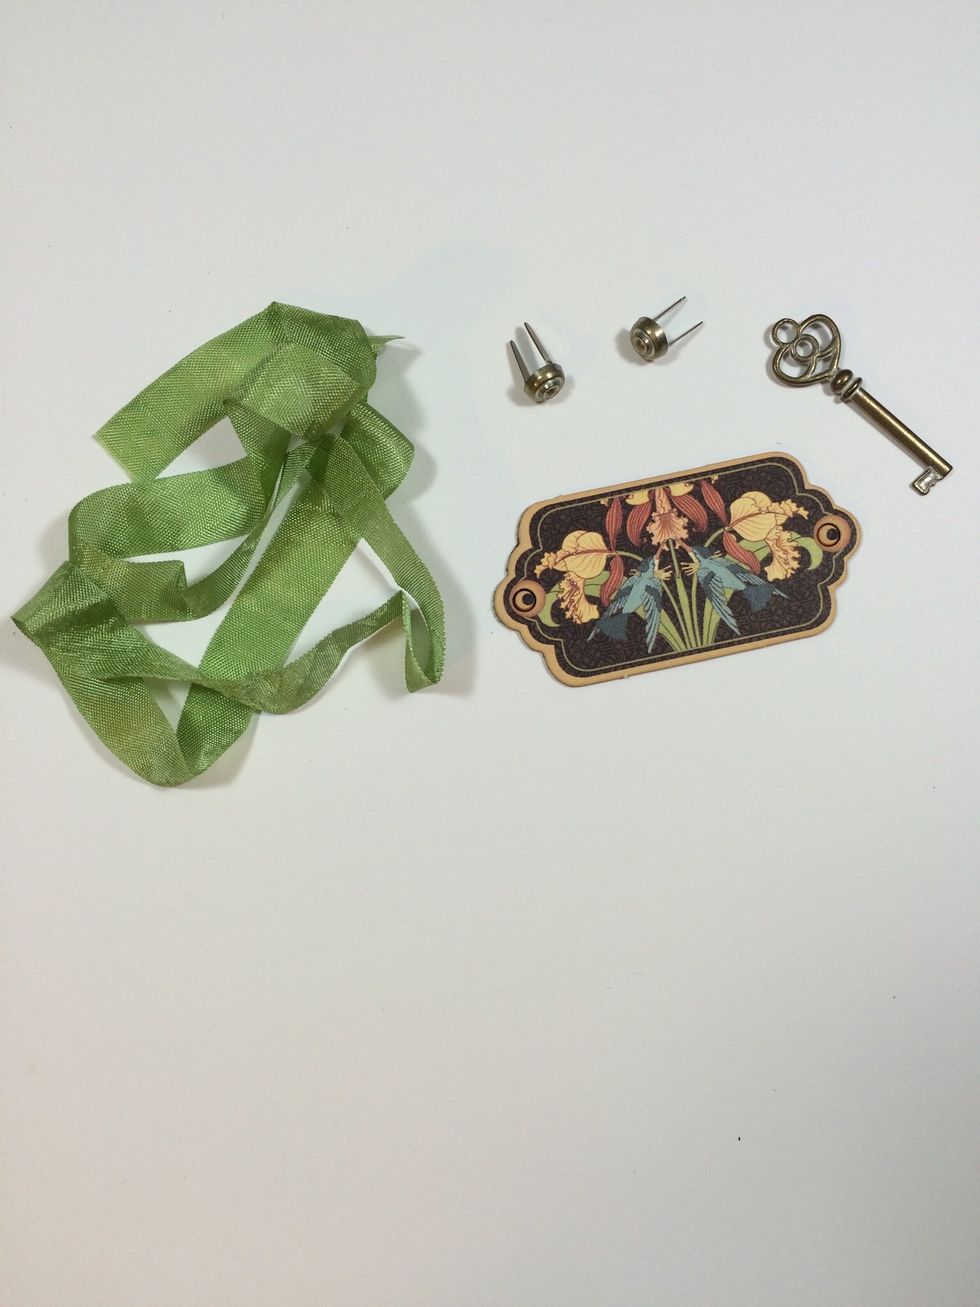
Gather your embellishments from the supply list. Cut the olive wrinkle ribbon into two pieces: 6" and 12"
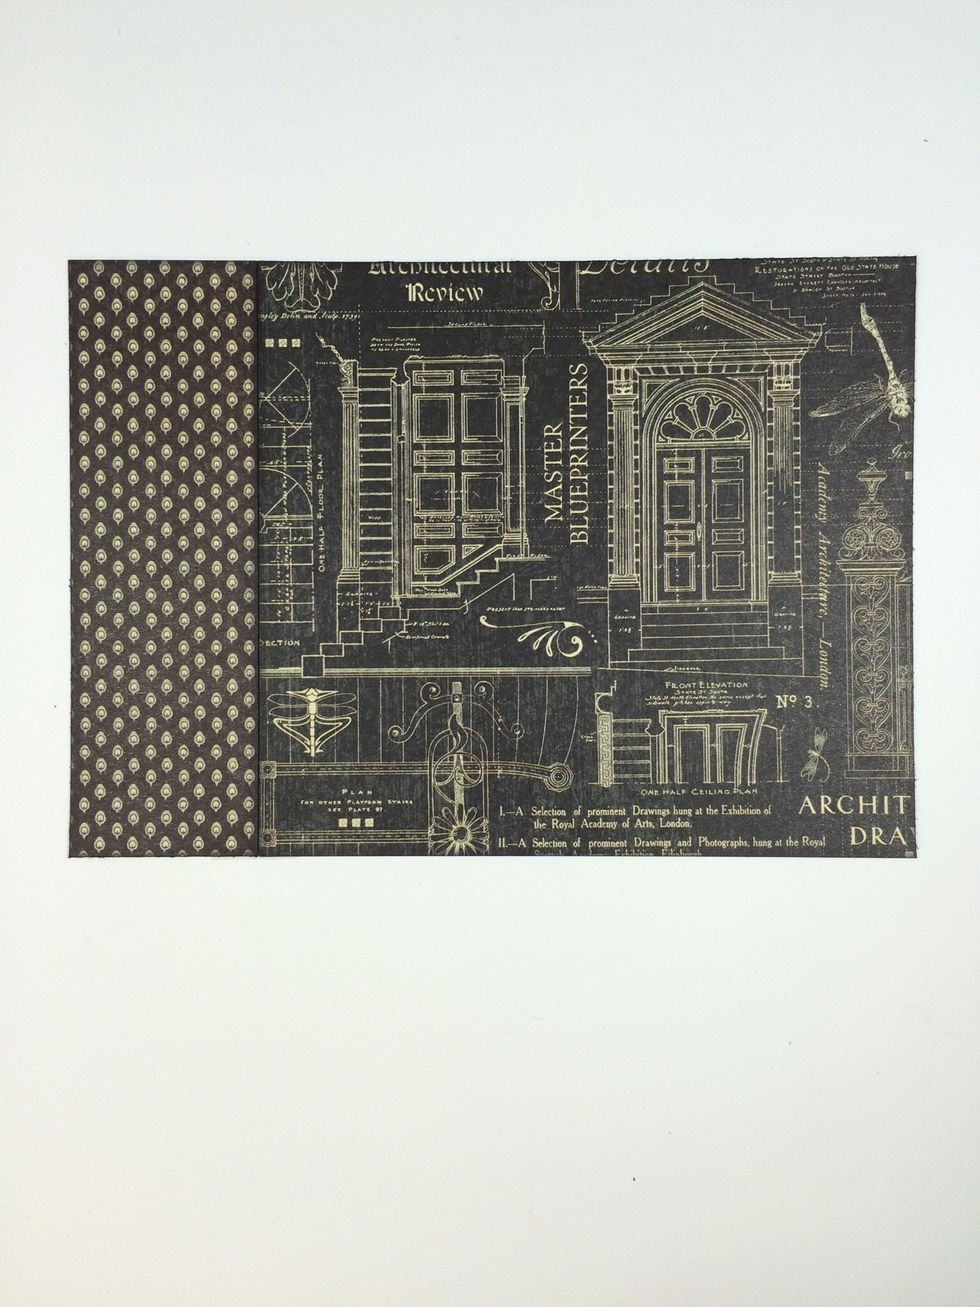
Tape these two papers together on the back side with clear tape so they are flush. (Note: I've inked the edges of all my papers with black ink.)
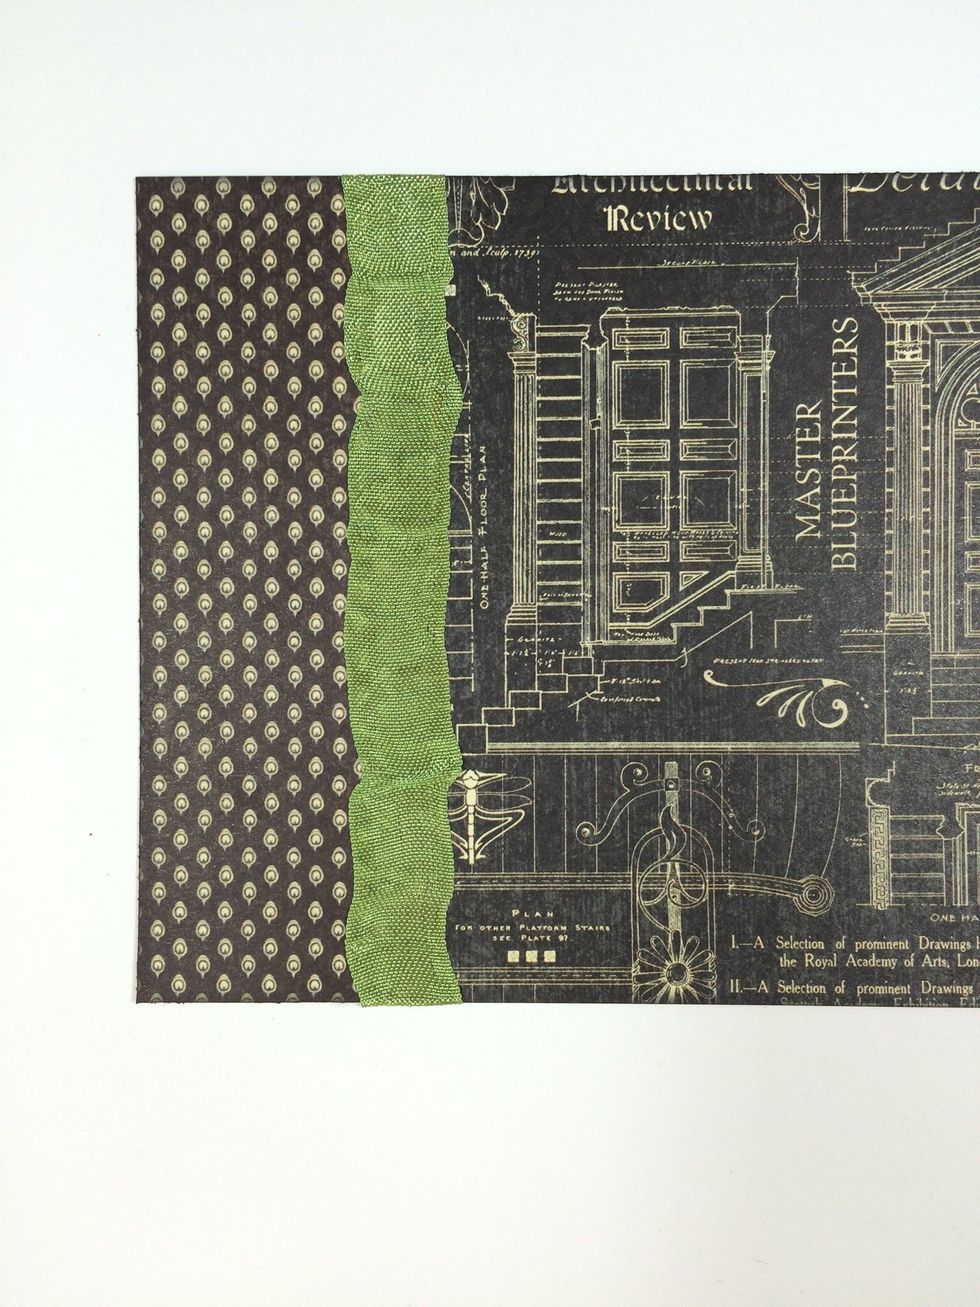
Adhere the 6" ribbon across the seams of the papers and fold over to the back side. I adhered mine loosely, scrunching a little as I went along. This is optional.
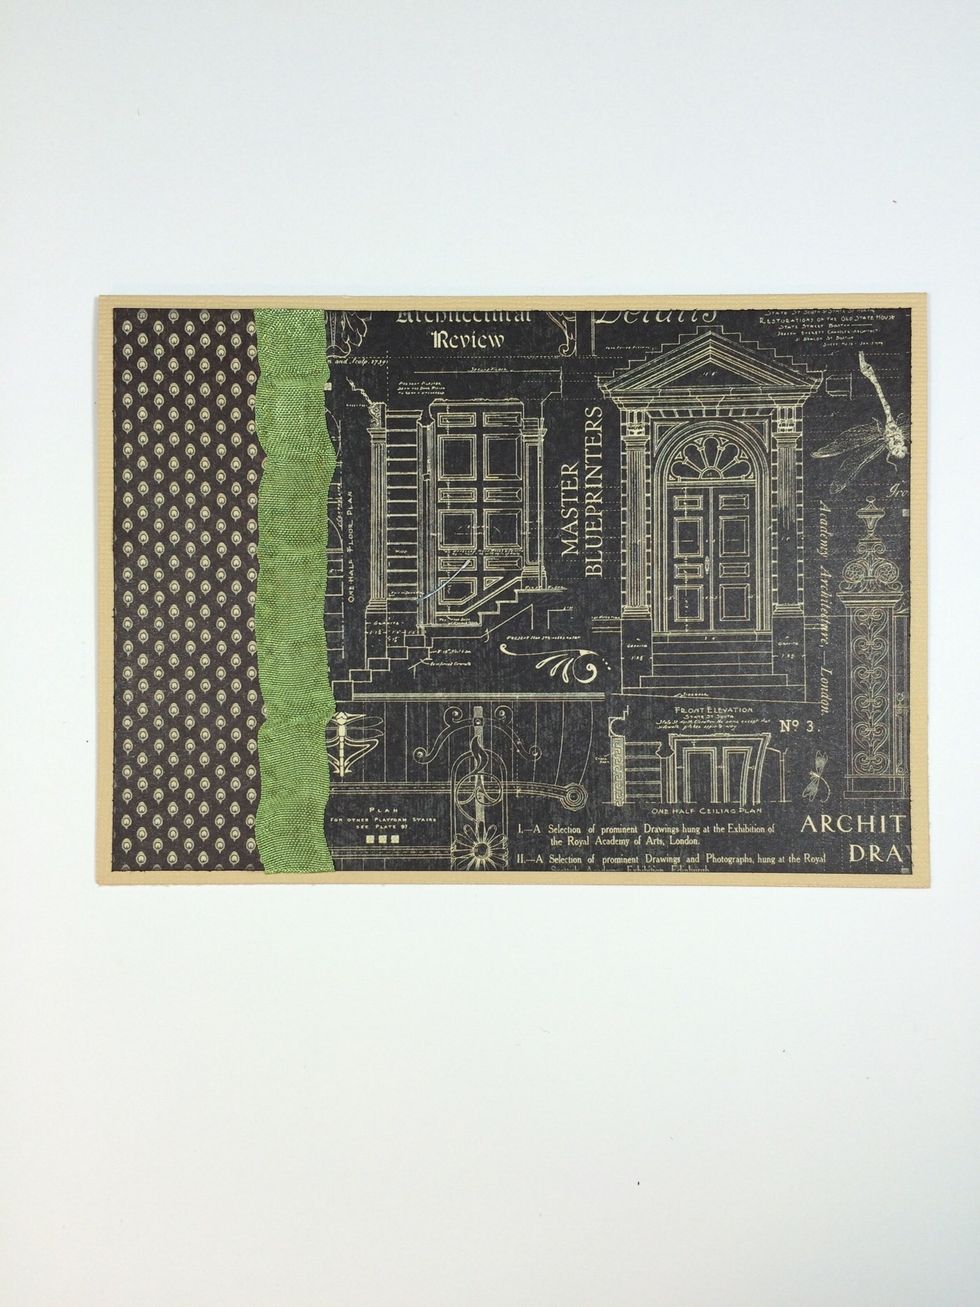
Adhere this unit to the card base.

Snip a "V" into these paper pieces as shown. Ink edges, if desired.
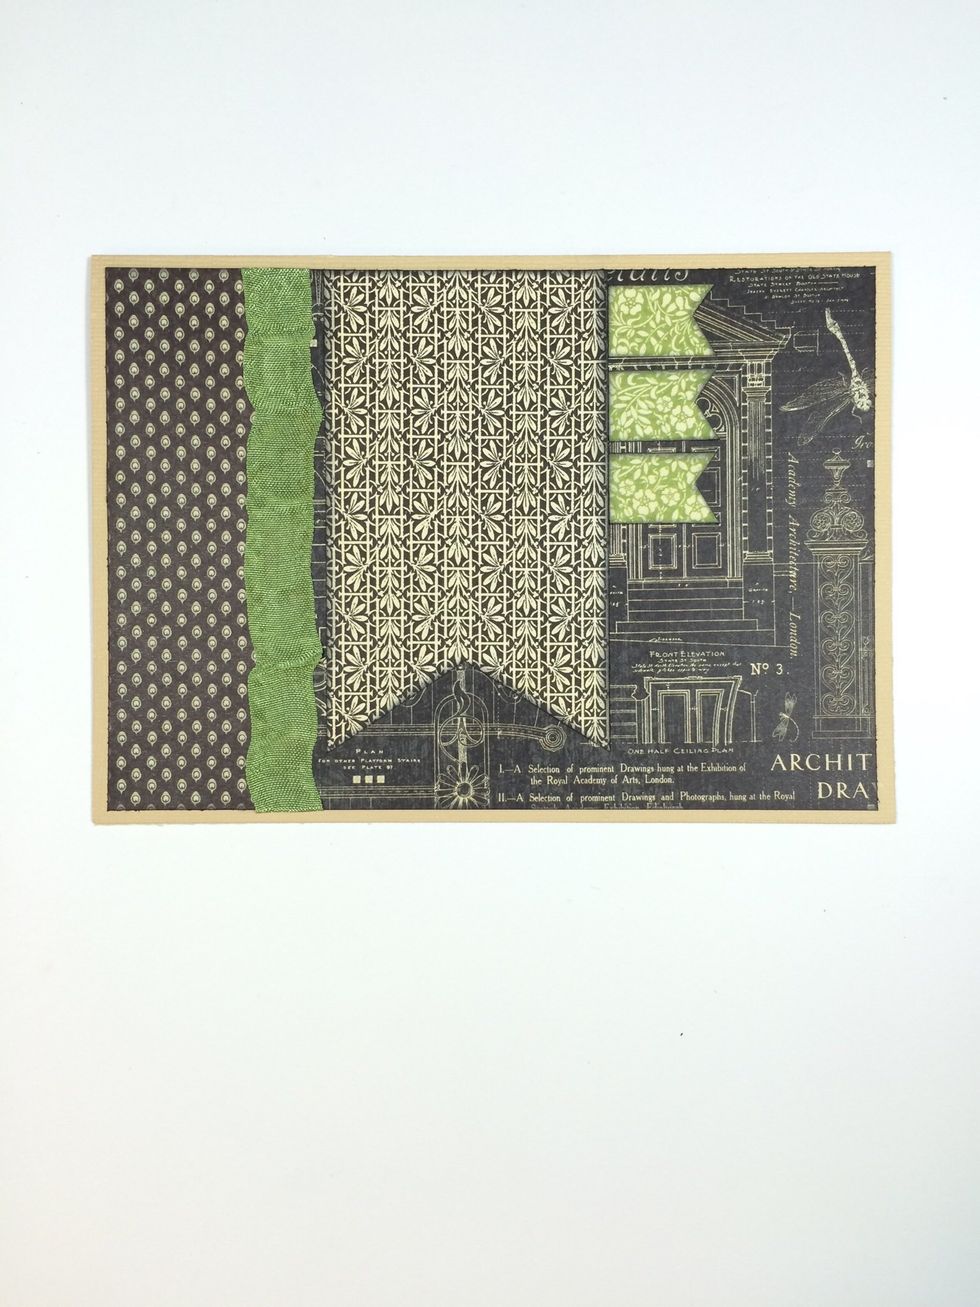
Adhere these pieces to your card.
Now we'll stamp. But we don't want that border around the words...
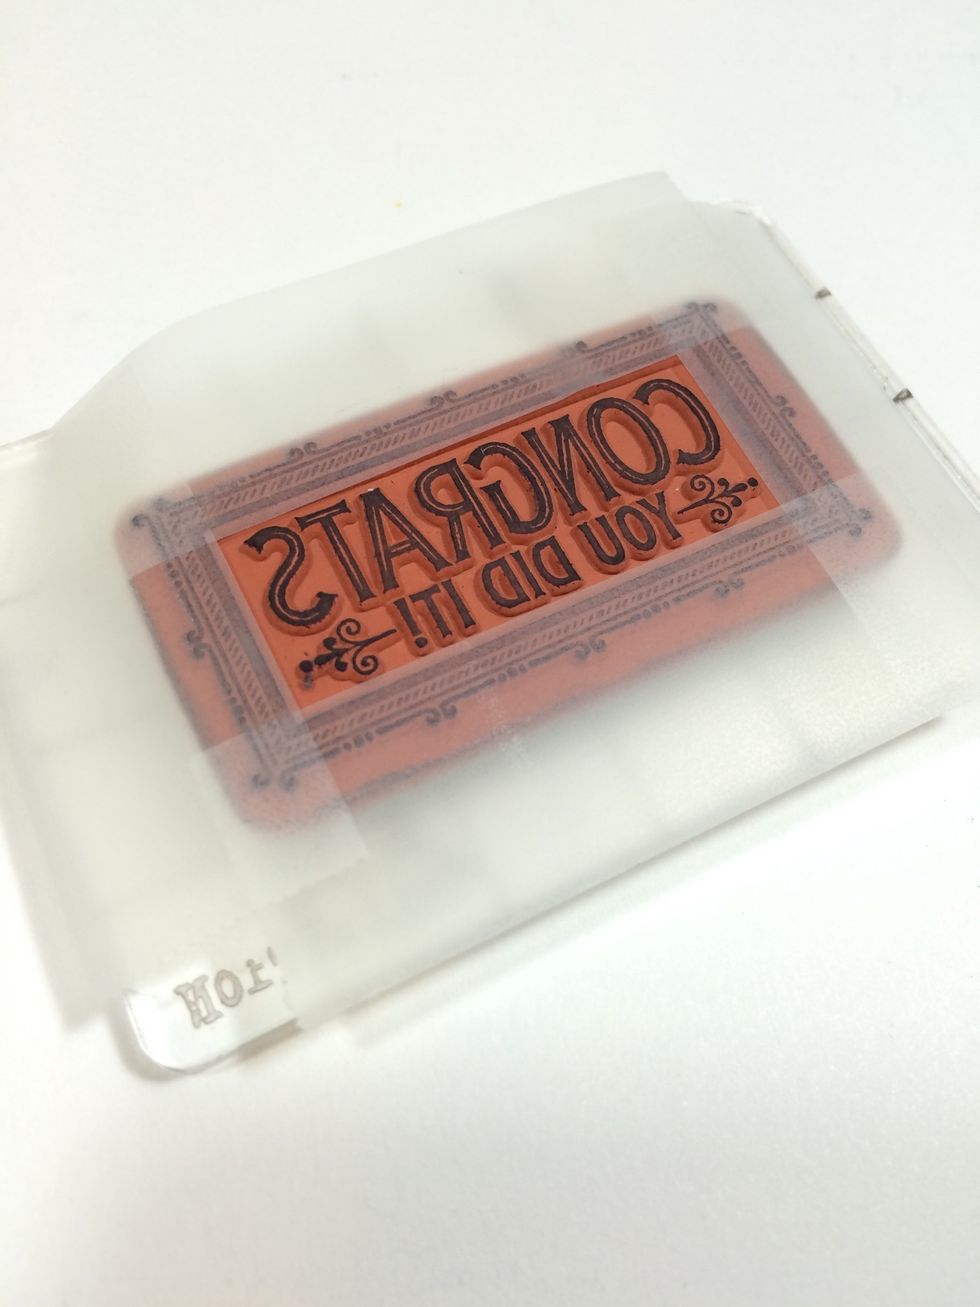
Cling the stamp to a block or grid, then place some removable scotch tape over the border.

Ink up the stamp with black ink.
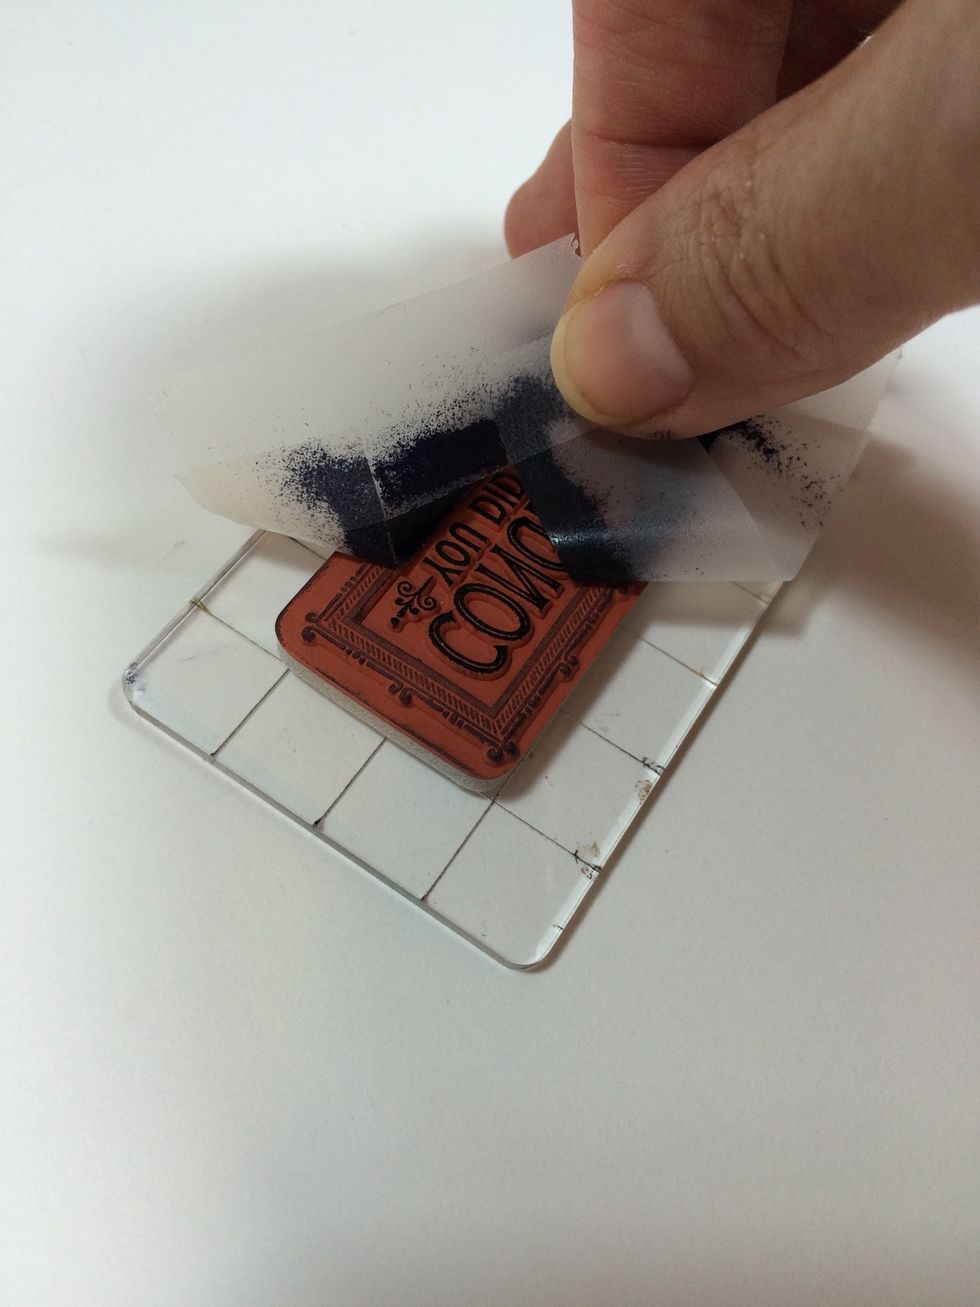
Remove the tape.
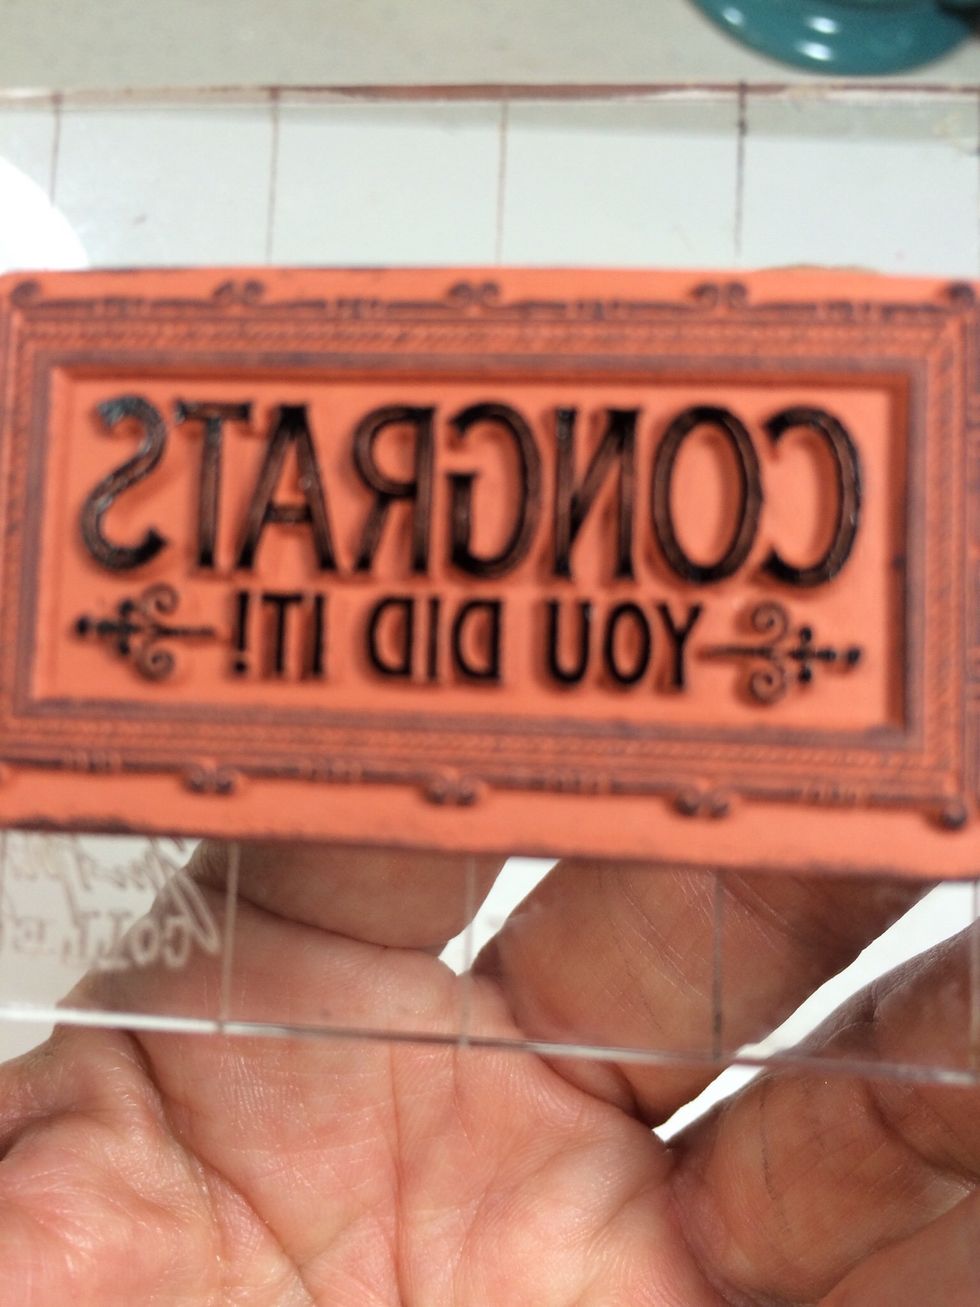
Now just the words have ink, not the border.
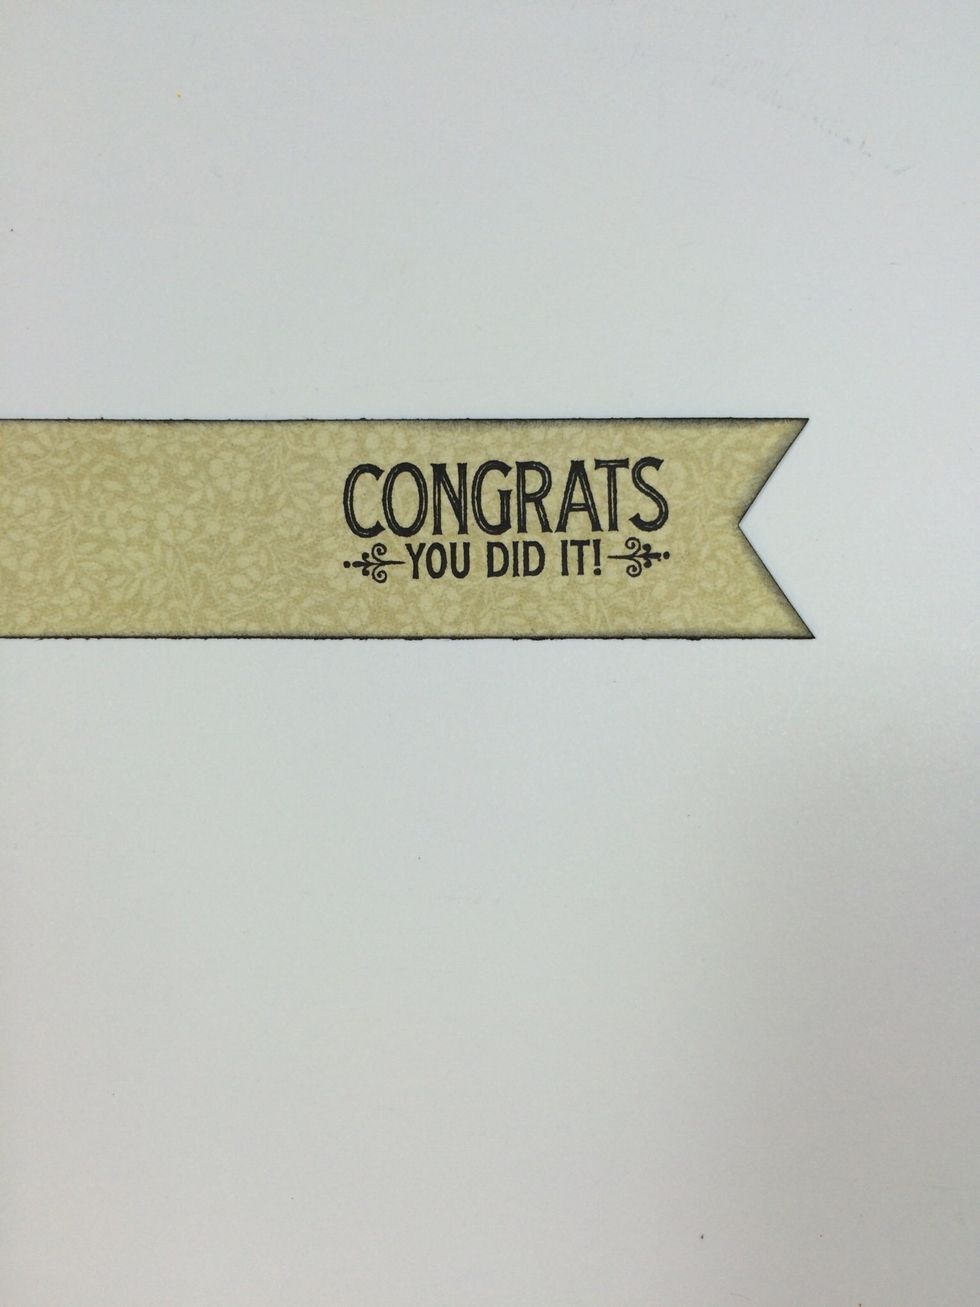
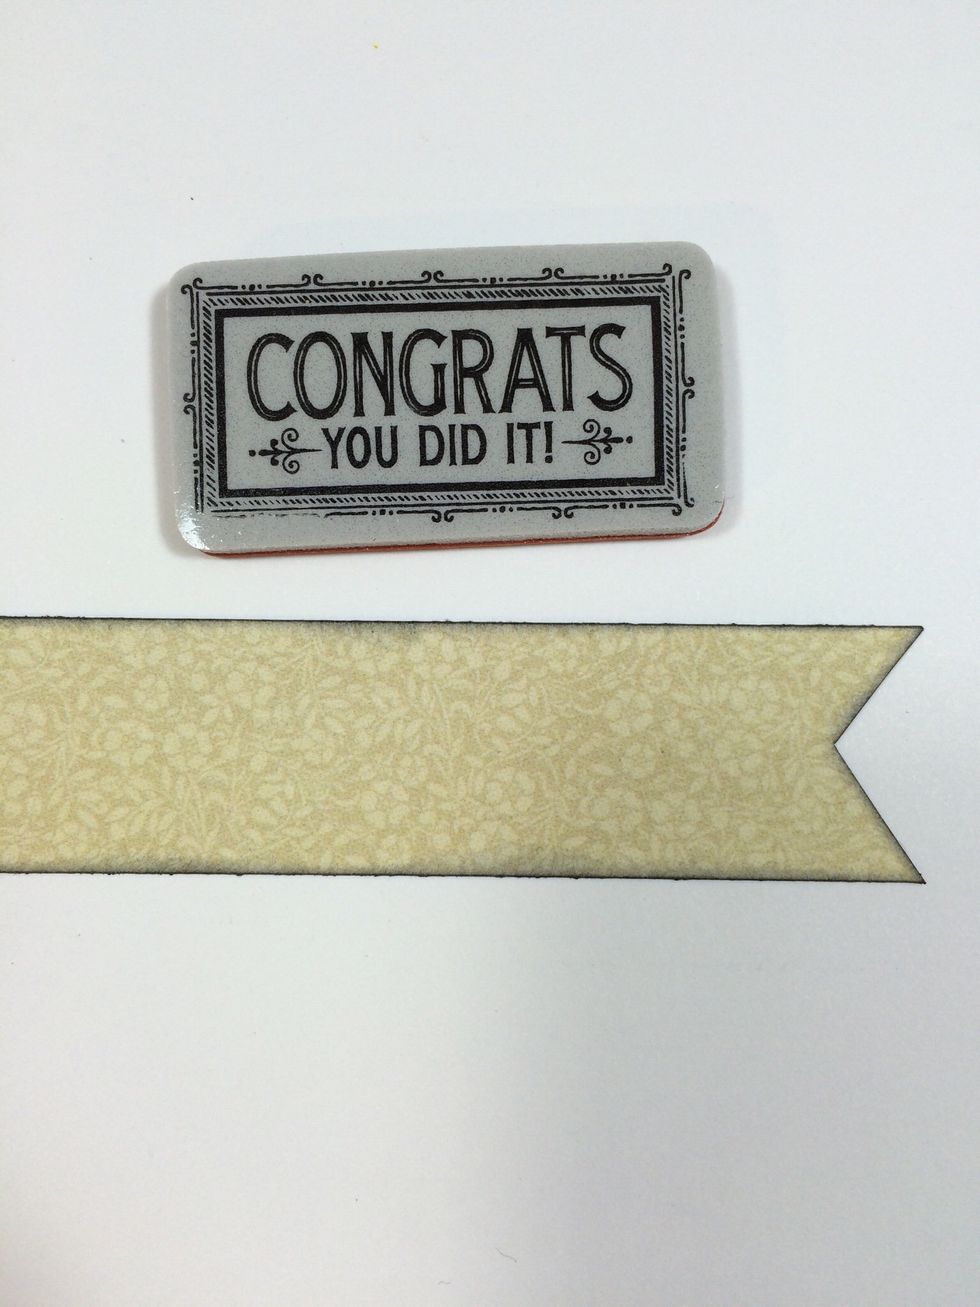
Stamp onto the paper strip, far right.
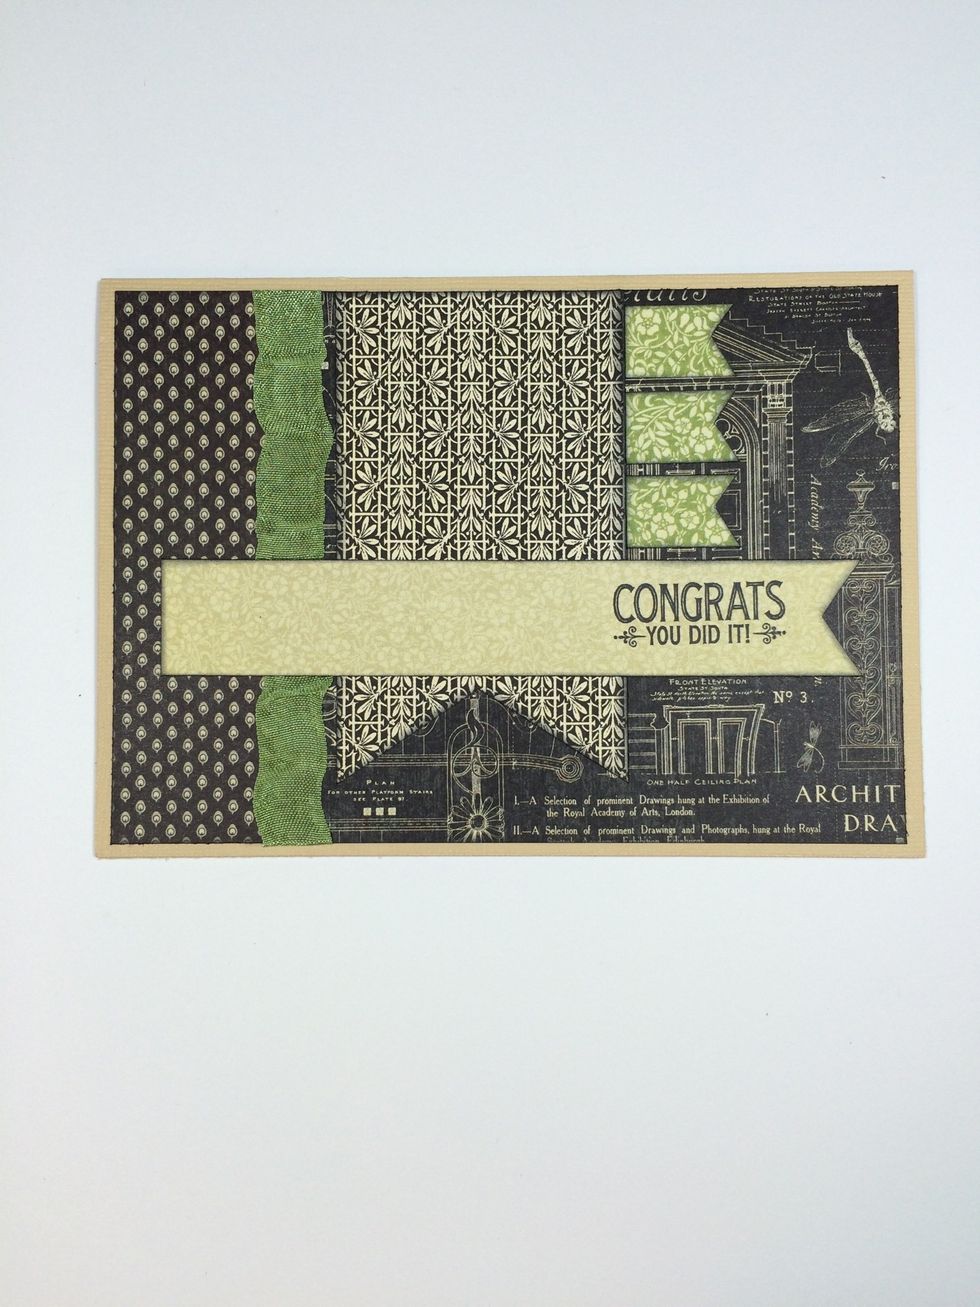
Adhere to card. I popped this up with foam tape for added dimension.
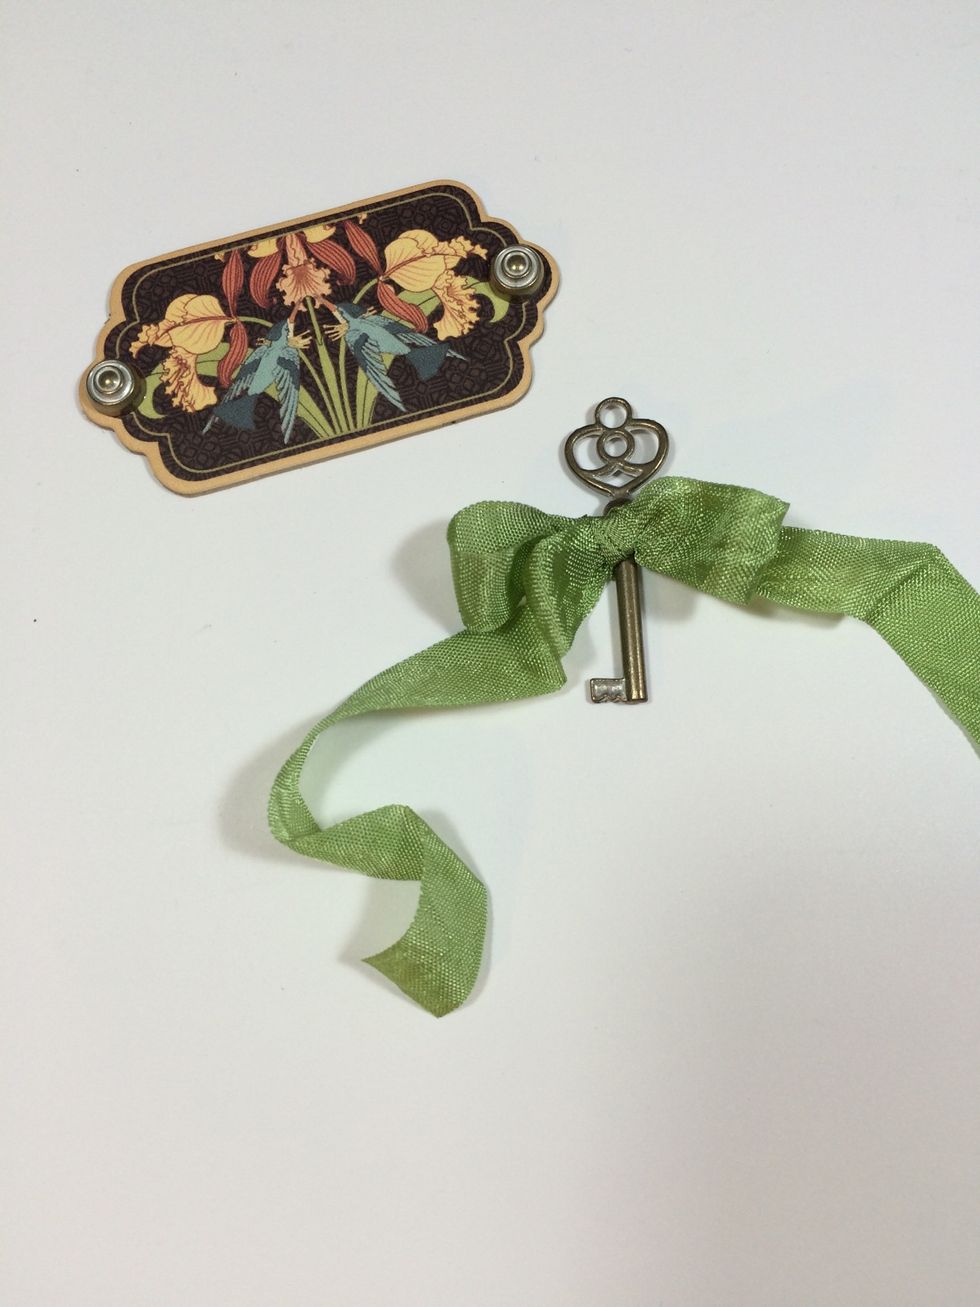
Insert the brads into the chipboard piece on each end. Tie the 12" ribbon around a key into a bow.
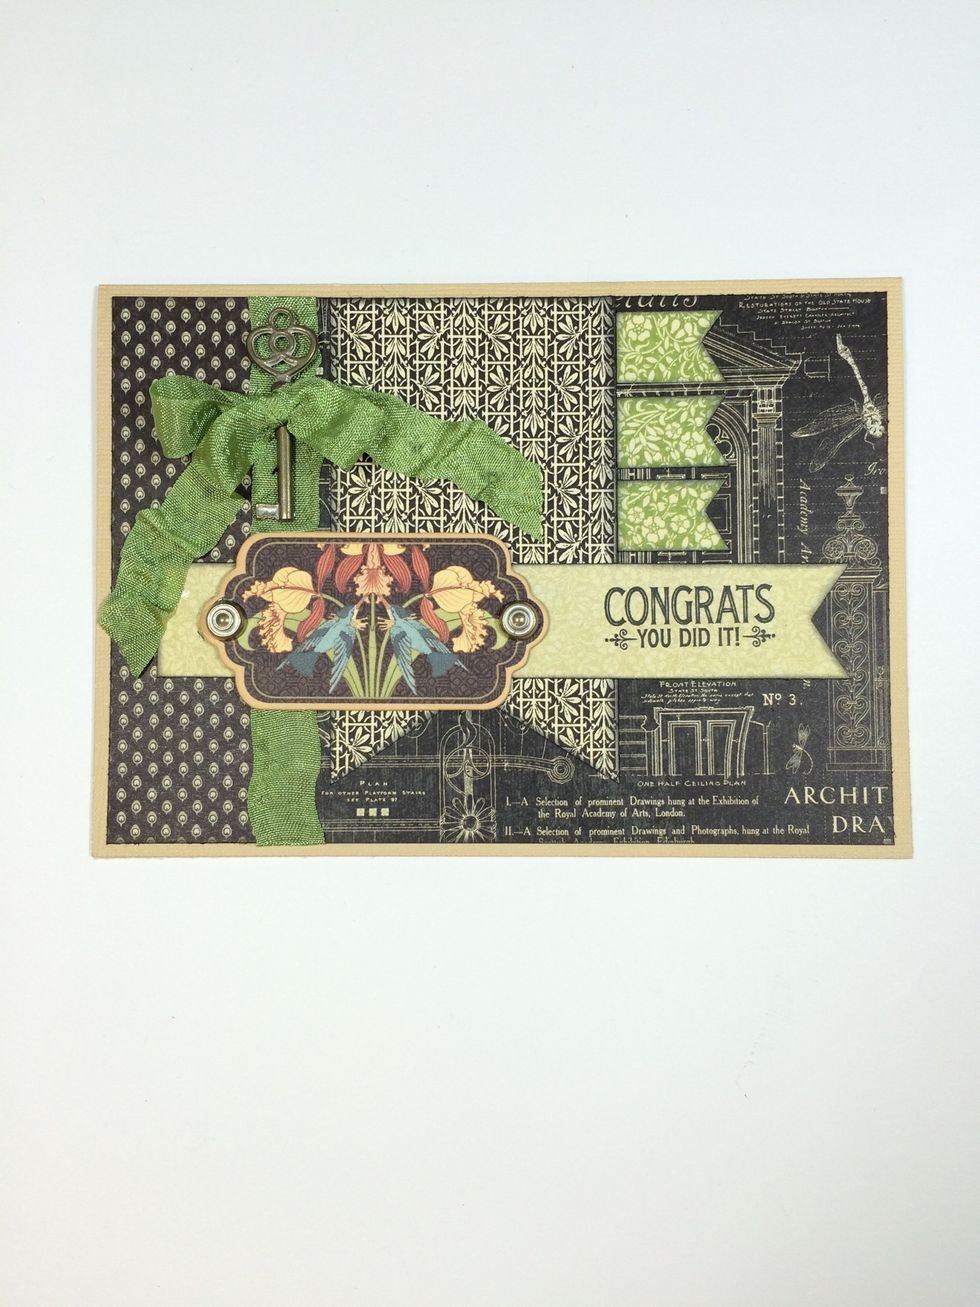
Adhere these to the card as shown. I use strong glue when adhering keys and other metal embellishments. (I like E6000)

Add flowers or other embellishments as desired. I used Petaloo's Darjeeling Hydrangeas in black & cream.
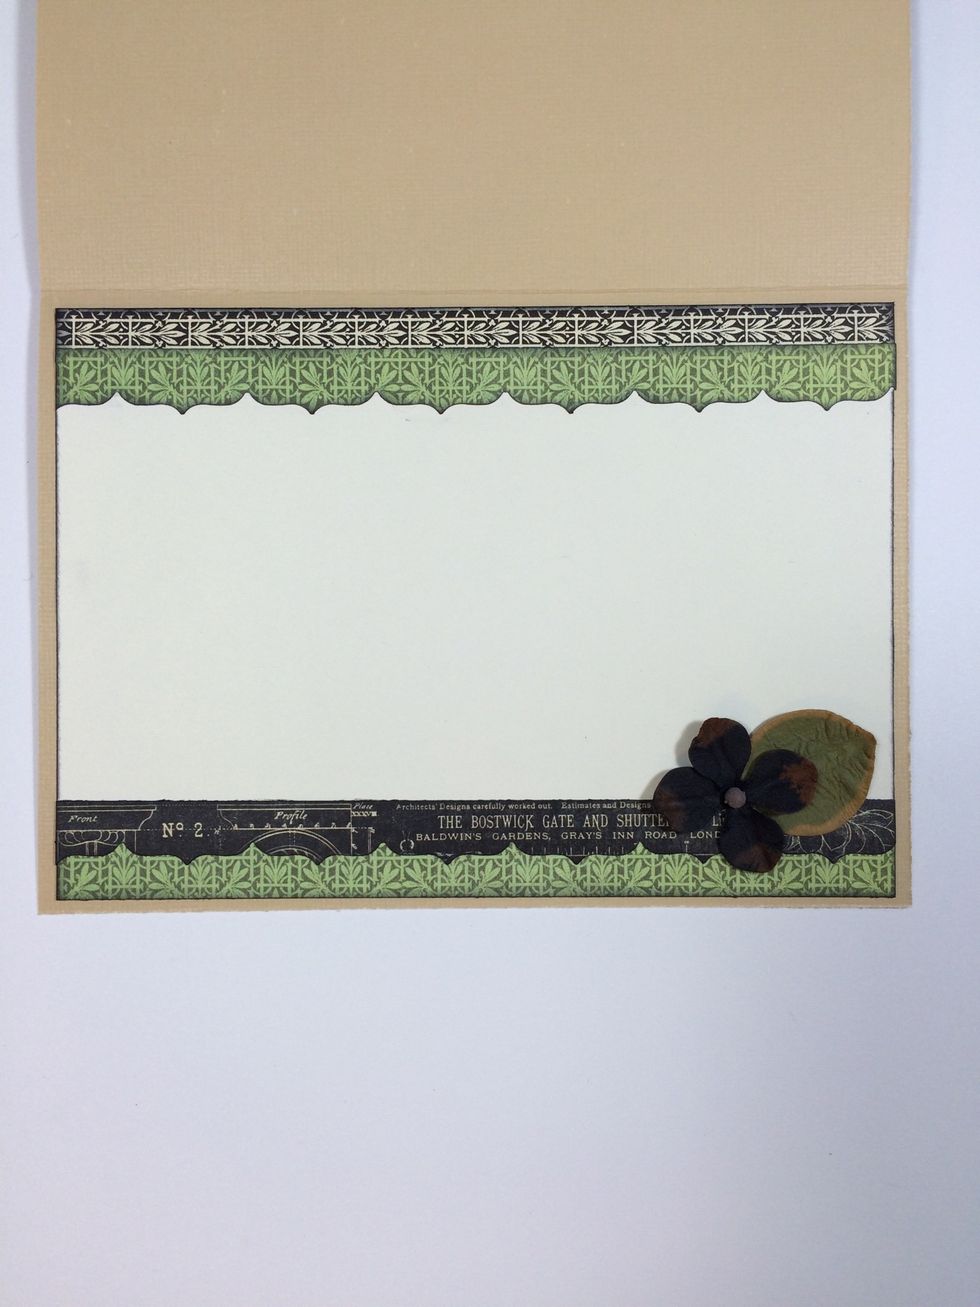
Use Ivory cardstock and your paper scraps to dress up the inside of the card.
I hope you enjoyed this Snapguide tutorial. For more ideas and inspiration, visit my blog at http://AnnettesCreativeJourney.blogspot.com
You can find all these great products at most local scrapbook stores or online at stores like Scrapbook.com