The Conversation (0)
Sign Up
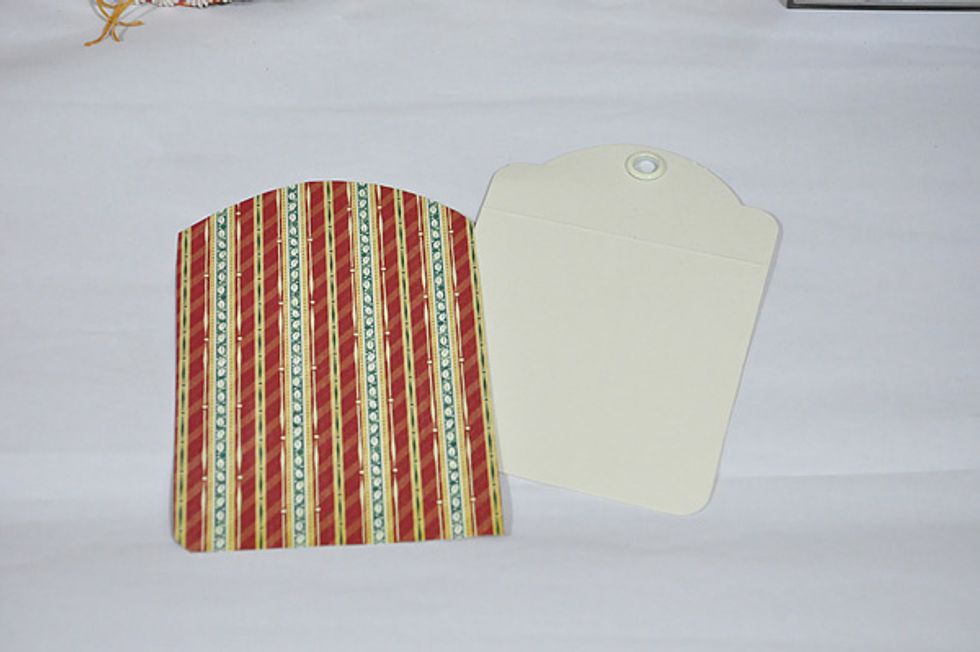
Trace the tag and cut

Trace the hole and cut a slit to trim it
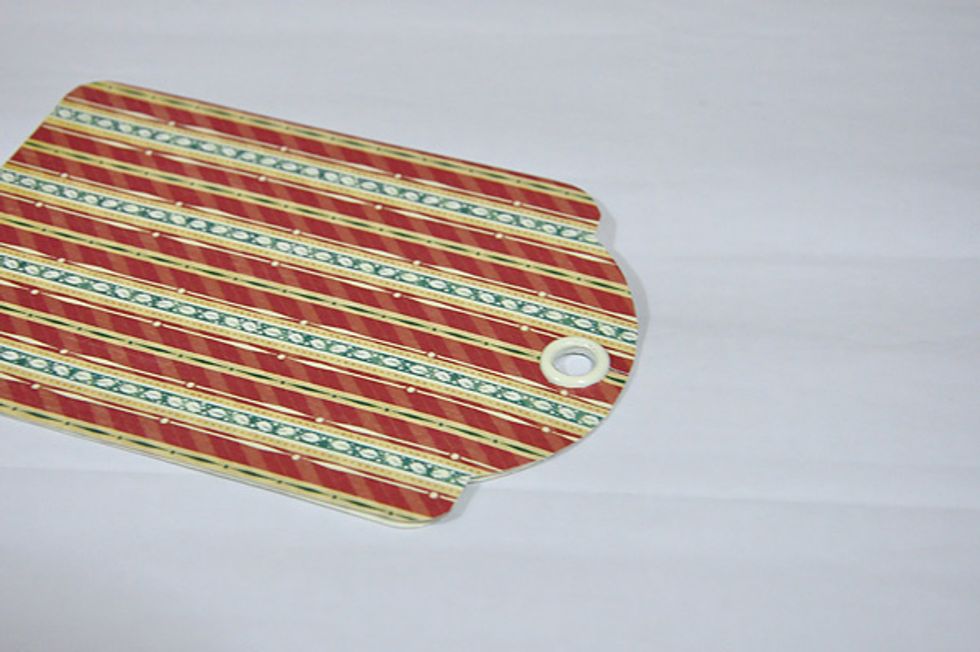
Doesn't have to perfect. You can push the paper underneath the hole
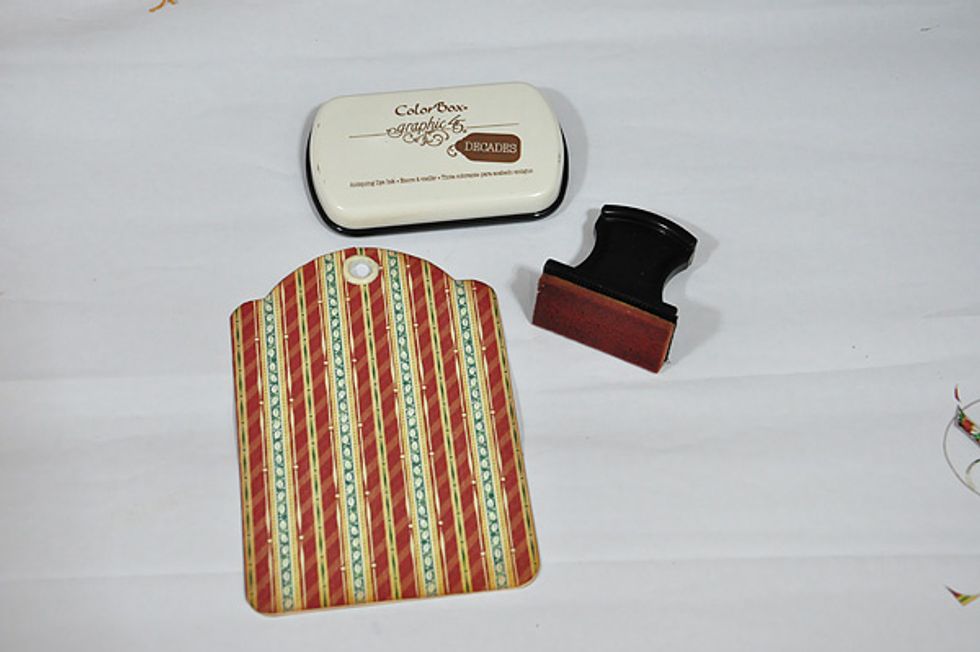
Ink the edges
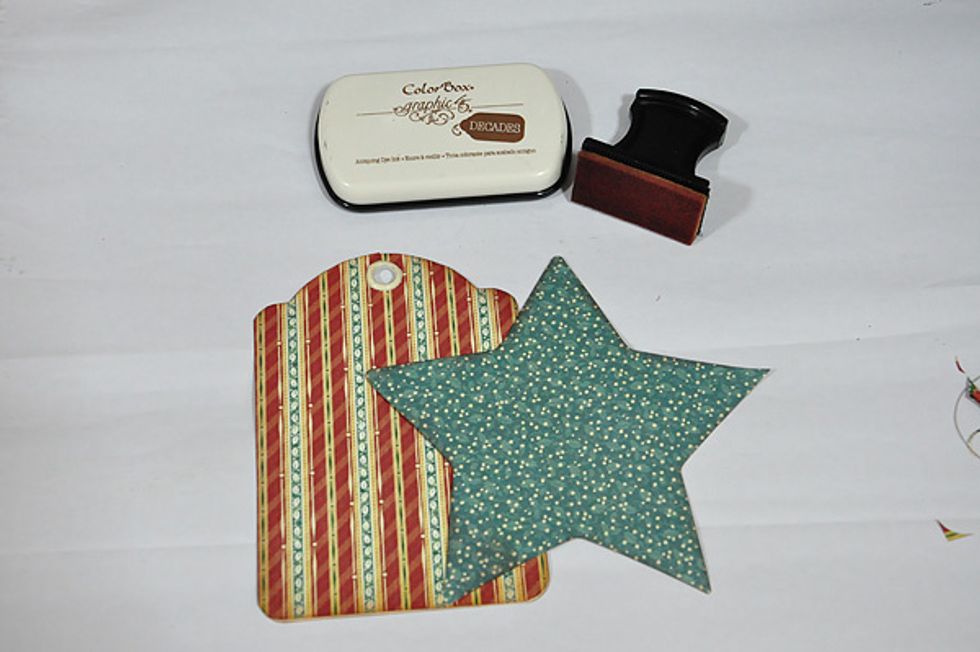
Cut a star (I just used an old template for this one) and ink the edges as well
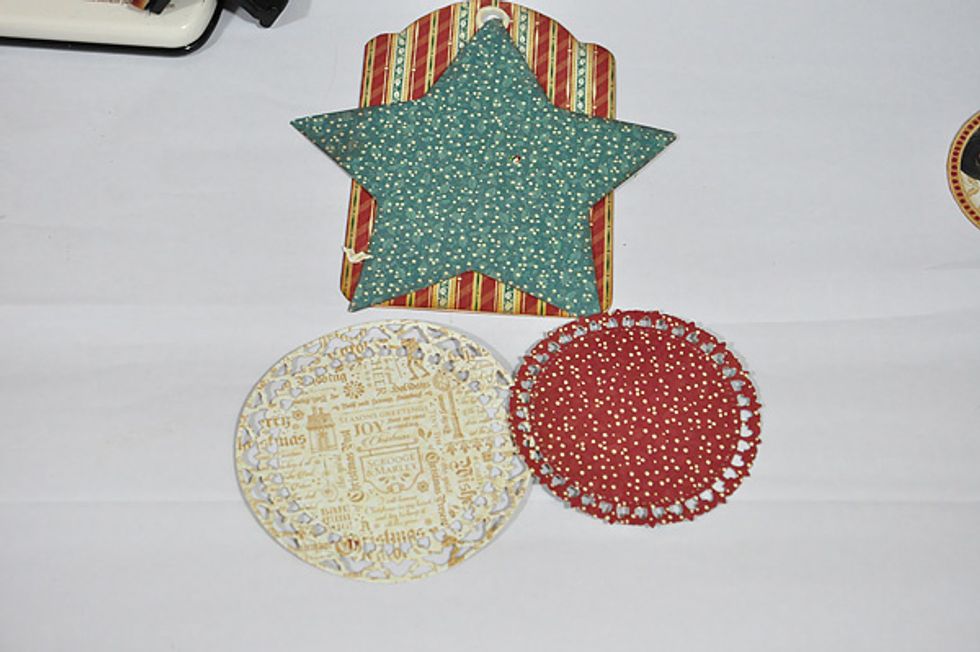
Using some circle die cutting metal, cut a couple in contrasting colors/patterns. Ink the edges
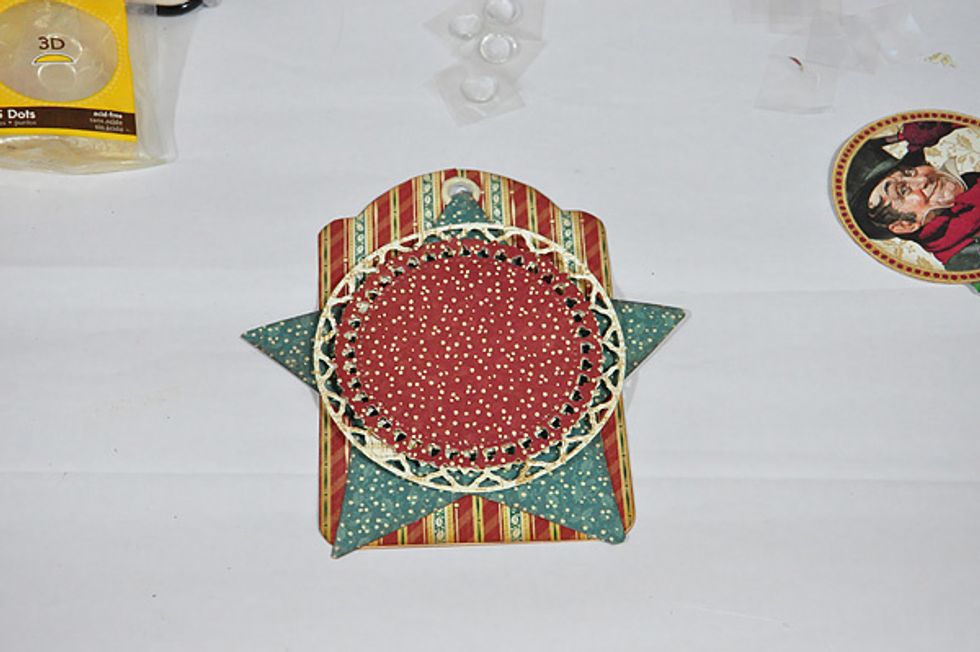
Layer on top of each other
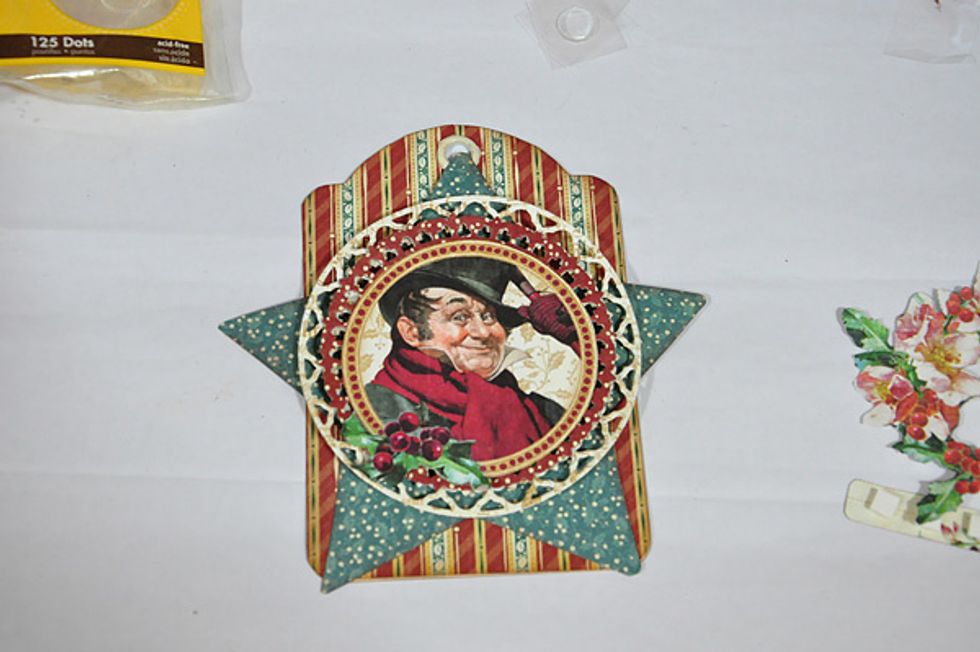
Fussy cut one of the journal spots and use as center of the tag
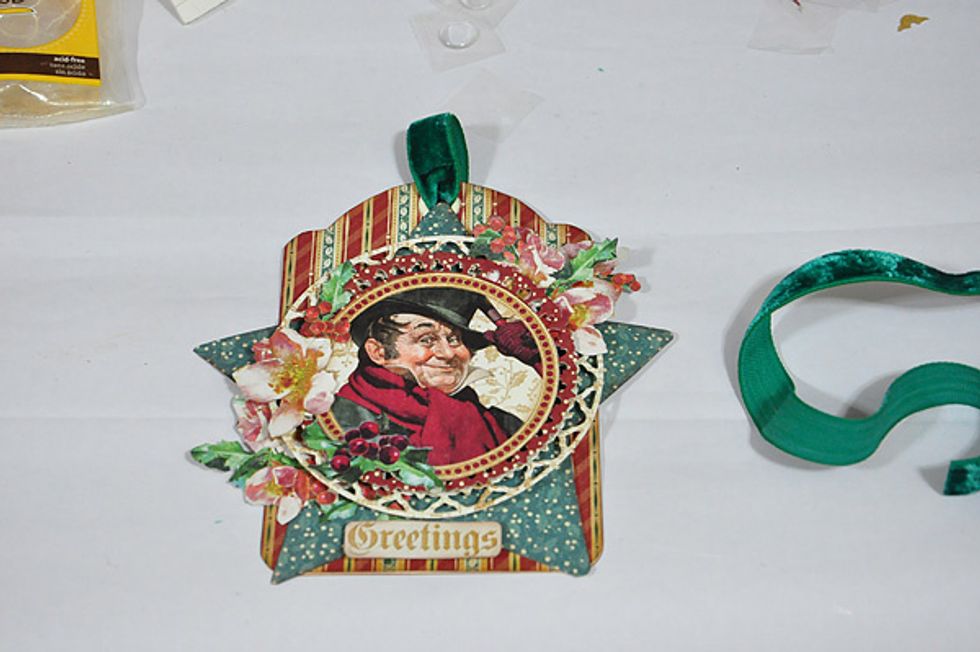
Fussy cut some flowers and leaves and adhere to the tag. Add a green velvet for the finishing touch
Here are close up shots of the finished tags
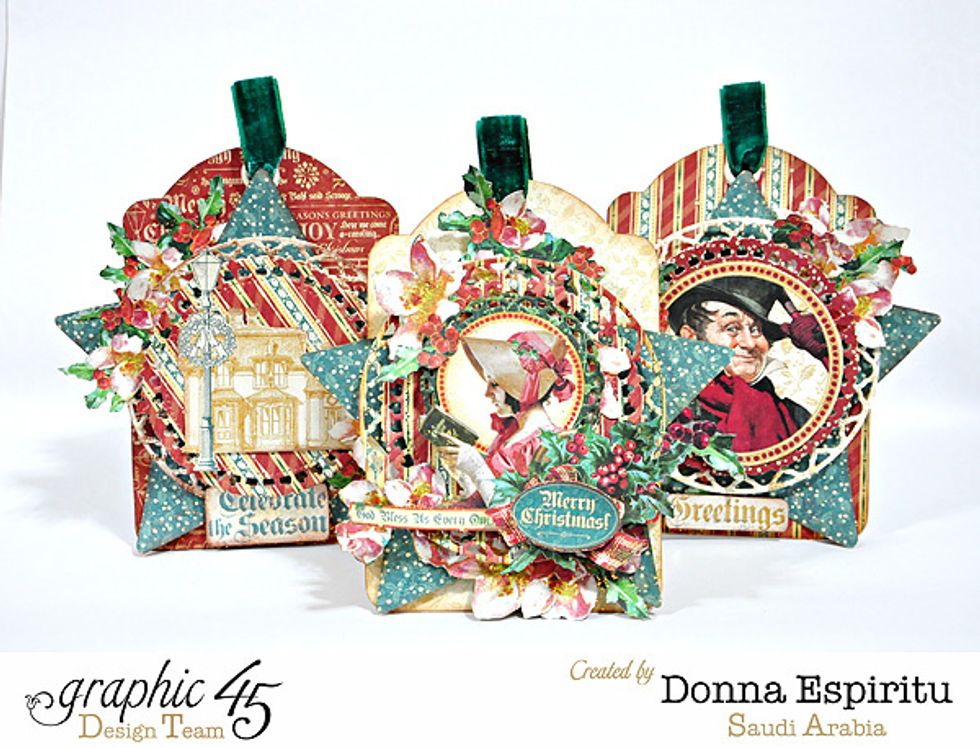


Thank you so much! Hope you like them as much as I had fun creating these tags. Happy holidays!