The Conversation (0)
Sign Up
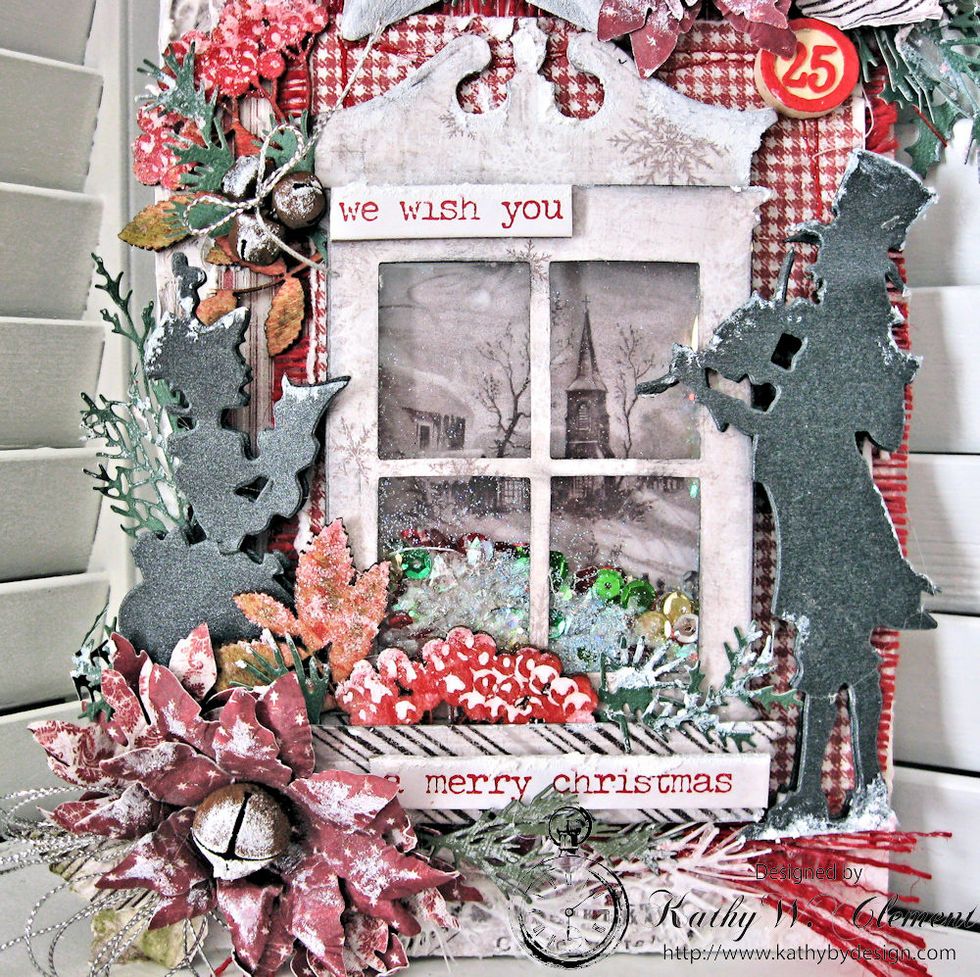
Today we are going to use dies and product packaging to make a dimensional snowy window shaker element. This tutorial will focus on the window, although I will mention other design elements.

First, die cut 2 window frames from Maja Design A Gift from Santa paper. Ink the edges of each window frame lightly with Hickory Smoke Distress Ink.
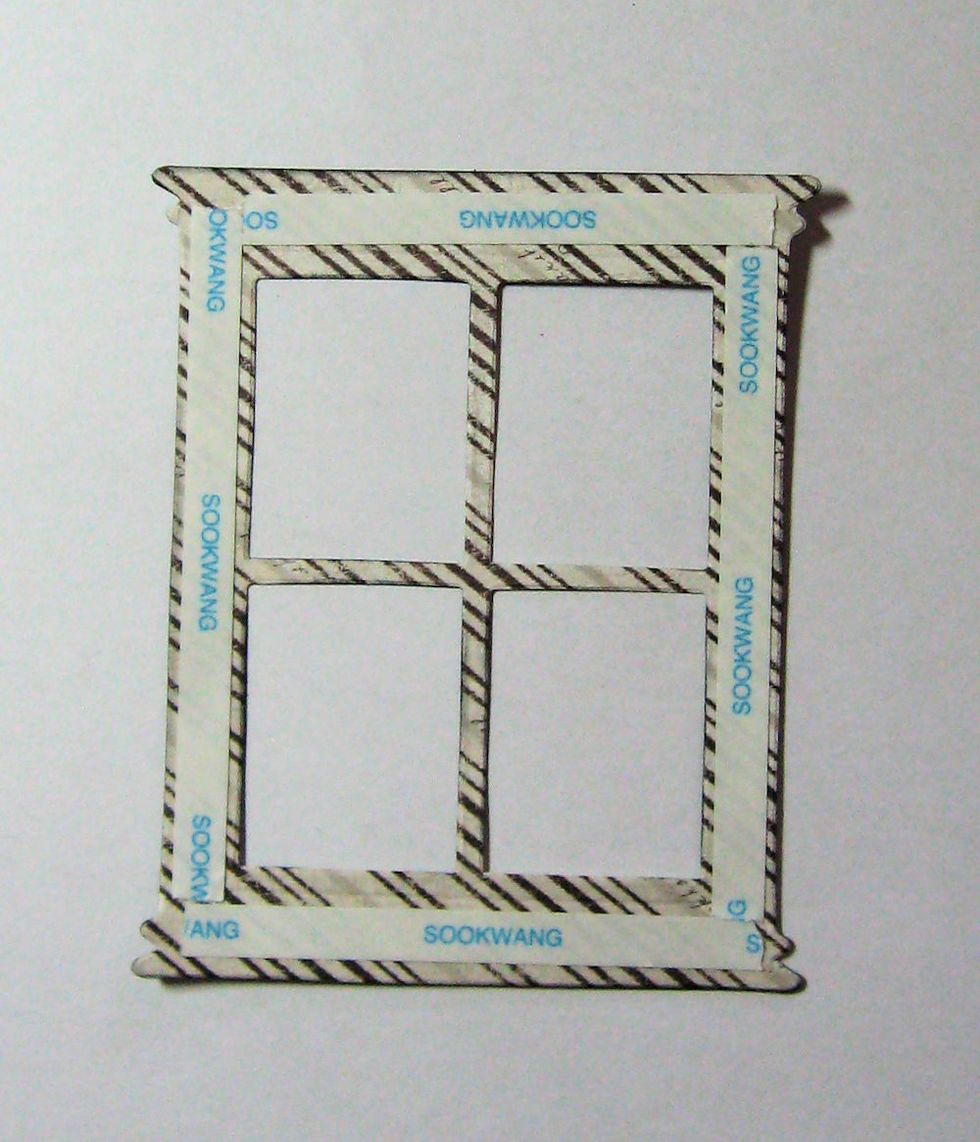
Flip one window frame over and line the perimeter with 1/4" Scor Tape.

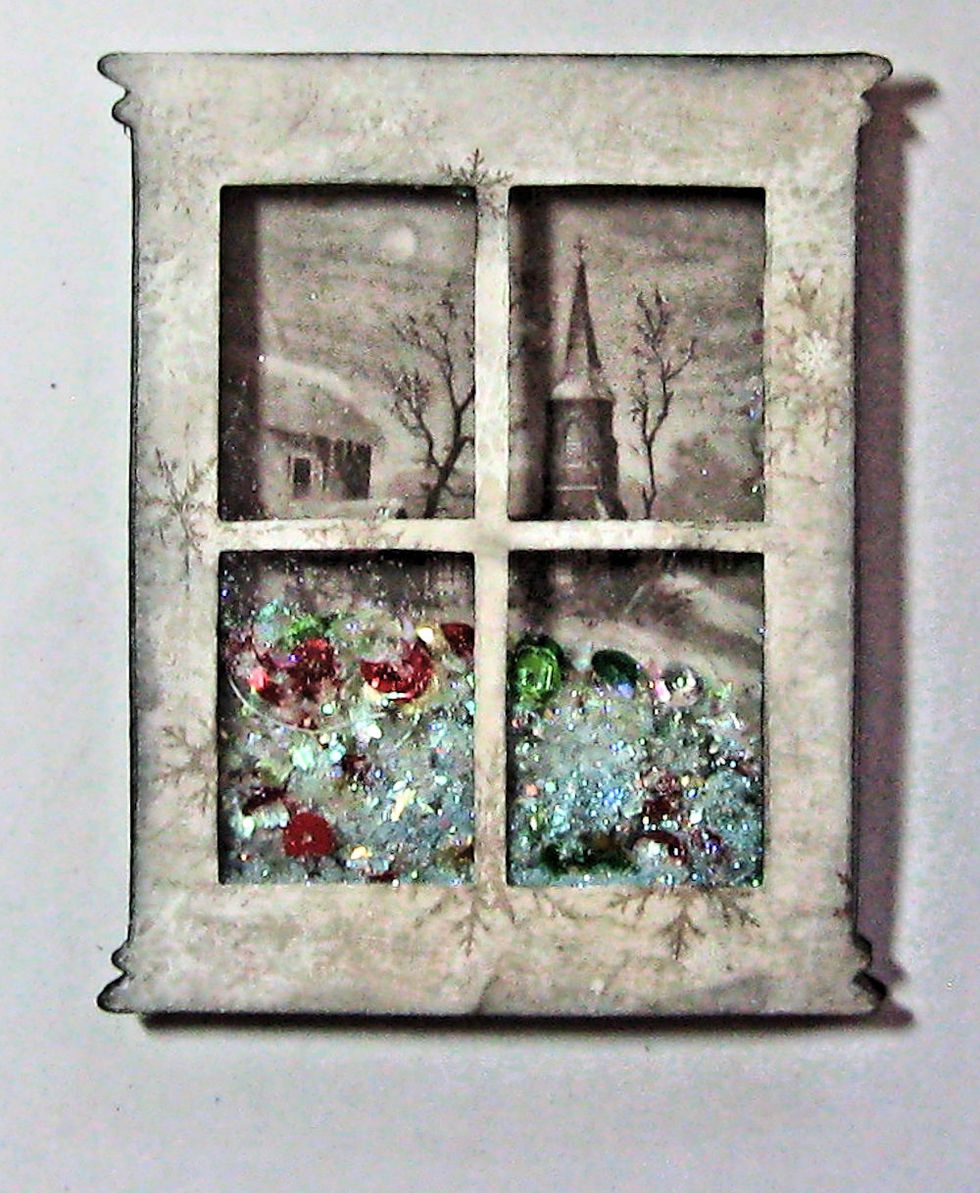
Cut out and glue the image over the tape. On the other window, use Scor-Tape to secure a piece of clear acrylic packaging cut 1/4" larger than the window pane area. Bottom window has image.
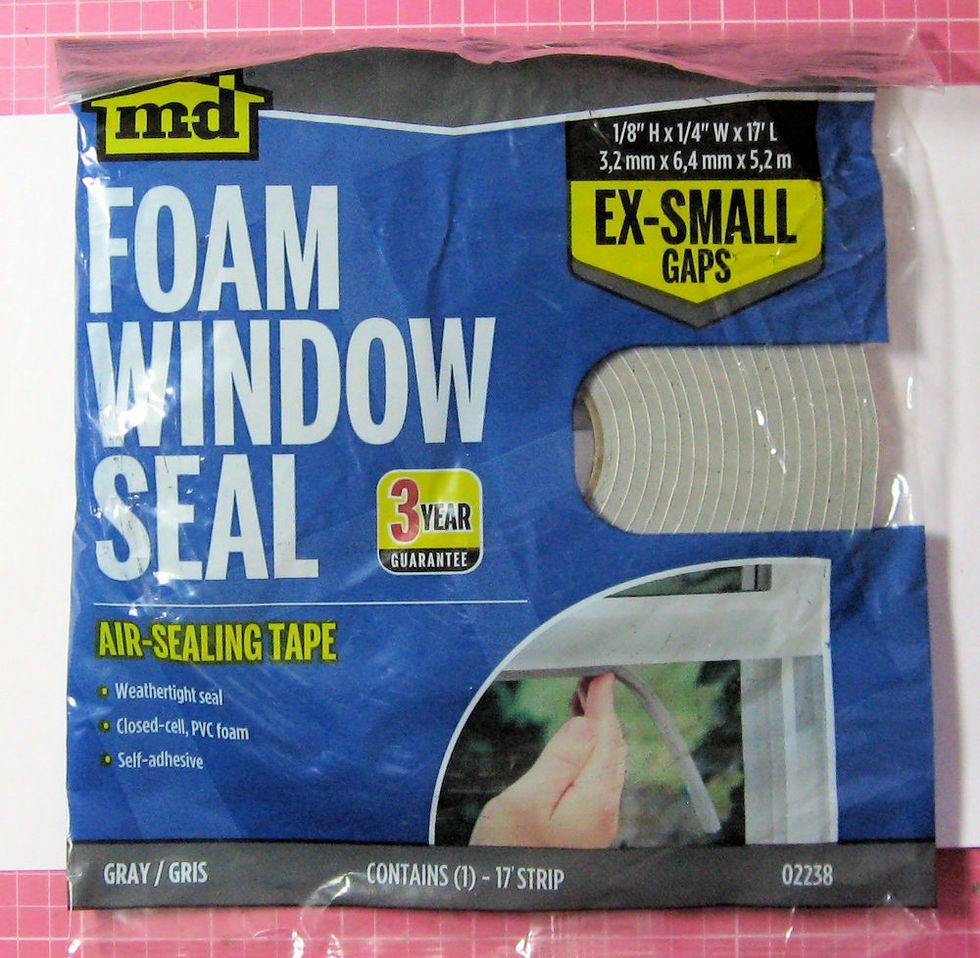
I used a double layer of this foam window seal instead of foam tape. Since it is sticky on only one side, you'll have to add Scor-Tape on the other. It seals tightly and is very cheap so I like it.

The tape is also only 1/4" wide so you don't have to cut sticky foam. Put down a layer, add Scor-Tape. Peel off the liner, add a second layer and a second layer of Scor-Tape.
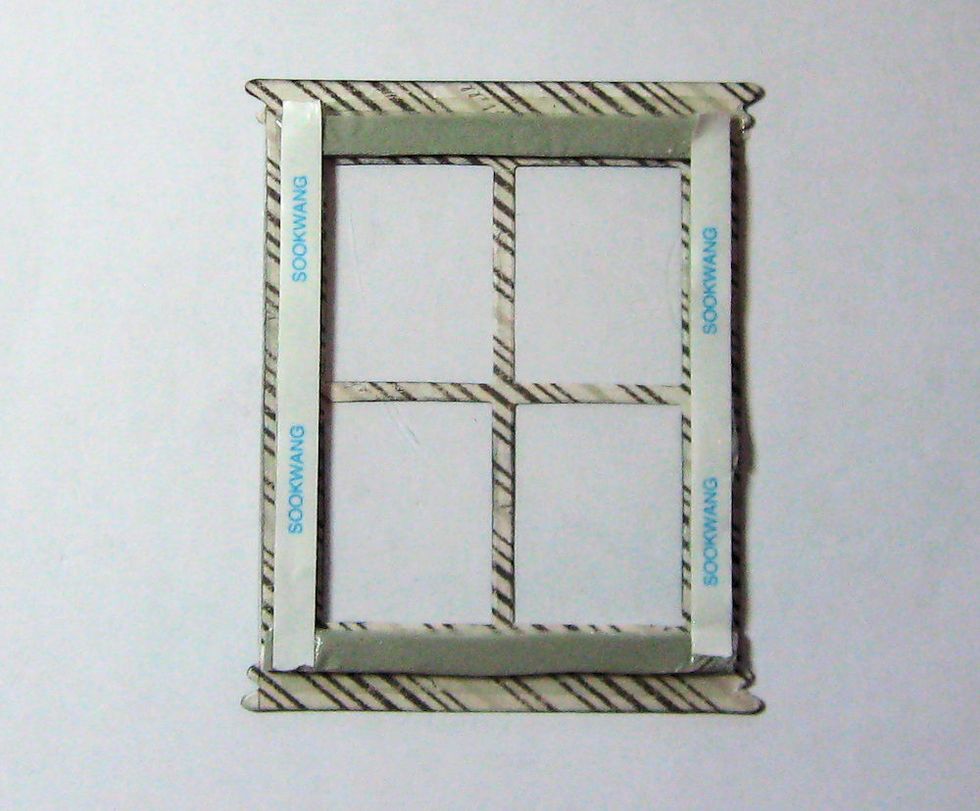
It will look like this. I've peeled the Scor-Tape liner off the top and bottom layer so you can see the window seal foam below.
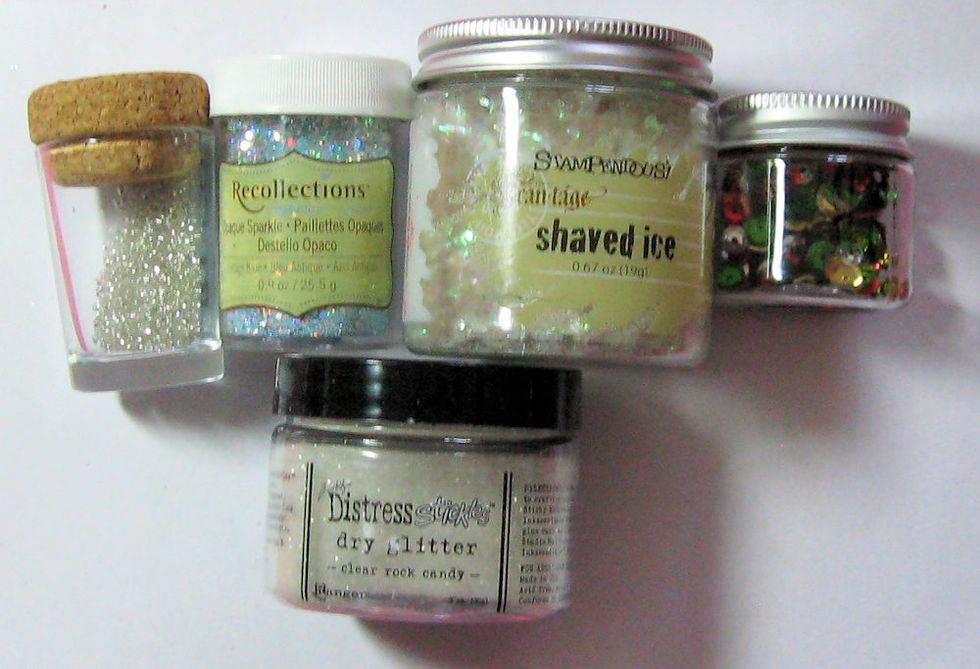
Select your shaker elements. I have small beads, glitter, shaved ice and sequins. Don't remove the liner tape until AFTER you've added your shaker elements.
Fill window cavity with shaker elements, then peel off liner tape. This way the shaker elements won't accidentally get stuck to your foam tape.
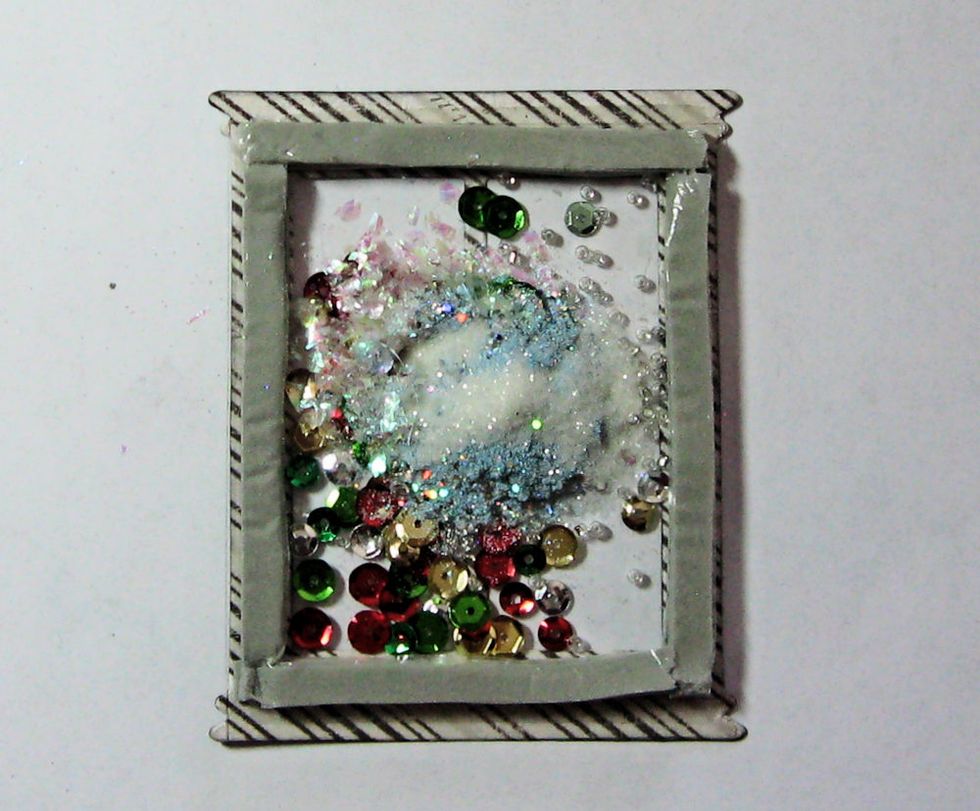
Leave the shaker box on your work space. Carefully invert the window with the image and line it up over the top of the shaker box. When lined up press firmly in place, burnishing around all edges.
This is what your window shaker box will look like now. Pretty, right?
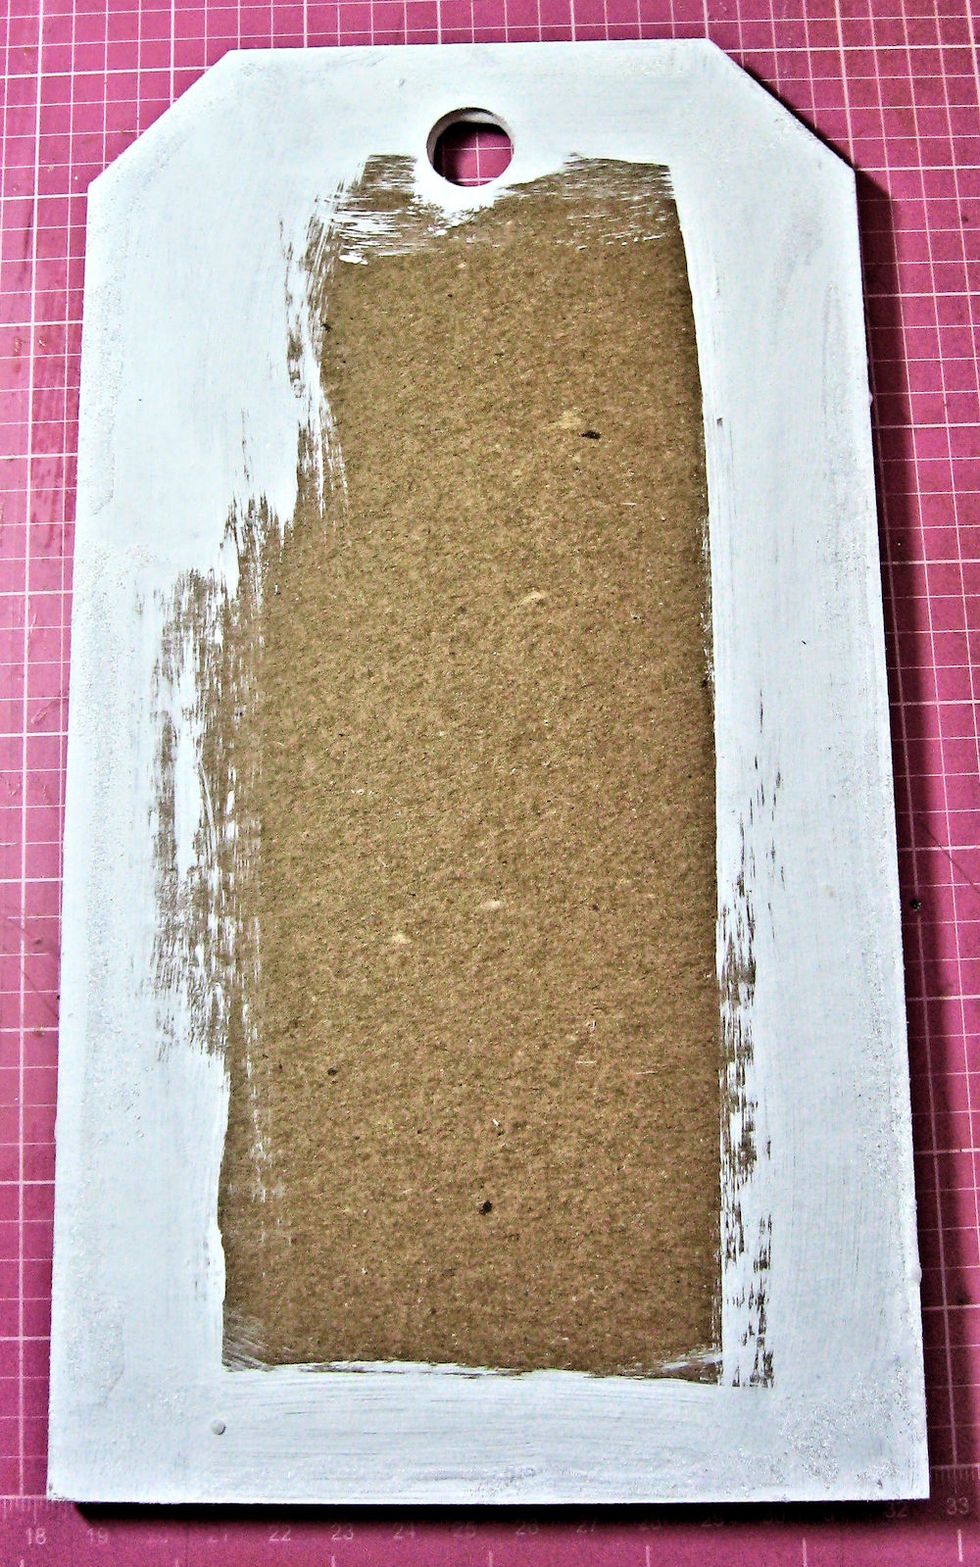
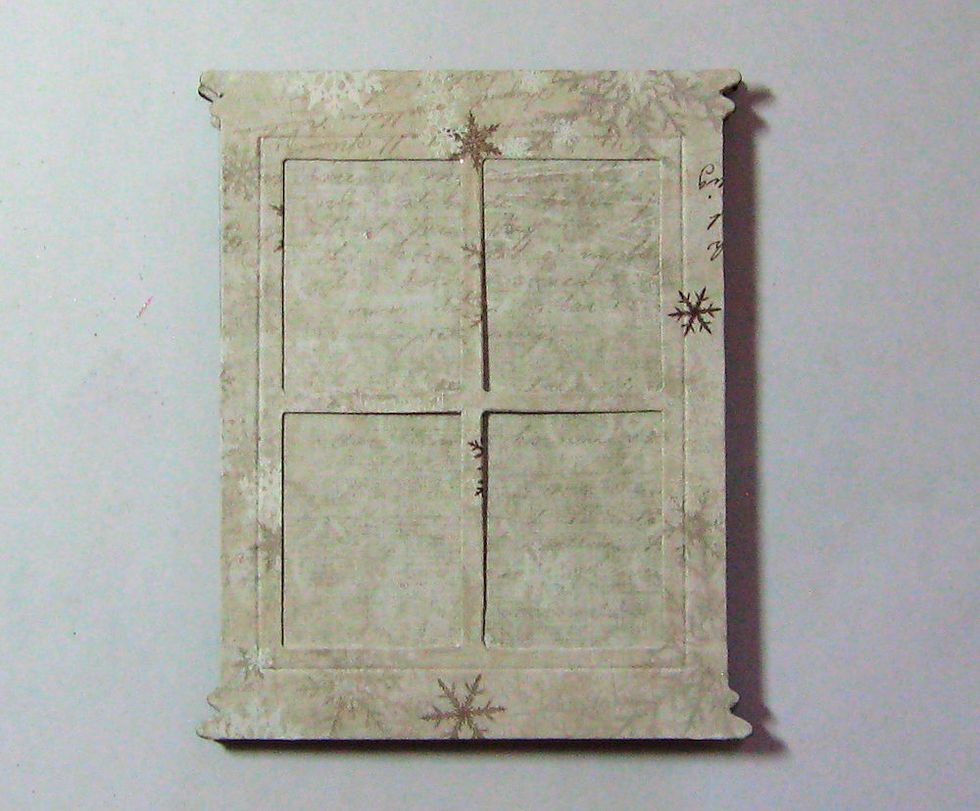
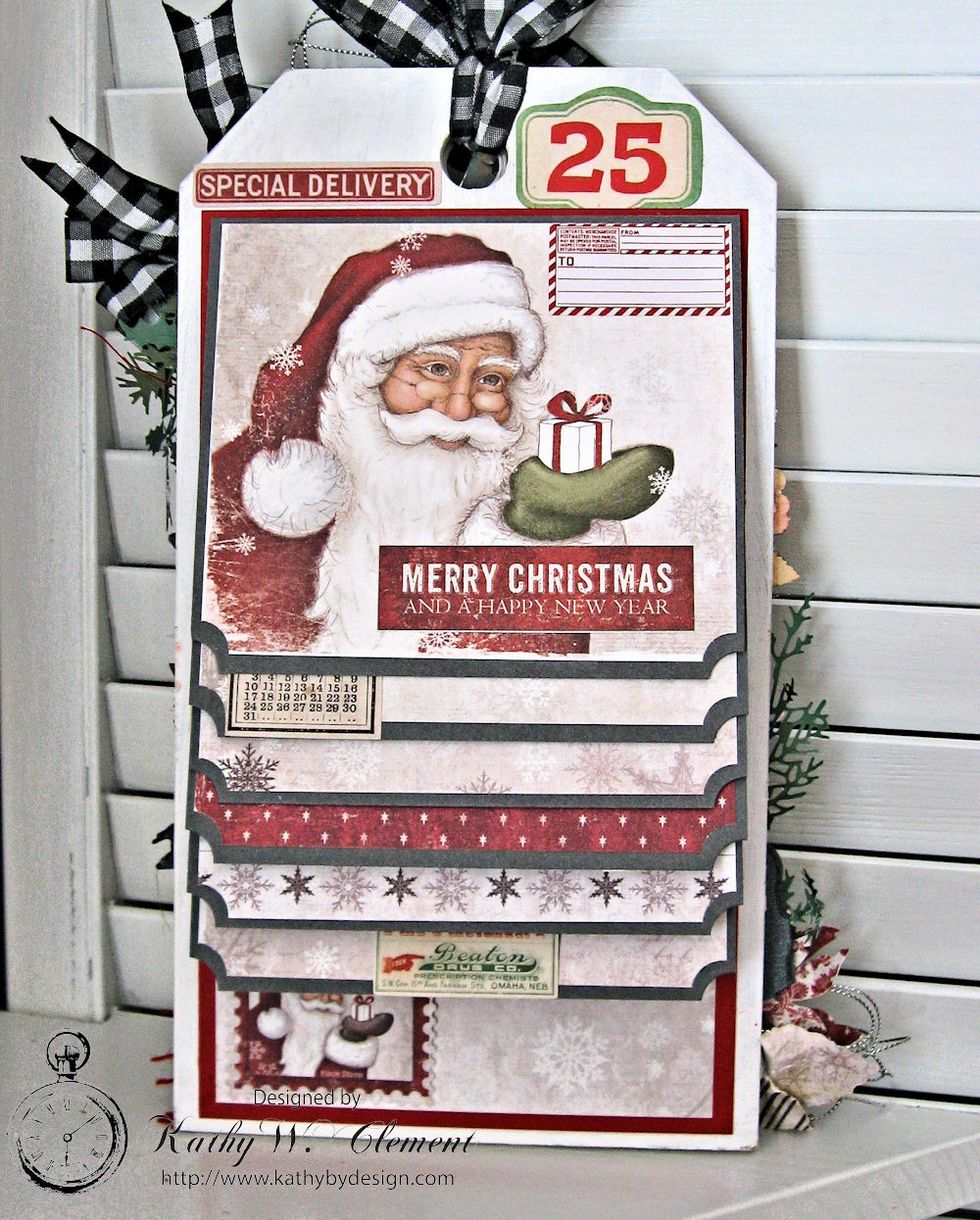
Prepare the tag base by painting the edges on both sides with white chalk paint. While paint is still slightly damp, shake Ranger Frosted Crystal Embossing powder around the edges. Tap off excess.

Heat set. It leaves a lovely, subtle frost effect on the edges that I hope you can see in this photo.

Trace the tag onto designer paper. Wet the edges of the paper with water and distress heavily.Heat set. Use a punch to add the hole at top of tag. = Attach to tag with glue or Scor-Tape.
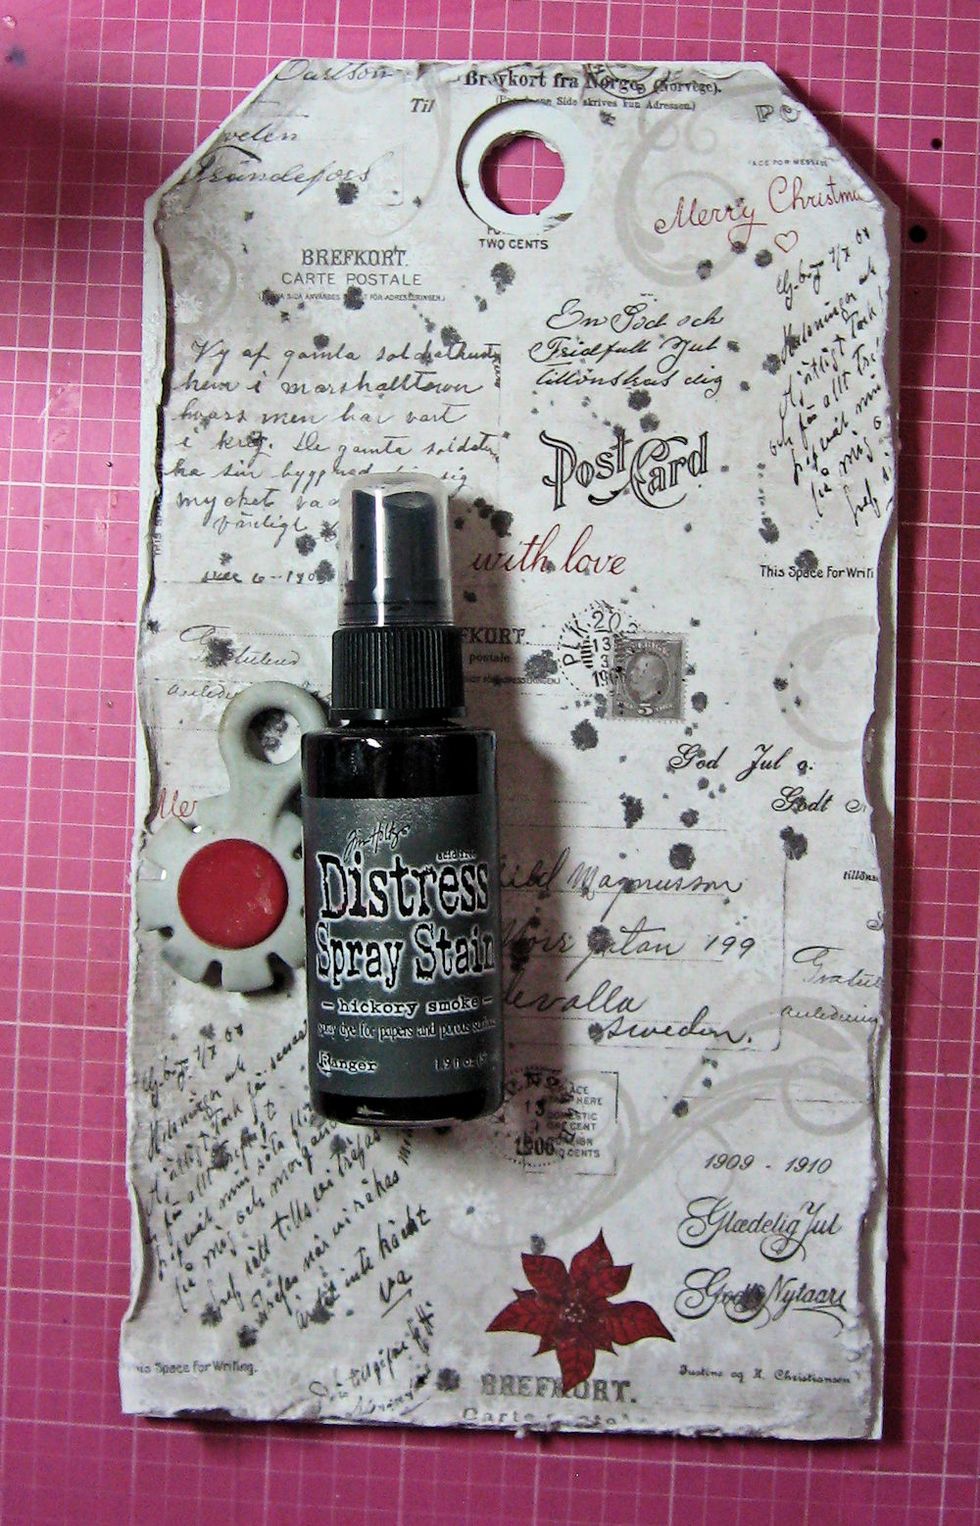
Spatter or spritz the paper with Hickory Smoke Distress Stain. I take the cap off and use the tubing to spatter. I added stenciling in top left corner, but it got mostly covered up with layers.
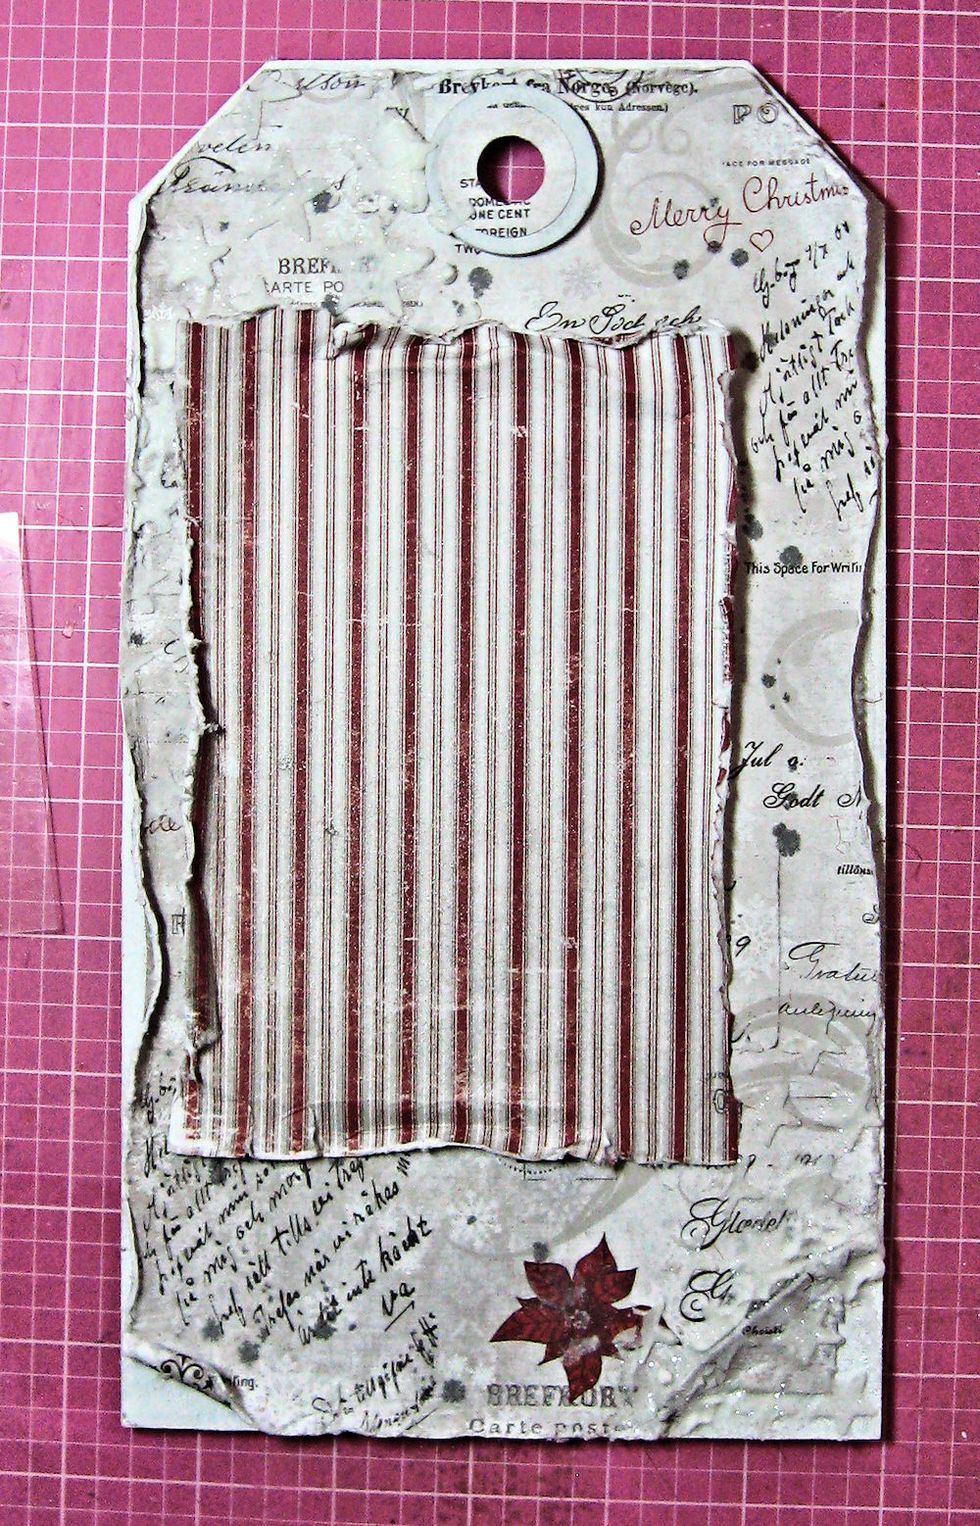
Tear a rectangle of pinstripe paper from the collection. Distress the edges. Glue in place on tag. You can see stenciled stars in top left corner.

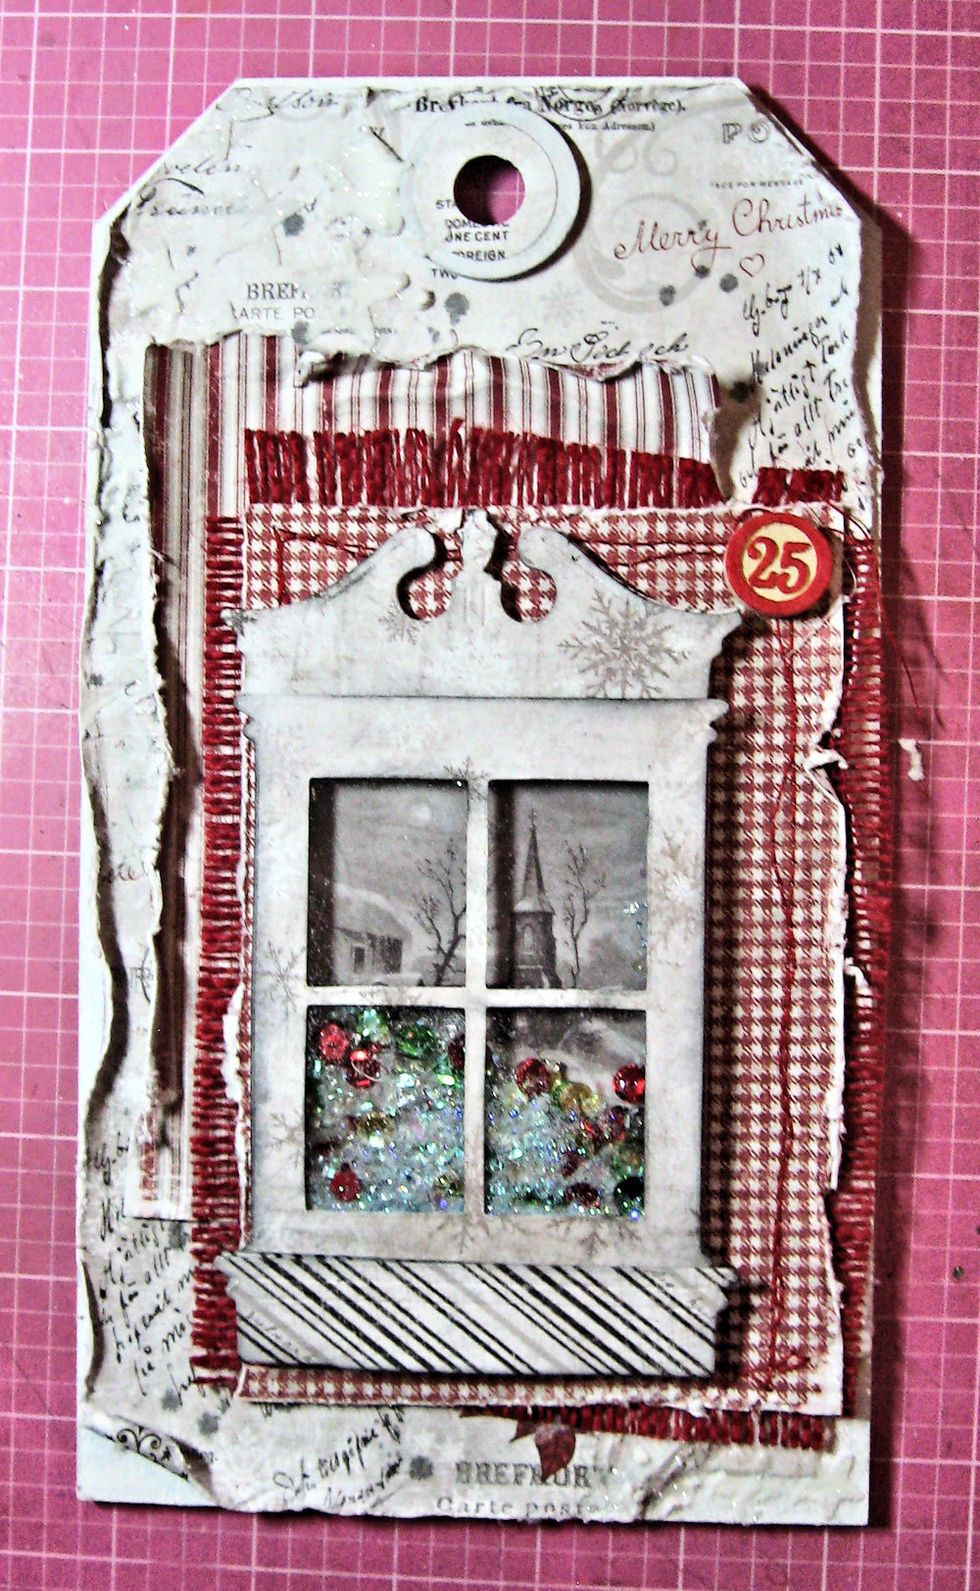
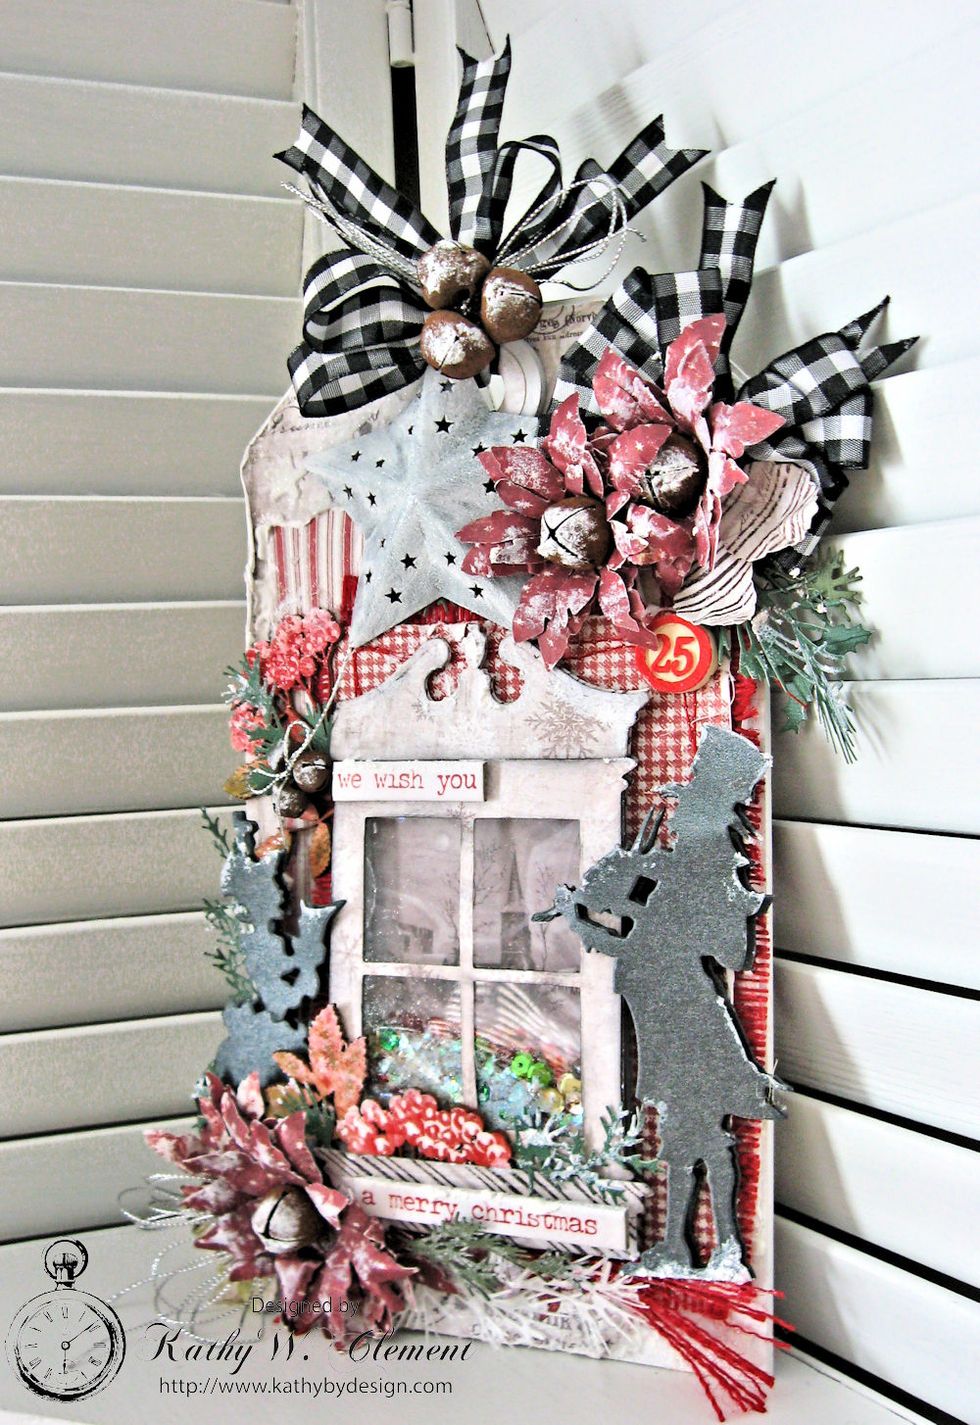
Tear/distress a second rectangle. Stitch to burlap panel. Glue window frame in place with Scor-Tape. Add a bingo charm in upper right corner.
Die cut two window boxes and two pediments from designer paper. Use strips of waste chipboard between to add dimension. Use thin strips on box so you can add flowers later. Glue in place.
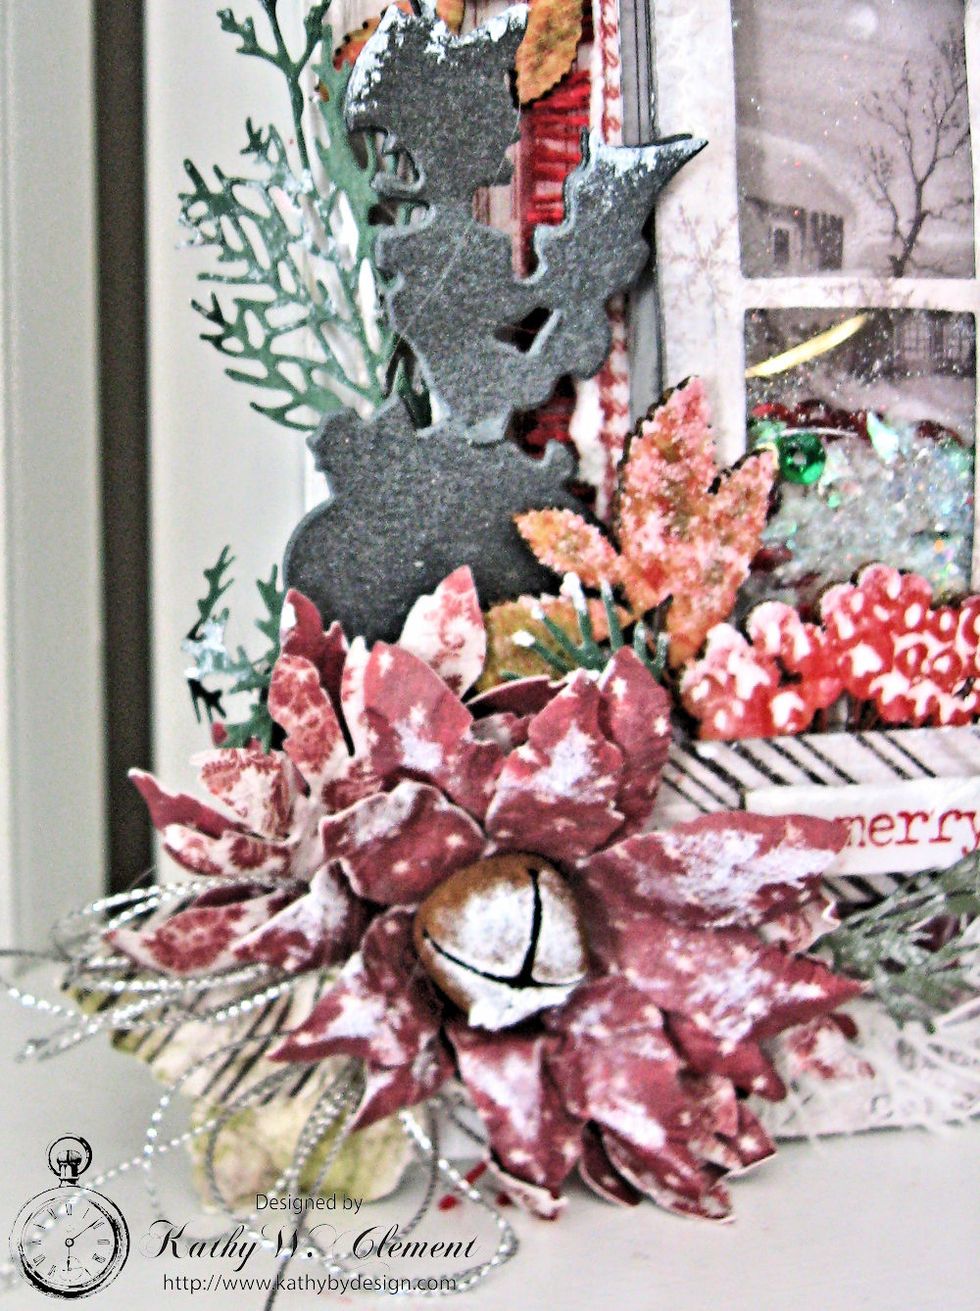
Die cut several Frayed Posies. Cut Pom Pom Posie Leaves from scraps. .Shape and stack. Tap with Grit paste. Die cut carolers from black card. Die cut festive greenery.
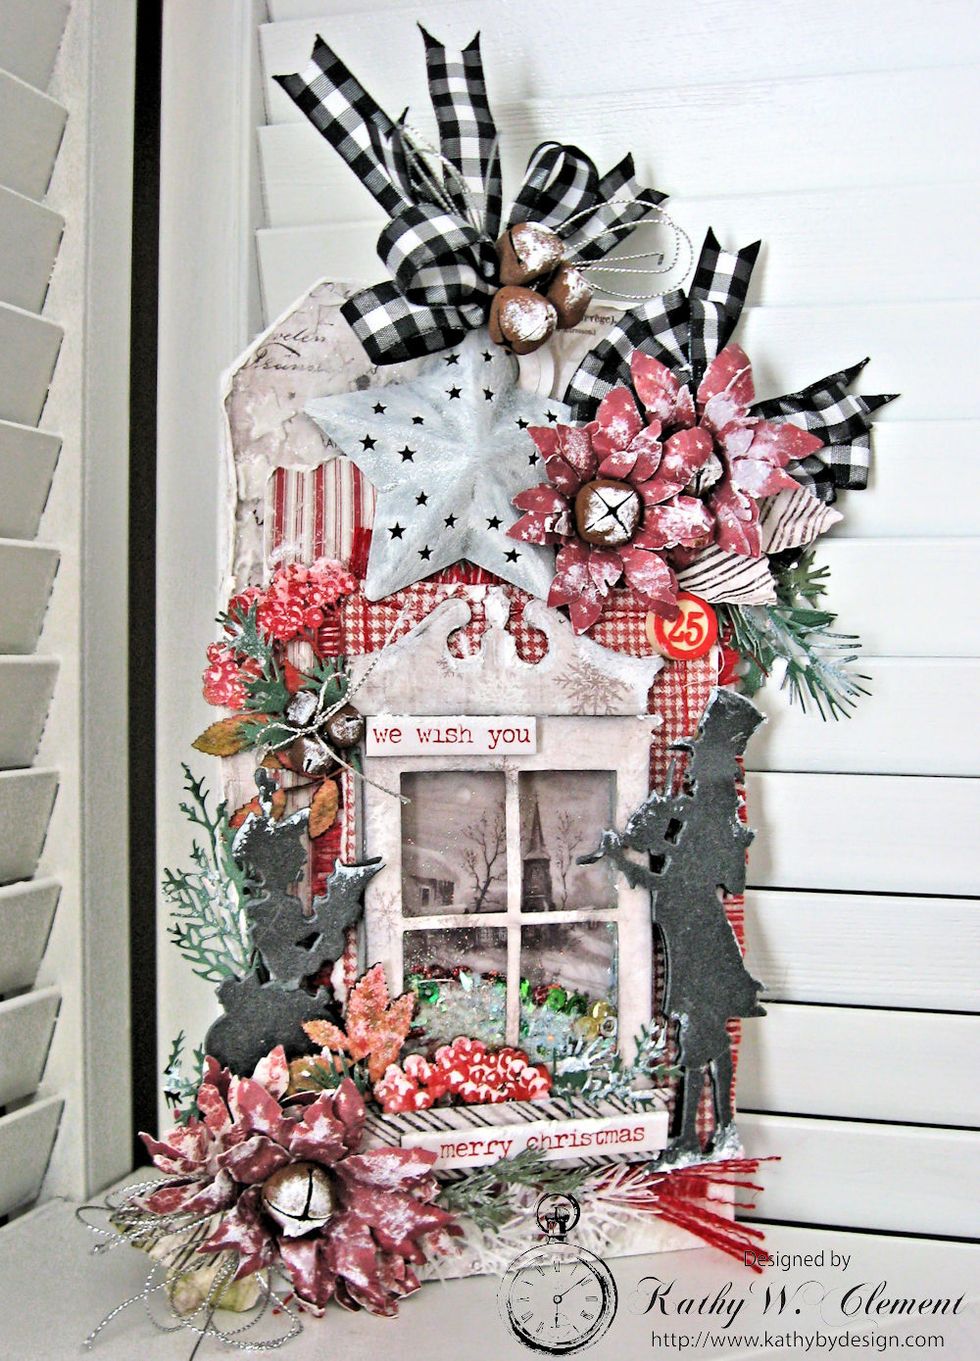
Use foam tape to add carolers, greenery and florals to tag. Color Kaisercraft Berries &Twigs with Distress Crayons. Add to box and tag. Add painted metal star, ribbon, bells, etc.
I found this metal star on the road while out walking one day. I painted it with white chalk paint, sprinkled with Frosted Crystals EP and heat set.
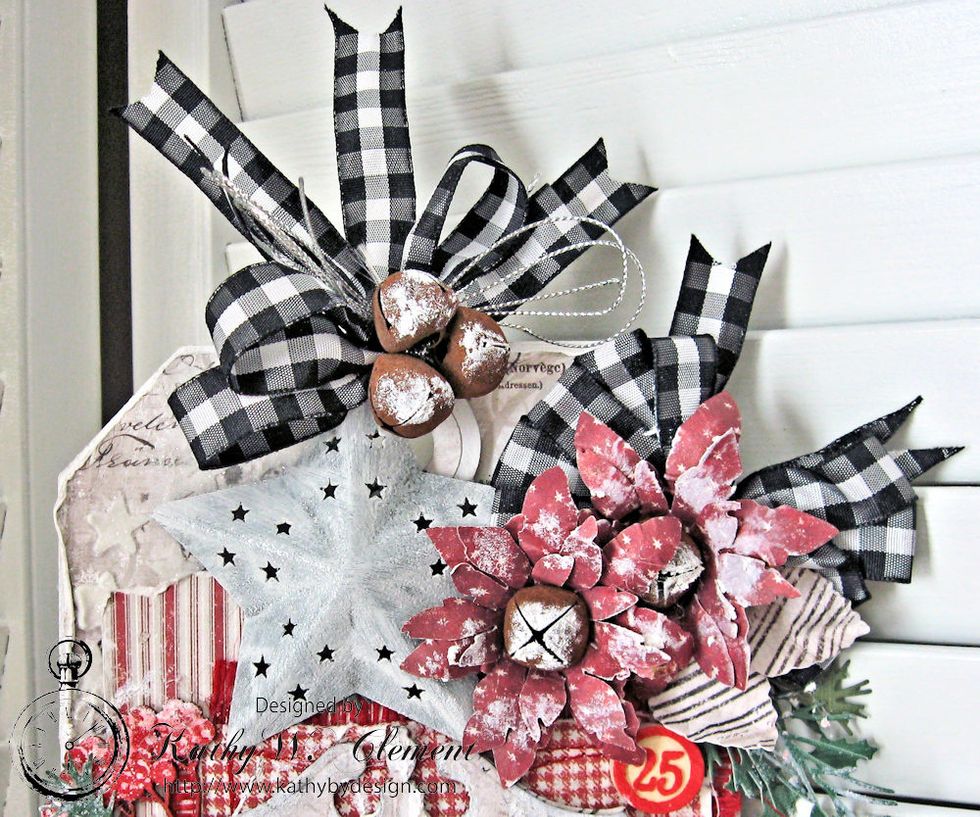
Create bow cluster with ribbon, metallic string and rusty jingle bells that have been tapped with Distress Grit Paste.
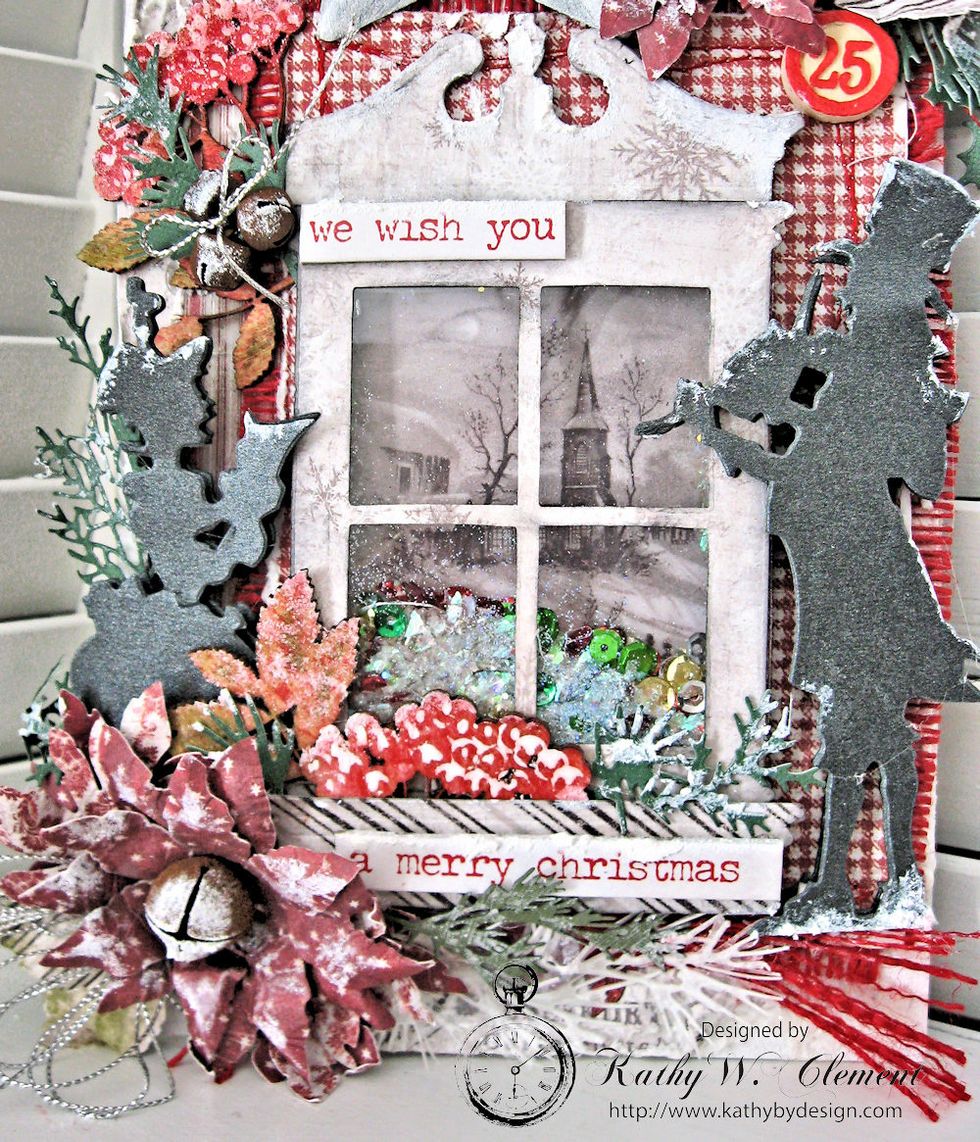
Kaisercraft Wood berries have been tapped with a White Sharpie Pen to give a snowy appearance. Tim Holtz Chipboard Holiday Chat Sticker is cut and glued onto window frame.
Create waterfall feature on reverse side of tag. Cut 4.75" squares of black cardstock. Use corner punch to create decorative corner. Score at 1/2". Fold to form flap. Attach flap with Scor-tape.
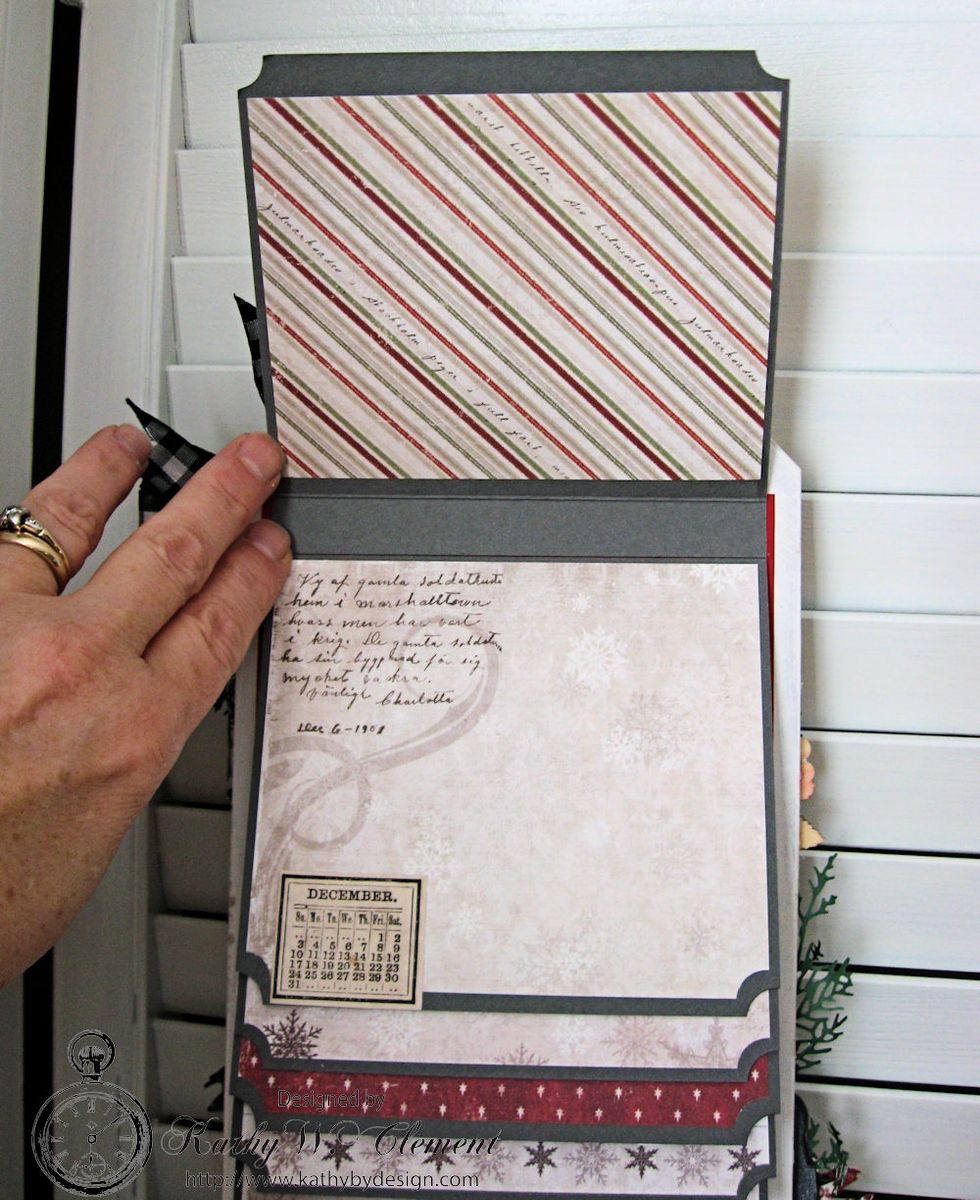
Decorate with designer papers and Tim Holtz Christmas Ephemera. The front of the tag is home decor...the back is a mini album. You can display either way.

I added a small pocket/tags to the final flap of the waterfall. I hope you enjoyed this tutorial. If so, please let me know in the comment section below. Thanks, and Merry Christmas!