The Conversation (0)
Sign Up

Using the Mini Rosette die cut from Tim Holtz Alterations and cut out 8 large and 4 small (depending on how many letters you are going to use will depend on how many rosettes you will cut out.)
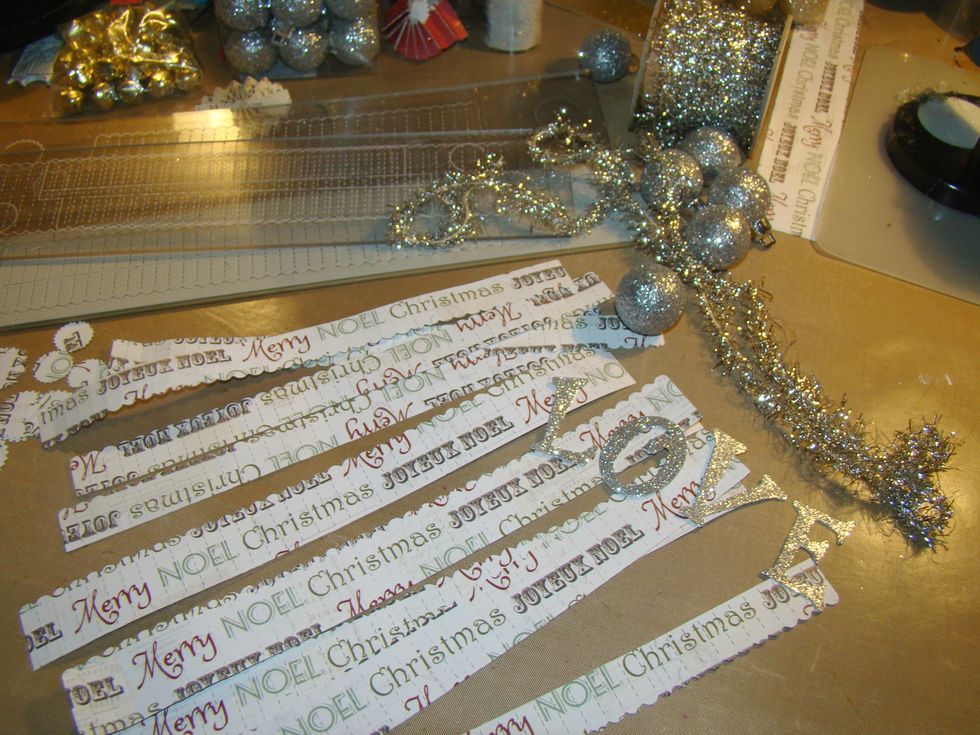
Get your chipboard letters and cover in glitter. I actually cut my letters out using glitter cardstock.
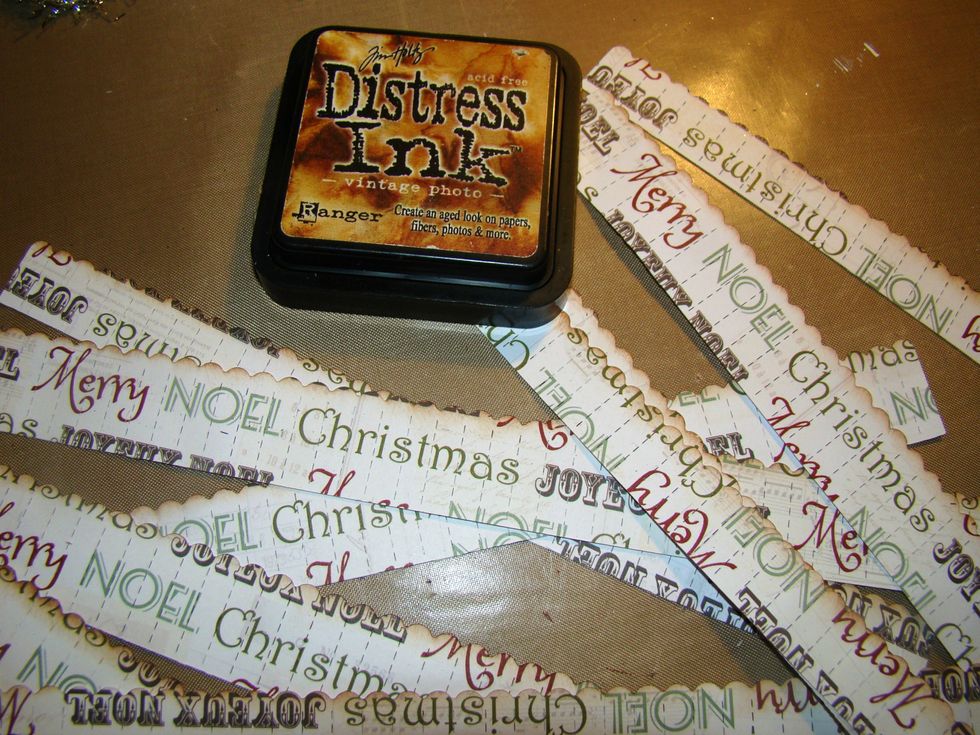
Ink the edges of your rosettes with Vintage Photo Distressed Ink and fold and glue your rosette as needed
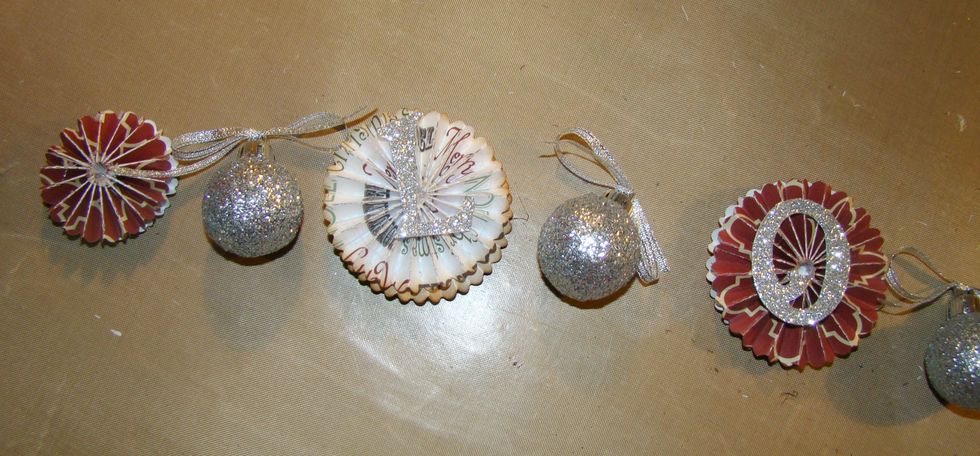
Glue on your letters
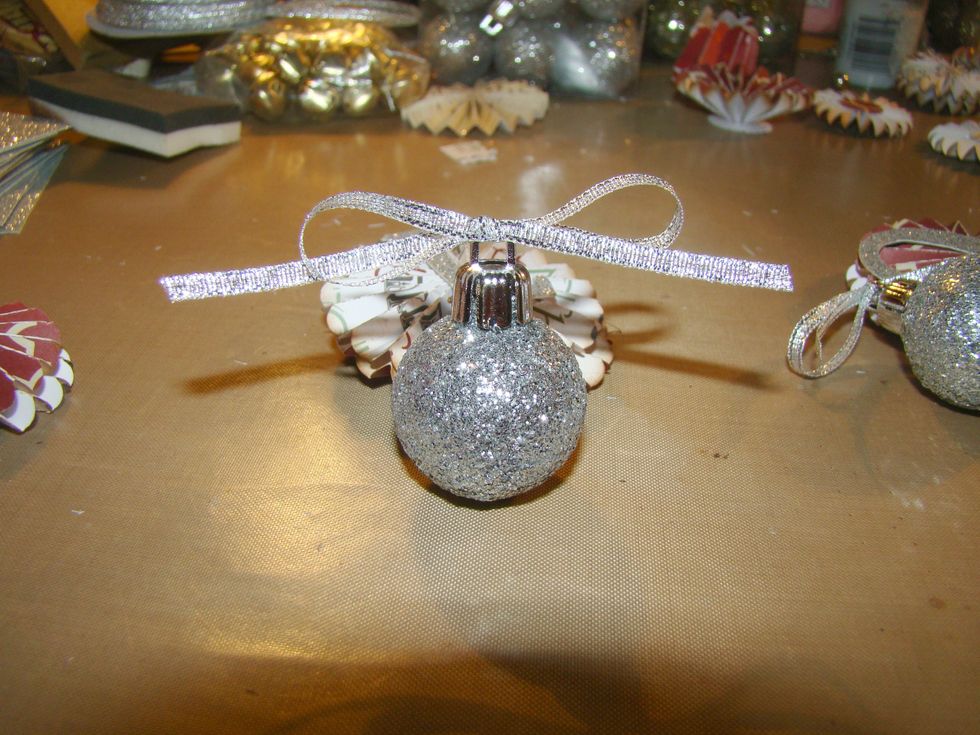
Tie bows on all your mini bulbs.
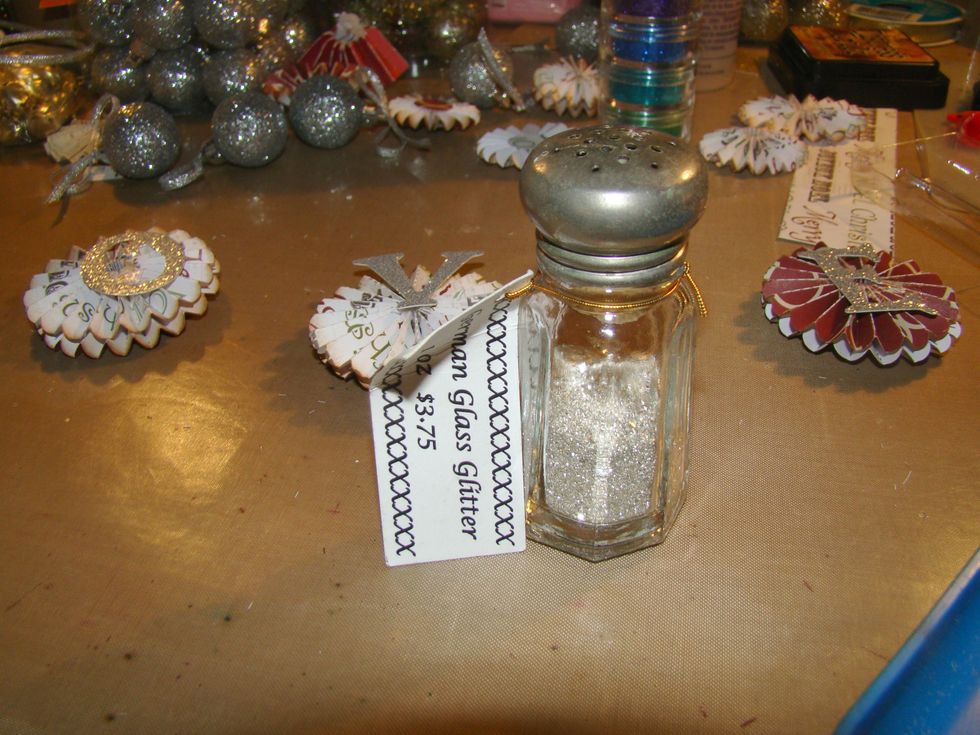
Apply glue to the edges of your rosettes and glitter. I used German Glass because I love how it tarnishes over time.
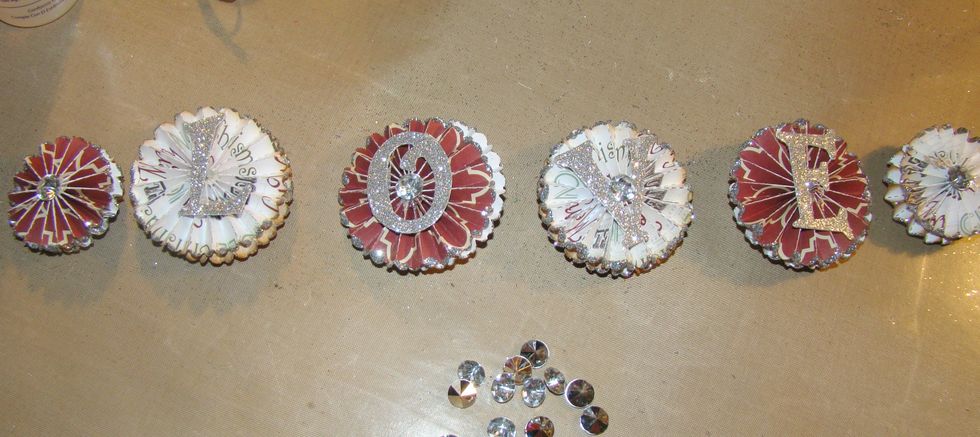
Love how the glass glitter looks so vintage around the edges. And the gemstones just add that perfect touch.
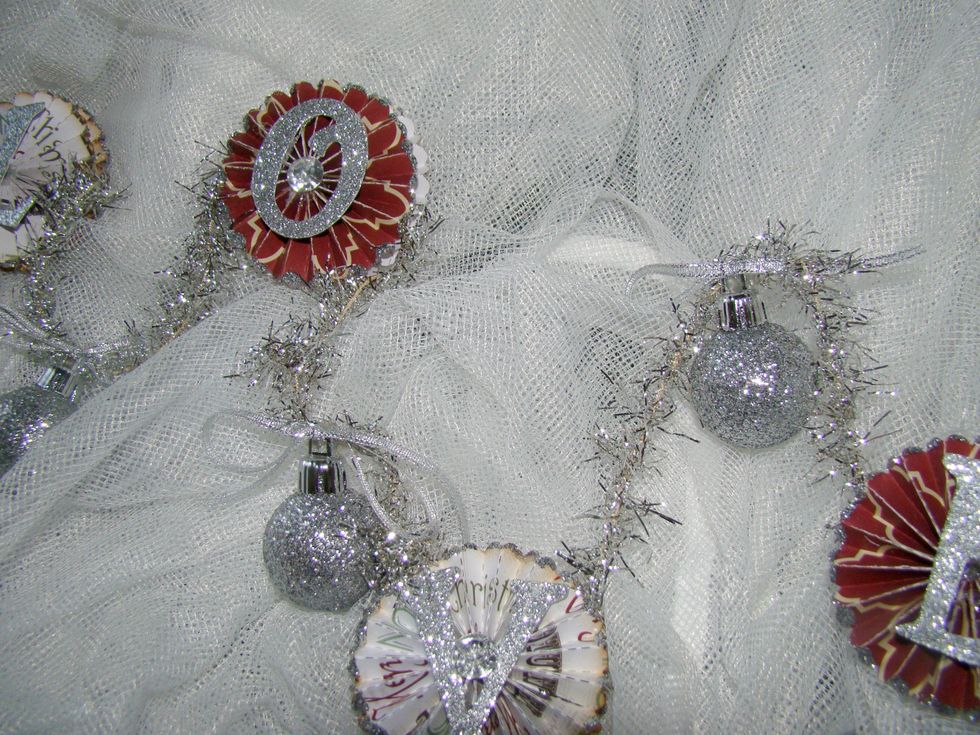
And now, assemble time... Making sure you place a bulb between each rosette, glue your tinsel to your items.
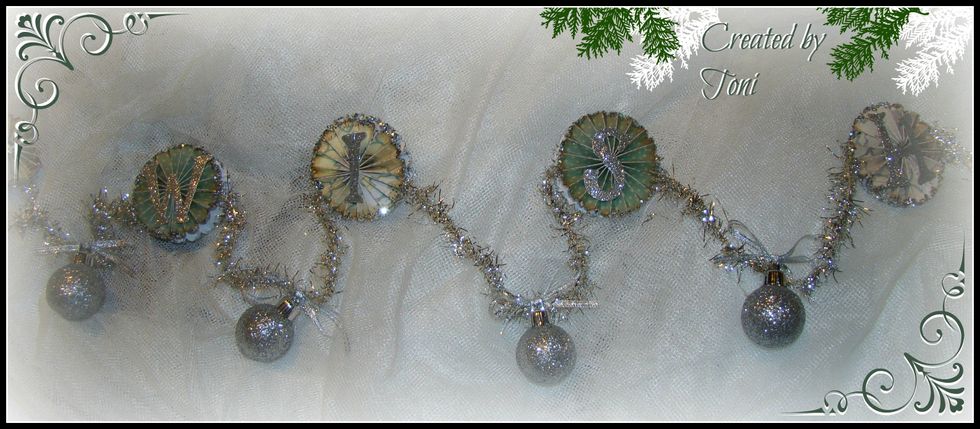
And there you have it...you can also personalize these with the person's name.