The Conversation (0)
Sign Up

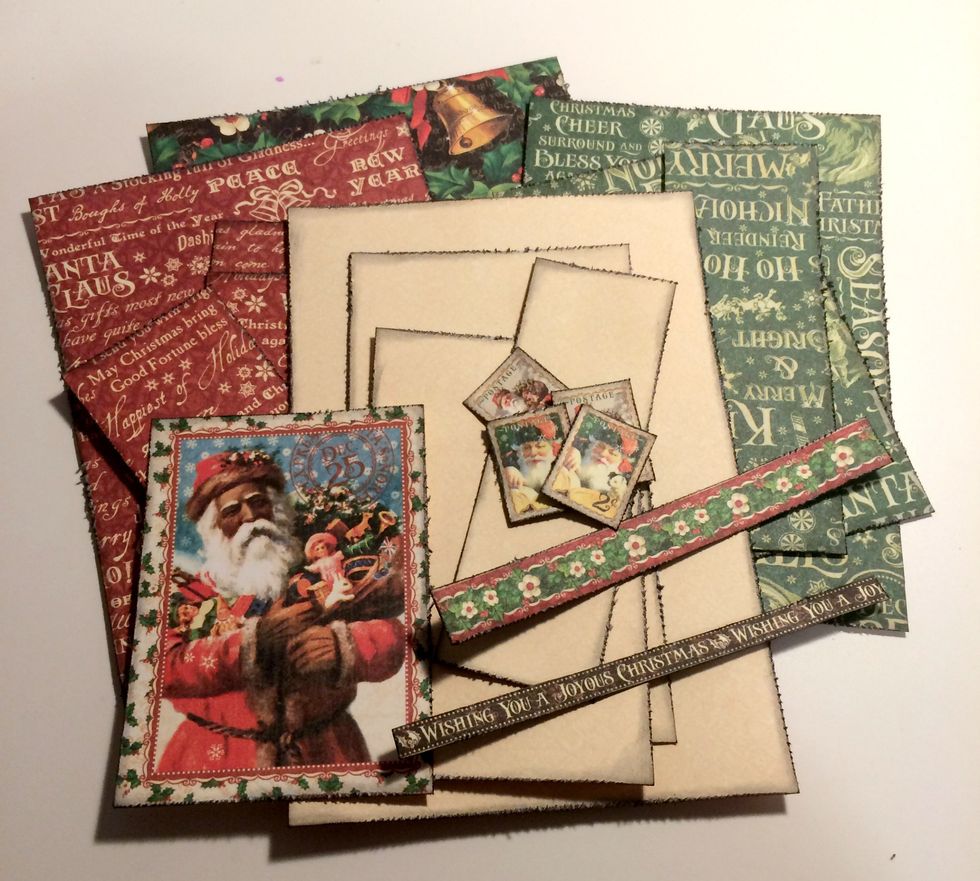
Cut a piece of paper from the Bells and Bow paper that measures 4 7/8" x 6 7/8".
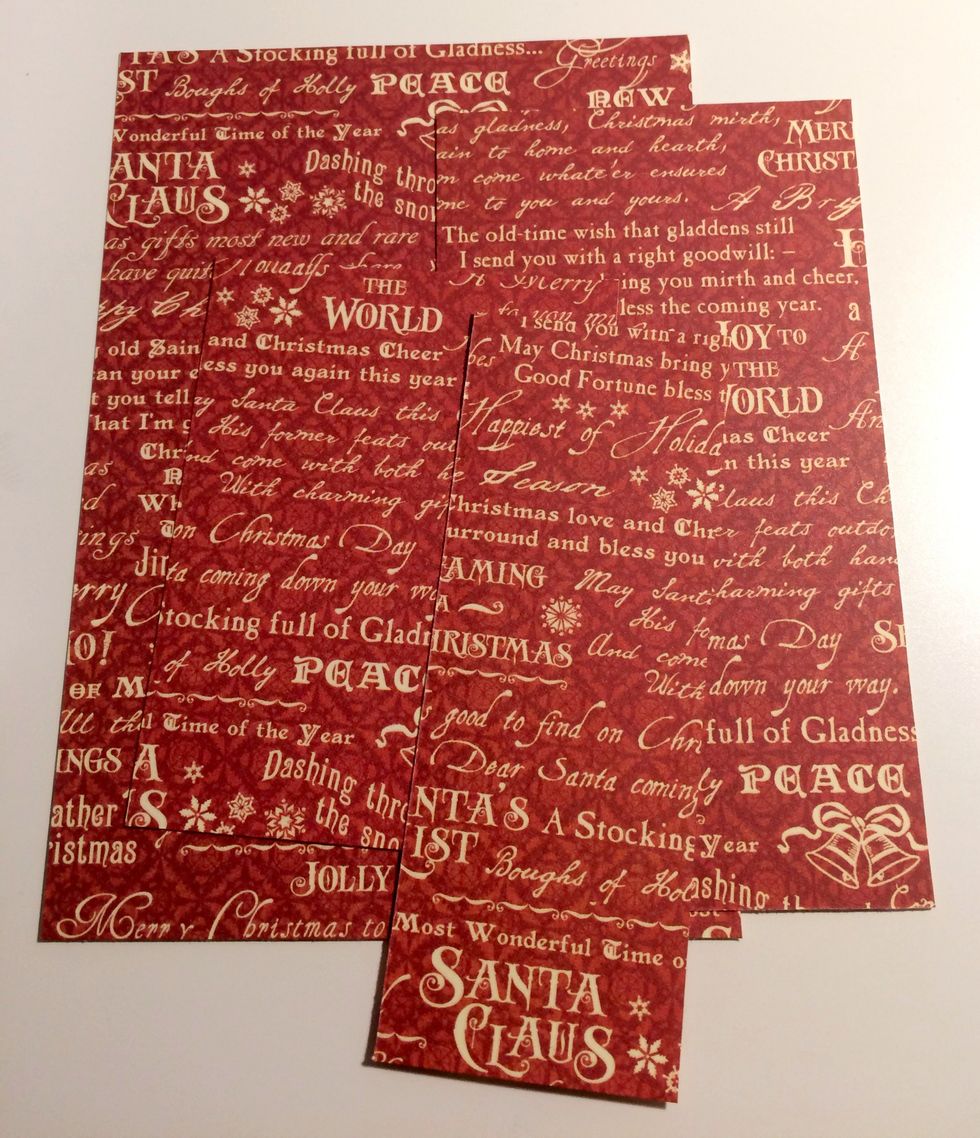
Cut three pieces from the Santa's Workshop paper that measure: 4" x 6", 3 1/4" x 4 1/4" & 1 3/4" x 4 3/4".
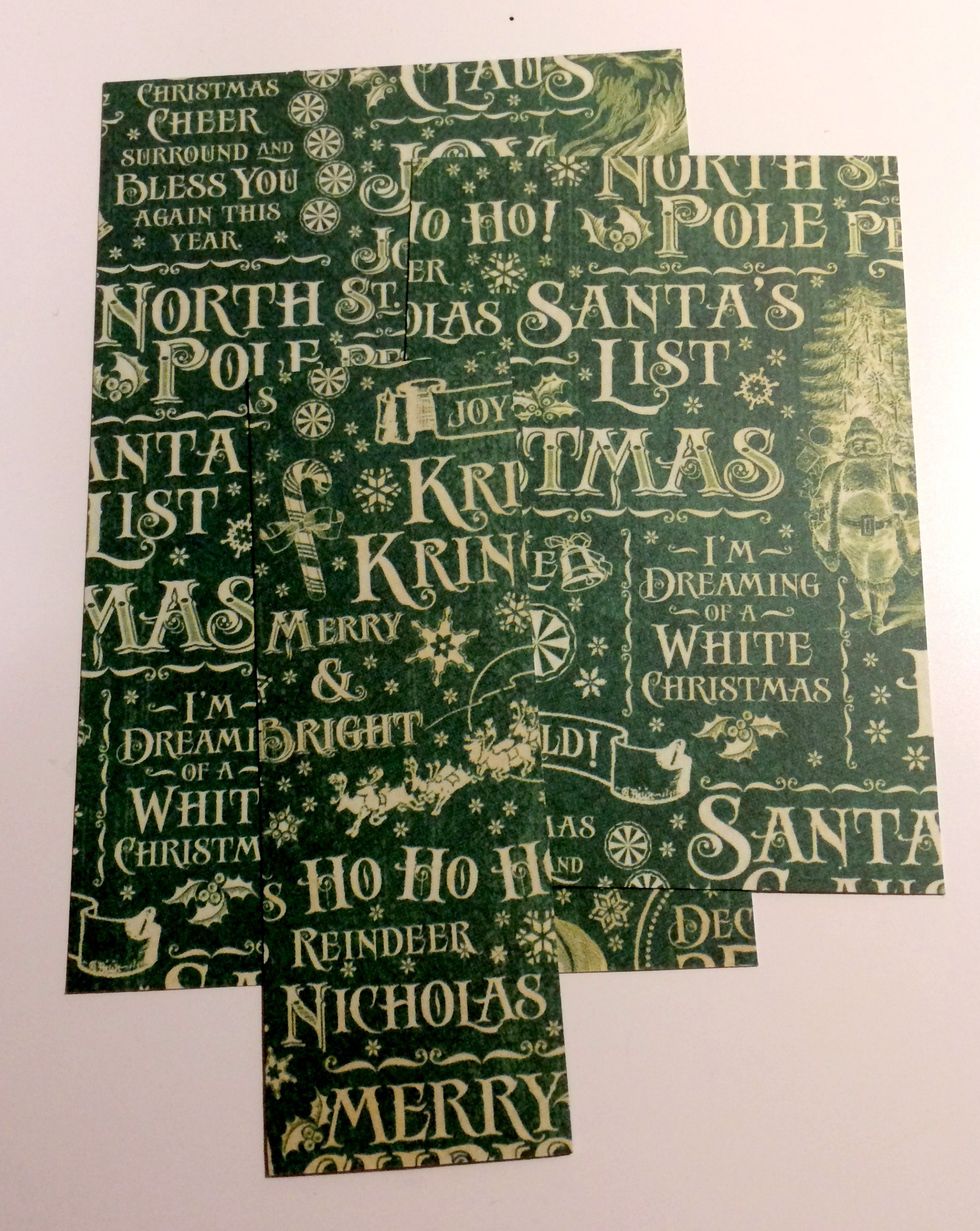
Cut four pieces from the Kris Kringle paper that measure: 4 1/4" x 6 1/4", 3" x 5 1/2" , 1 3/4" x 4 3/4" & 2 7/8" x 3 7/8".
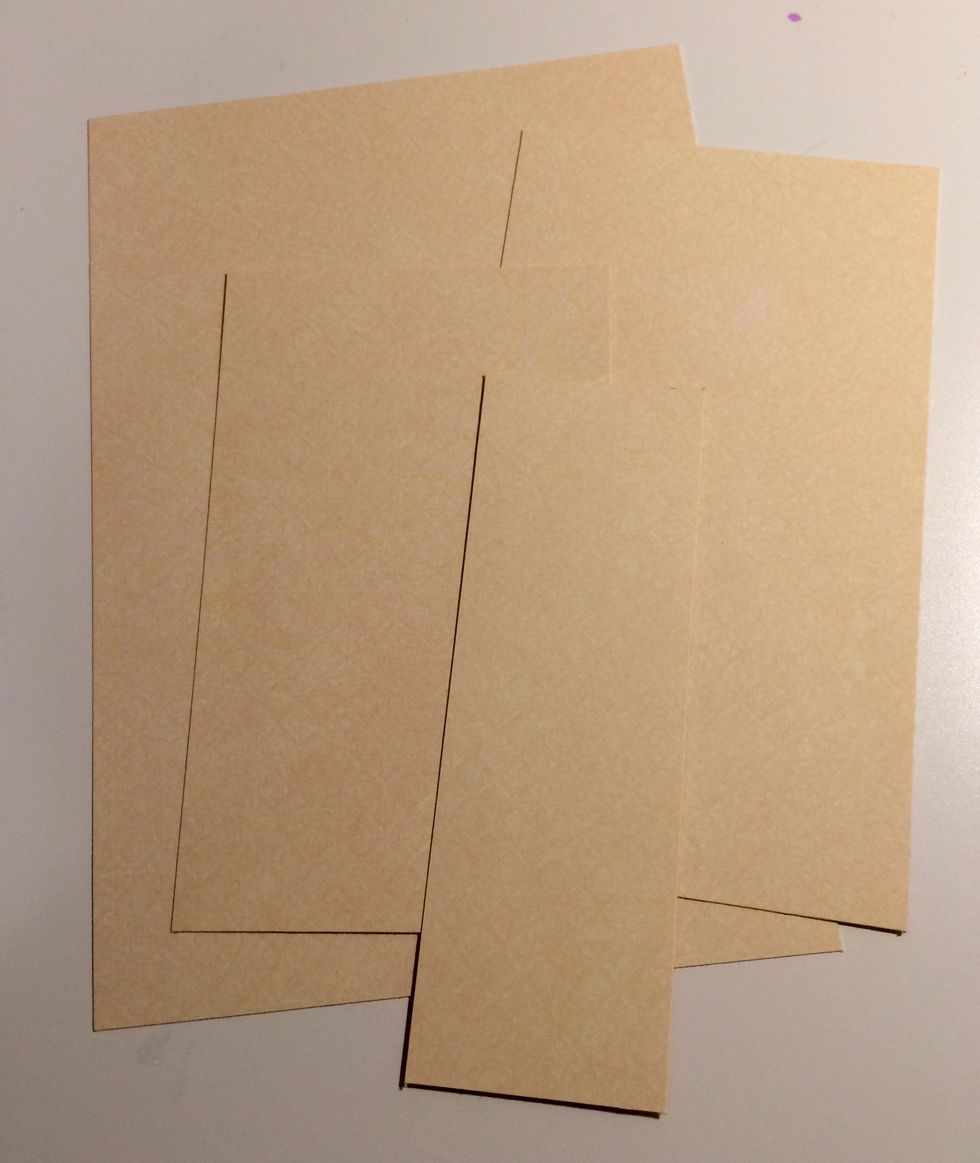
Cut four pieces from the 12x12 Patterns & Solids - St.Nicholas that measure: 4 1/2" x 6 1/2", 3 1/2" x 5 1/4" & 2 1/4" x 4 1/2".
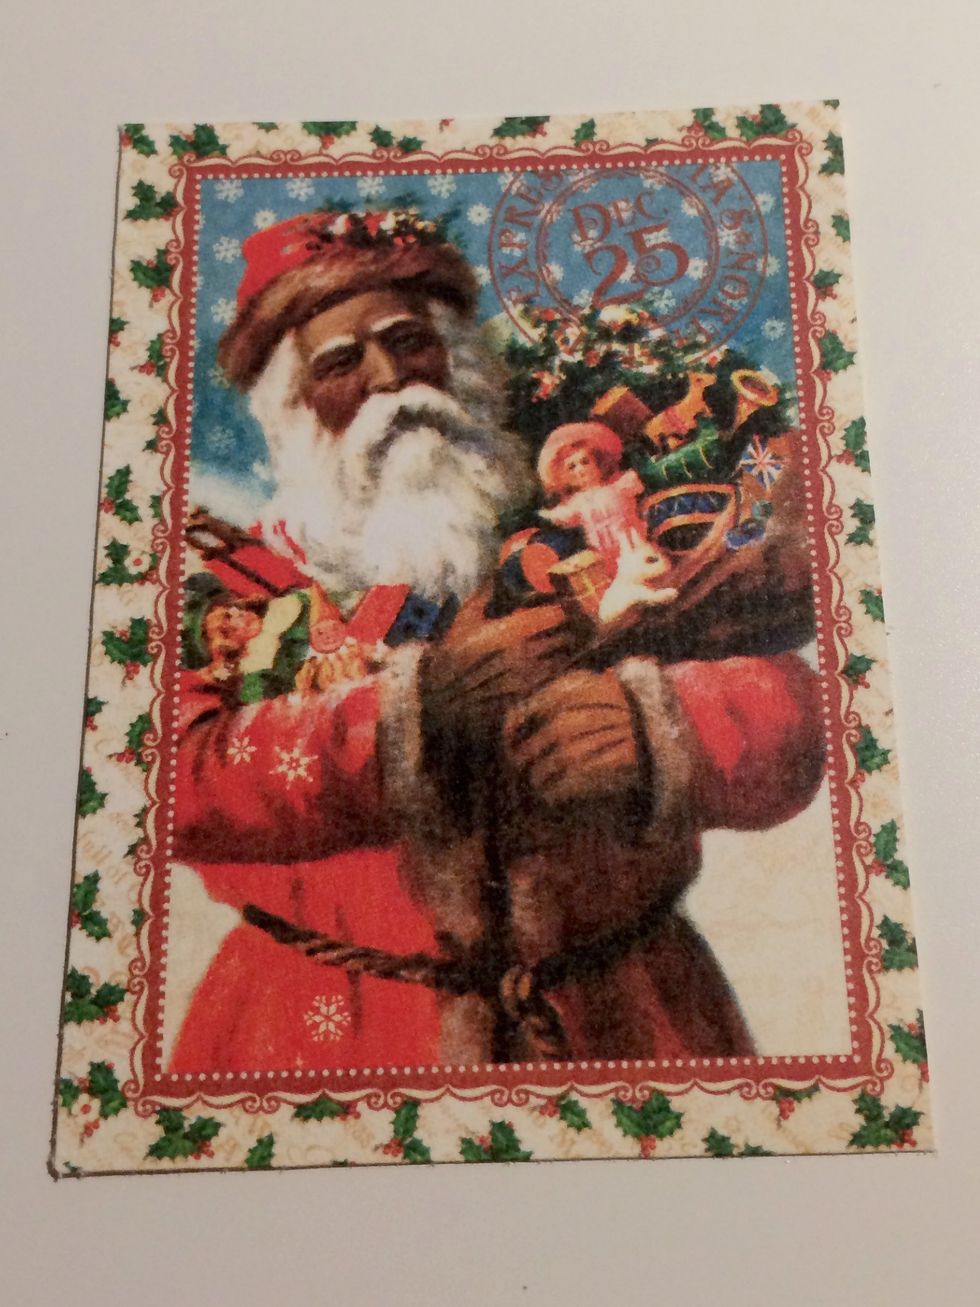
Cut the St. Nicholas ephemera card to 2 5/8" x 3 3/4".
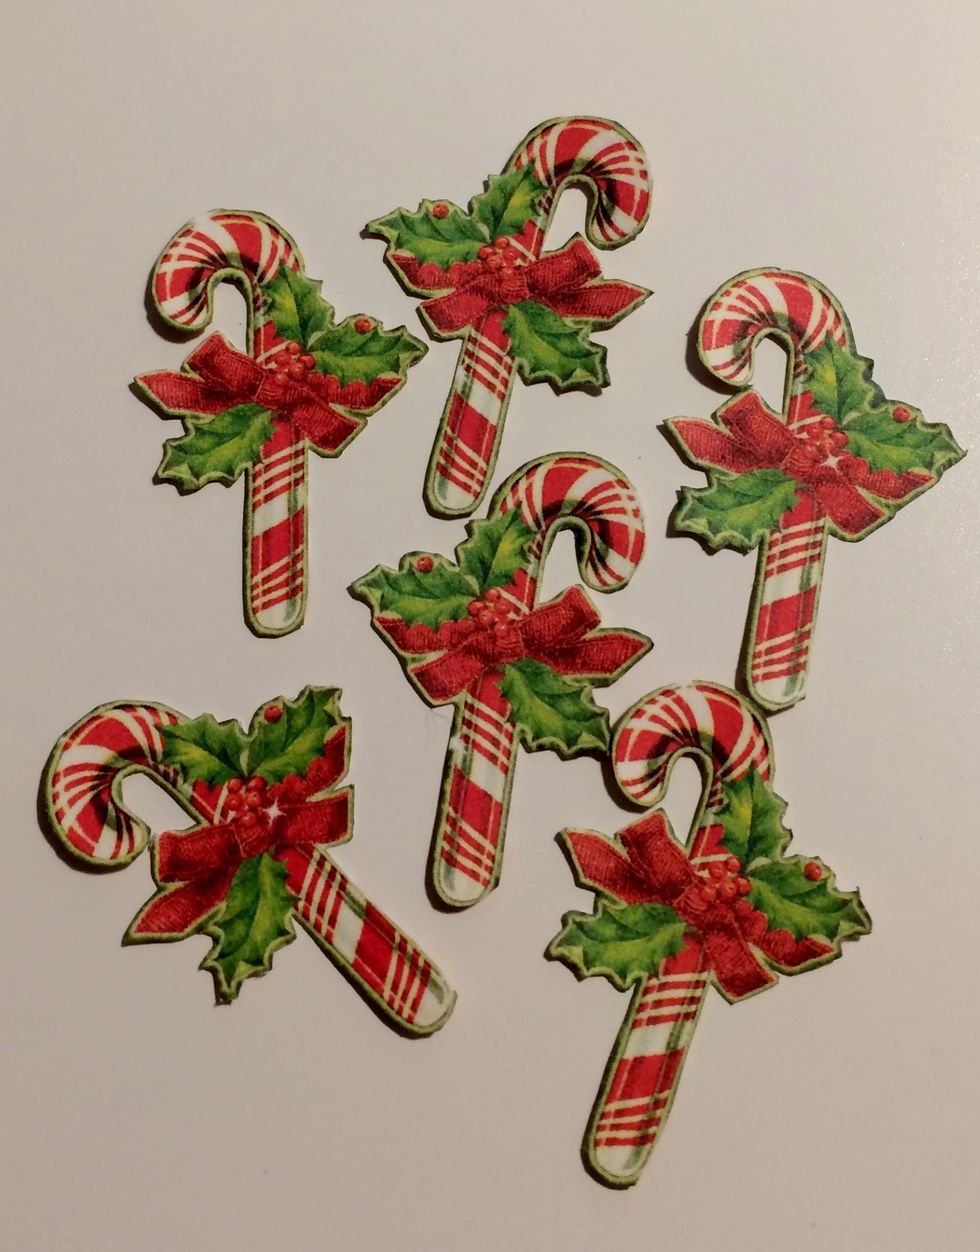
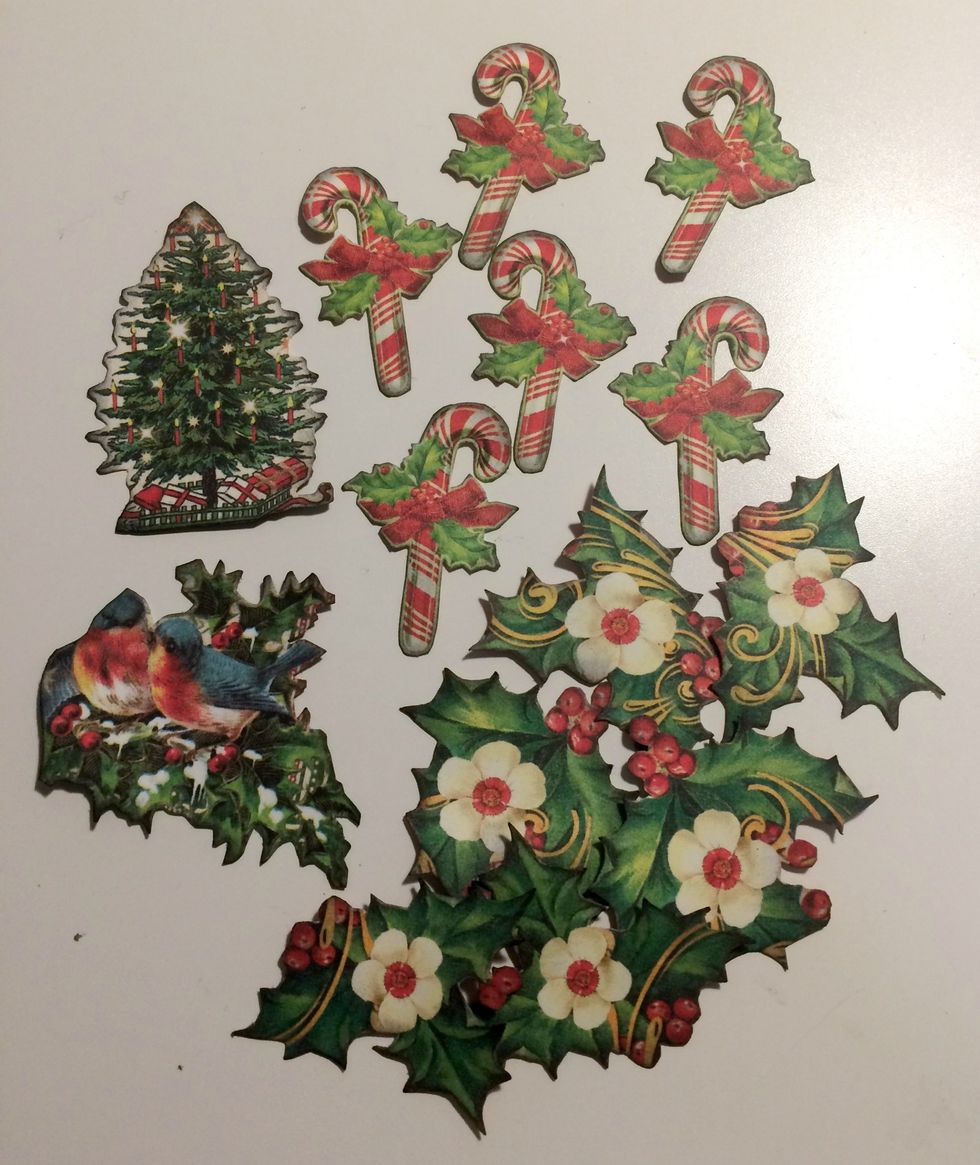
From the Candy Cane Wishes paper, fussy cut six candy canes out.
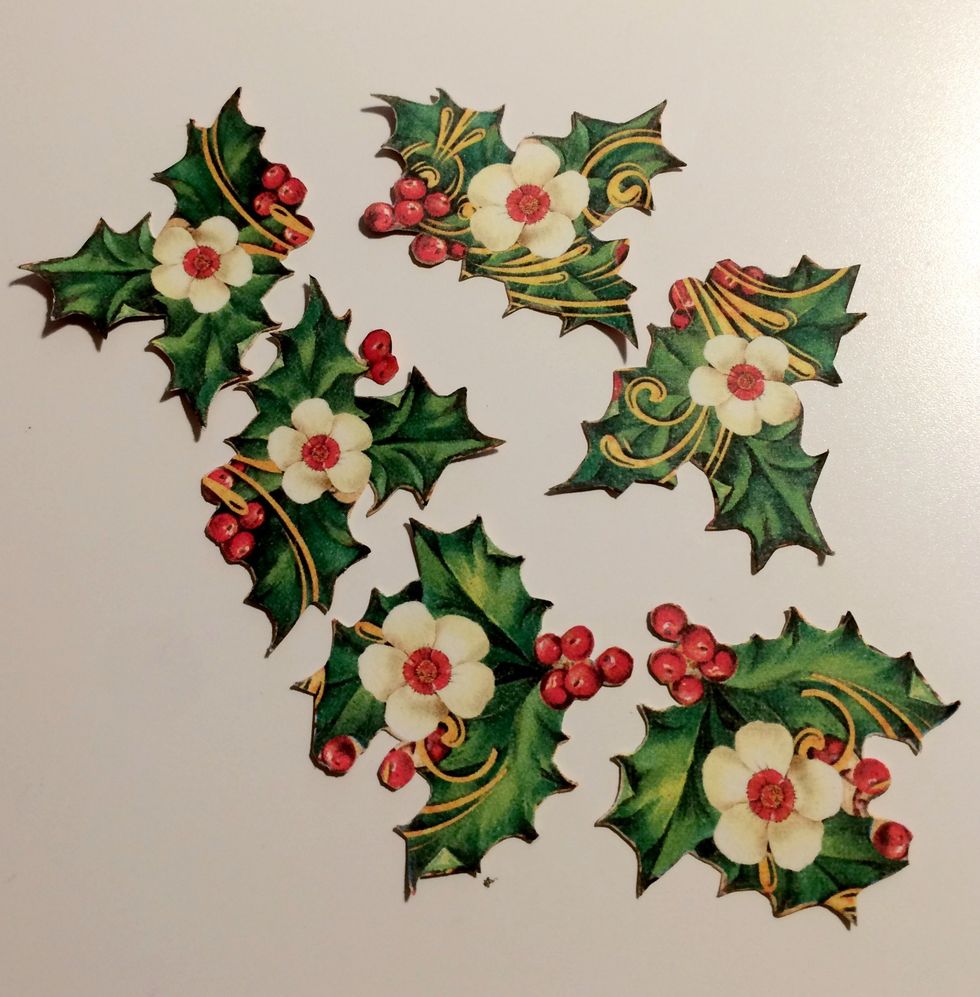
From the St.Nicholas paper, cut six holly bunches out.
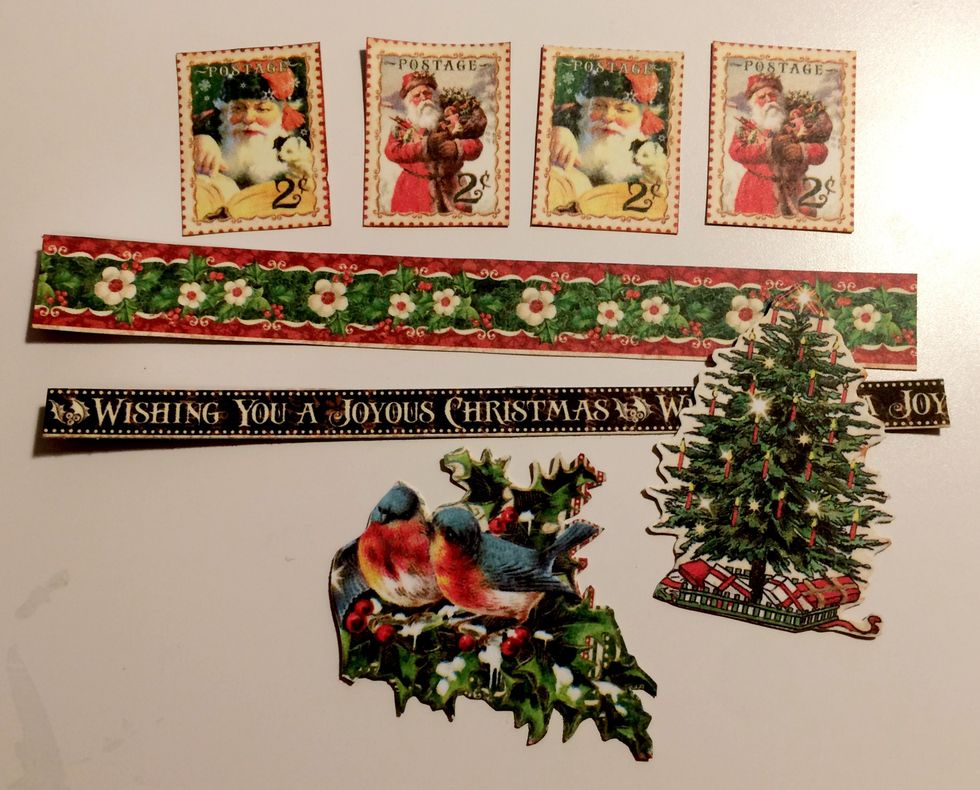
From the Season's Greeting Paper, cut out four stamps, the Christmas Tree and birds in the holly. Trim the flower border and the wishing you a joyous Christmas borders. Cut down the borders to 4 7/8".
With a blending tool, ink the edges of all the fussy cut images using Black Soot Distress Ink.
Using a edge distressor, distress the edges of the patterned paper and borders. Once the edges have been inked, use a blending tool and ink the edges of the papers using Black Soot Distress Ink.
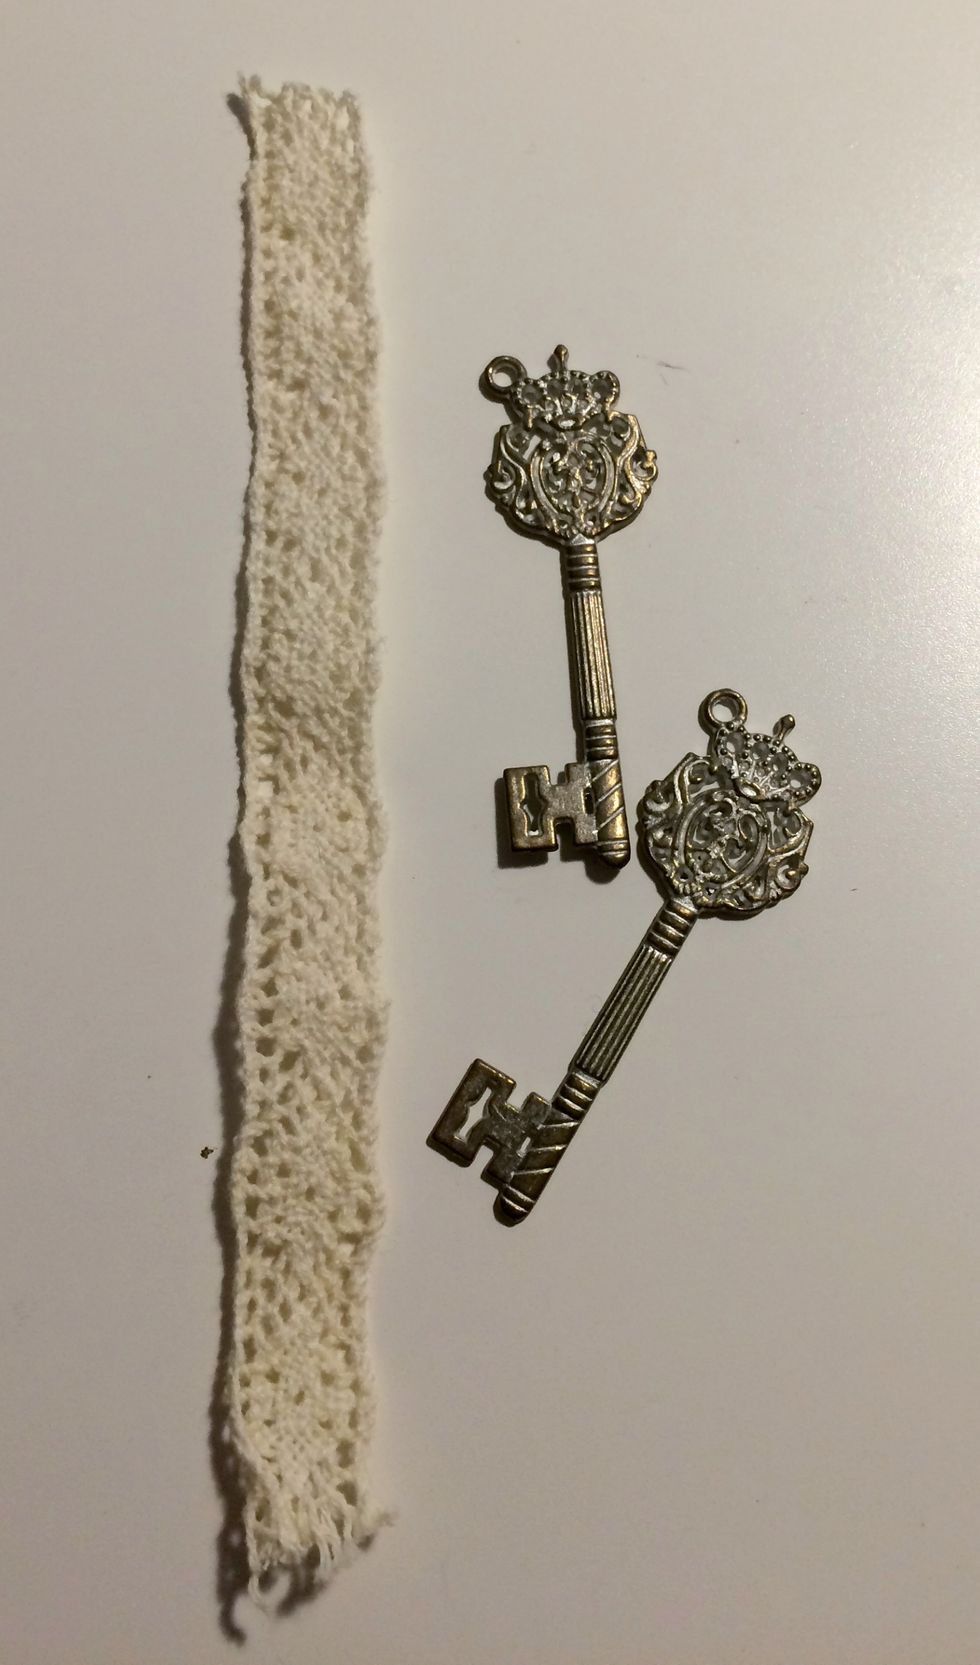
Before assembling the card, choose two shabby chic metal keys and cut a piece of crochet trim to 4 7/8".
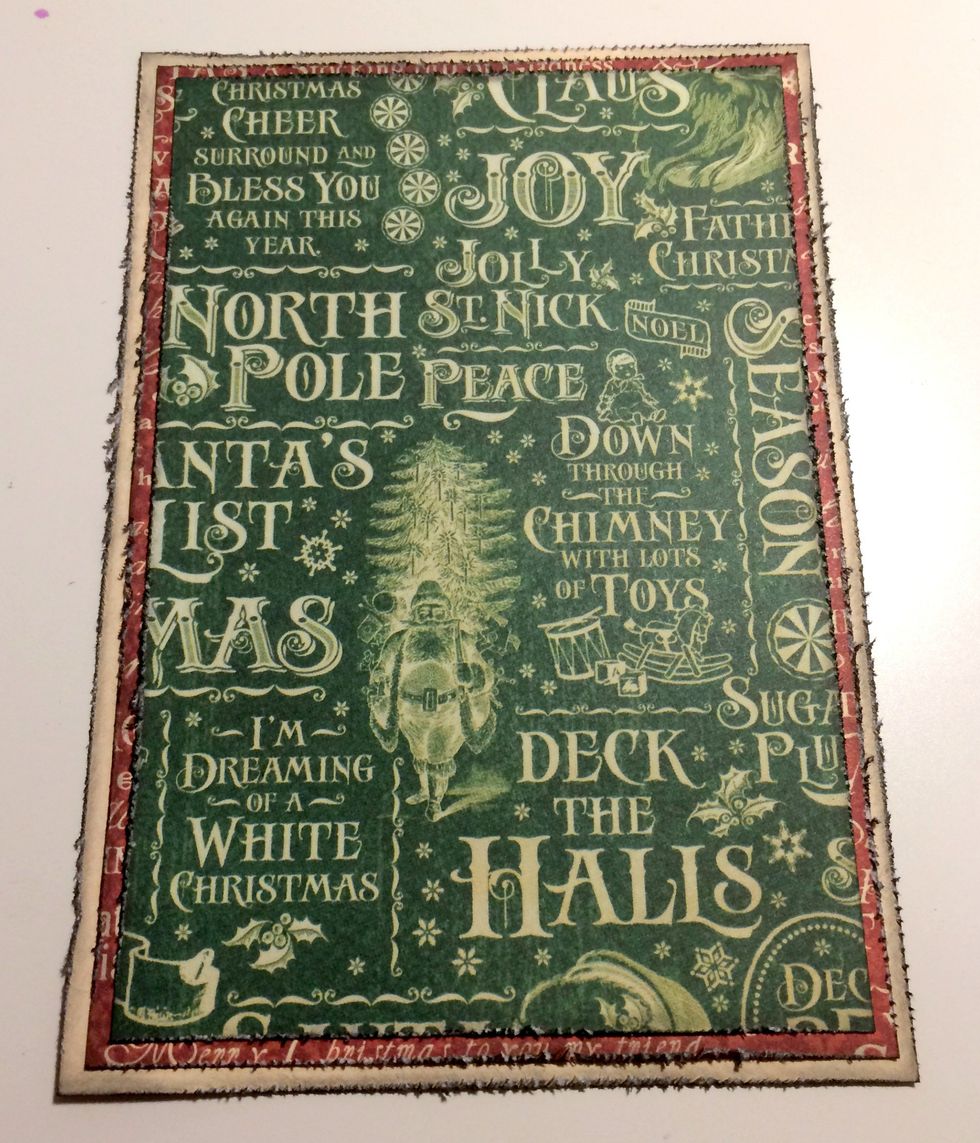
Adhere the large piece of green word patterned paper to the large red word patterned paper. Adhere the large red word patterned paper to the large cream patterned paper.
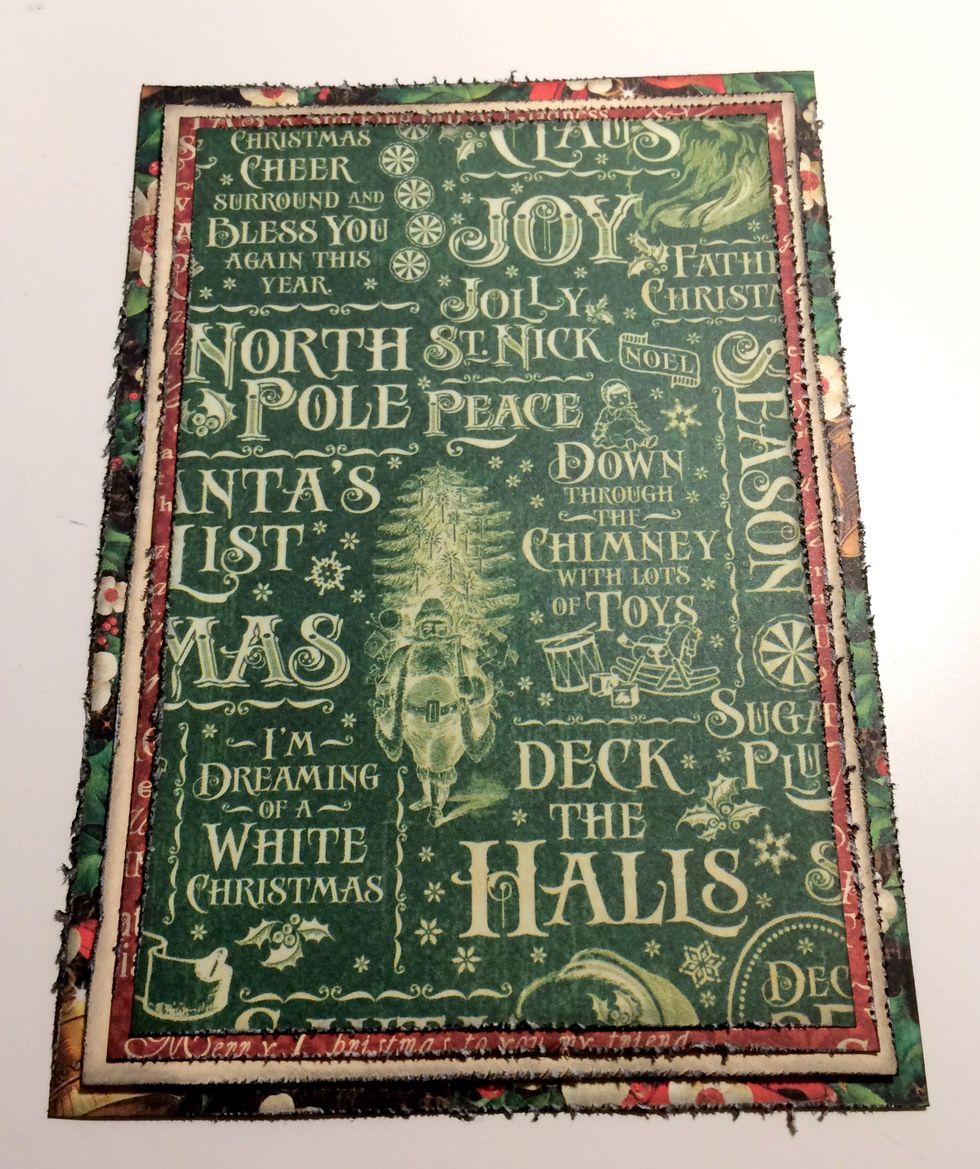
Adhere the large cream patterned paper to the bells and flower paper.
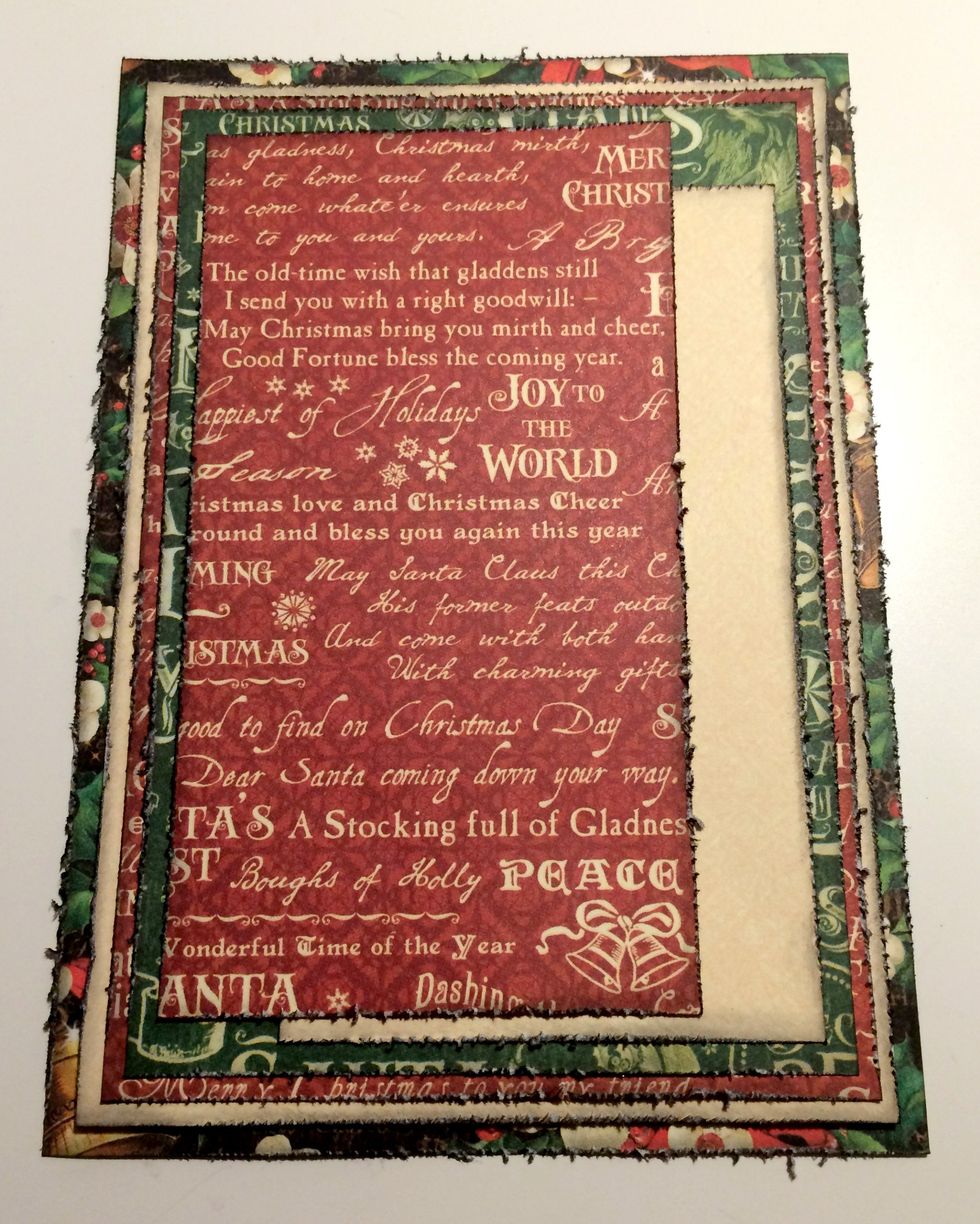
Adhere the medium piece of cream paper 1/4" from the right and bottom of the green word paper. Adhere the medium red word paper 1/4" from the top and left of the green word paper.
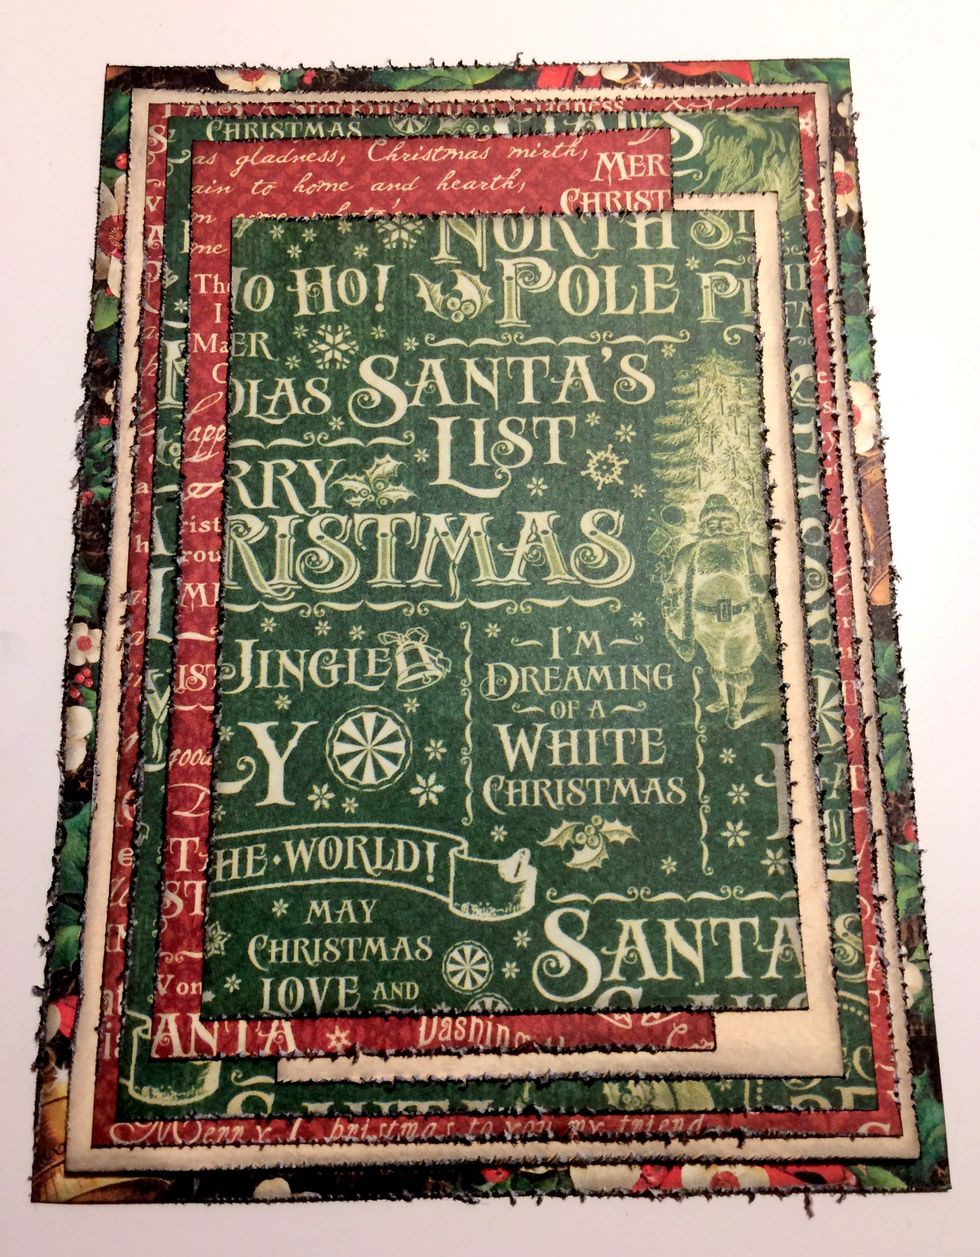
Adhere the medium green word paper to the middle of the cream and red word patterned paper.
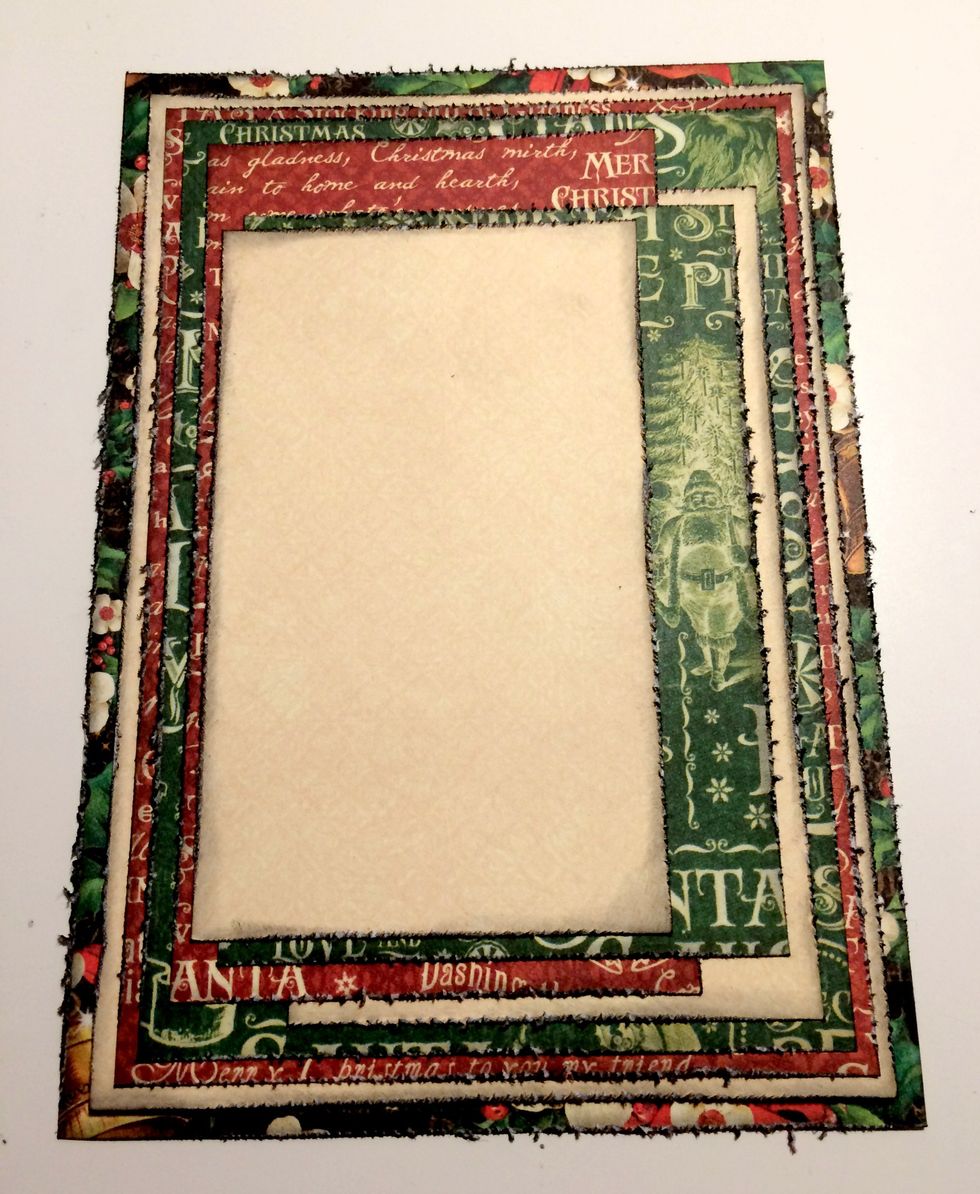
Adhere the small cream patterned paper, 1/8" from the left of the red word patterned paper and 1/4" from the bottom of the green word patterned paper.
Adhere the small red word strip paper 1/8" from the right of the green word piece and 1/8" from the bottom of the cream paper. Adhere the green word paper 1/8" from the left of the cream paper.

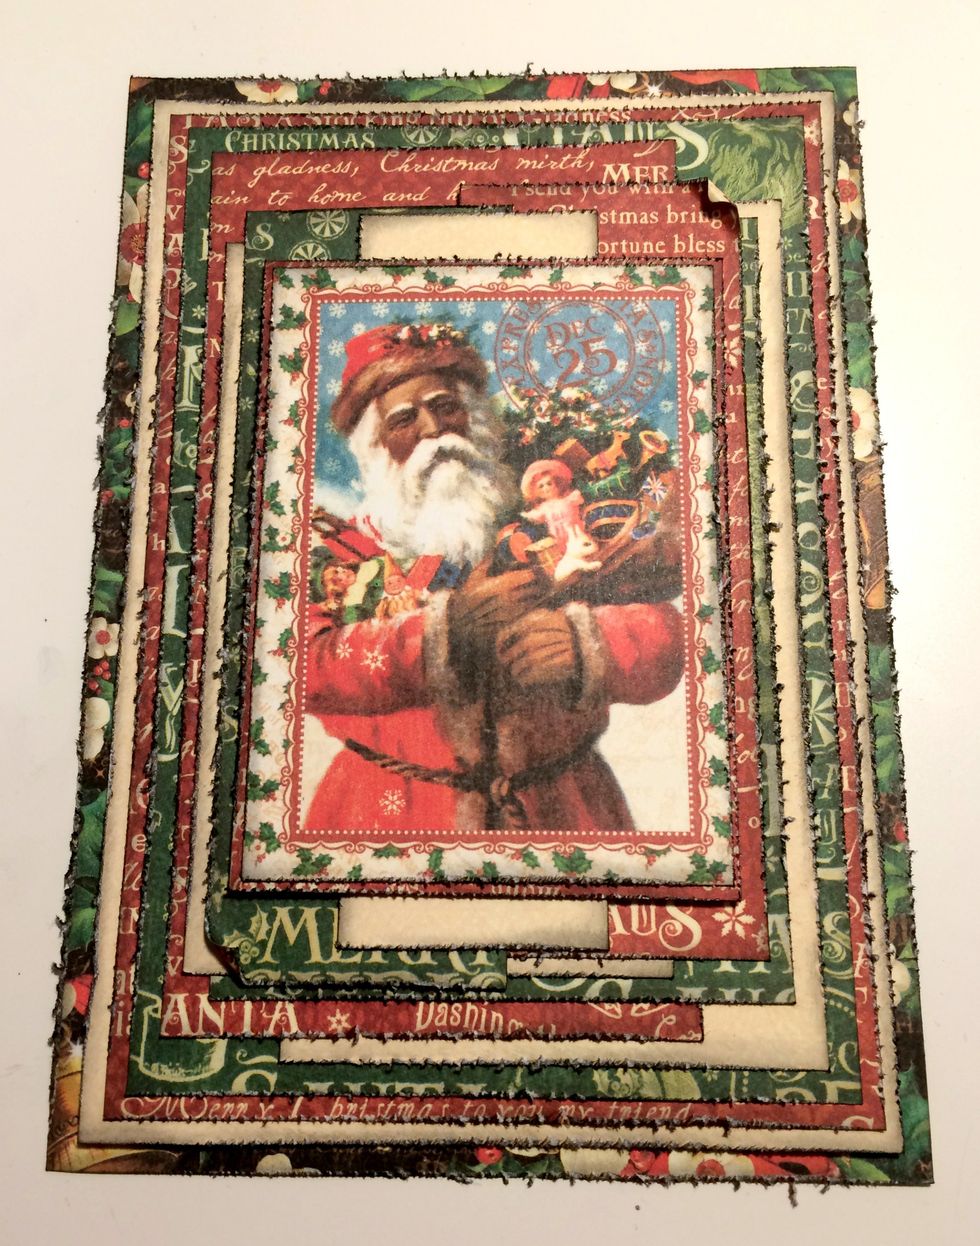
Adhere cream paper strip to red & green word strips. Adhere the St.Nick card to the red word paper. Foam square the red paper to the middle of the card. Roll corners down on the red & green strips.
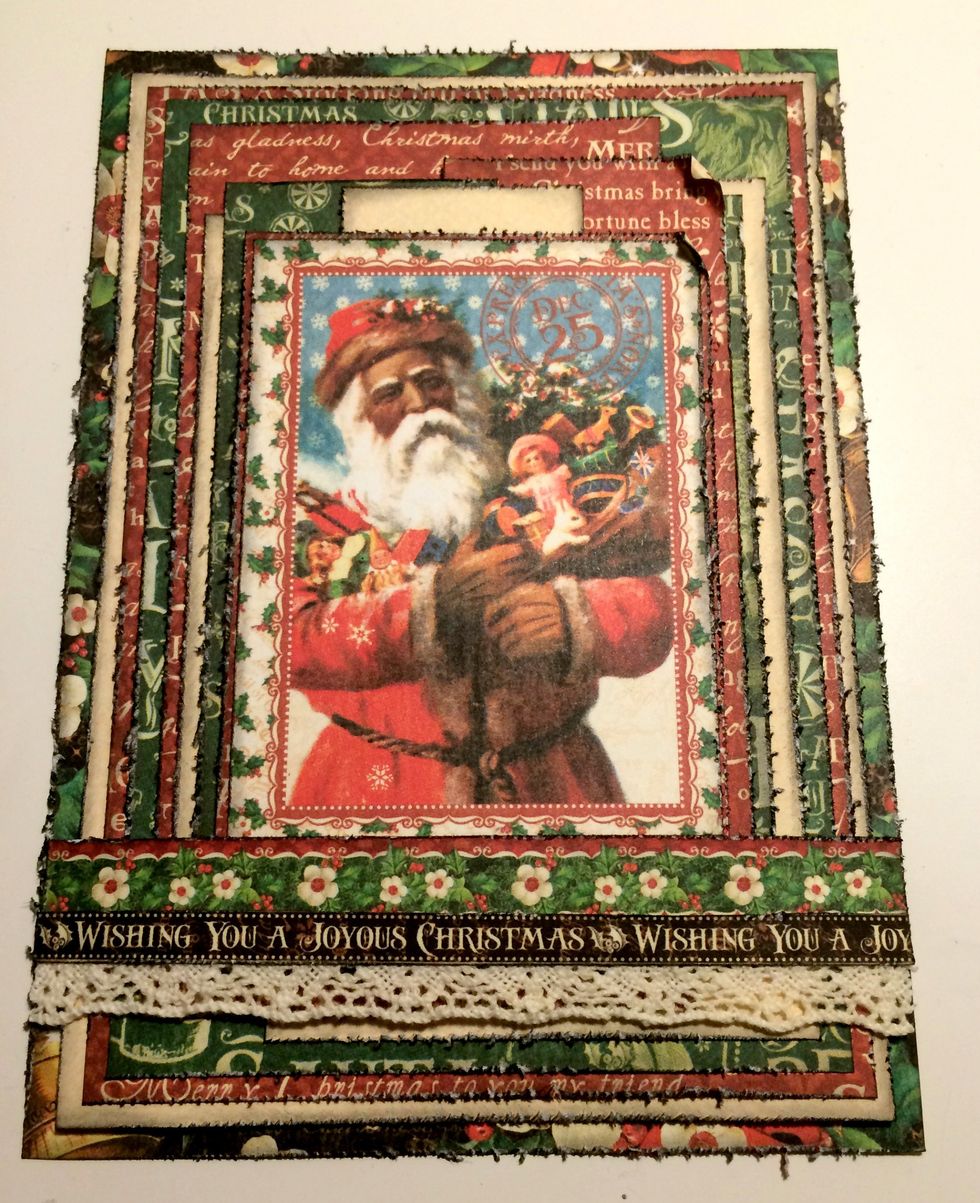
Adhere the Joyous border to the flower border. Adhere the crochet trim to the back of the borders. Adhere the borders and the lace trim 3/4" from the bottom of the bells and flowers paper.
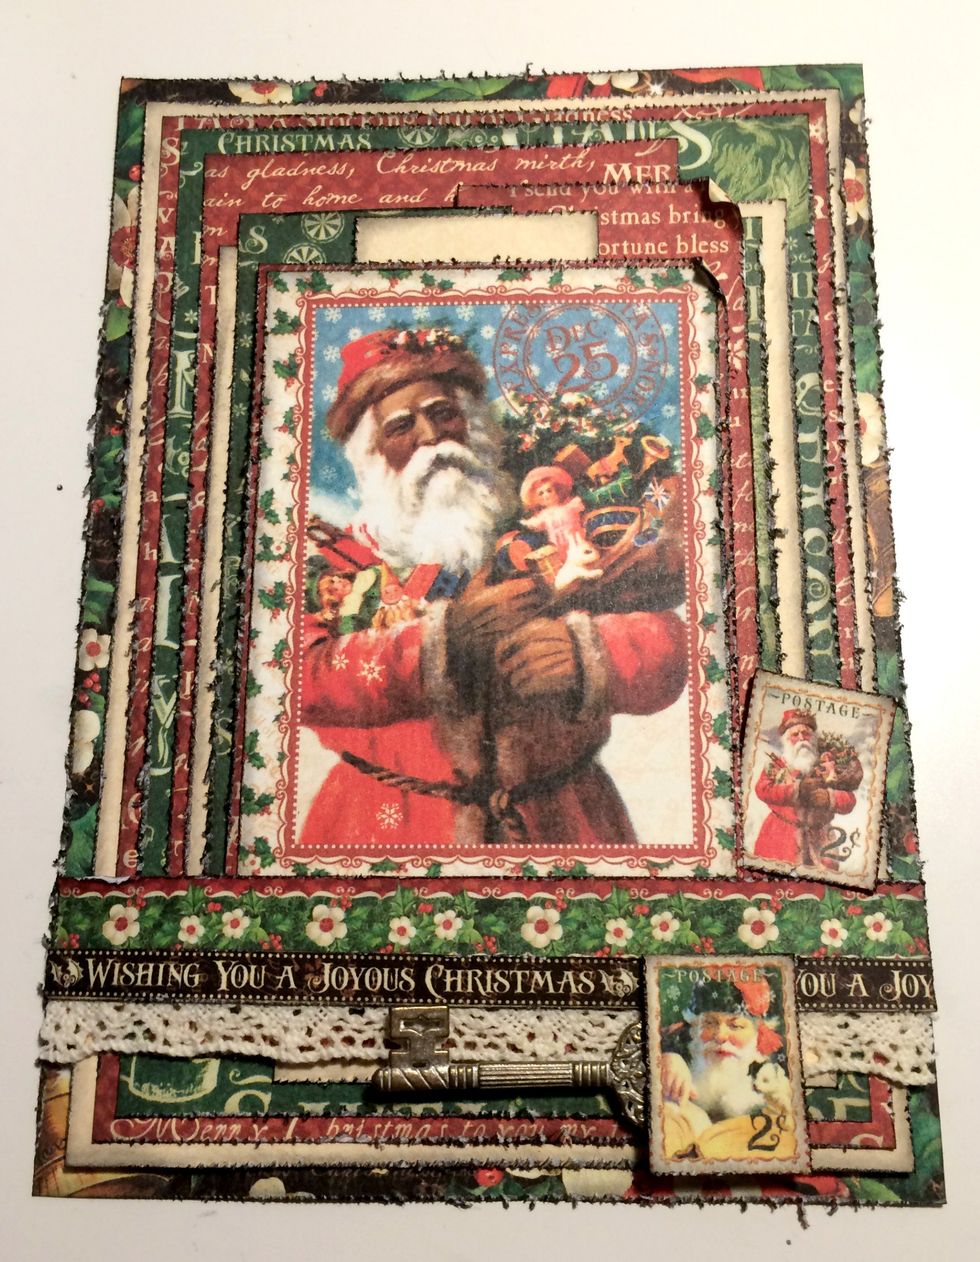
Adhere a key 1 1/4" from the flower & bells paper. Adhere the first stamp 1/8" from the right of the flower paper. Adhere a second stamp 1/8" from the bottom & 3/4" from the right of the flower paper.
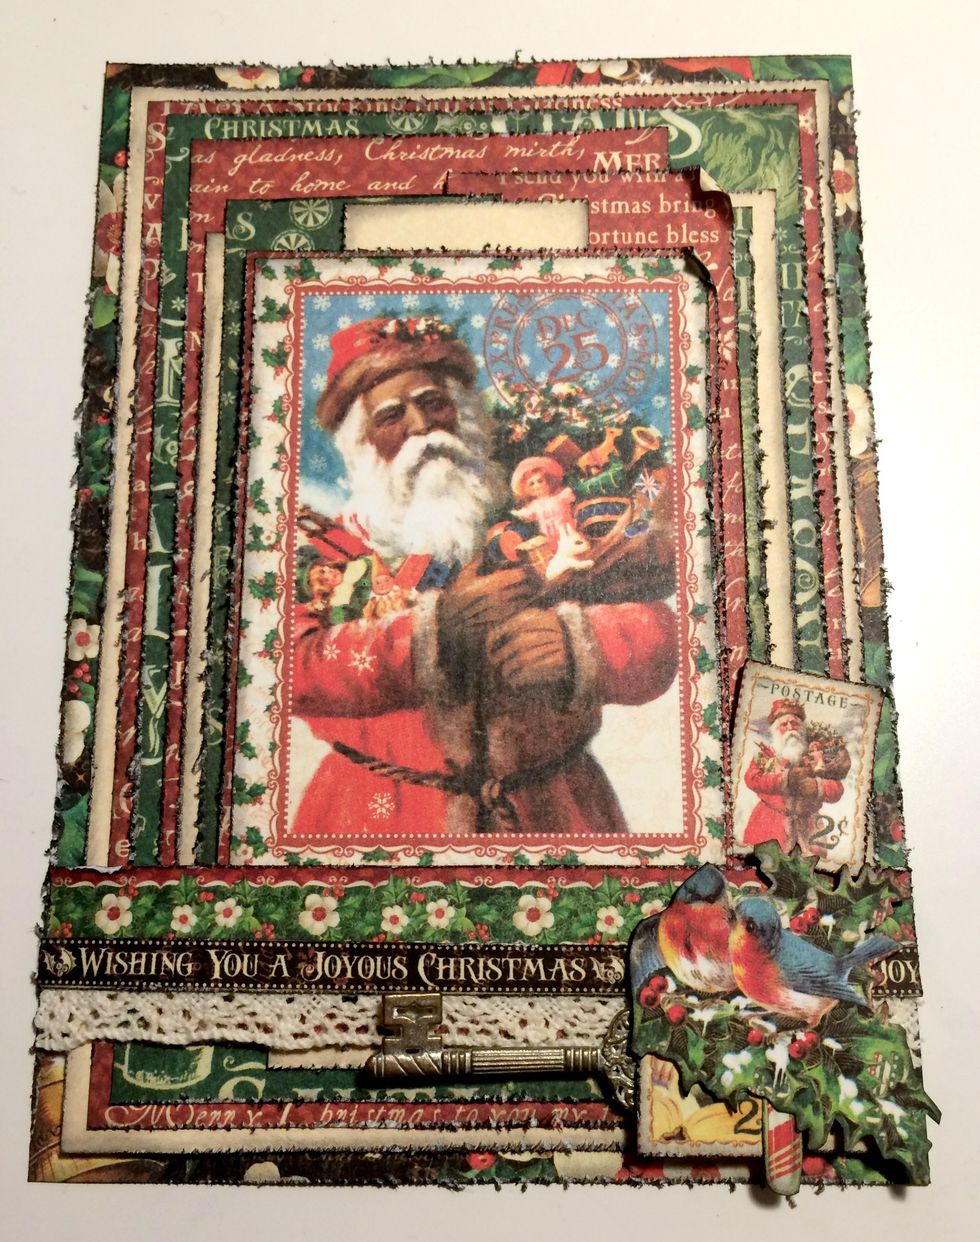
Adhere a candy cane to the right of the bottom stamp. Note: I decided not to add the birds in the holly in between the two stamps on my final card.
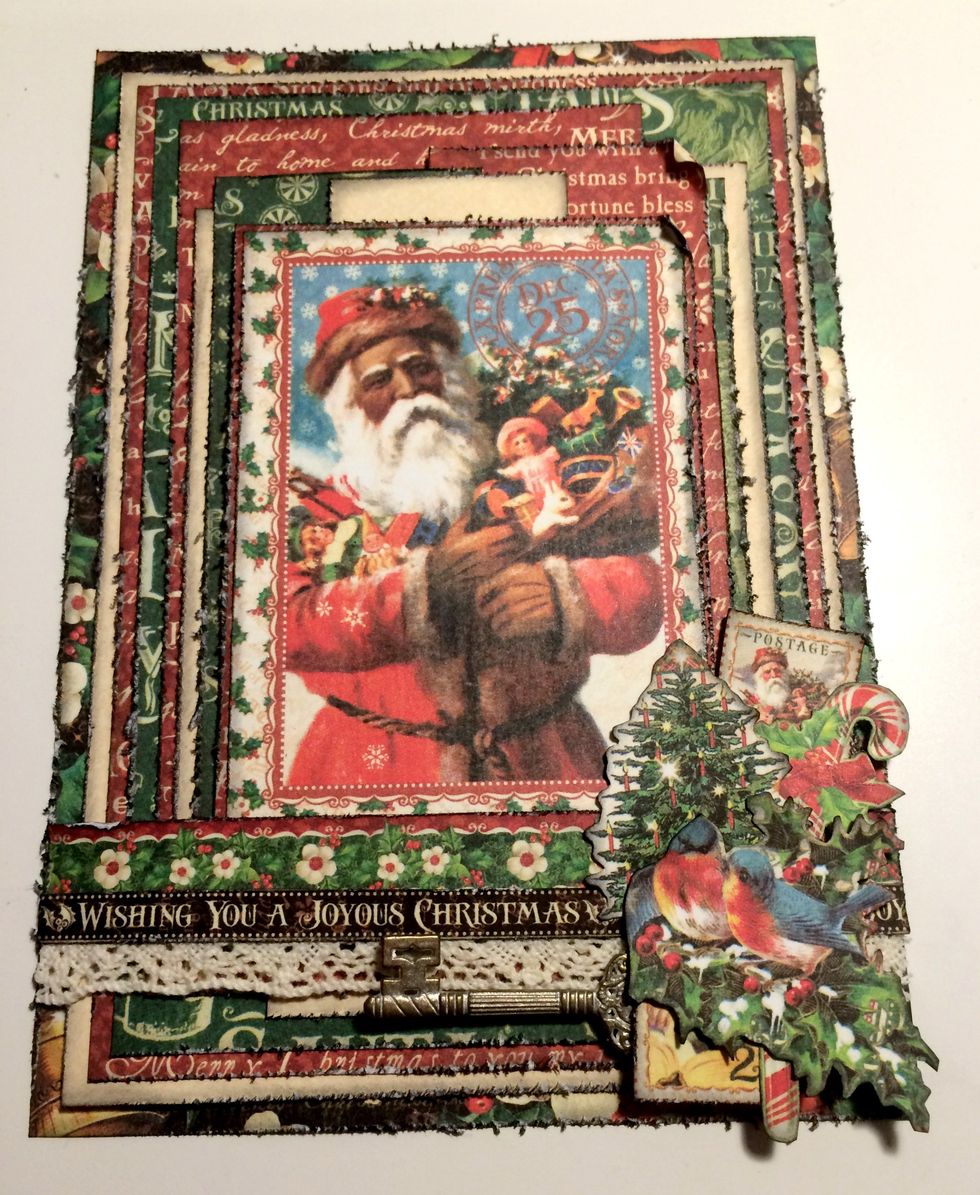
Adhere a candy cane to the right of the top stamp. Note: I decided not to add the Christmas Tree in the final card.
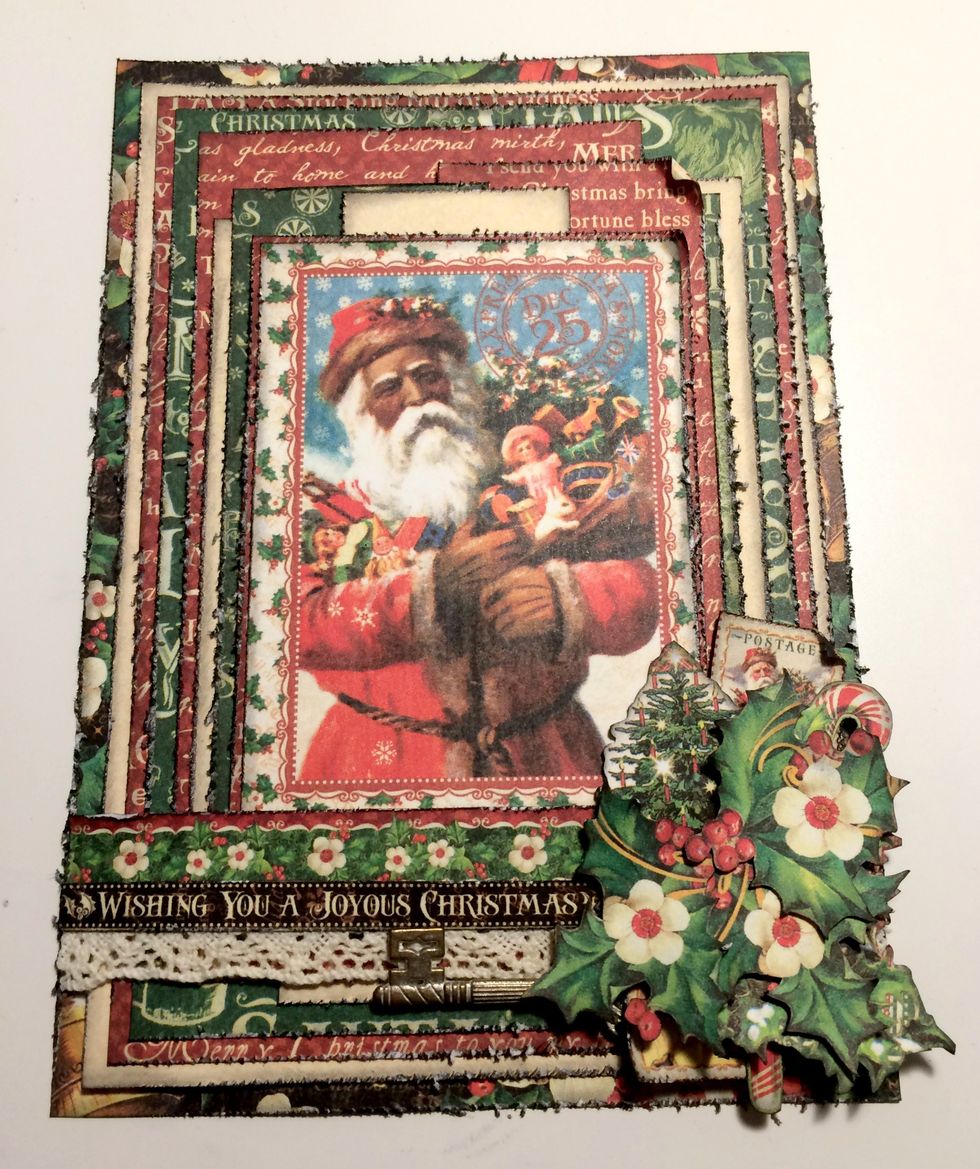
Foam square three holly bundles overtop of the stamps and candy canes. Roll one corner down on each stamp.
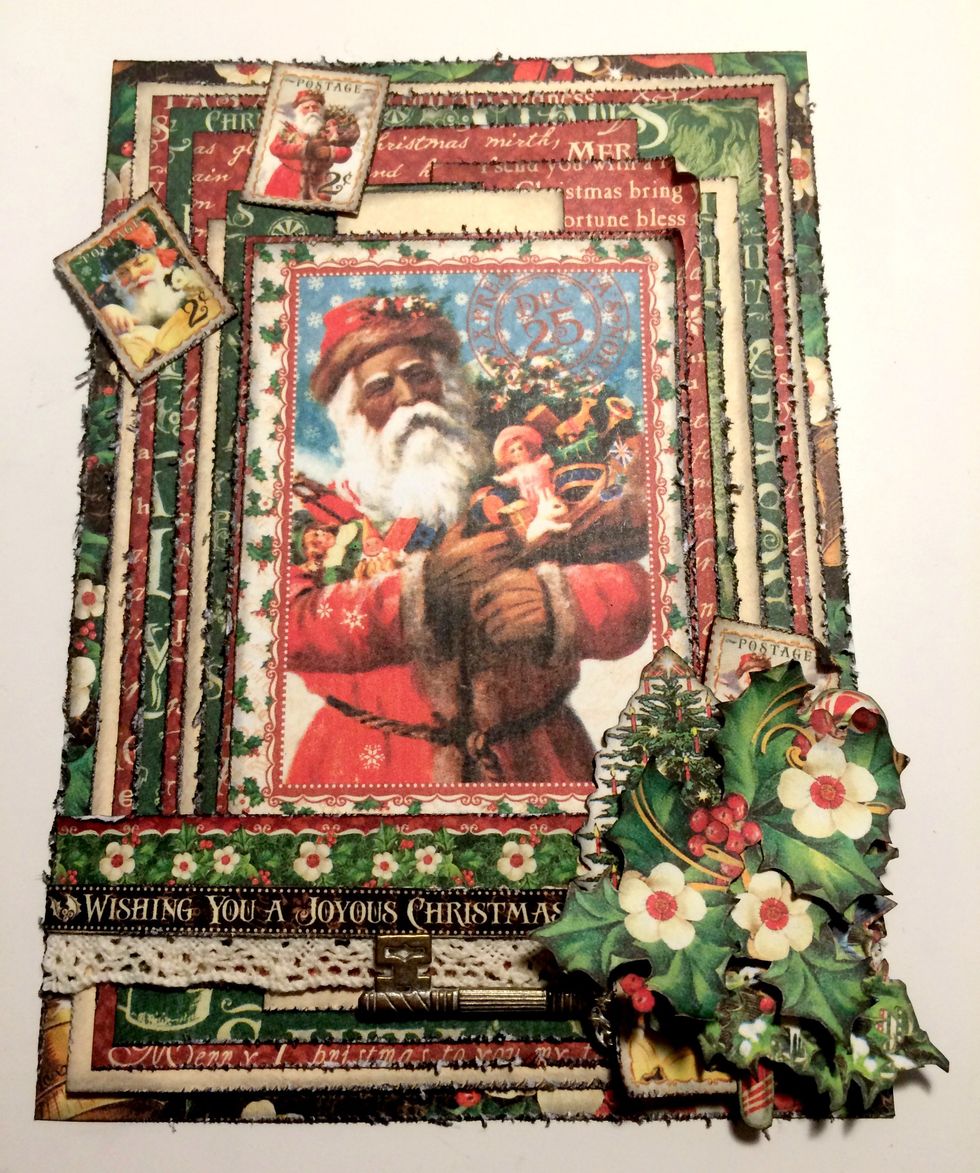
In the top left hand corner adhere one stamp 1/8" from the top & 1 1/4" from the left of flower paper. Adhere the second stamp 1" from the top of the flower paper. Roll one corner down on each stamp.

Adhere a key 1 1/2" from left of the flower paper. Adhere a candy cane to the right of top stamp. Adhere a candy cane to the right of left stamp. Adhere a candy cane in the middle of both candy canes.
Foam square three holly bunches overtop of the stamps and candy canes.
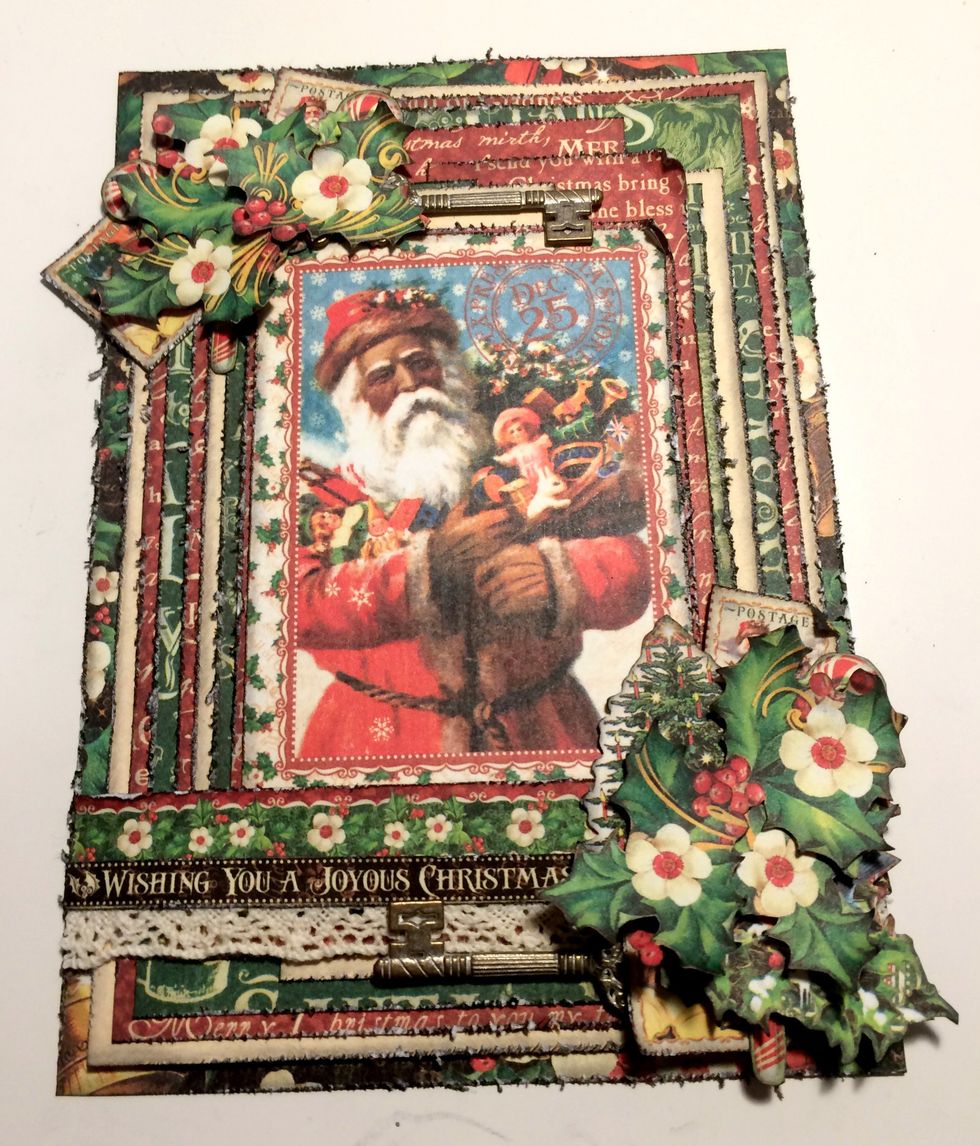
Roll the top right hand corner down on the St.Nicholas card.
Cut a card base out of black cardstock that measures 5" x 7". Adhere the card front to the card base.
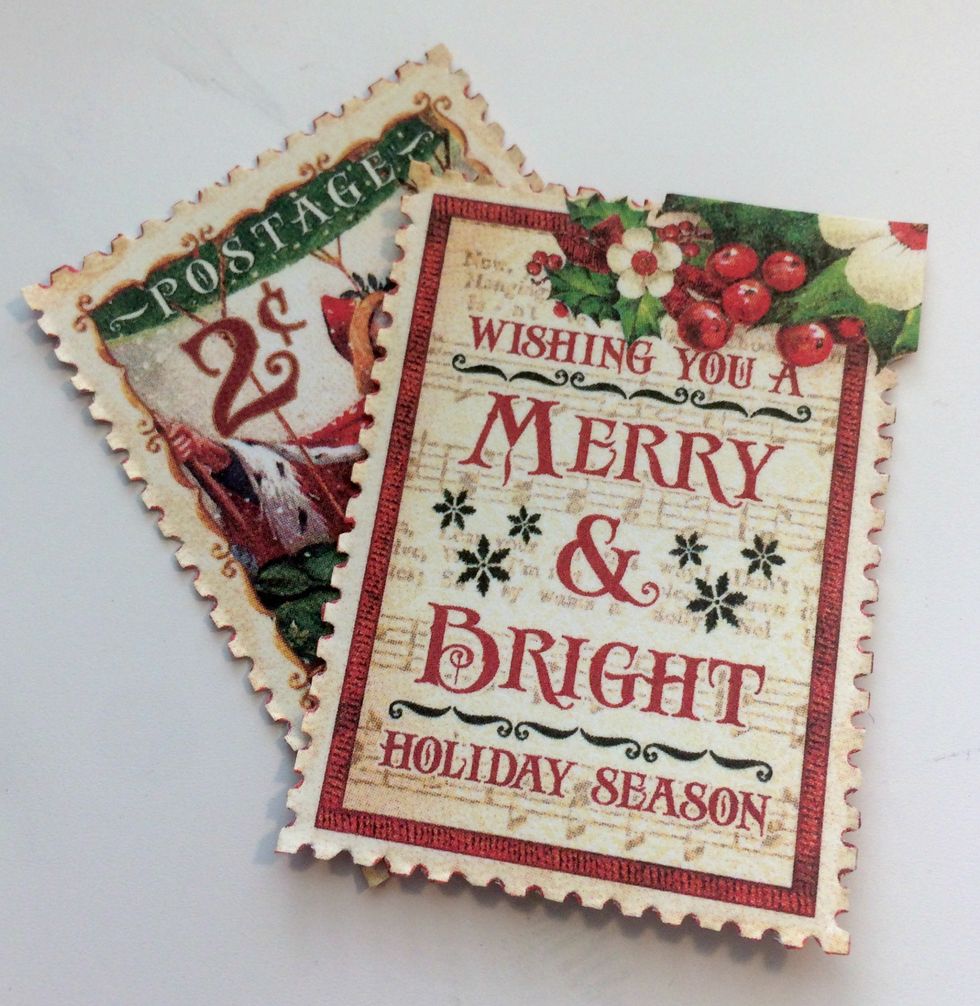
For the inside of the card, fussy cut two postage stamps out from the St. Nicholas paper.
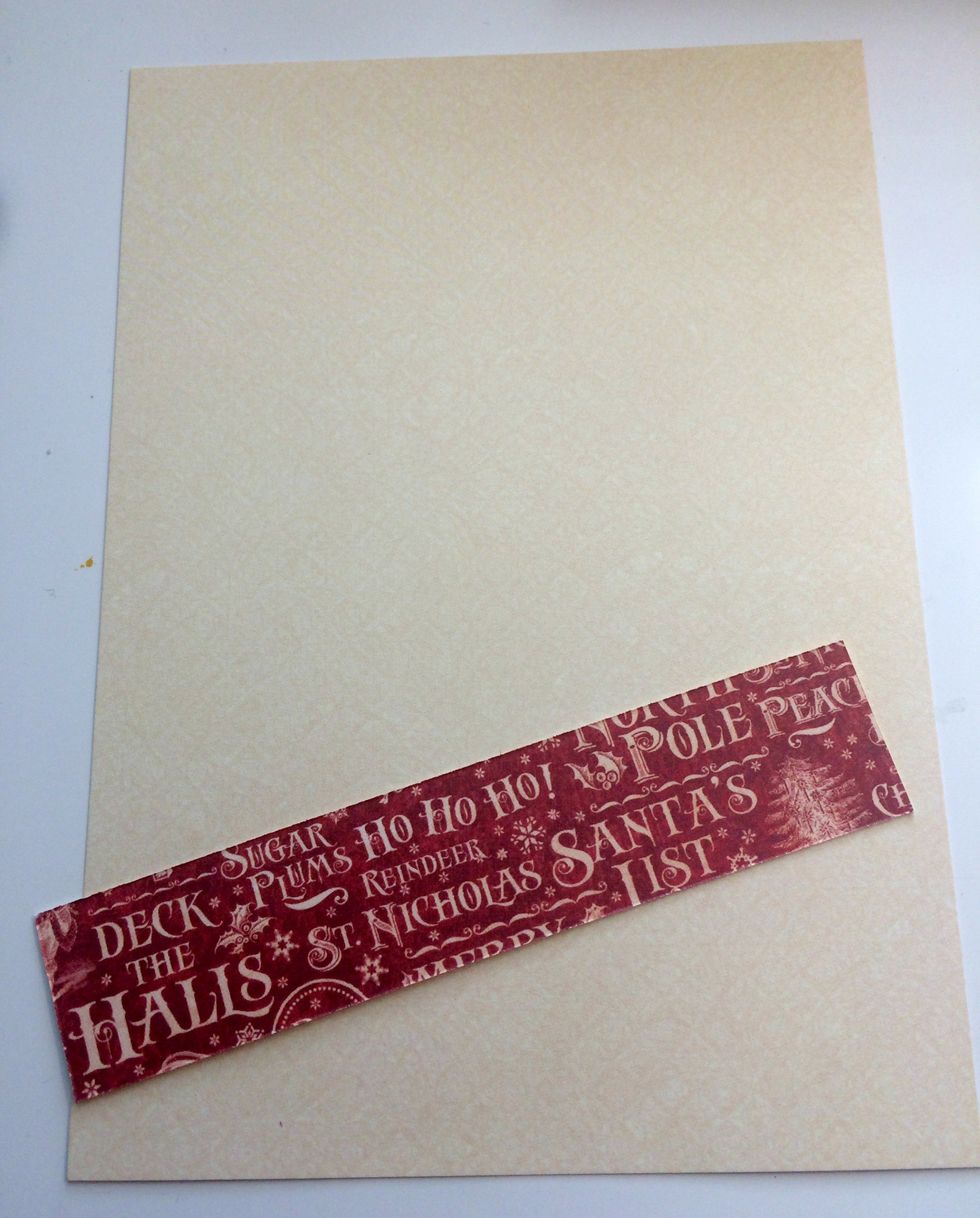
Cut a piece of cream patterned paper that measures 4 7/8" x 6 7/8". From the reverse side, cut a piece that measures 1" x 4 7/8".
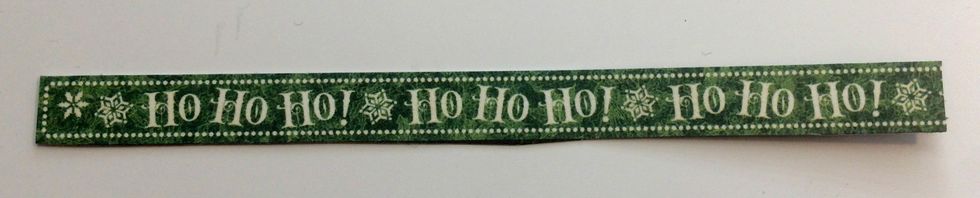
From the Season's Greeting paper, cut out the Ho Ho Ho border. Cut the border down to 4 7/8".
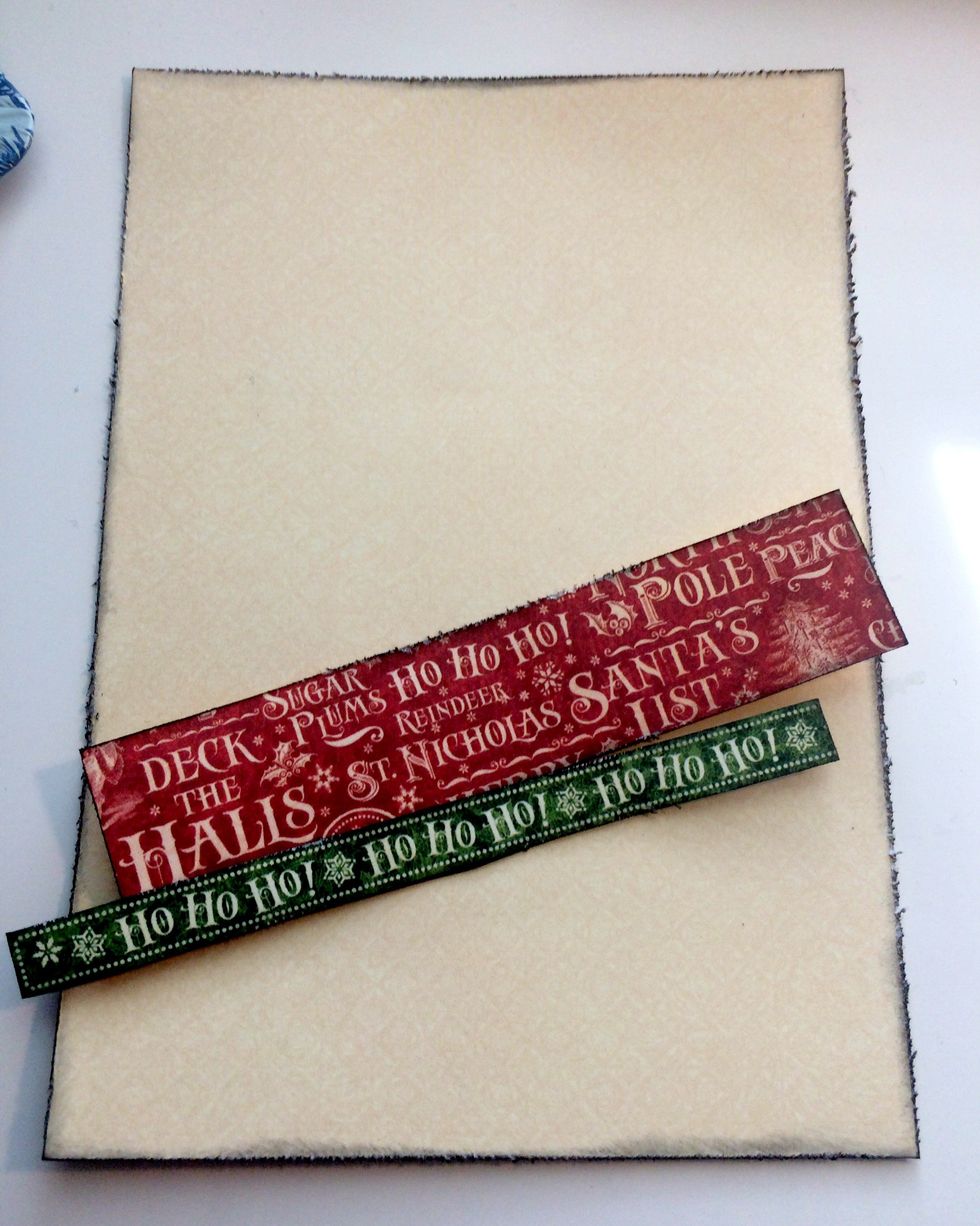
Edge distress the edges of the patterned papers. Once the edges have been distressed, with a blending tool ink the edges using Black Soot Distress Ink.
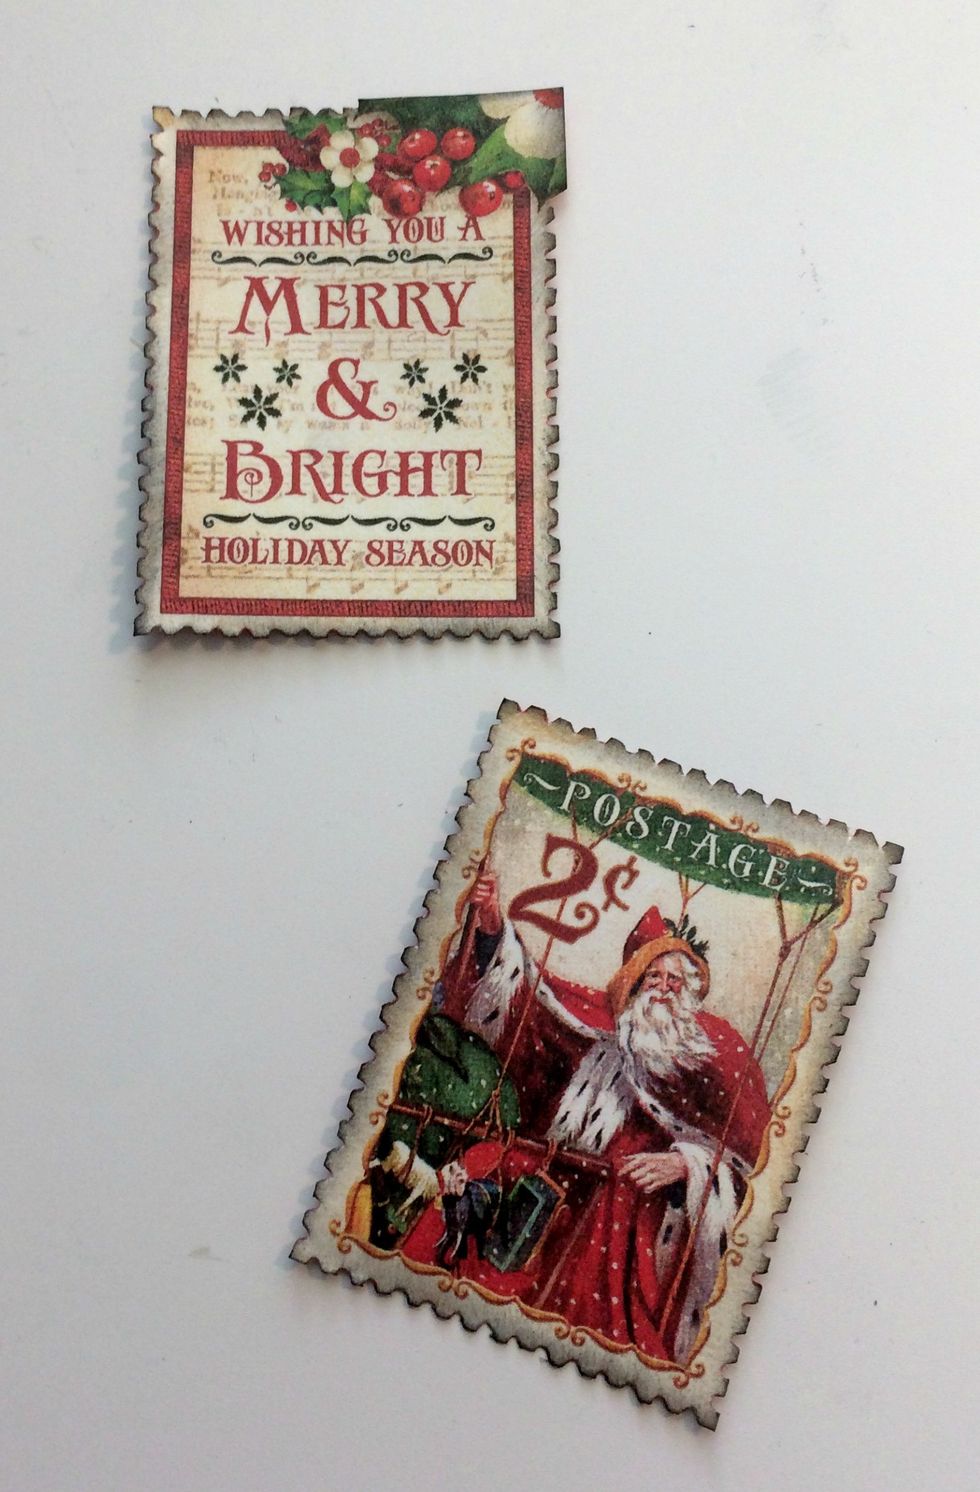
Ink the edges of the postage stamps using Black Soot Distress Ink and a blending tool.
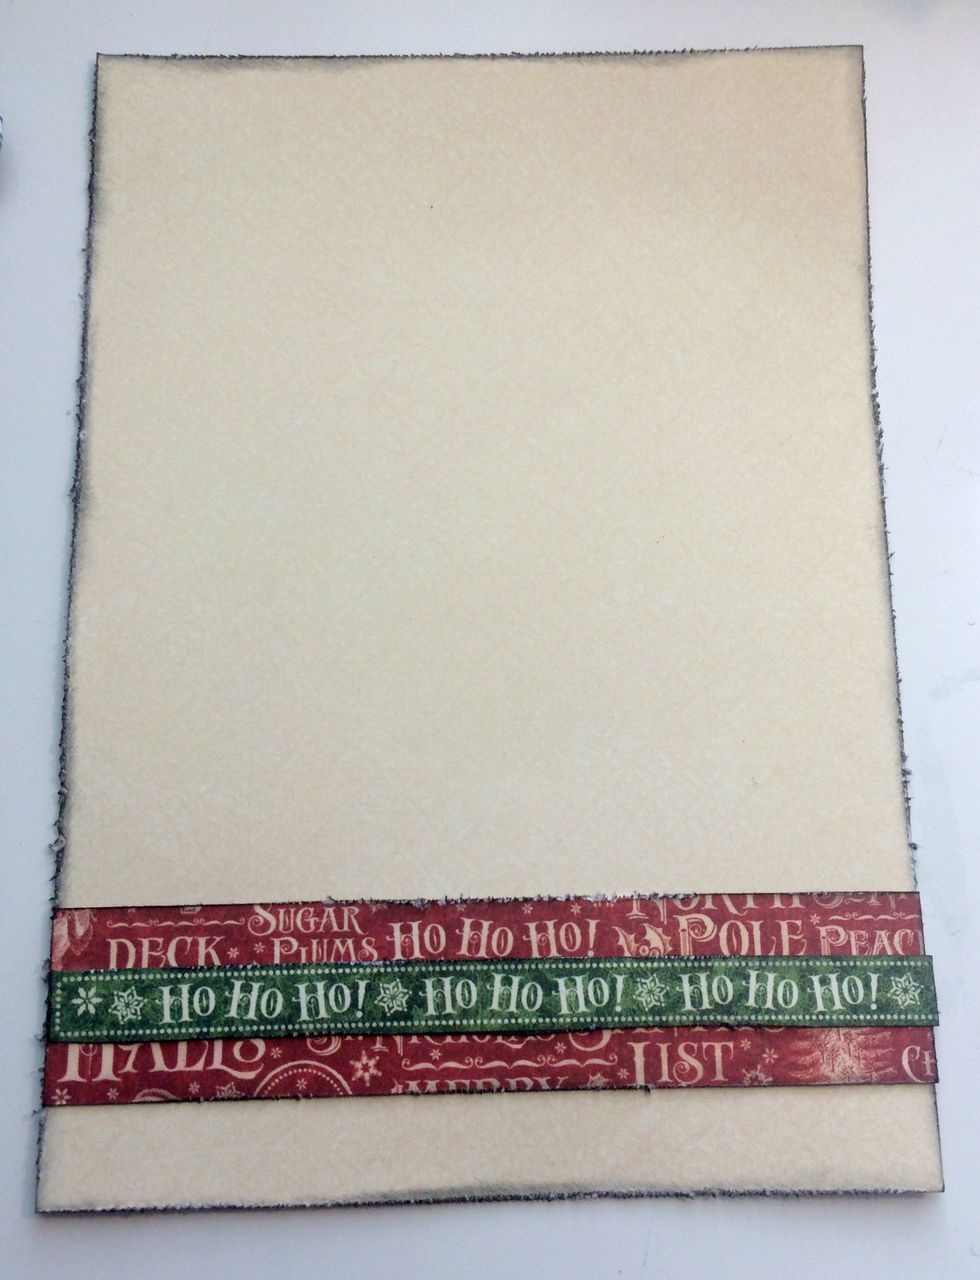
Adhere the Ho Ho Ho border to the middle of the red strip. Adhere the red strip 1/2" from the bottom of the cream patterned paper.

Adhere the cream patterned paper piece to the inside of the card base.
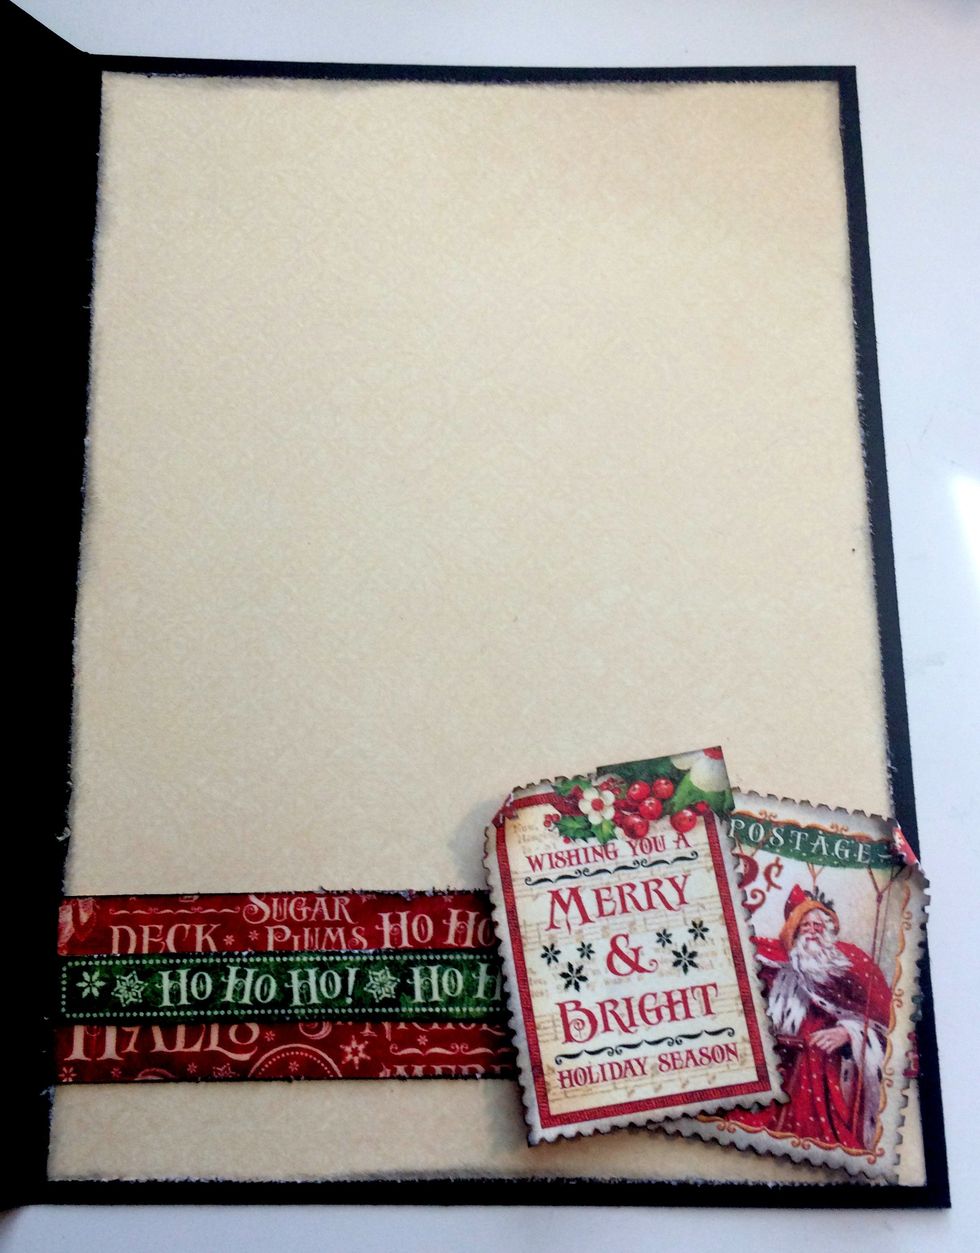
Foam square the stamps in the bottom right hand corner of the border. Roll one of the corners down on each stamp. The inside of your card is now finished.
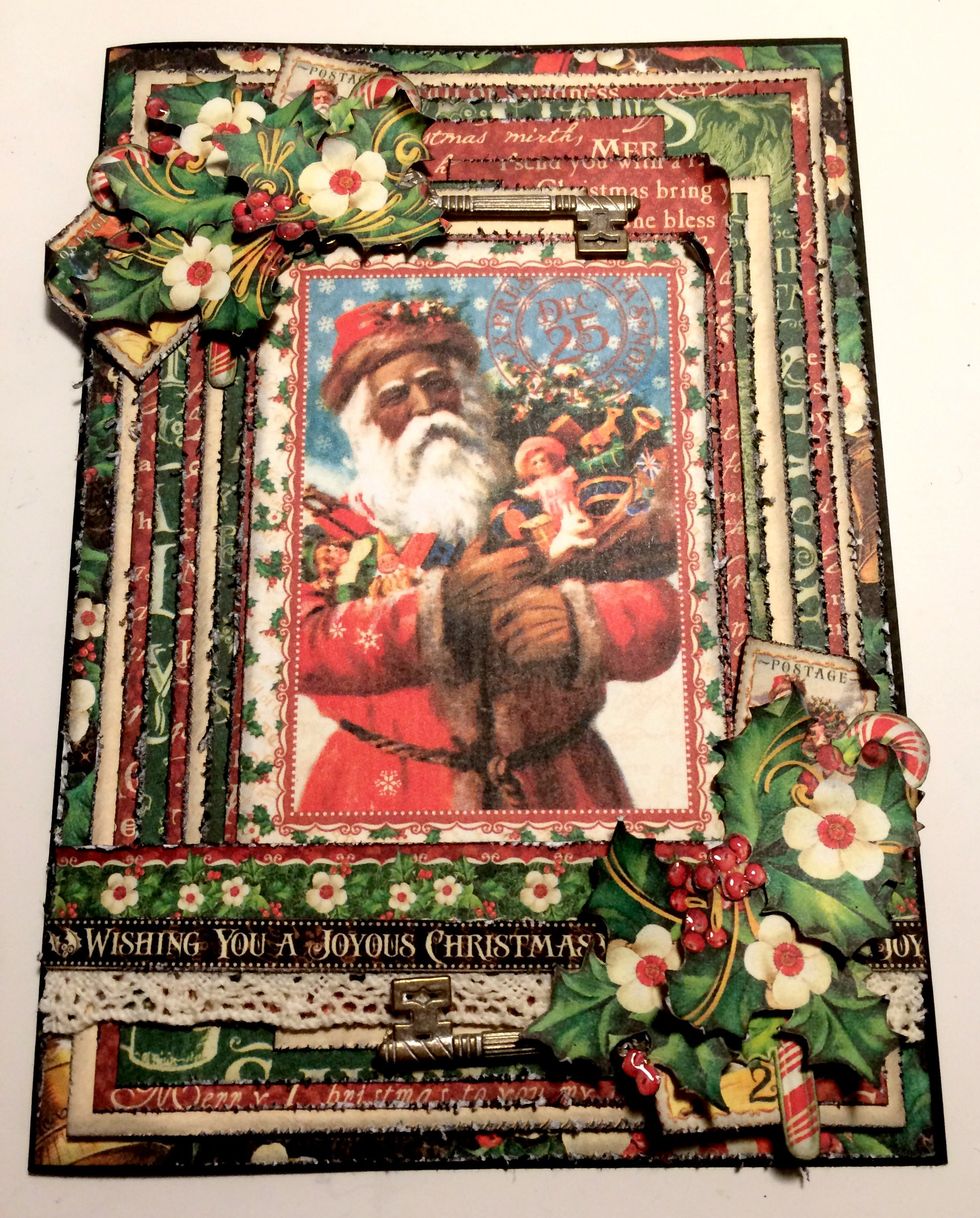
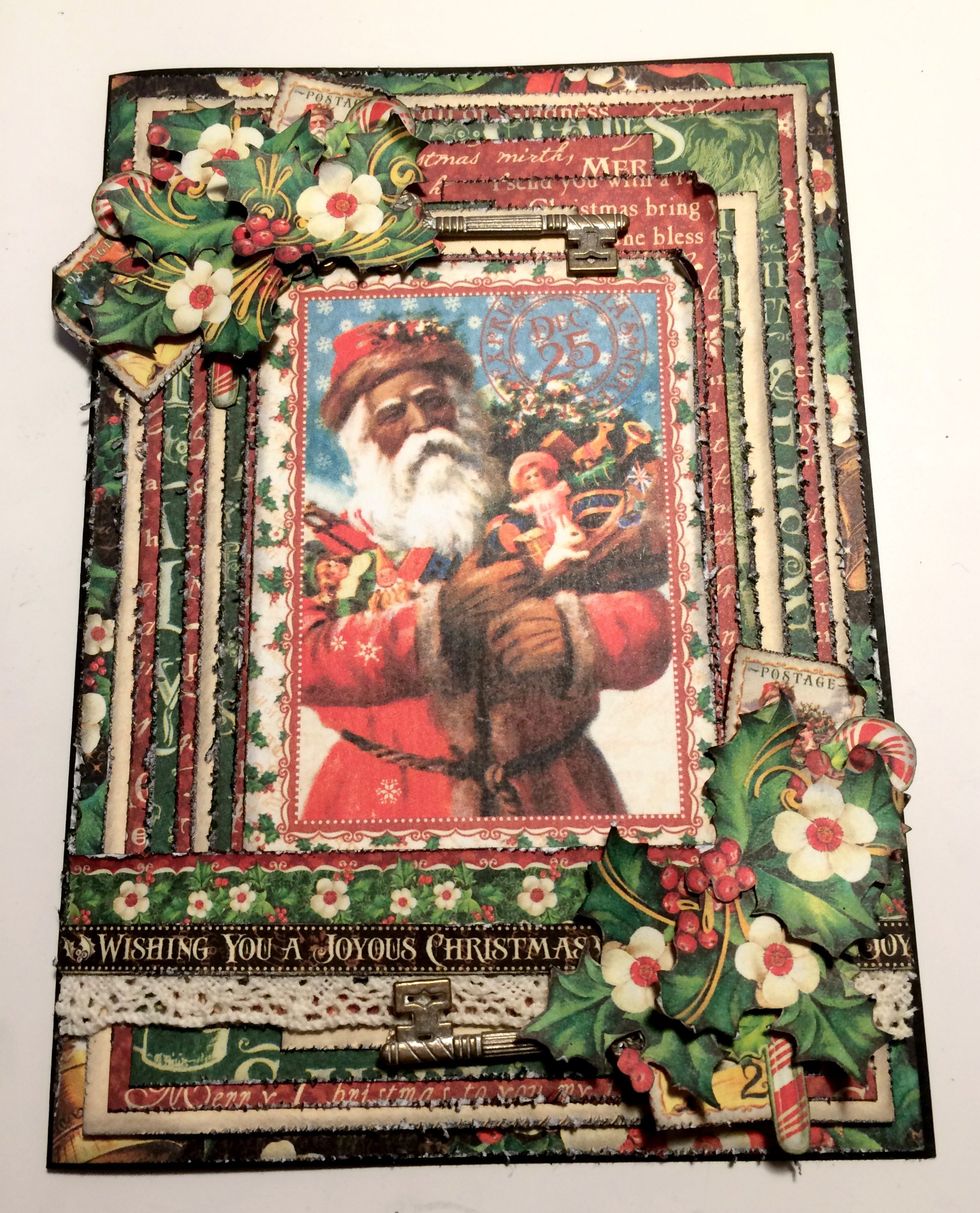
To finish the outside of the card, add glossy accents to the holly berries. Set the card aside to allow the glossy accents to dry. Your card is now finished.