The Conversation (0)
Sign Up
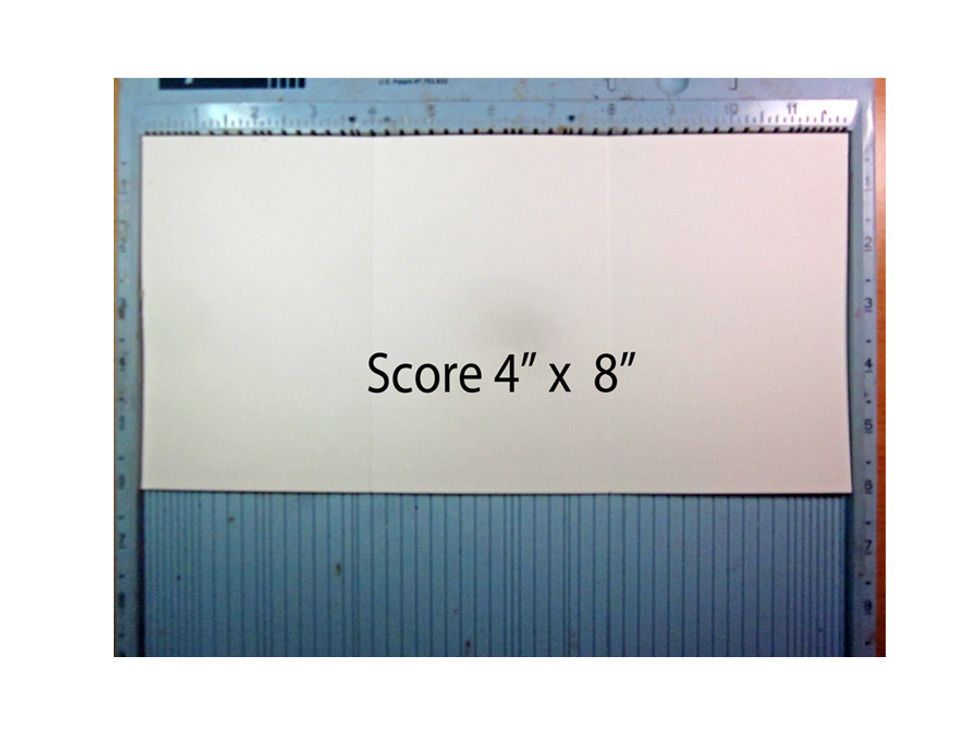
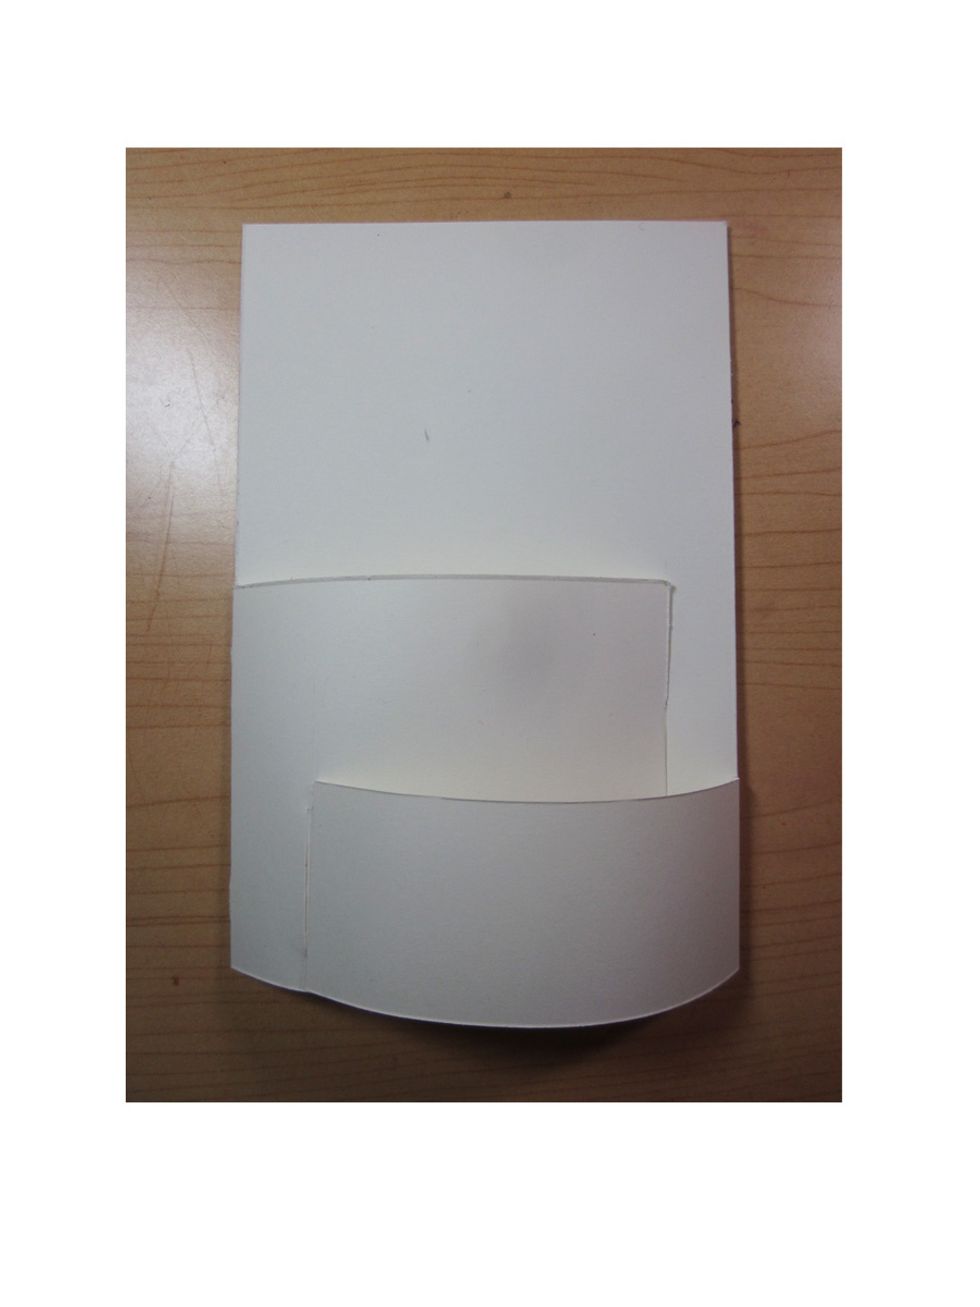
Cut a strip of paper 12" X 6" and score at 4" and 8".
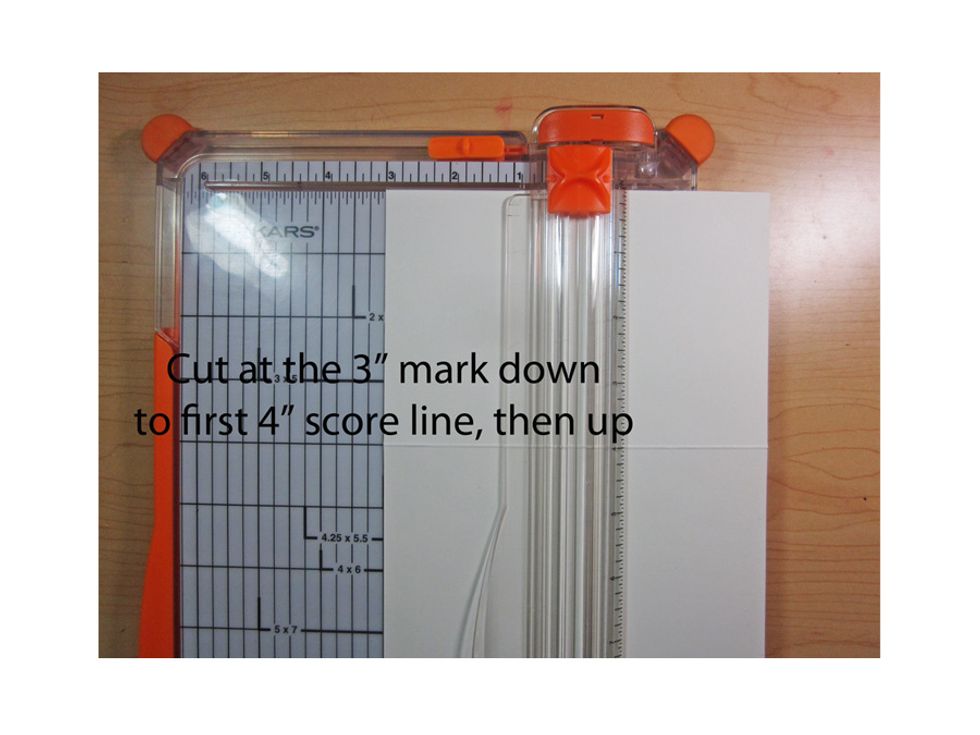
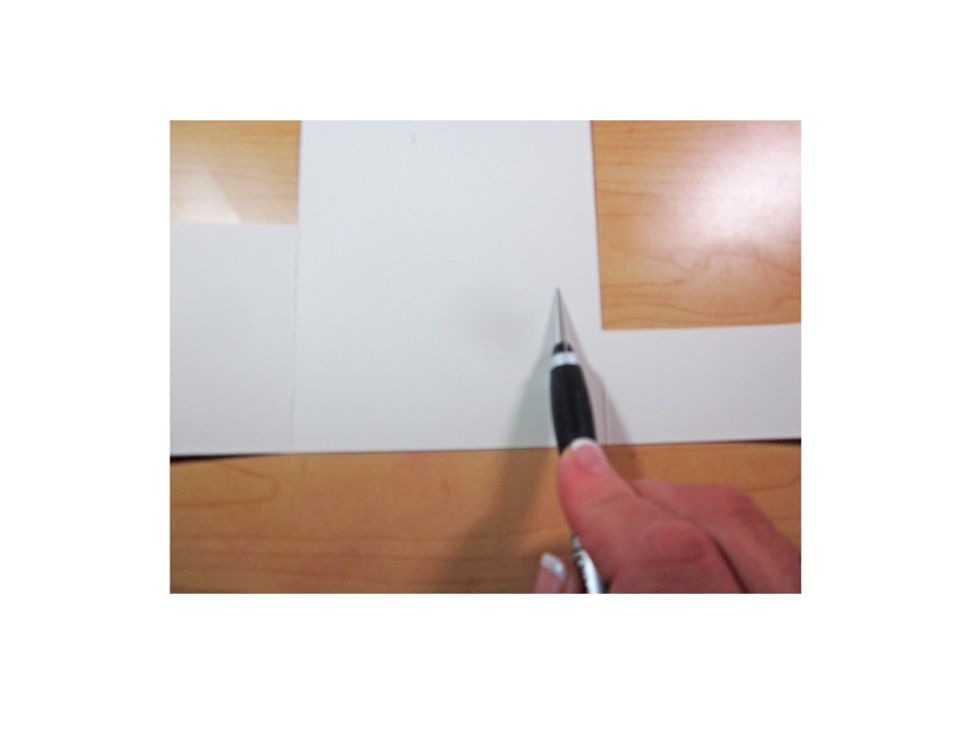
Turn piece on its side and and cut at three inches down over to the four inch score line, then cut up to the top to cut away the piece.
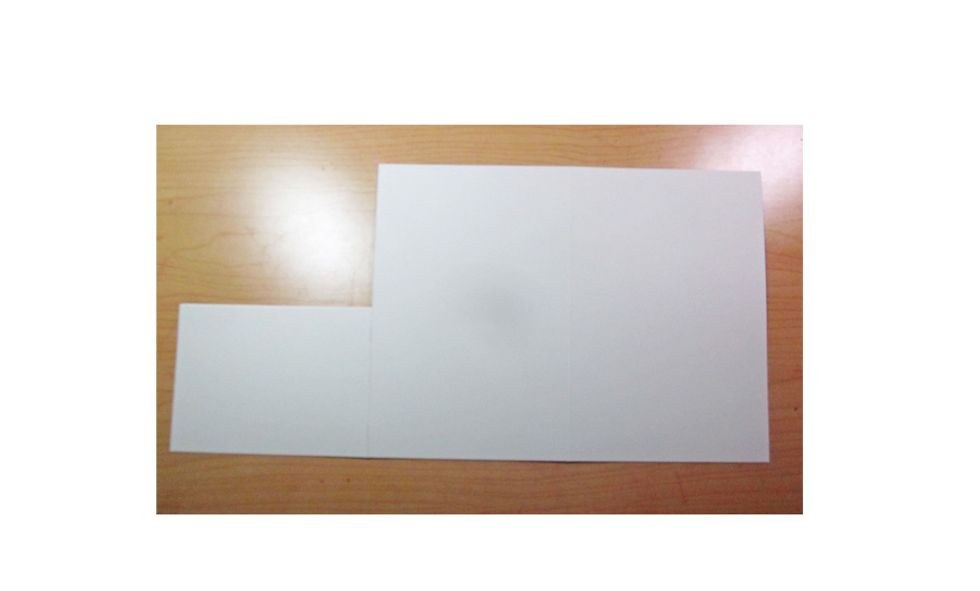
Here is how it should look after the piece is cut away.
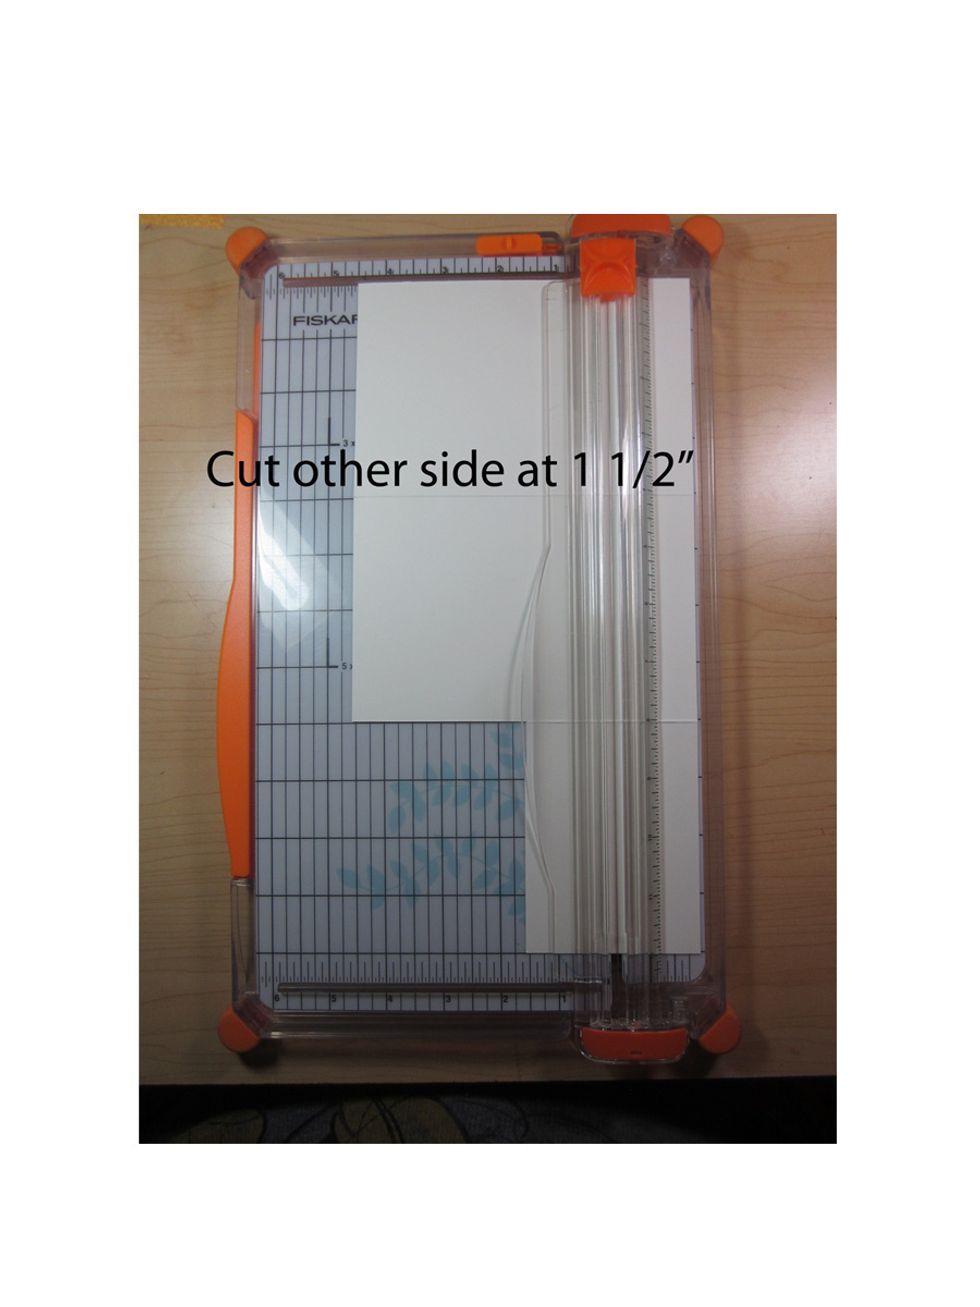
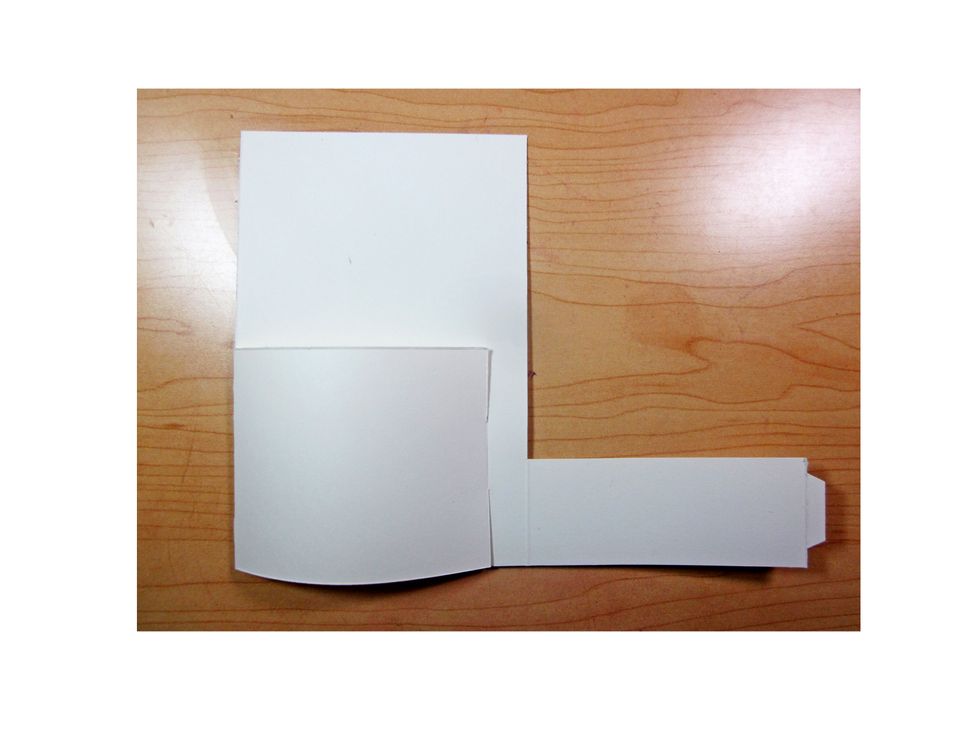
Do the same on the other side going down to 1.5" and again cutting the whole piece away.
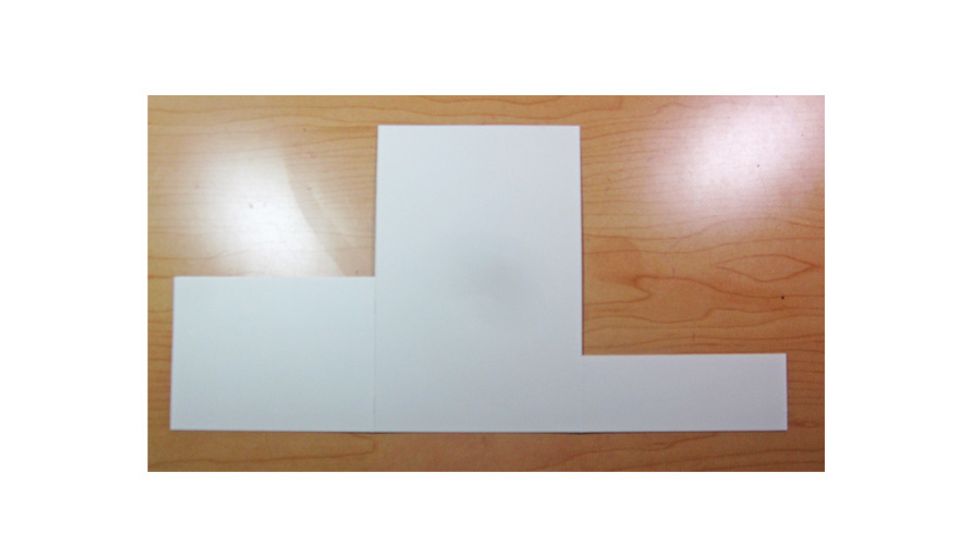
Here is how the sheet looks with both pieces cut away.
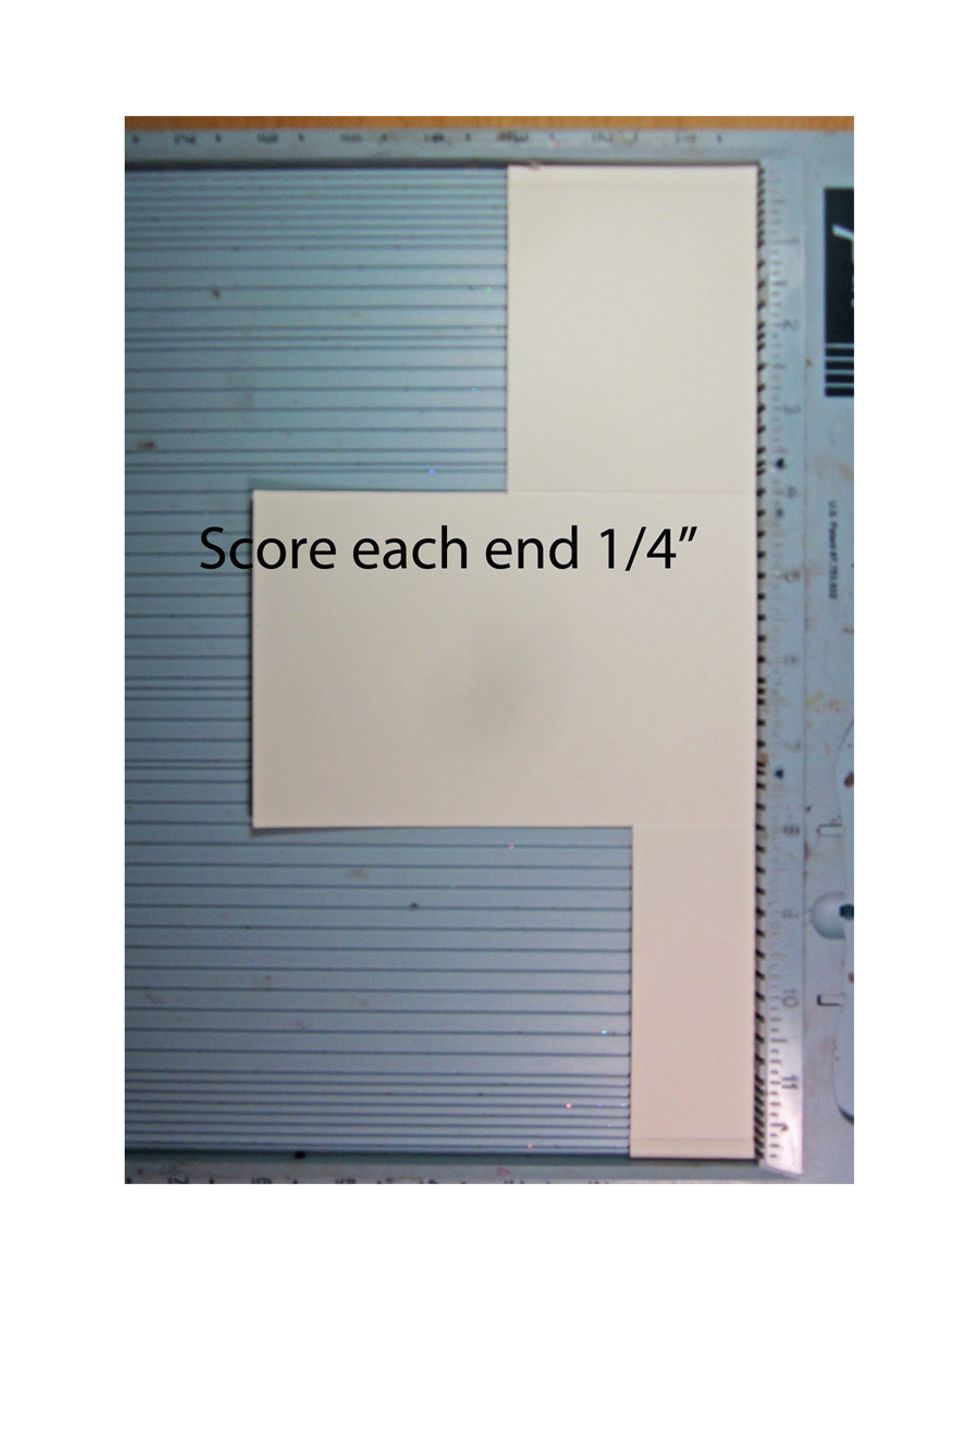
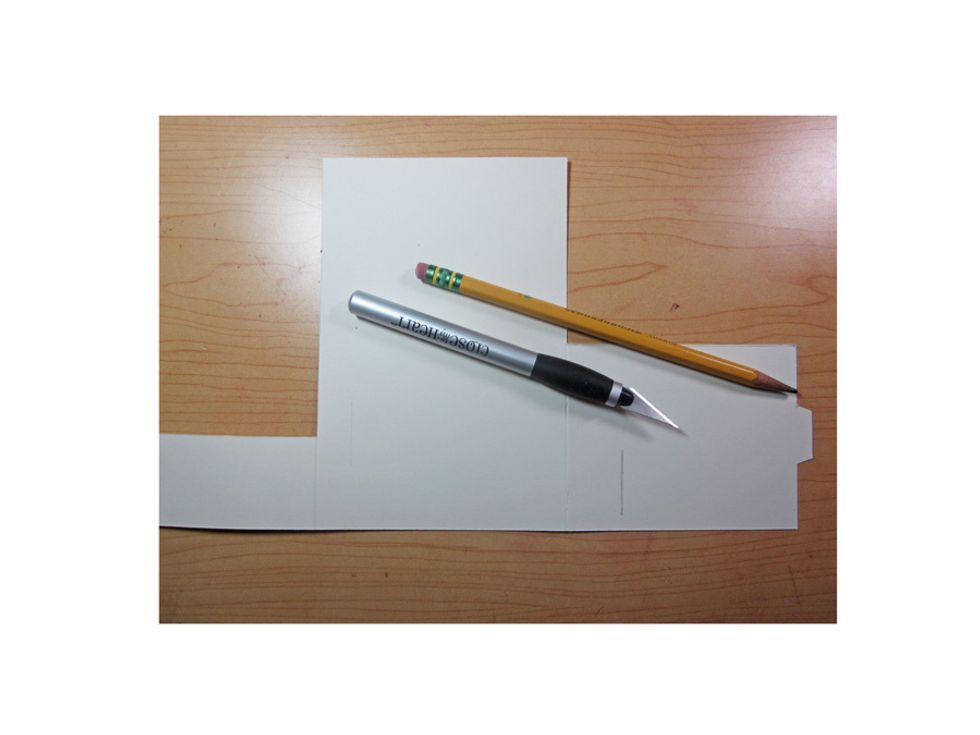
Score each end at the 1/4" mark.
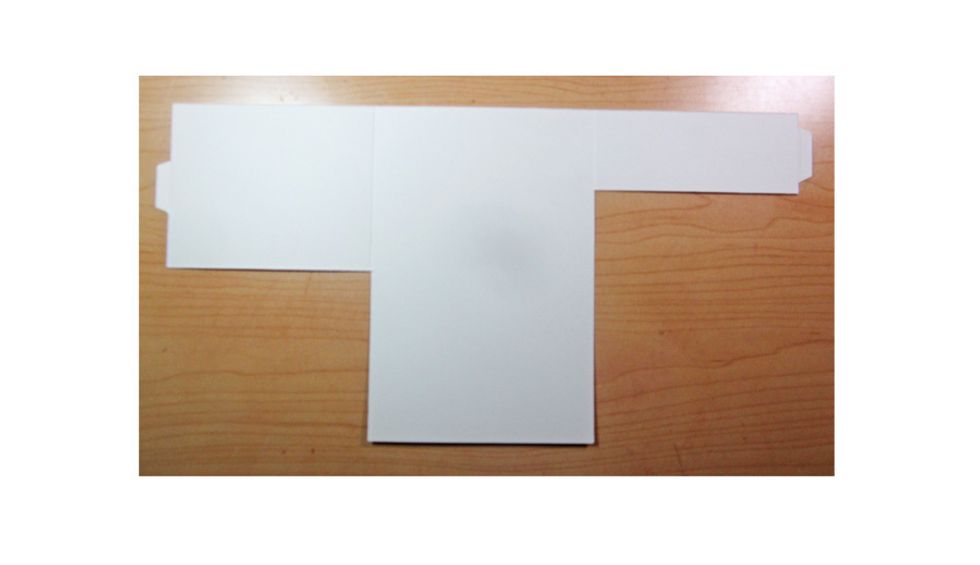
Cut a tab on each end from the 1/4" scored section in the middle .

Make the pencil line light so you will be able to erase it easily.
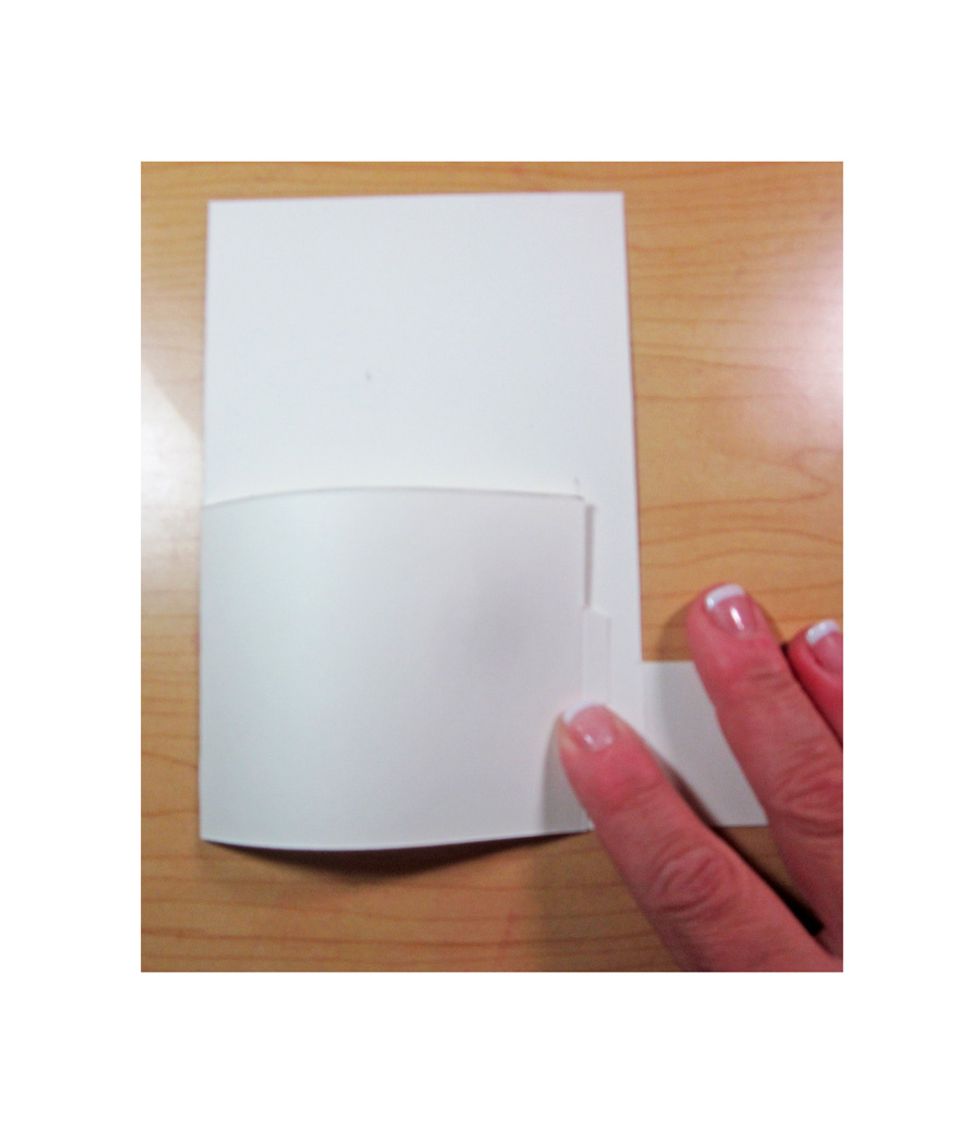
Fold outer flap over to the pencil line and mark where the cut tab lines up to. Be sure you are straight along the bottom.
Using an X- acto tool cut the slit where you just measured.
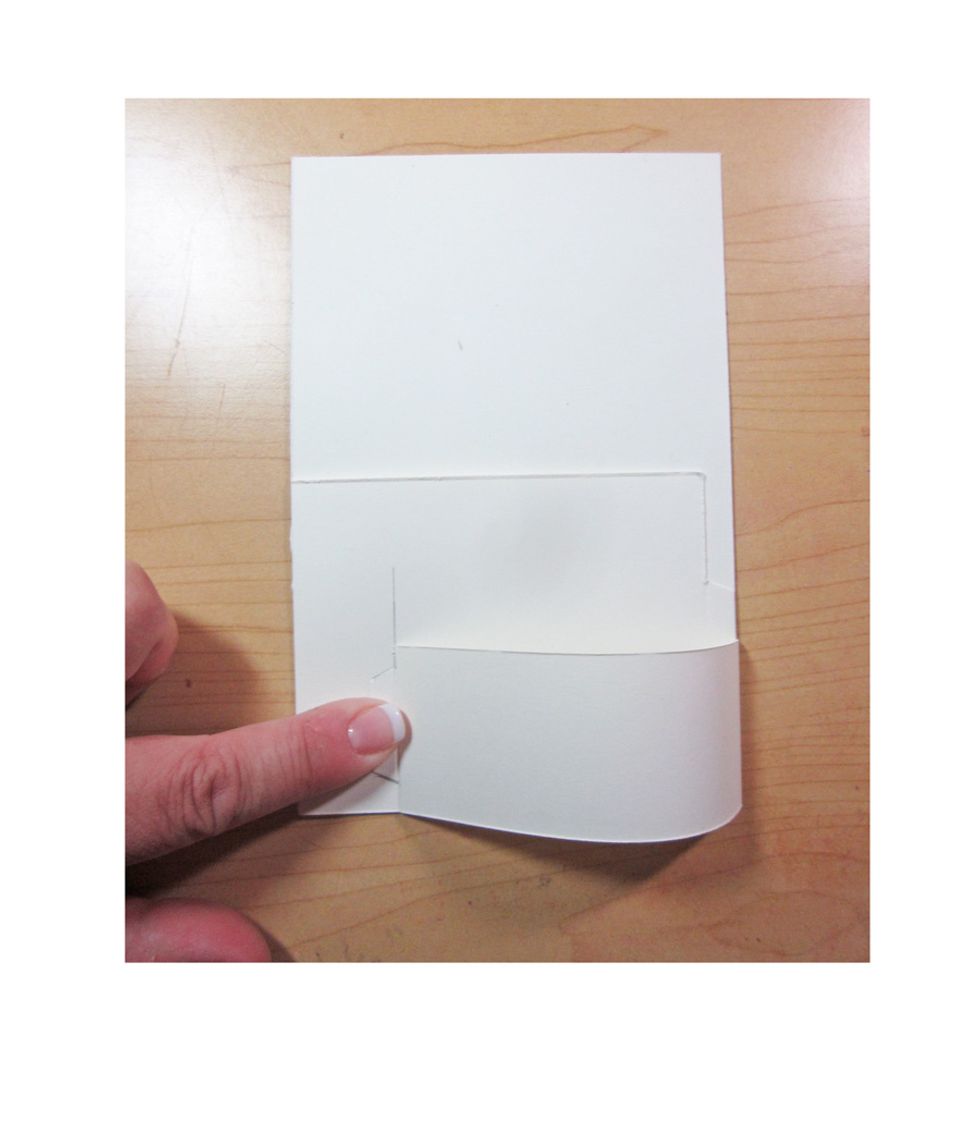
Here is how it looks with the flap inserted in the cut.

Flip the card over , measure in a draw another light line with a pencil.
Fold over second flap to the pencil line and mark where the tab lays.

You can see I've drawn around my tab to see clearly where to cut in the next step.
Cut the slit as you did on the other side.
Here are both the flap folded over and tucked in.

Now comes the fun part, decorating. You can cut the top edge of your papers with curls or die cuts to add more interest. I'm using Graphic 45' s Christmas Carol collection to make this holiday card.
As you layer over your paper be sure to continue to recut your slits and don't layer to much over those areas so the card will fold correctly.
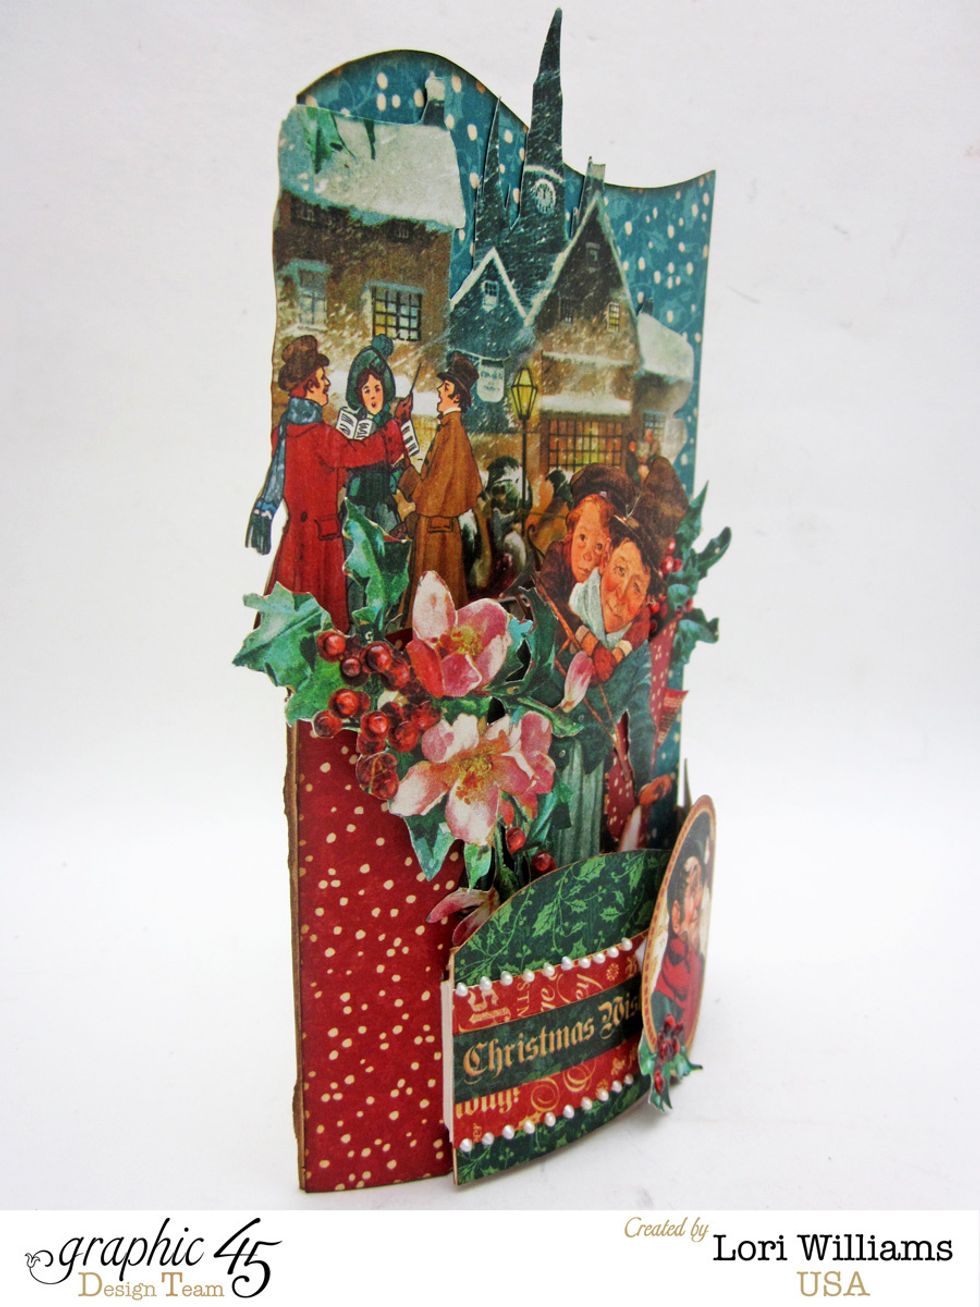
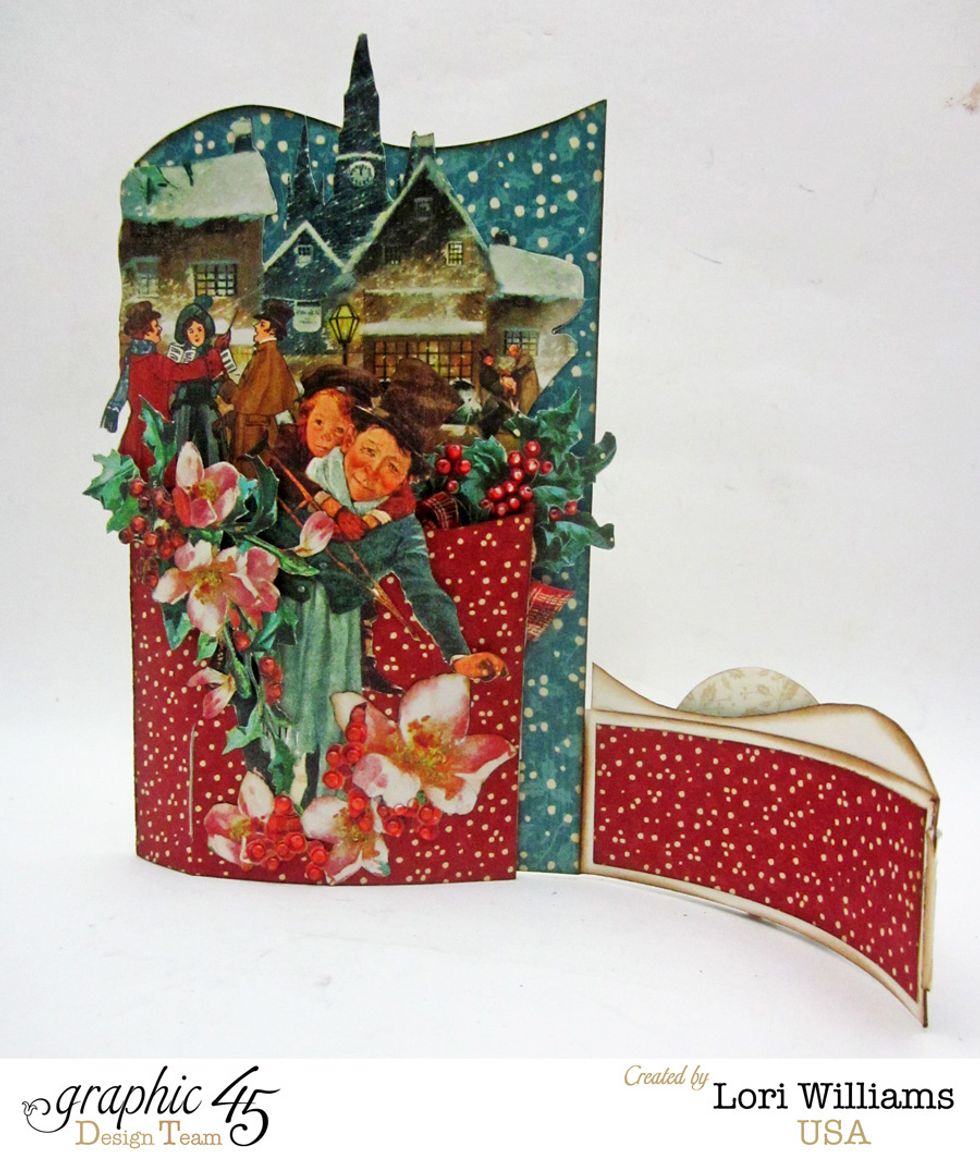
Here are some finished pictures of the card. You can always view more on Graphic 45's blog.
I love the way these cards open. Everything has beautiful curves.
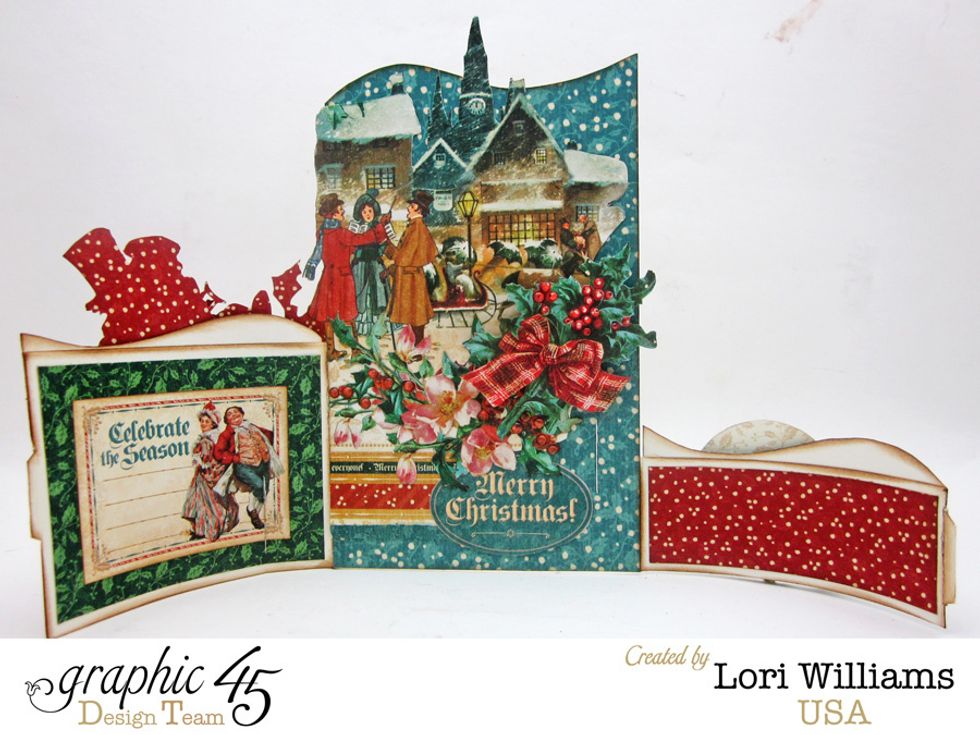
Here is the completed card fully open.
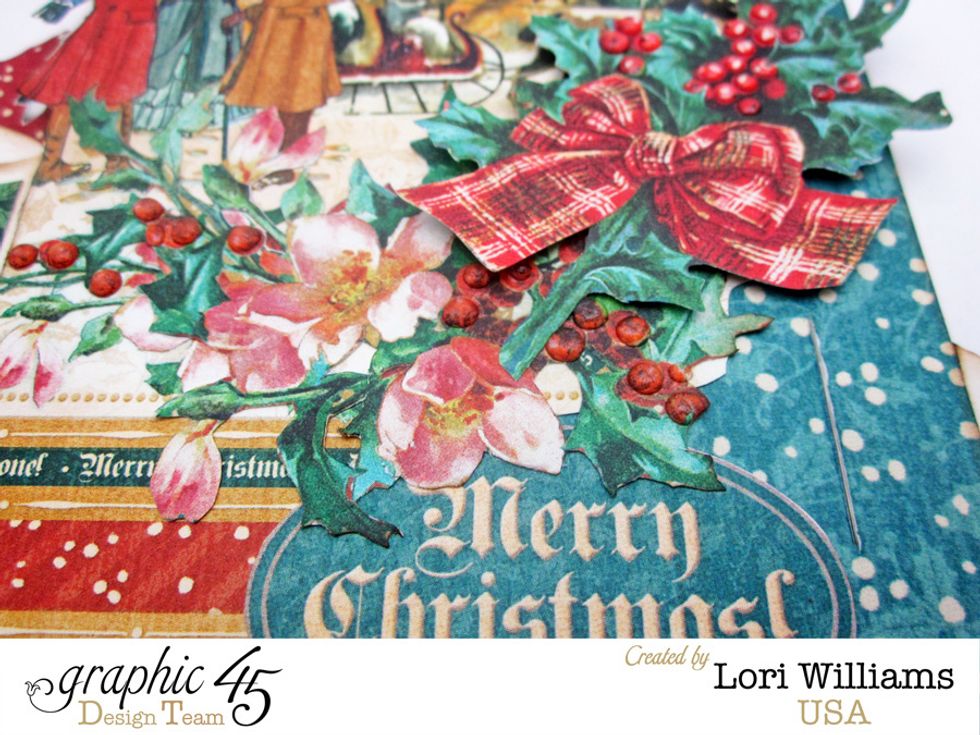
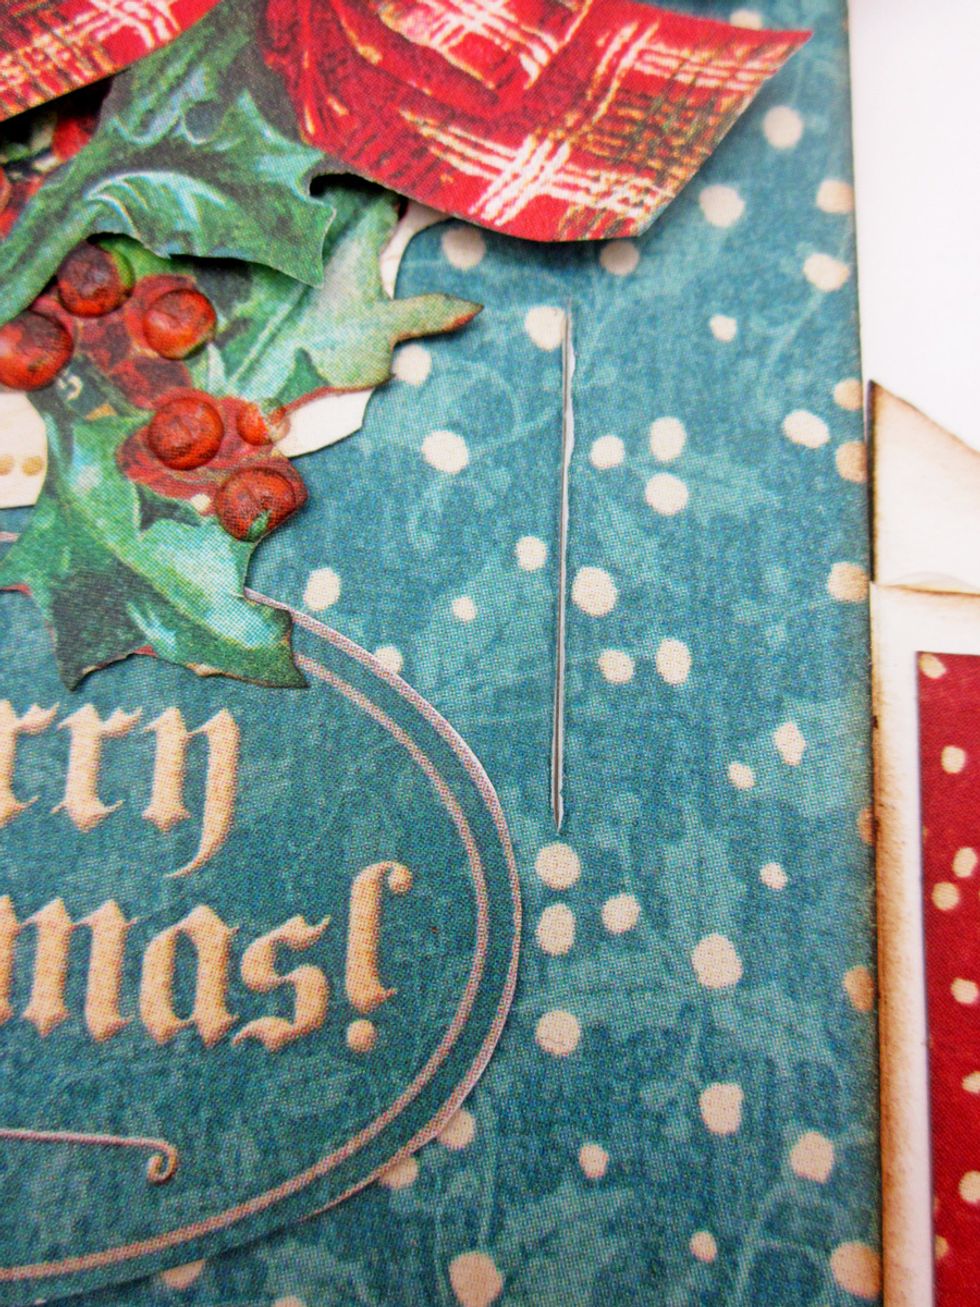
Lots of details in the fussy cutting.
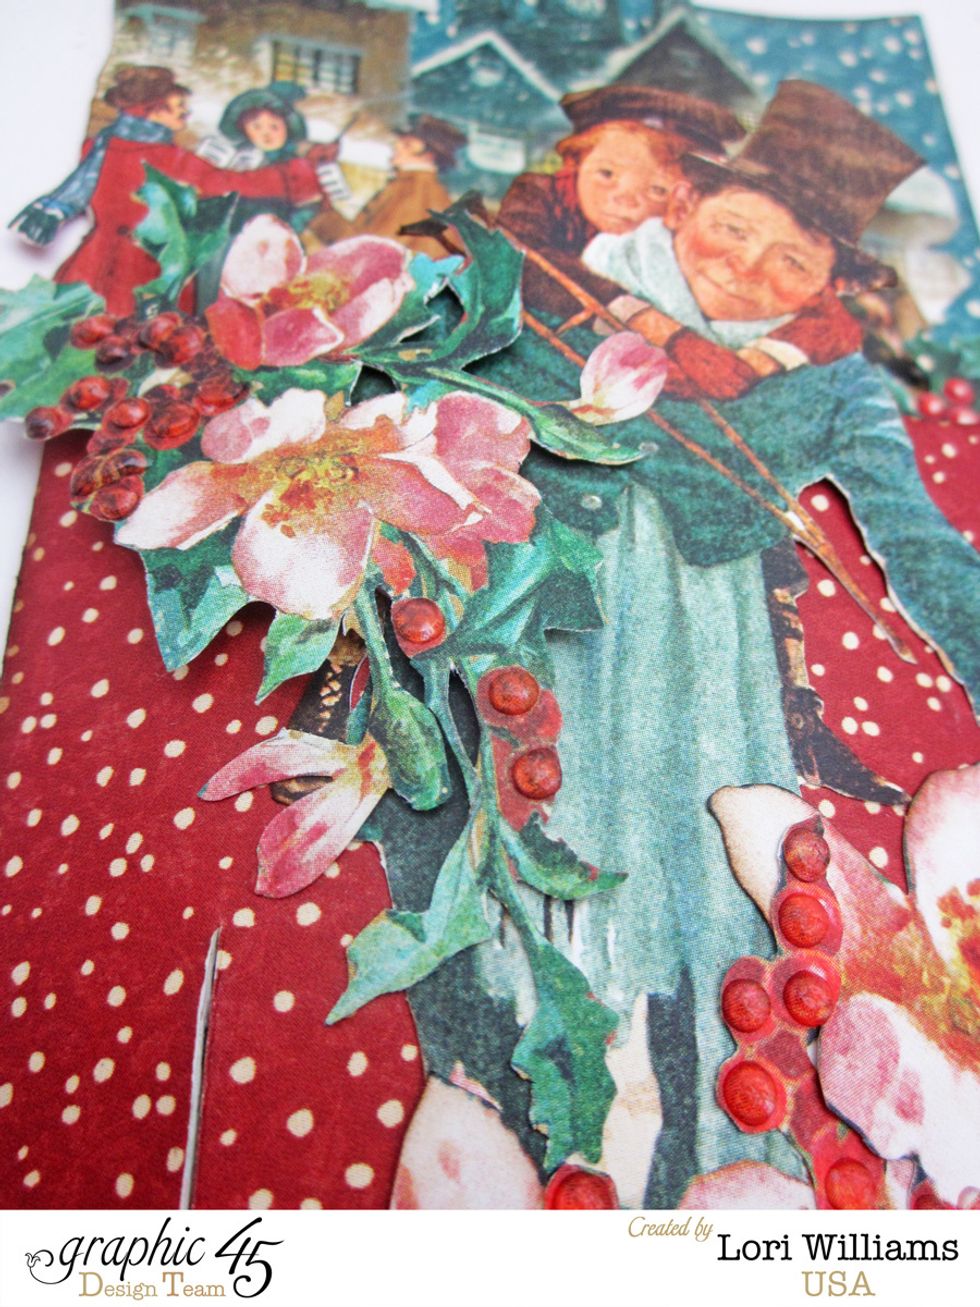
More detail

I can just see the village coming to life can't you?

Please see more of my work on my blog www.pinkcloudscrappers.blogspot.com.