The Conversation (0)
Sign Up
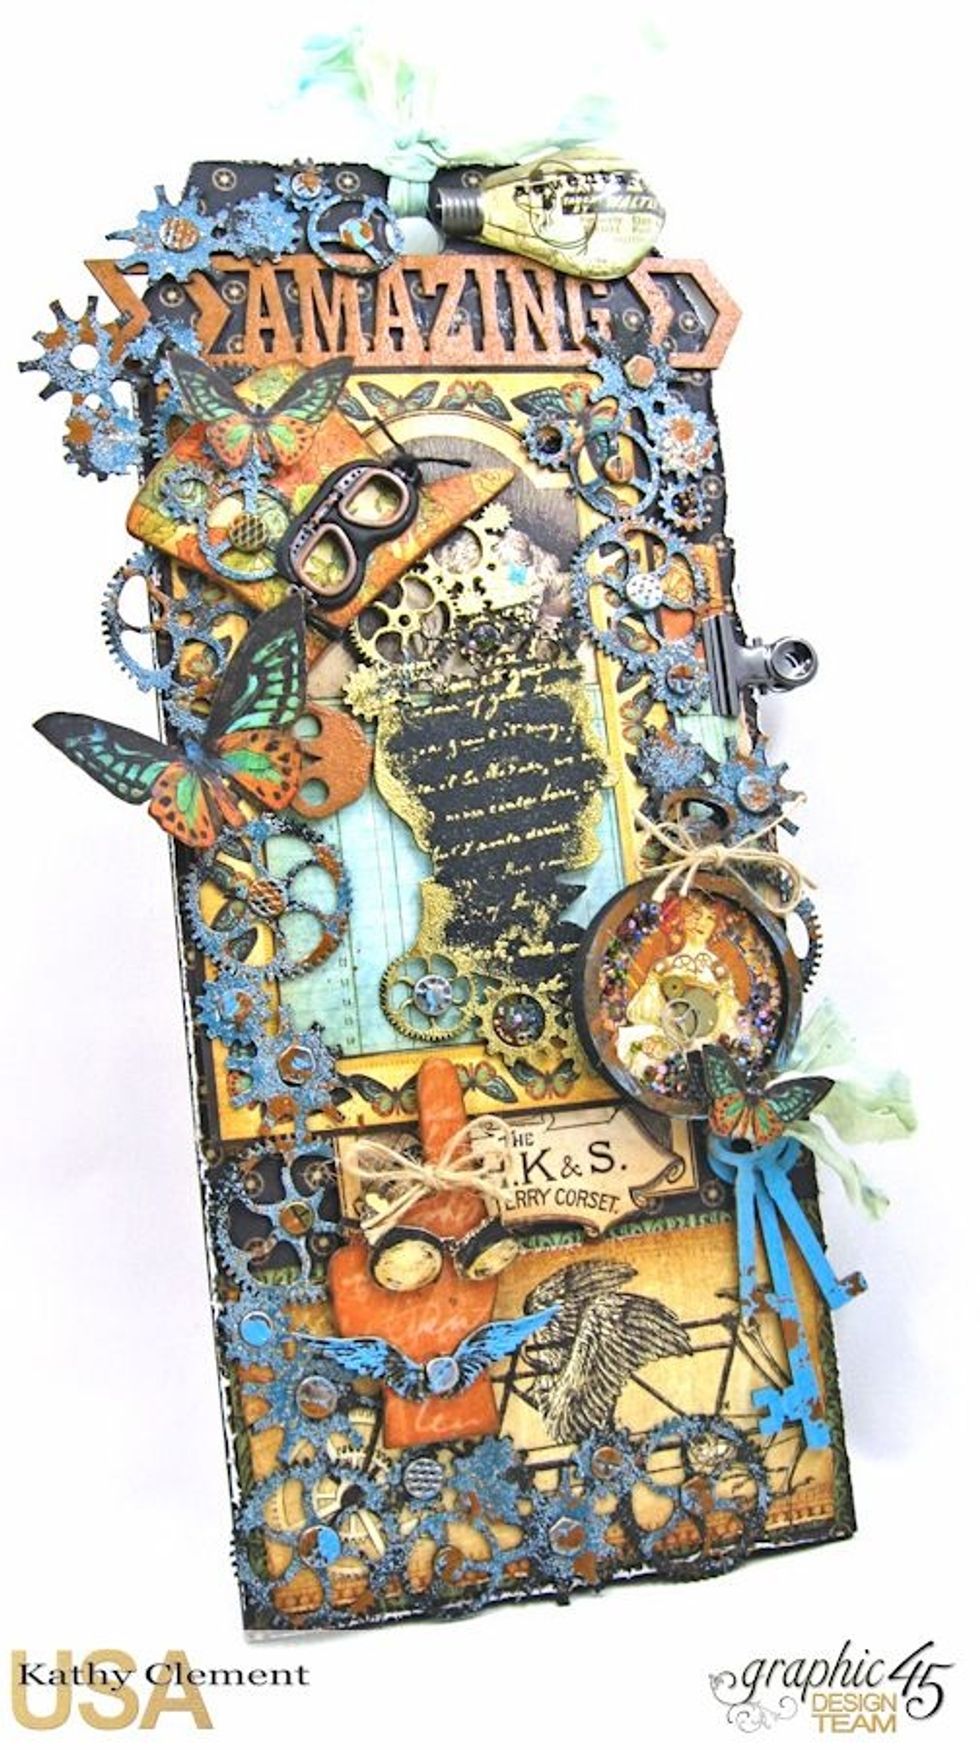
This XL chipboard tag measures 5" wide by 11" tall and is decorated with Graphic 45 Steampunk Debutante paper and high quality Gypsy Laser Soul Chips. Follow along and make your own!

Paint edges of tag, front &back with Black Soot Distress Paint. Trace tag onto patterned paper and cut out. Use black pattern on front & blue hot air balloon pattern on reverse. Don't glue on tag.
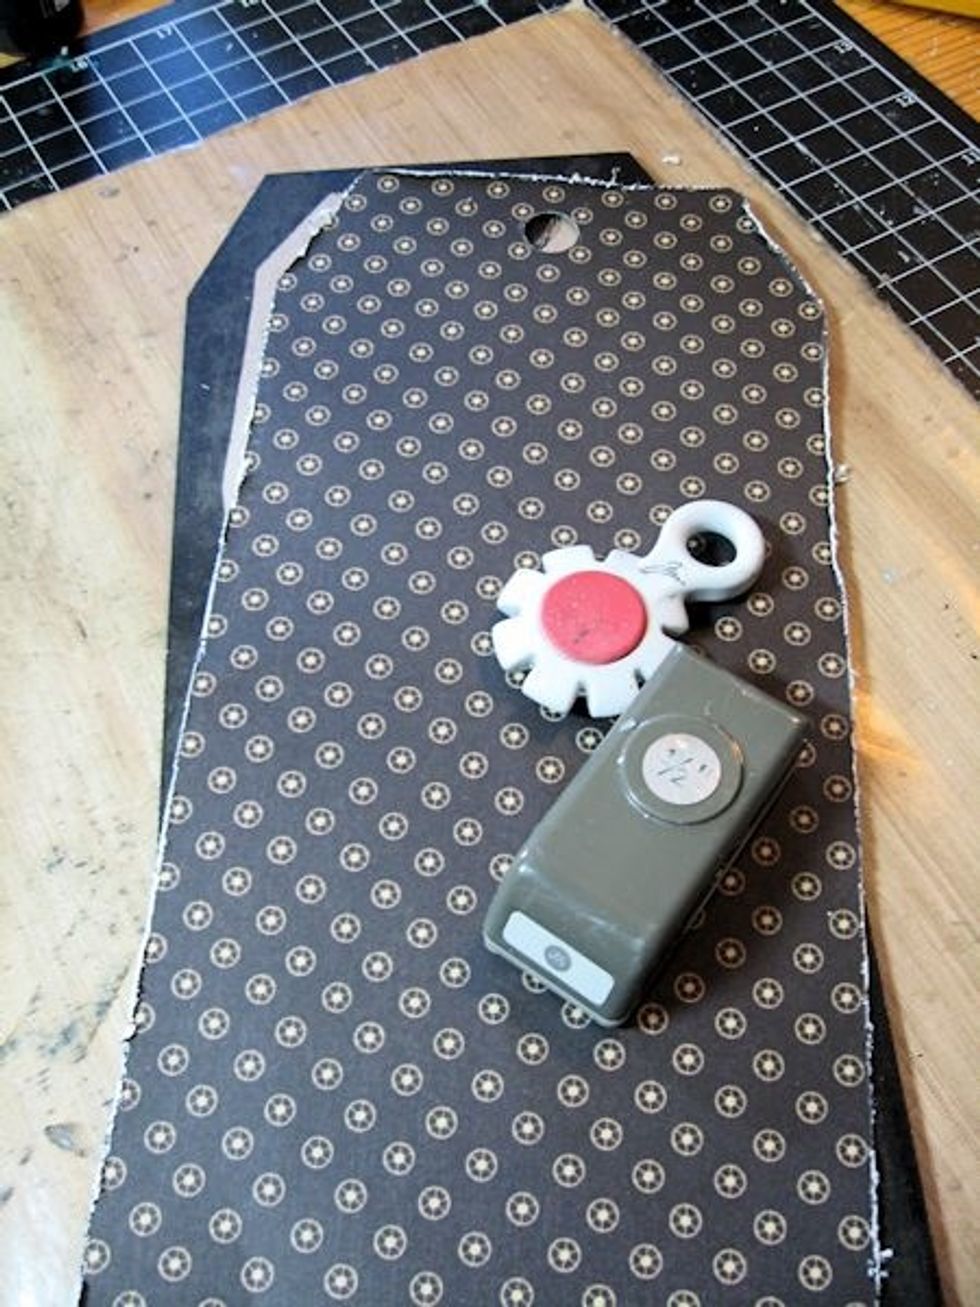
Distress the edges of both pieces of patterned paper. Use a 1/2" hole punch to add the opening at the top of the tag. Do not glue onto tag until all steps are complete.

Cut a 4.25" x 4.25" square from orange text paper. Add a small strip of the reverse pattern to both top and bottom of square. Set aside.

Cut out the bicycle image. Distress the edges and ink with Vintage Photo Distress Ink. Mat on slightly larger piece of teal patterned paper. Set aside.
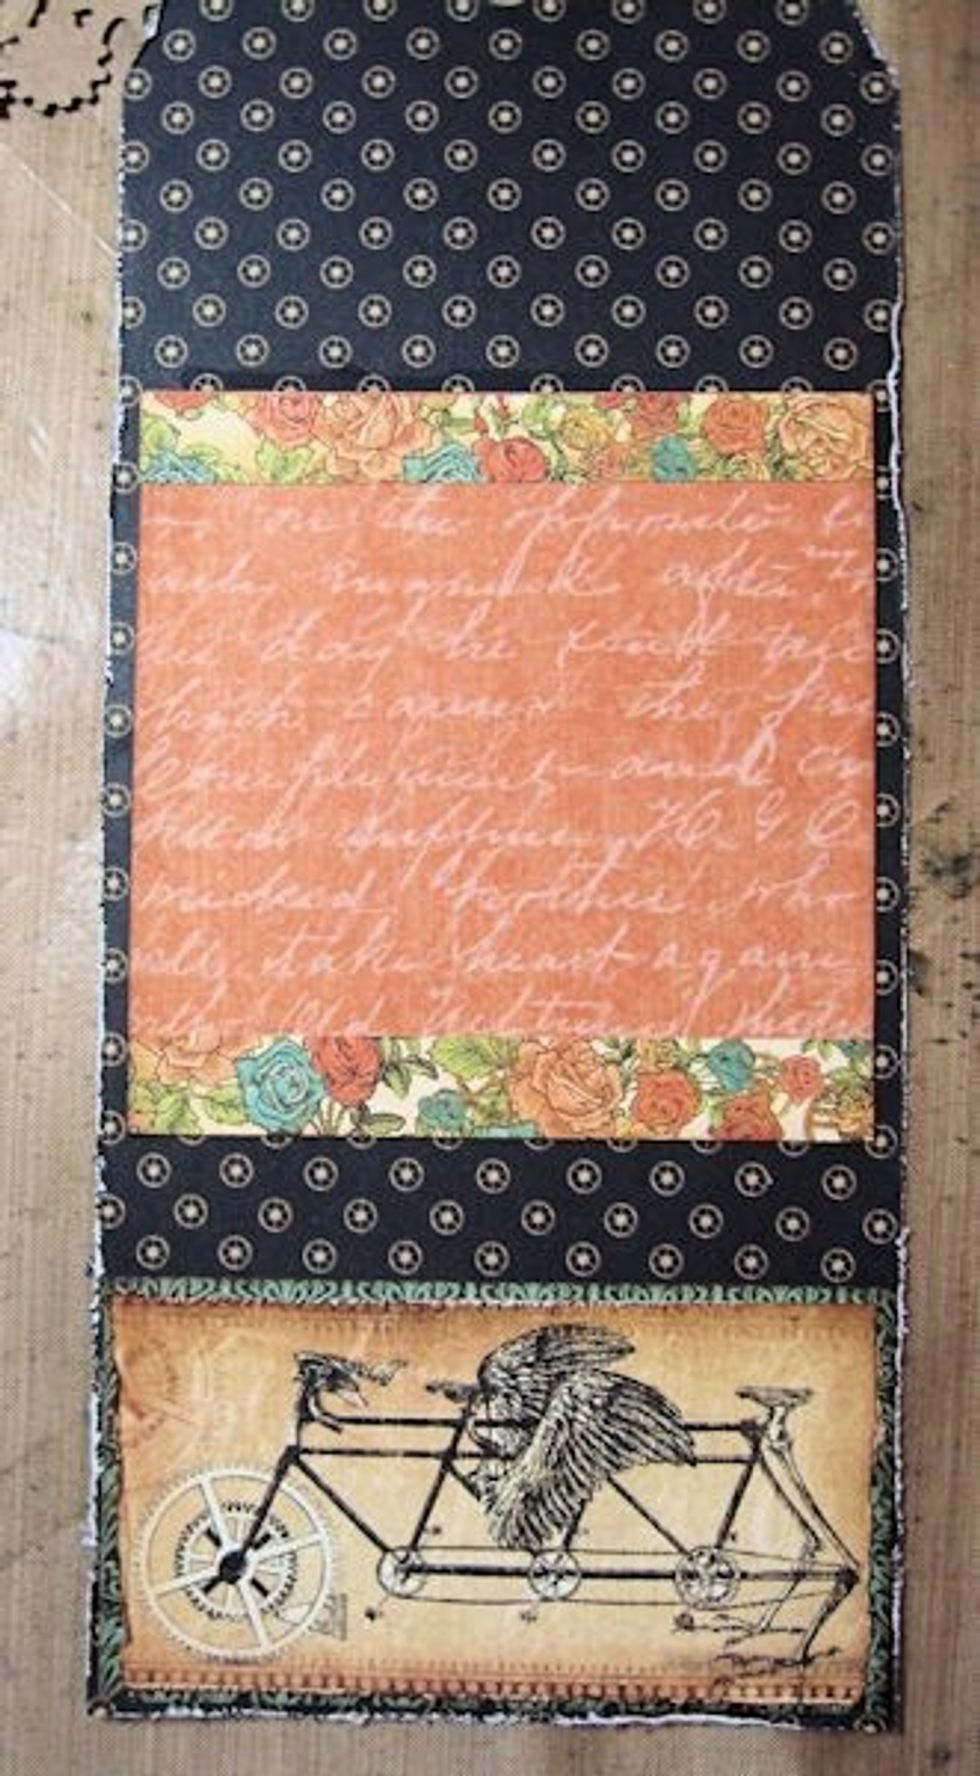
Glue both panels to the tag as seen in this photo. The top edge of the orange panel is about 3.5" from the top of the tag. There is about an inch between the two panels.
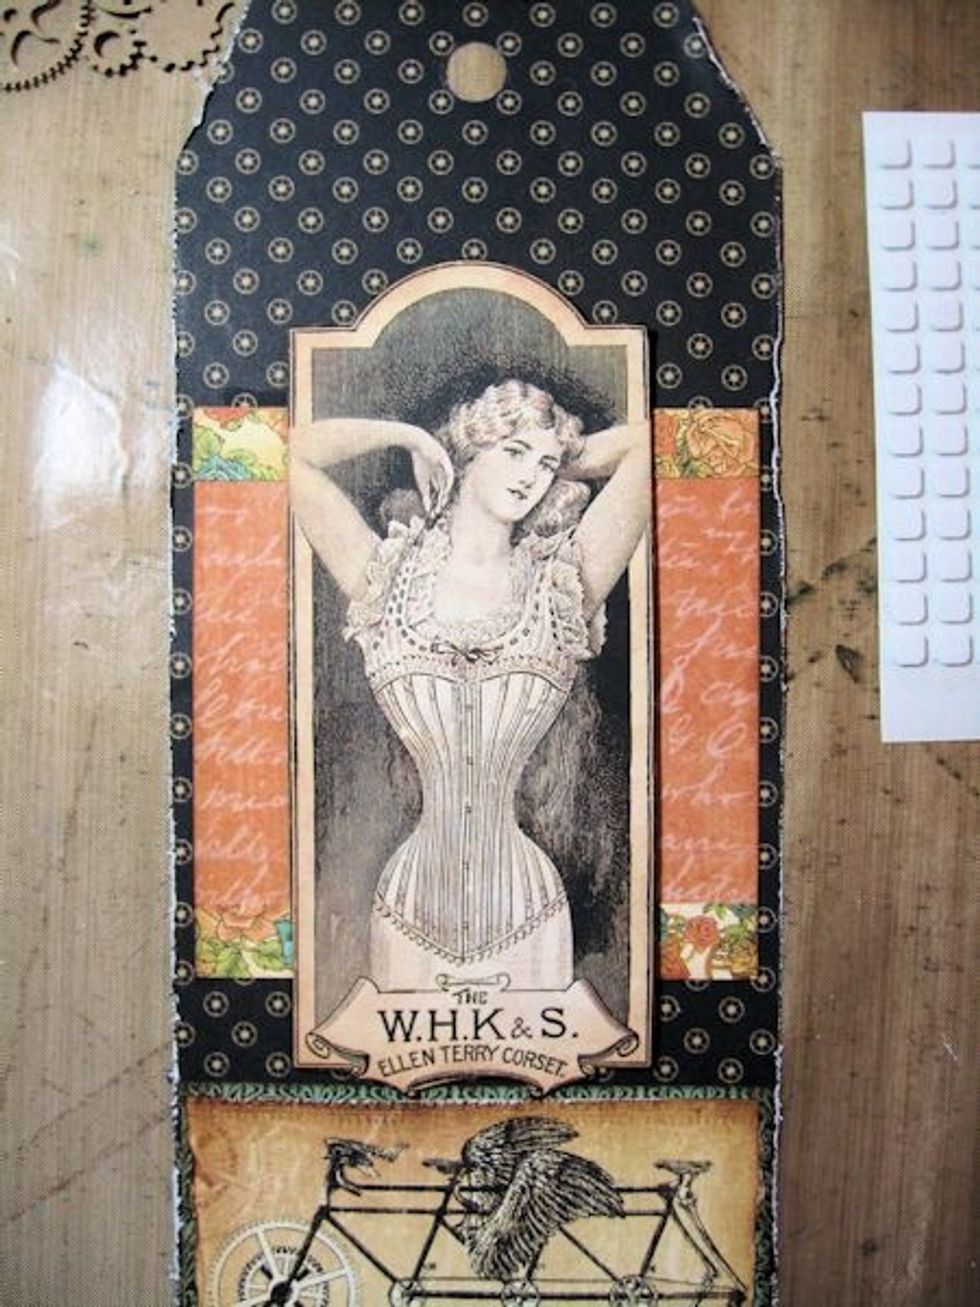
Fussy cut the corset add and ink the edges. Use foam dimensionals to center on the orange panel, as seen here.
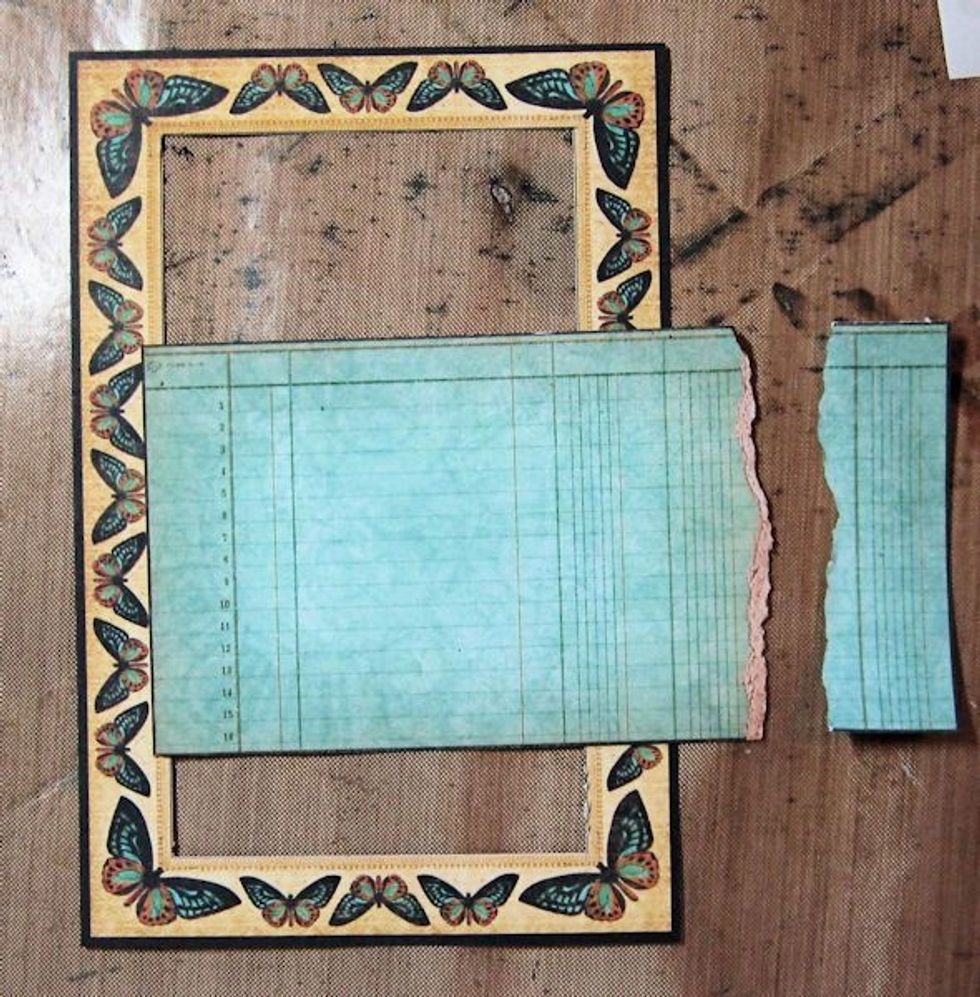
Cut butterfly frame from paper. Use a craft knife to evacuate the ledger paper from the center. Tear the right hand edge, as seen here. Ink all edges with Vintage Photo Distress Ink.
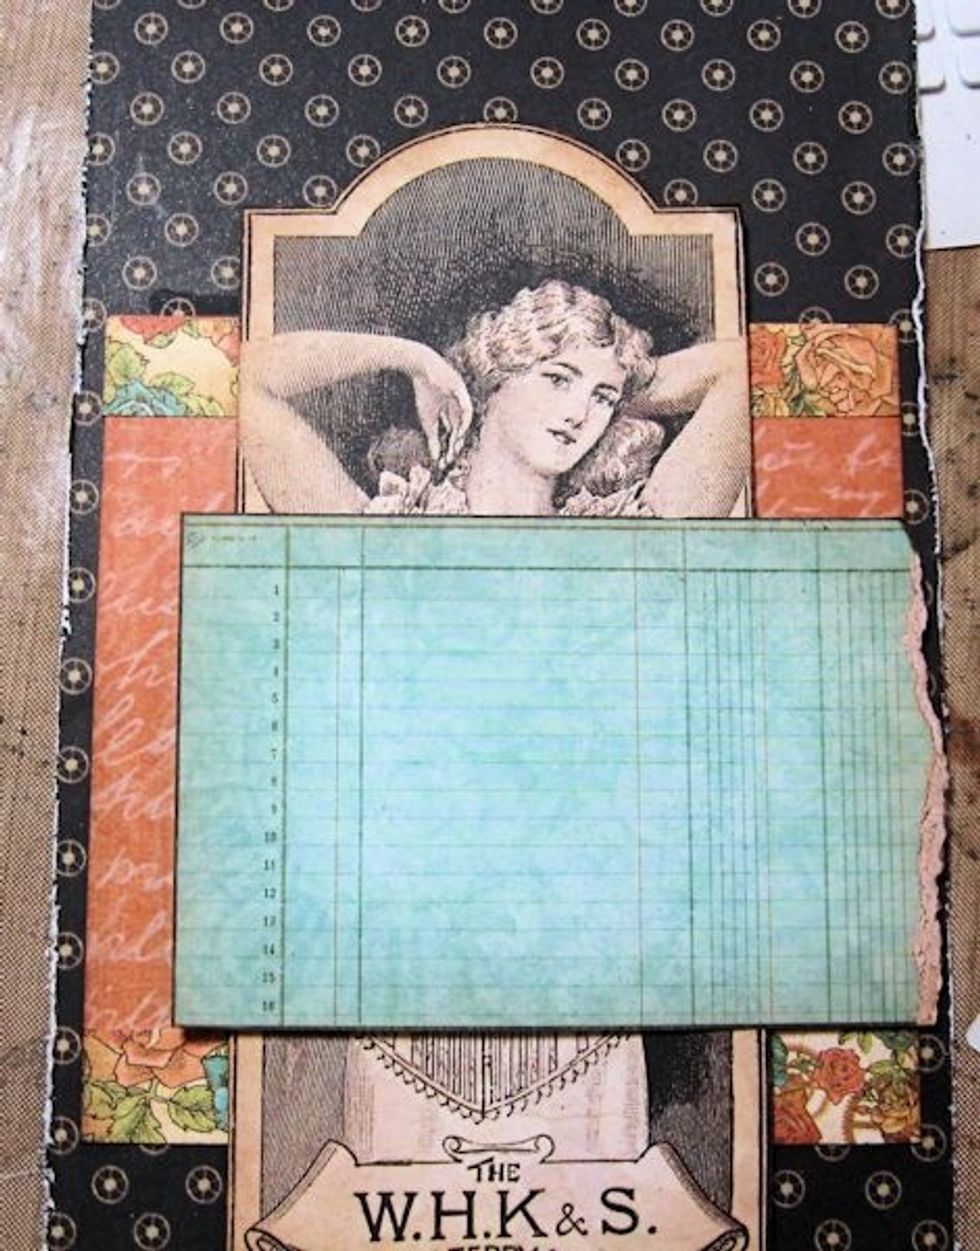
Secure the torn ledger paper over the corset add using foam dots.
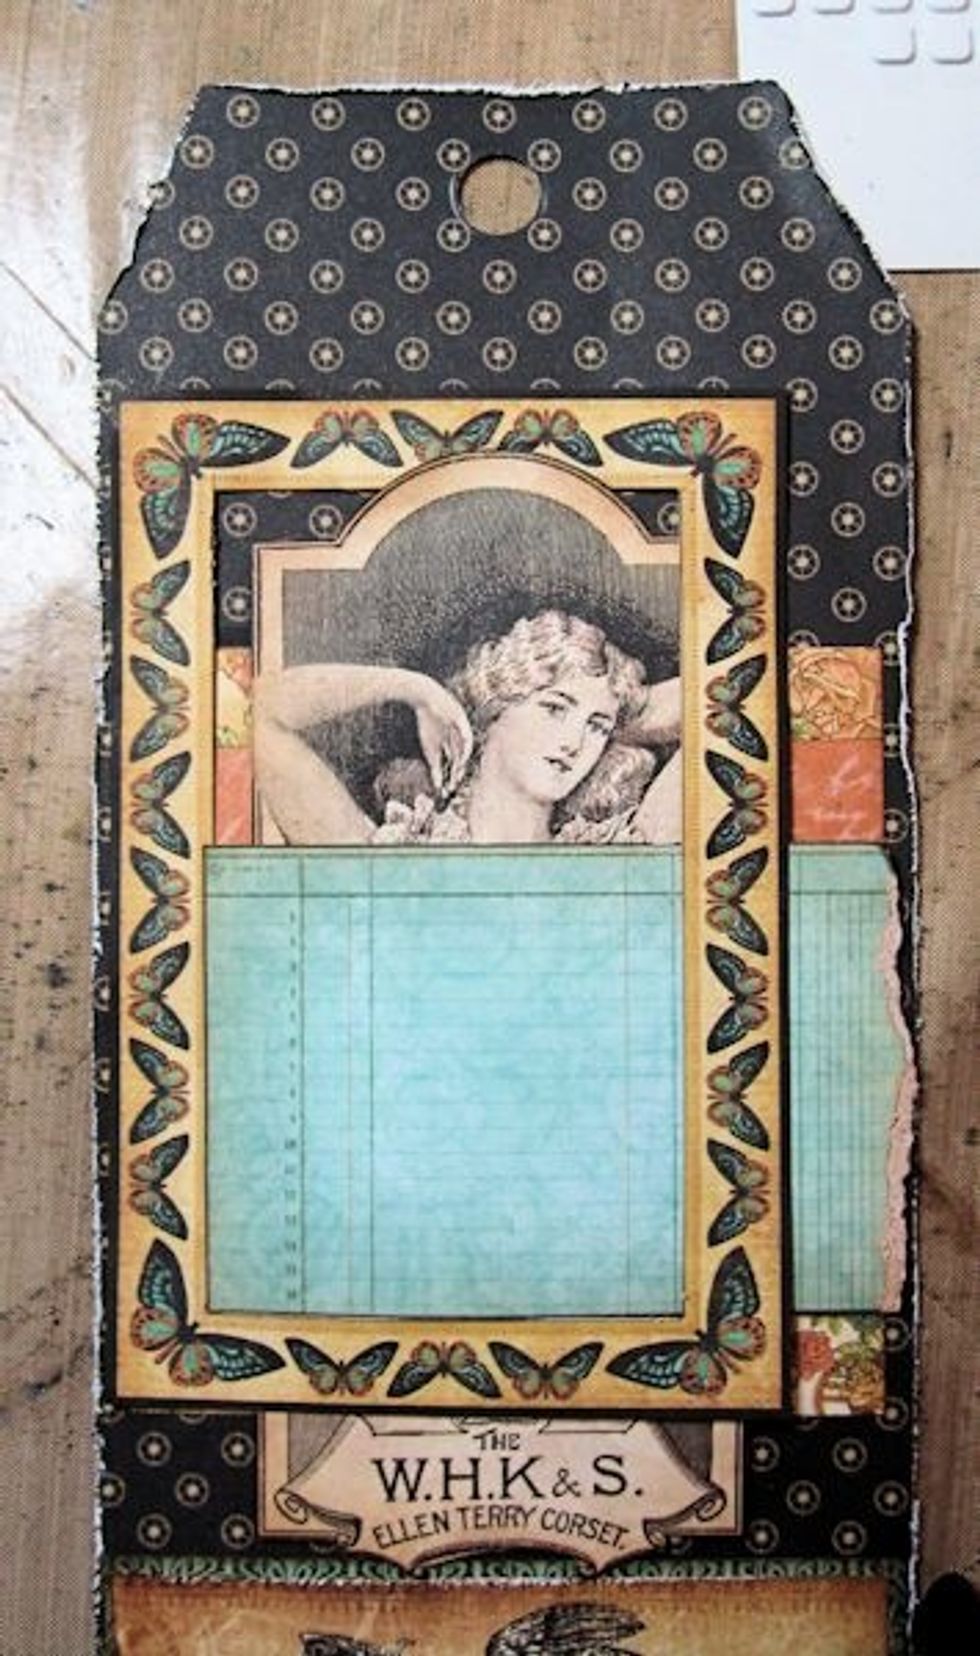
Use foam dots to place the frame over the corset ad as seen here. Be sure to lift the top edge above the frame and glue in place, as seen in the photo.
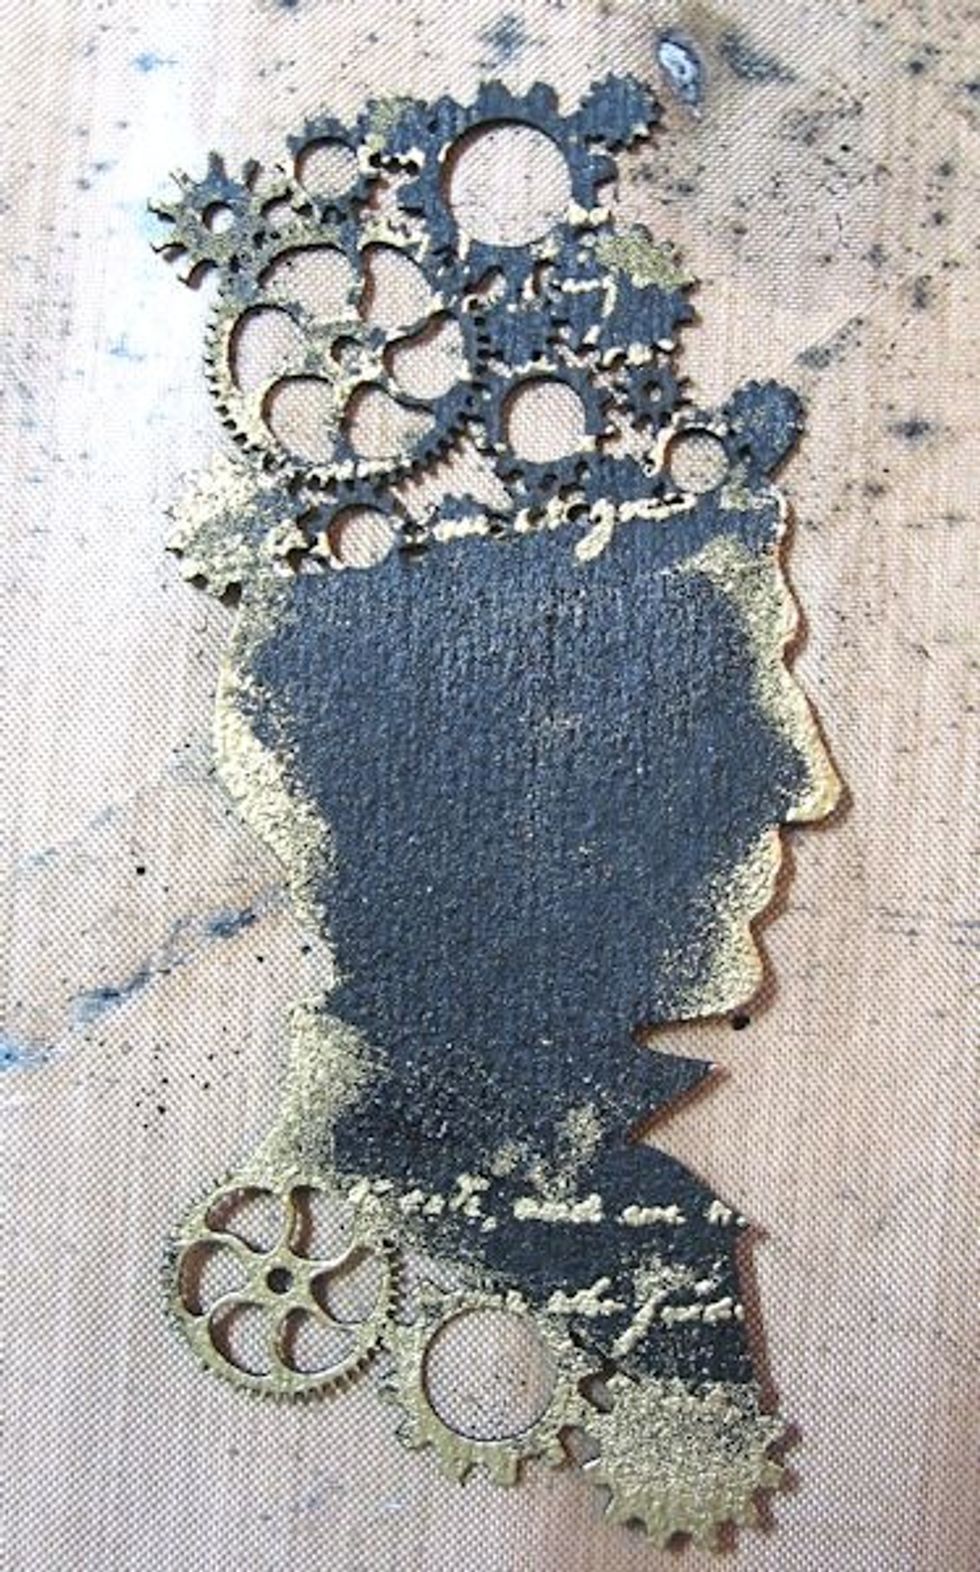
Paint the Steampunk Gentleman chip with Black Soot Distress Paint. Dry. Tap with Versamark Embossing Ink. Sprinkle with Gold embossing powder. Heat emboss.
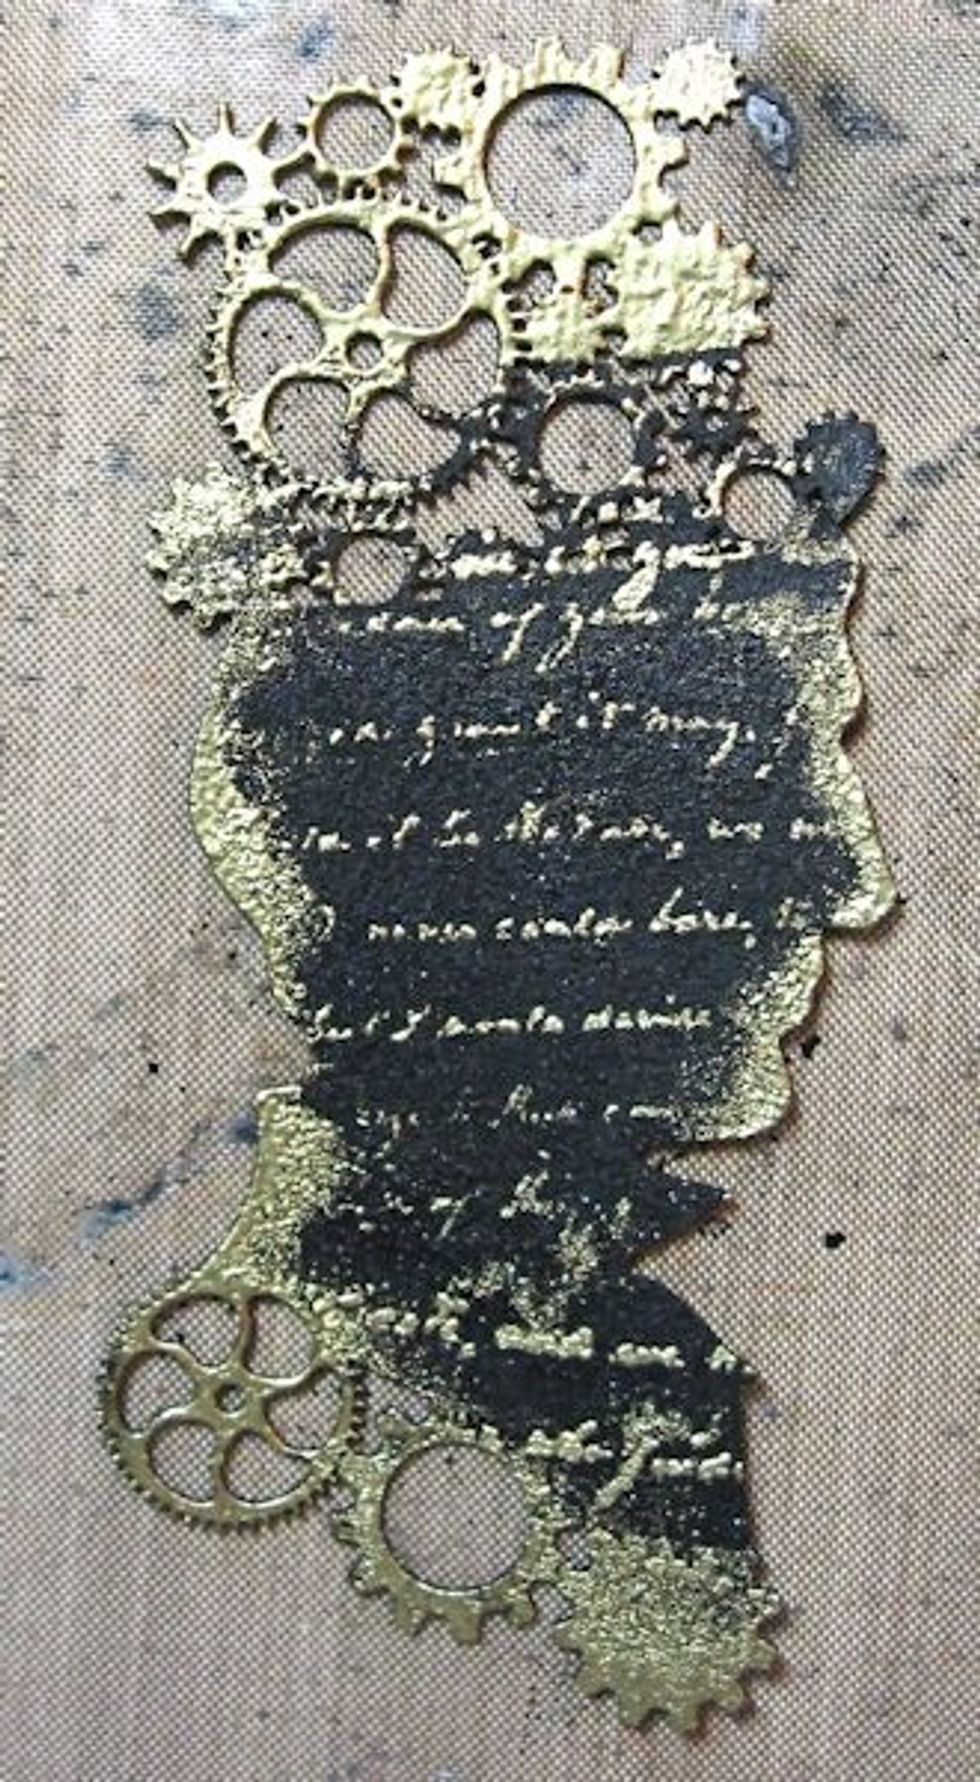
Stamp the script stamp with Versamark Ink. Heat emboss with Superfine Gold Embossing Powder.
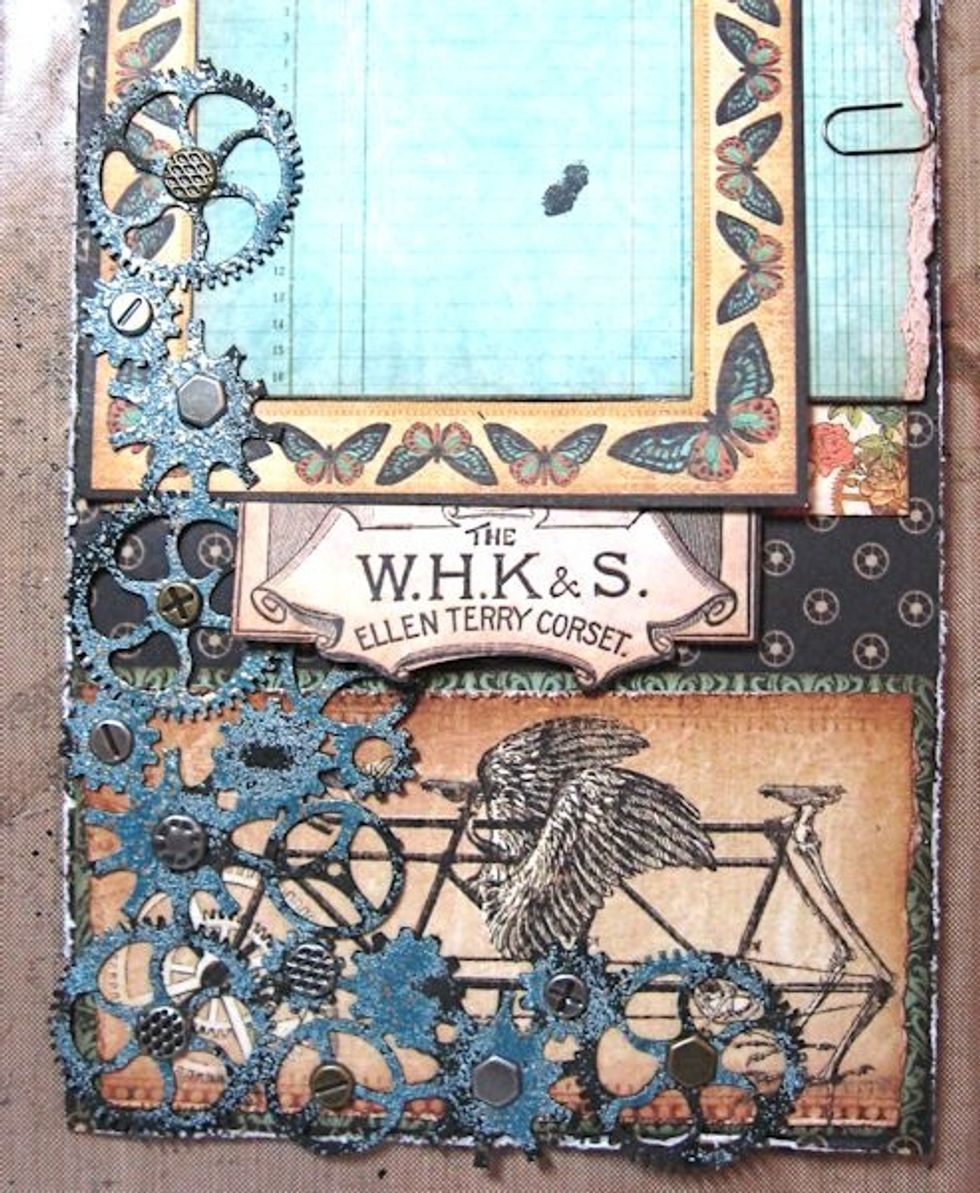
Paint all the gear chips with Black Soot Distress Paint. While still wet, sprinkle lightly with Teal Embossing Enamel. Heat set. Place on tag as desired. Add hardware brads to center of gears.

Use foam dimensionals to add the Steampunk Gentleman to the tag, as seen here.

Paint "AMAZING" chippie with Antiqued Bronze Distress Paint & dry with heat gun. Hold the gun fairly close to the paint so it will blister a little & give you this cool texture. Glue above frame.
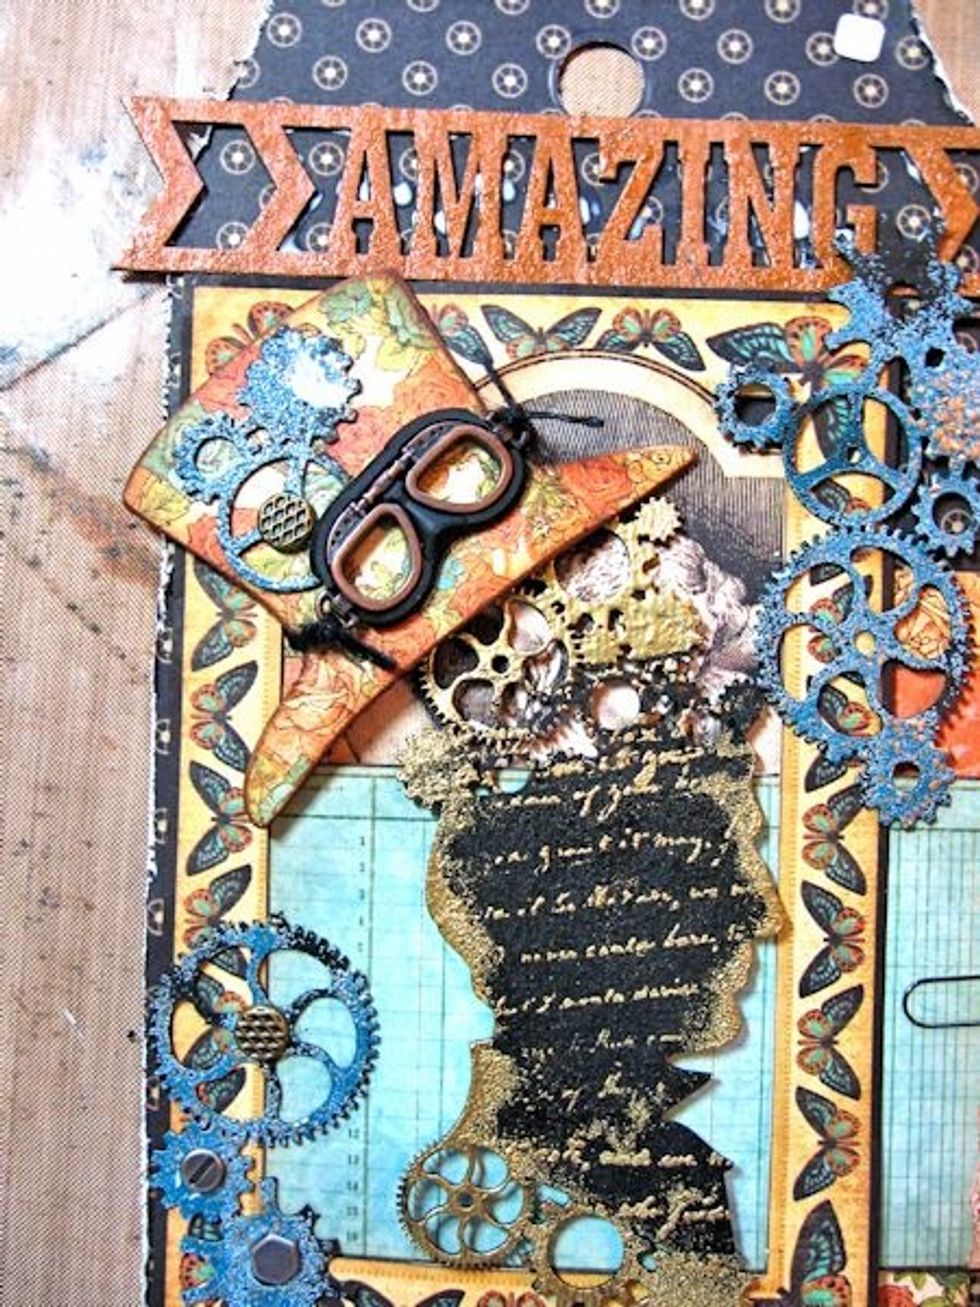
Cover top hat with small floral print. Ink edges. Add painted gears, brad and Prima goggles with thread. Glue Chipboard to the back and add at an angle above the head of Steampunk Gentleman.
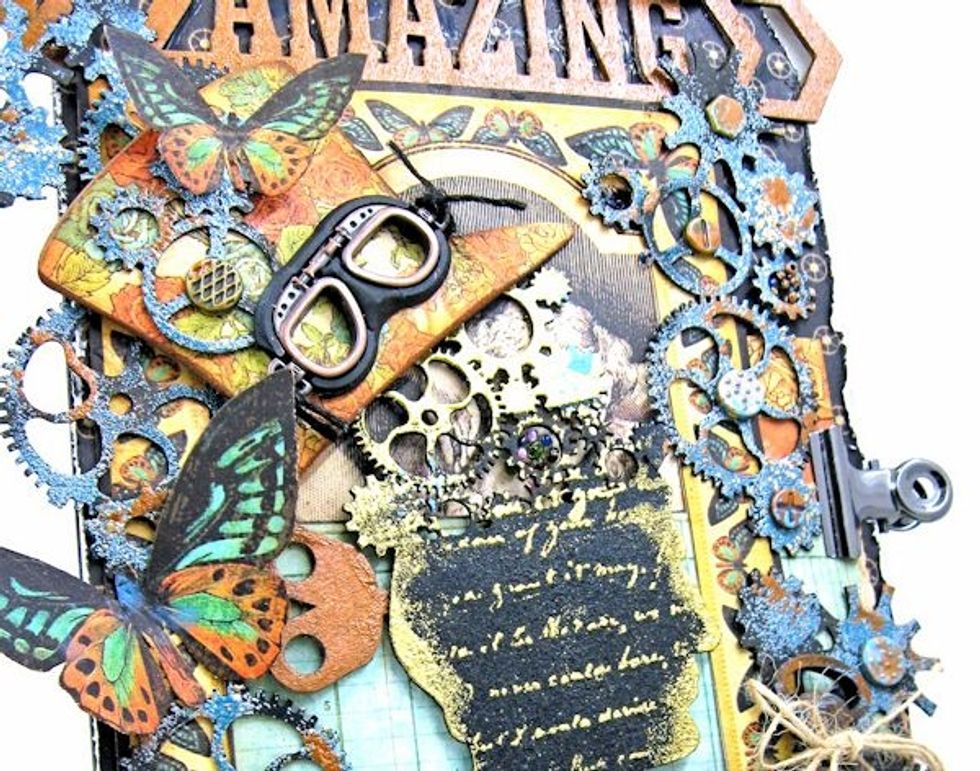
Add more painted/embossed gears and brads. Tap lightly with Antiqued Bronze Distress Paint.
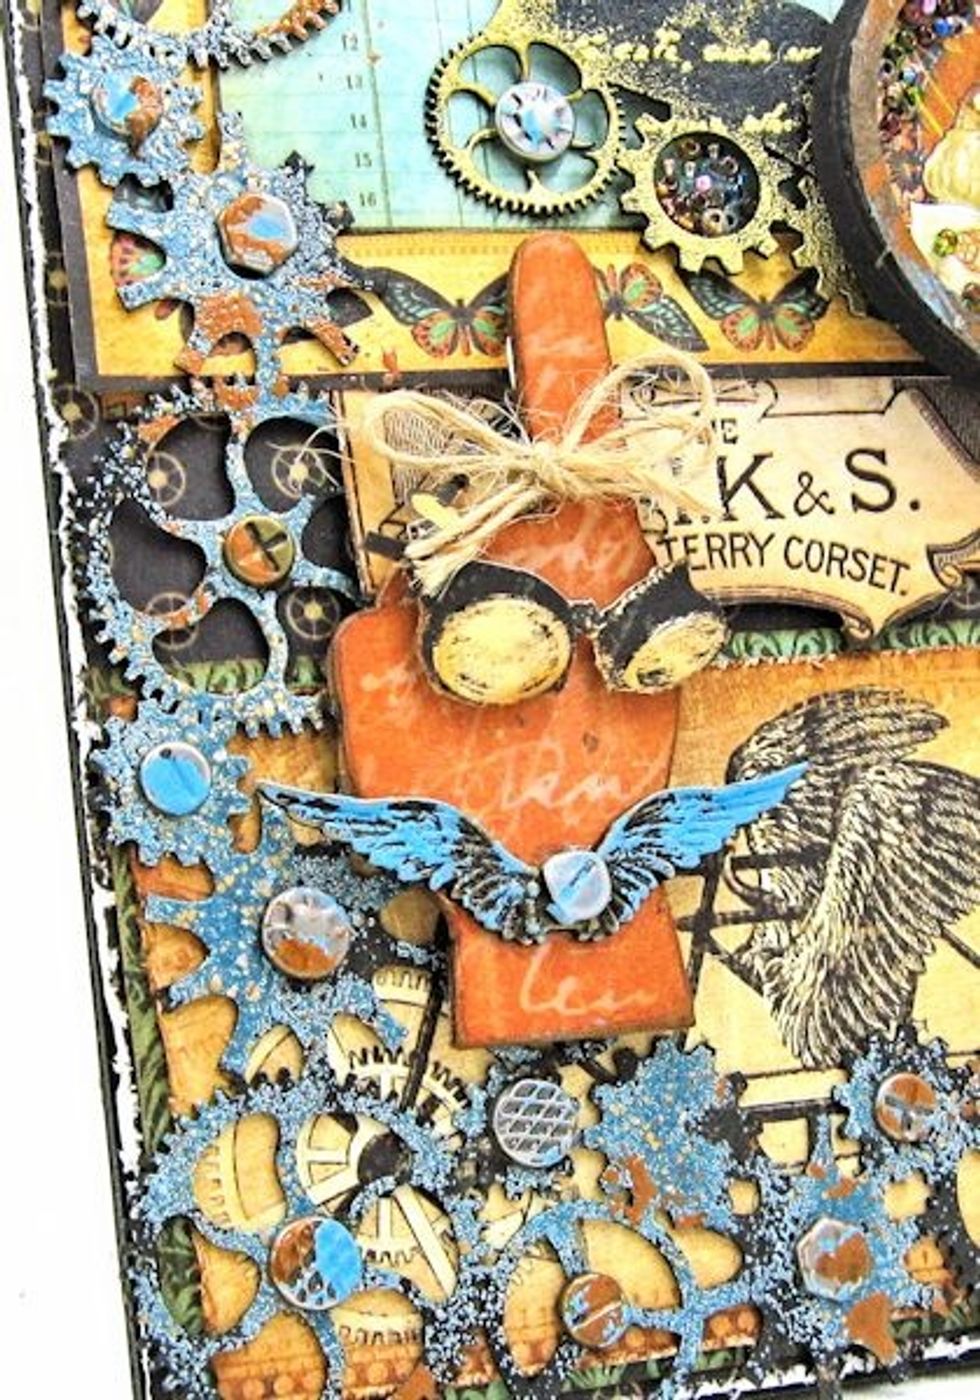
Cover pointing hand with orange script paper. Fussy cut goggles from paper. drape over finger. Tie burlap string bow around finger. Add steampunk wings & brad. Attach with foam dimensionals.
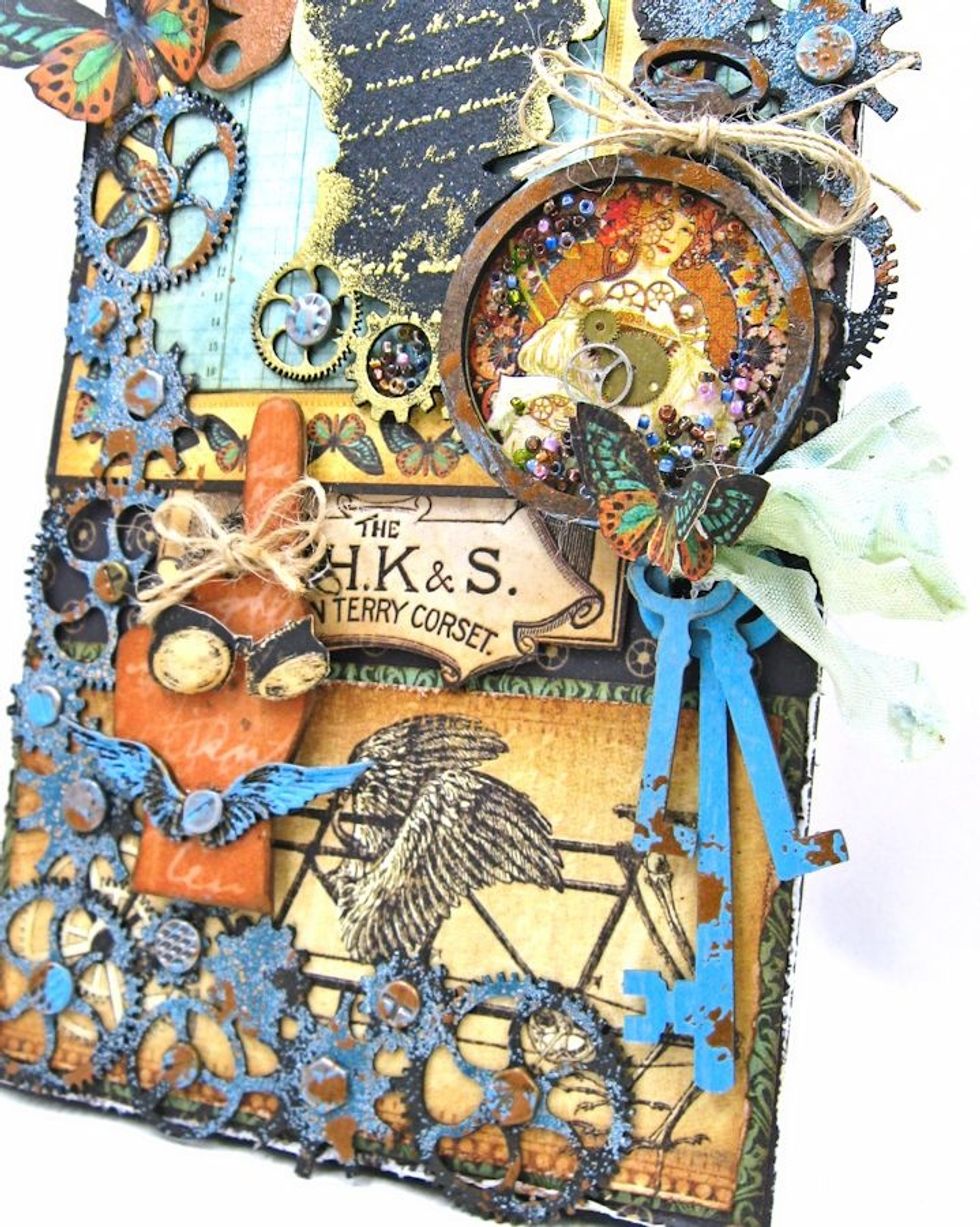
Place sticker inside clock frame. Glue top on. Tie string bow. Paint keys. Tie together with seam binding ribbon that's dyed with Broken China paint. tuck below clock base. Add butterflies & beads.

Glue inspire bulb to printed paper. Glue above title. Add a small metal clip on the side. Do not glue onto the tag base until the back of the tag is finished. It's easier to work on flat surfaces.
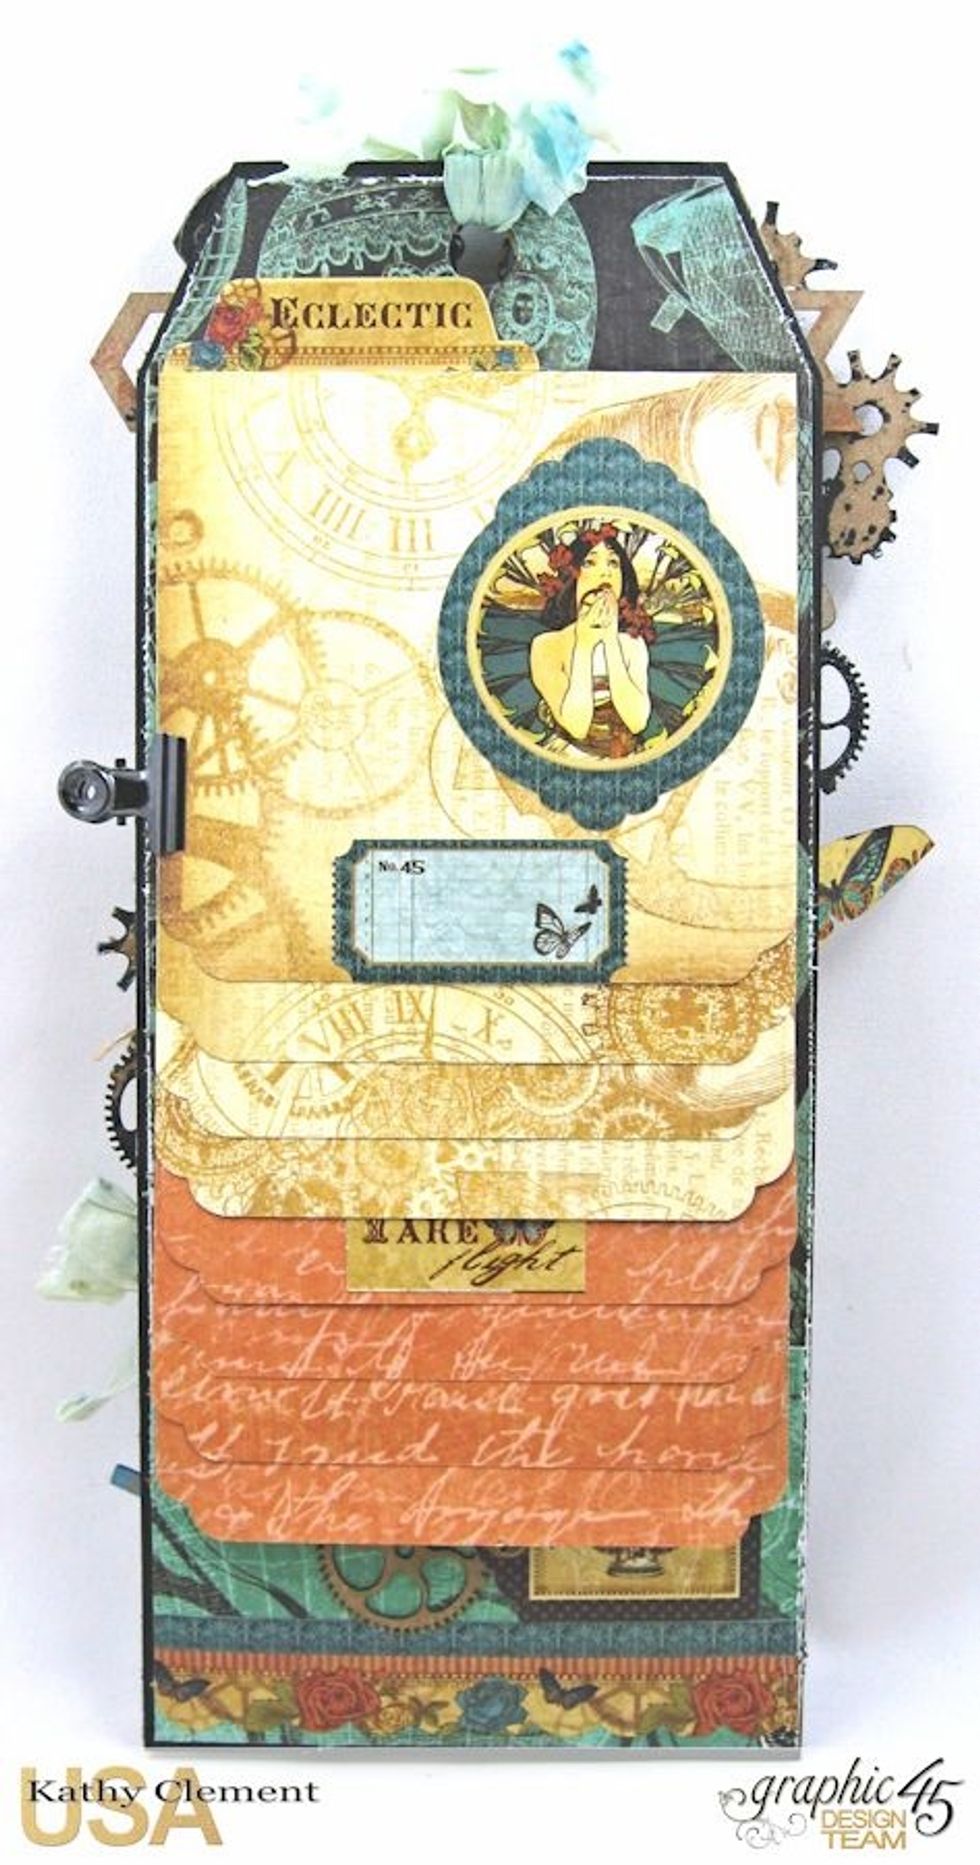
Time to add the folio to the back. Glue the prepared balloon paper. Cut four 4.5" x 4.75" squares from 2 different patterned papers. Score 1/2" from top on the long side. These will be folio pages.

Fold the 1/2" flap back on each piece of patterned paper. Use a corner punch to shape the bottom edges if desired. You should have 8 of these squares in all.
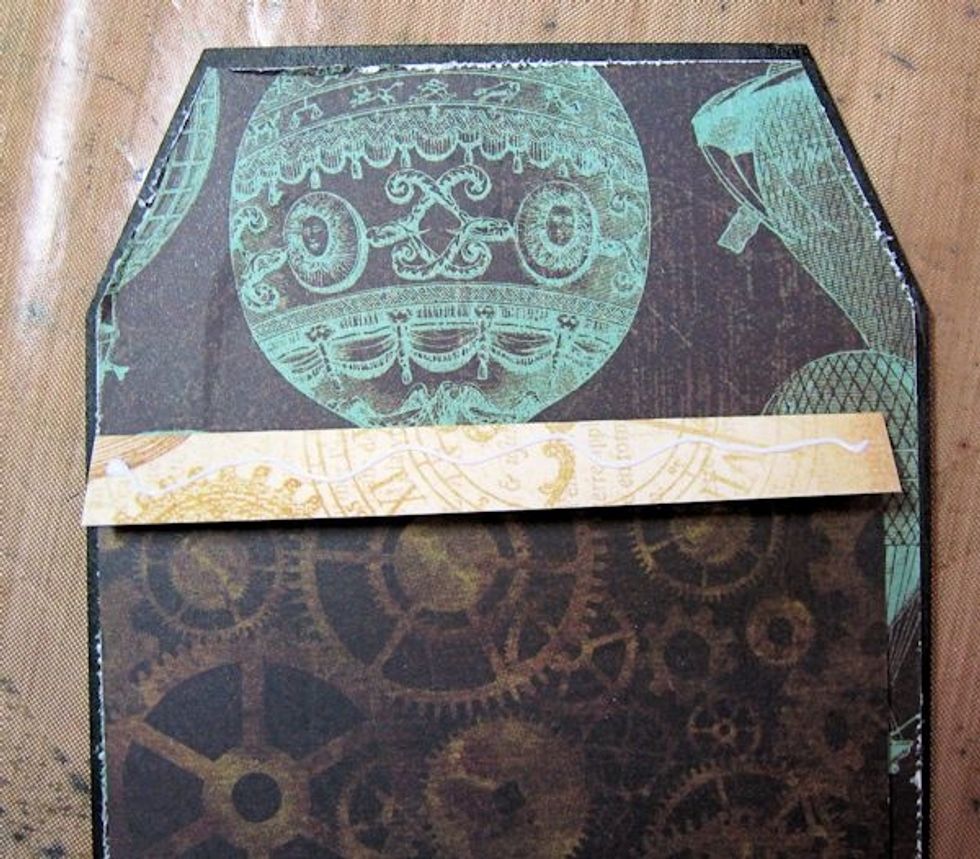
Flip the square over and add a bead of glue or scor-tape to the folded 1/2" tab.
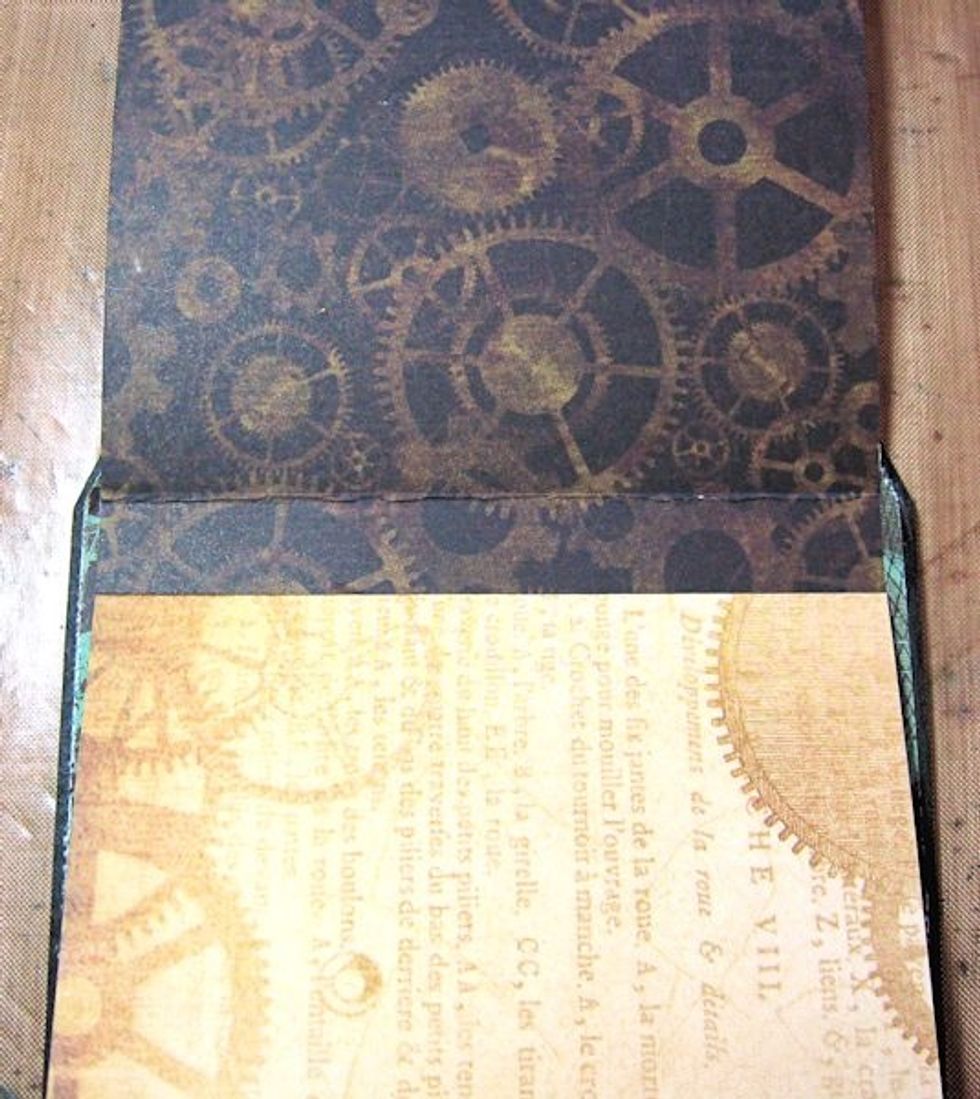
Glue the front side of the folded square straight across the top of the tag. Here you can see how each square lines up with the edge of the square above it. This creates a waterfall effect.
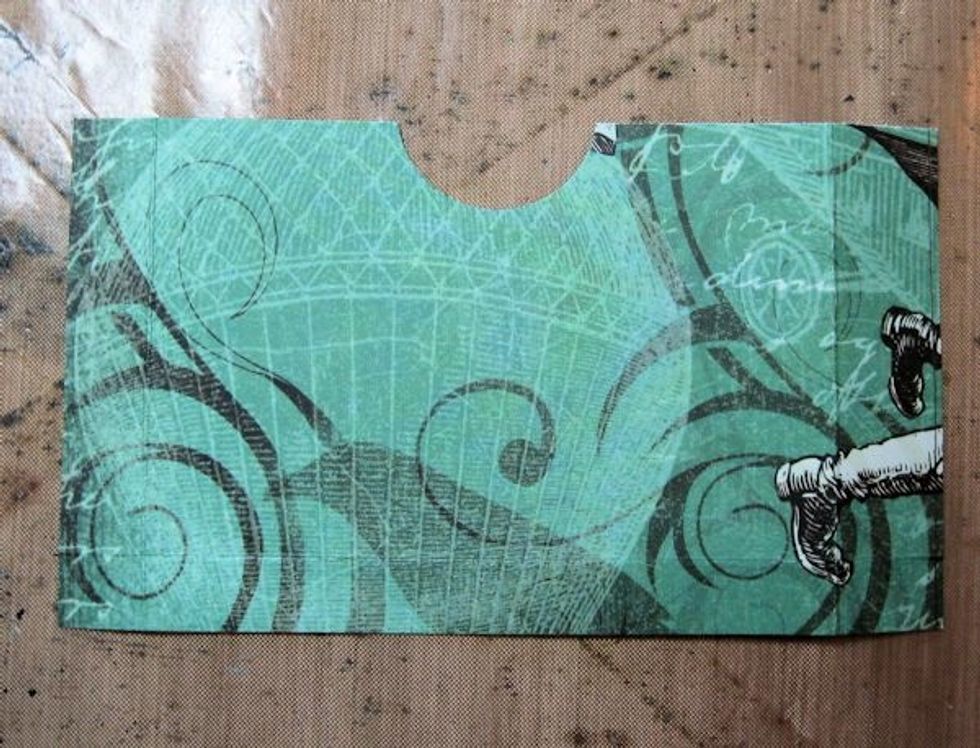
Cut a 5.5" wide x 3.5" tall piece of teal patterned paper. Score 1/2" on both sides and on the bottom. Crease with bone folder. Bevel corners. Add thumb hole with punch. Fold and glue to base of tag.

Decorate with border sticker, border tag, brad & unpainted gear chips. Cut photo mounts and tuck into the pocket. Flip the tag over. NOW you may glue the front panel onto the tag. Hooray!
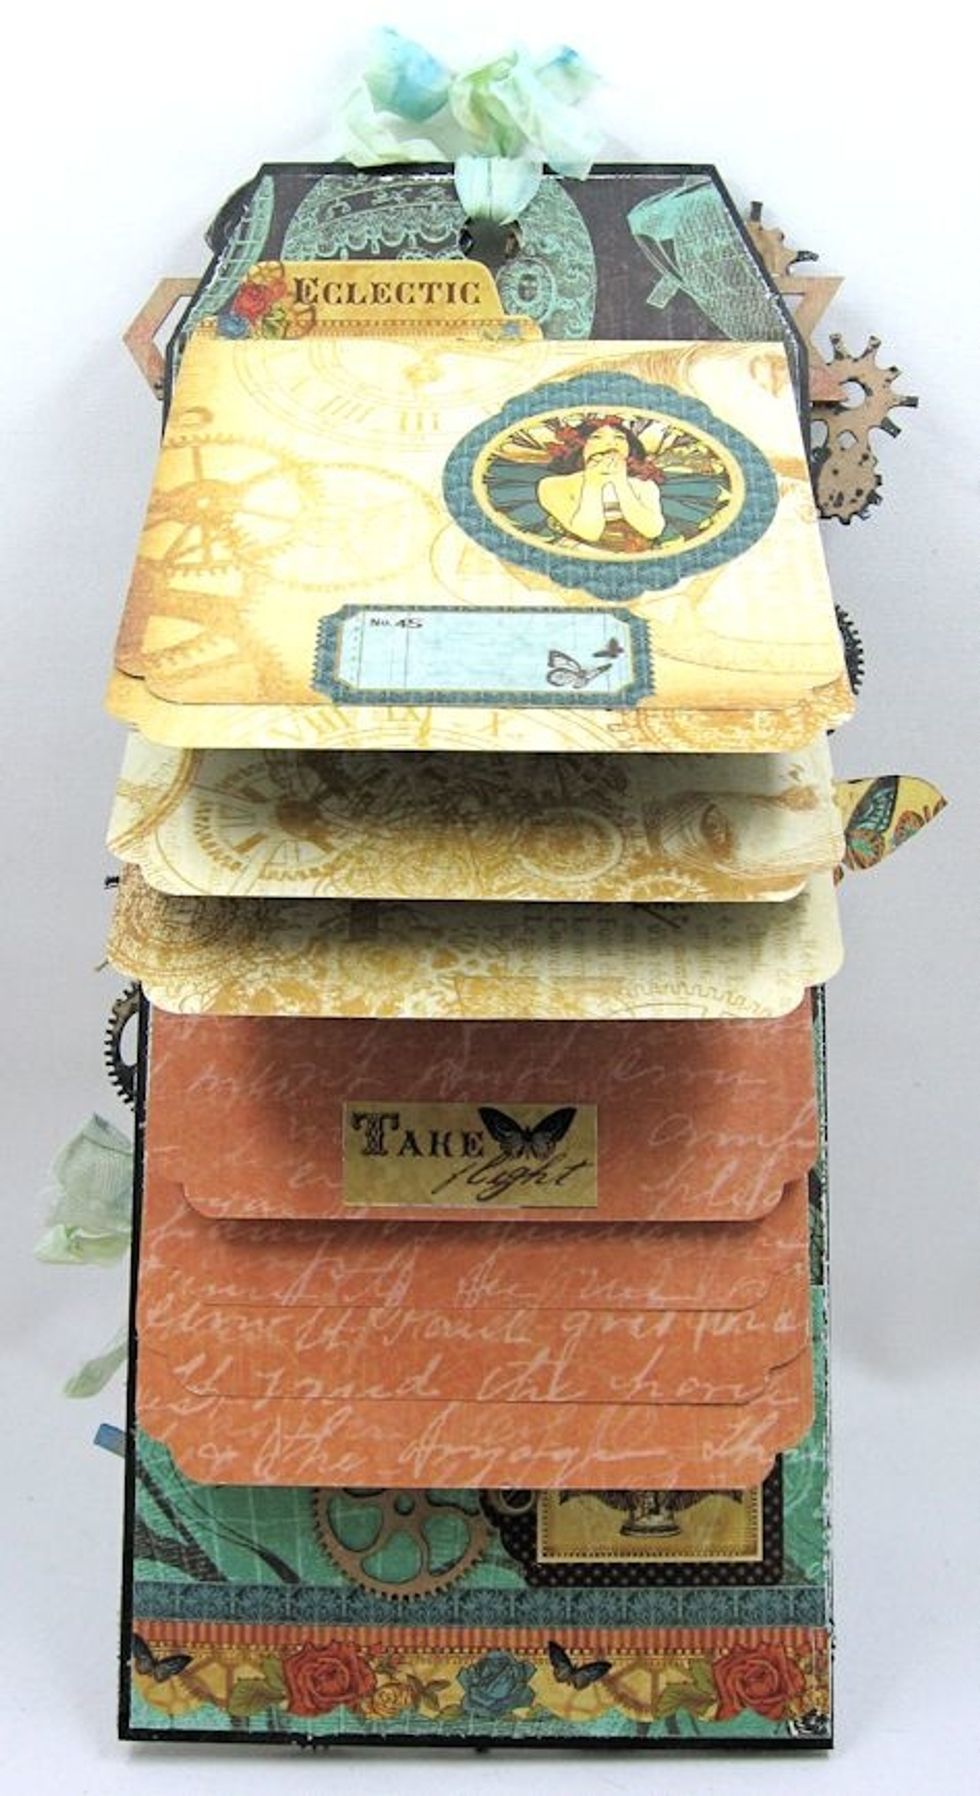
You can mount photos to both front and back of each panel. Don't forget to add some journaling! Hold the folio closed with a small metal clip.
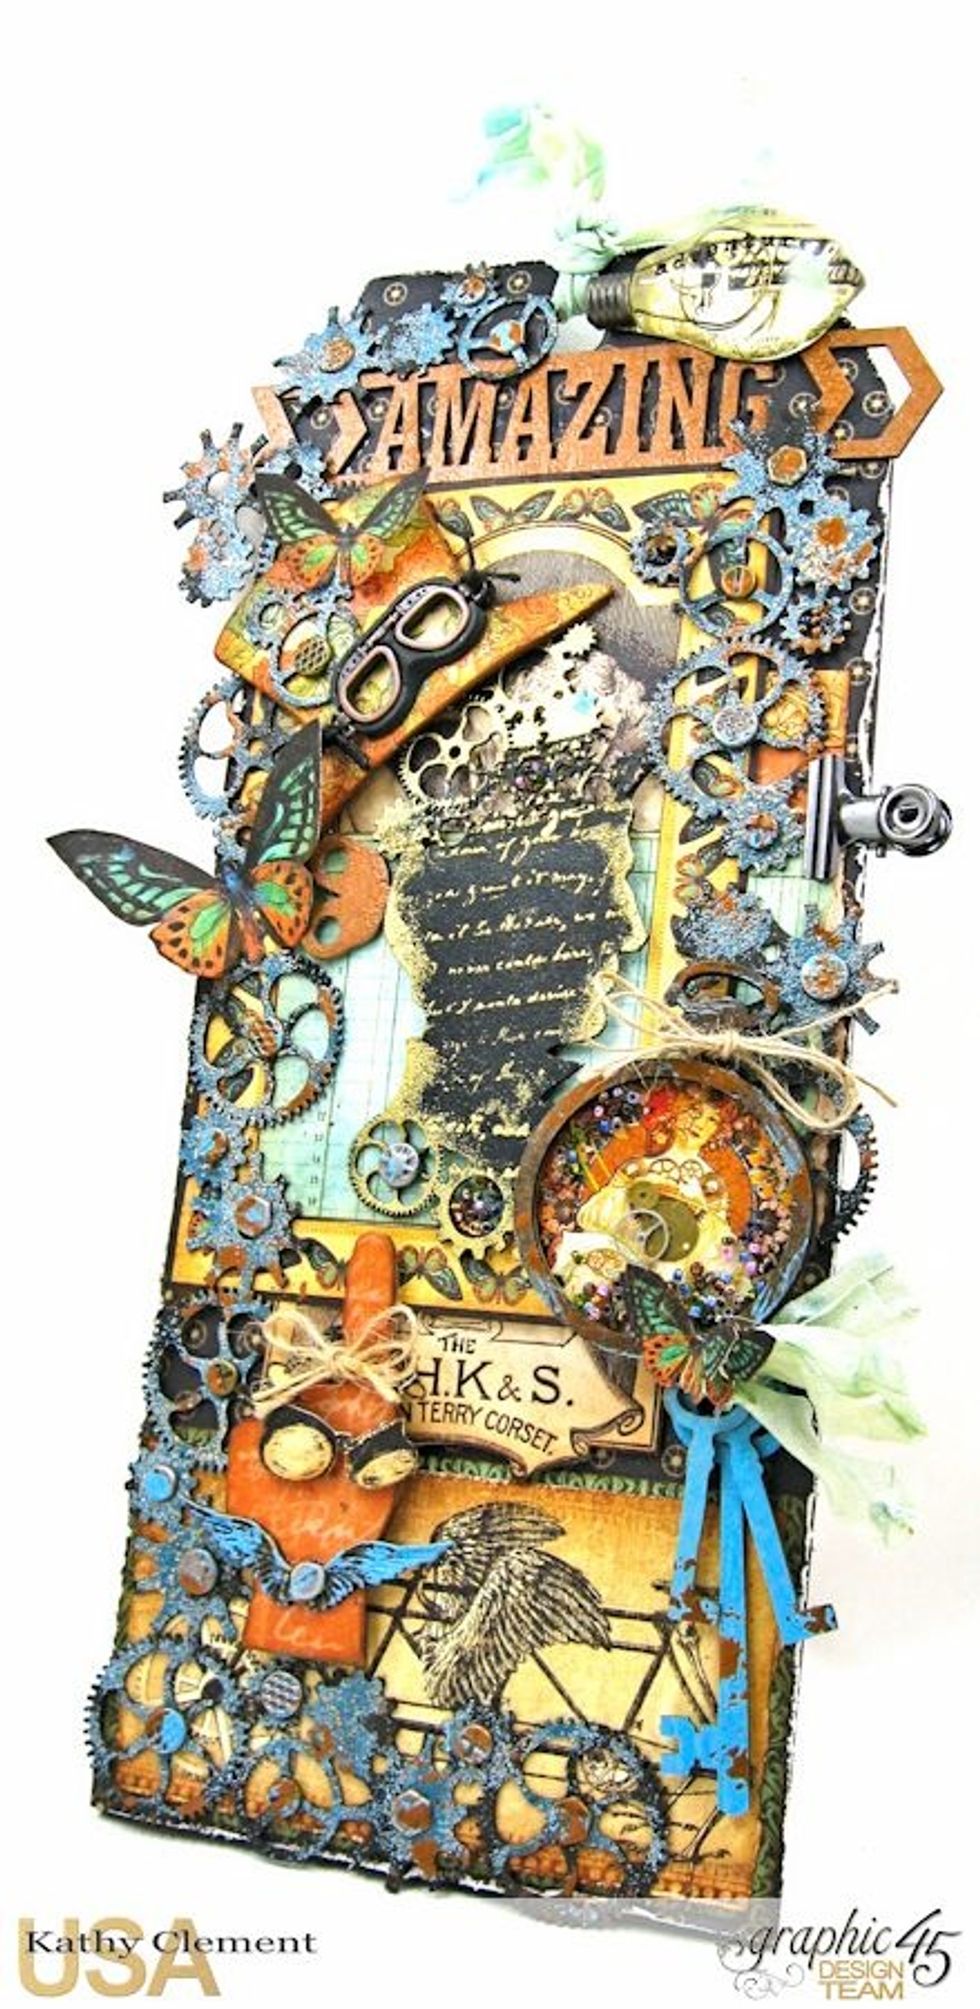
Your Chipboard Steampunk Tag Folio is now ready for display, or to give as a gift. Thanks for joining me. For more inspiration, visit me at http://www.kathybydesign.com. Now go get your craft on!