The Conversation (0)
Sign Up
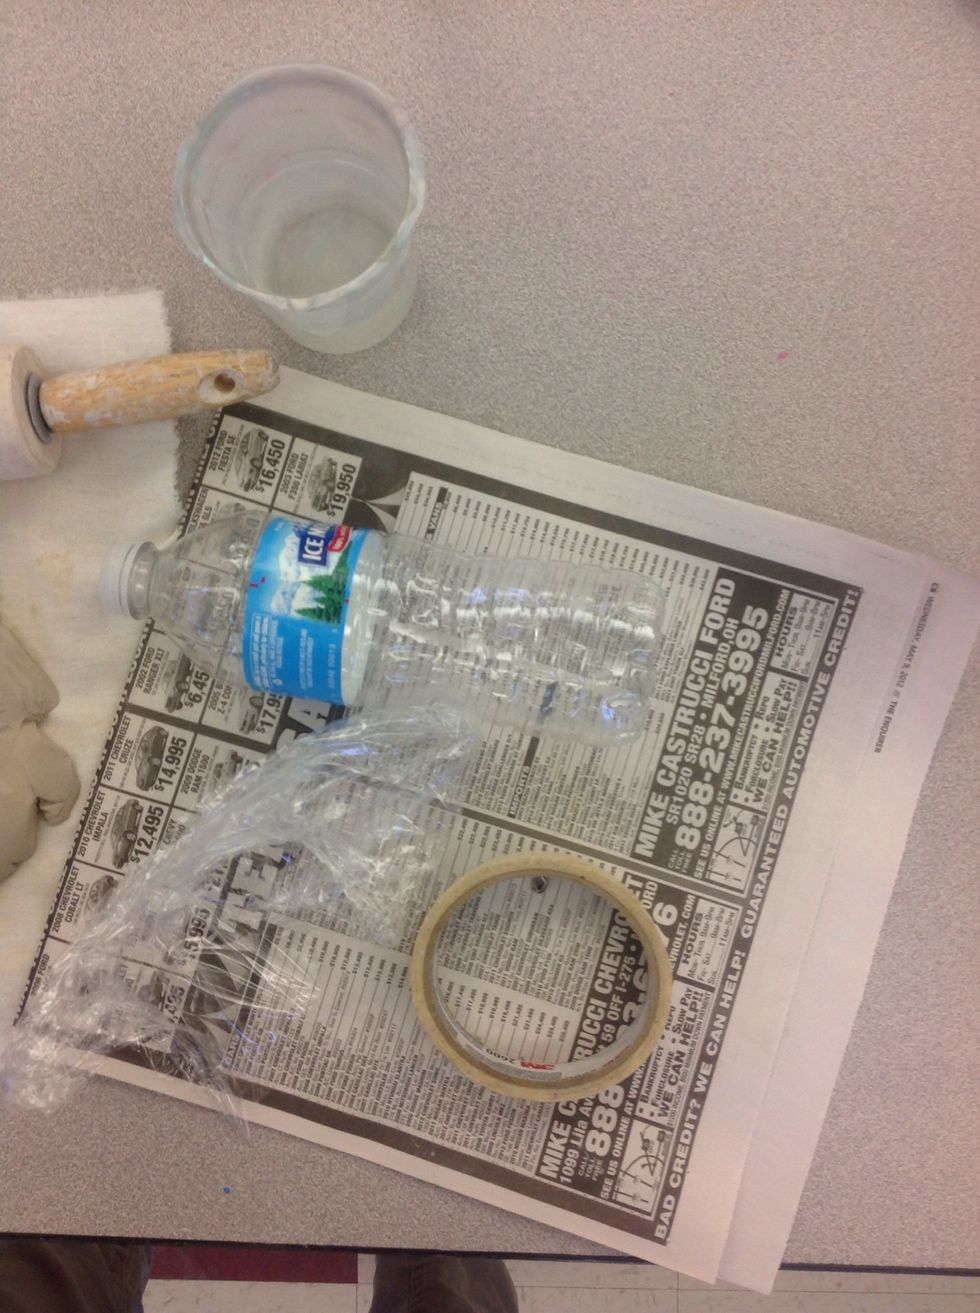
Gather supplies to cover bottle
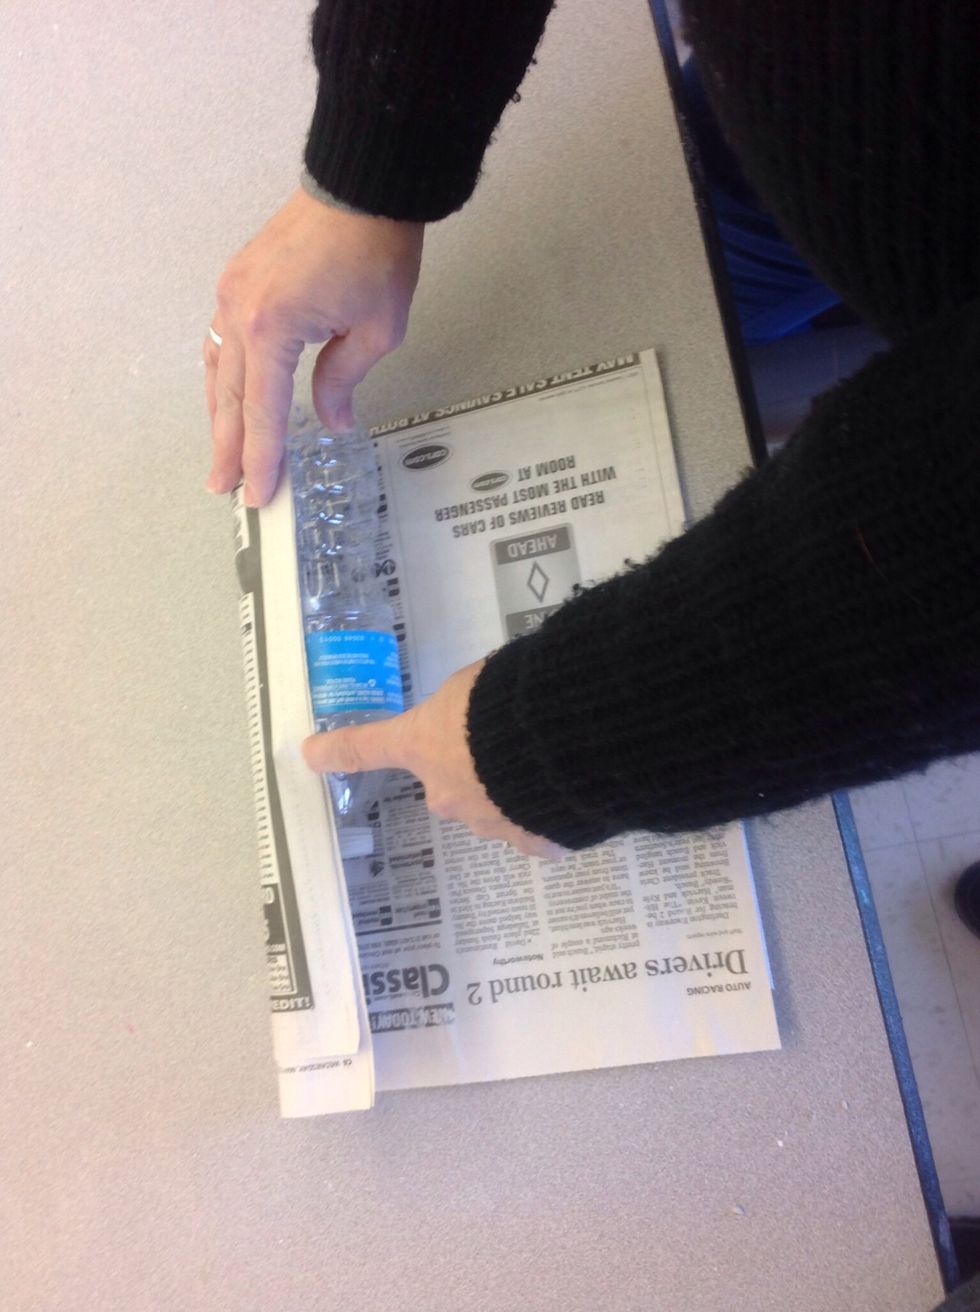
Wrap bottle in newspaper, about 4 layers thick
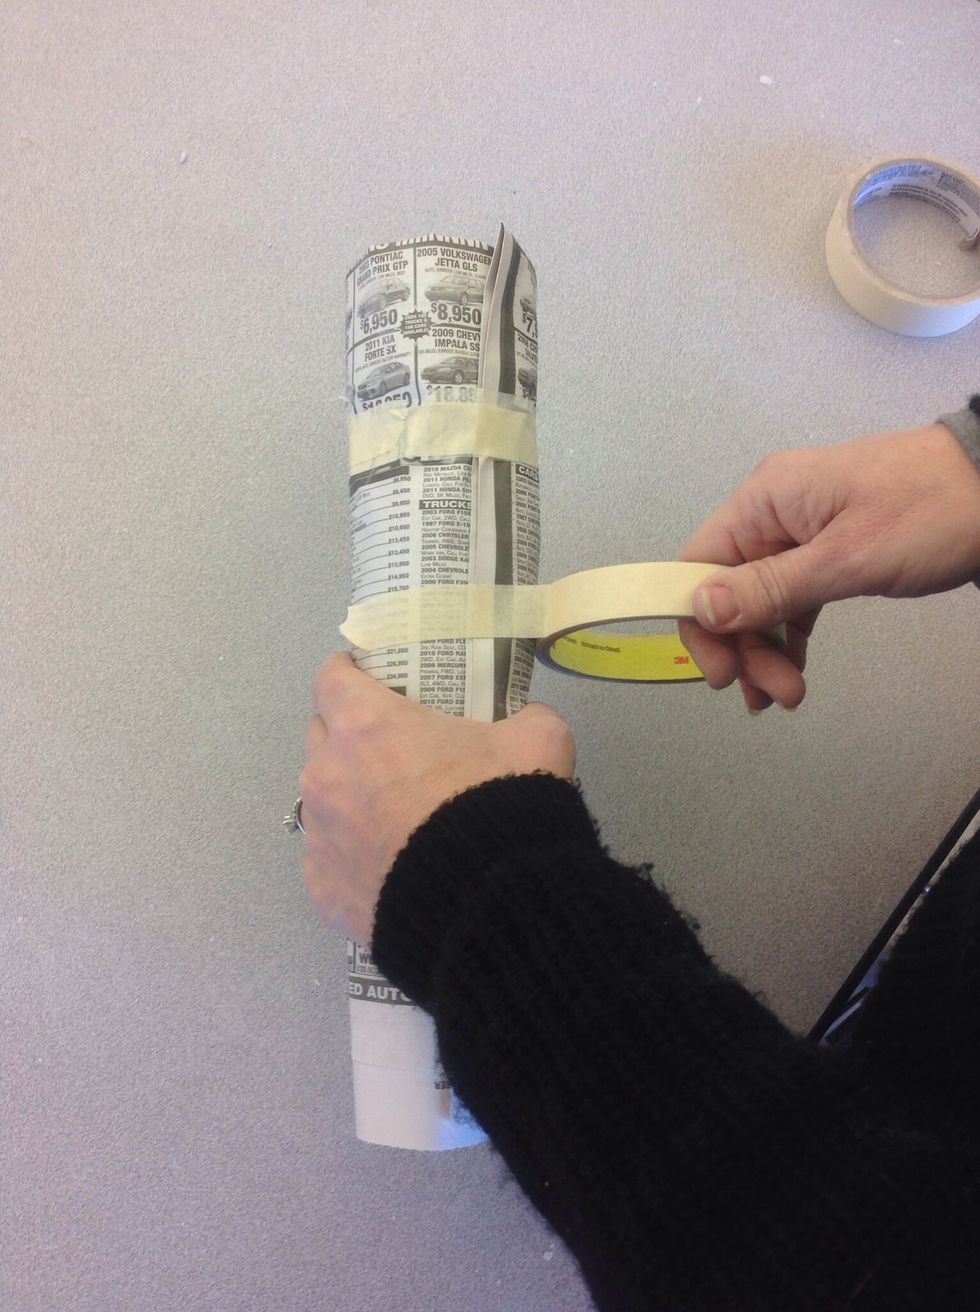
Tape securely in place. Line up edge of newspaper with bottom of bottle
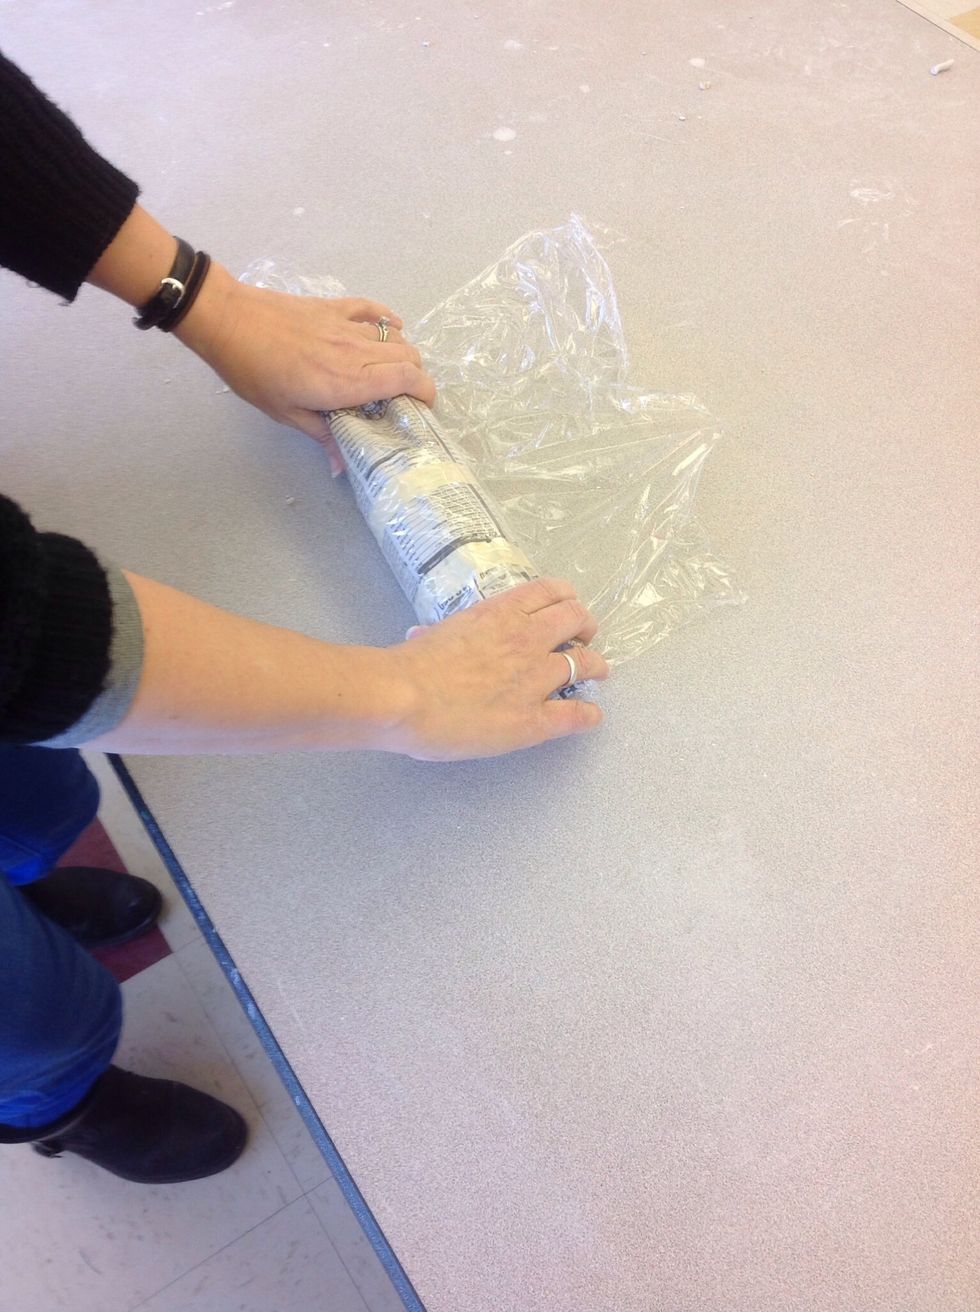
Wrap in plastic wrap
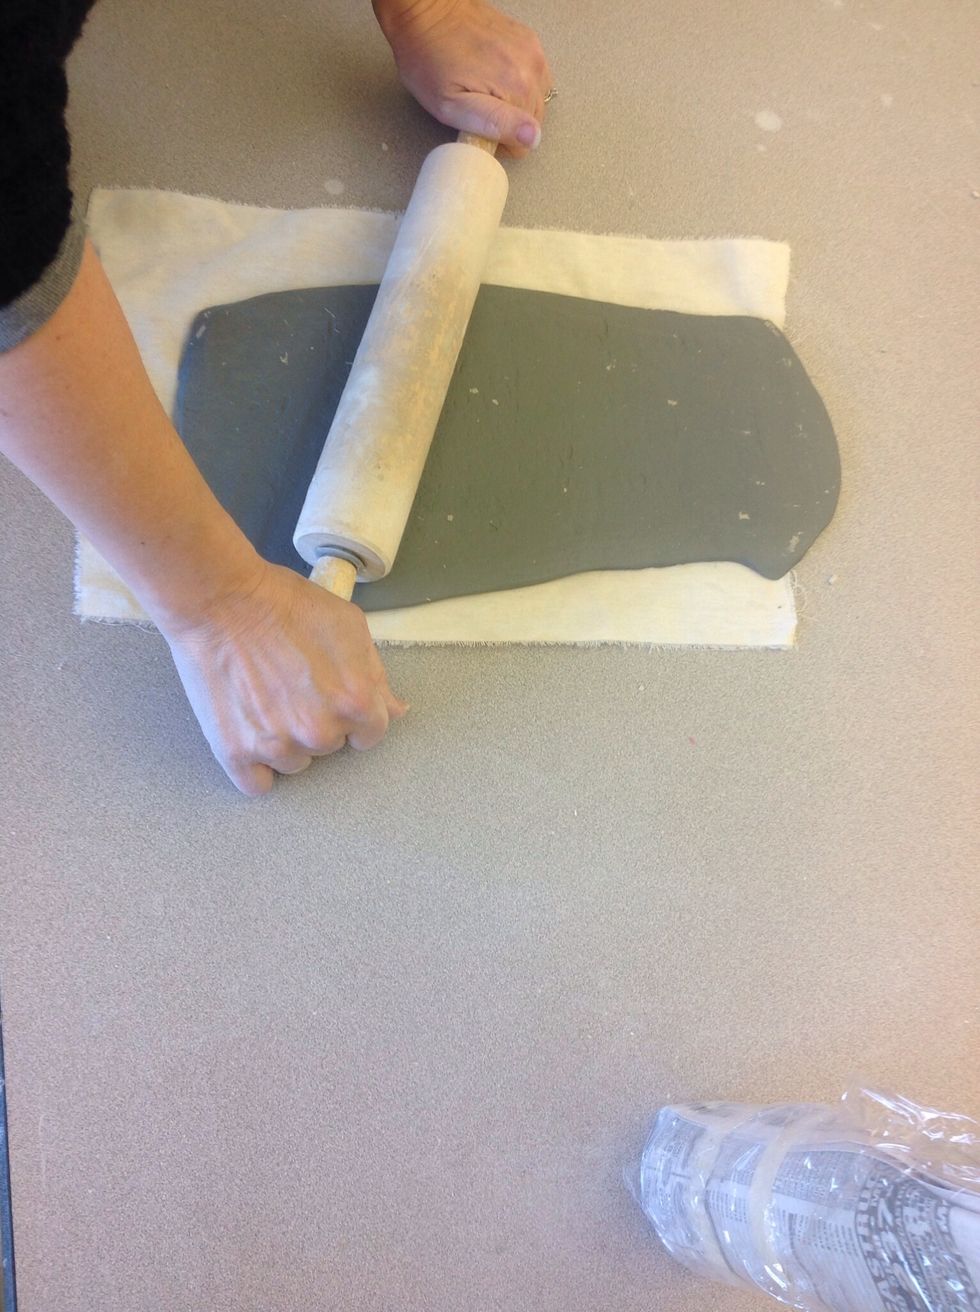
Roll out slab of clay, about 1/2 inch thick. Try to make a long rectangular shape, not a circle or blob.
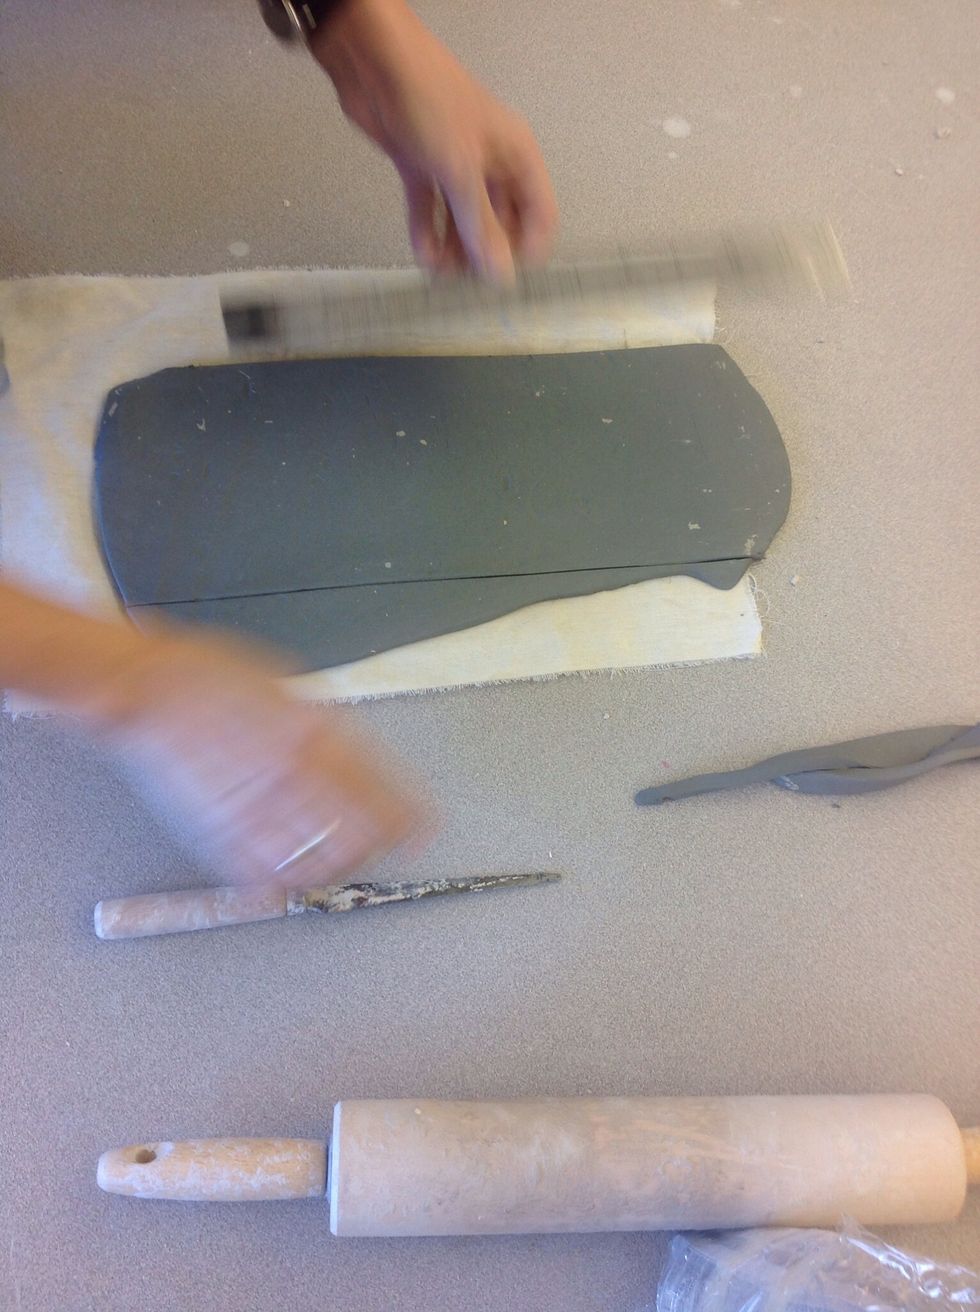
Using ruler and clay knife, trim into even rectangle. Save your scraps to make the facial features.
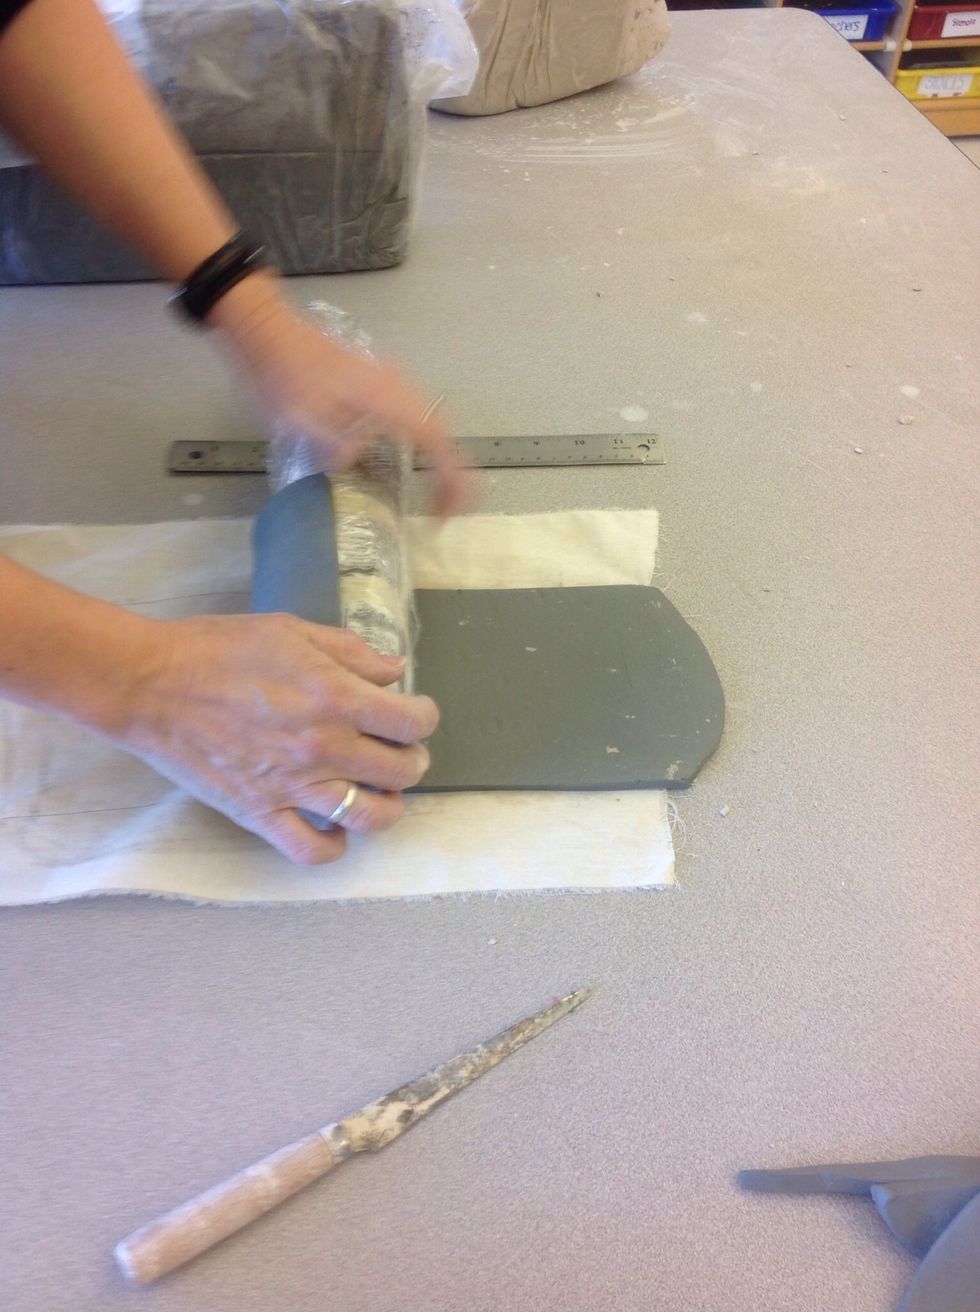
Line up slab with bottom of bottle and roll around water bottle
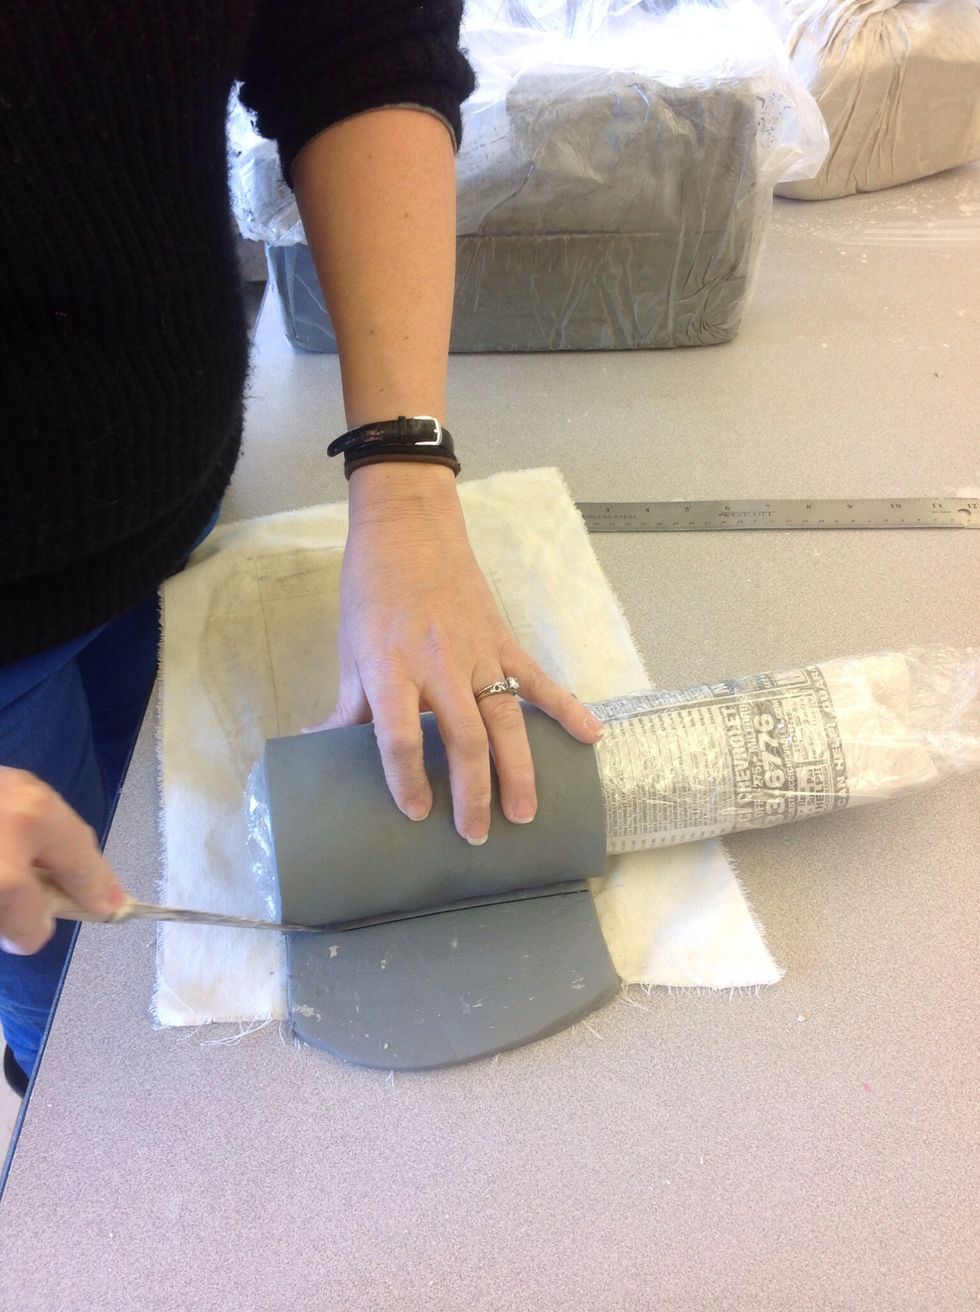
Trim at a slight angle when you reach your beginning edge
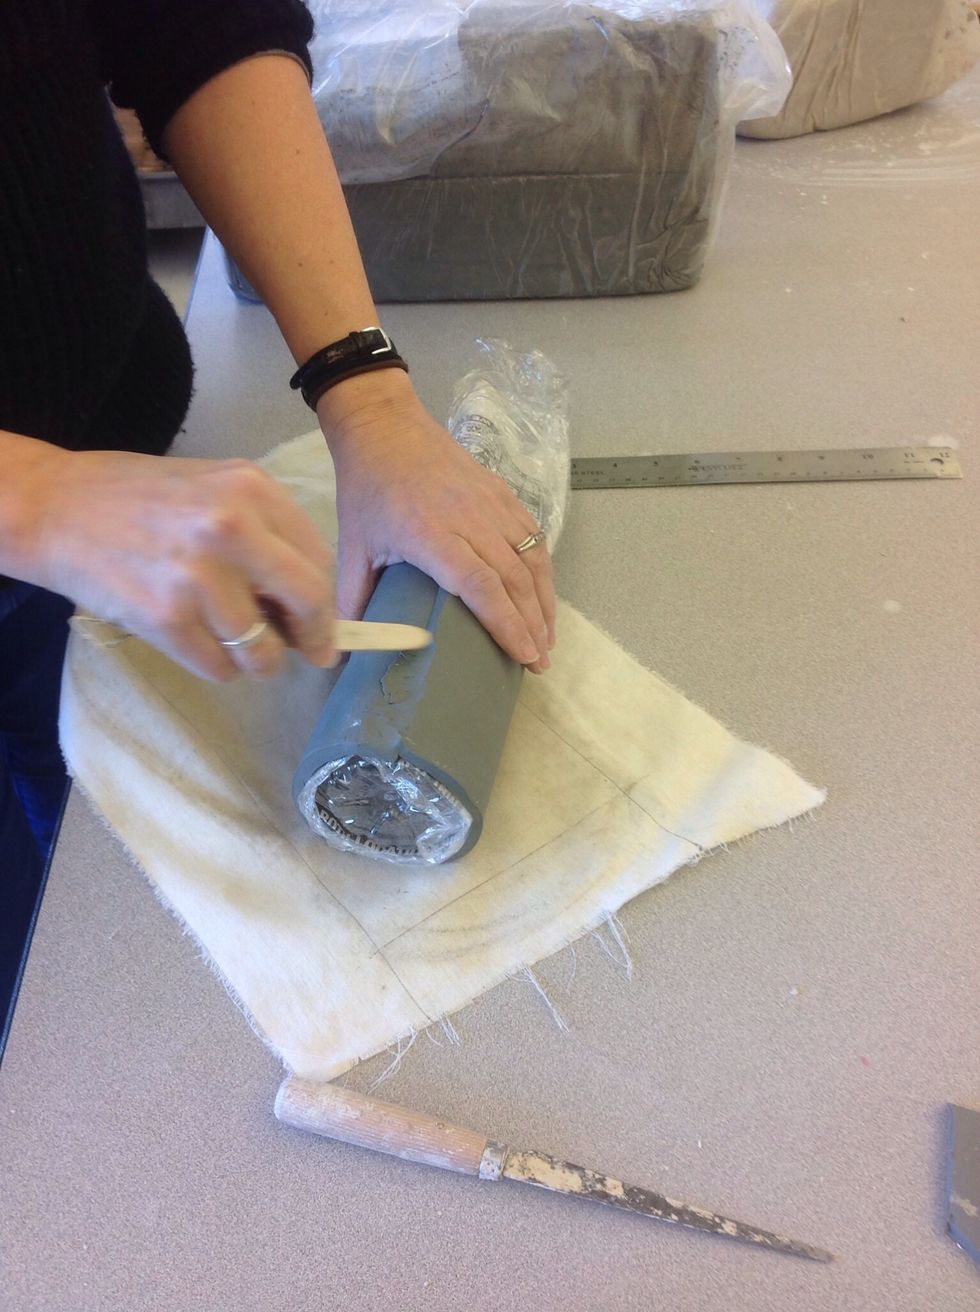
Smooth edges together
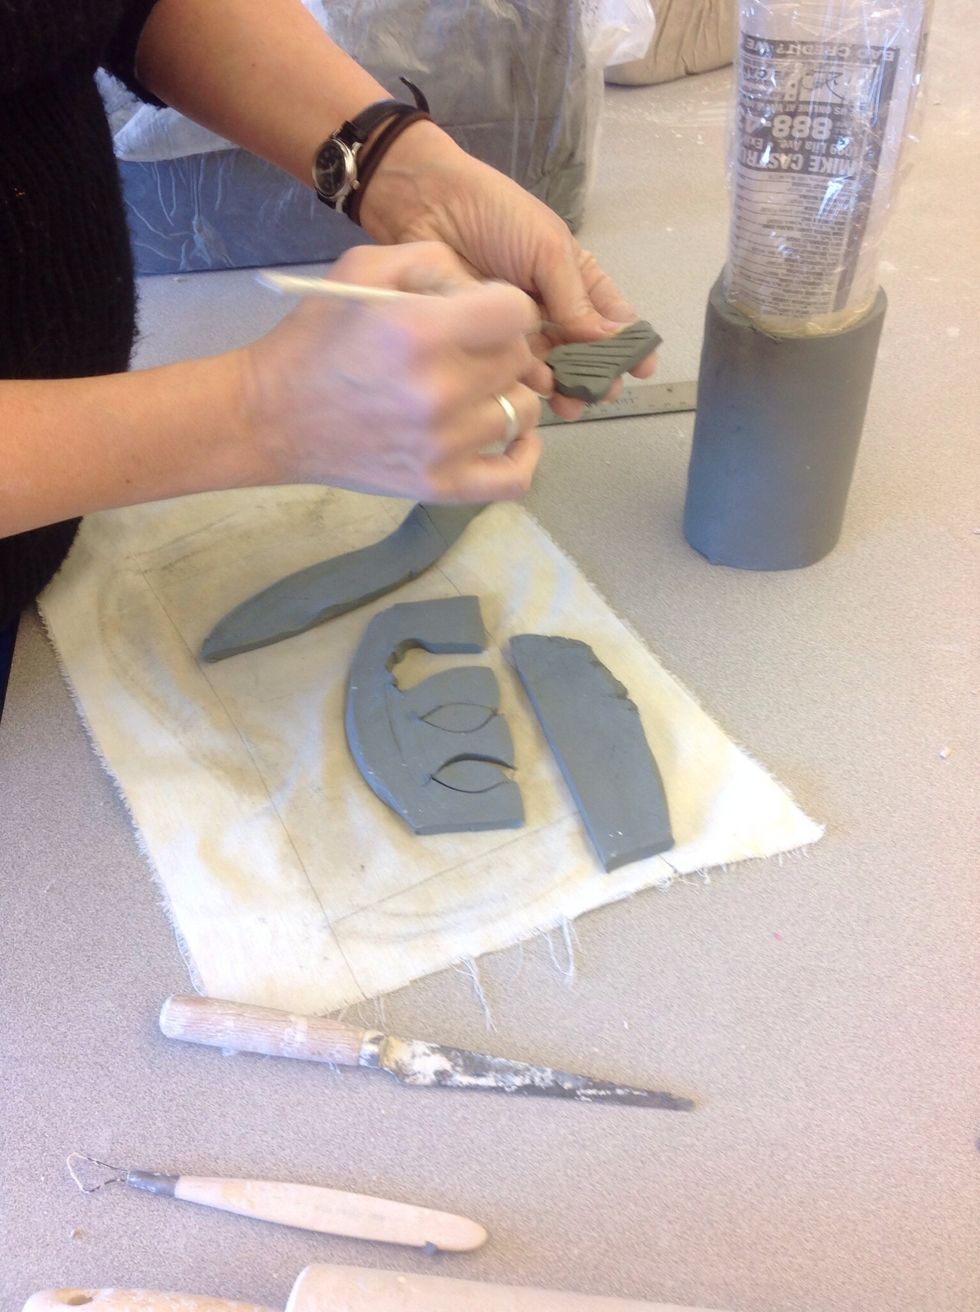
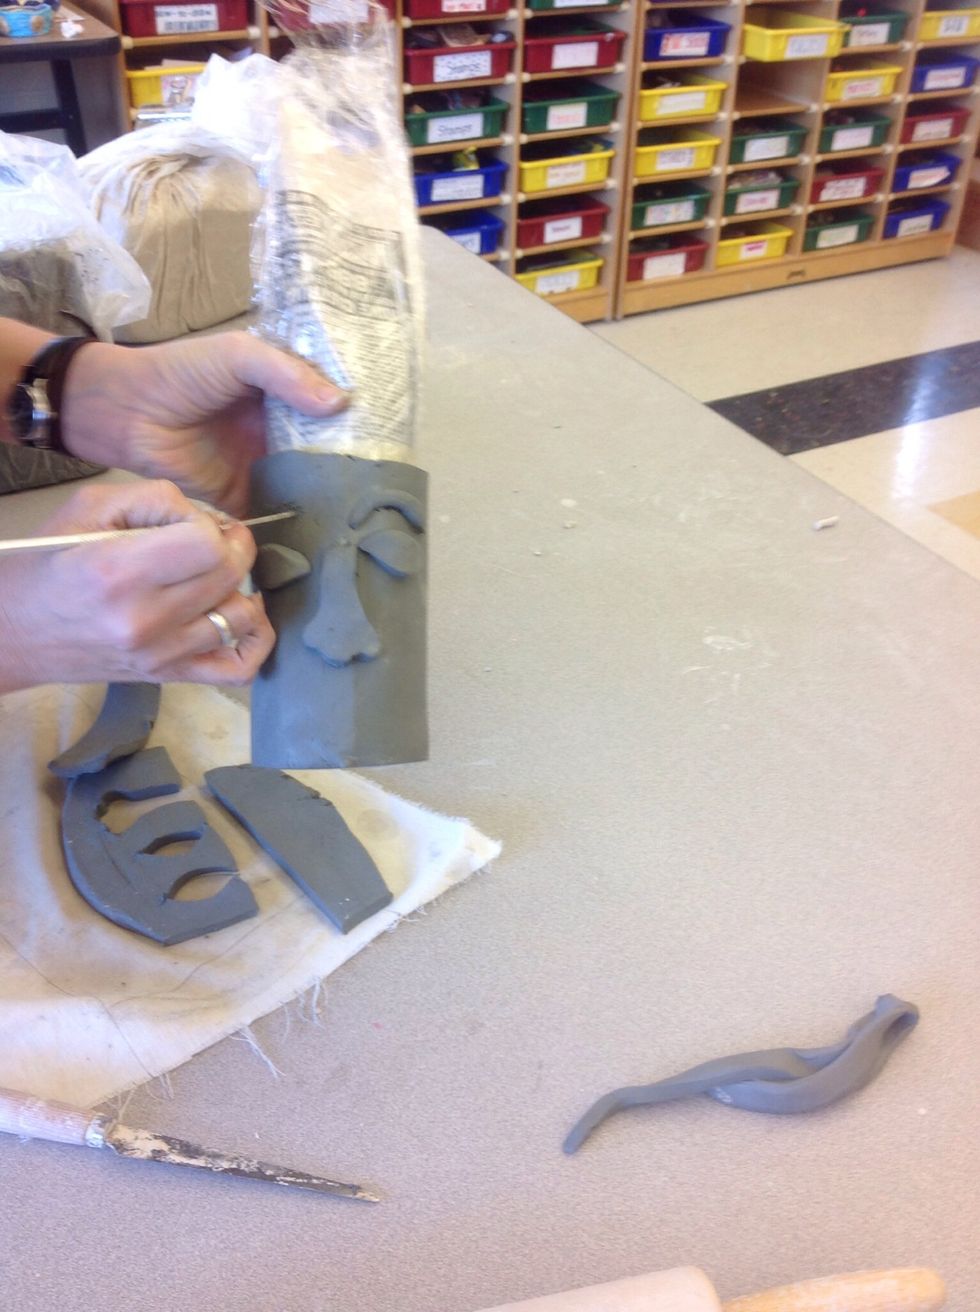
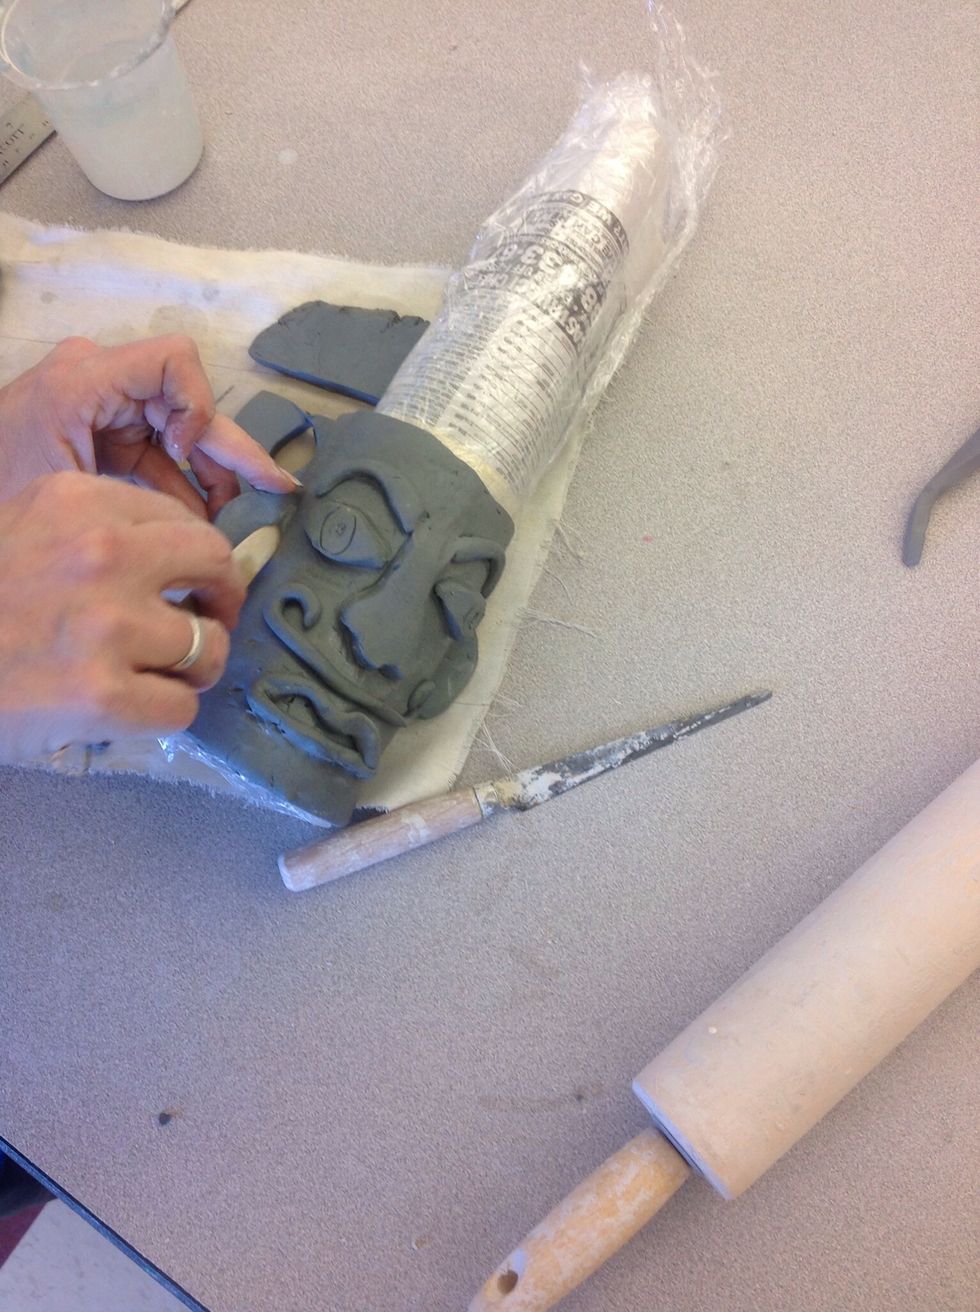
Use scraps from earlier to cut out facial shapes. They can be silly or realistic. Scratch the back of the pieces
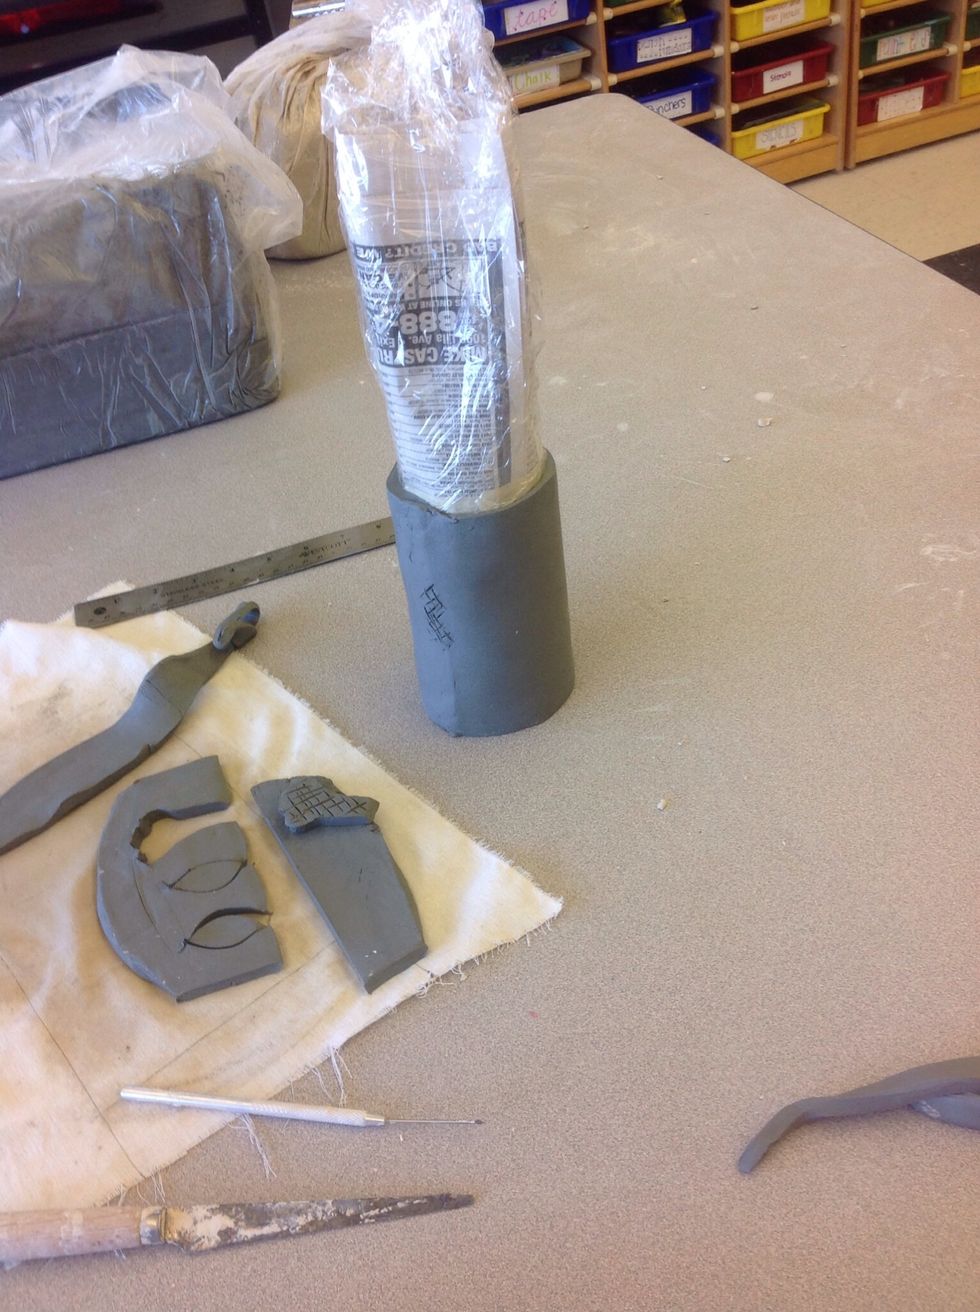
Scratch where the features will go in a criss cross manner

Use water on both surfaces, then press it in place. Press hard enough to firmly adhere them together
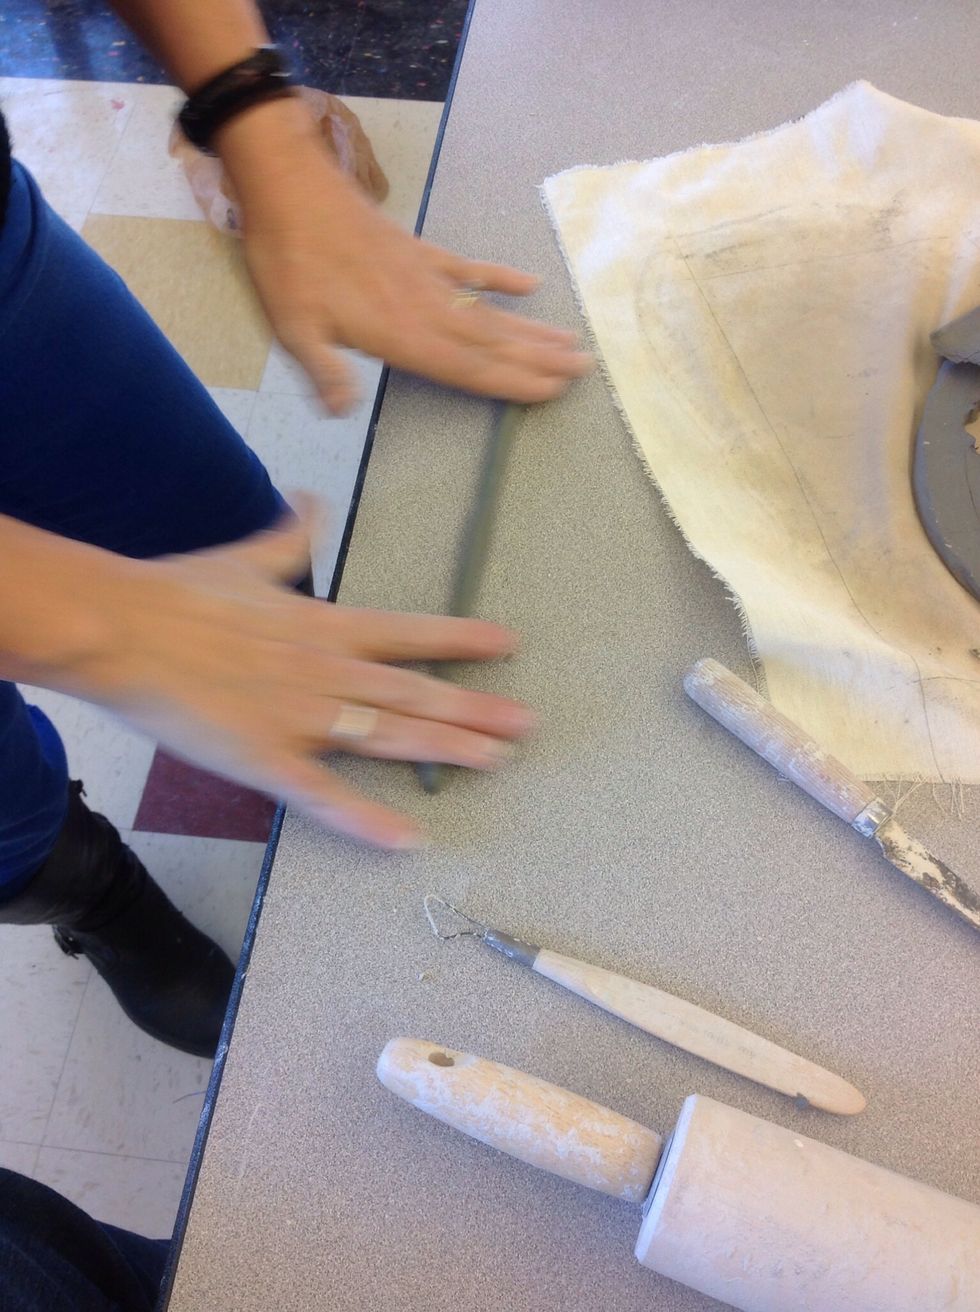
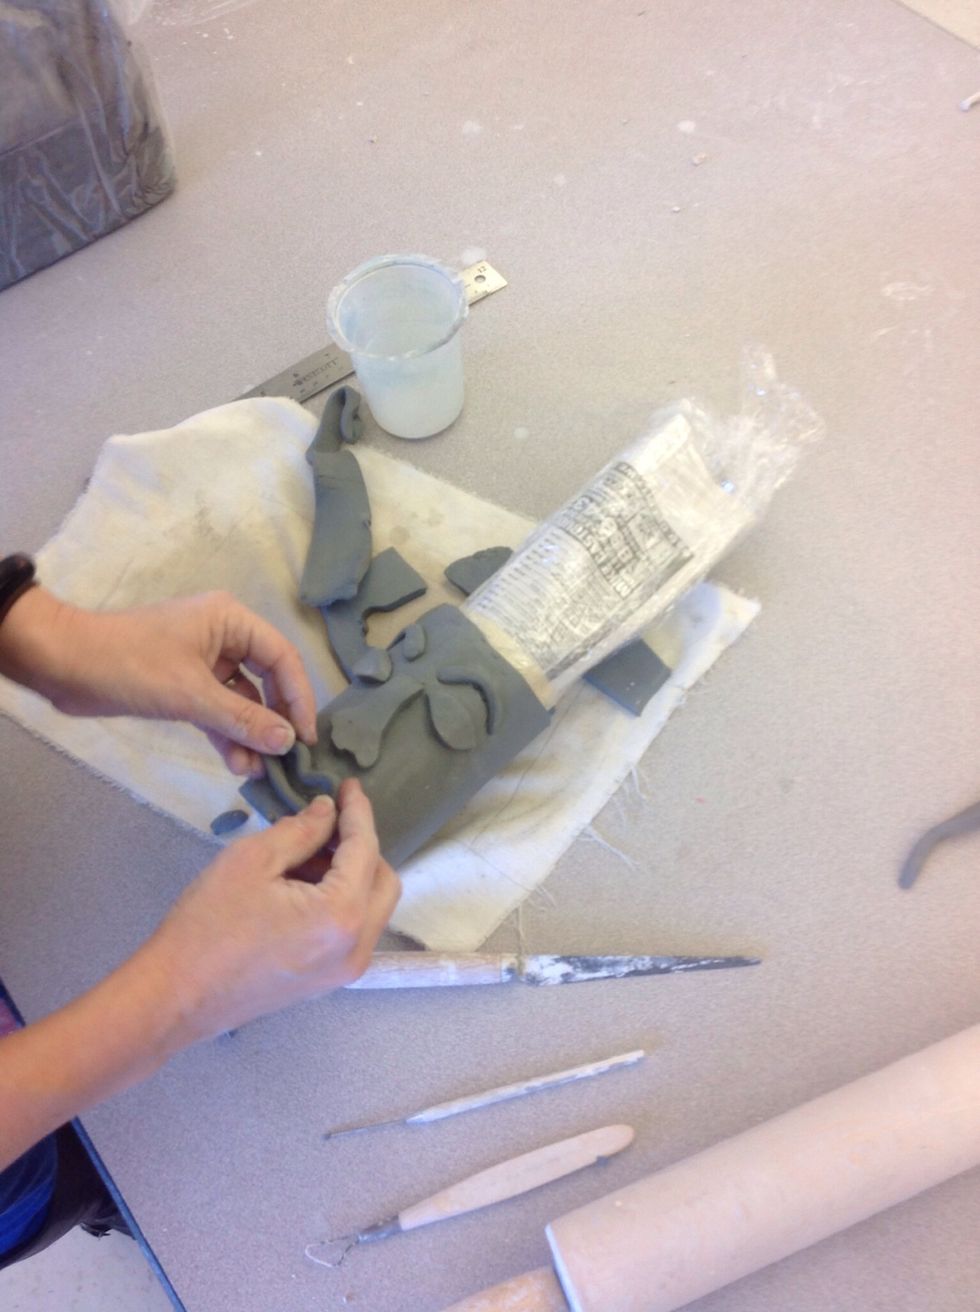
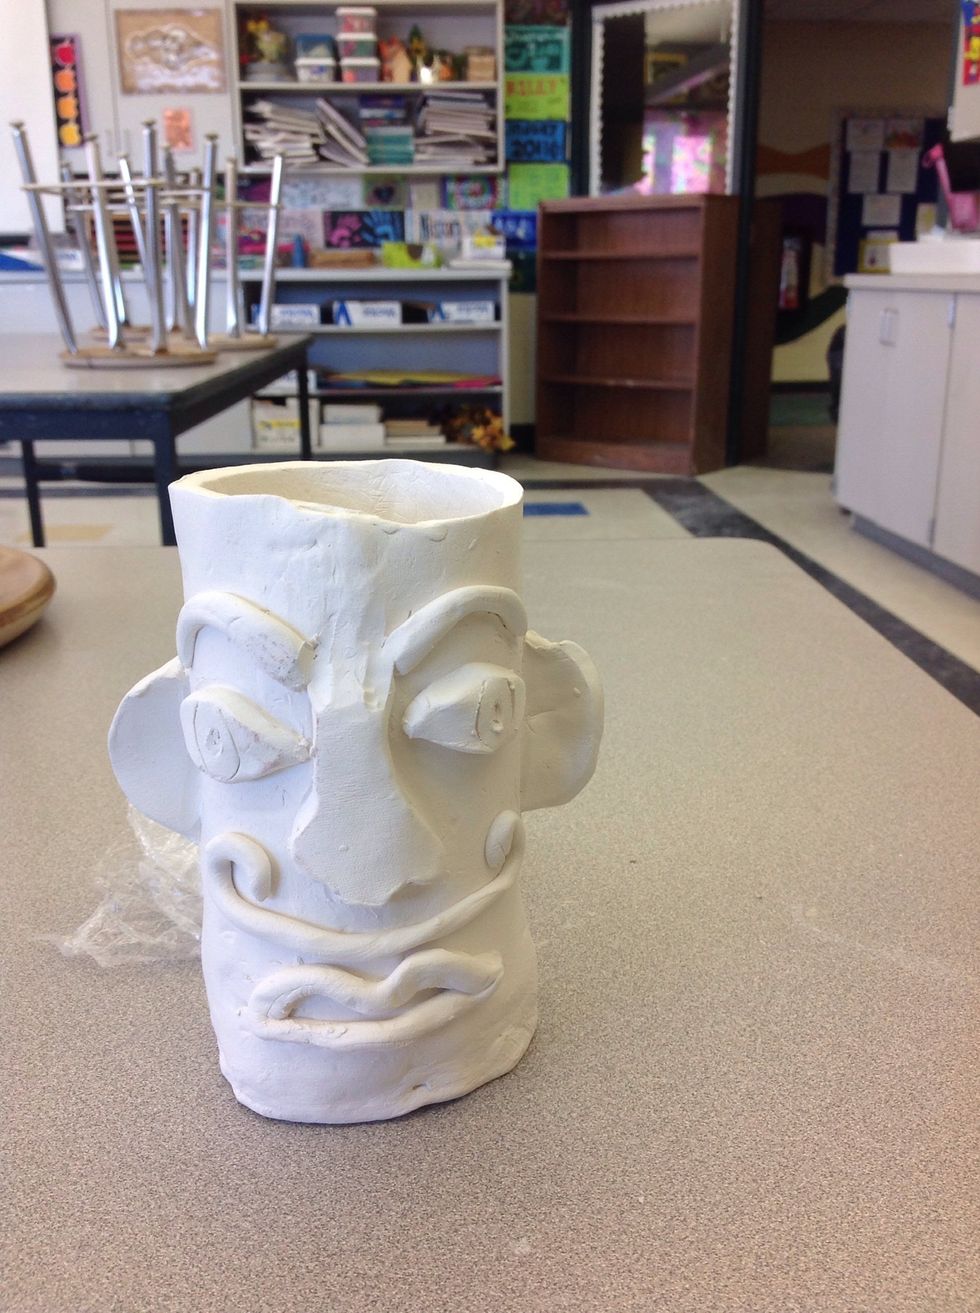
Roll out coils for other features, like eyebrows or lips
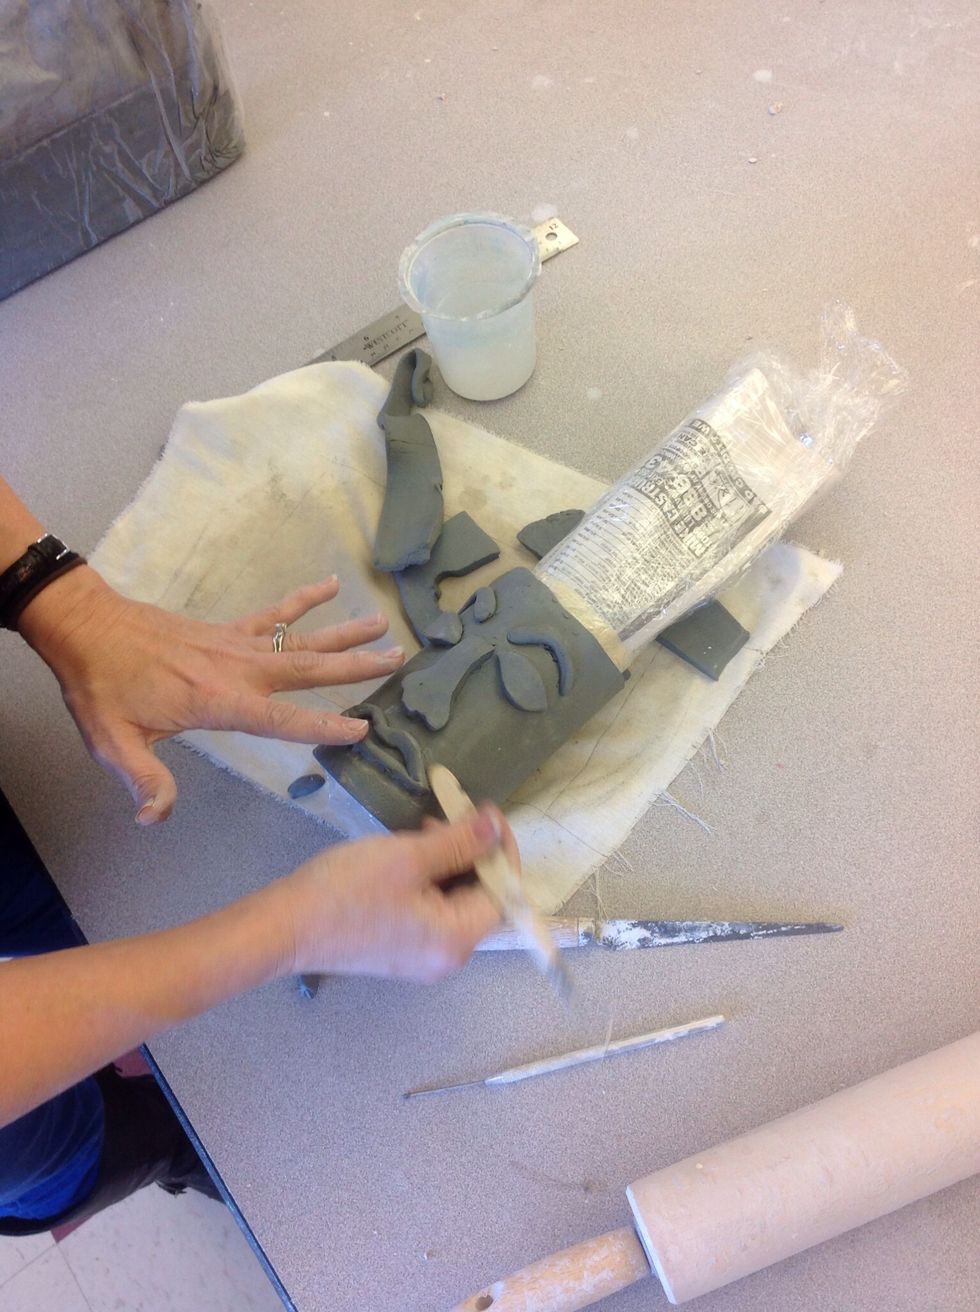
"Scratch and attach" all features
Add mouth, mustache, teeth, tongue, etc.
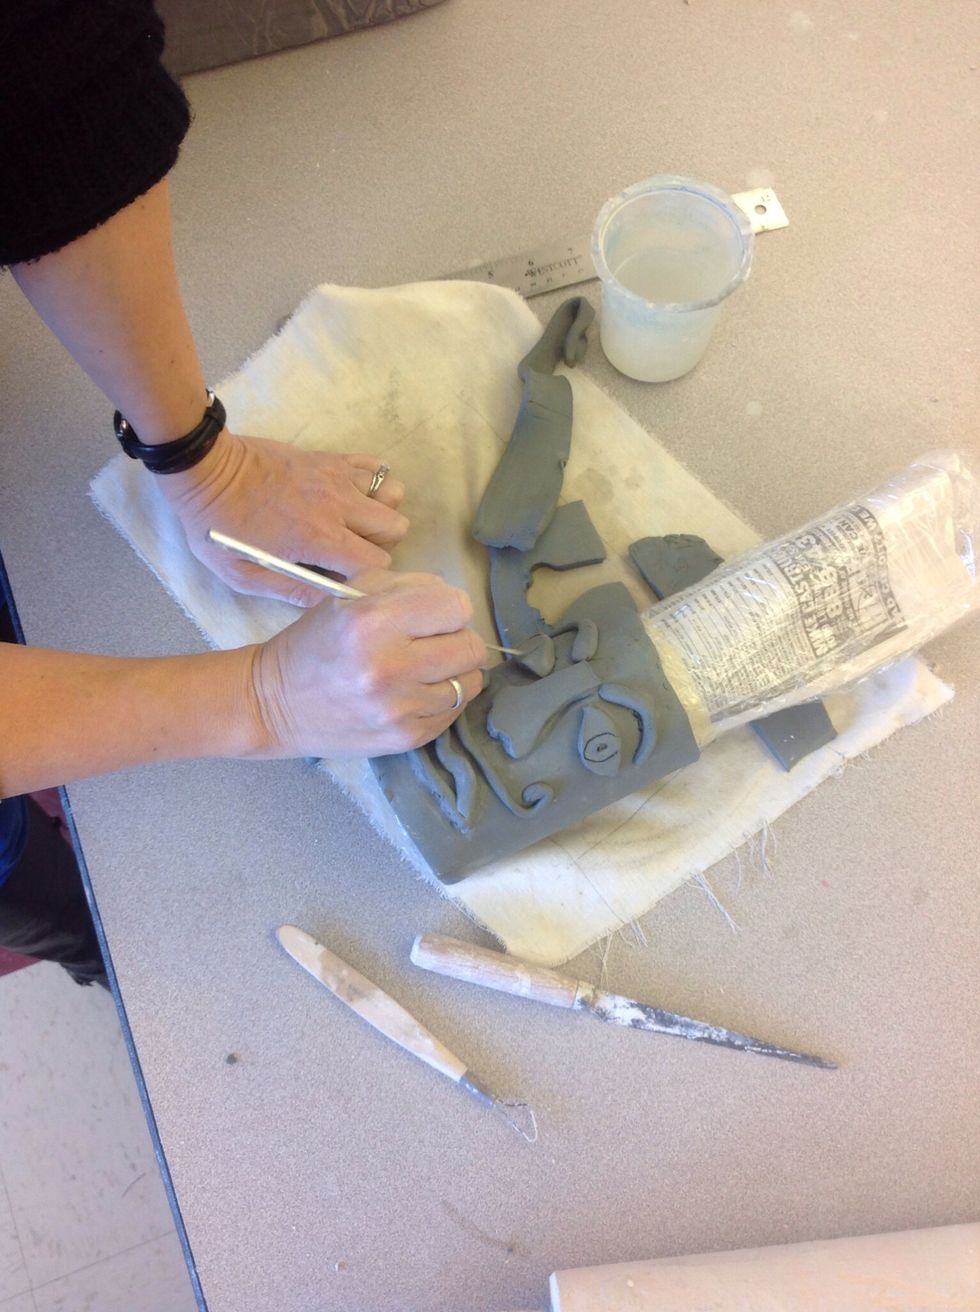
Draw on details

Scratch and attach ears

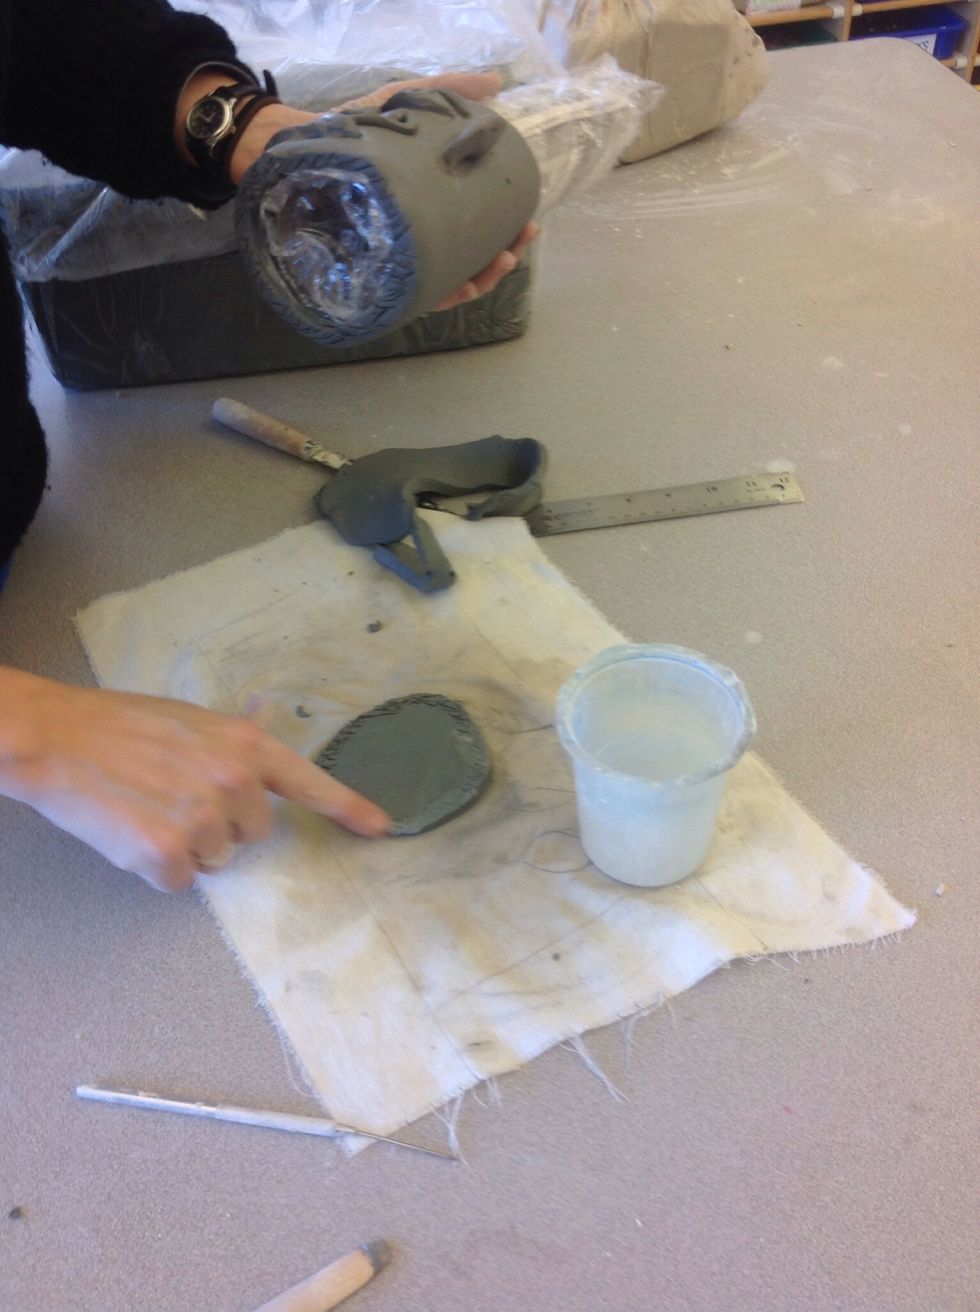
Roll out smaller slab for base. Place form on slab and carefully trace around it with needle tool. Do not cut all the way through at this point

Remove form, then cut all the way through to get the base
Scratch both surfaces and use water to attach
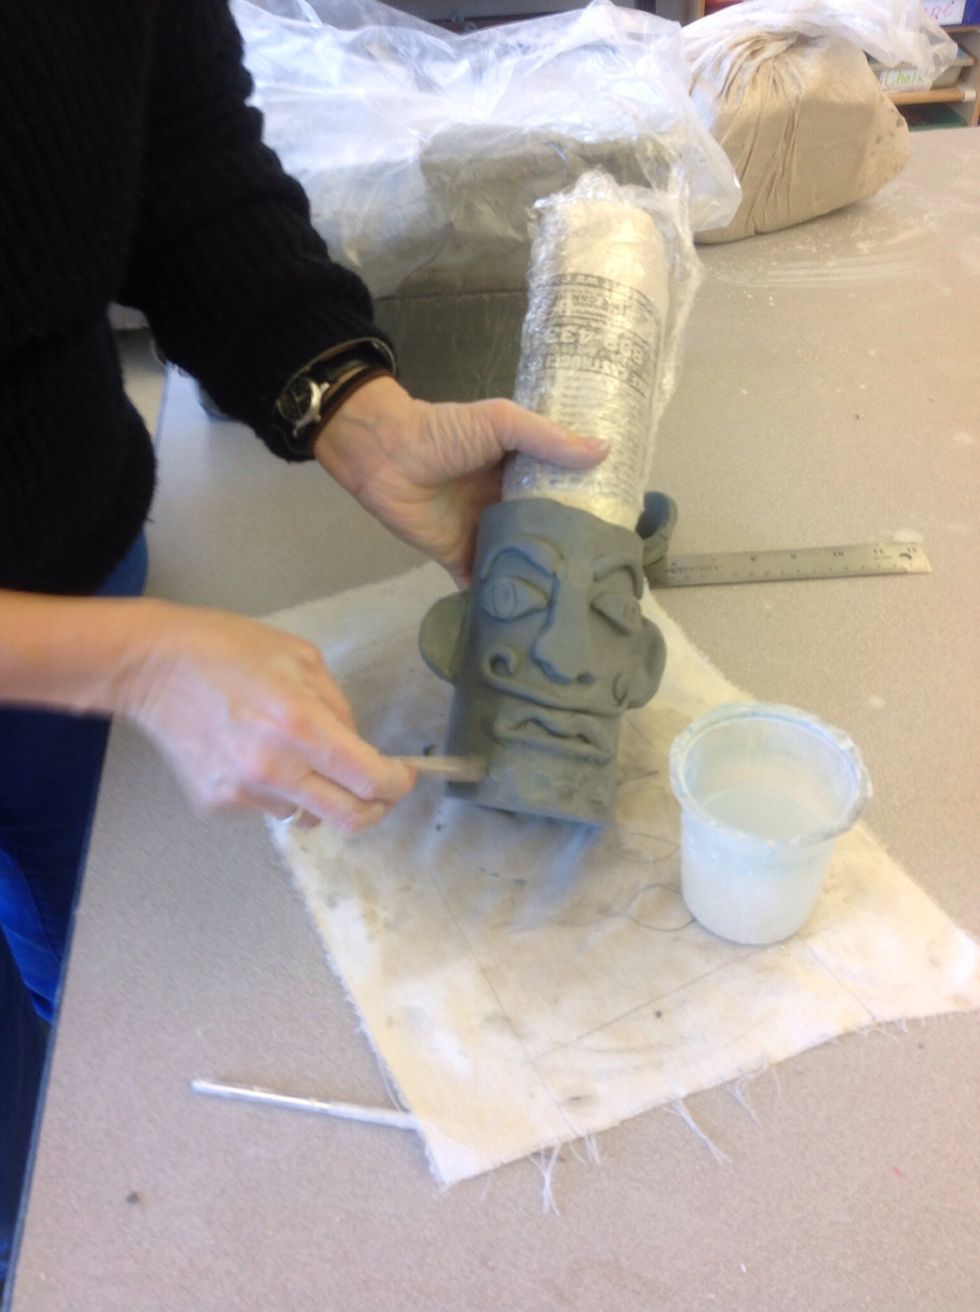
Smooth seam between base and form
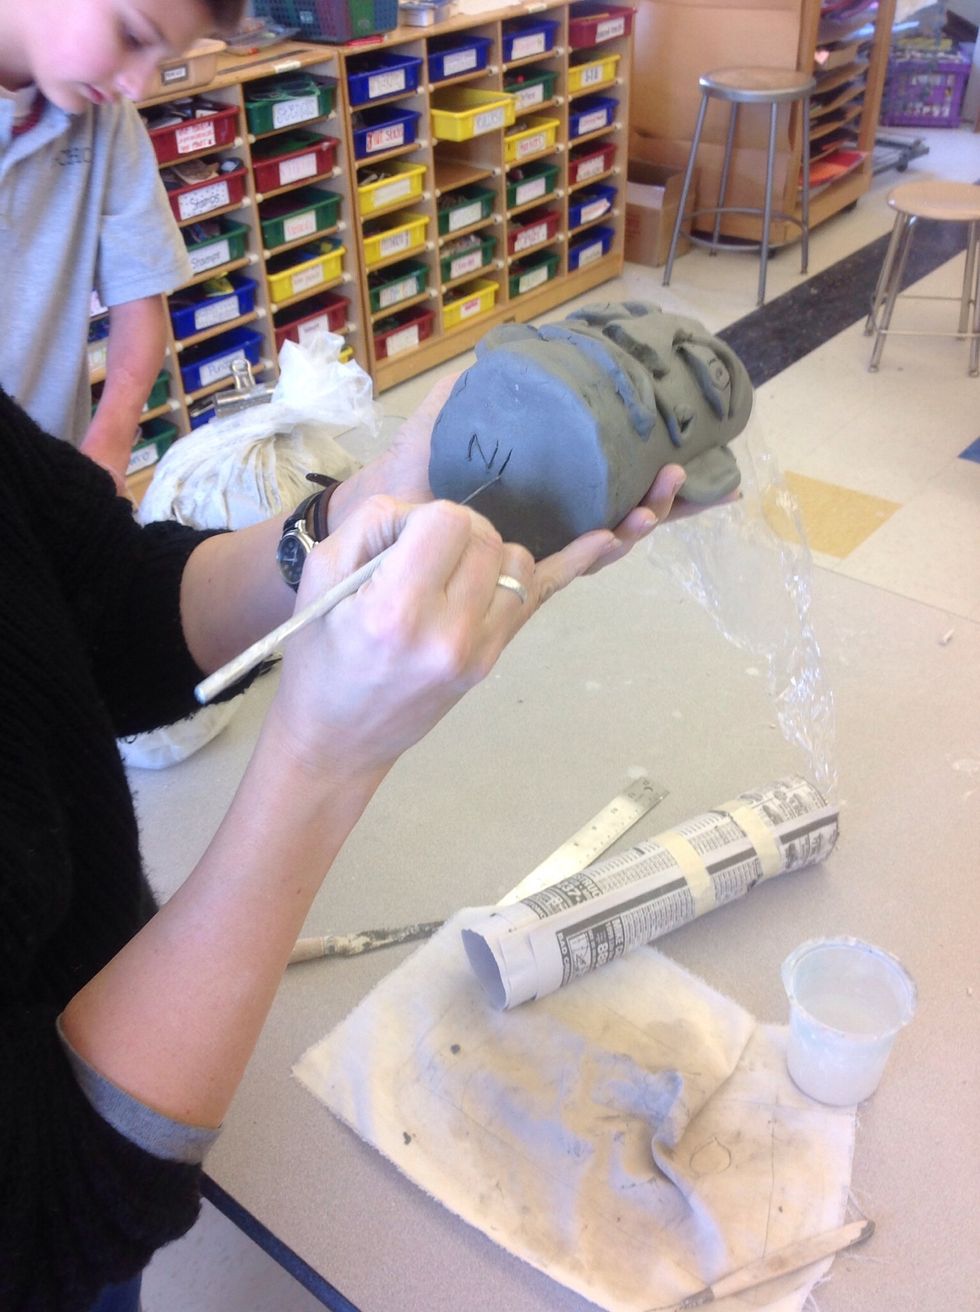
Add name to the bottom!

Remove bottle, but keep newspaper and plastic in to support it while it is drying.
After it is fired, or air dried, glaze or paint as desired