The Conversation (0)
Sign Up
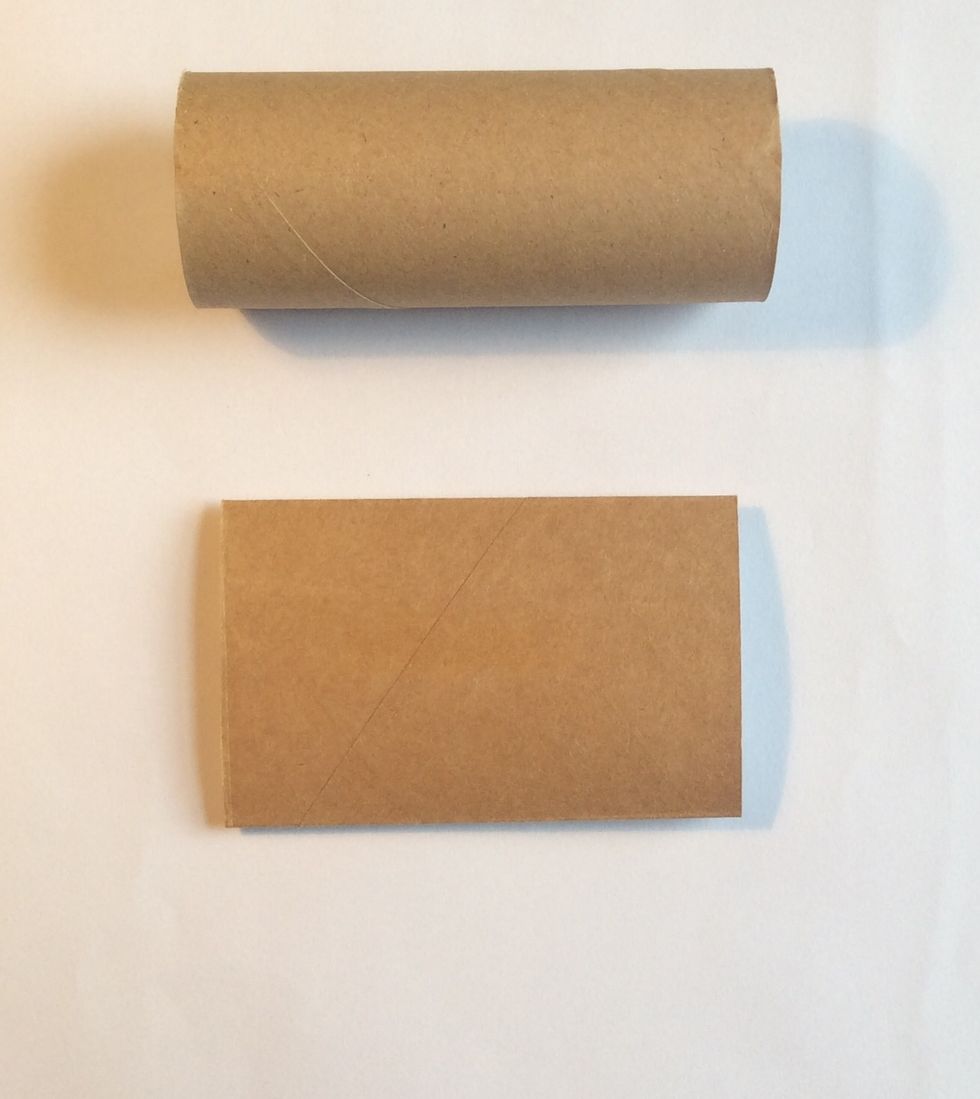
Flatten your cardboard tubes using a any apparatus that applies enough pressure. I used a big shot. The album example has five tubes to create five pages.
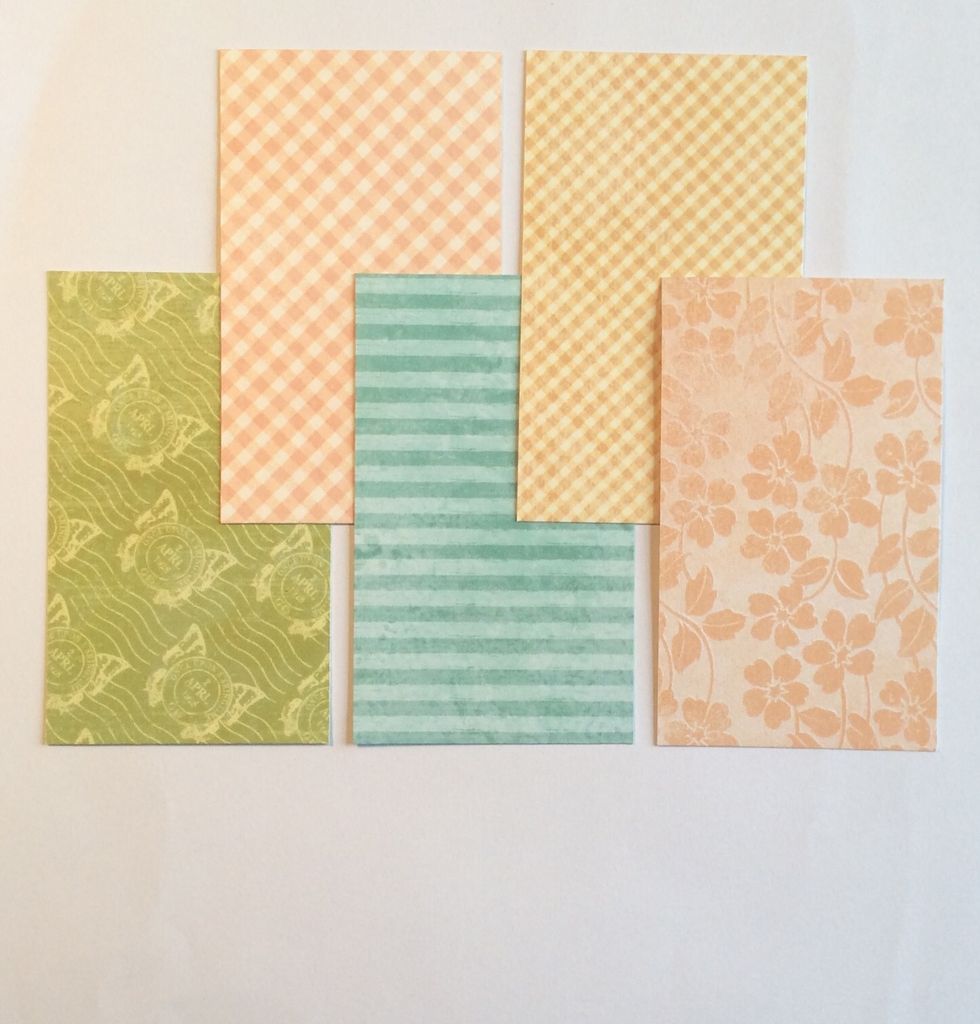
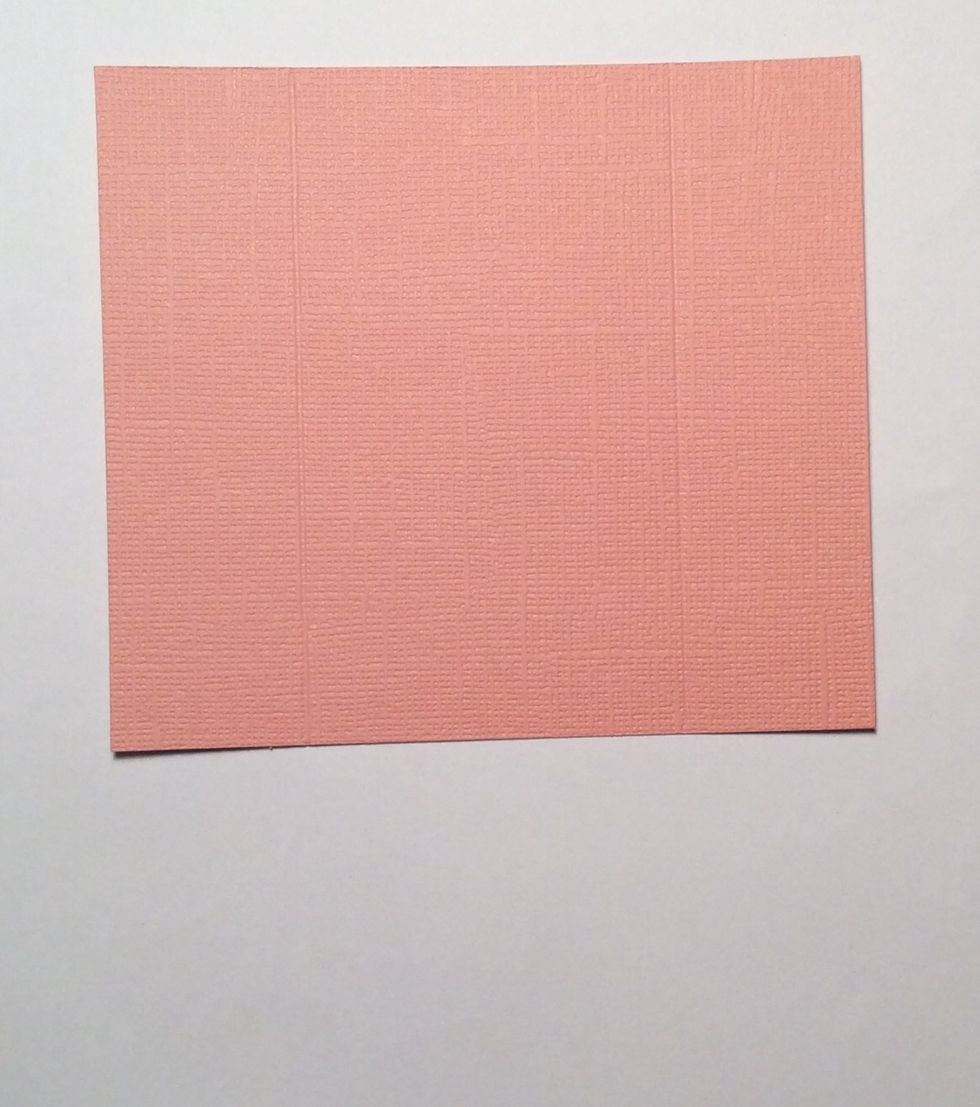
Cut paper mats for each side of the tubes. Each mat measures 3 3/4 x 2 1/4 inches. You will need ten mats if five tubes are used.
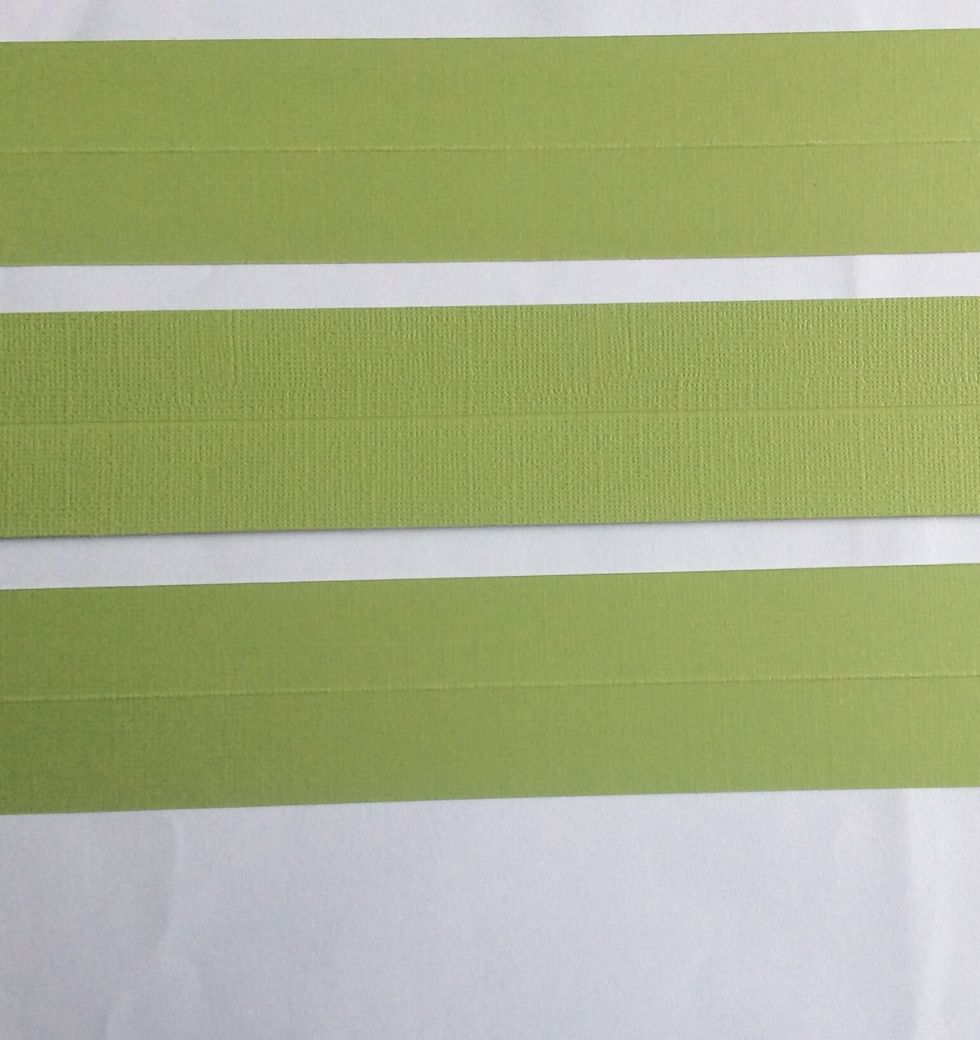
Cut strips of card stock at 3 3/4 x 1 3/4 inches and score in half length wise.
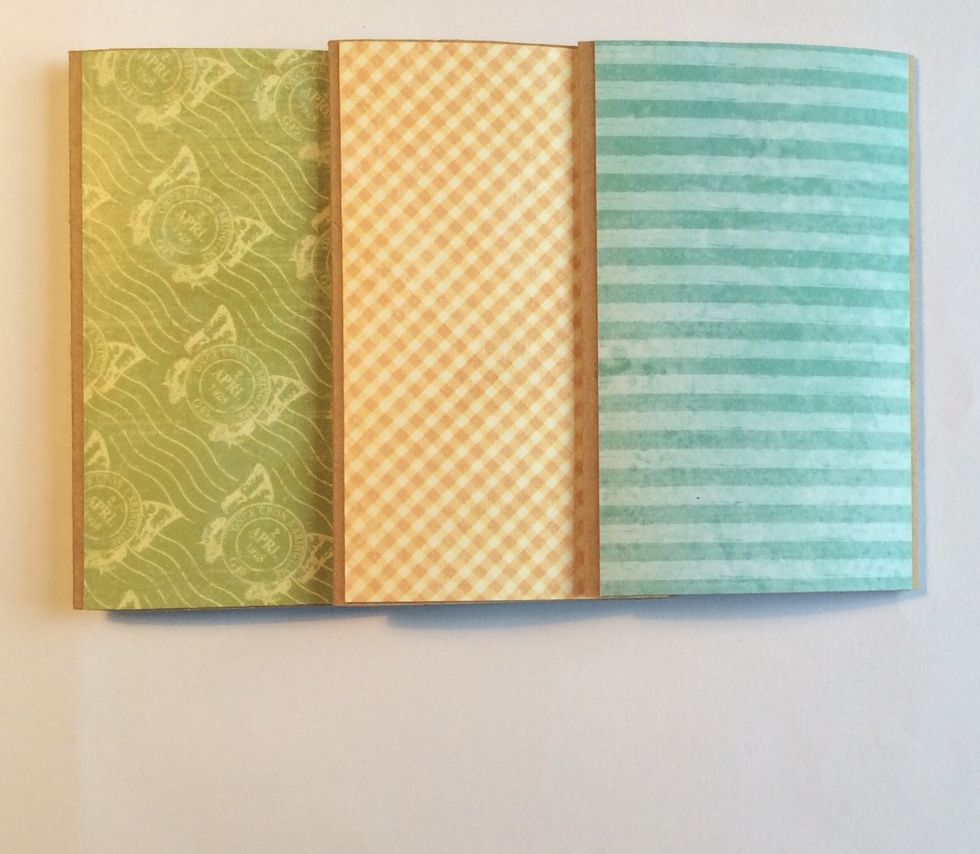
Adhere mats to each side of the cardboard tubes. The edges will not be covered.
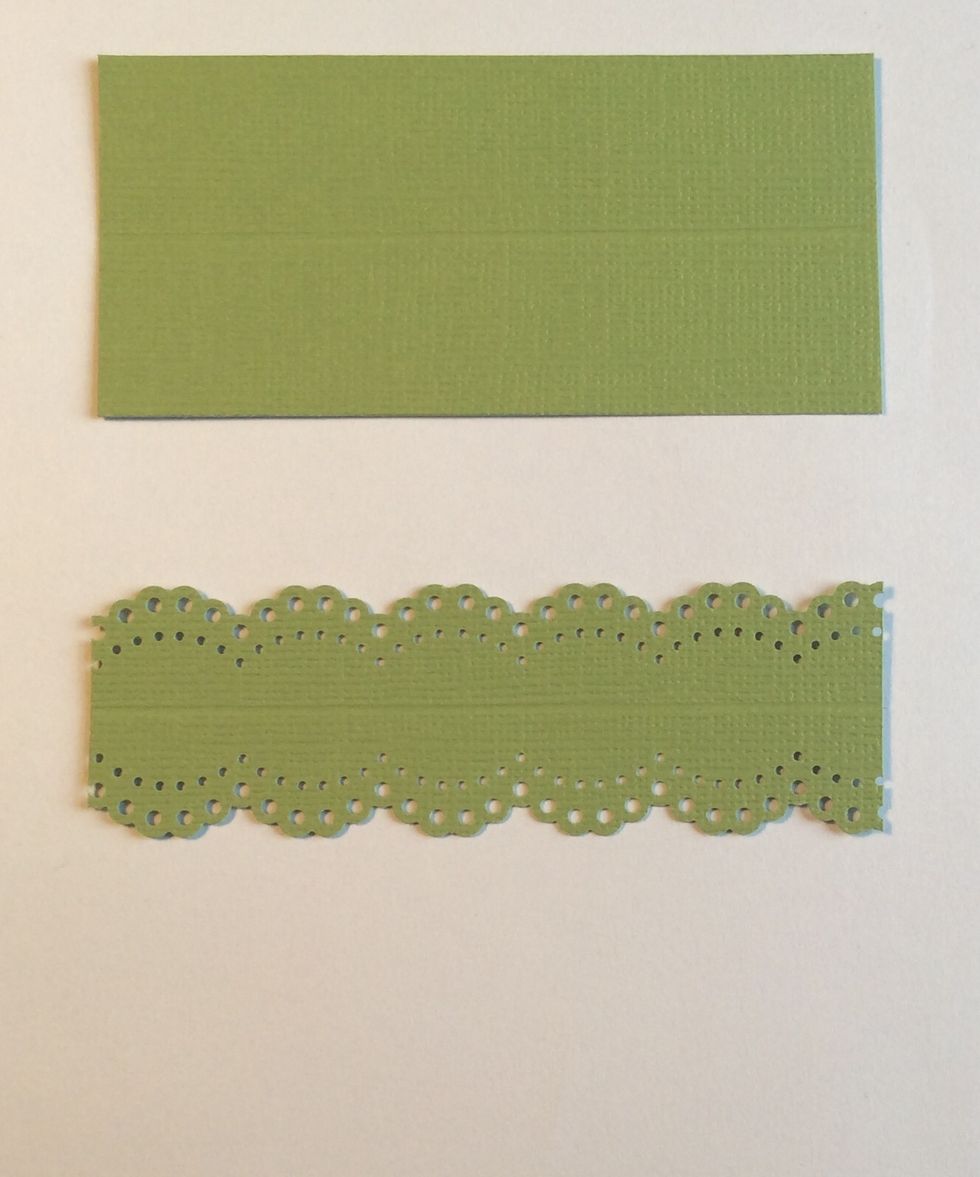
Take card stock strips and punch each long edge as shown. Fold along score line.
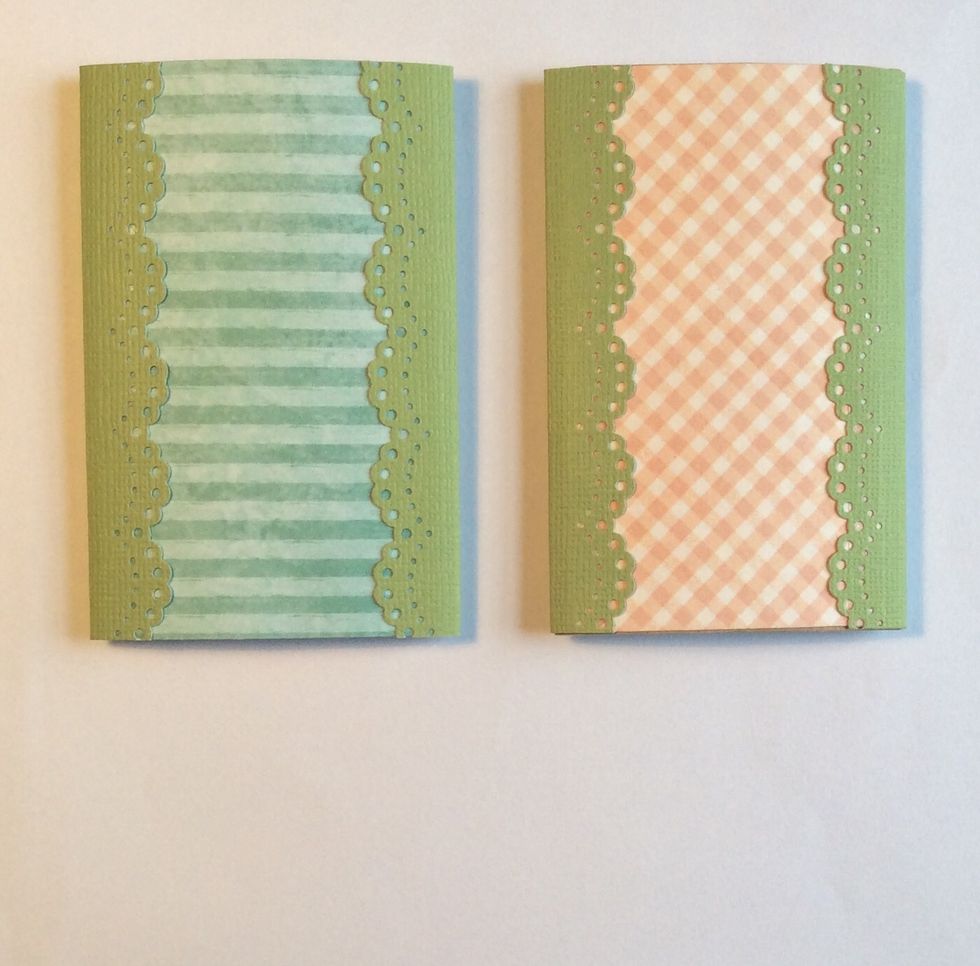
Adhere folded punched strips on long sides of matted tube pages. These strips will cover the exposed edges.
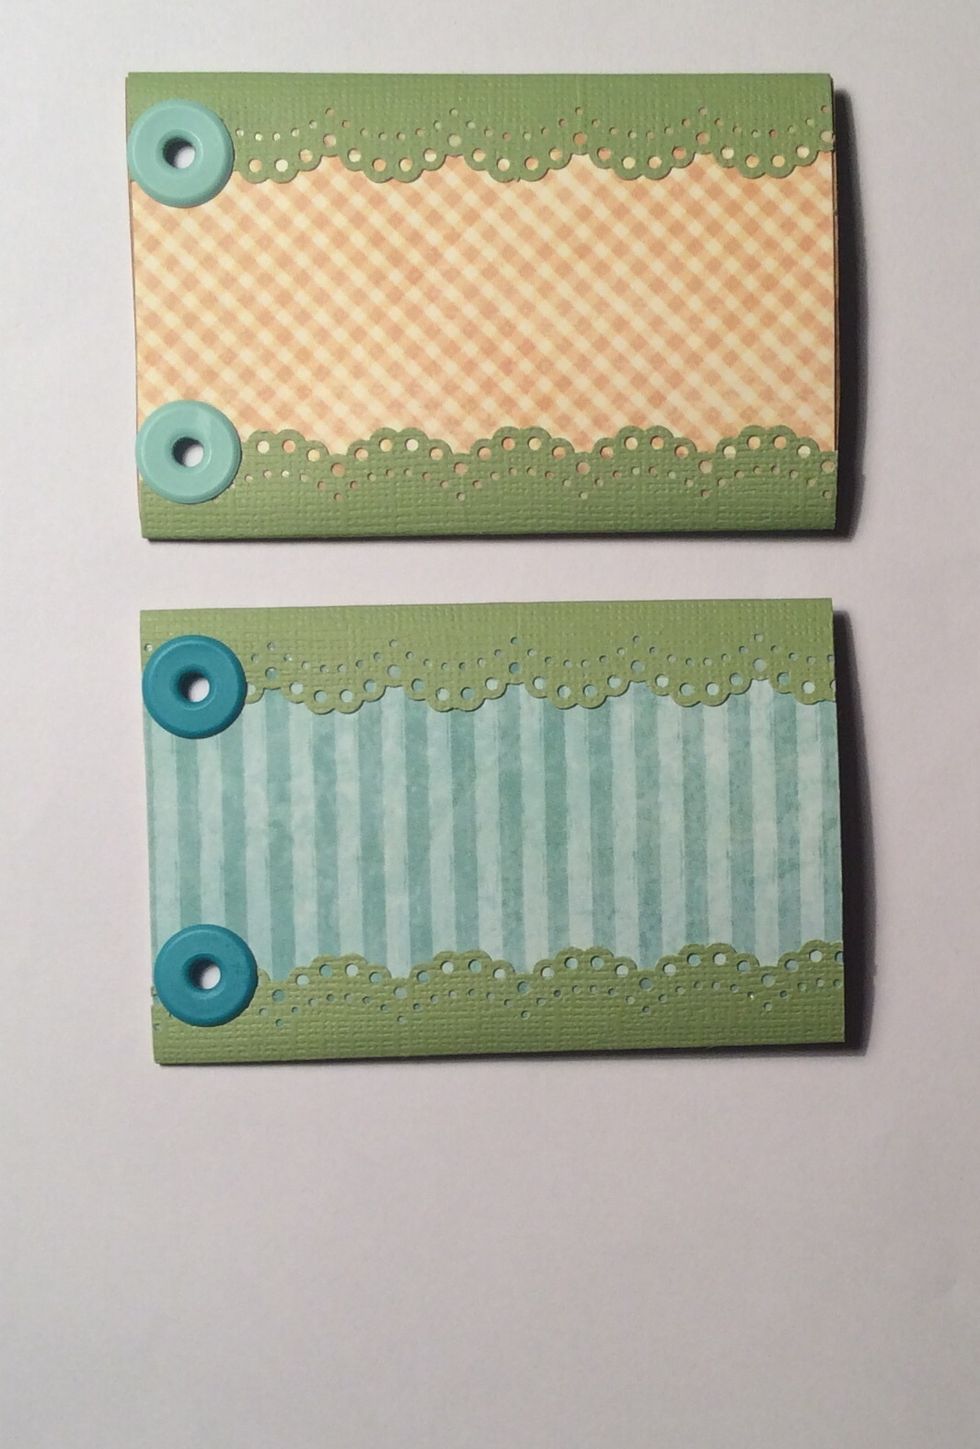
Punch holes 1/2 inch in from the edges and set eyelets in each hole. Ensure to use eyelets with large enough holes to accommodate binding rings
Cut card stock at 4 x 4 1/2 inches to form gate fold tags. Score 1 1/8 inches in from each vertical edge on the 4 1/2 inch side and fold on score lines. Corner round if desired.
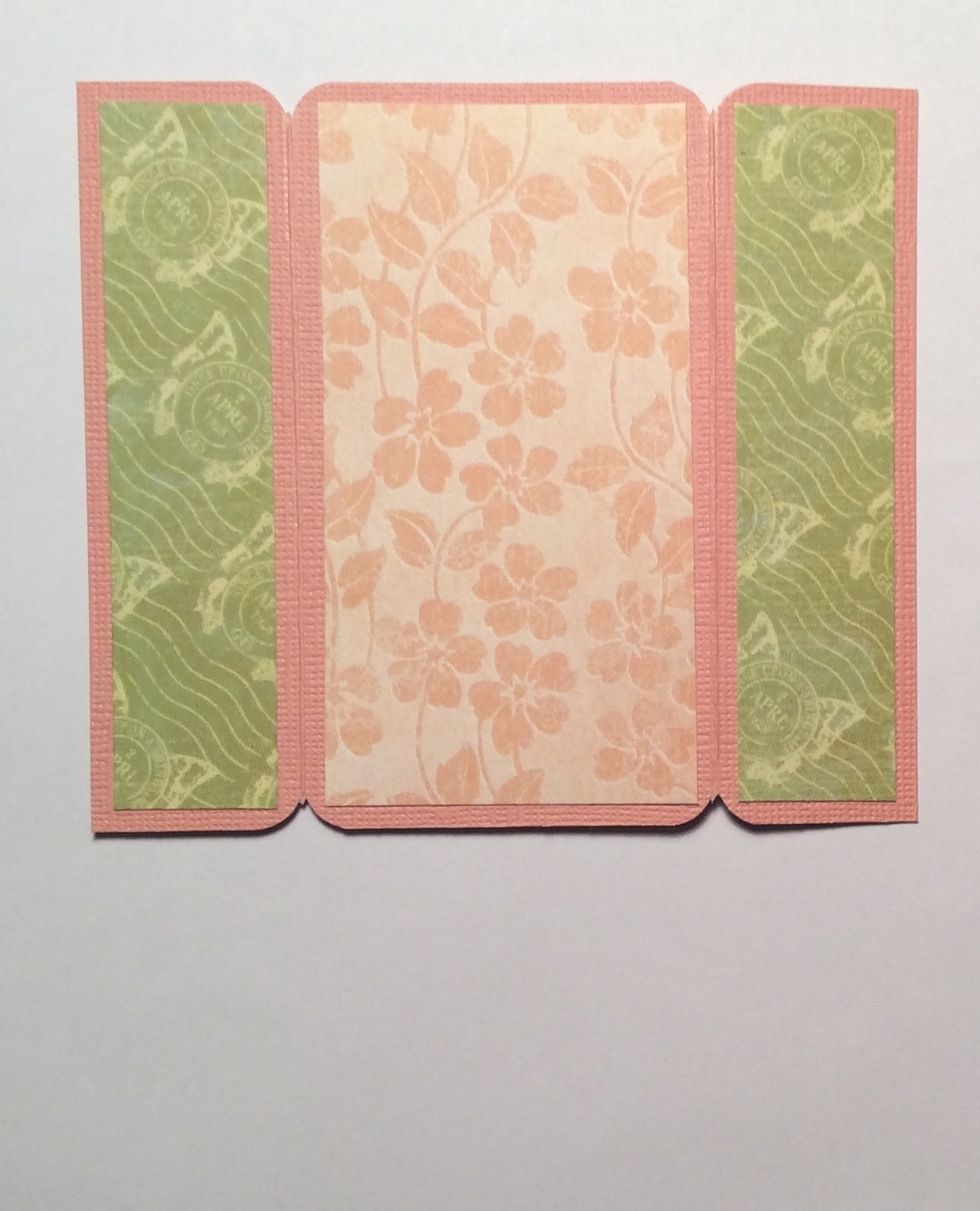
Cut tags mats at 7/8 x 3 3/4 inches and 2 x 3 3/4 inches and adhere as shown from chosen papers.
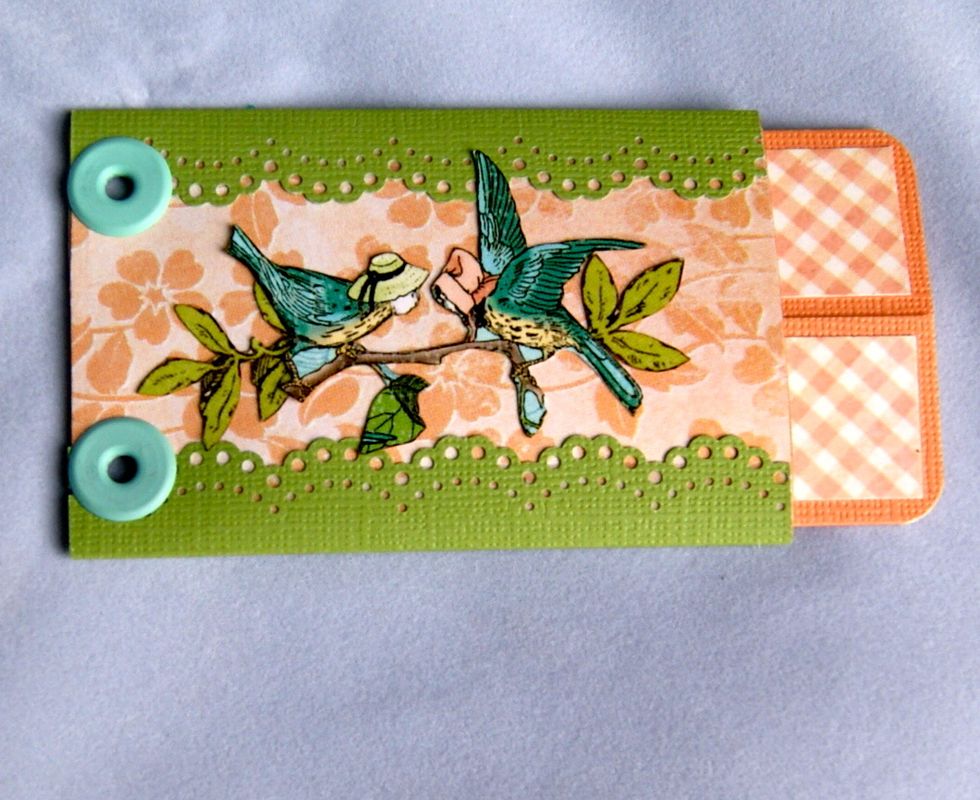
The next five images are examples of how to embellish each page. All the fussy cut images are from the collection mentioned in the supply list. You can embellish as desired.
The graphic 45 stamp images make great embellishments on flat pages
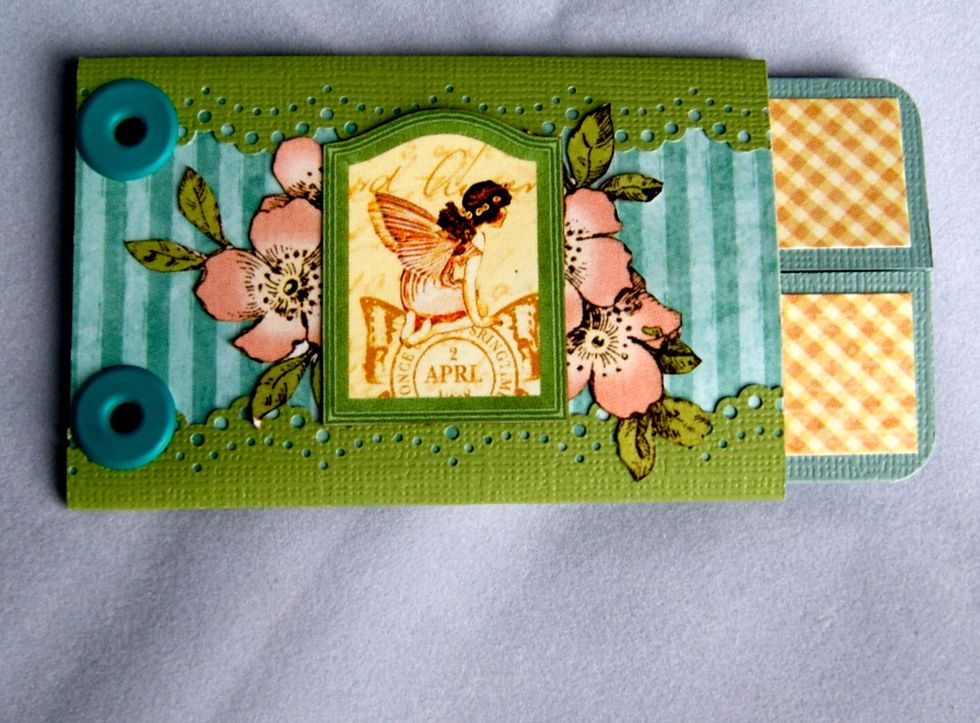
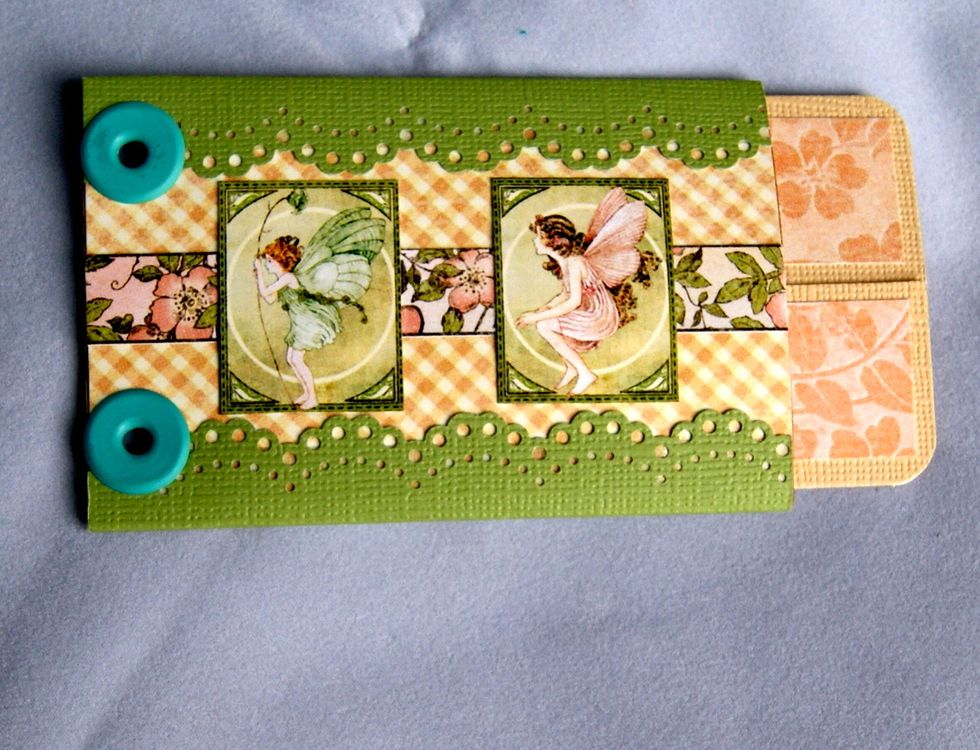
Embellishments don't have to complex. Let focal images be the centre embellishment
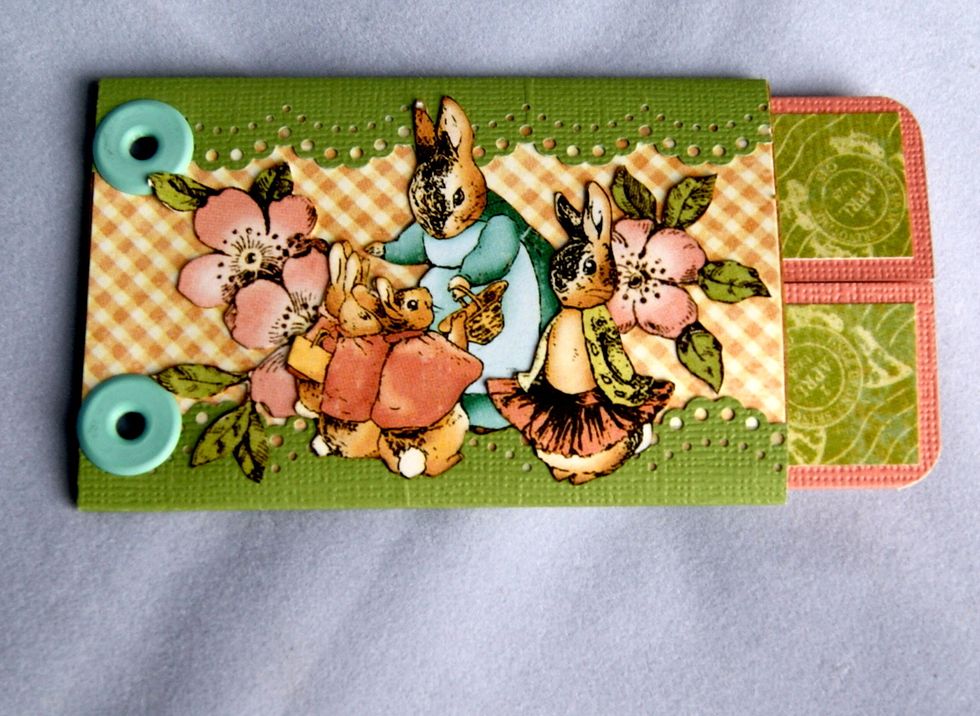
Layer images to create detail with out complexity
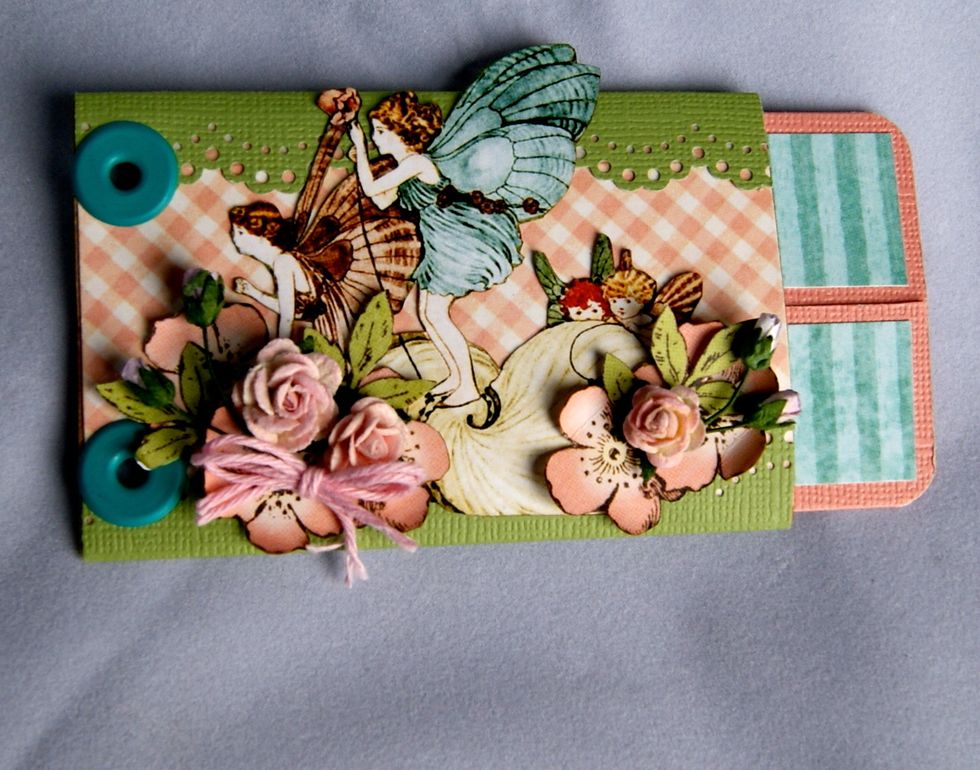
This is my cover image. I incorporated paper roses and bakers twine
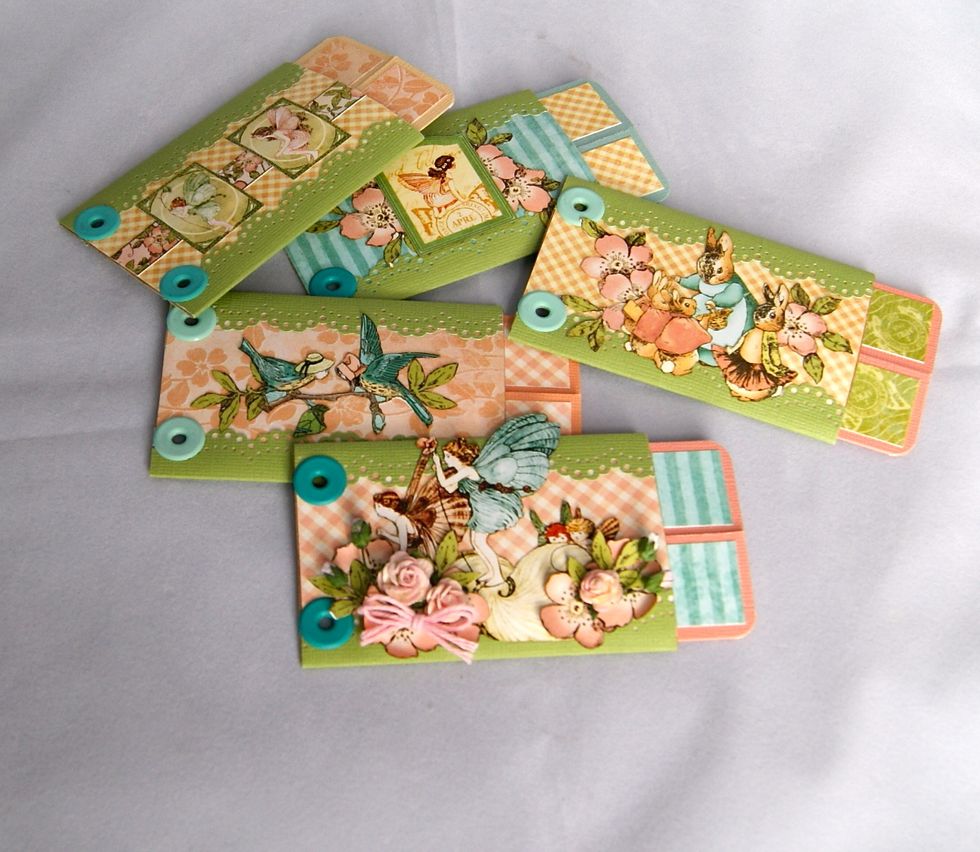
All the completed pages before assembly
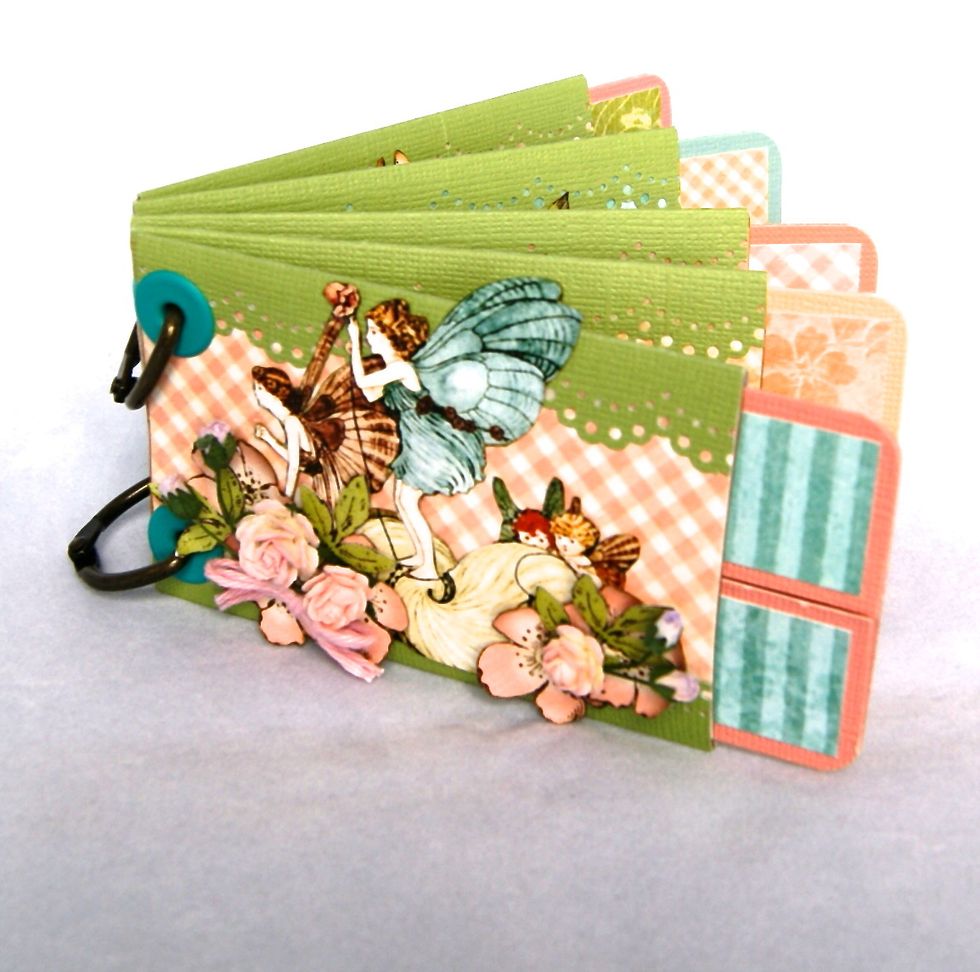
Album completed. collate pages i any order. if dimensional embellishments are used I would suggest only on the cover .