The Conversation (0)
Sign Up
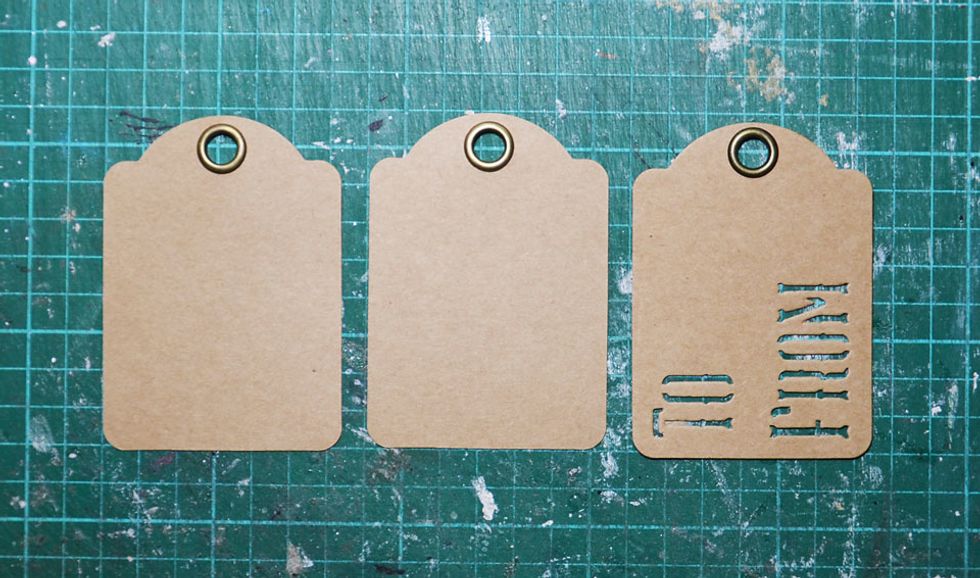
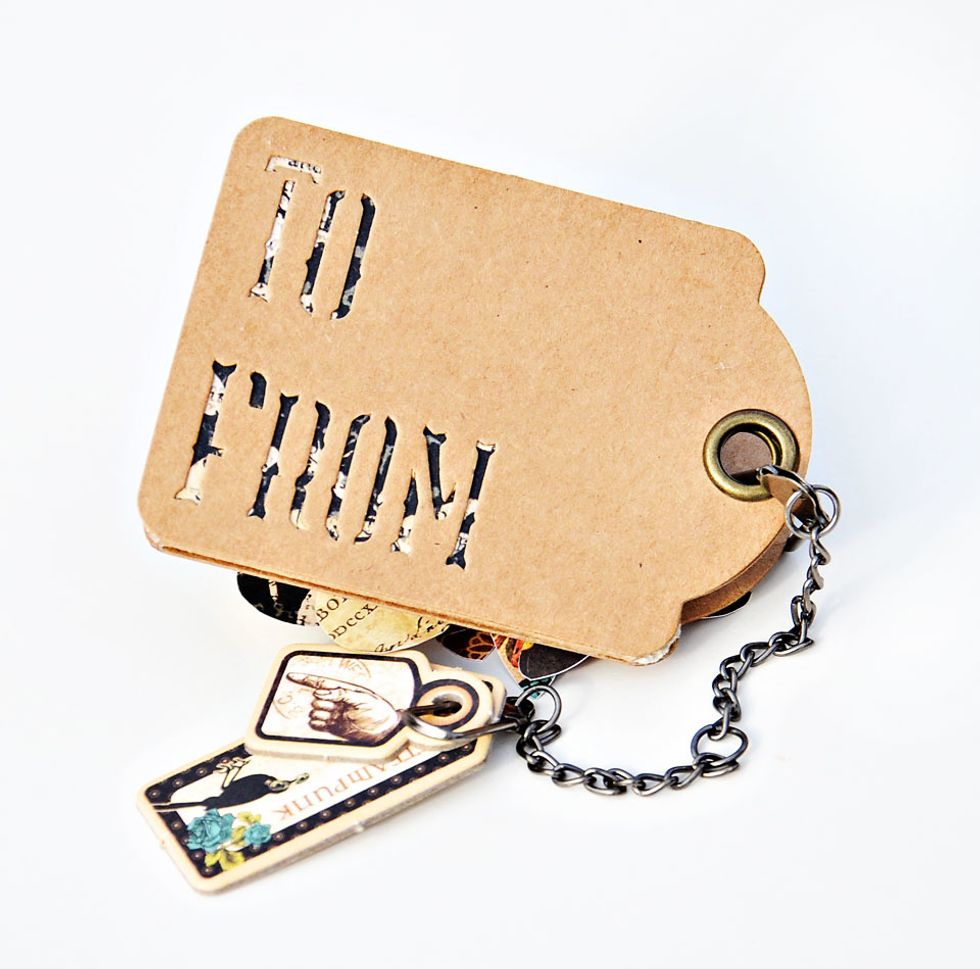
The tags you will need to complete this project.

Scrap of Kraft cardstock to create the spine of the card.
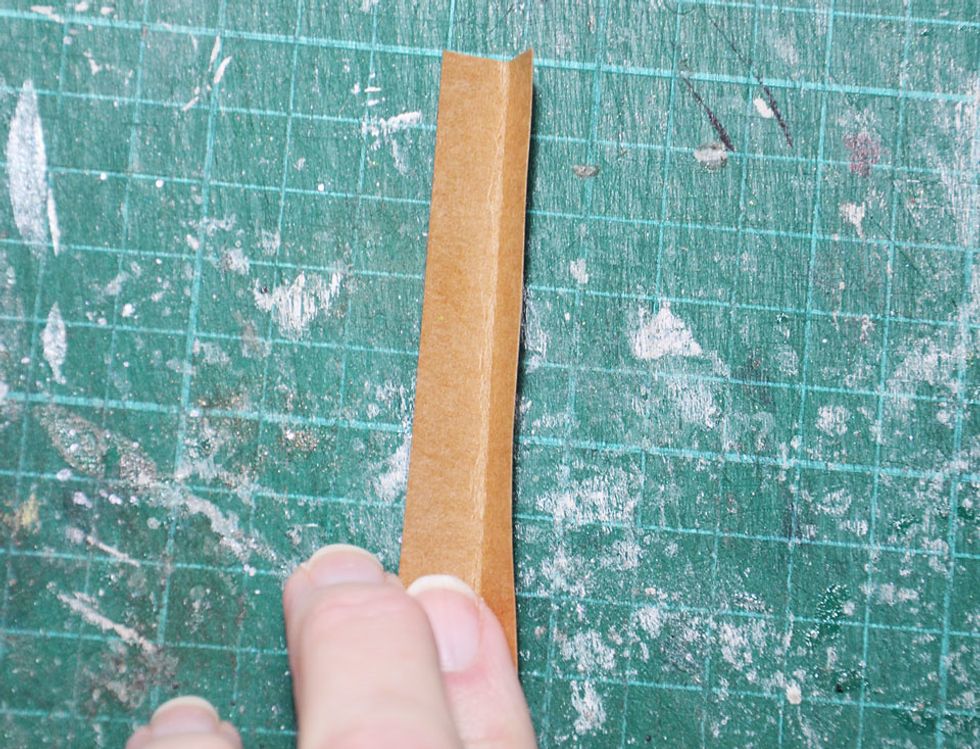
Fold in half as shown.

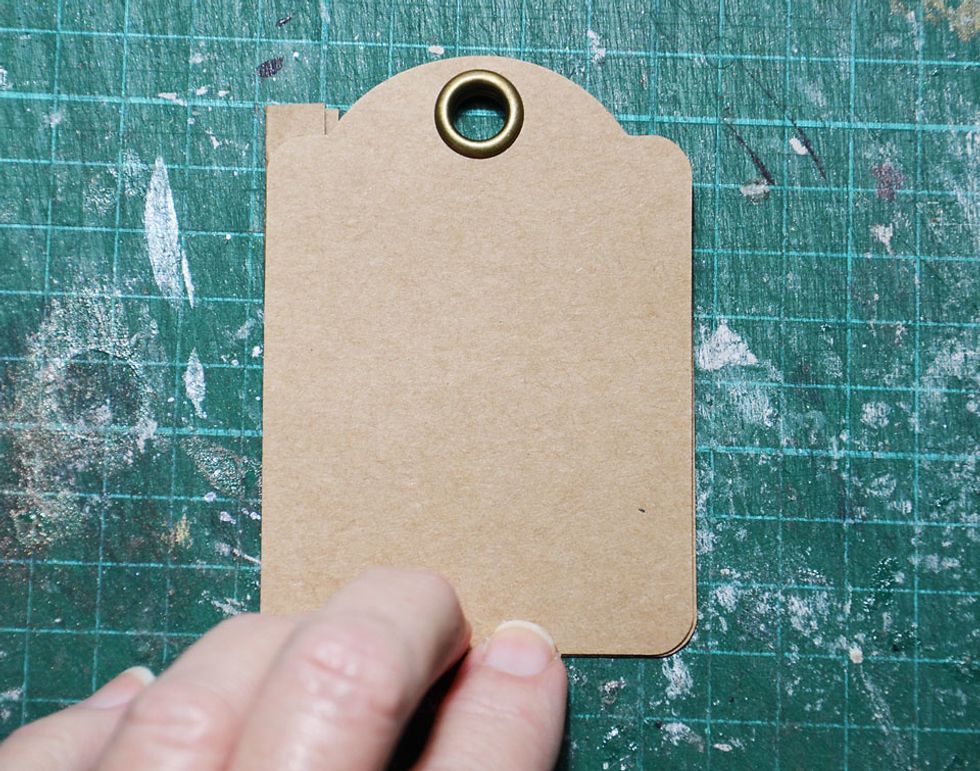
Attach inside back tag as shown to spine.

Fold spine over the top of the back tag as shown.
Attach front tag as shown. Ensure it is lined up perfectly with the back tag.
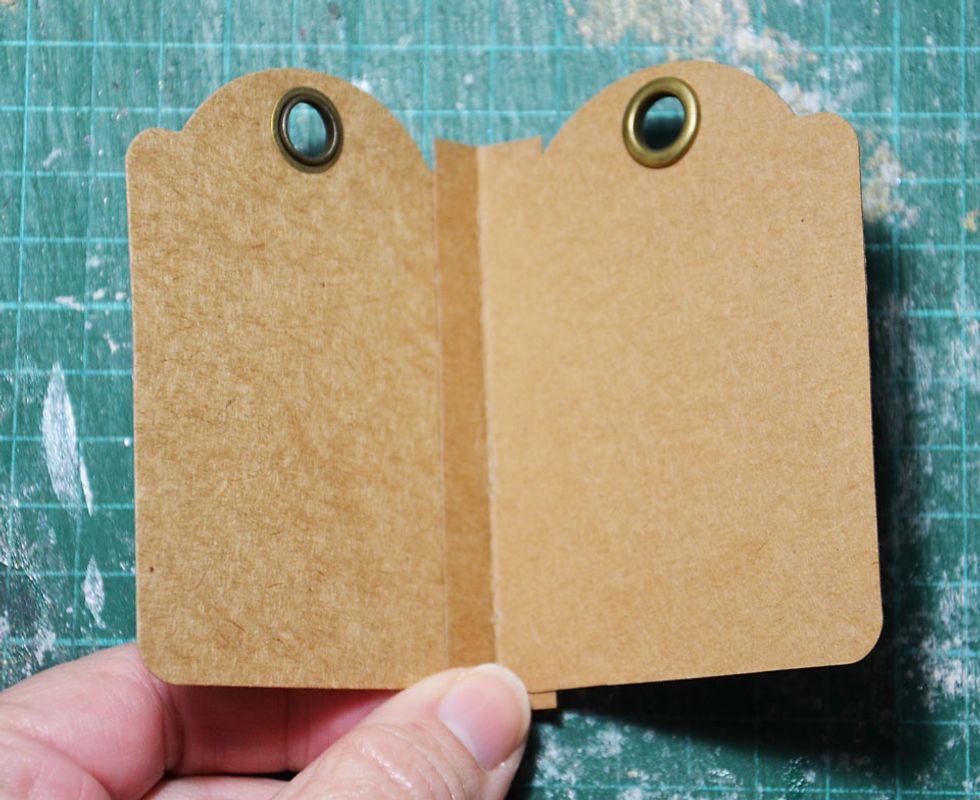
Once opened the card will look like this.
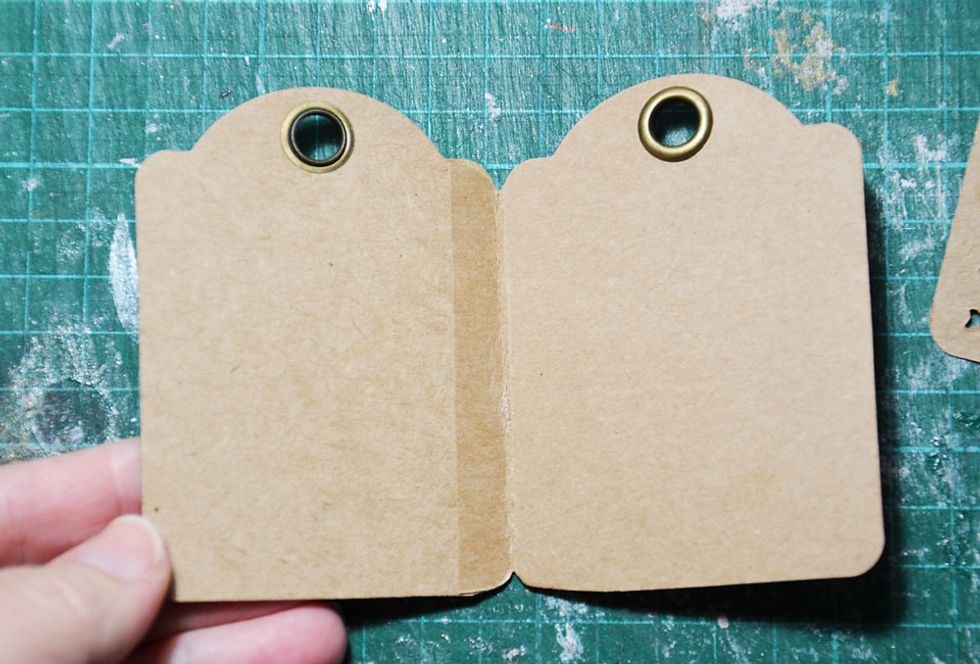
Trim off excess spine cardstock around the tags.
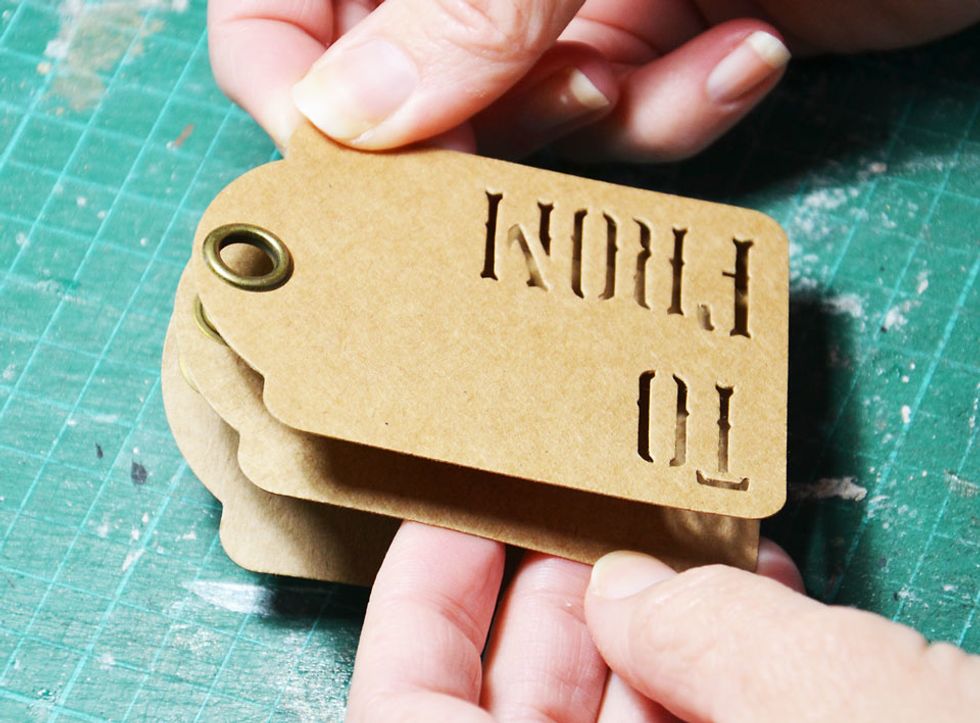
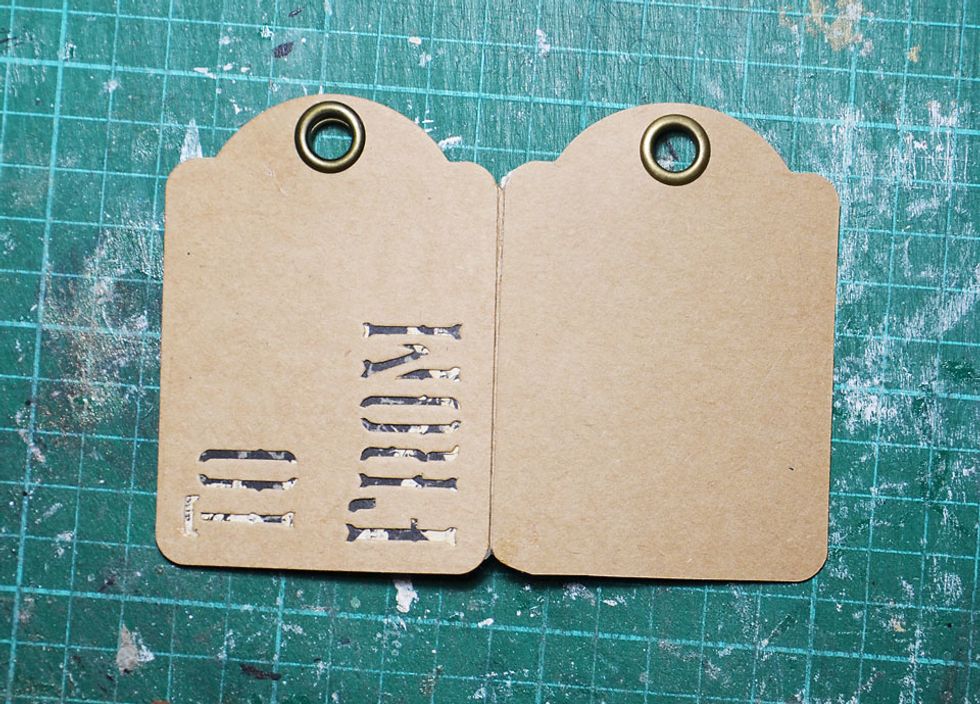
Attach the To & From tag to the back tag as shown. Only glue around the top as you will need to slip the paper of your choice in later.
As you can see the bottom is not attached properly to allow for paper to be slipped in later.

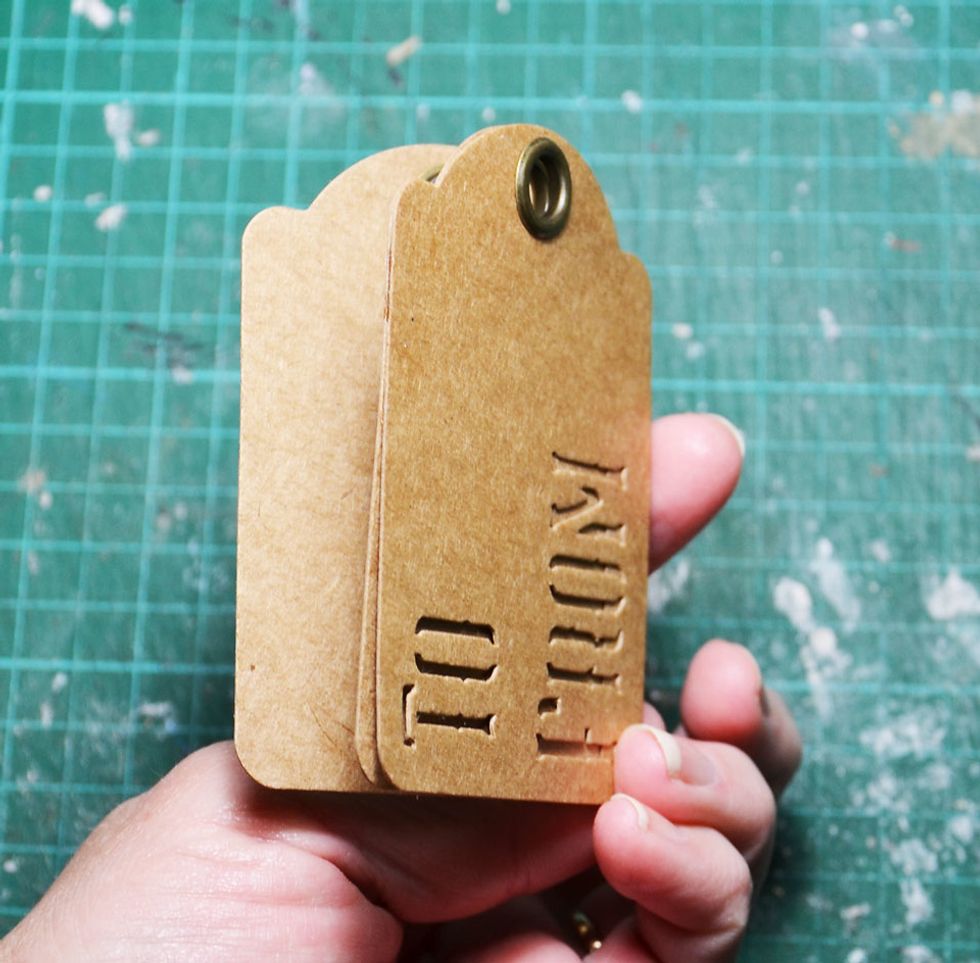
This is what the back of you card should look like.
The tag Gift Card is now finished ready for you to embellish any way you choose. The next steps will show you how I embellished mine.
Time to embellish!!
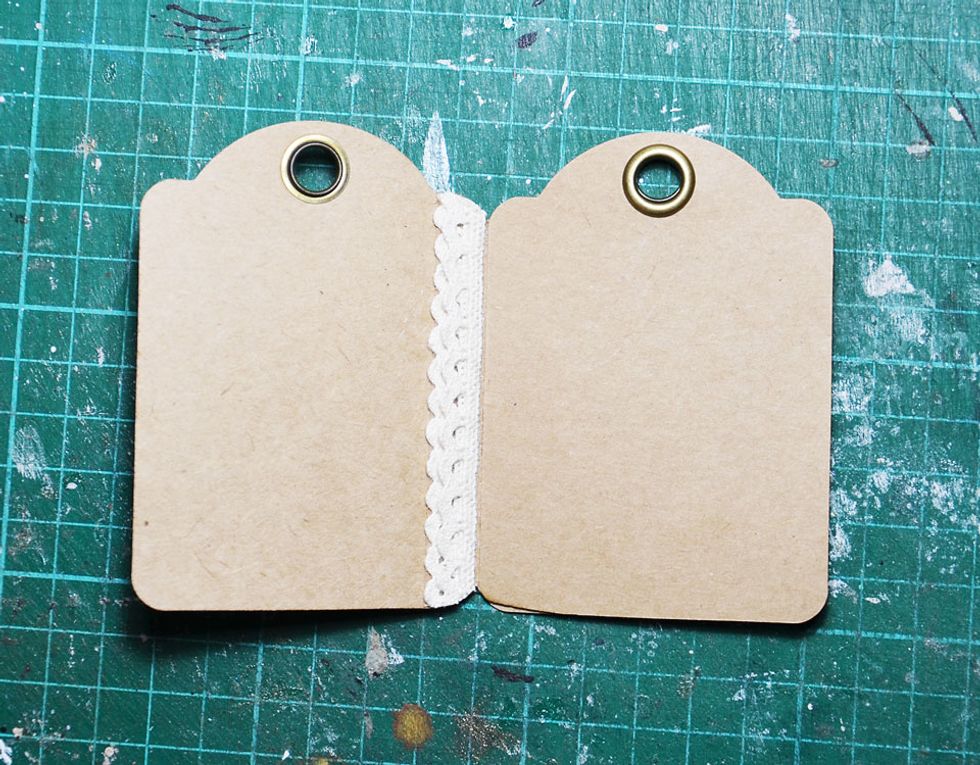
Add some lace to cover card fold joiner.
Add paper underneath to To & From tag and glue paper and tag in place.
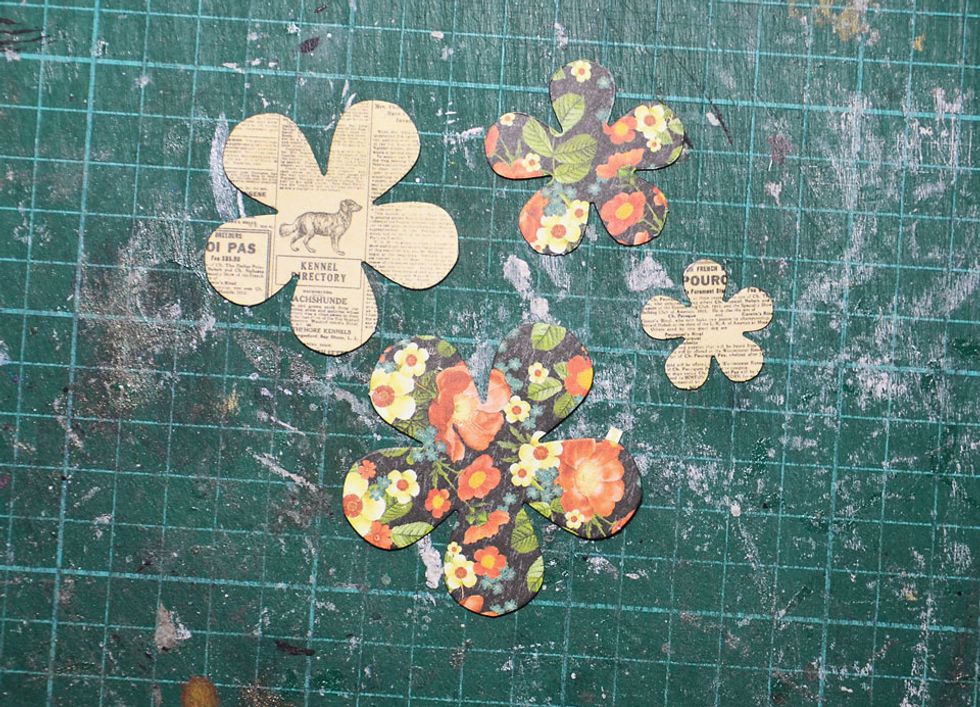
Raining Cats & Dogs diecut flowers. I used these as a template to create my flowers.
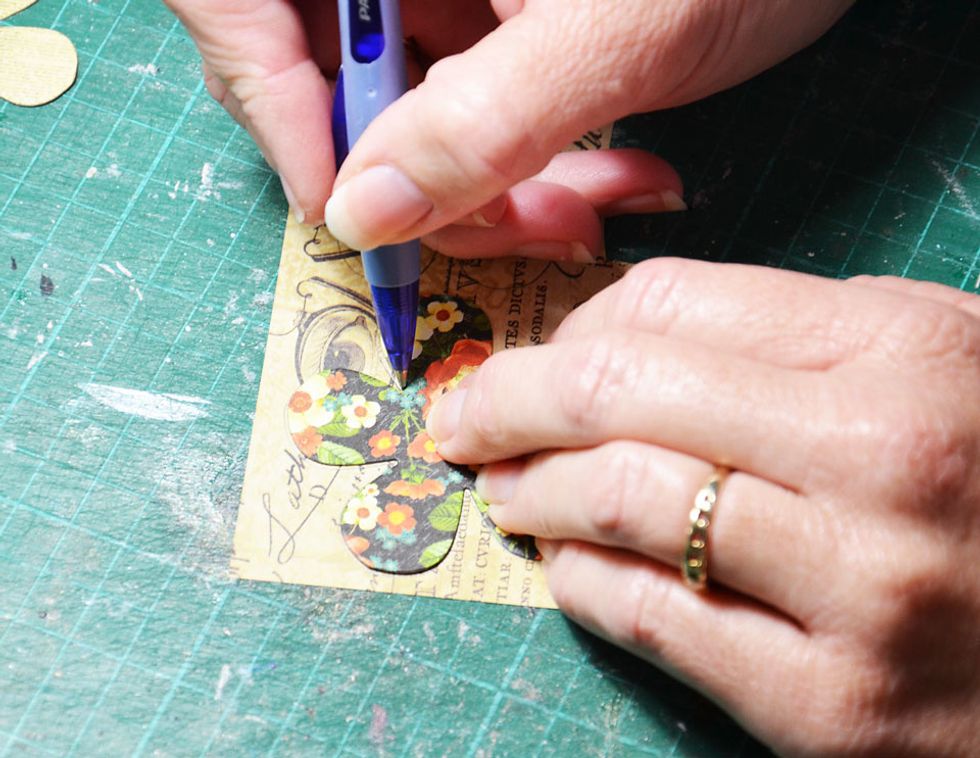
Trace around flower on to selected paper.
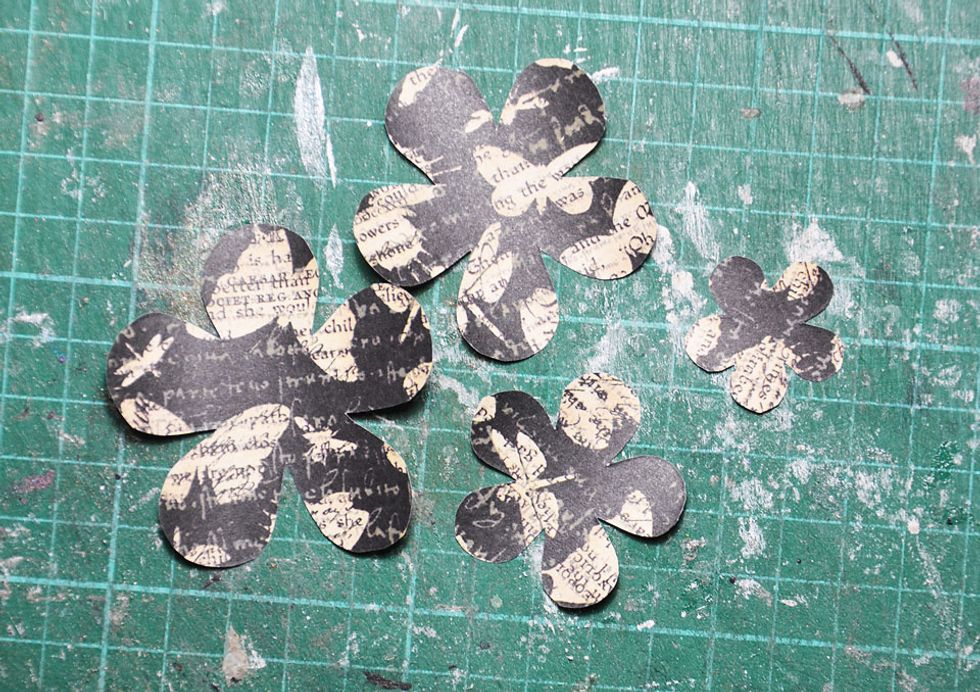
Cut them out. You will need to do 2 lots of these as there are 2 flowers attached to the front.
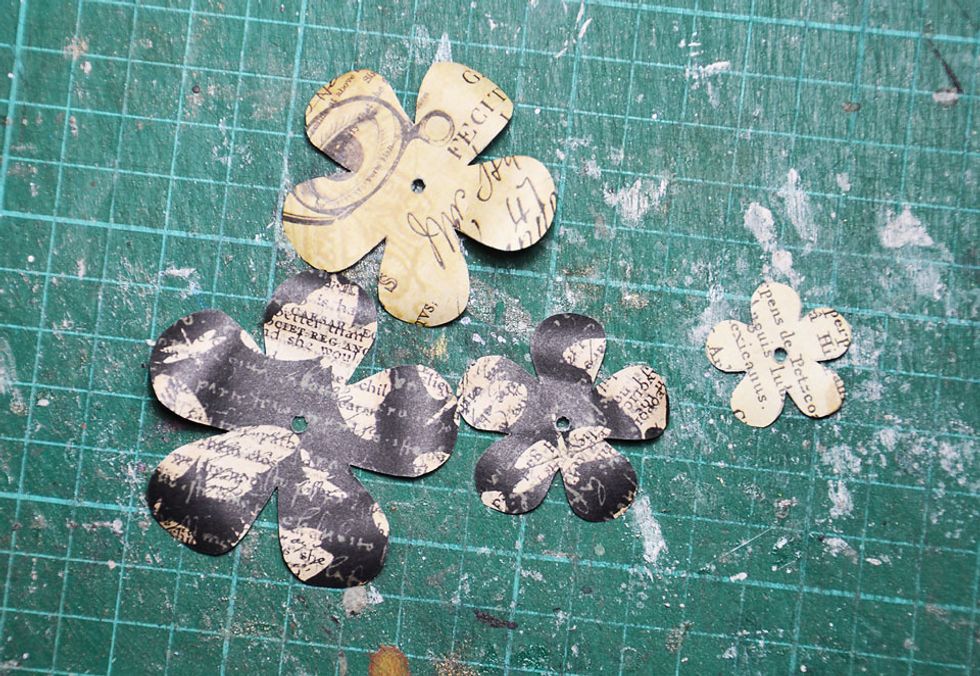
Place a hole in the centre of all flowers as shown.

Layer as shown.
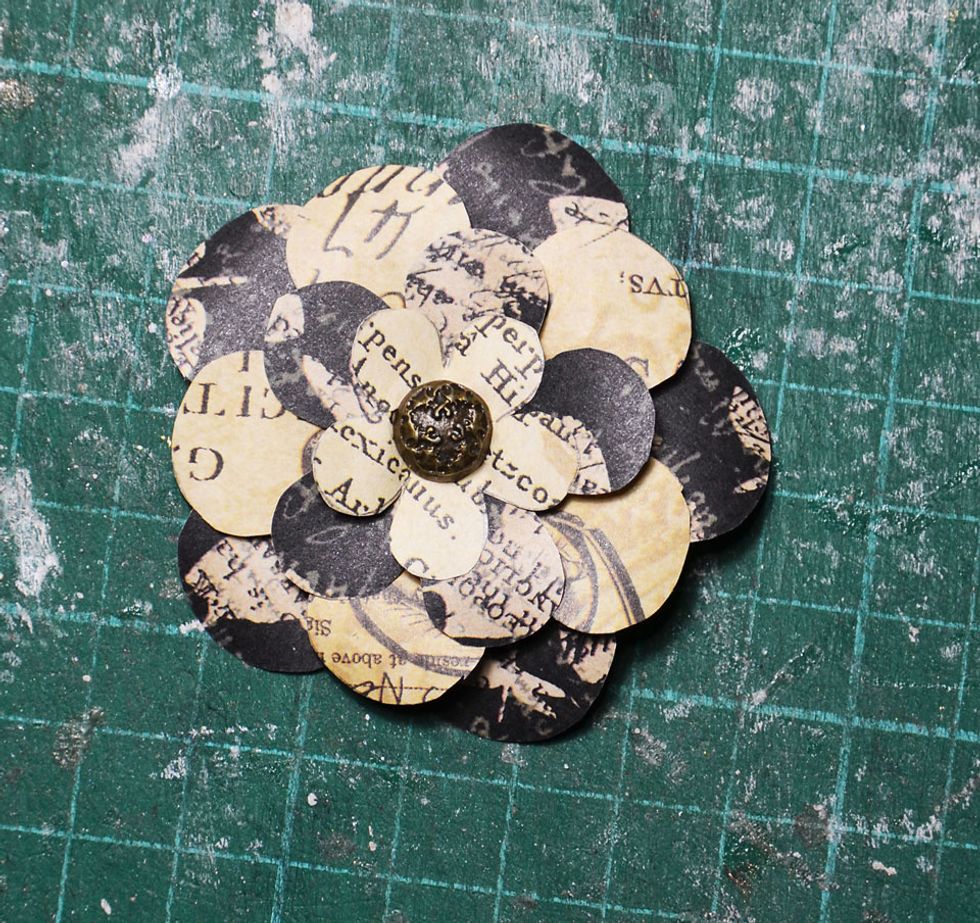
Add a brad to the centre of the flowers.
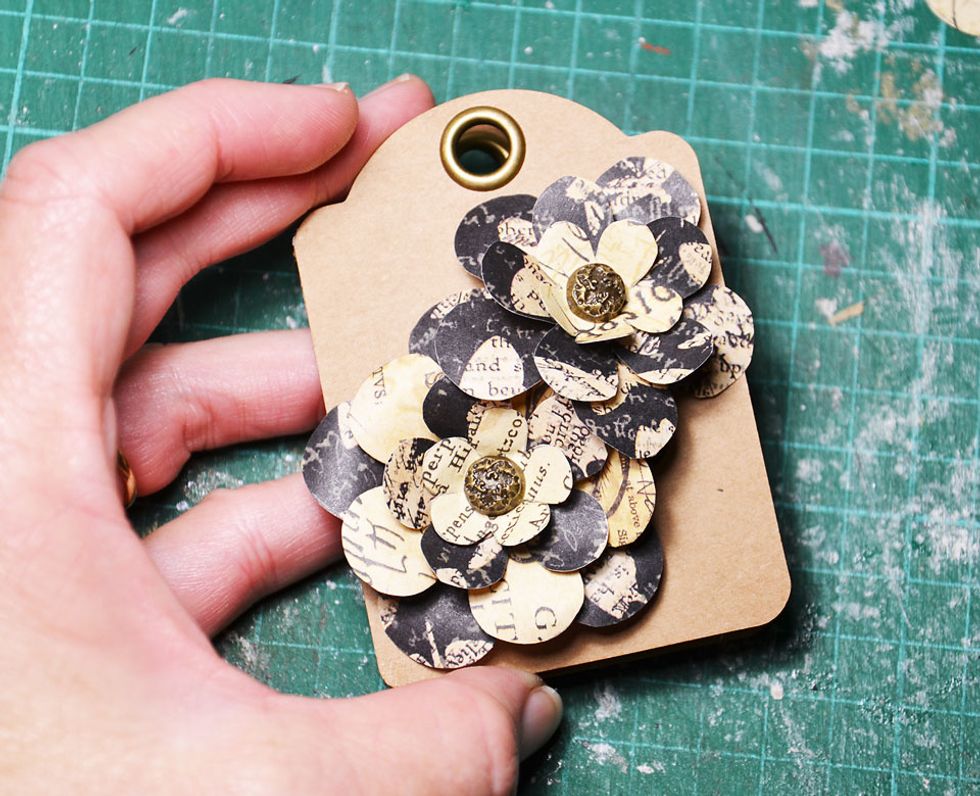
Attach to tag front as shown.
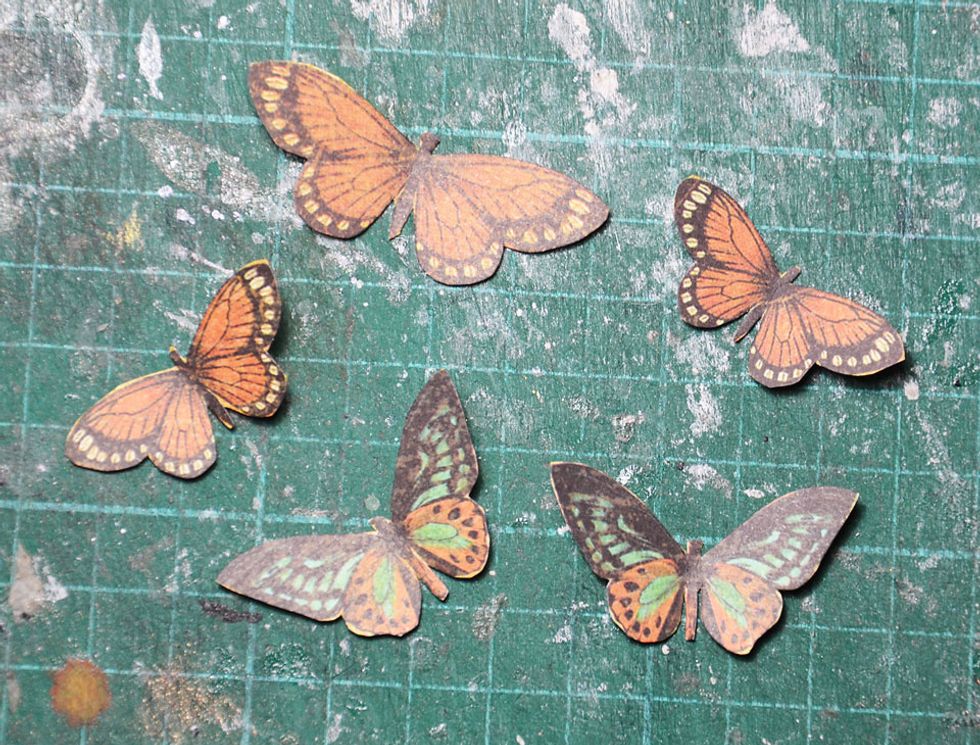
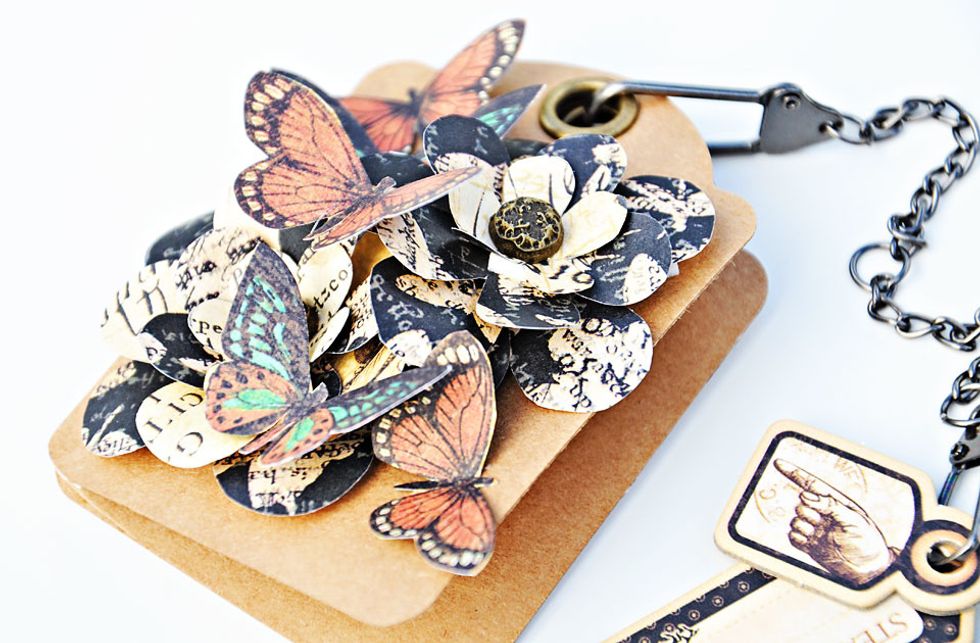
Cut out 5 butterflies. These are from Botanicabella and Steampunk Debutante papers.
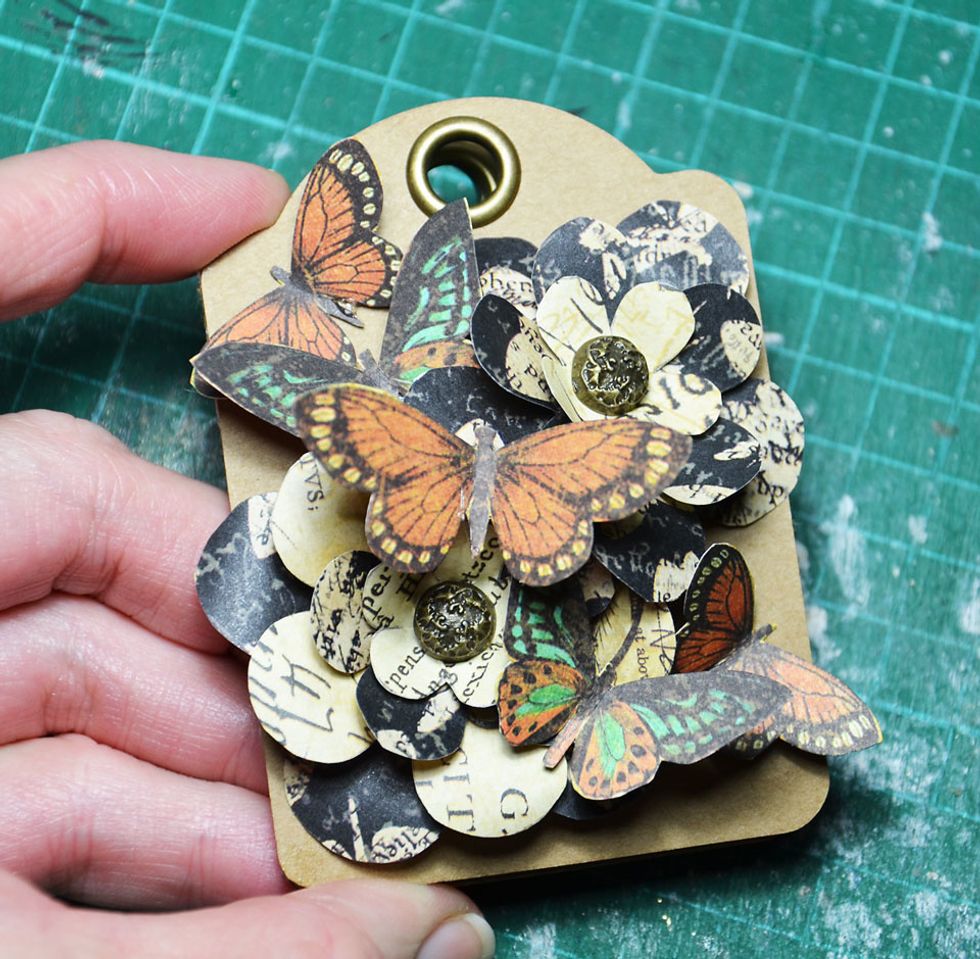
Attach as shown.
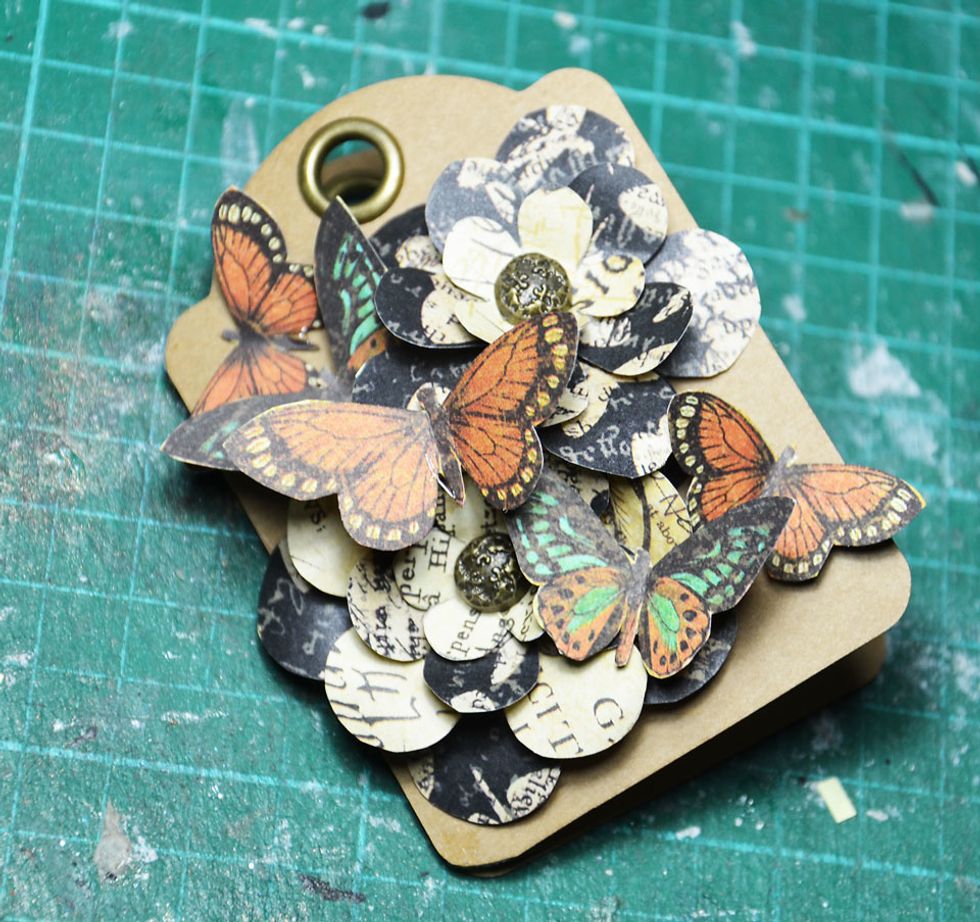
The gift card tag is now finished.
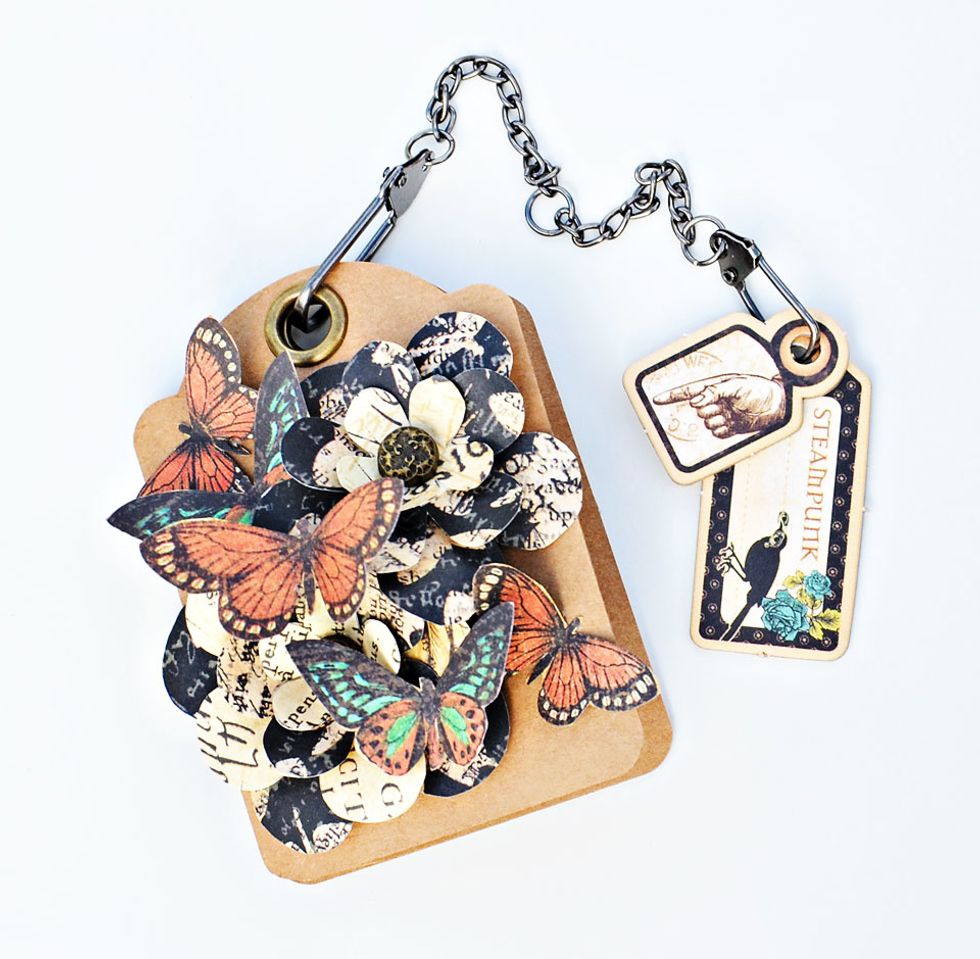
I added a chain and some Steampunk Debutante tags for and added feature.
Showing the back of the card.

Inside the card has a place to write a special message.

Thank you for viewing my tutorial. Joanne Bain - scrappinforme.blogspot.com.au/