The Conversation (0)
Sign Up
Firstly I need stress that although this is a simple process there are so many areas that can be dangerous. Please before you do any step, think things through, take your time and stay safe :)

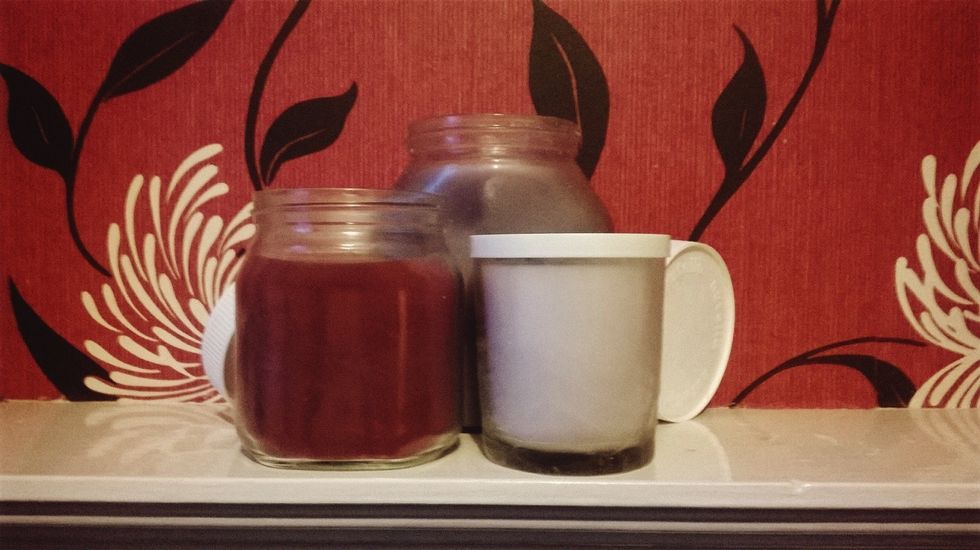
Firstly, you'll need to make sure that your jar is clean and dry. I'm using Nuttella jars because I just have so many of them.
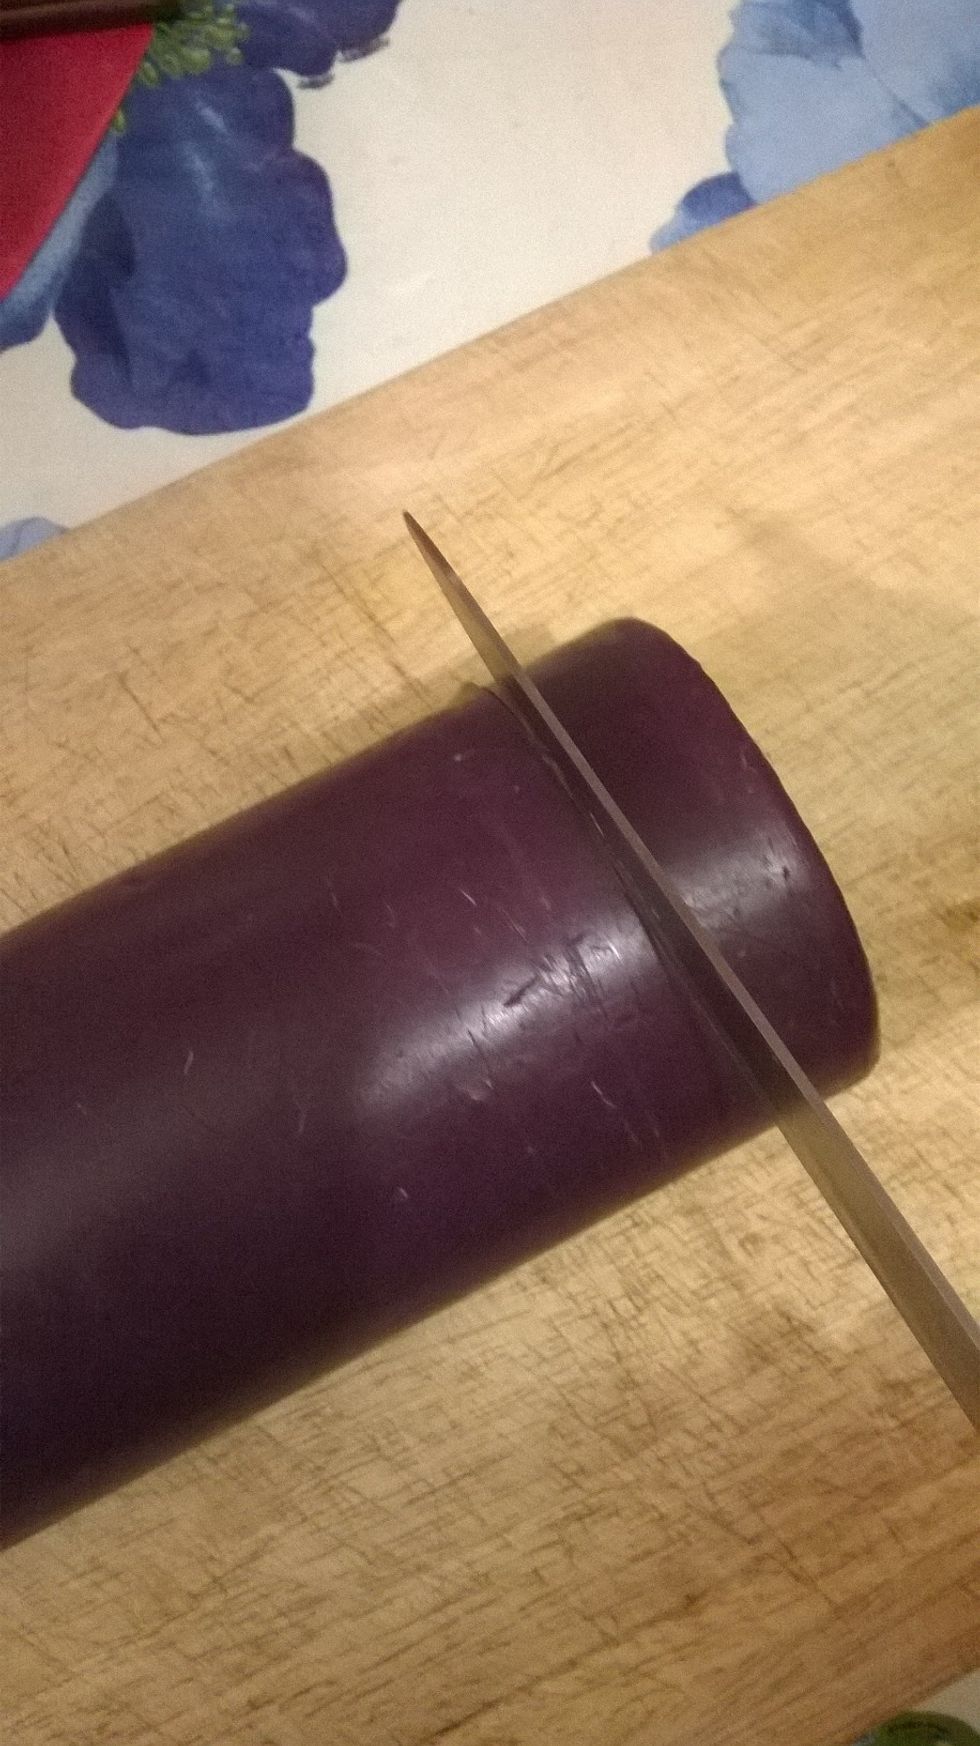
Next you need to start to cut into your candle with the knife. Try your best to keep the candlewick intact - don't worry if you do cut it, I'll tell you how to fix it later on.
I recommend placing a towel underneath the chopping board to reduce the amount that it moves around.
RESIST TEMPTATION TO FORCE IT! Just slowly add pressure to make an indent and then...

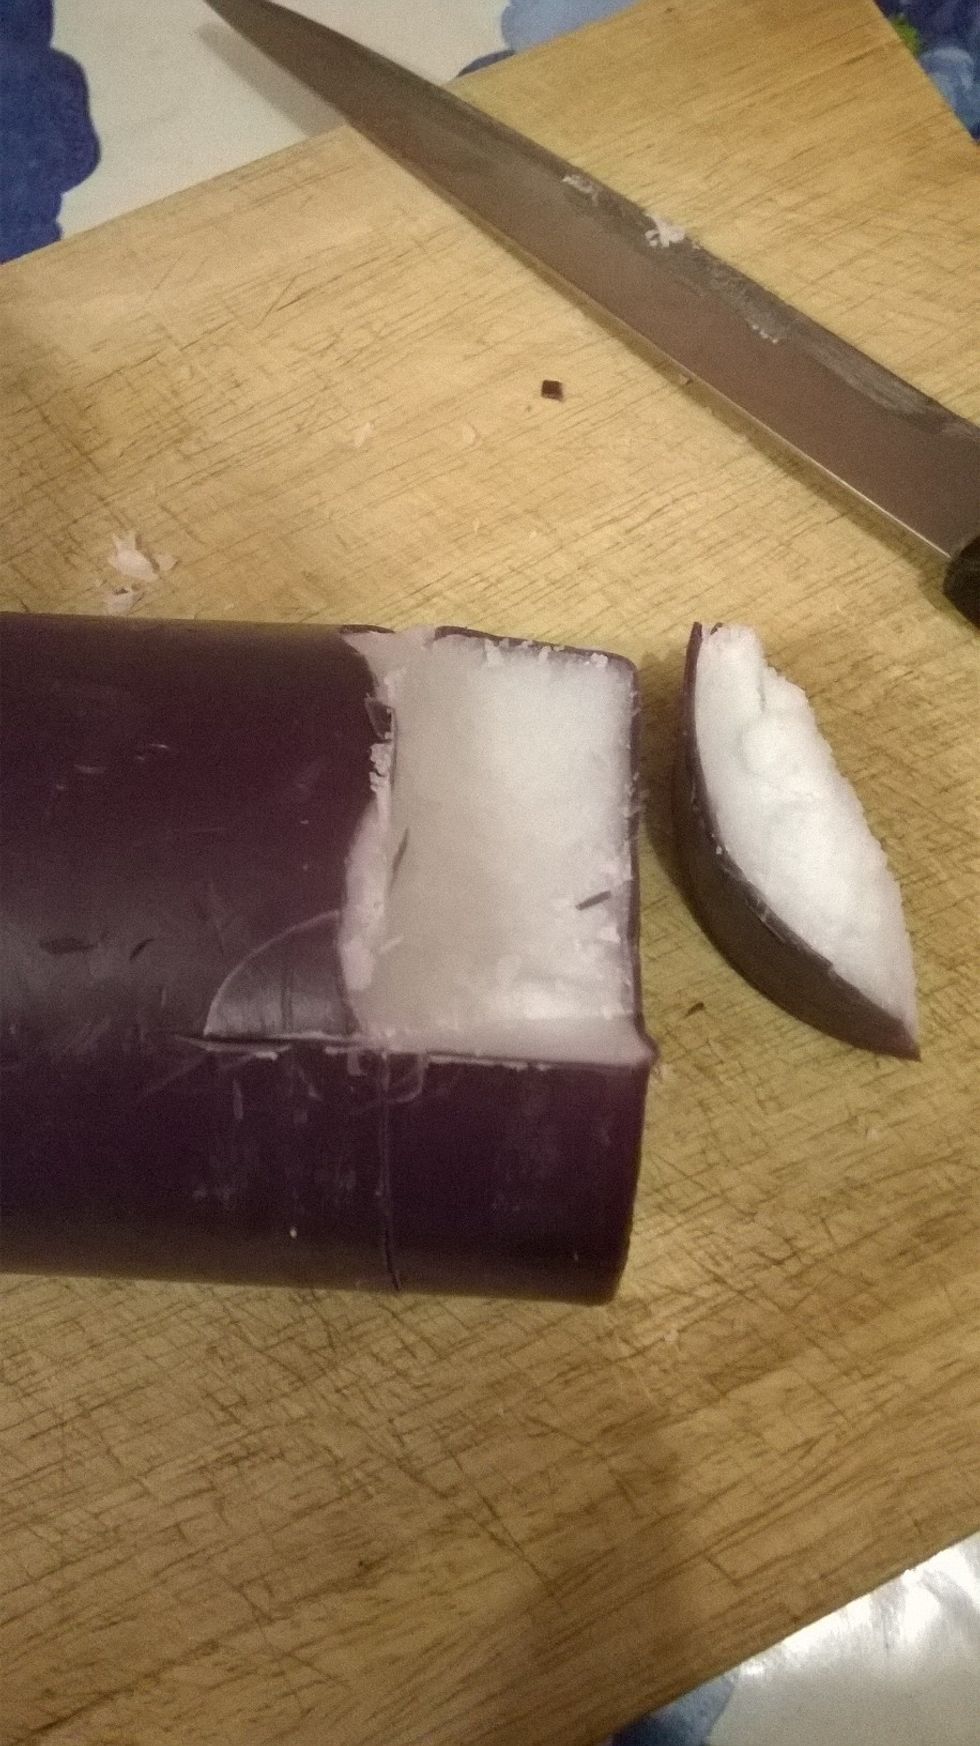
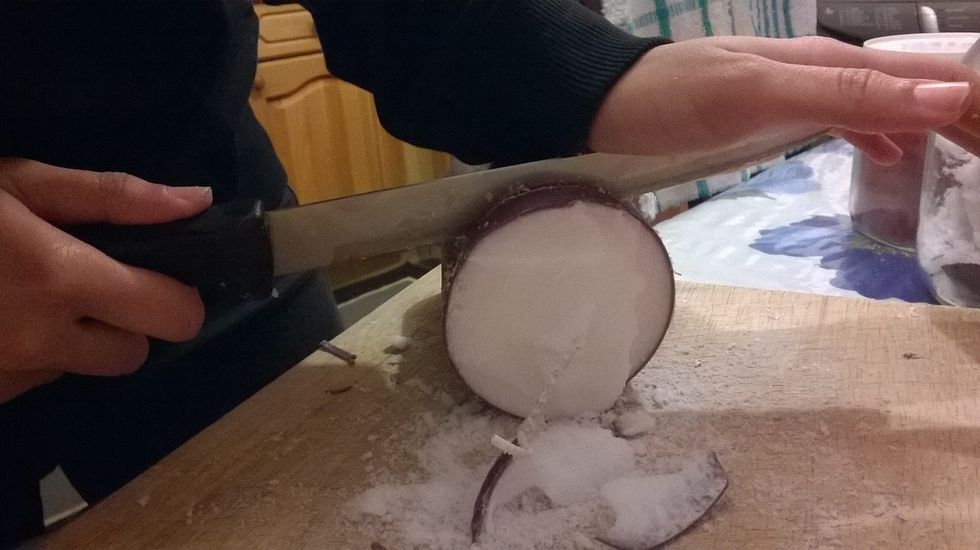
...turn the knife 90 degrees and it easily comes off. Take your time with this. Cut around the wick.
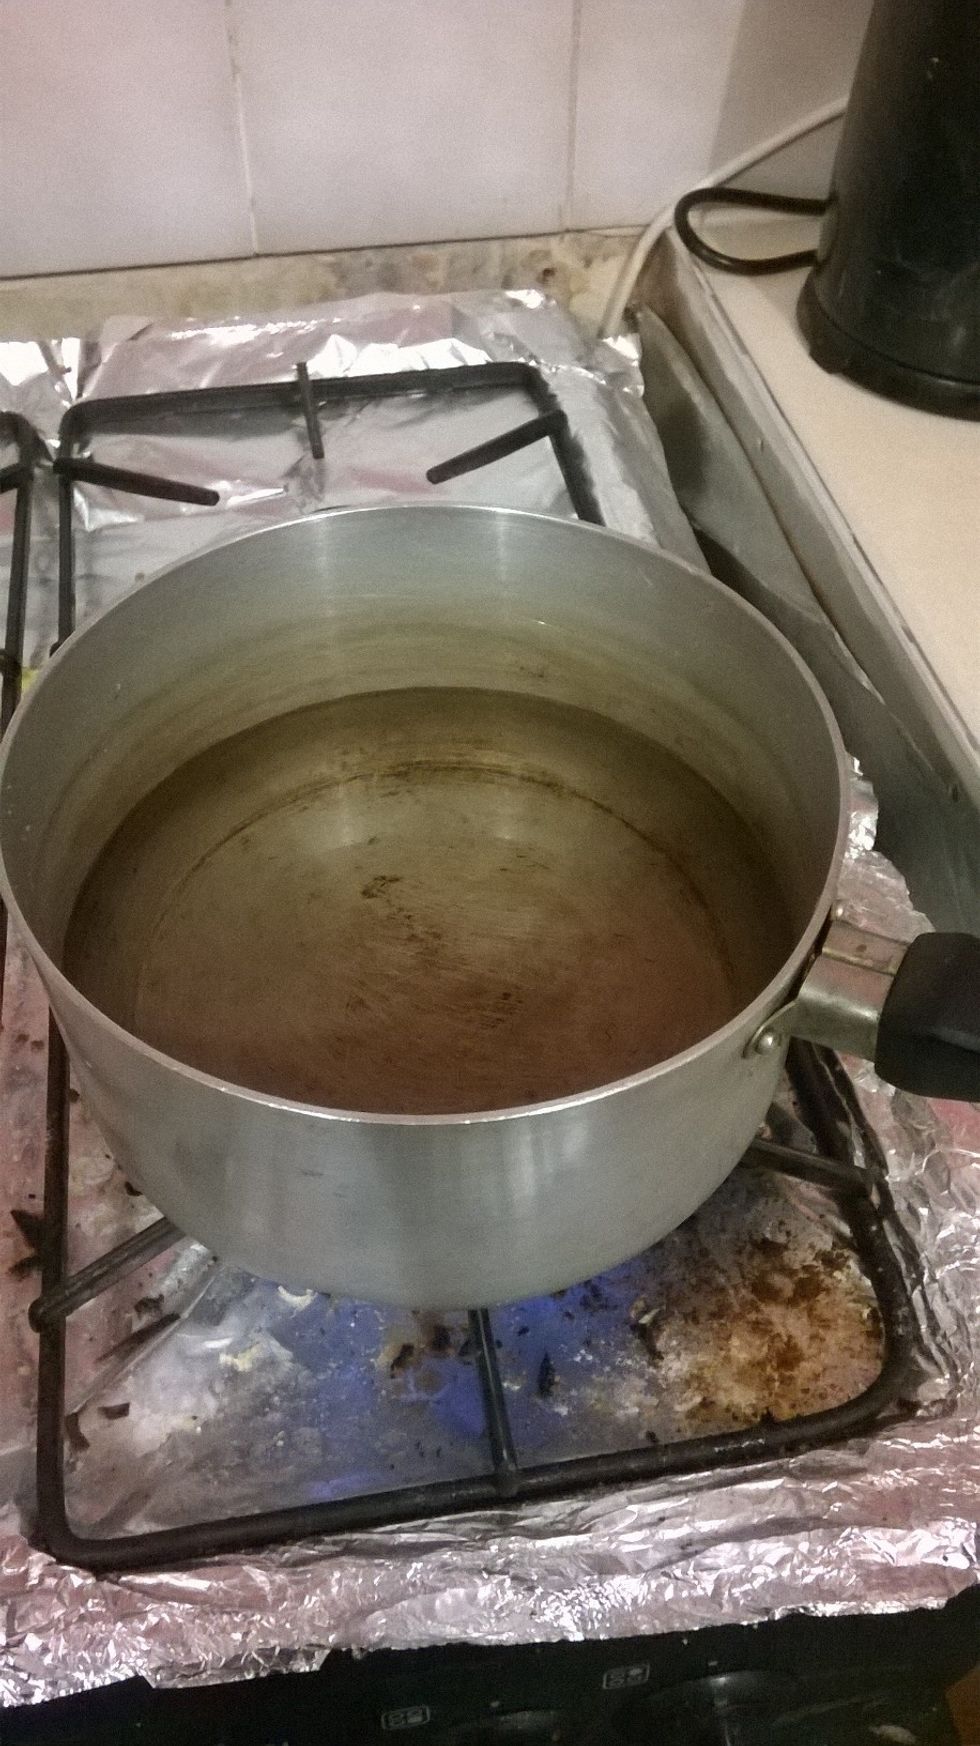
Place some water into a pot and bring to a simmer.
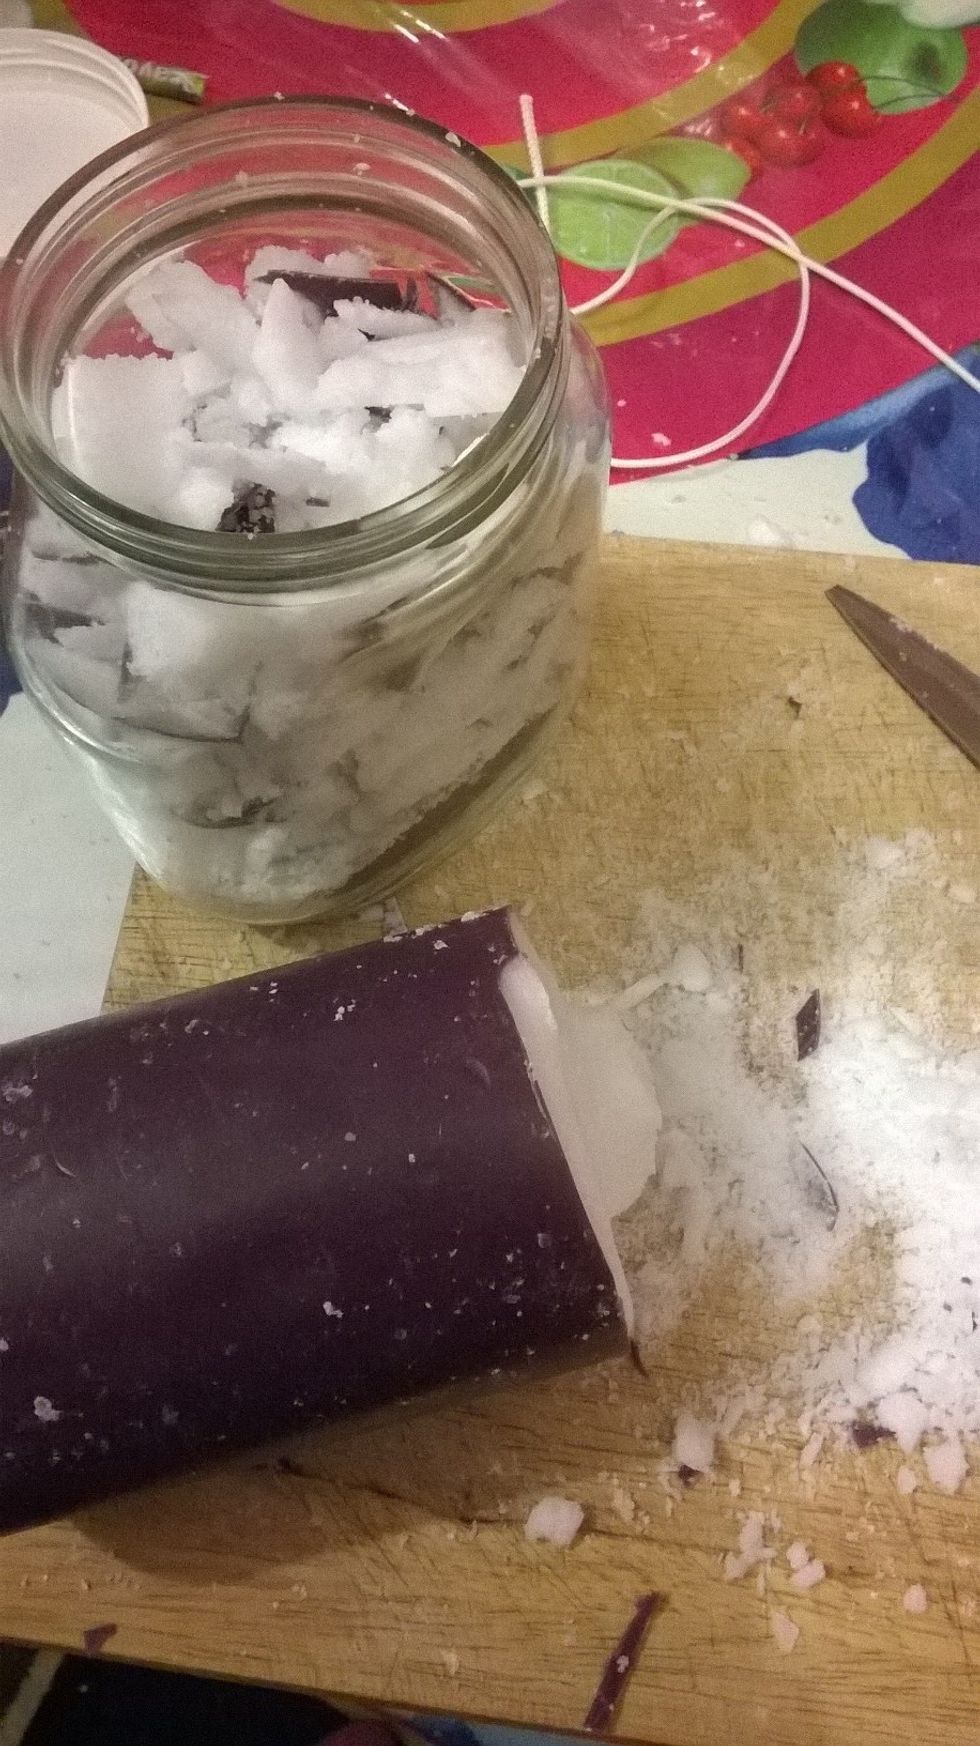
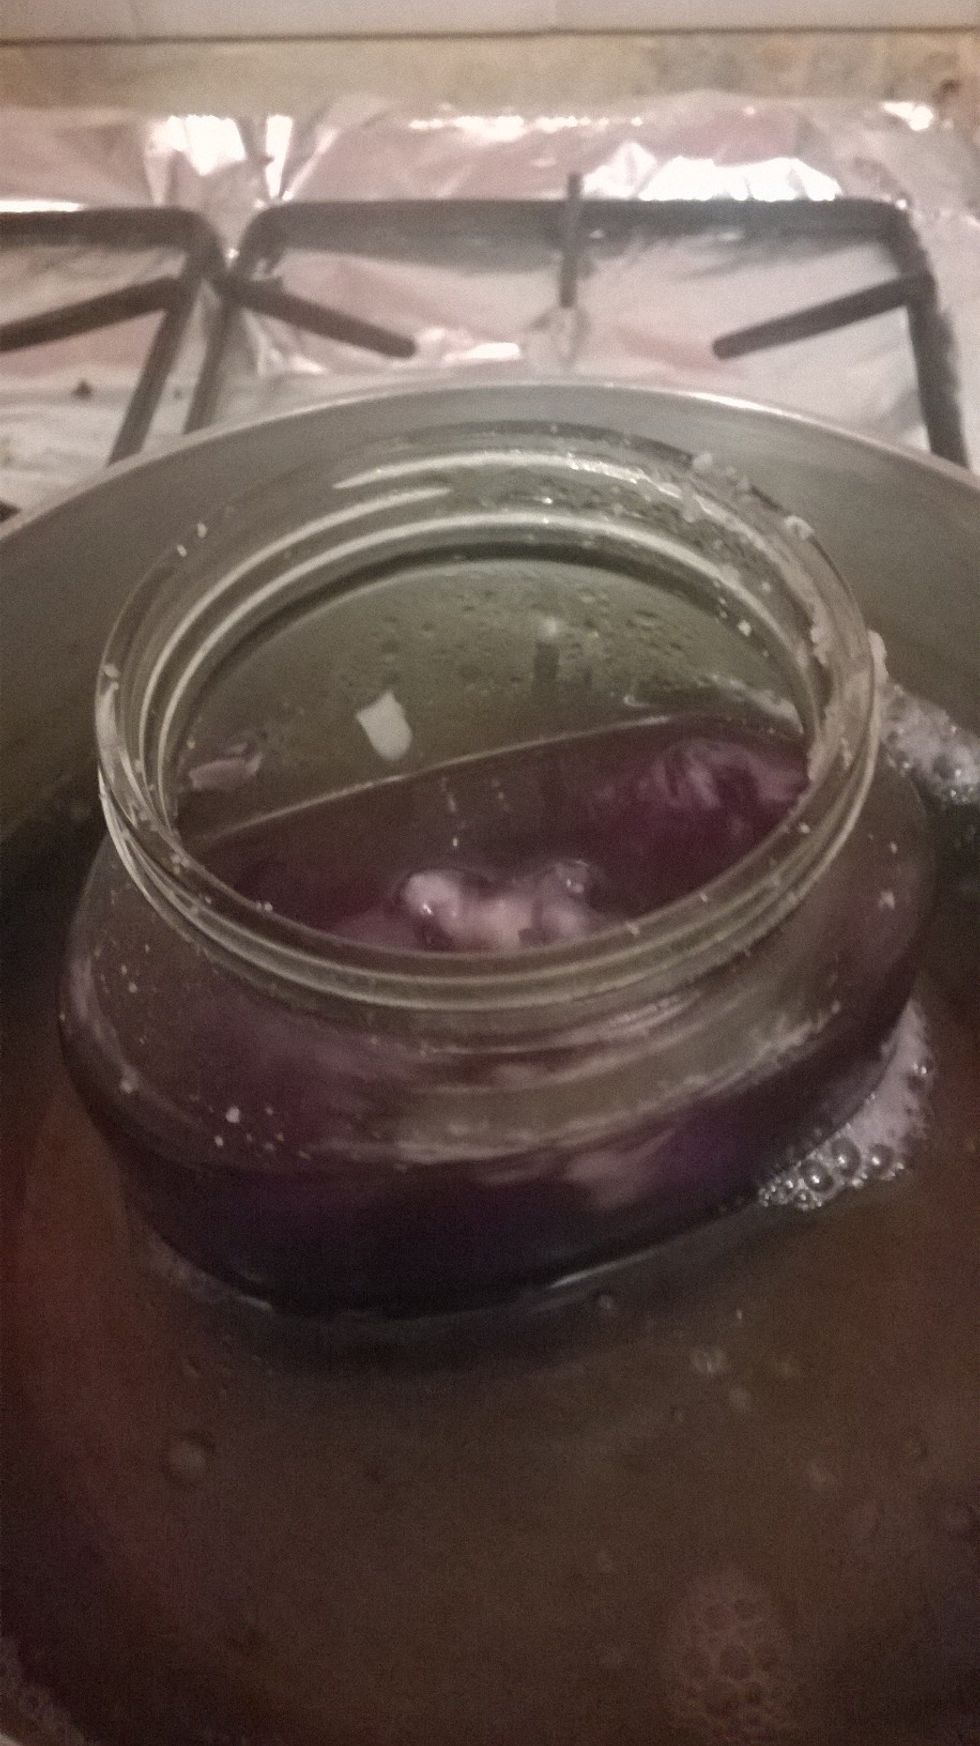
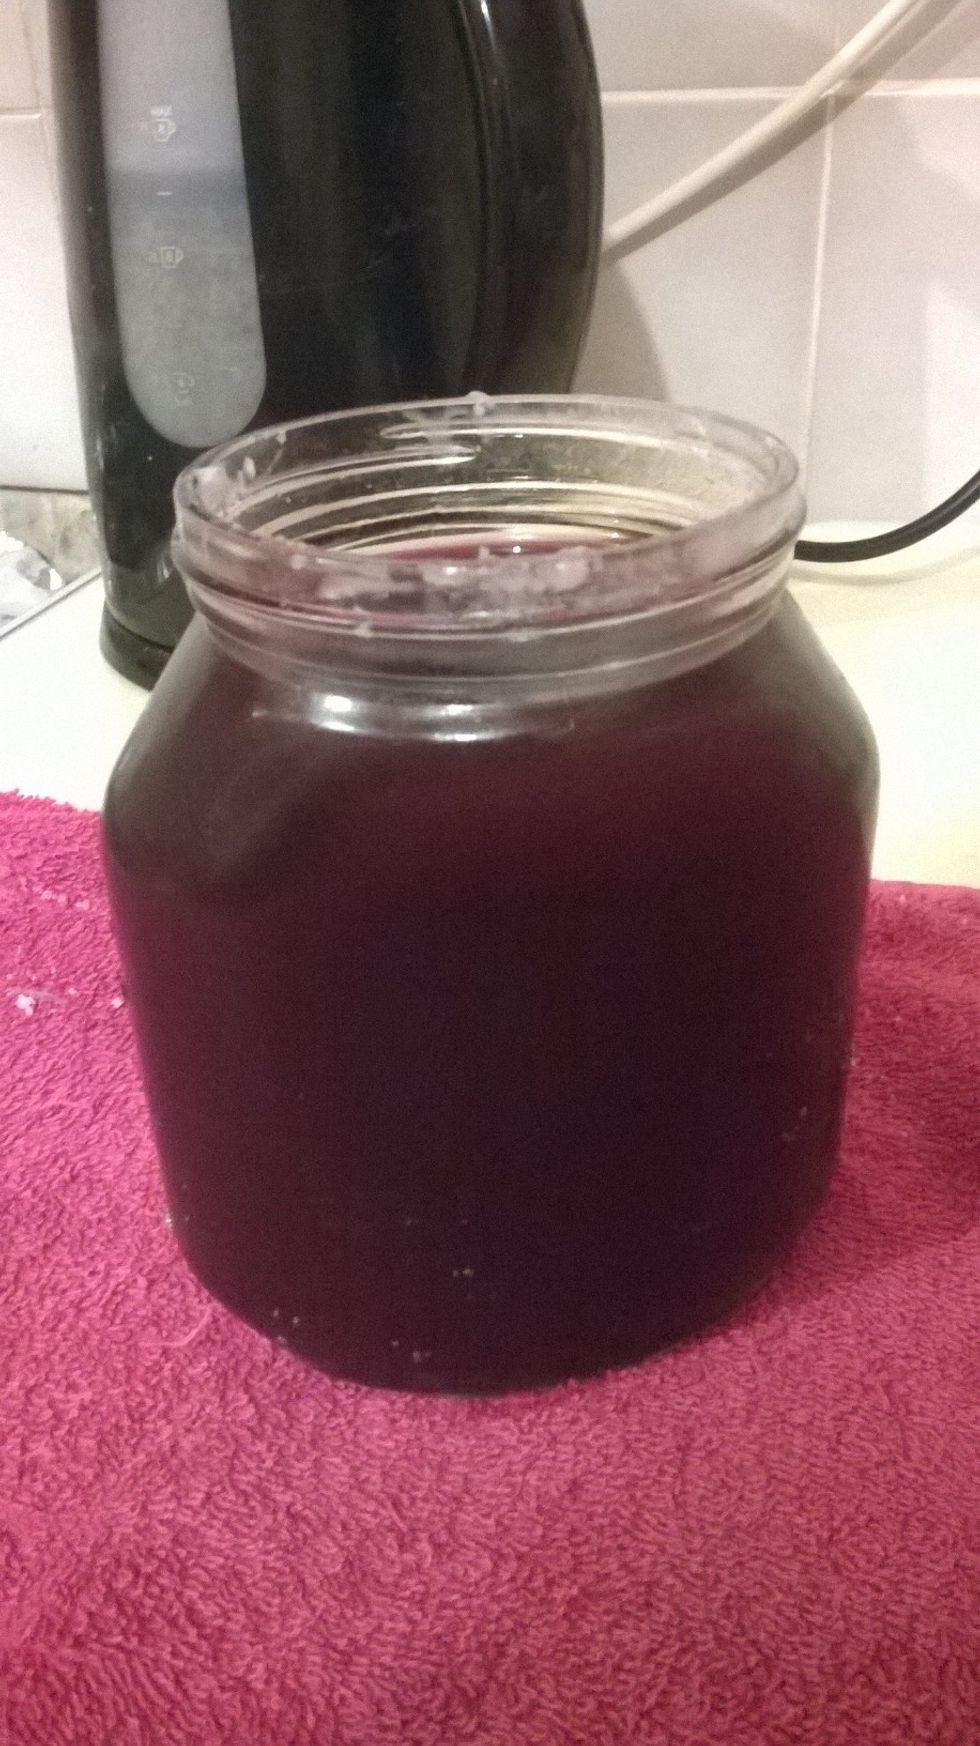
Start placing bits of the wax into your jar. As you can see there is a lot of the candle left, don't worry a lot more of it will go in when the wax starts to melt.
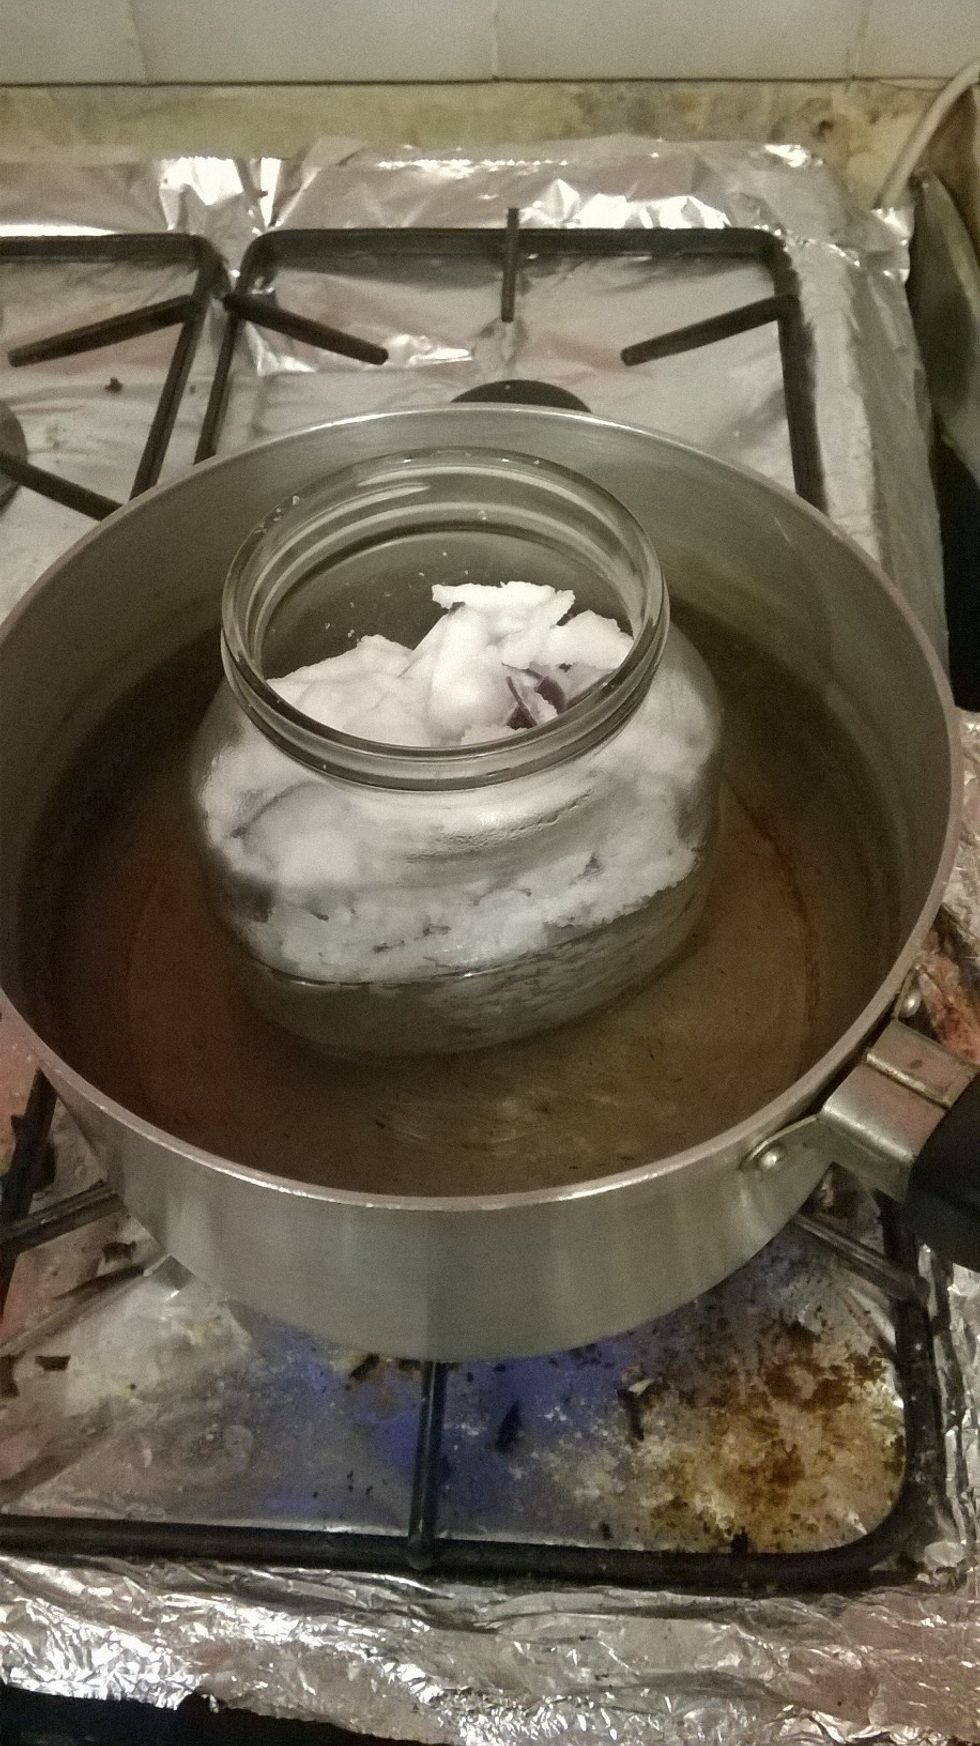
Place the jar into the pot. This is to ensure that nothing burns, and that the wax gets an even distribution of heat - making the process a bit quicker.
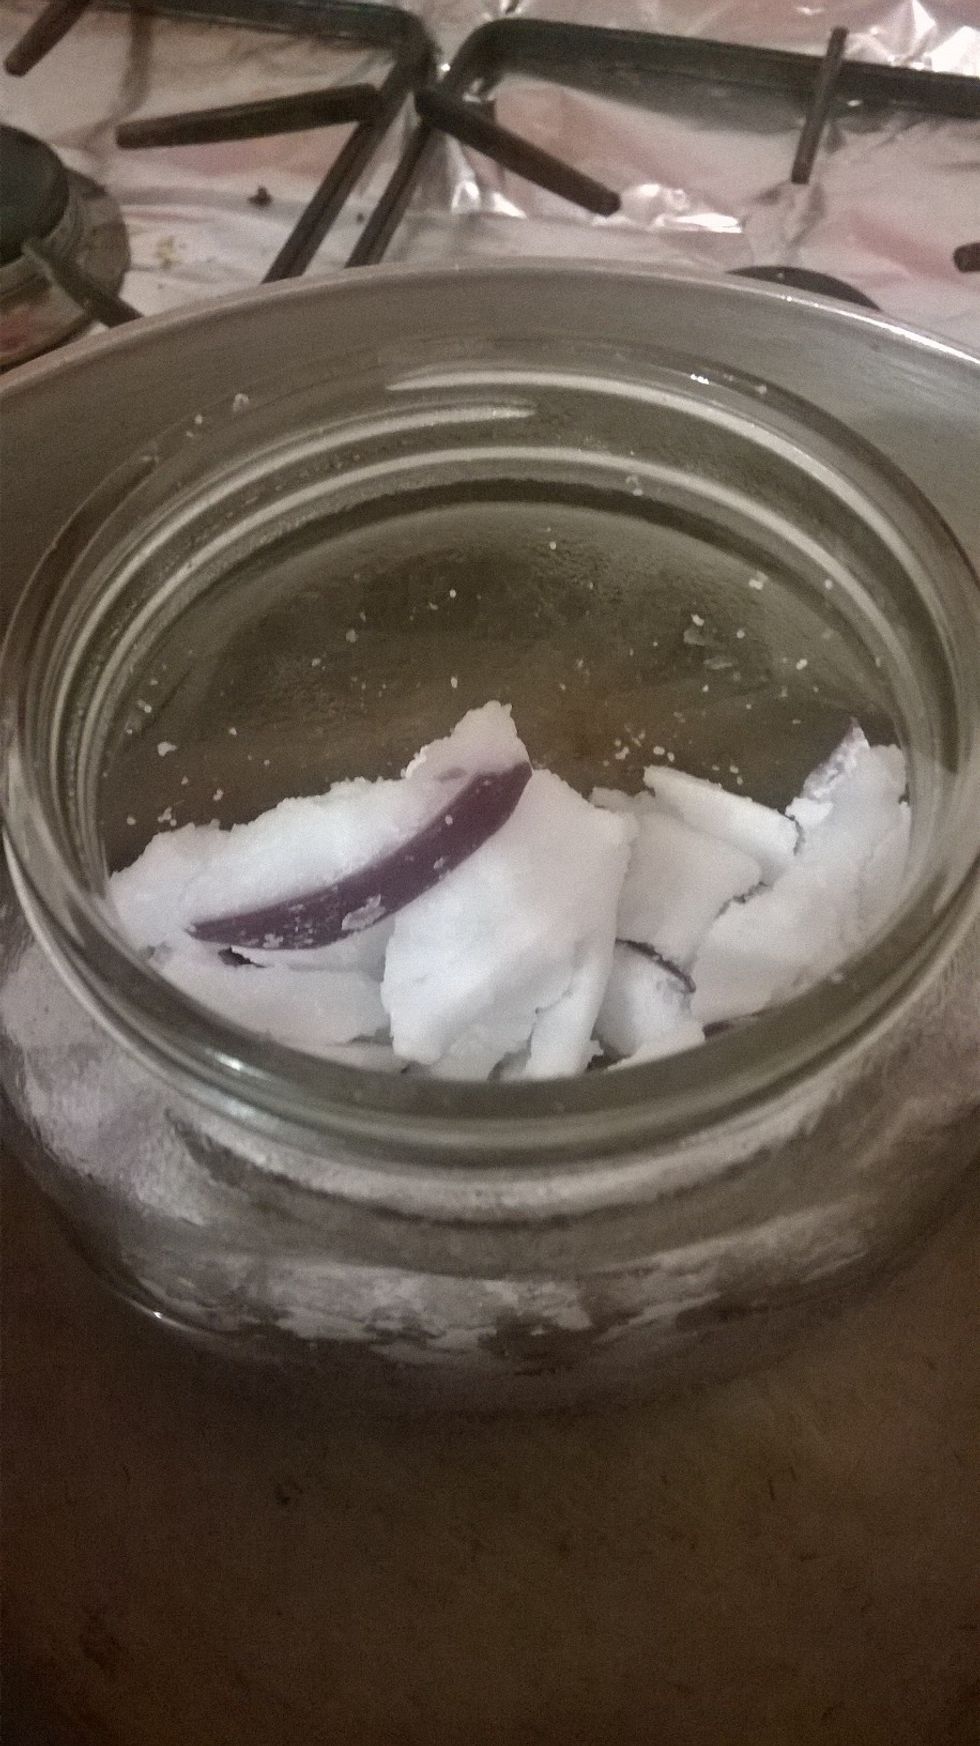
It's already starting to reduce. Don't be afraid to turn the heat down if you feel a bit worried about it. You can slowly start to add more bits of wax in.
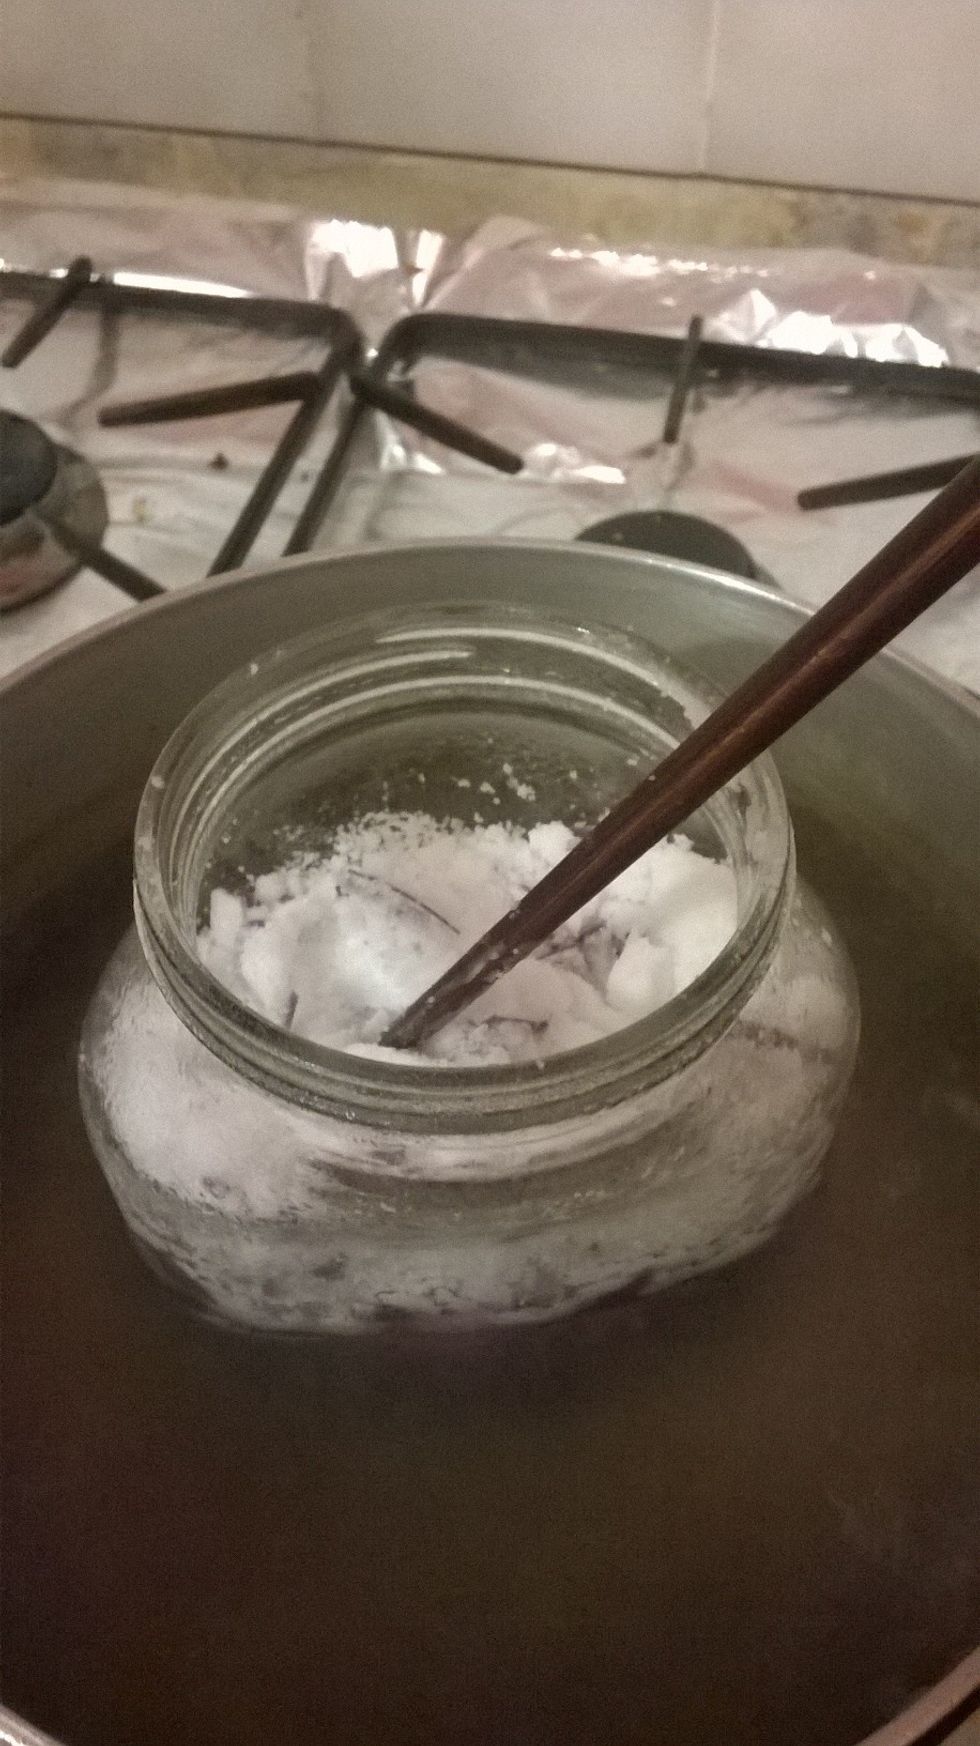
Every now and then give it a gentle mix with an instrument that is a poor conductor of heat - i.e not metal!
If you want it a different colour you can add food colouring or even NON-TOXIC crayons. You can also add whatever scent you like.
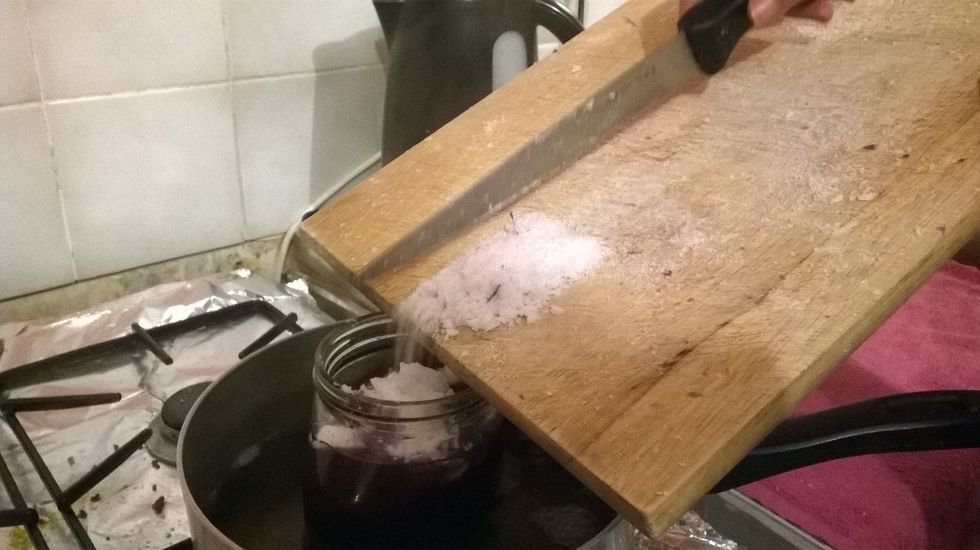
When adding in more bits be careful. Try this method to distance yourself from the possibility of hot water splashing back - or worse, hot wax splashing back.
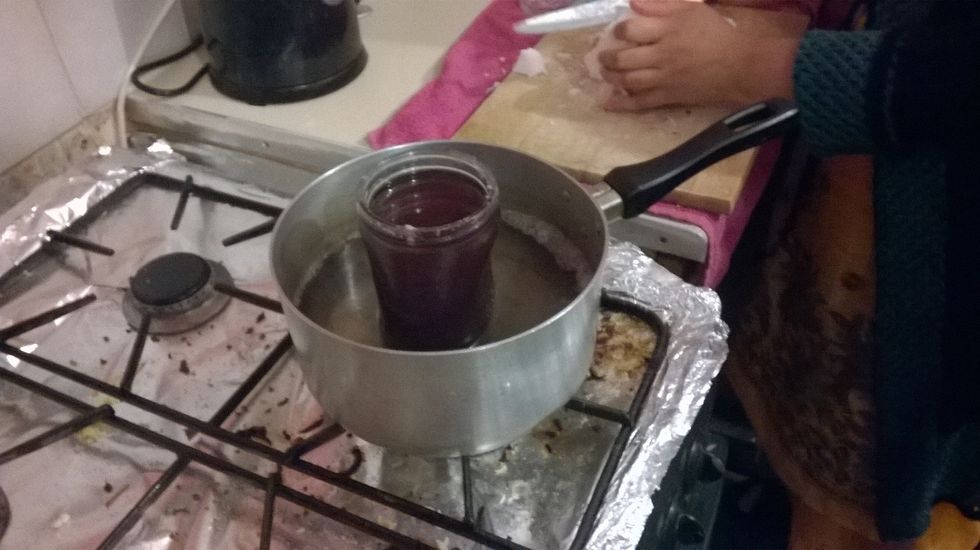
Once the wax has fully melted, turn off the heat.
Take your candlewick - or cotton string if wick is broken....
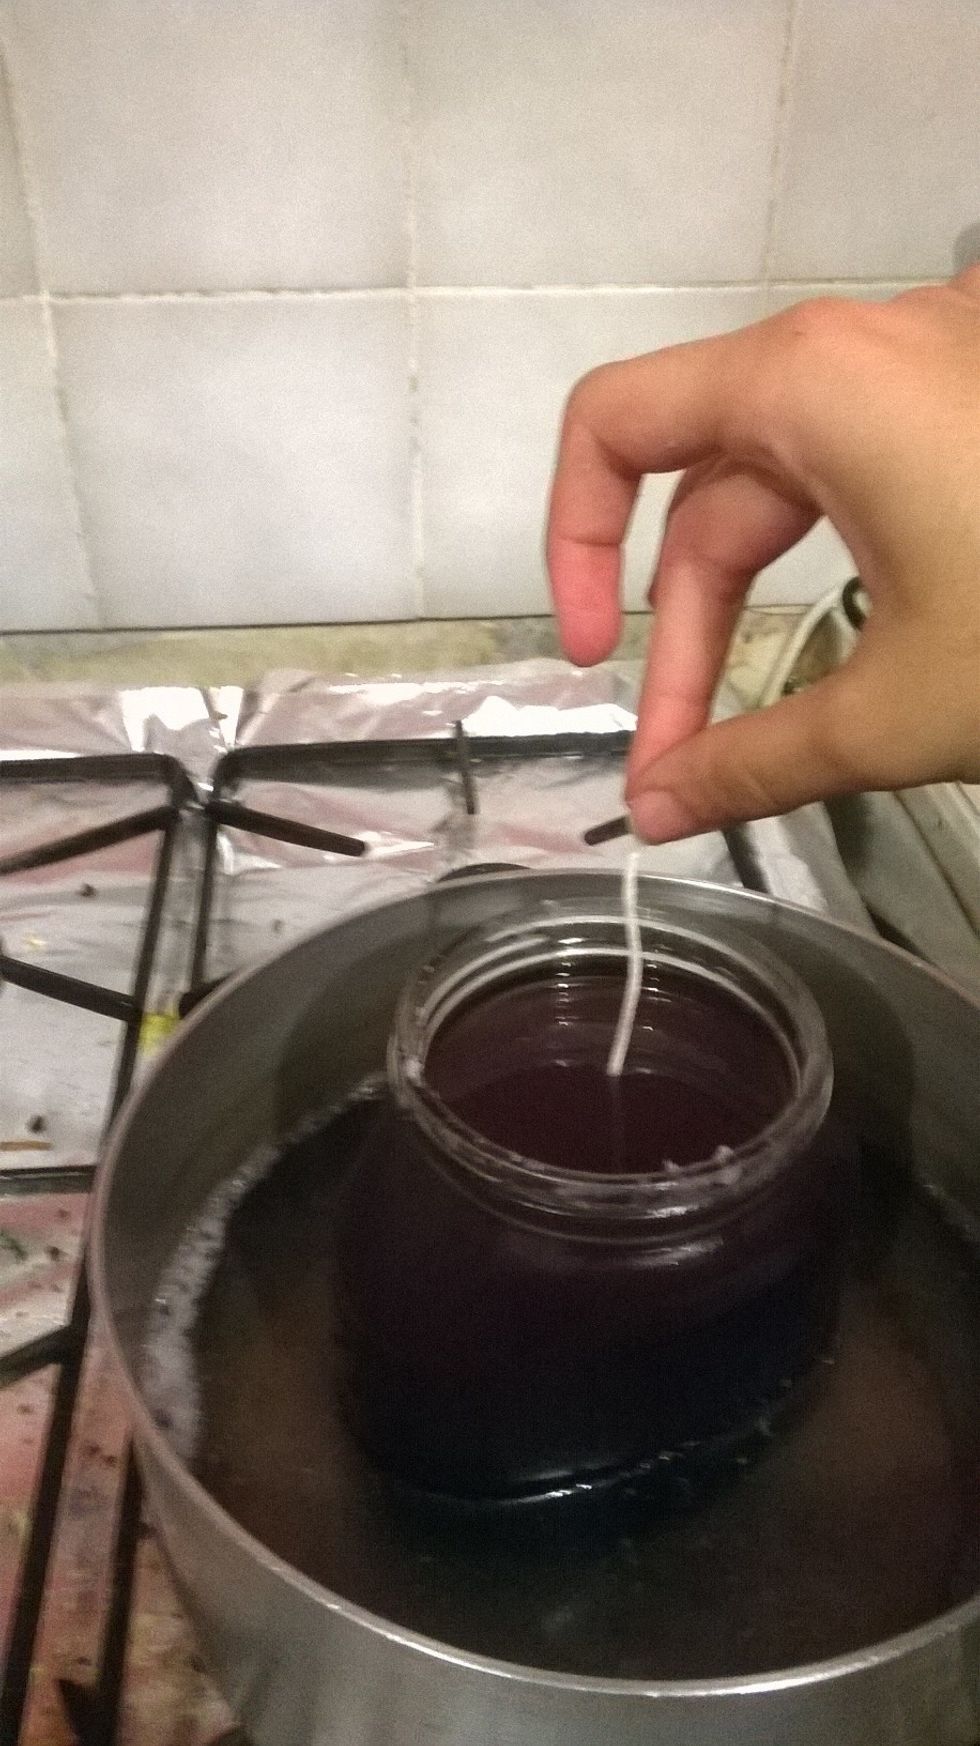
...and just give it a quick dip into the wax. This is just to help strengthen it for the next steps.
Blow on it slowly, and once it has hardened a bit you can bend the wick so that it is straighter.
Turn it around and dip the other end and repeat the previous process.
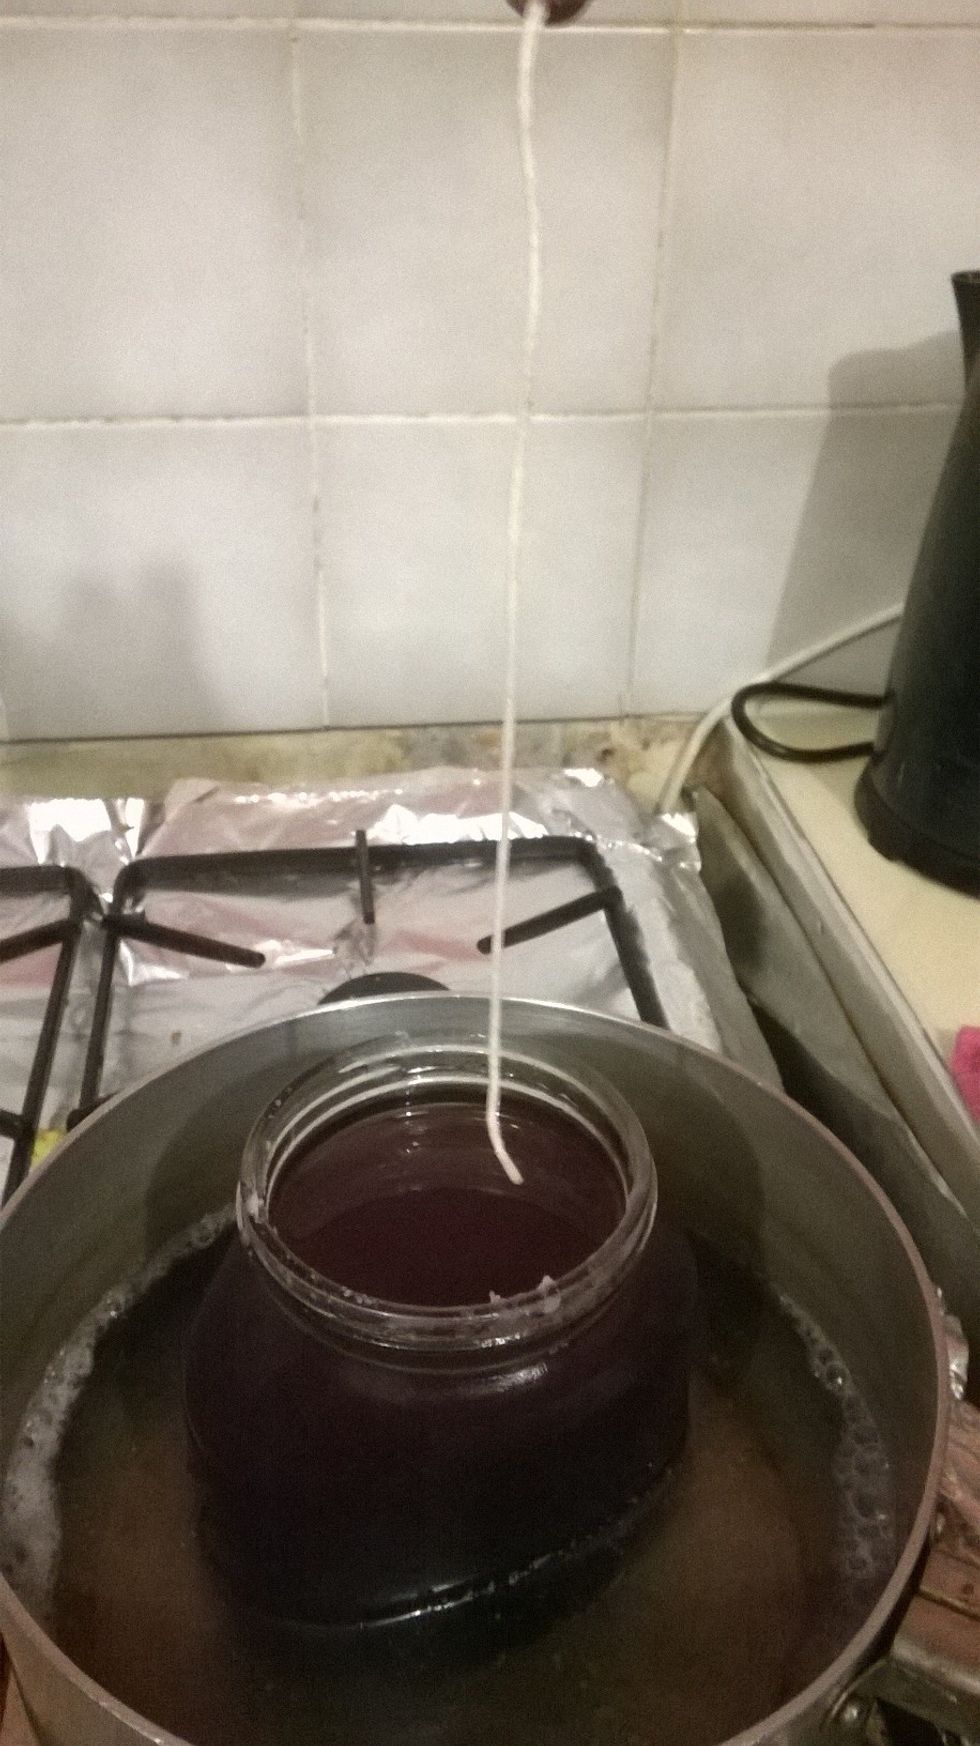
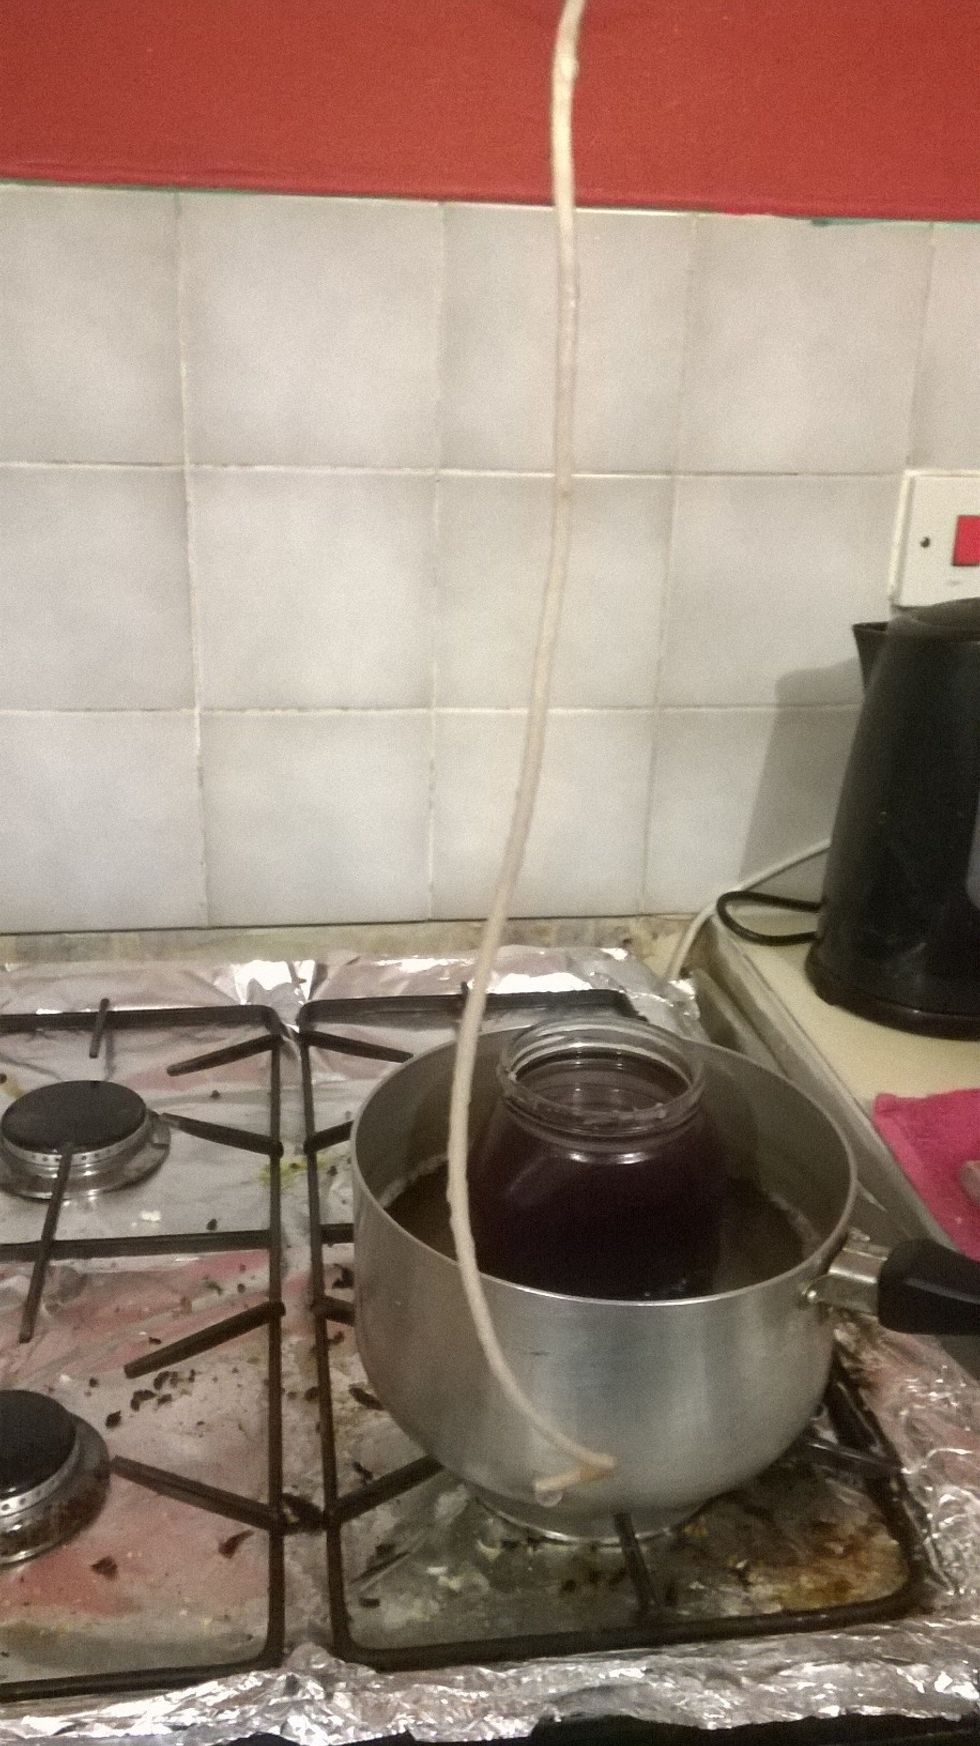
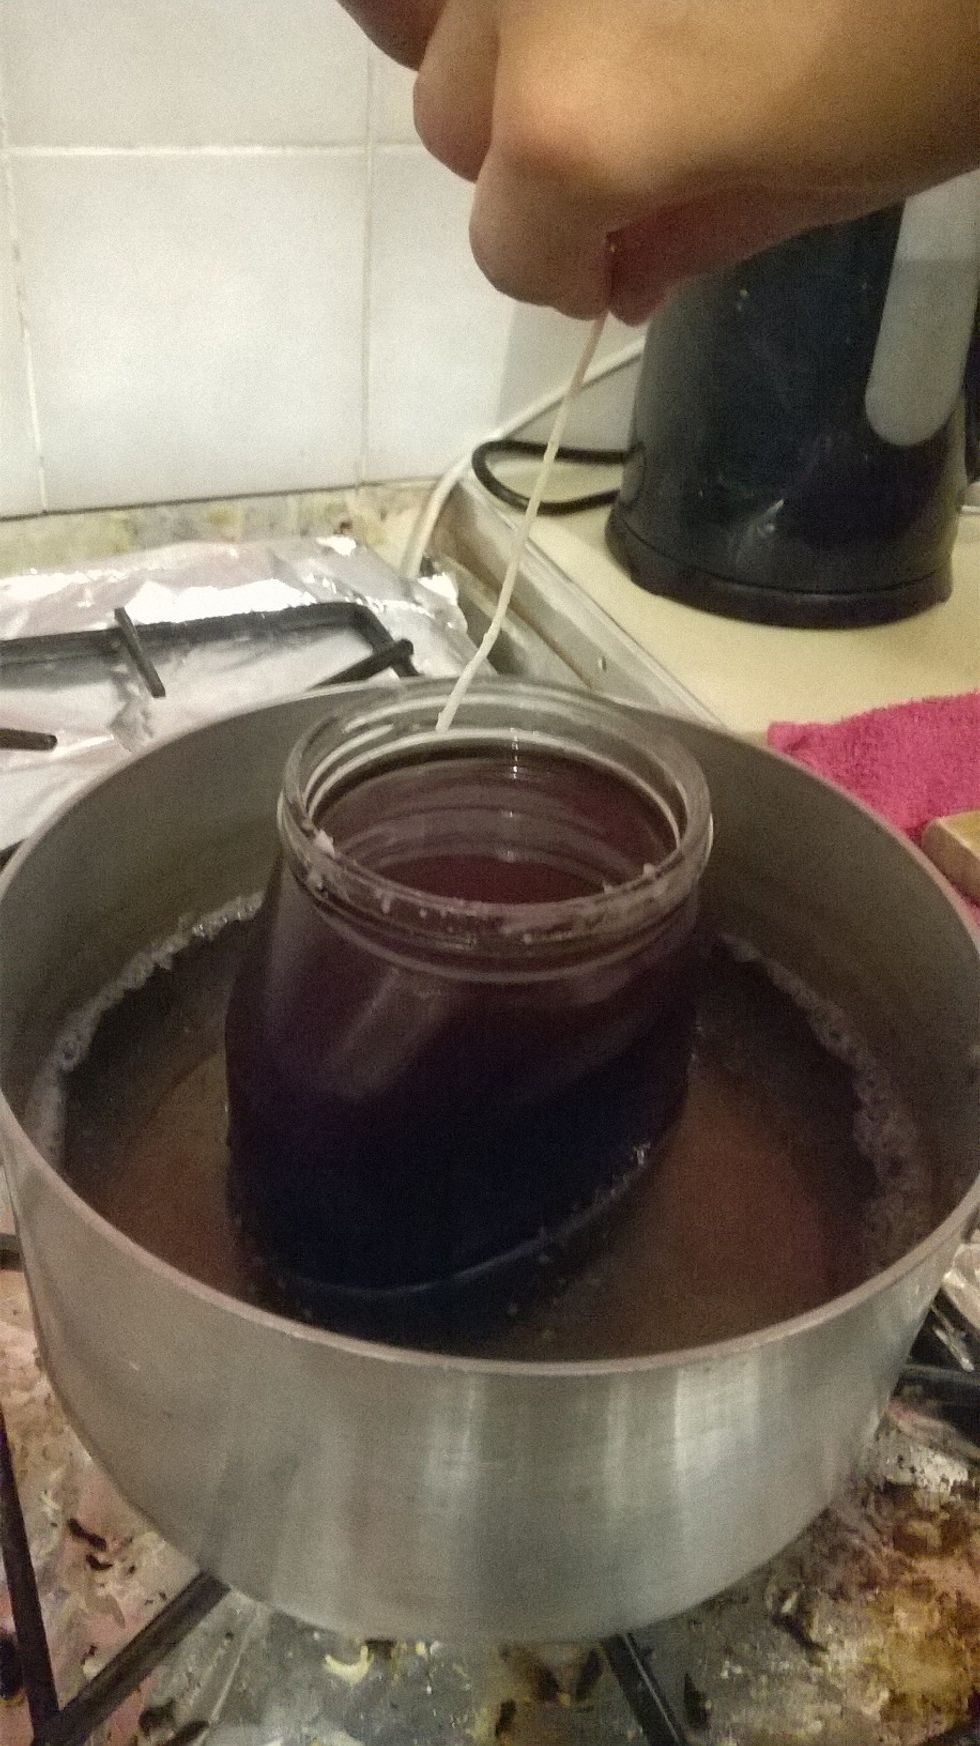
Once the wick has cooled, wrap one end of it around the chopstick - or something that can lay flat across the jar.
SLOWLY AND CAREFULLY take the jar out of the pot with oven mitts/towel - even get an adult if you need to. Any unwanted excess wax that is on the jar can be easily removed afterwards.
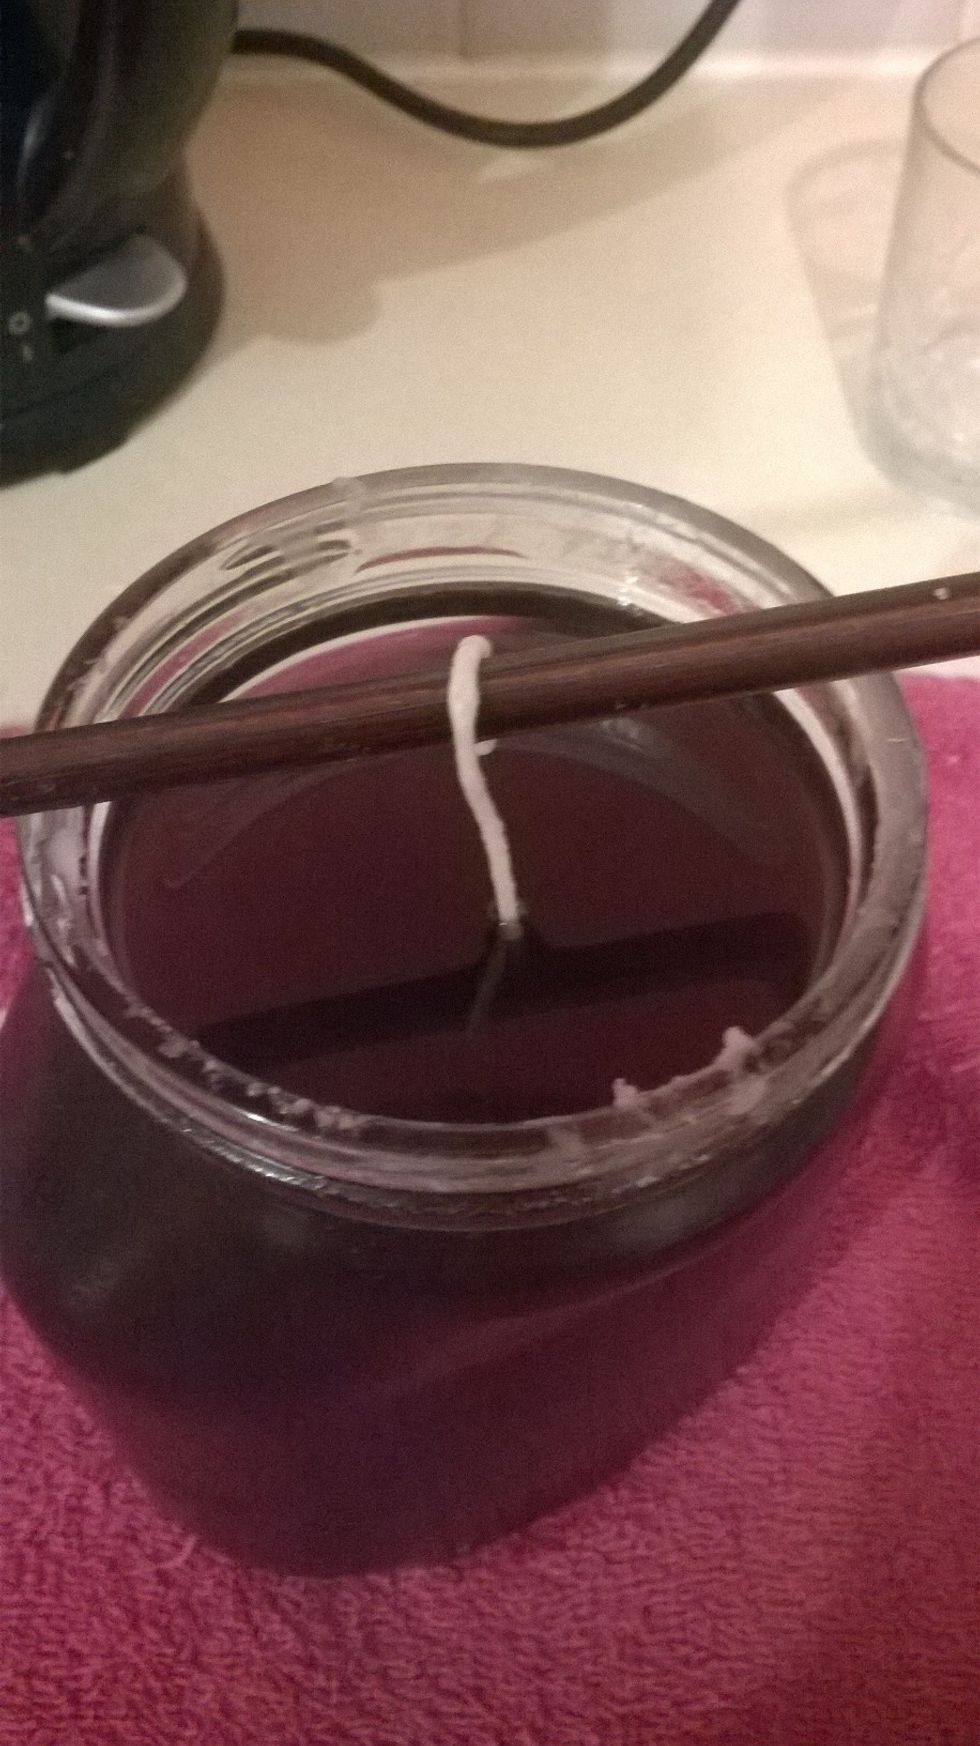
Place the wick in the middle like so, and leave to cool overnight. Do not touch the jar, it will be very hot.
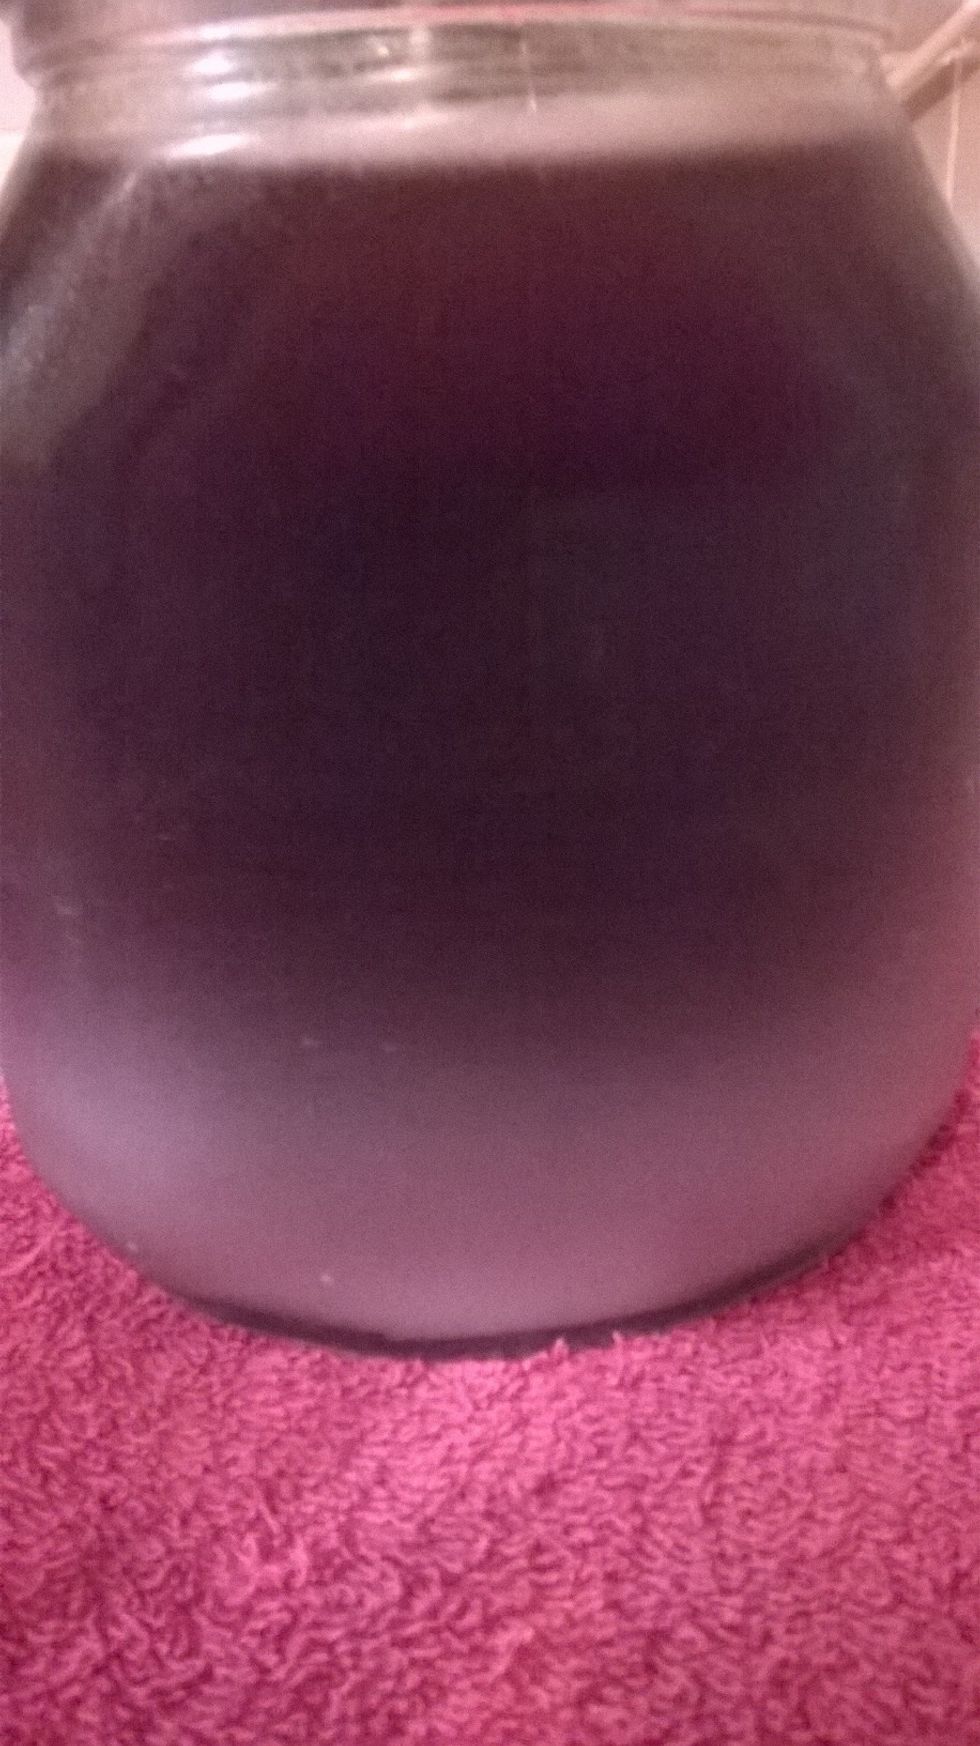
Here you can start to see a contrast between the dark melted wax colour and the harden wax colour. So keep that in mind when you plan the colour you want.
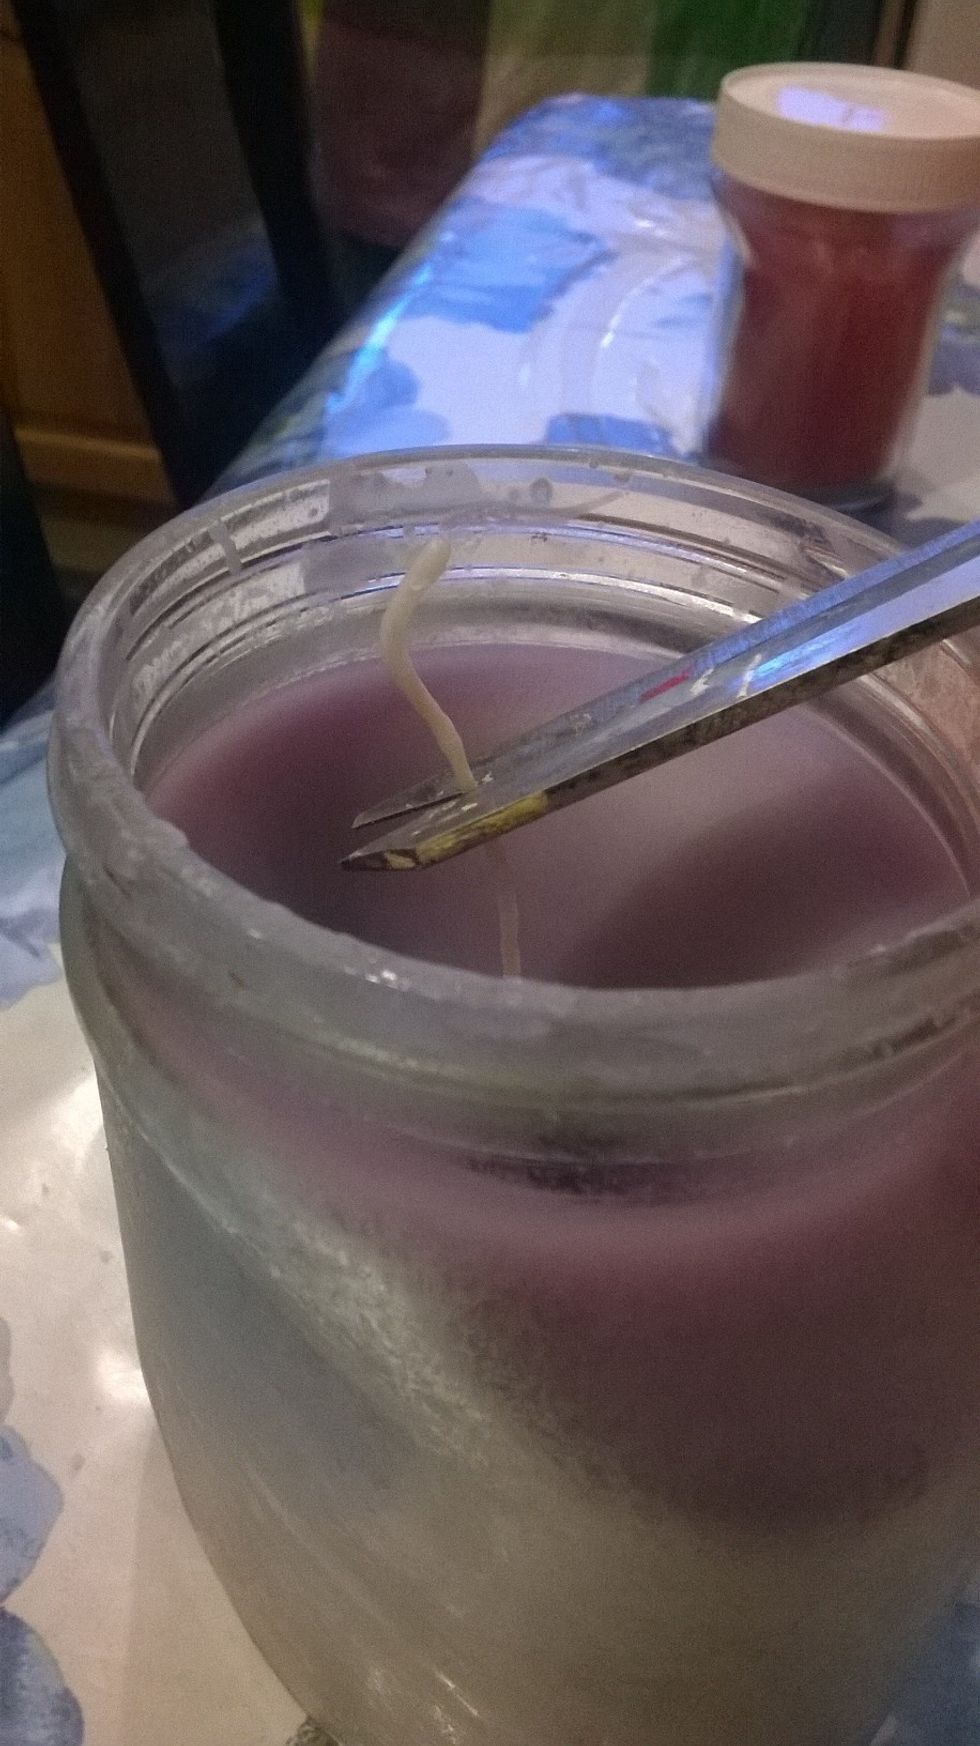
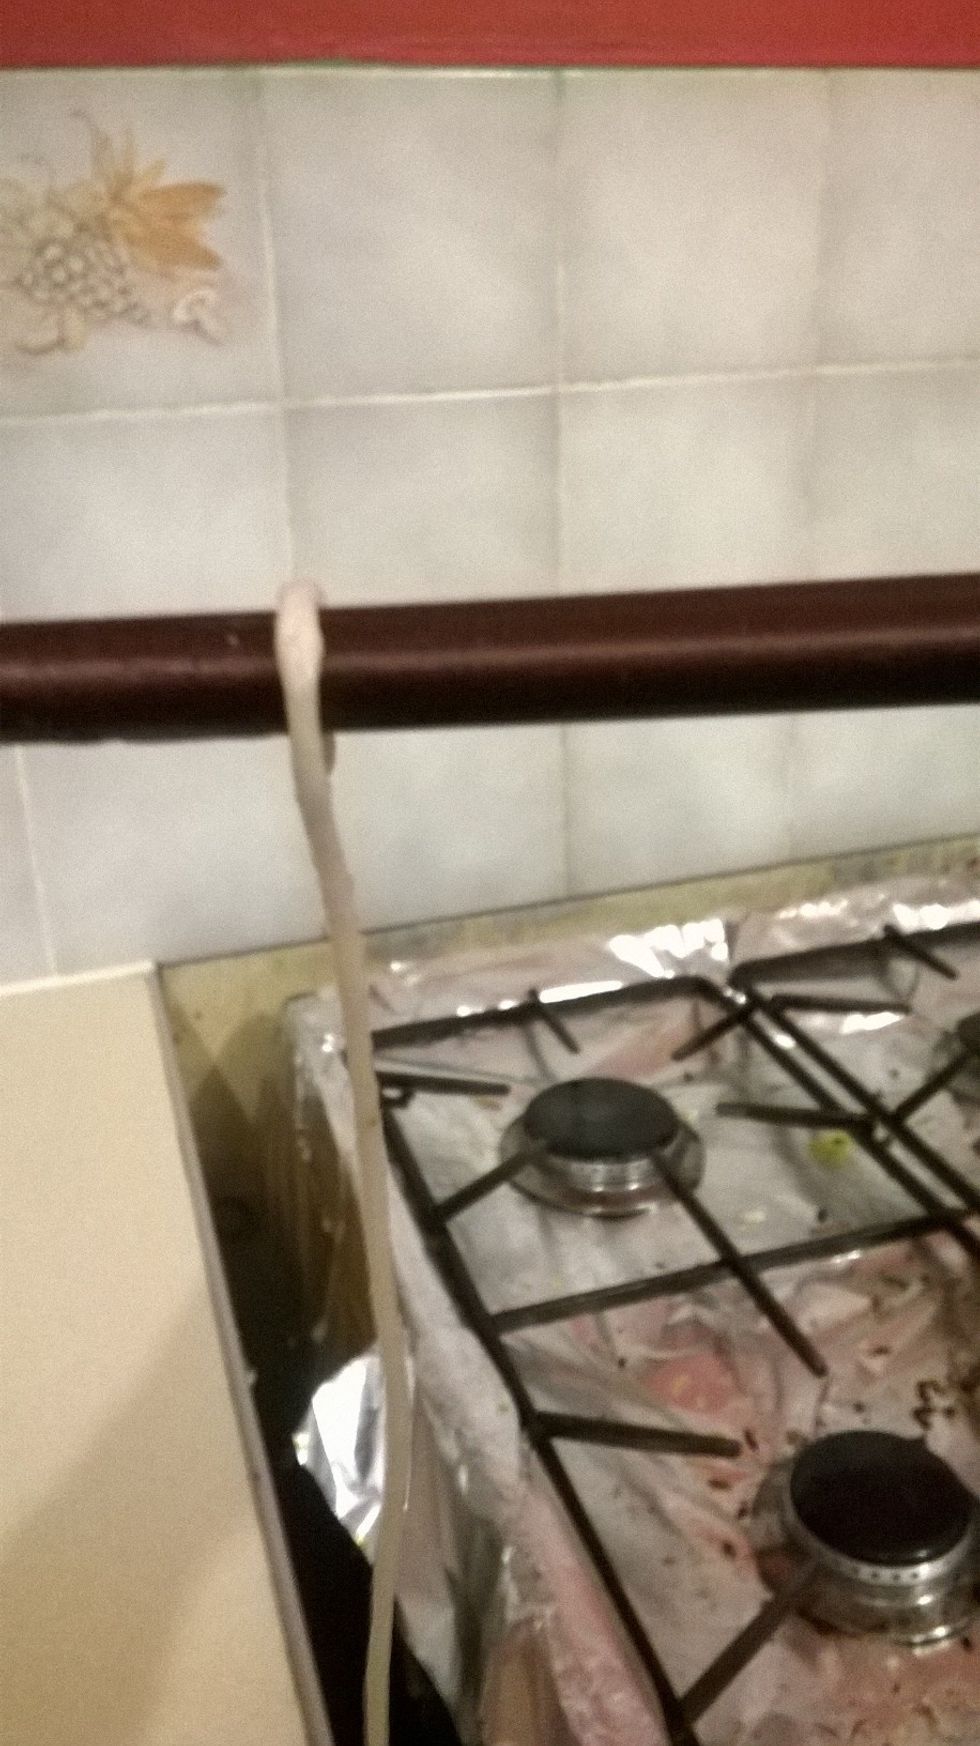
After it's fully set and cooled, you can cut down the wick to your desired length.
Tad-ha! It's done :)
