The Conversation (0)
Sign Up
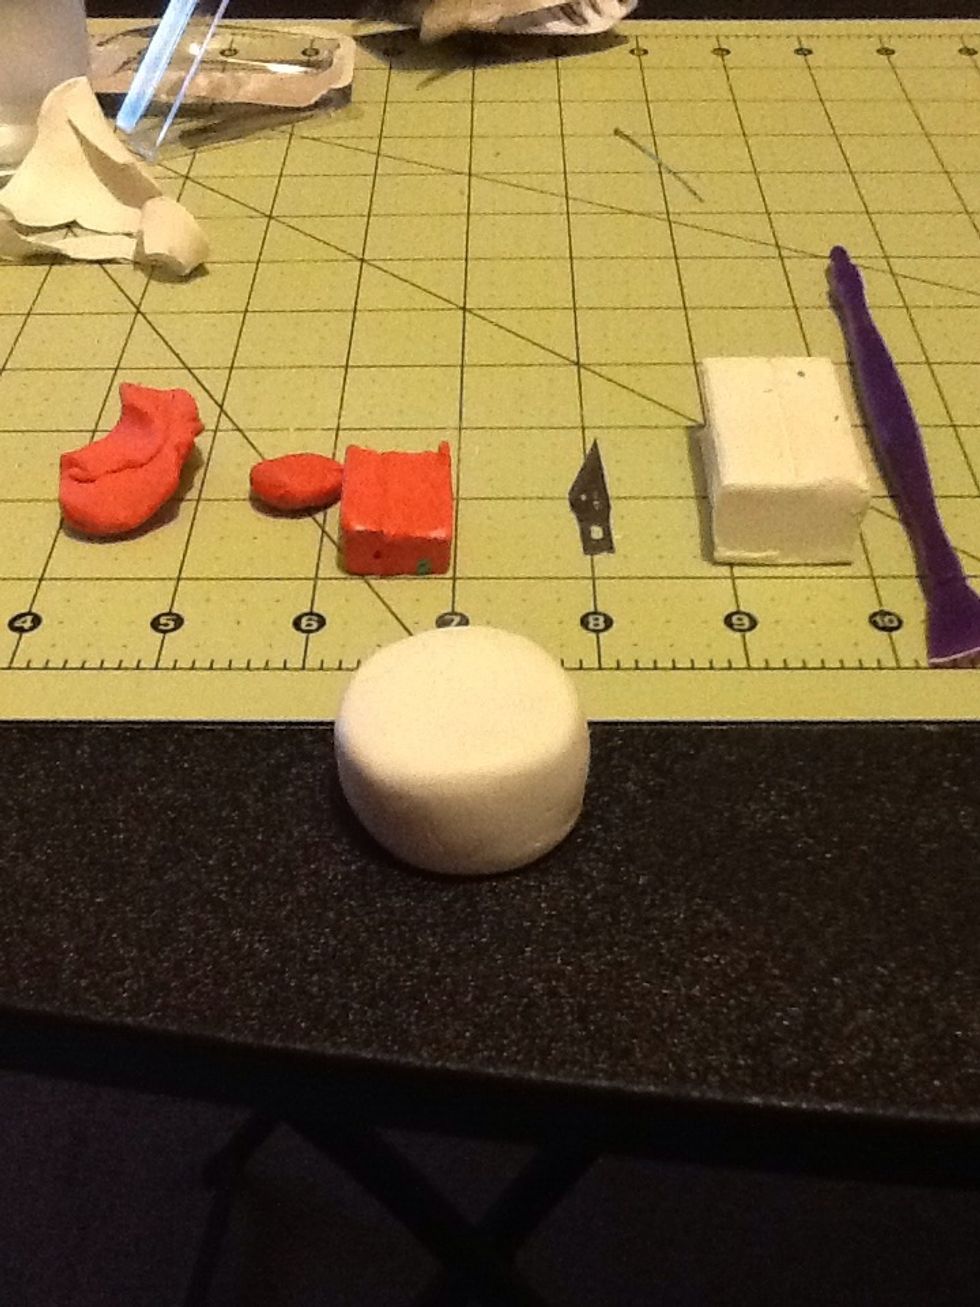
Today I will mold and bake my first double stacker cake. For beginners use primary colors, as shown above, this is the bottom pie e of your cake. The rest I will show on top. The same steps.
First condition your first color now. Do not condition all at one time, they will harden again, so start one by one for this guide.
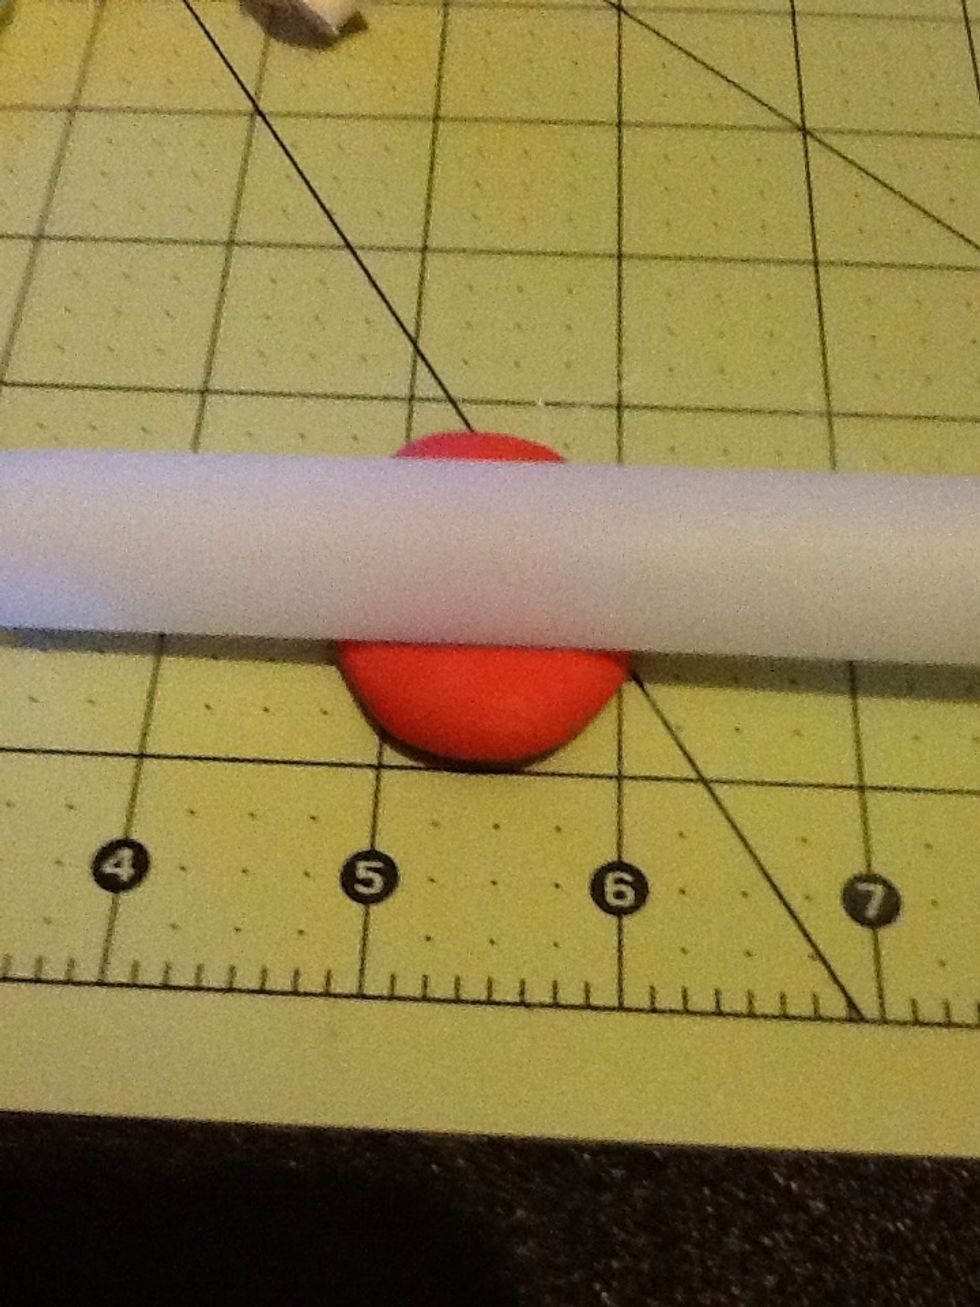
After conditioning roll out the clay with the roller or anything cylindrical until its a pretty good thickness or thinness you can work with.
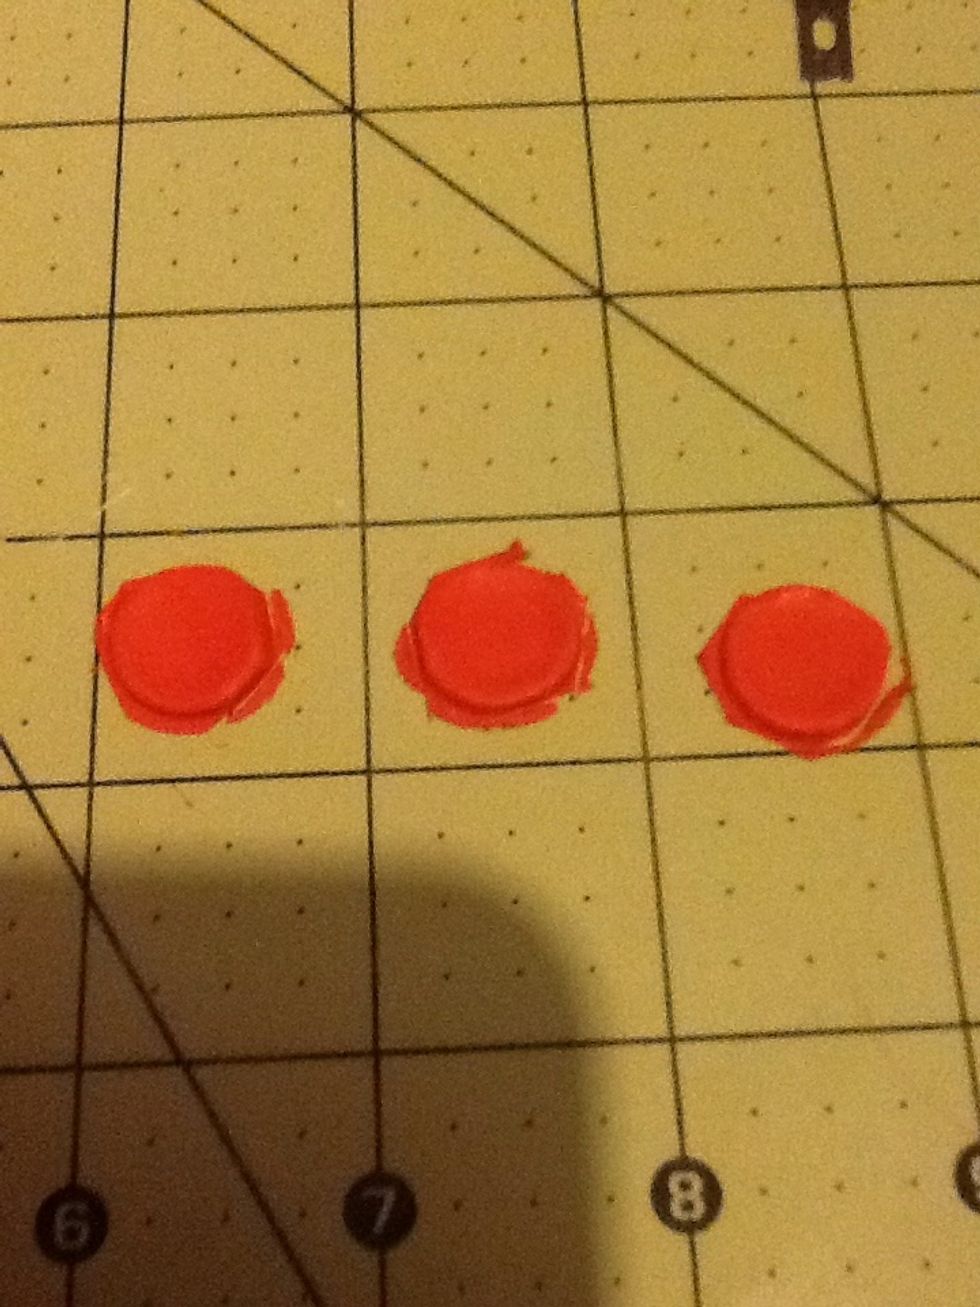
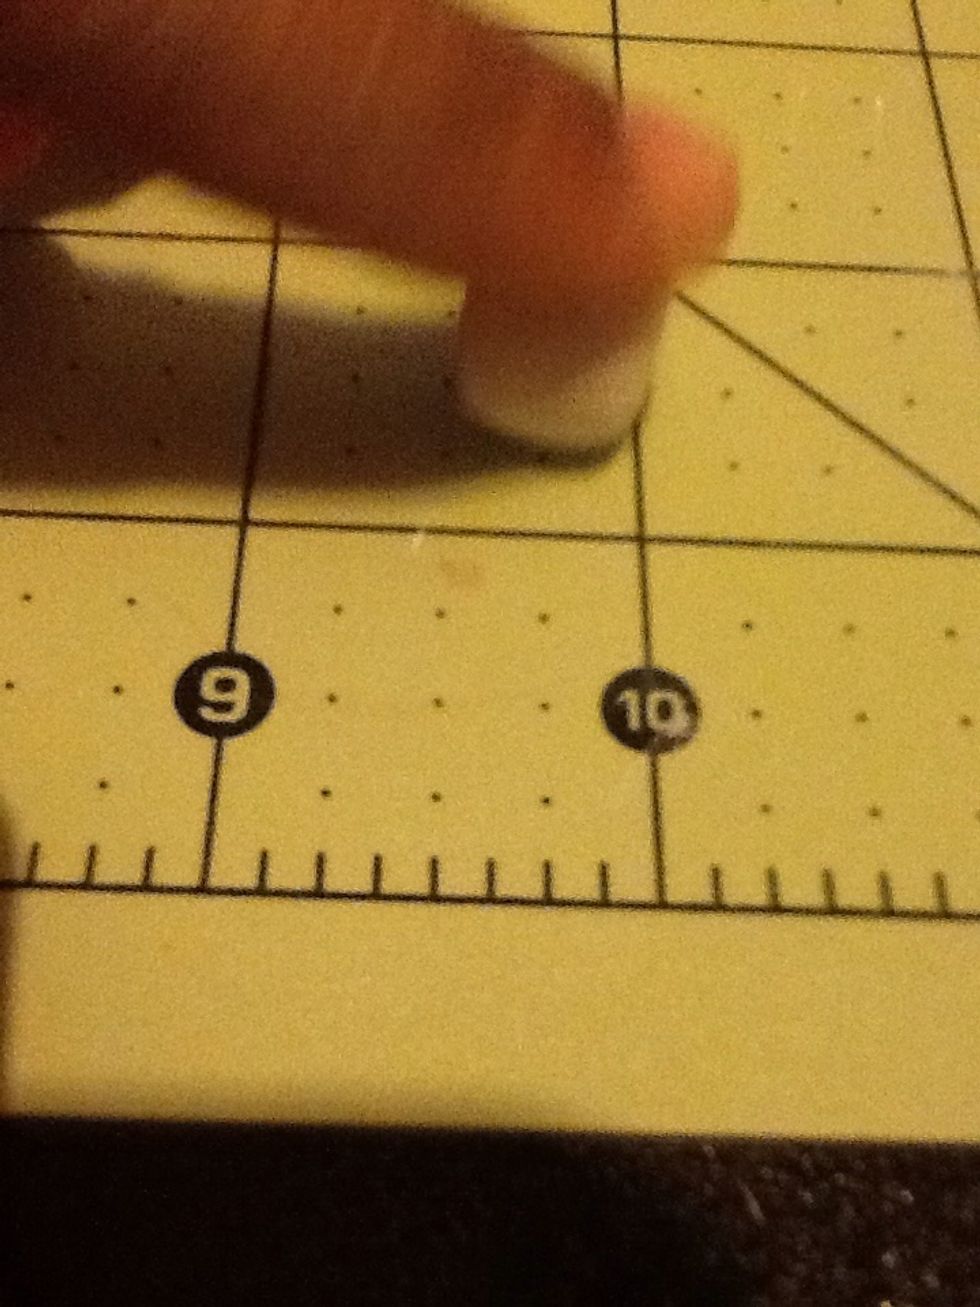
I went a little thinner but make as many circles you like. The less, the smaller the cake, the more, the taller the cake.
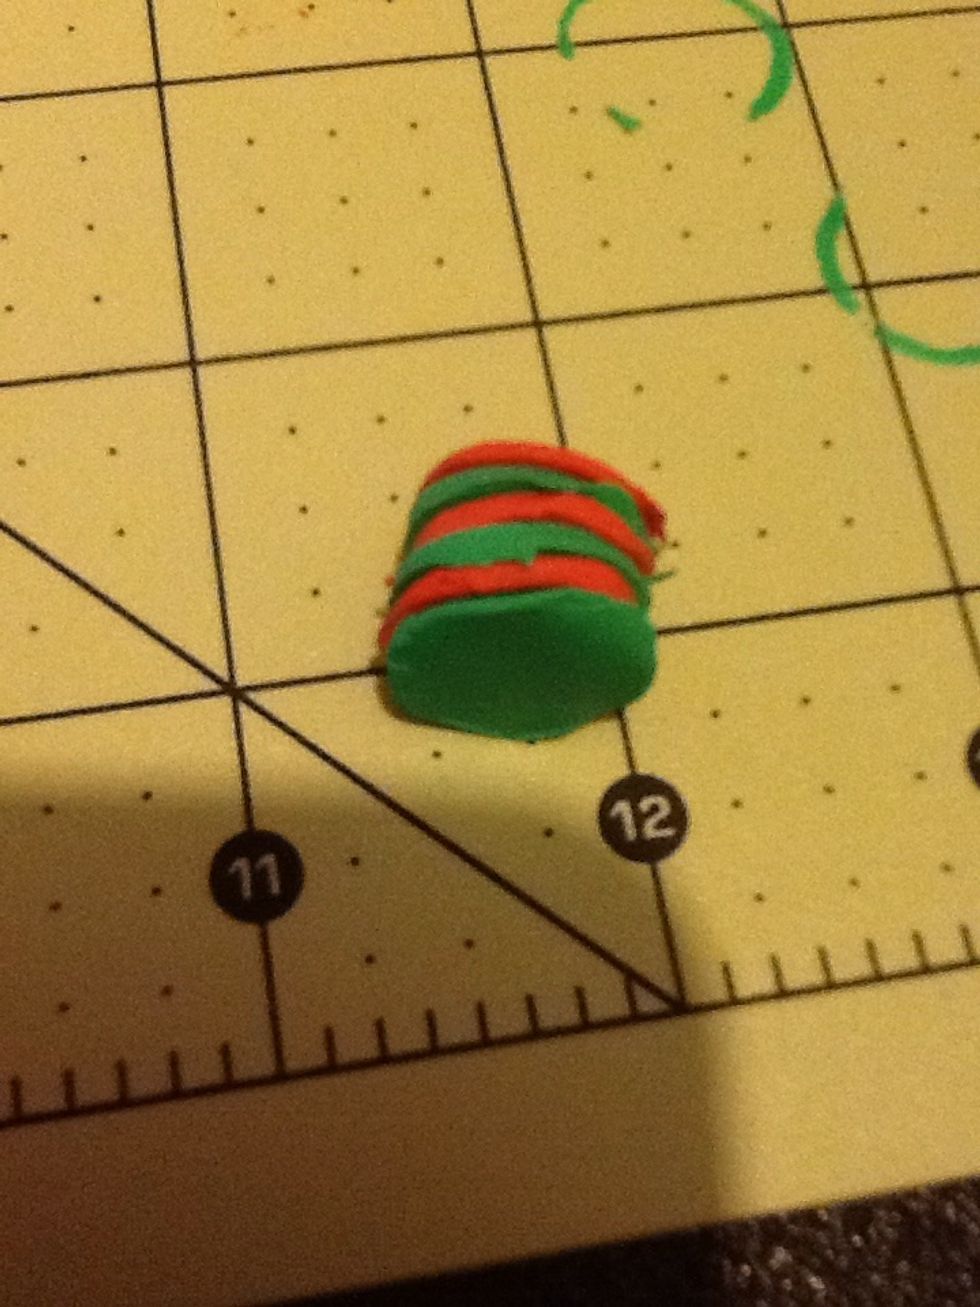
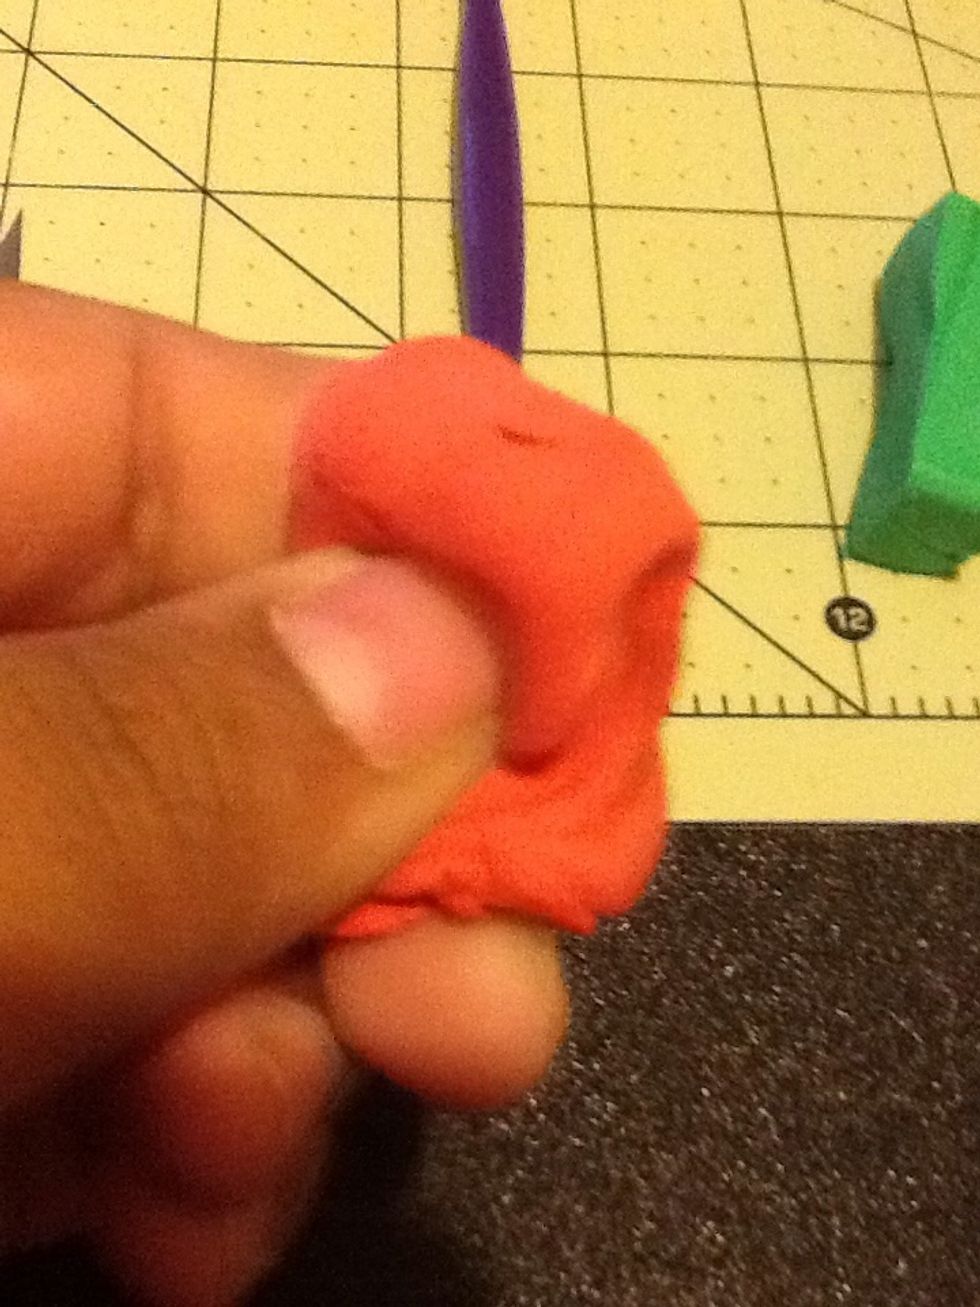
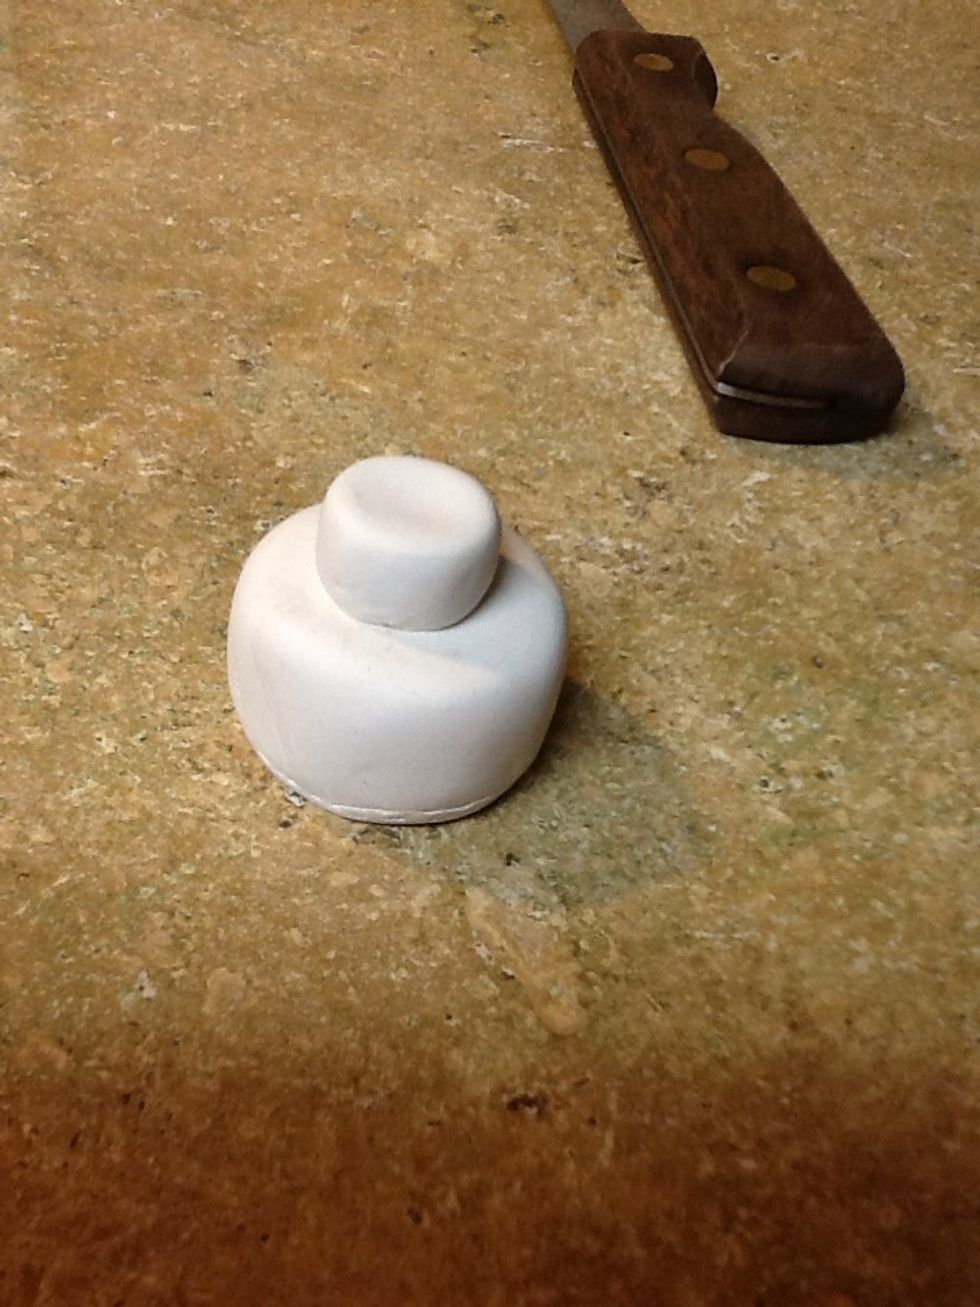
I jumped a bit but now you can go ahead and condition, roll, and make circles with second color. After that layer them to your liking. Then gently press the top then roll the sides.
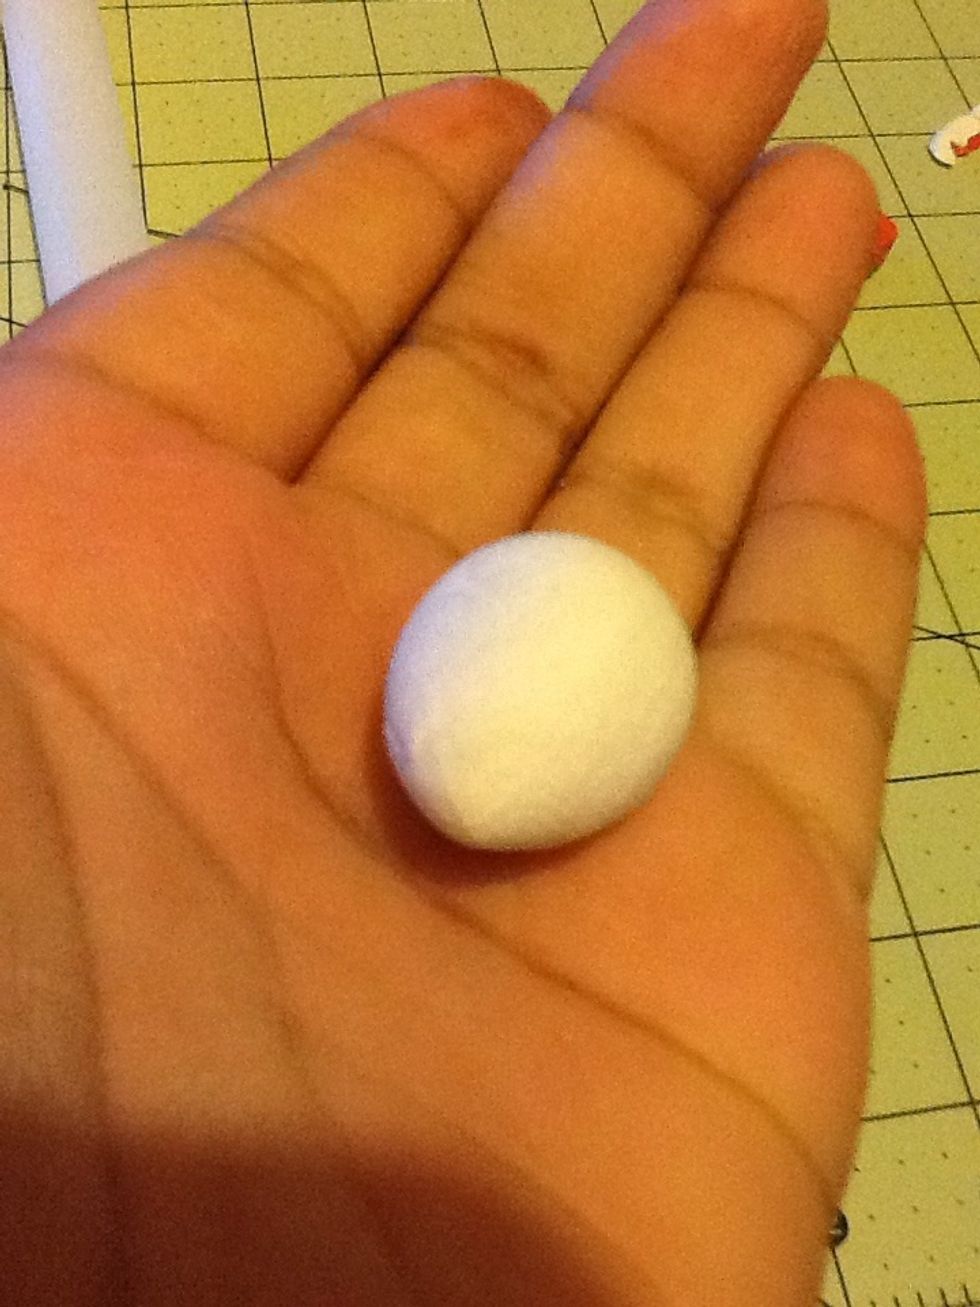
This is your fondant. Condition it first.
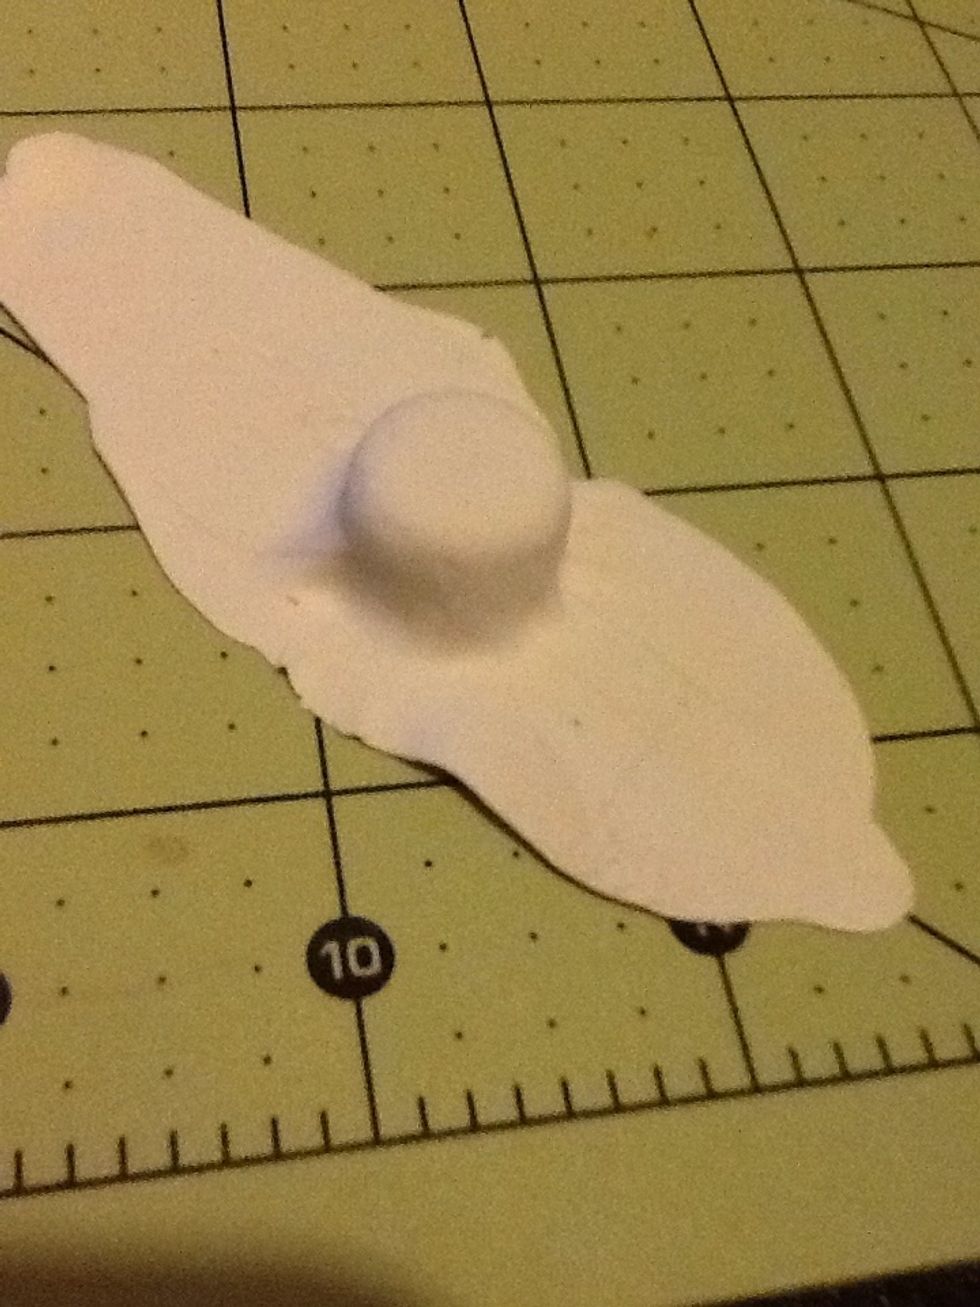
After rolling it out really thin without tearing, cover your cake layers. Then under the cake make a small thin layer to cover the cake layering.
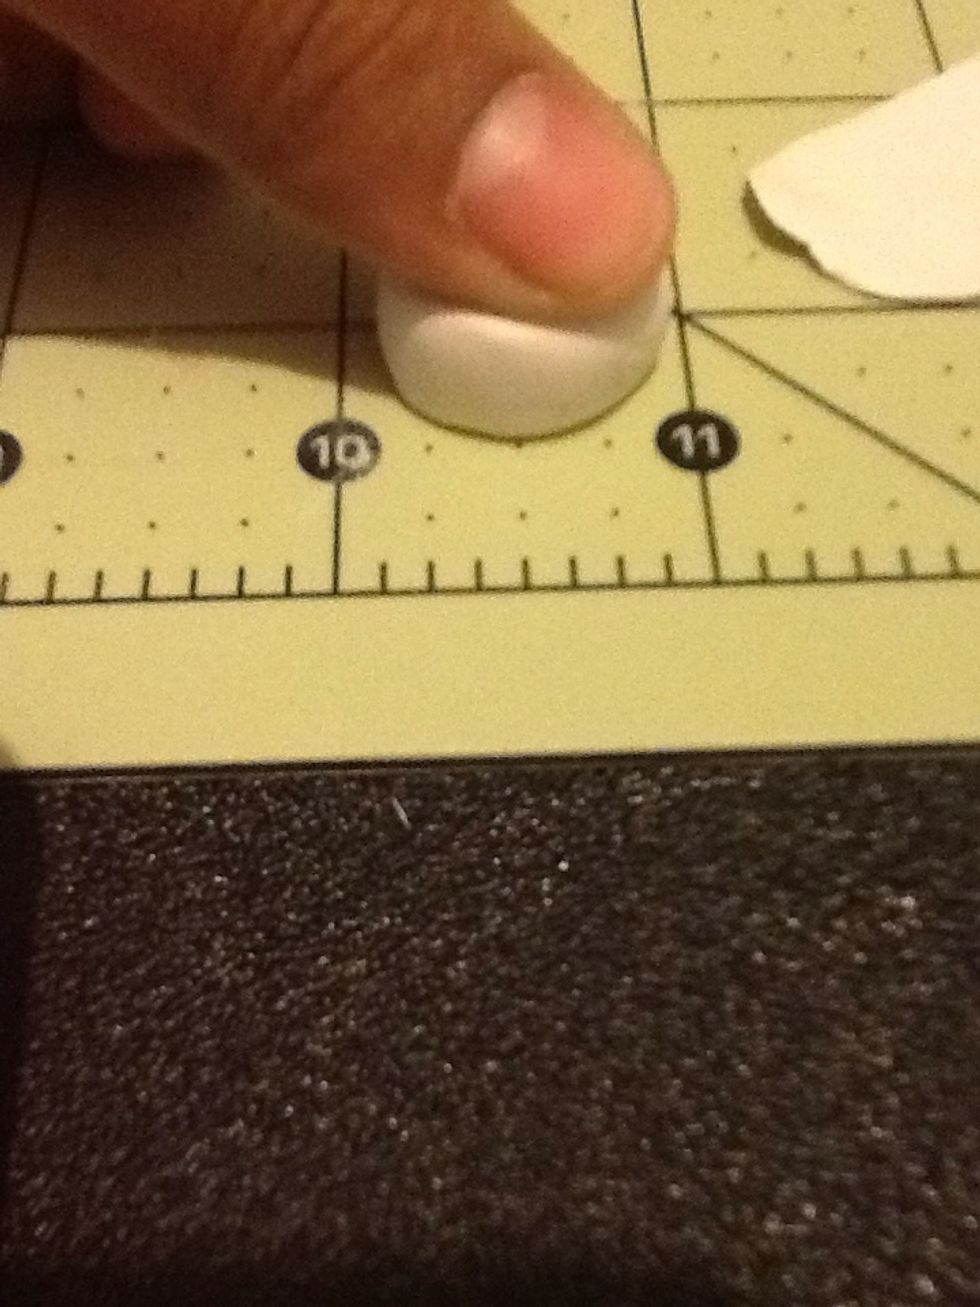
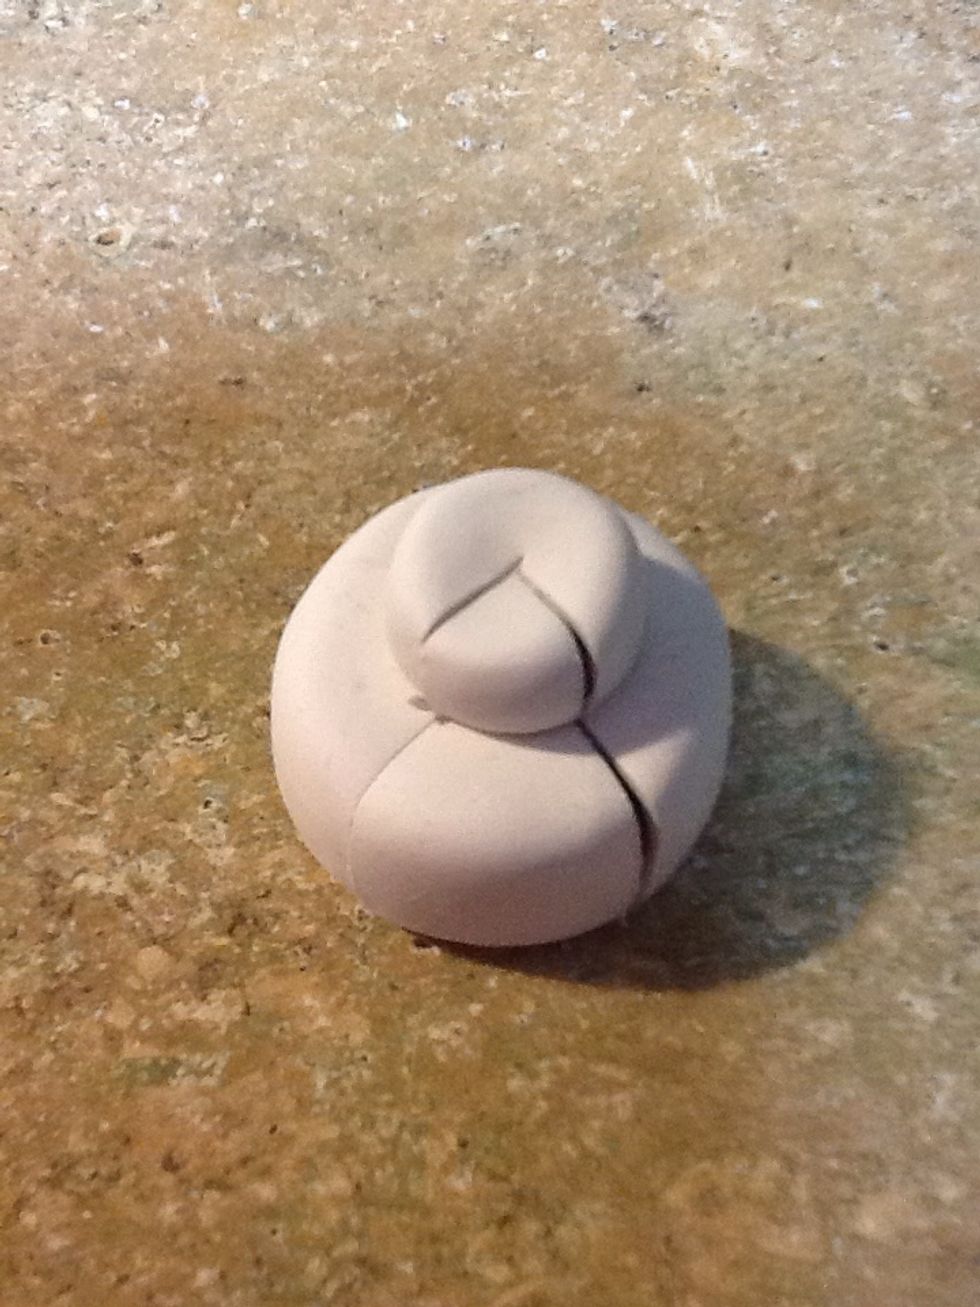
Gently smush the cake flat then roll on its side.
Roll and smush until your okay with the shape but please be light with it.

Just keep rolling, just keep rolling.
Now you freeze them for about ten to fifteen minutes.
Now slice it.
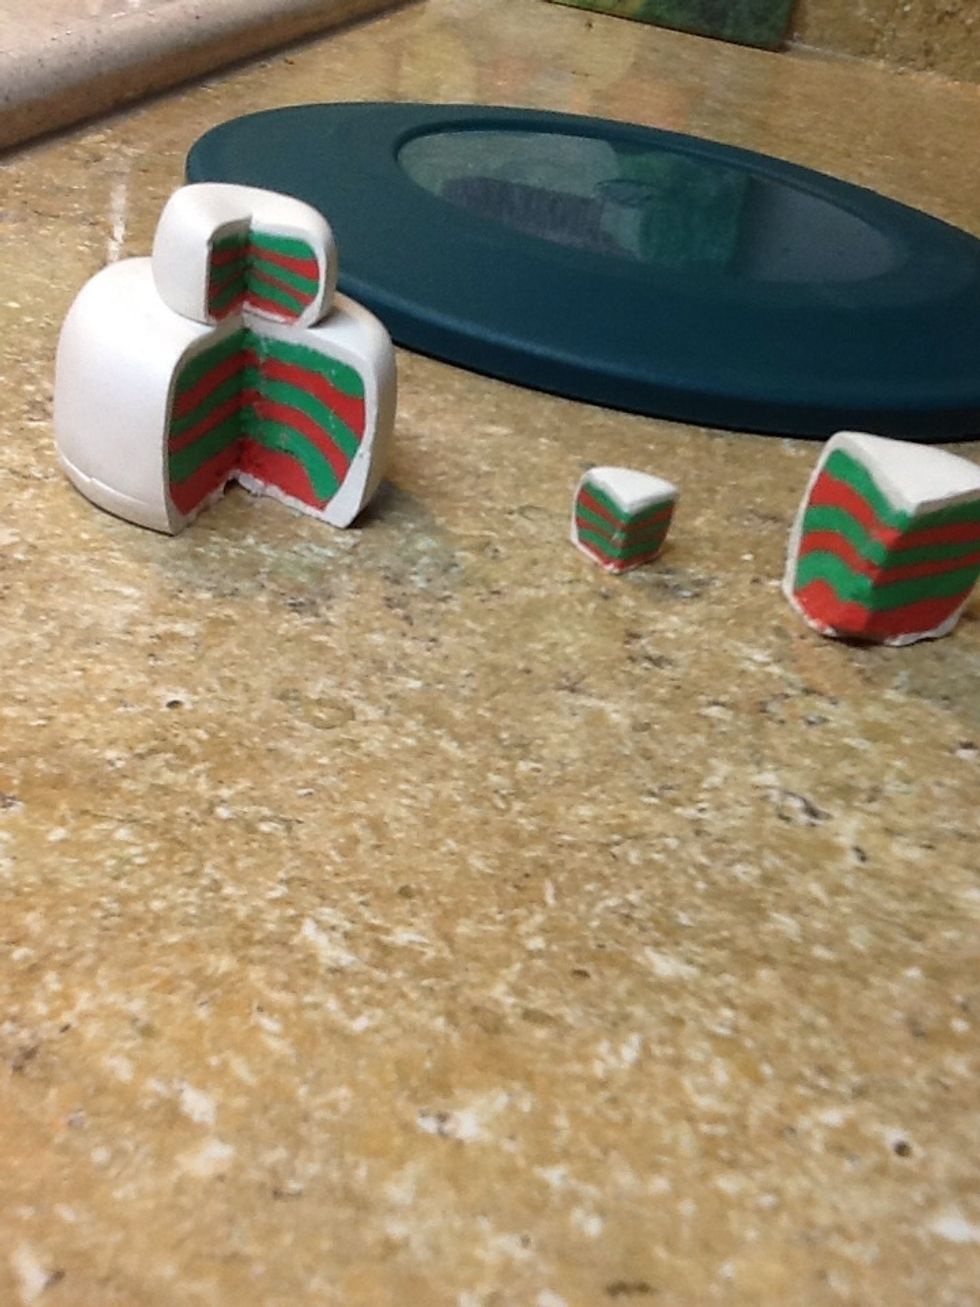
Yay! Pretty good for a beginner.
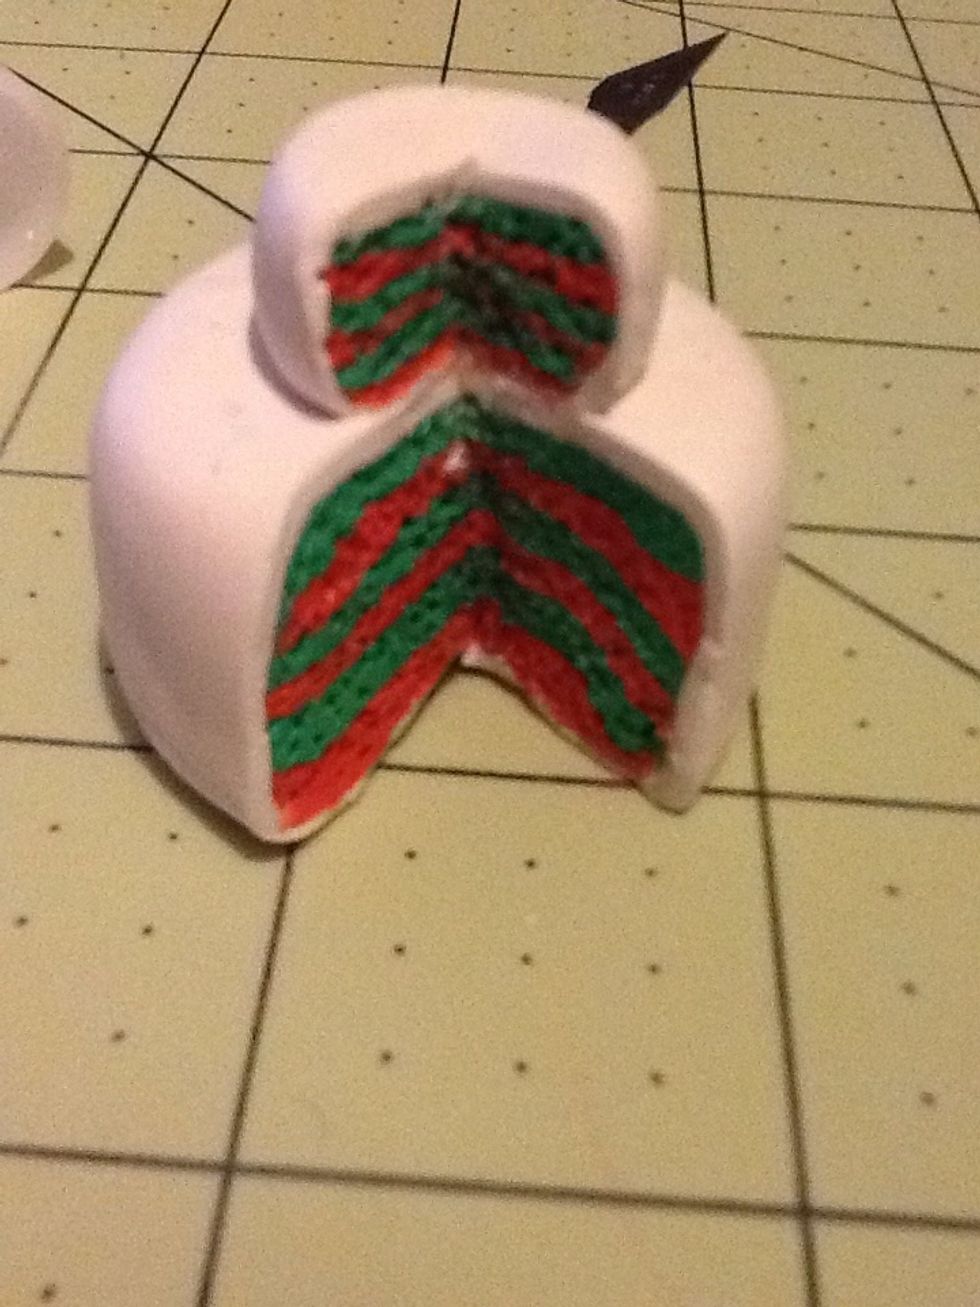
Using a pointed edge, or exacto tip, make the colored layers look like the crumbs of a cake.
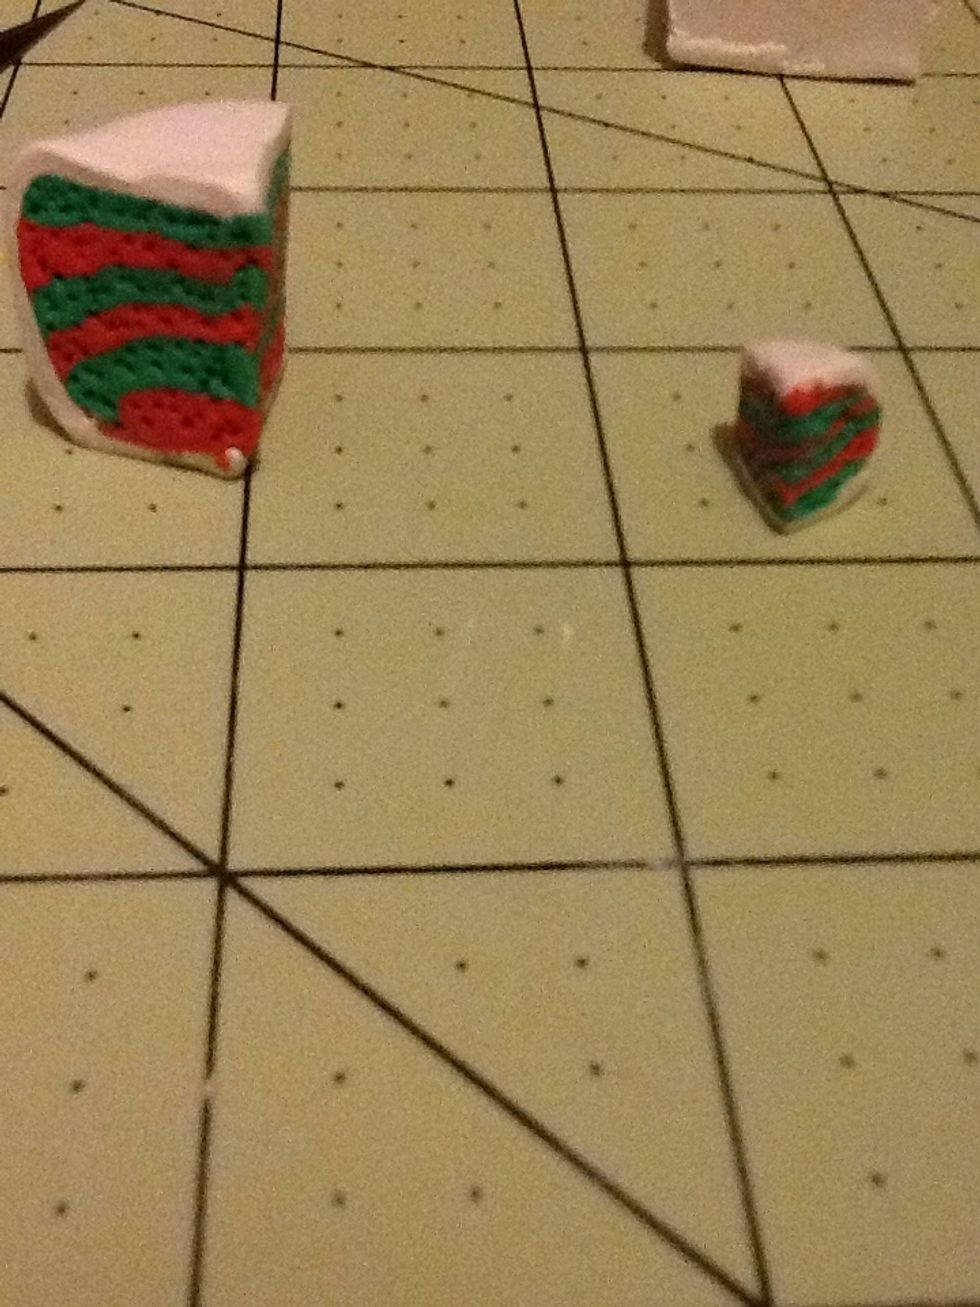
Also crumb up the edges on your slices.
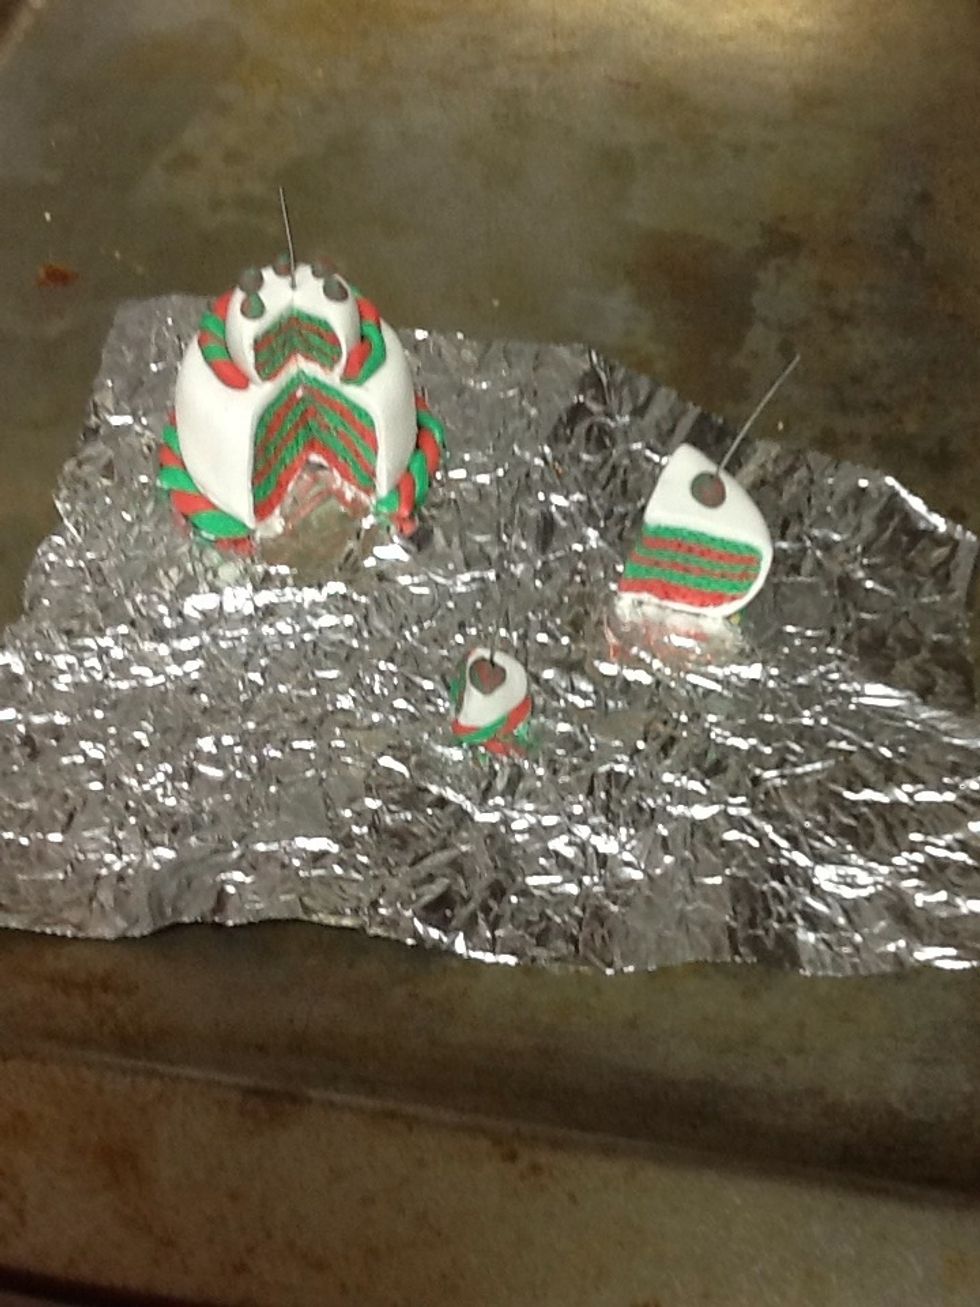
Based on your packaging instructions for your clay, bake it, take it out to cool, then voila!