The Conversation (0)
Sign Up
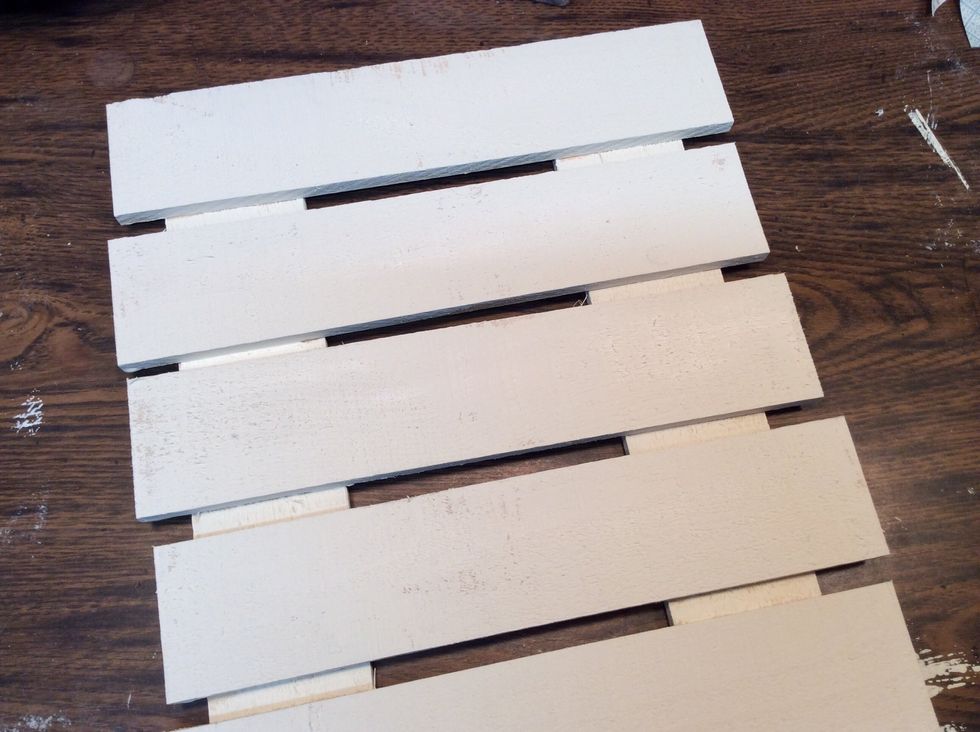
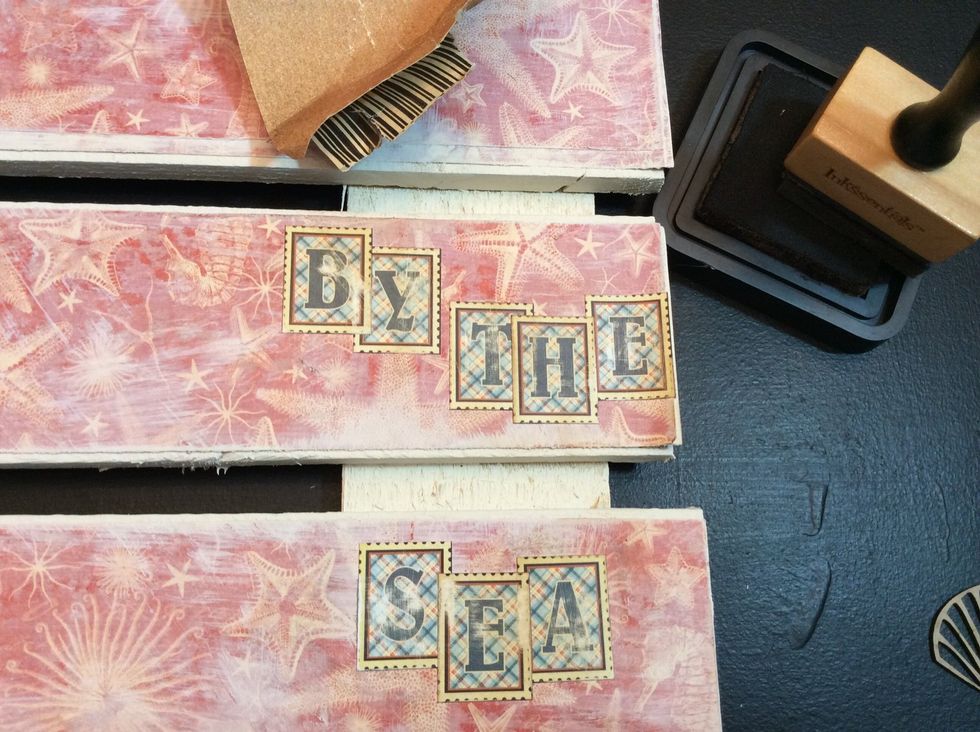
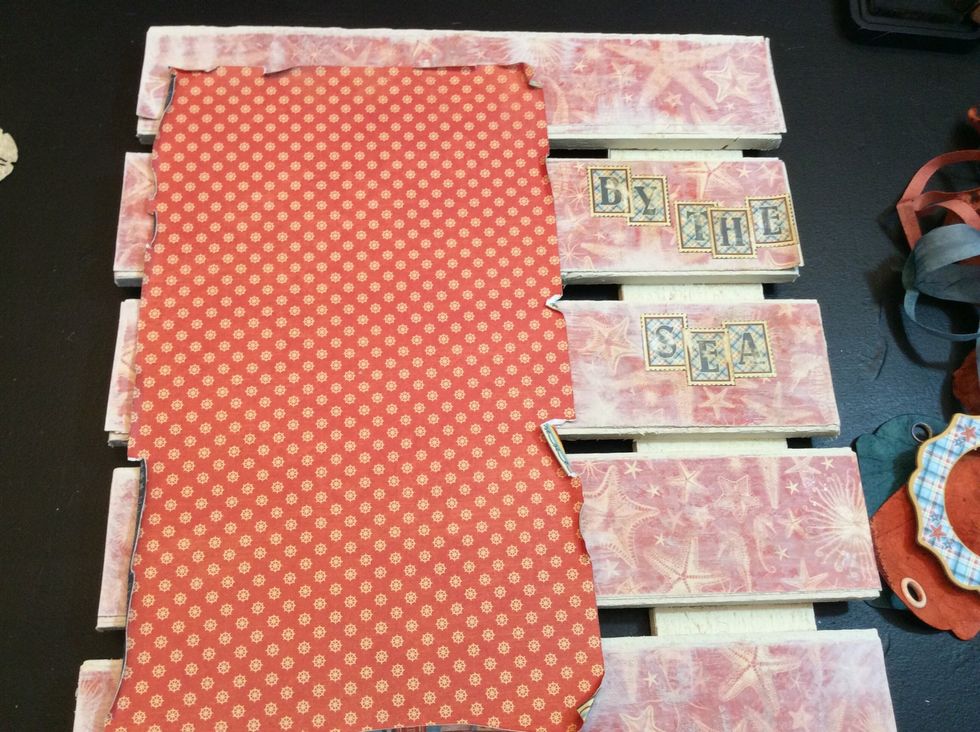
Paint pallet with gesso (or white paint). This piece has a rustic, beachy, weathered look, so the pallet does not have to be painted perfectly.
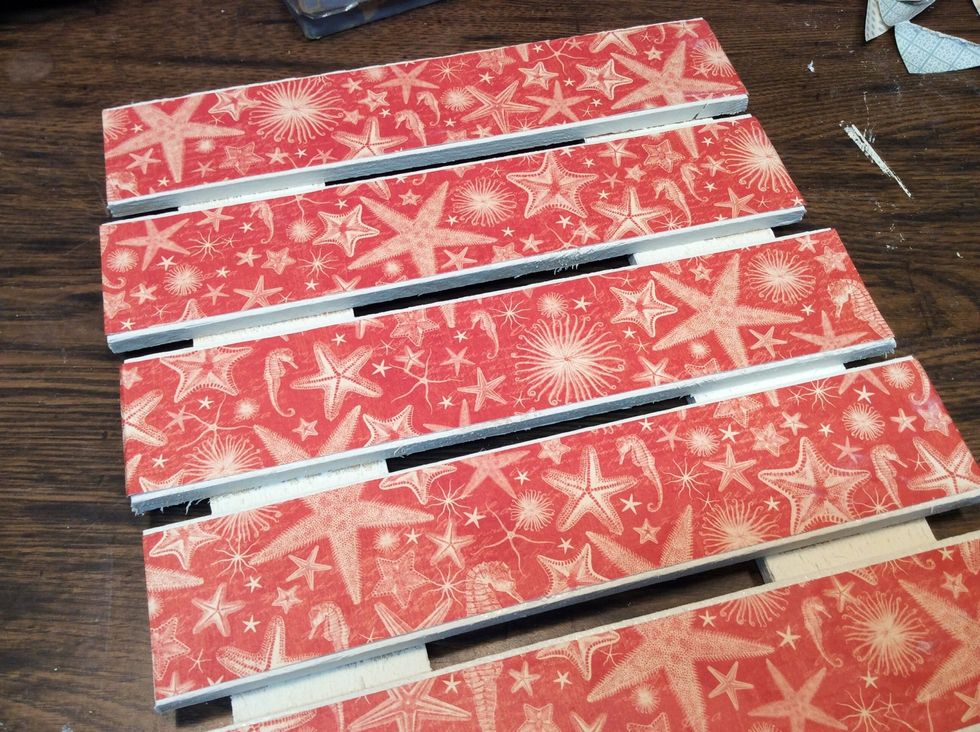
Cut paper to fit on each pallet slat, (cut a smidge smaller than the slats so that the wood shows on the sides and ends). Adhere paper to pallet.

Using a white candle, rub edges, depositing a light layer of wax. Do this here and there and heavy along the edges of the pallet.
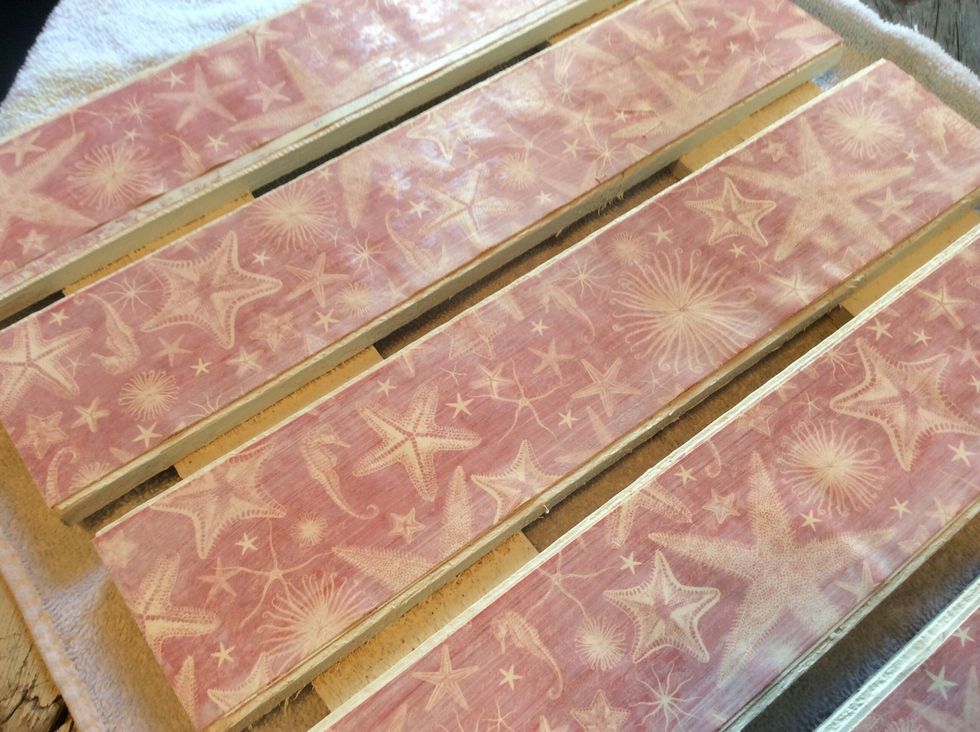
Lightly paint with gesso (or watered down white paint).

Once gesso/paint is dry, sand. This creates a lovely, beachy, weathered look!
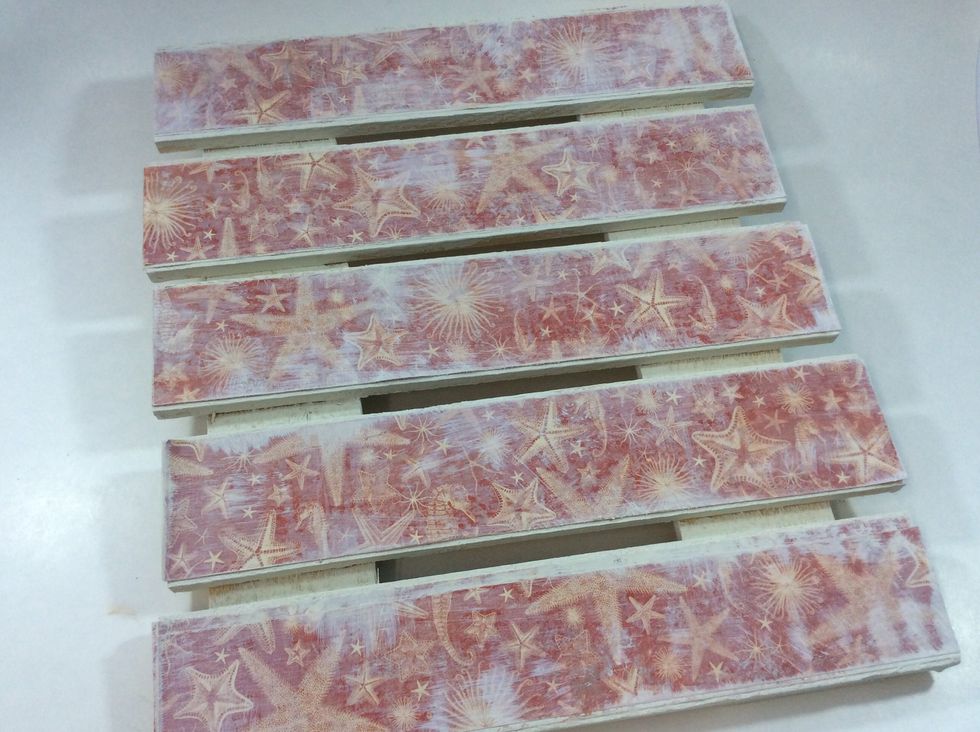
The paper will show darker where the wax was applied, as the paint wasn't able to penetrate. Such a fun technique!!
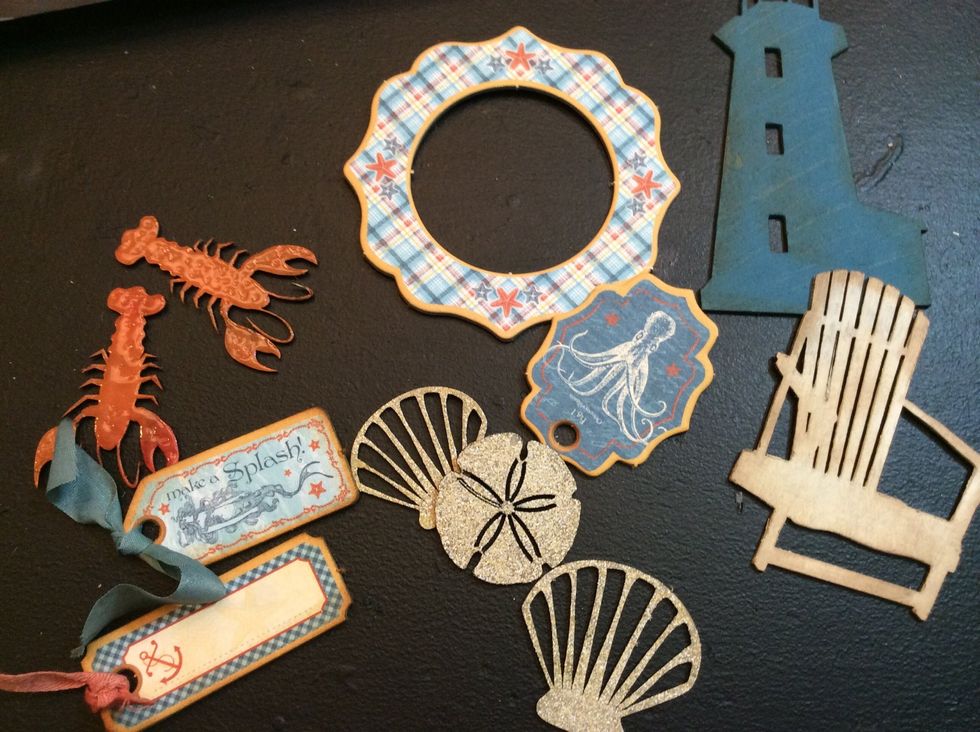
Prepare embellishment pieces: emboss diecuts, dye ribbons (see my Snapguide how-to for custom dying ribbon).
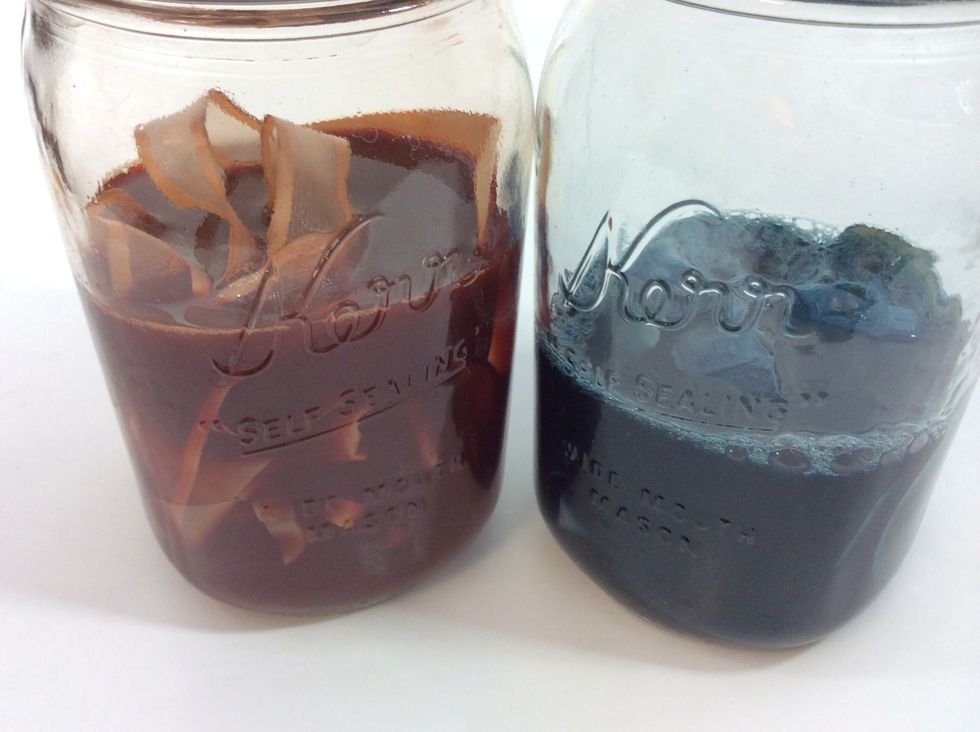
Ribbons in my custom dye.
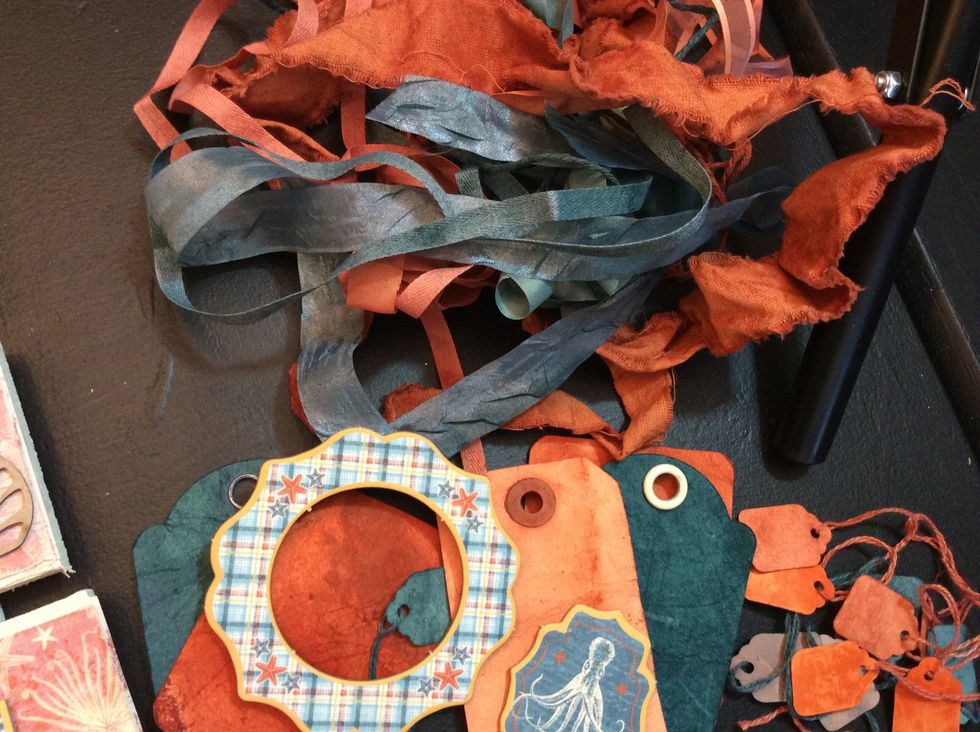
Finished pieces! Perfectly coordinating with my By the Sea papers and embellishments!!
After you have gathered and prepared embellishments, begin designing....adhere sticker title. Gently sand to soften and distress.
Tear and roll the edges of the large mat background piece.
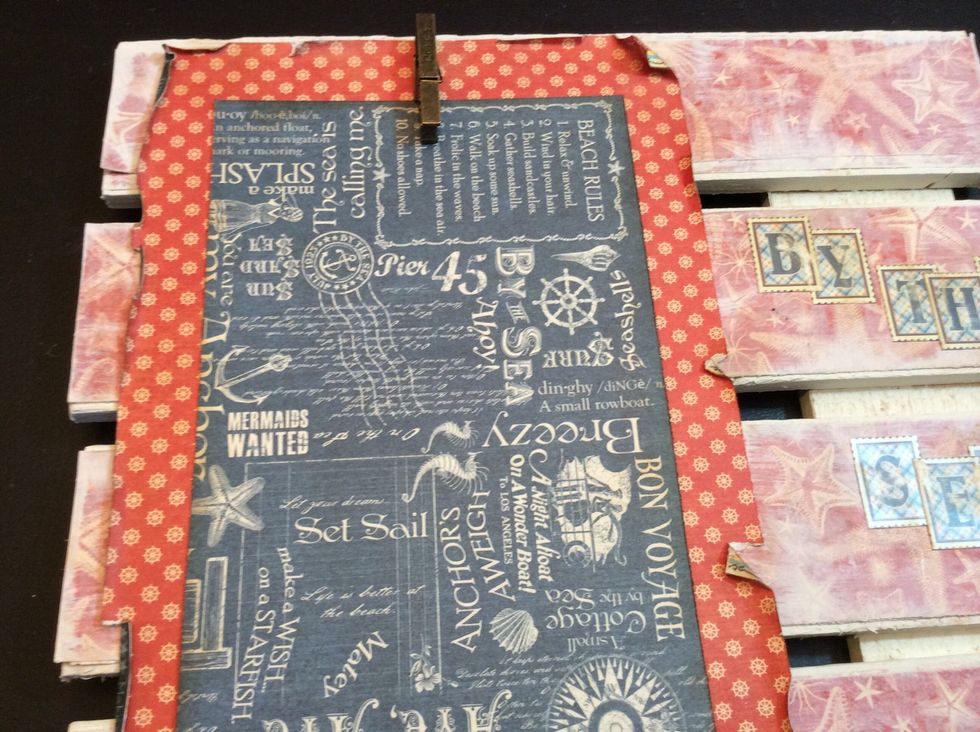
Add second mat layer. Adhere metal clothespin (I used hot glue to apply clothespin).

Along the bottom of pallet, layer torn pieces of sand colored cardstock, then add netting.
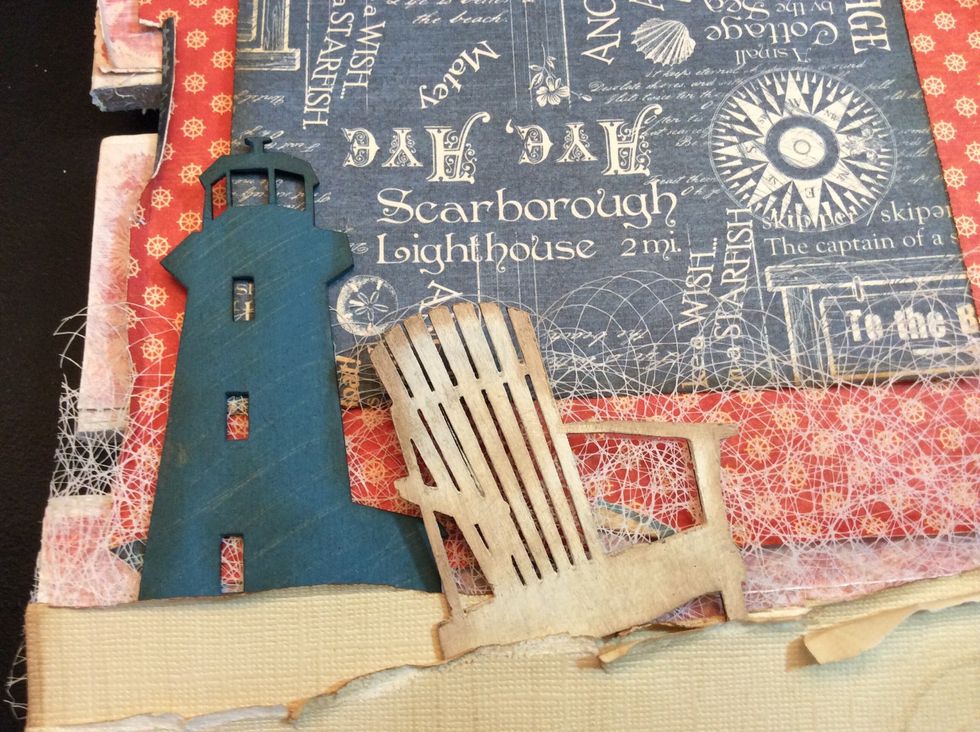
Layer in diecuts.
Add ribbon embellished chipboard pieces.
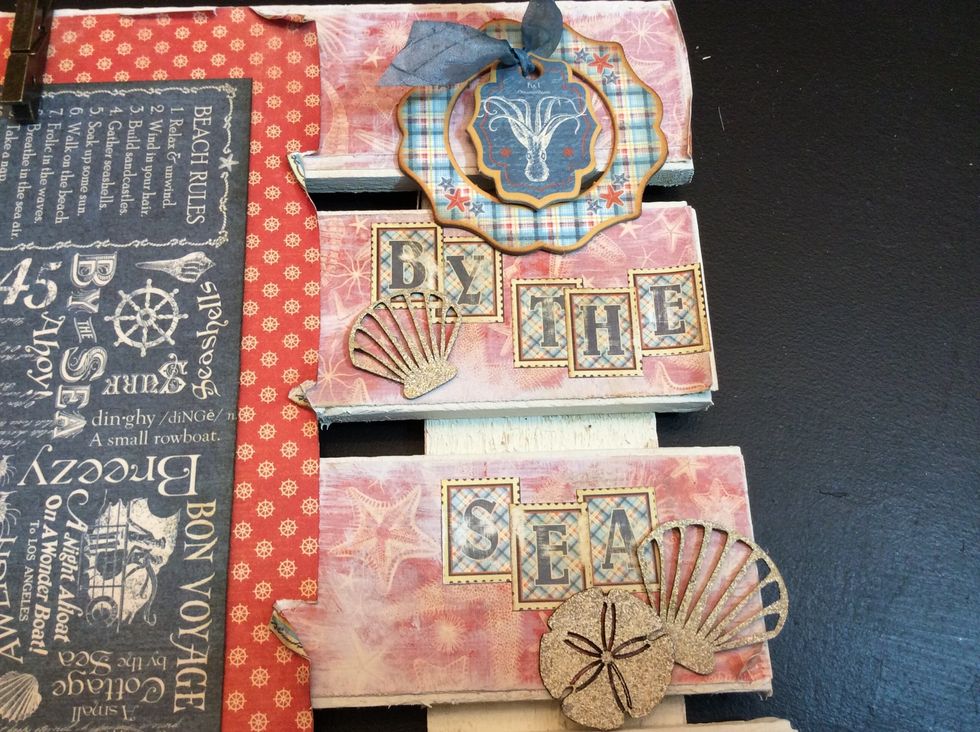
Adhere embossed shells and chipboard pieces to the title area.
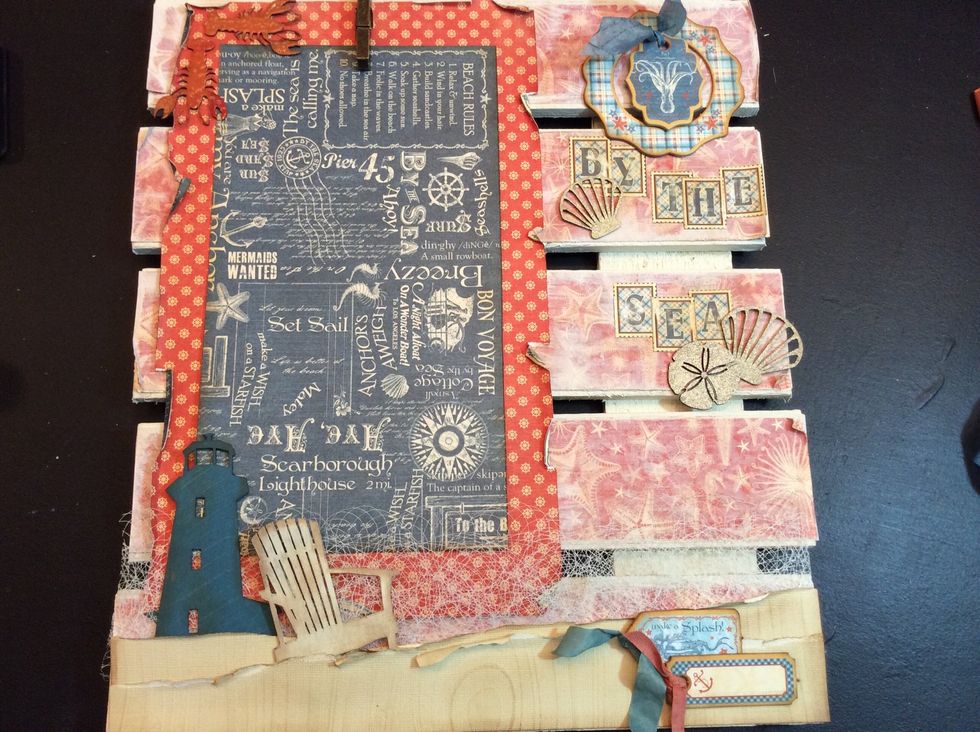
Here's what we have so far.
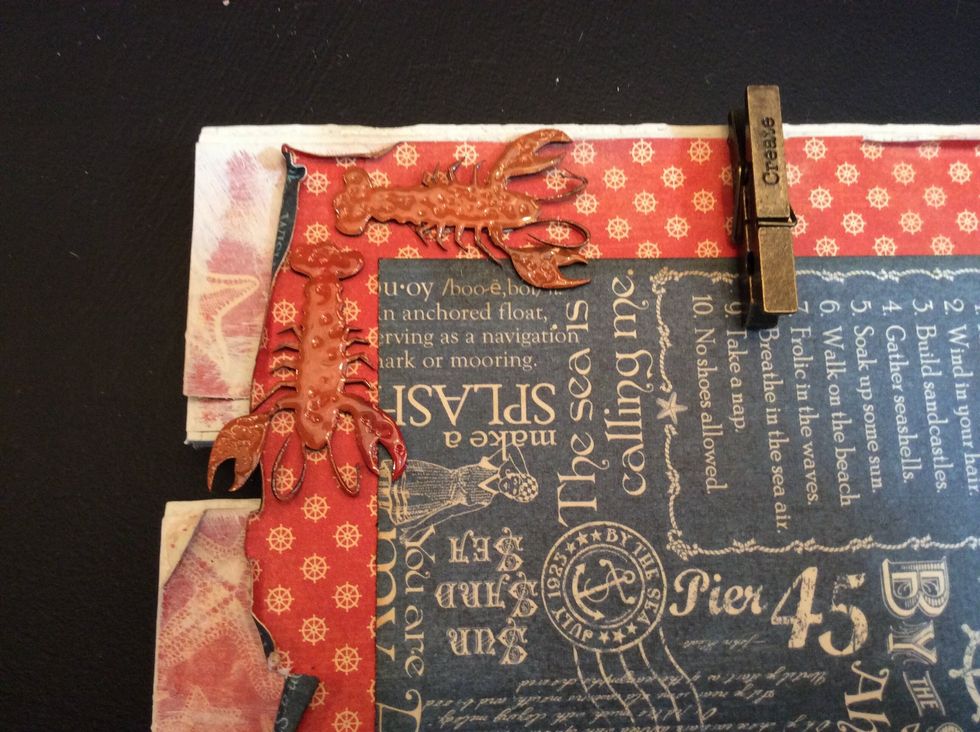
Adhere embossed lobster diecut corner pieces.
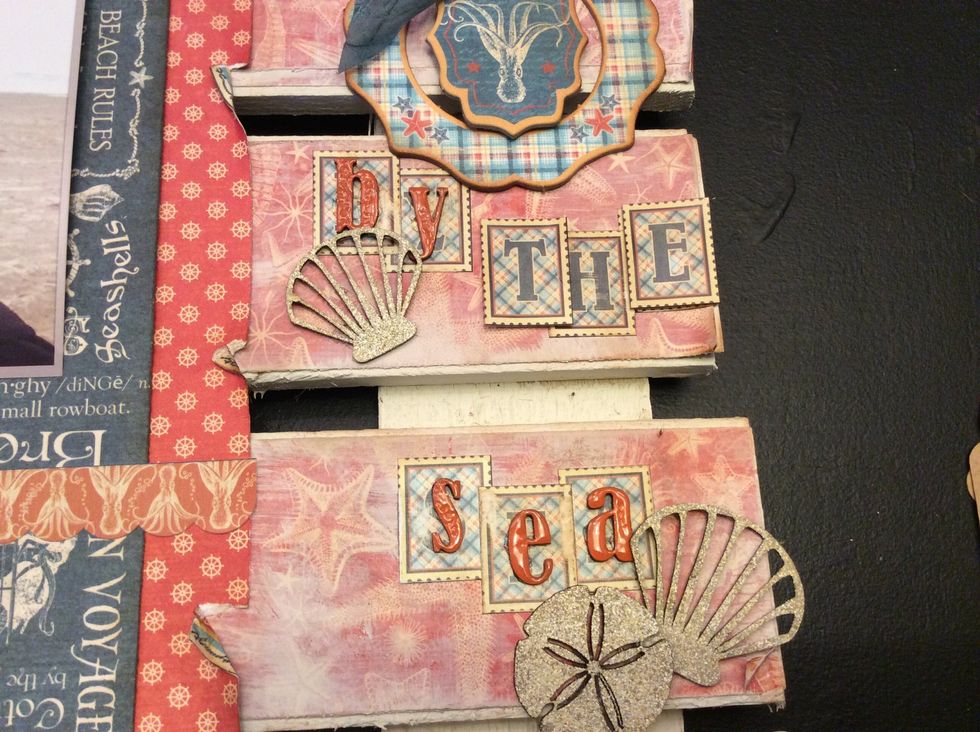
Add dimension to title letters by layering with embossed letters.
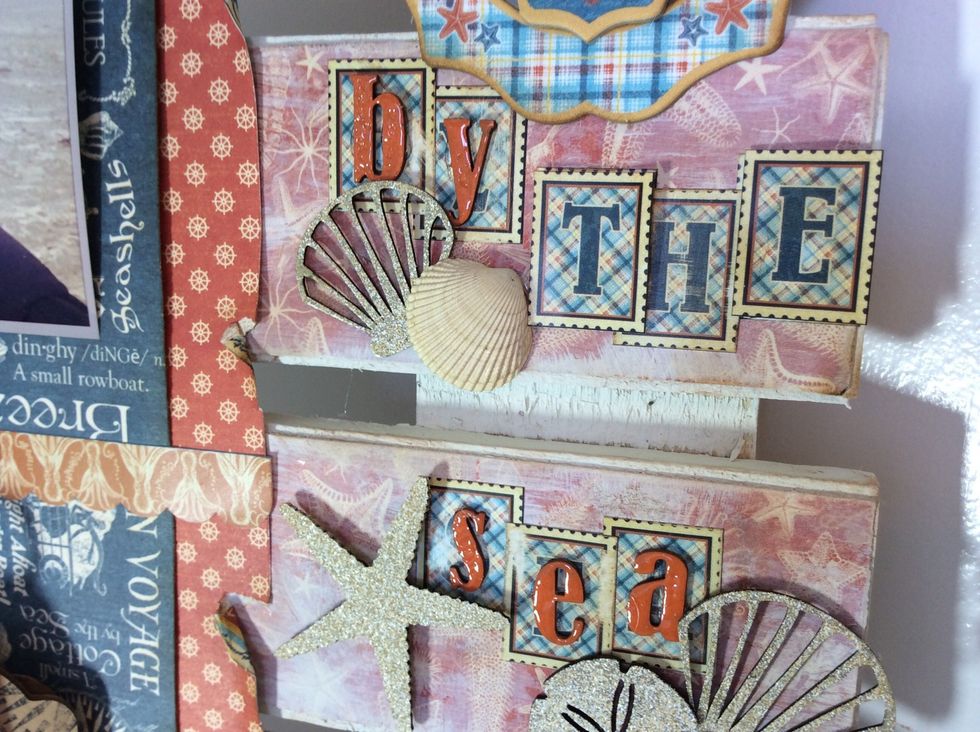
Add found shells.
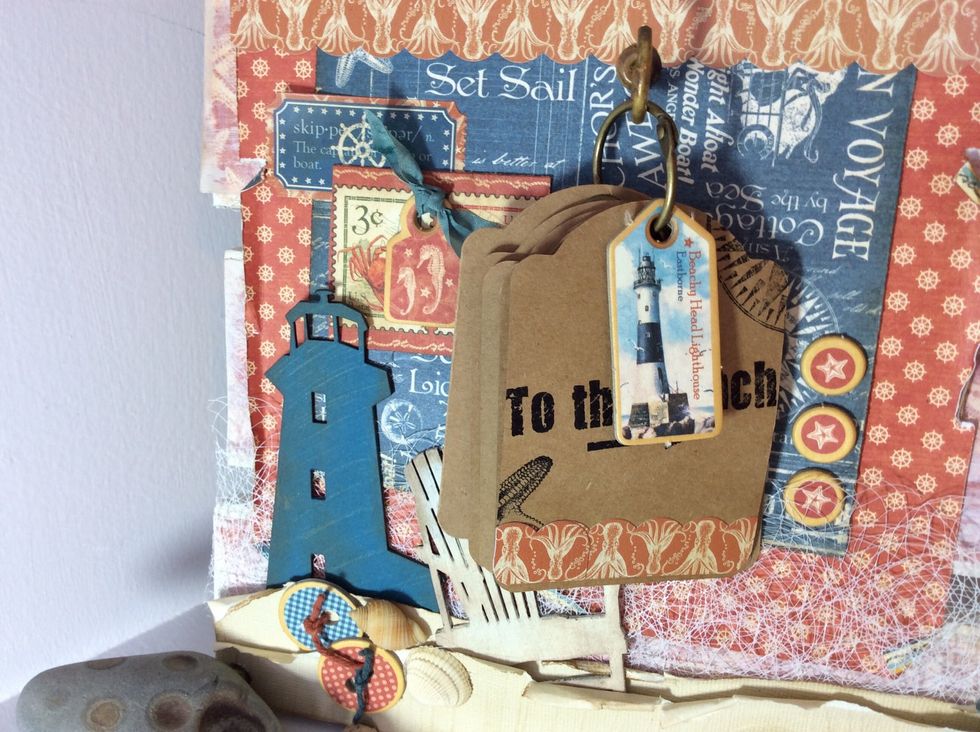
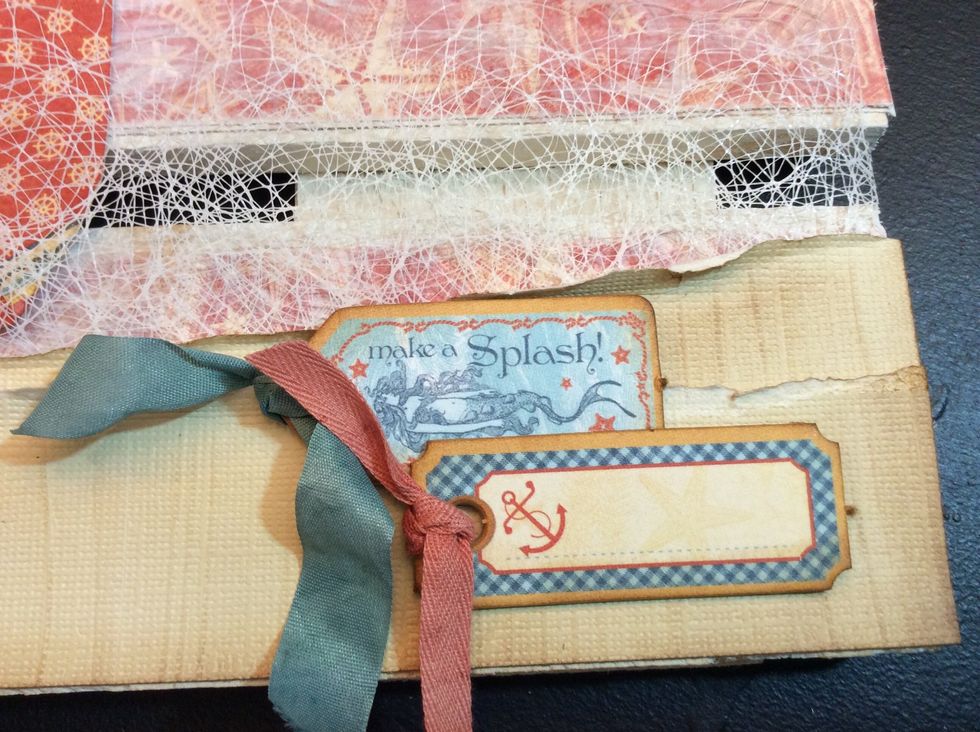
Create tag mini album. Use stamps, chipboard and stickers to embellish.
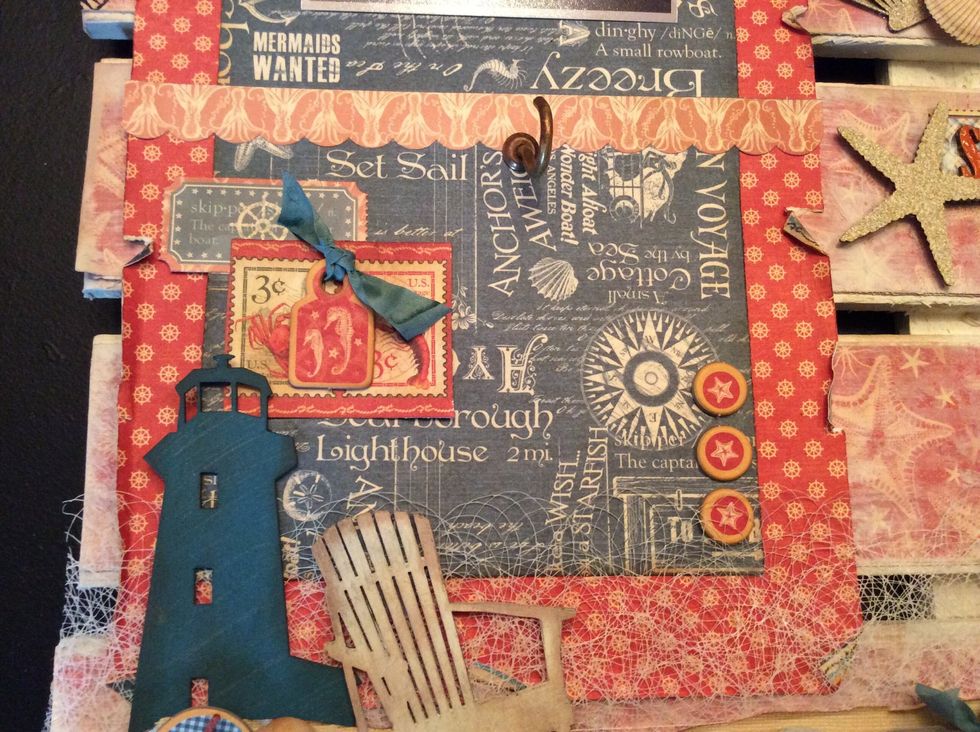
Add stickers, chipboard and cup hook to the pallet.
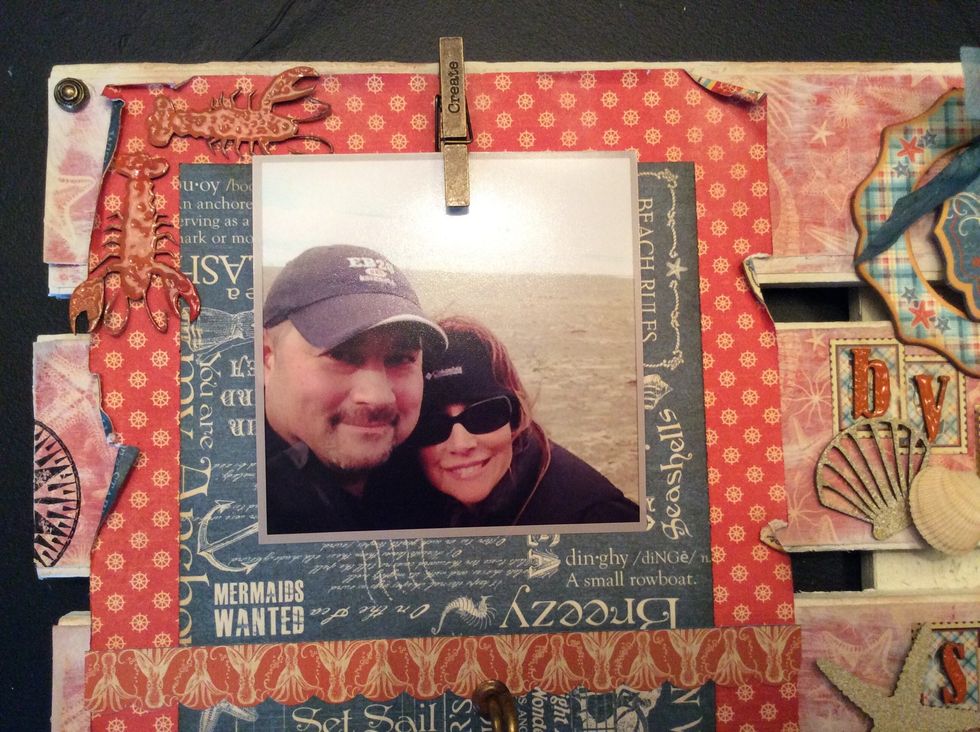
The top area will feature a photo that can be clipped on with the metal clothespin.
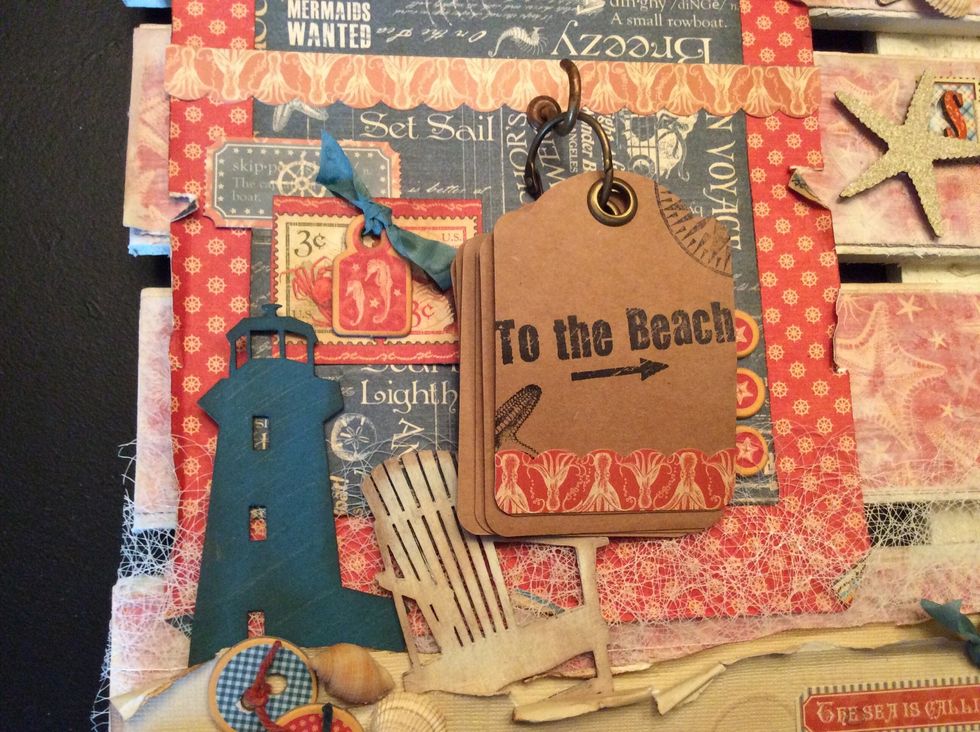
The bottom area will feature the tag mini album hung on the cup hook.
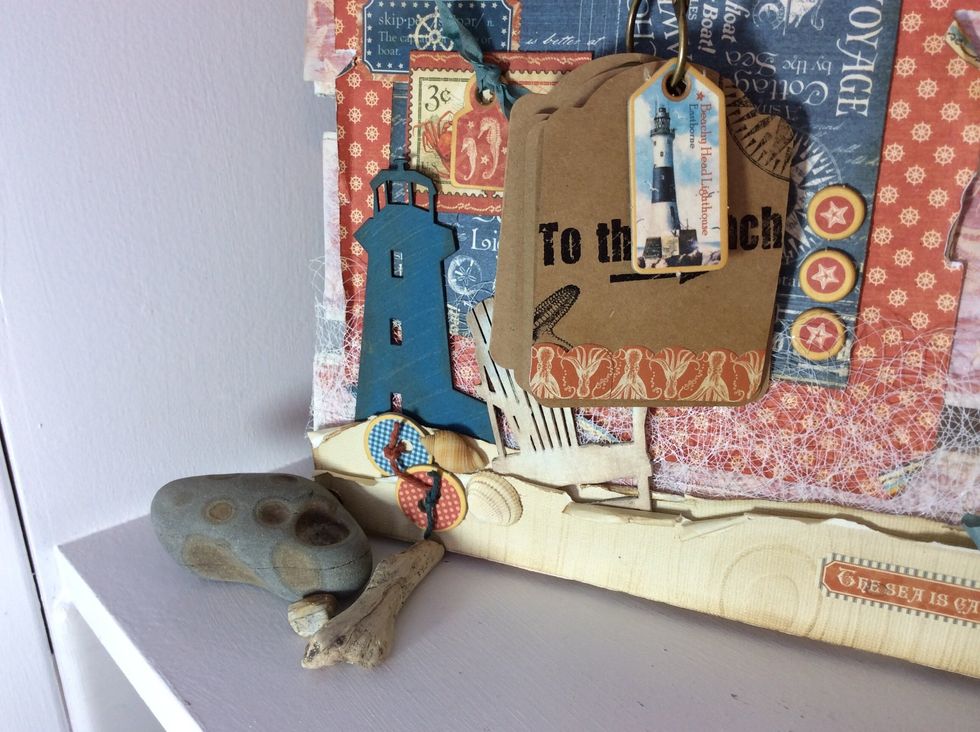
Add finishing touches...found shells, chipboard buttons.....
...Randomly stamp images here and there, add metal brads to the corners. (I popped off the tops of the brads and hot glued them into place).

Add wire to the top for hanging.
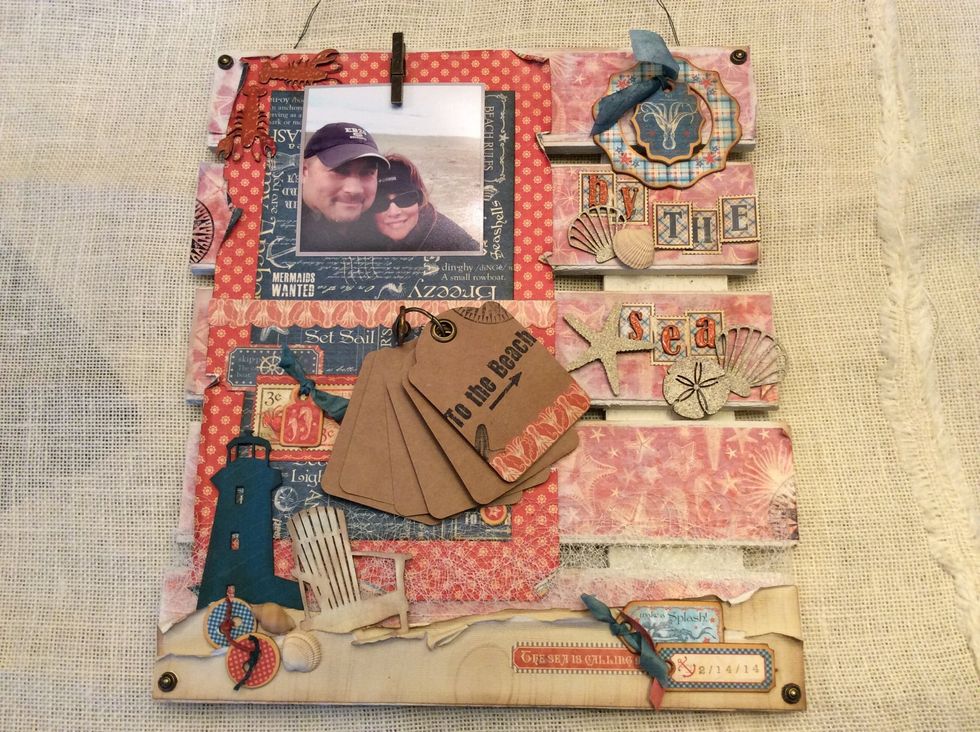
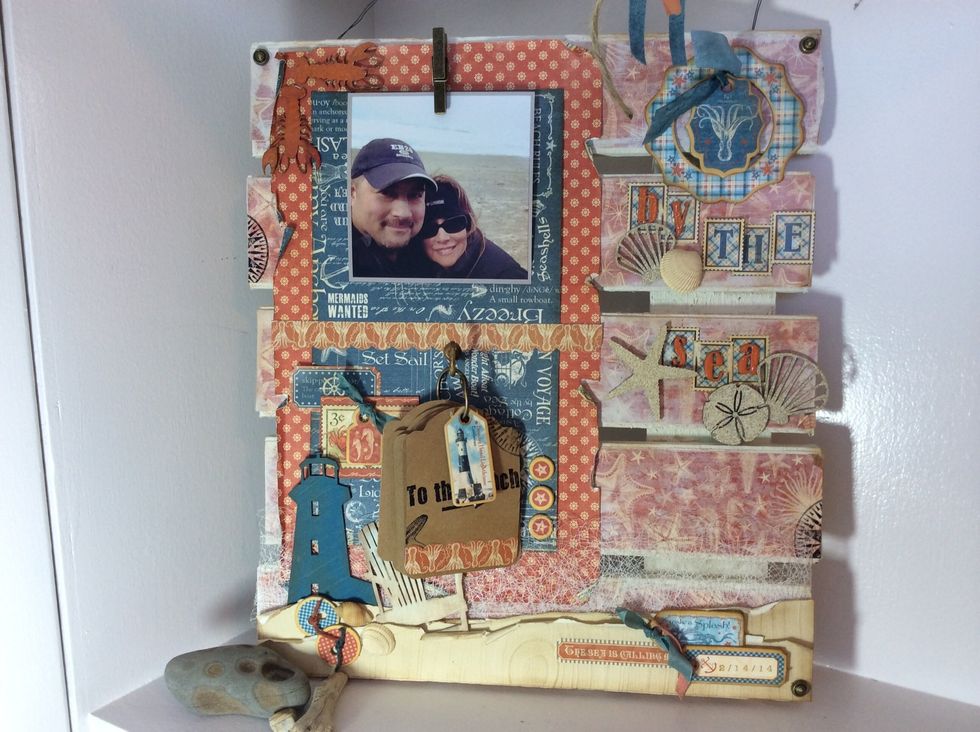
Your photo can be changed out, or add layers of photos. Add journaling and additional photos or saved ephemera to the tag mini.

Such a fun way to share memories of a favorite getaway, beach vacation or family reunion!!