STEPS
TOOLS
First choose a shirt. This will work on pretty much any style. Make sure your fabric has a bit of stretch. Anything with t-shirt like material is best.
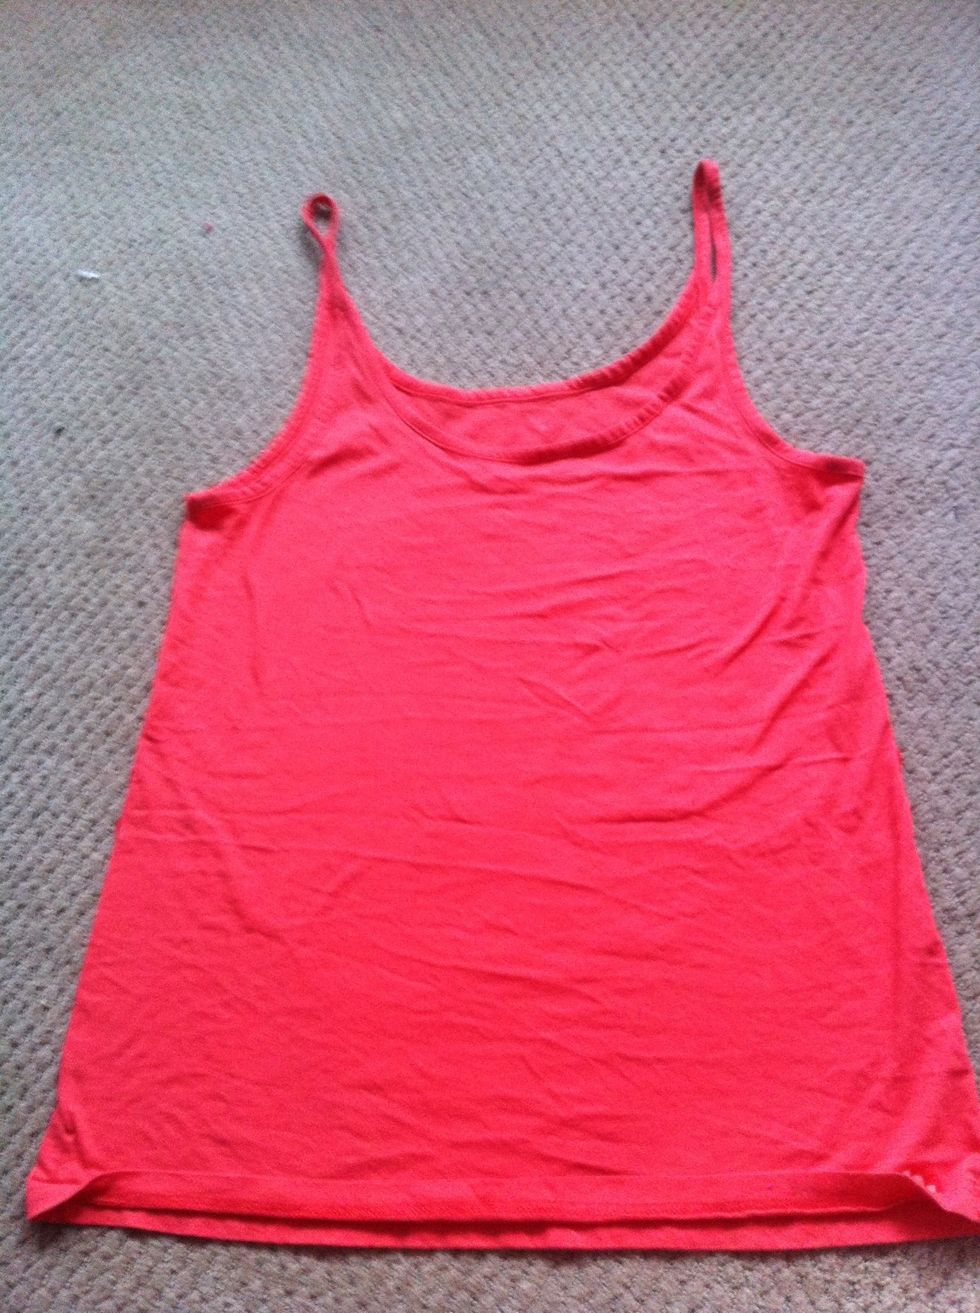
I chose a tank top
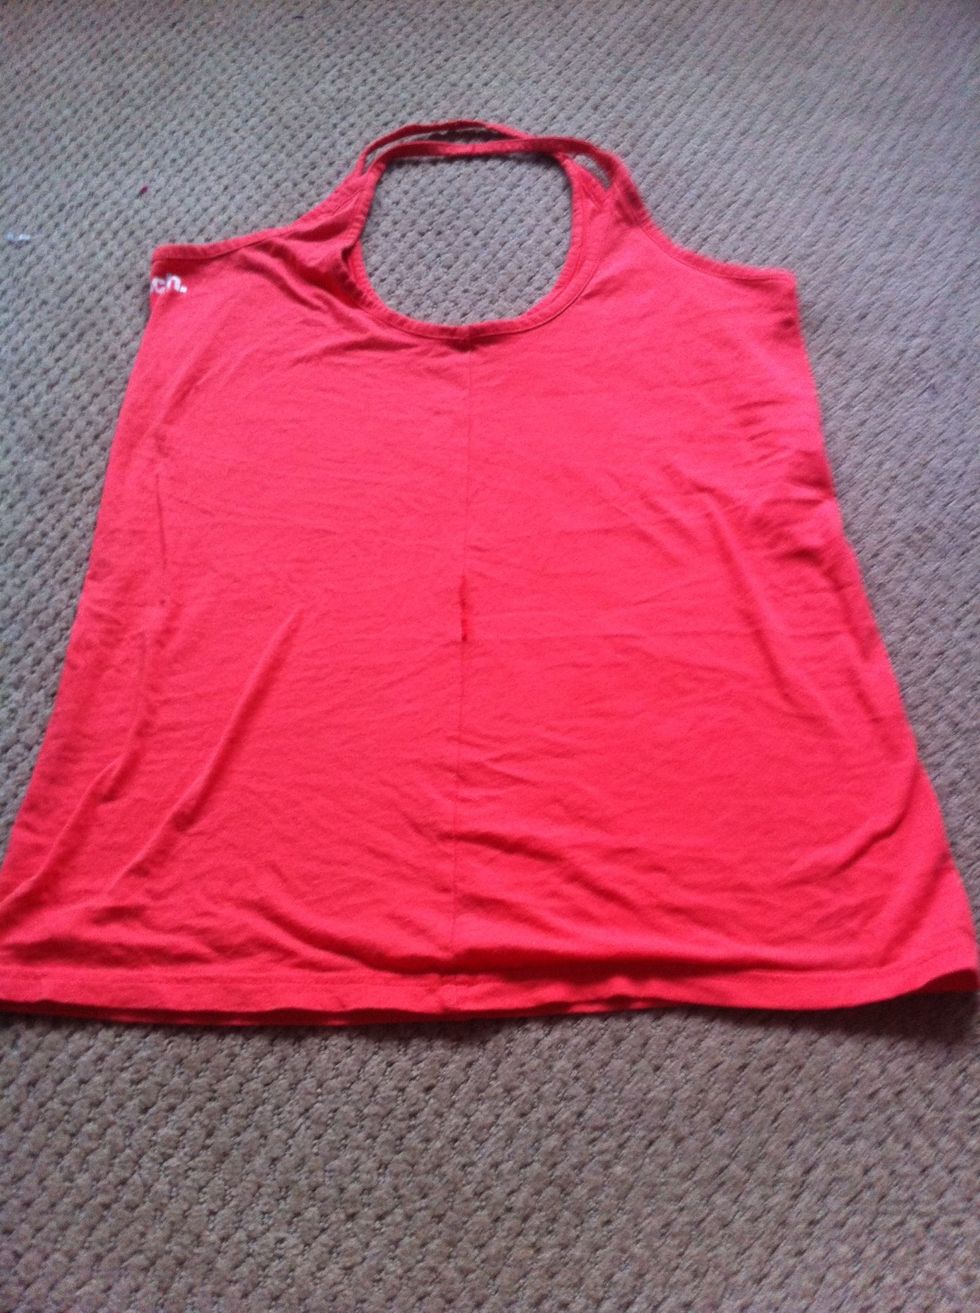
Lay your shirt so that the two side seams meet. Center them and smooth by wrinkles. You should now be looking at the side of the shirt
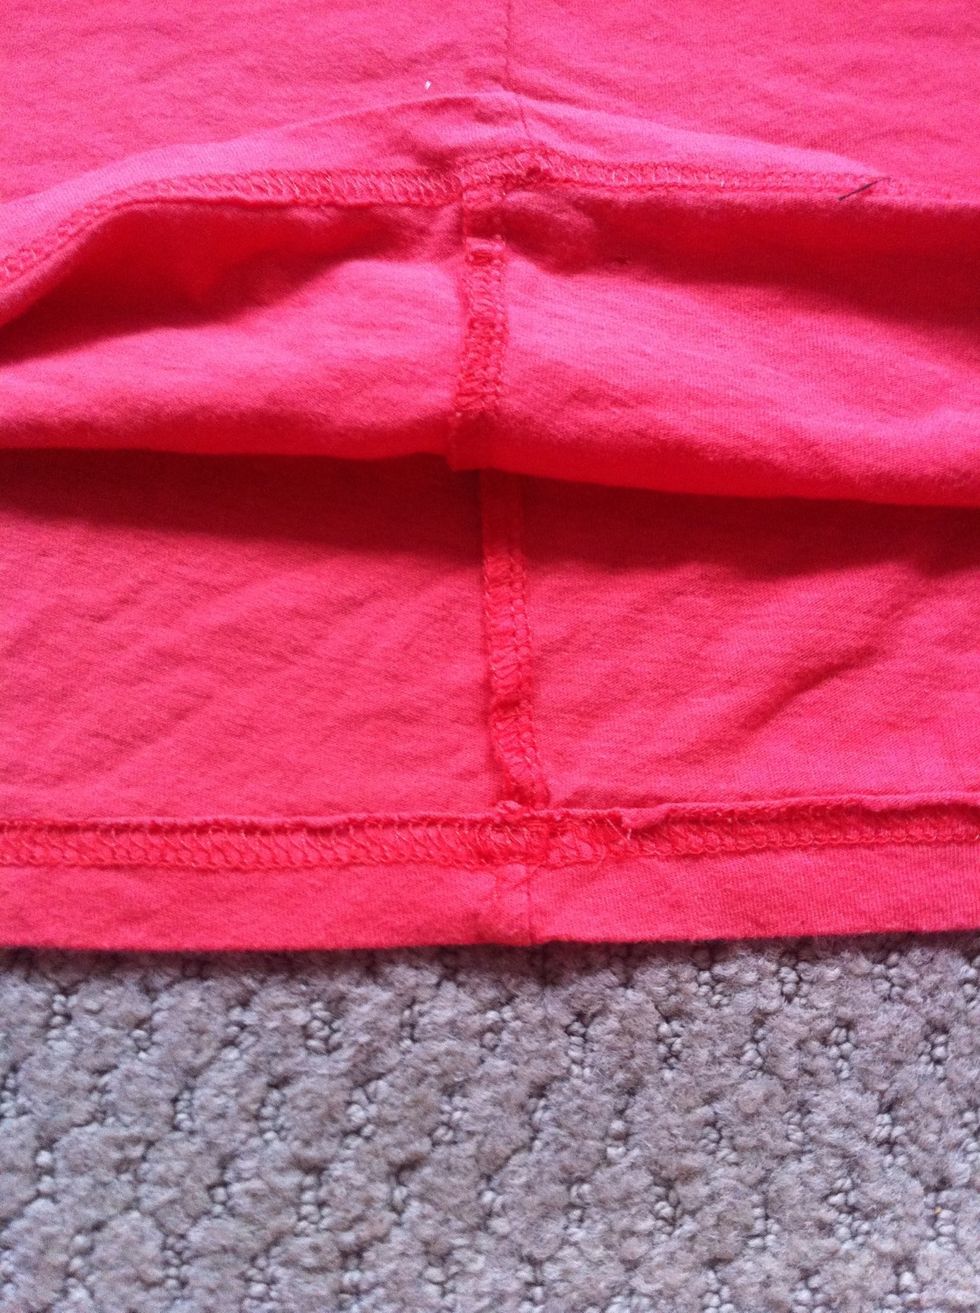
As you can see. Both of the side seams are together.
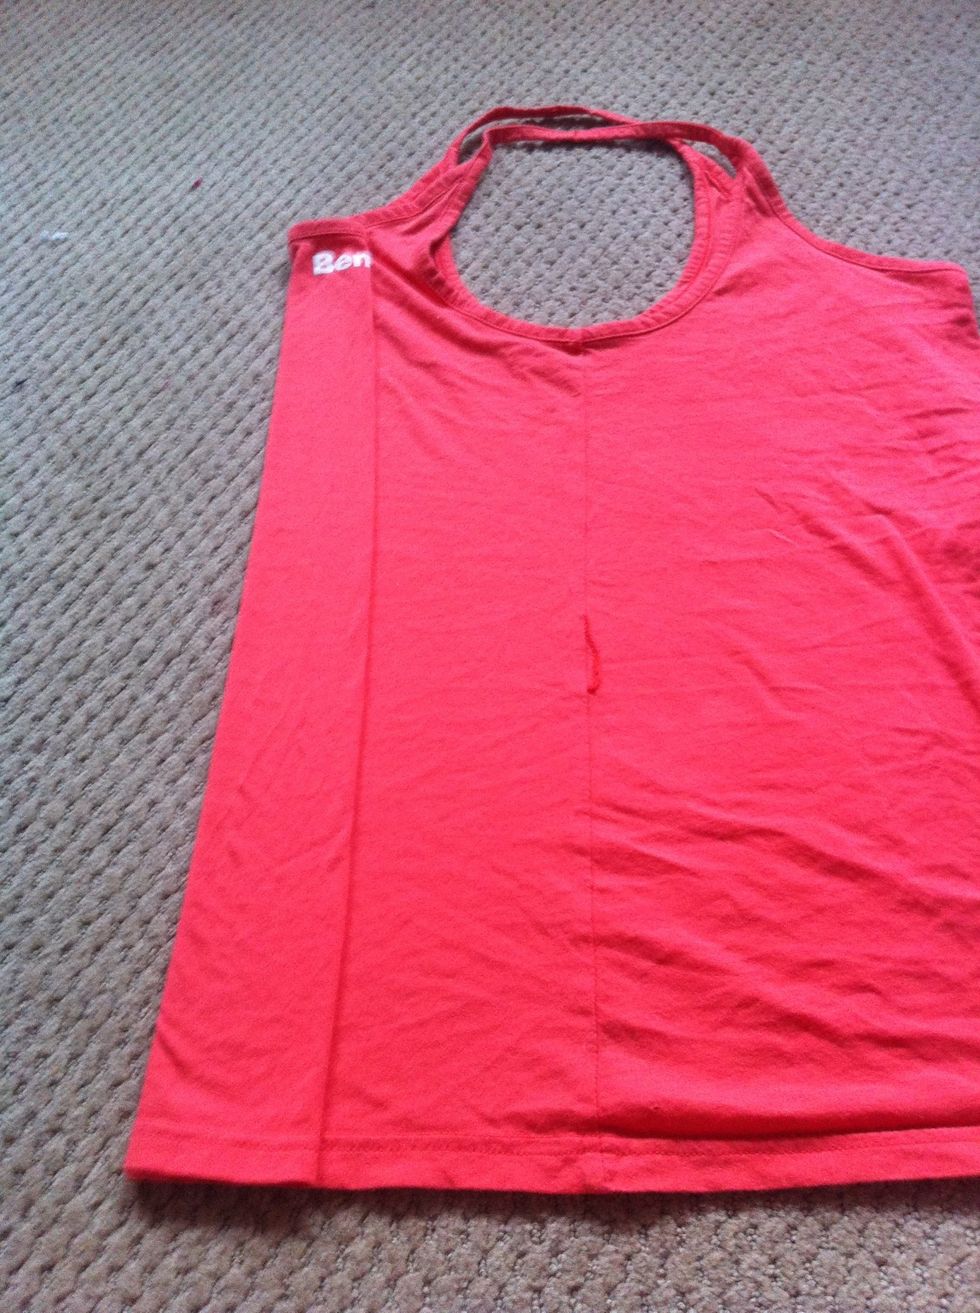
Fold the back of the shirt towards the center slightly. It is very important that you have no wrinkles and you fold both layers smoothly.
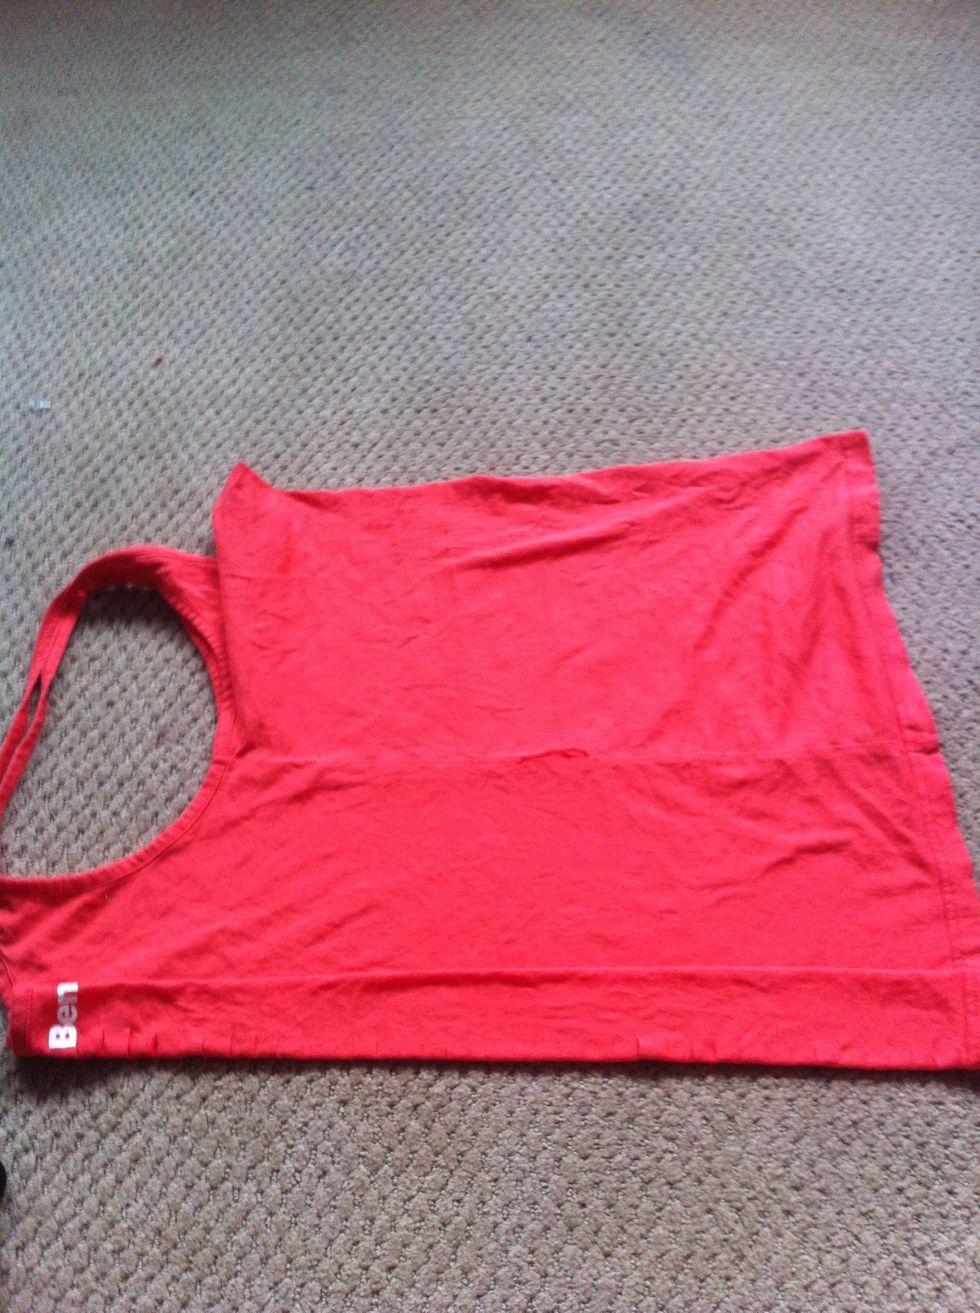
Spin your shirt so the folded part is facing you.
Now we start cutting small cuts. About a centimeter wide. And a centimeter apart. Start as high or as low as you want. Just be sure you don't cut the neck or bottom seams of the shirt.

There are my cuts. Centimeter apart and long.
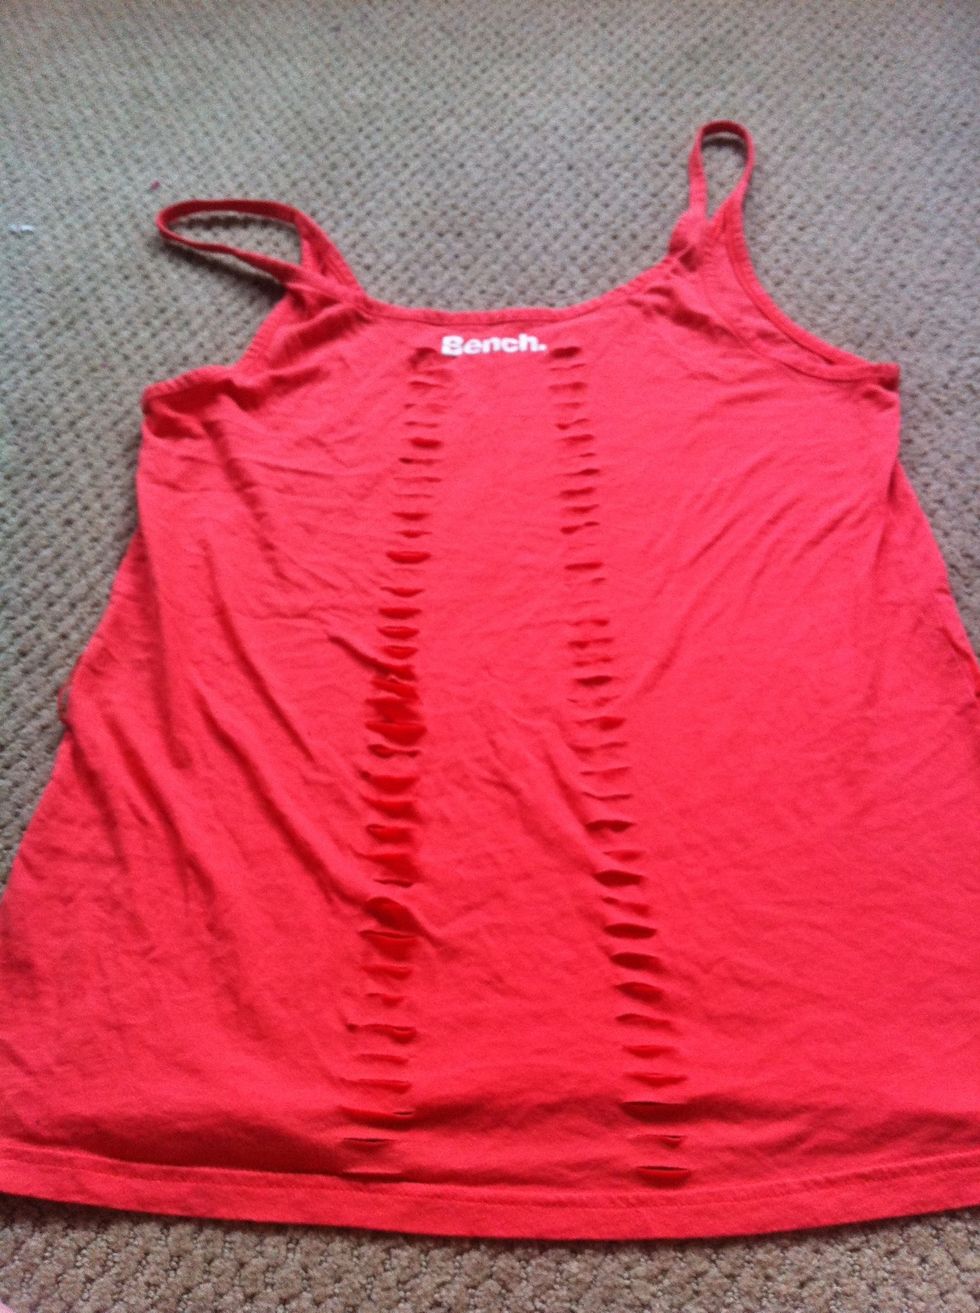
Unfold your shirt so the back and cuts are facing you.
Grab your shirt on either side of the cuts and give a slight tug, pulling in opposite directions. Left and right.
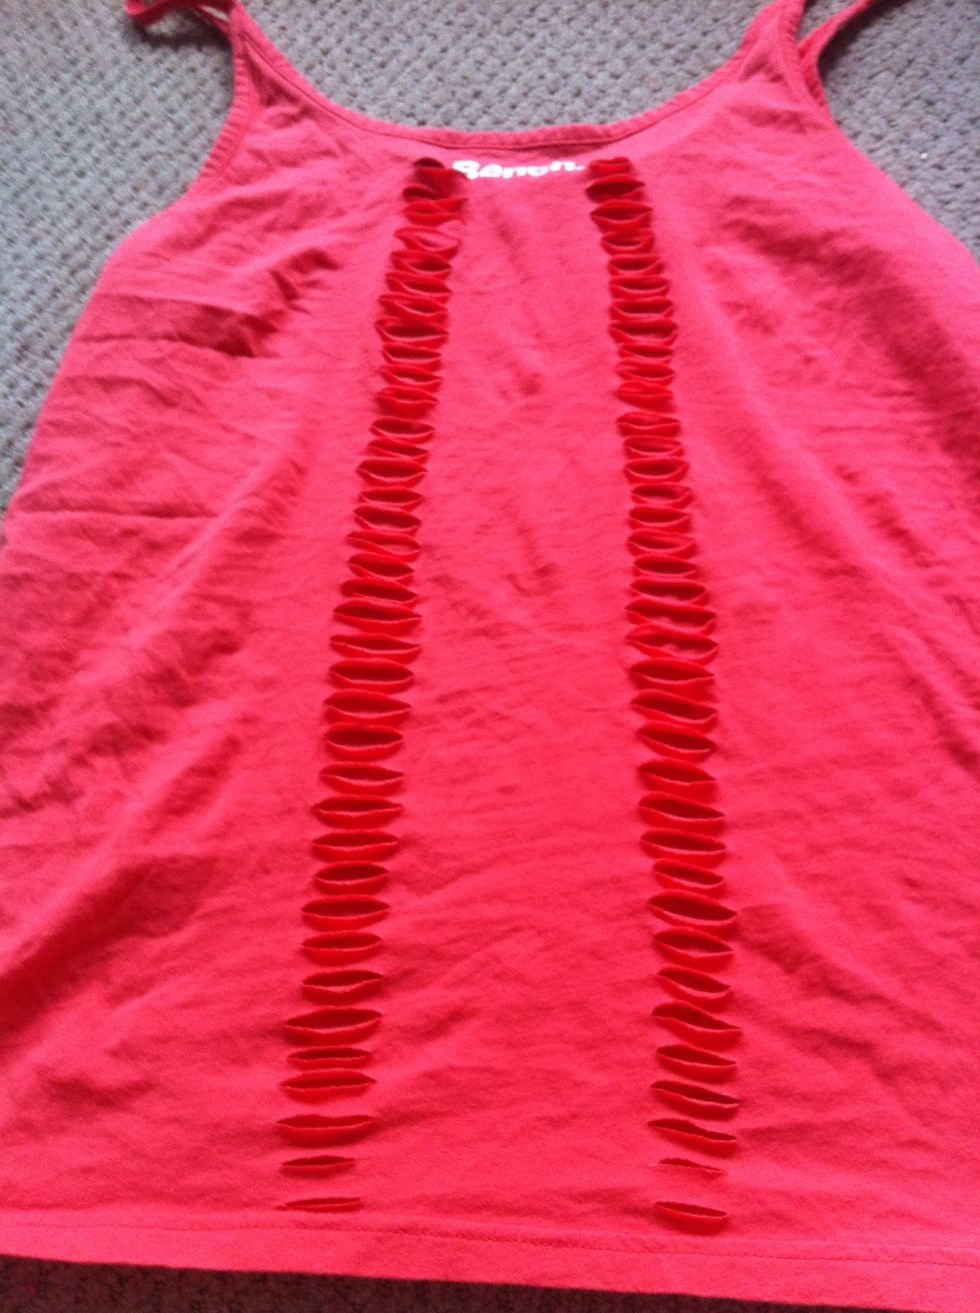
This should be your end result.
Here comes the tricky part. This is the weave/braid/fold/loop everyone talks about.
Repeat the same looping technique on the other set of slits. The second set is a touch more difficult because the shirt is starting to bunch up.
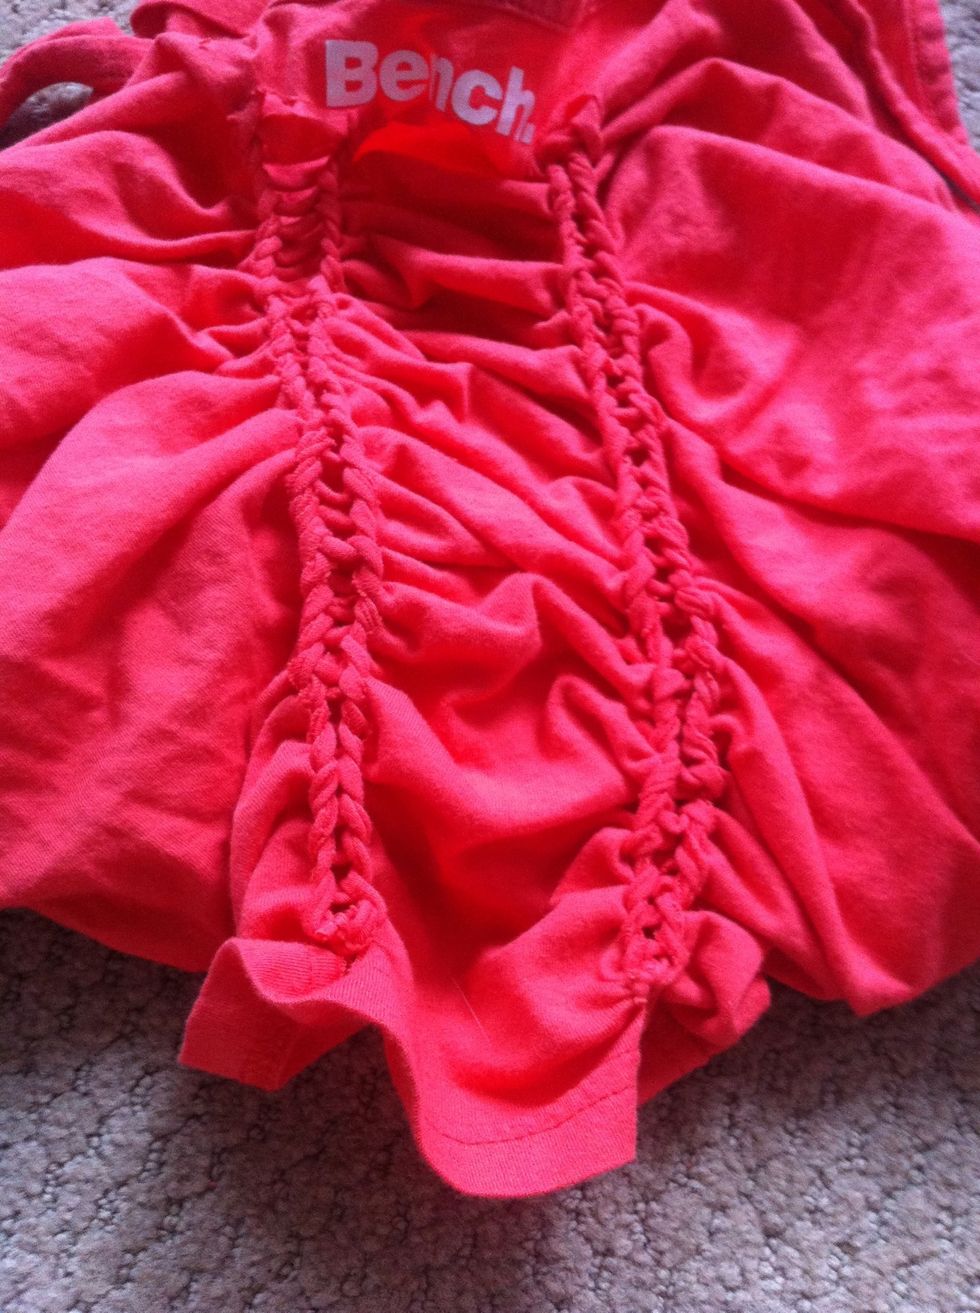
You're almost there. Now just give it a little stretch to even things out.
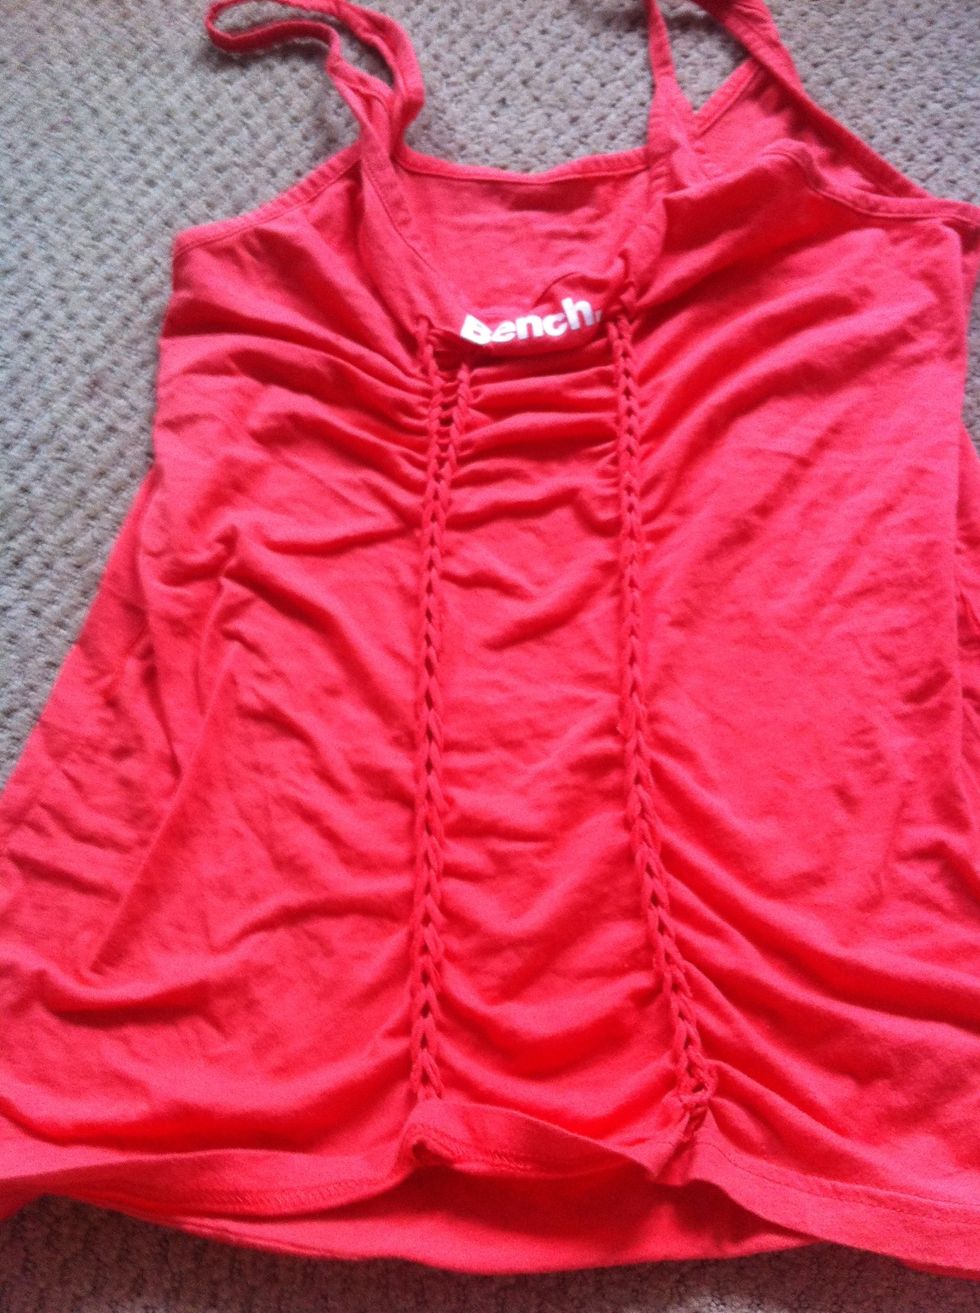
You can wear it looking braided. By pulling the shirt top to bottom.
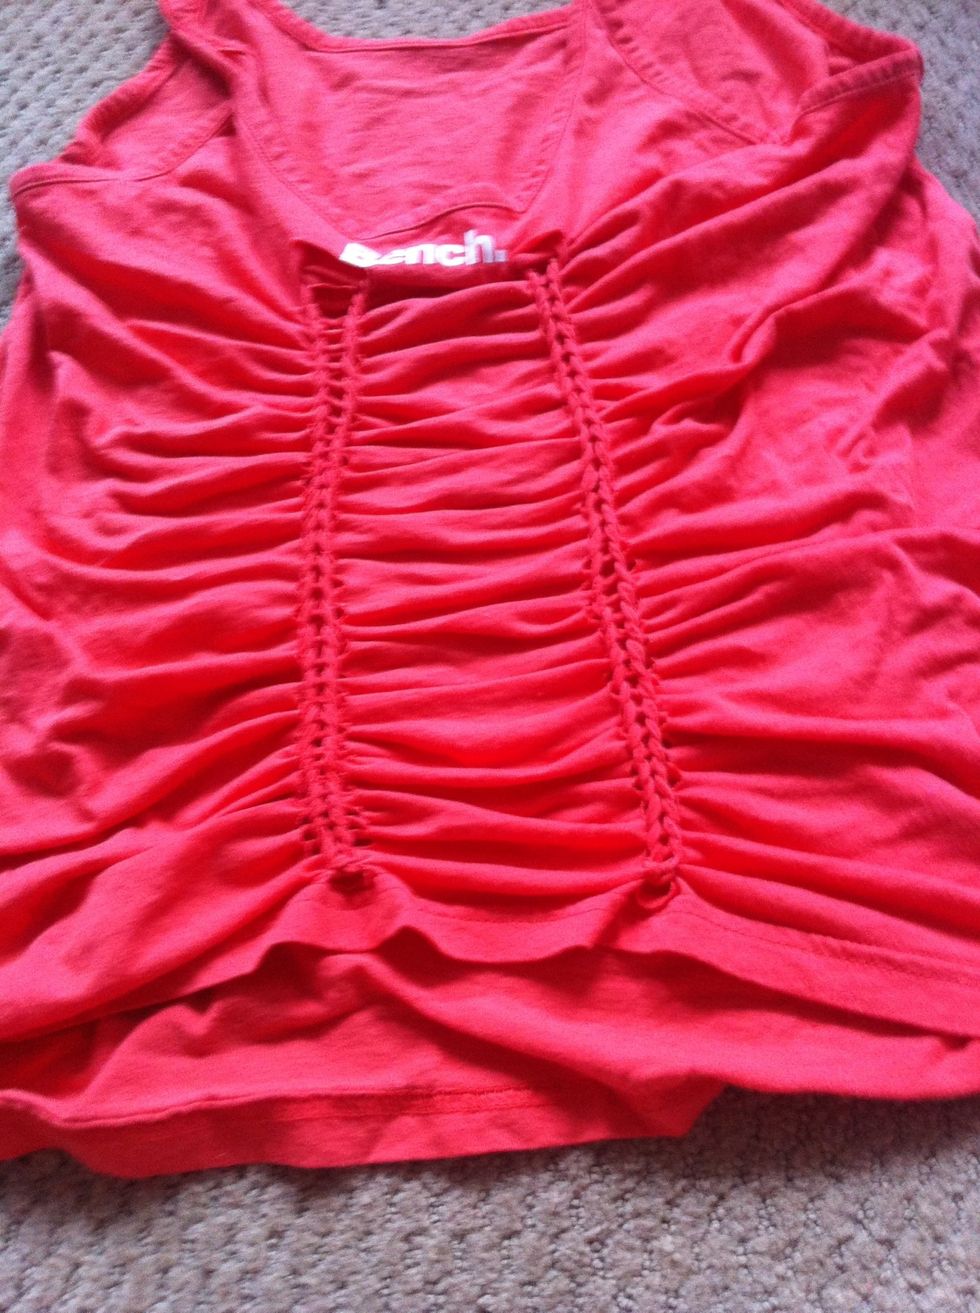
Or ruffled by pulling it left to right.
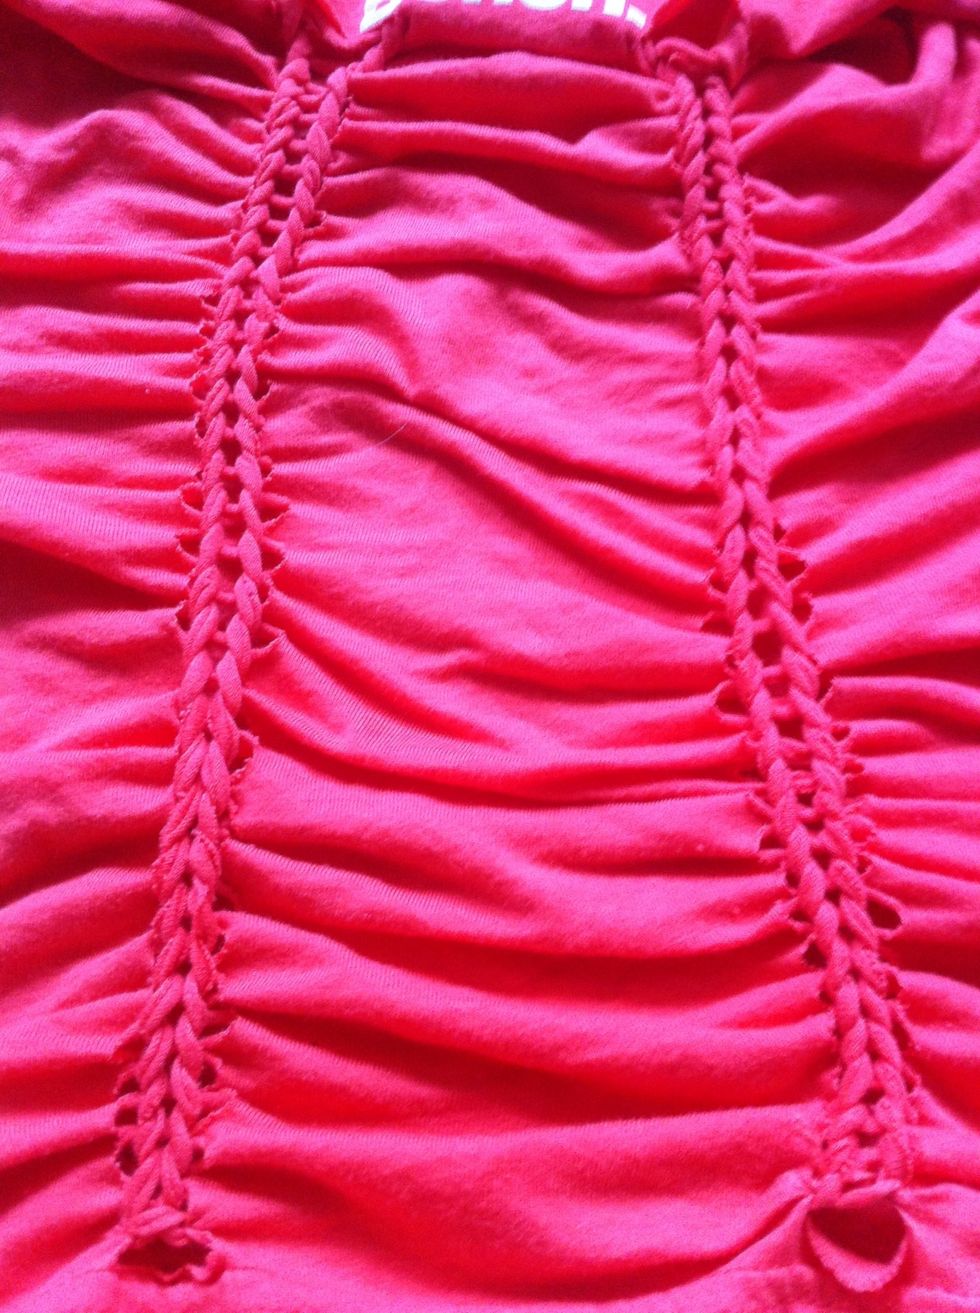
Ta-da. Keep in mind. You should hang dry these as the dryer tends to make them a little ratty.
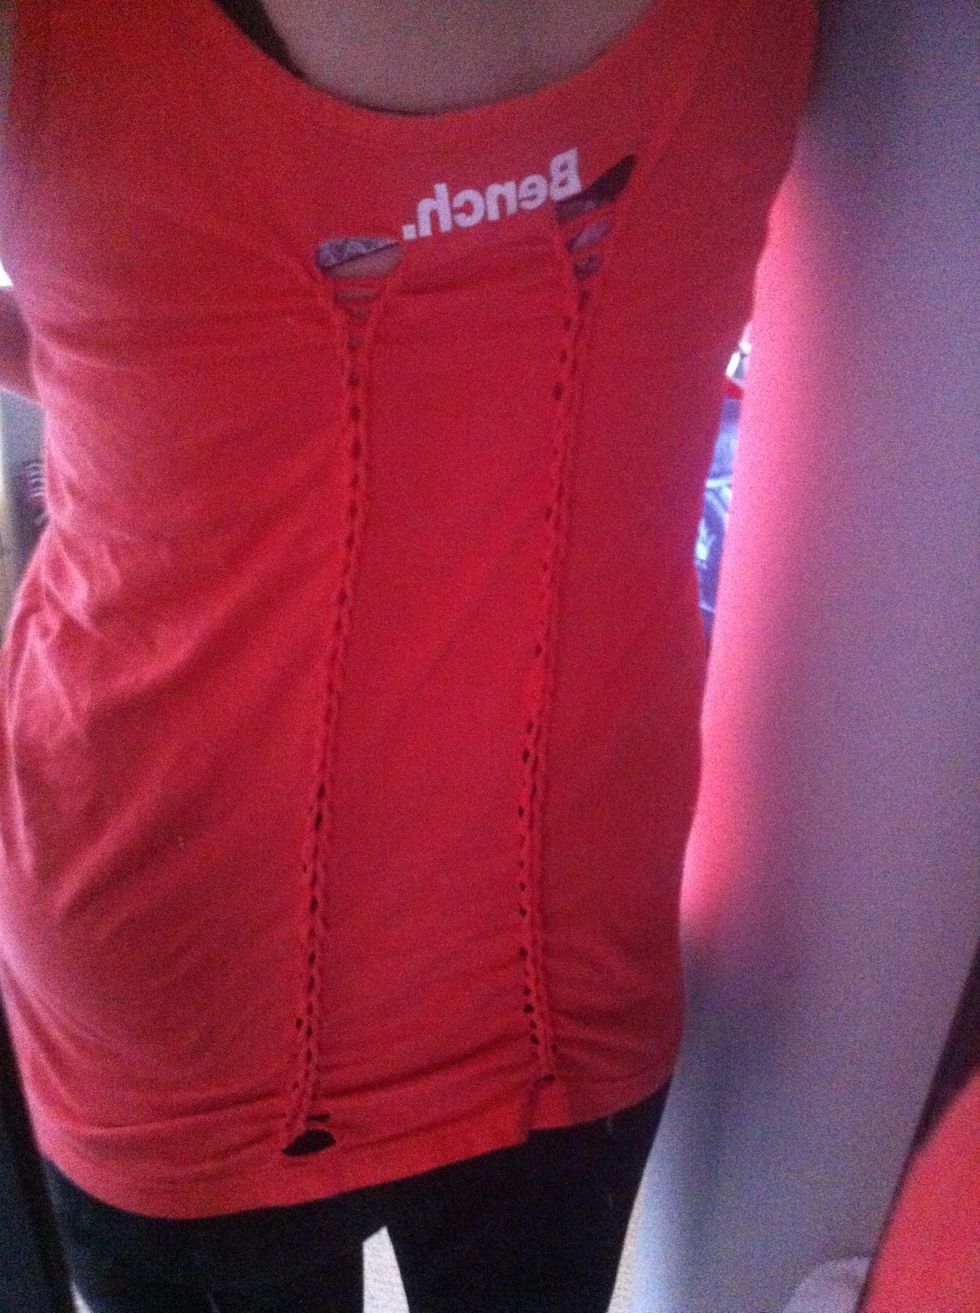
Finished product. I apologize for the weird angle of the photo. The braids will looses as you wear and wash your shirt. The lines go straight down your back.
- Sharp scissors.
- Any shirt really.