The Conversation (0)
Sign Up
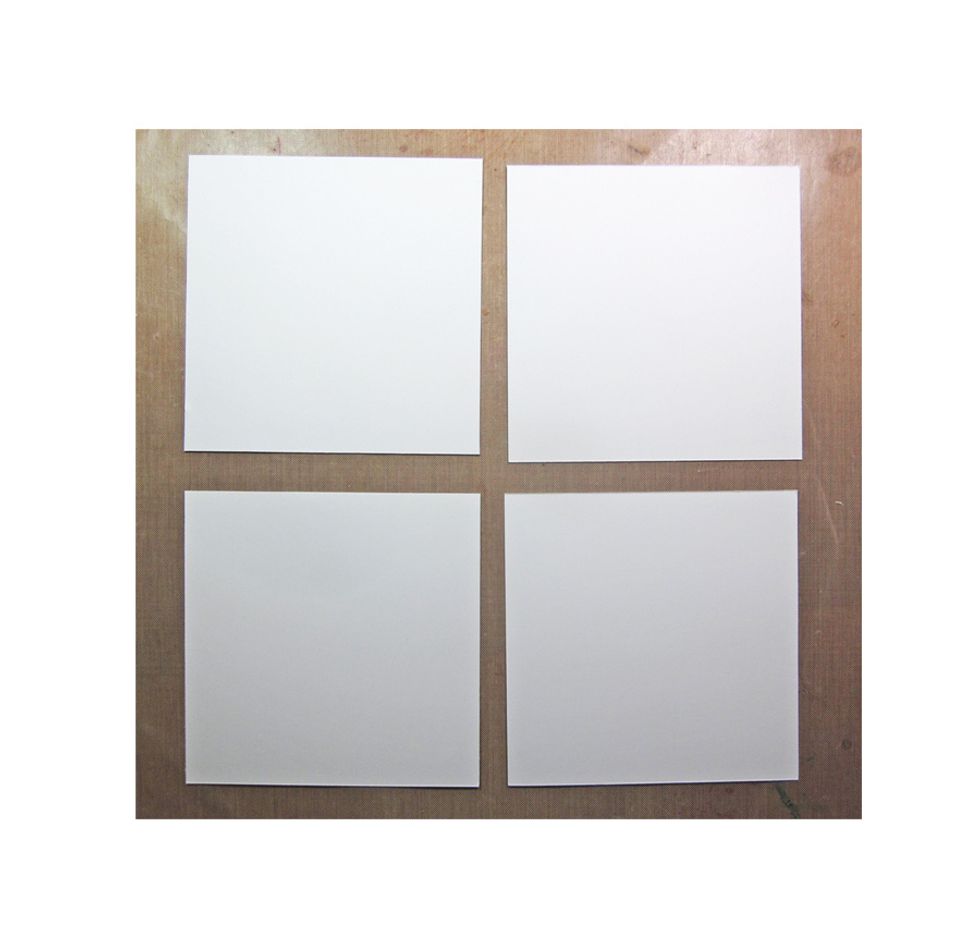
First we are going to create the drawers. Cut four squares of plain card stock 4 x 4 ".
Score each square 1 inch in, on each side of the square.

Cut with scissors on the scored line where I've highlighted in gray. This is going to make a little flap.
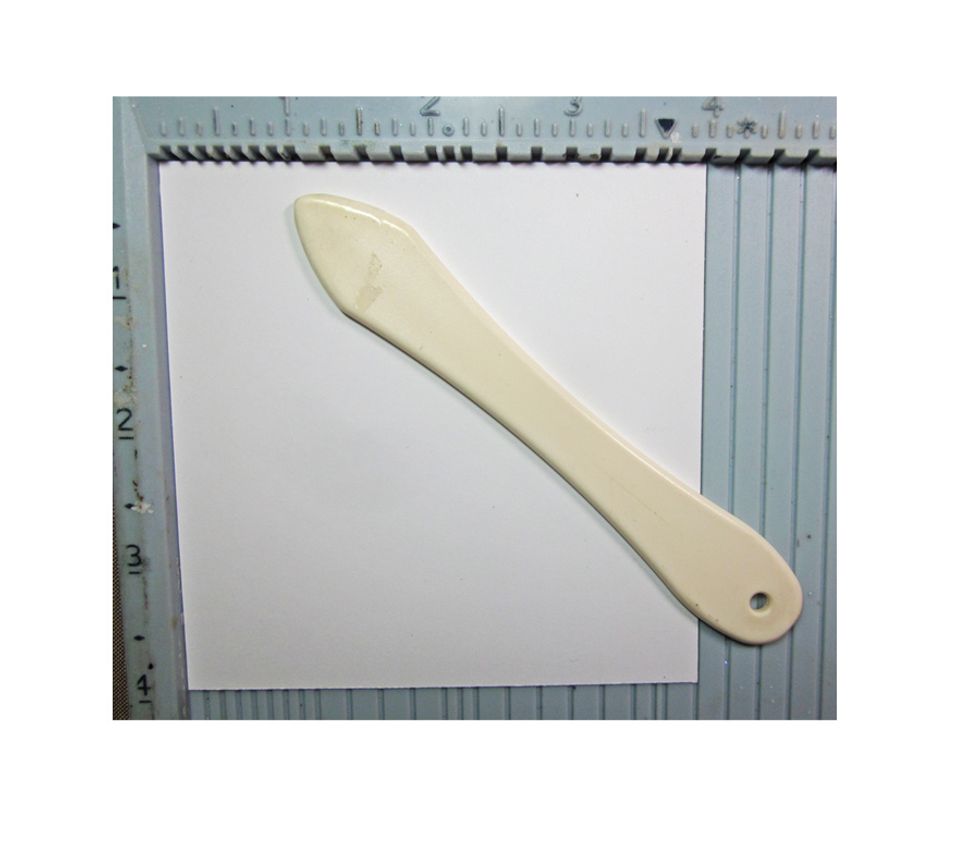
Use a bone folder and fold at all the scored marks.
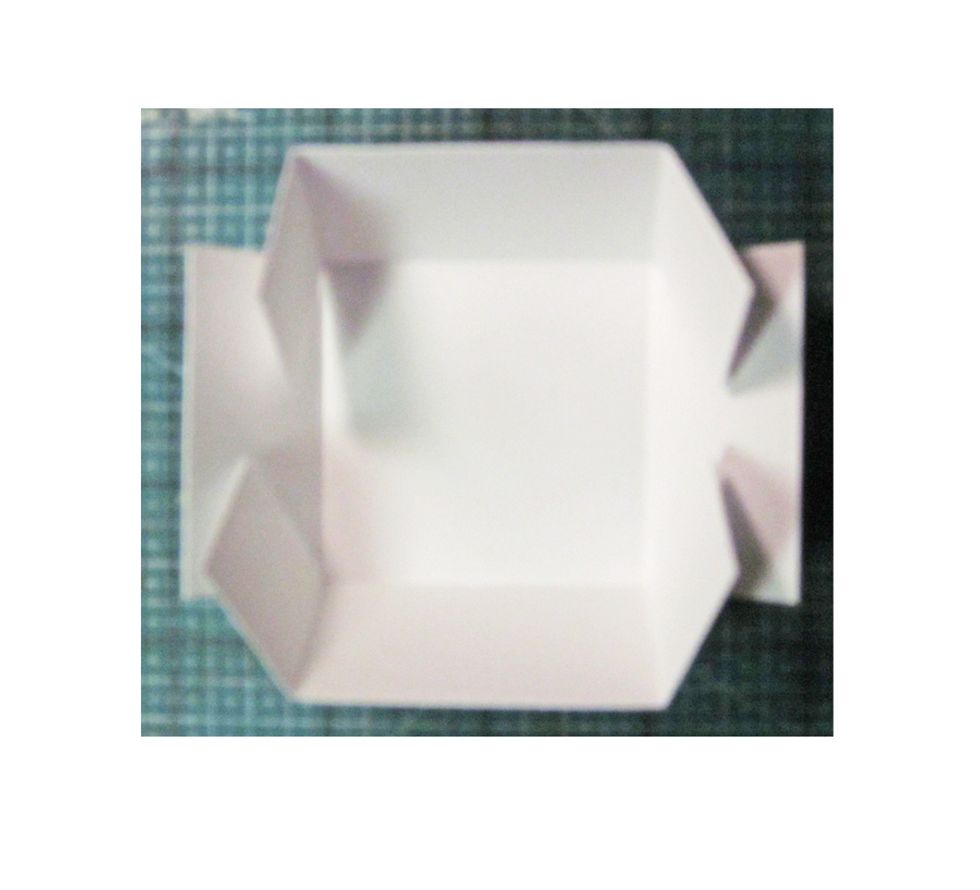
Add strong tape to all the corner tab, fold up to create a box.
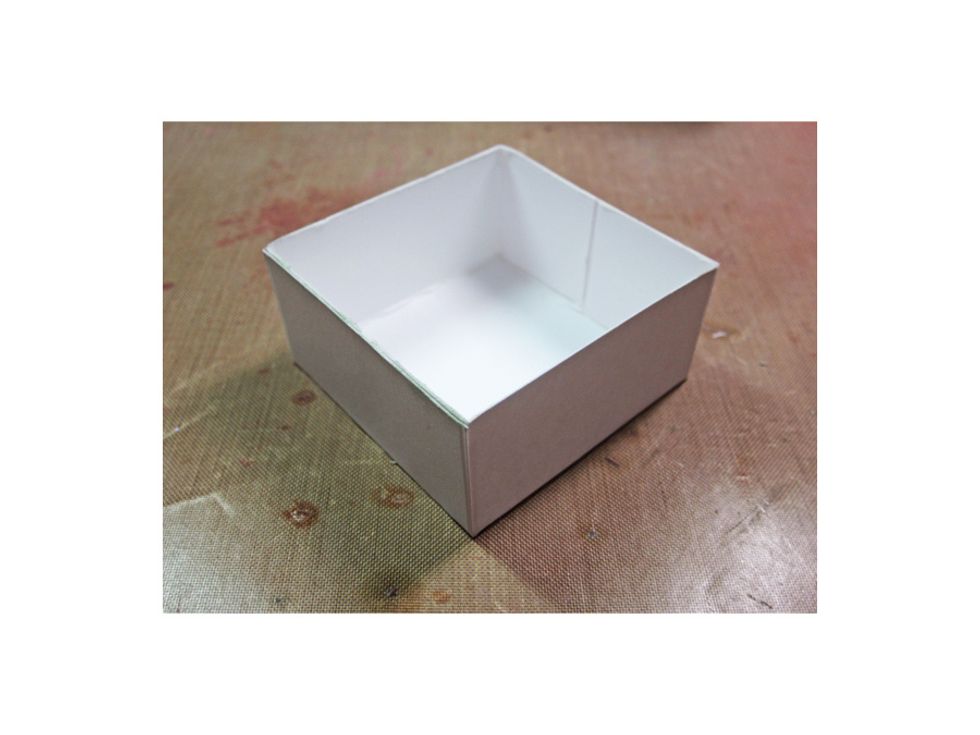
Once you have glued the tabs down you've created one of the little drawers. Repeat this on the three remaining squares.
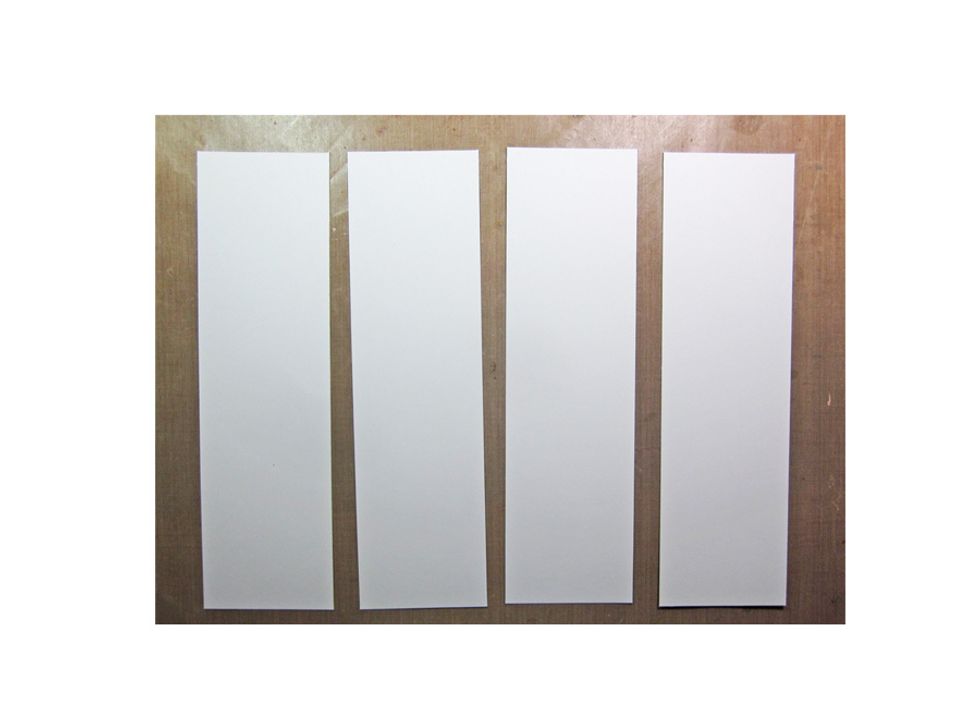
Now we are going to create the sleeves that will hold the drawers. Cut four 2 1/8 x 7 7/16".
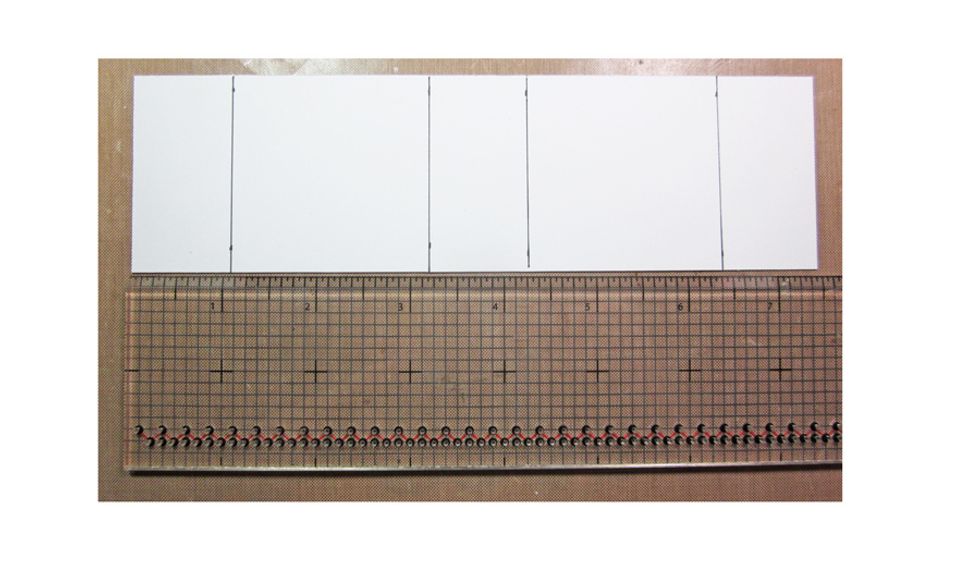
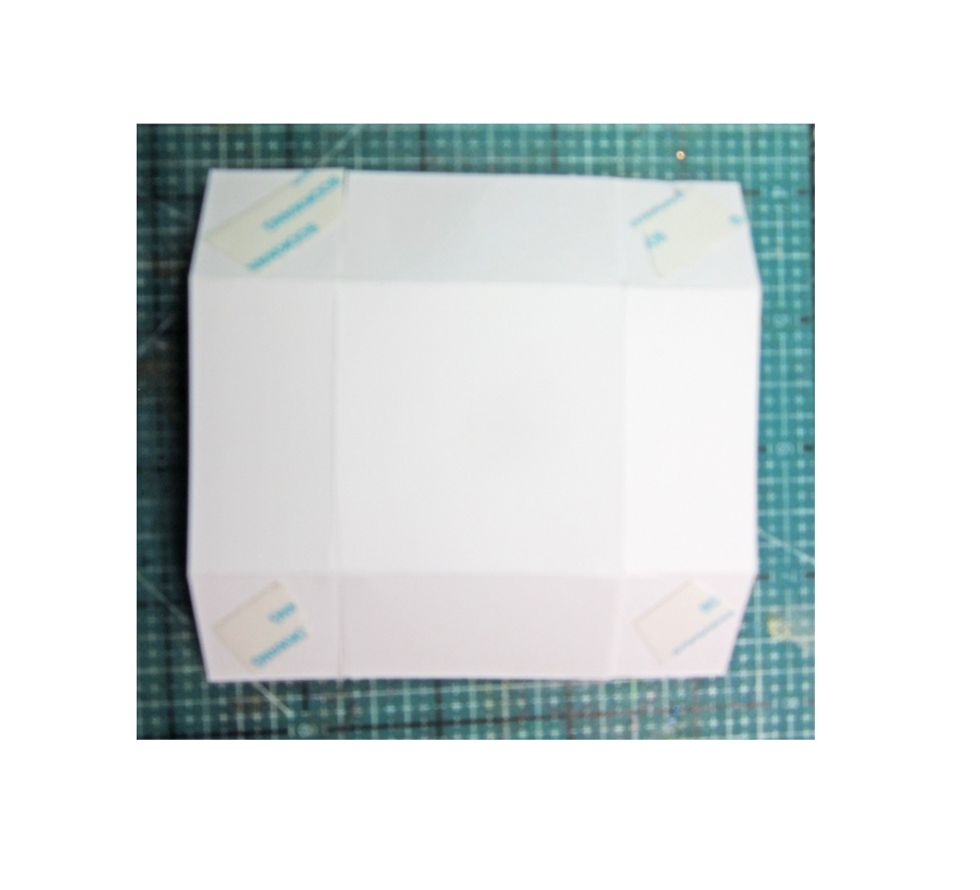
Using a ruler draw lines at 1 1/6, then 2 1/8", then 1 1/6" and then 2 1/8". Score on all the lines, create and fold. Glue down the last flap to create your shell. Repeat on the remaining three.
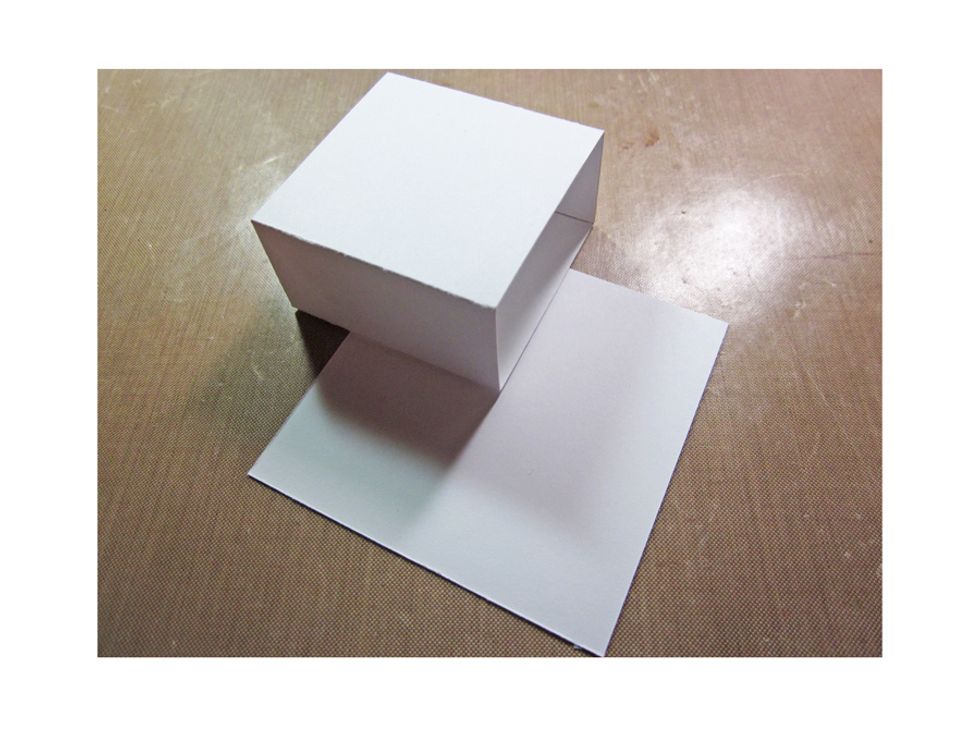
Cut a 3 x 3" square and glue down your drawer sleeves flipping the boxes so the openings alternate.
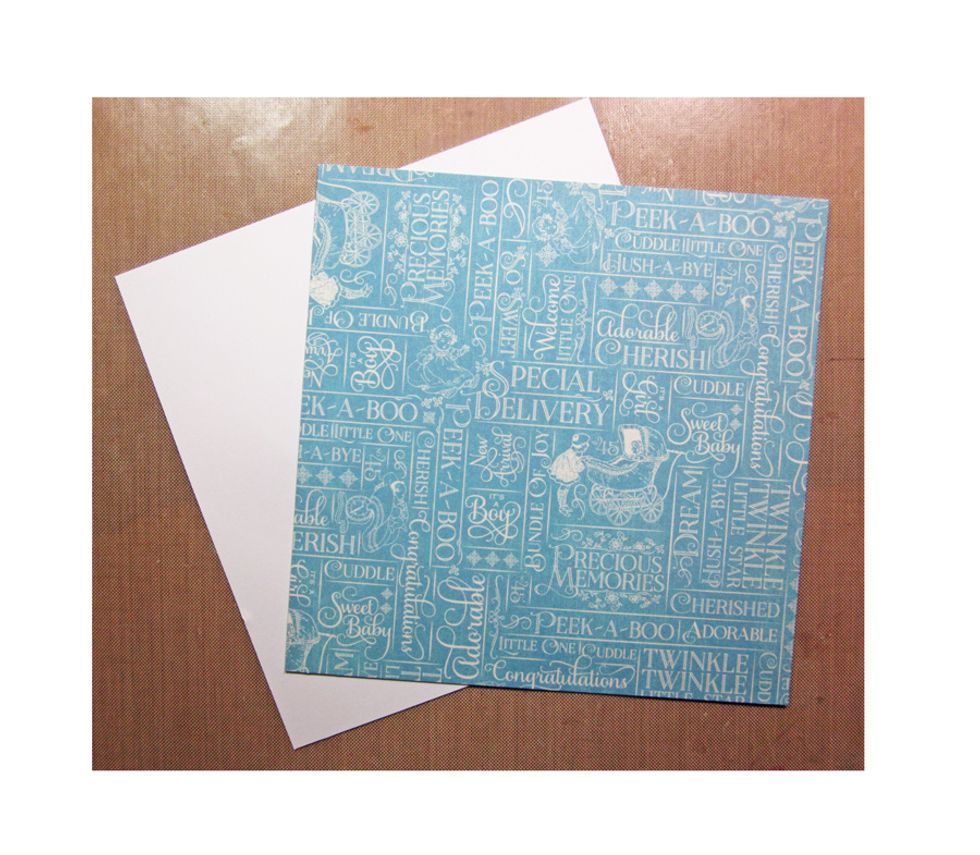
Cut two squares for the bottom of the card. Glue the Graphic 45 paper down to the cardstock to make stiffer. Repeat this process to create the top.

Cut a strip of white card stock 4 3/4 x 9 1/2". Score at the 4 3/4 " and then again fold the other half in half. This is going to create your base easel card.

Cut 2 1/8 x 1 1/8" strips for the solid portion of the side of the box. Glue to the box. Feel free to embellish more,. I used some of the stamp images from the Precious Memories collection.
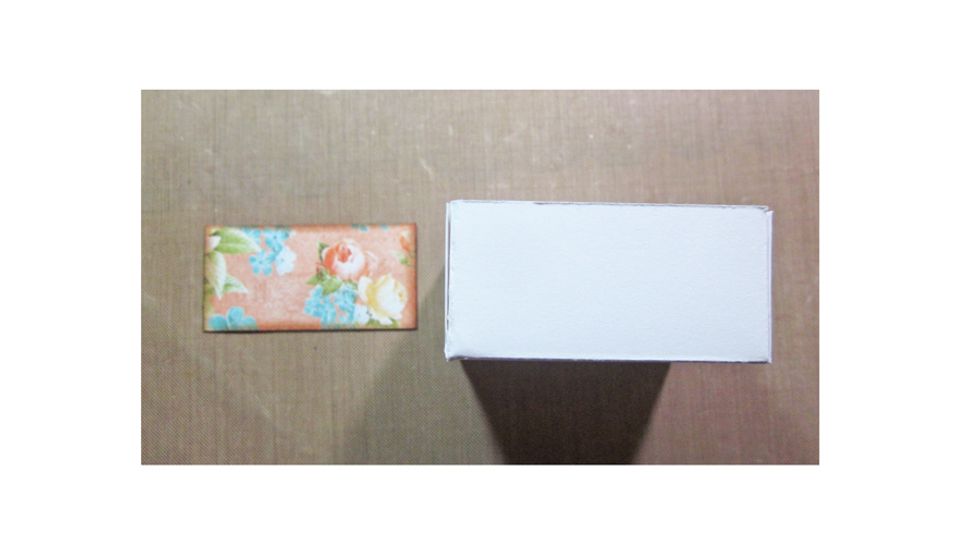
Cut patterned Graphic 45 paper 2 x 1" for the front of each drawer.

Cut four small strips of ribbon, four small chipboard squares and metal brads to create the drawer pulls. Fold the ribbon in half/glue, then glue to the back of the chipboard and top off with brad.
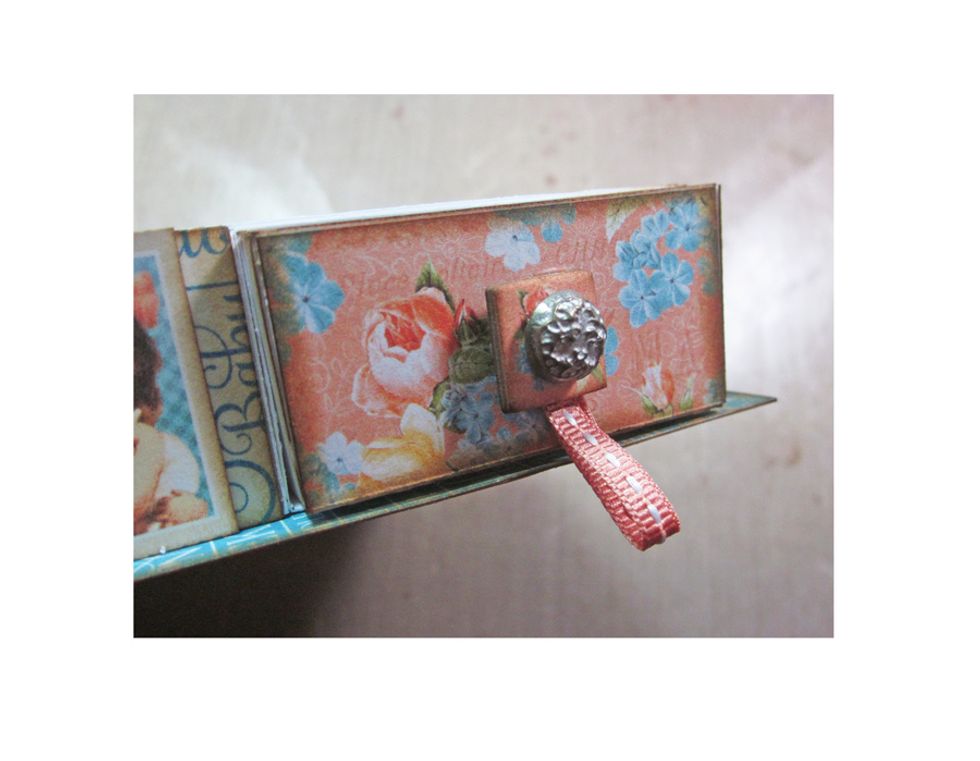
Glue to the front of each drawer.
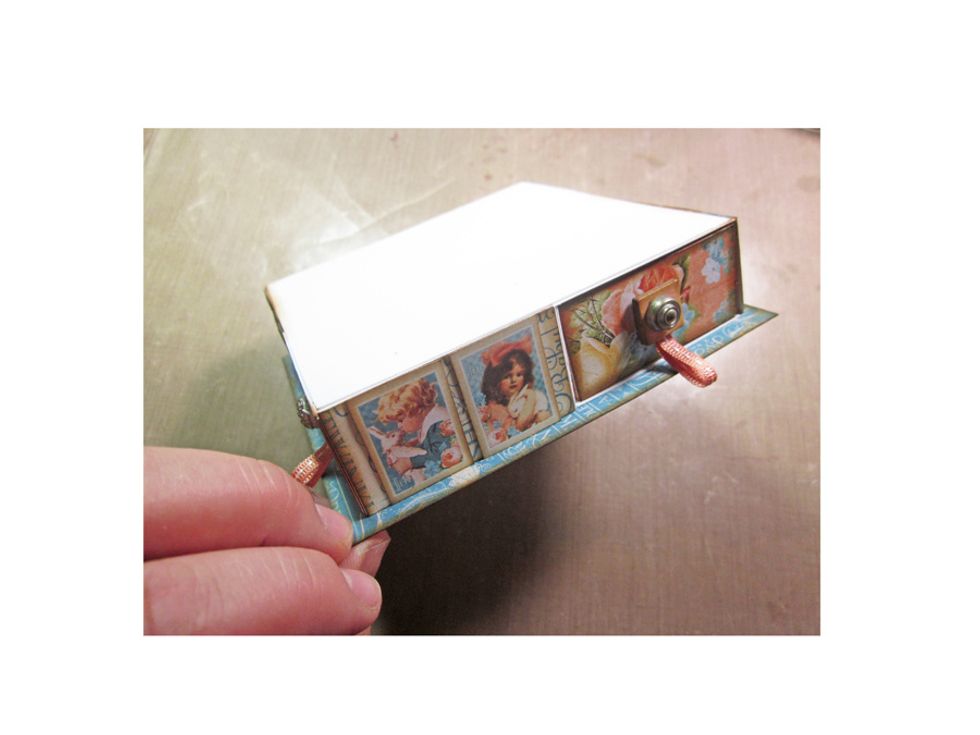
Here is a side view of how it looks with the sides and the drawer front decorated.
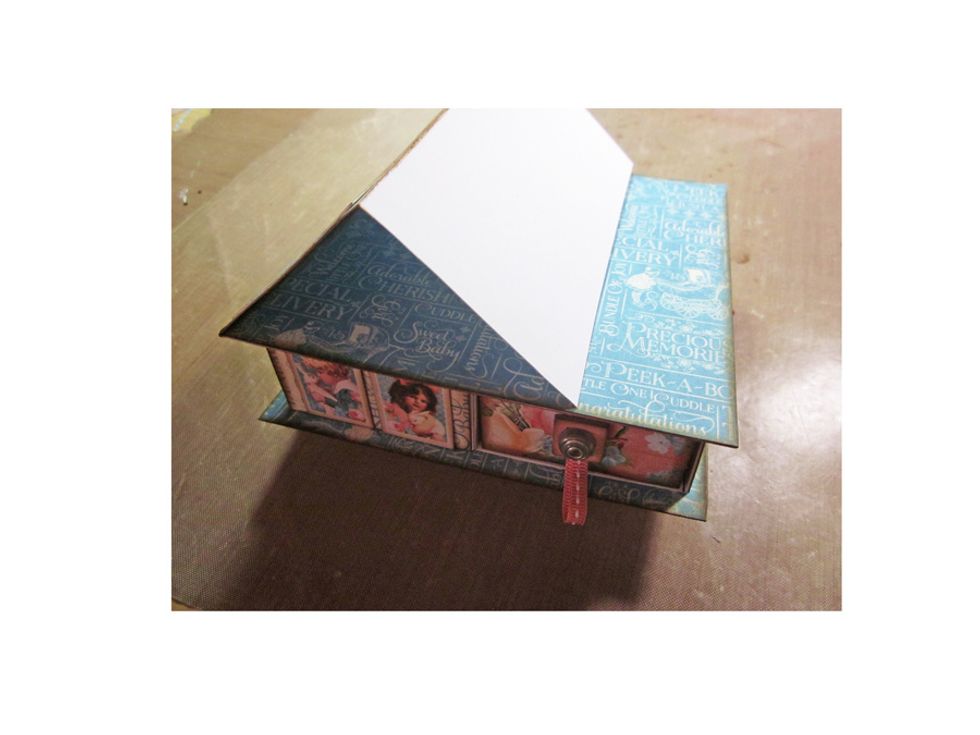
Glue down to the top your easel card and get ready to create the front of your card. Cut a base 4 x 4" piece of decorative paper for the front of your card.

Cut four strips of paper using a Martha Stewart punch,
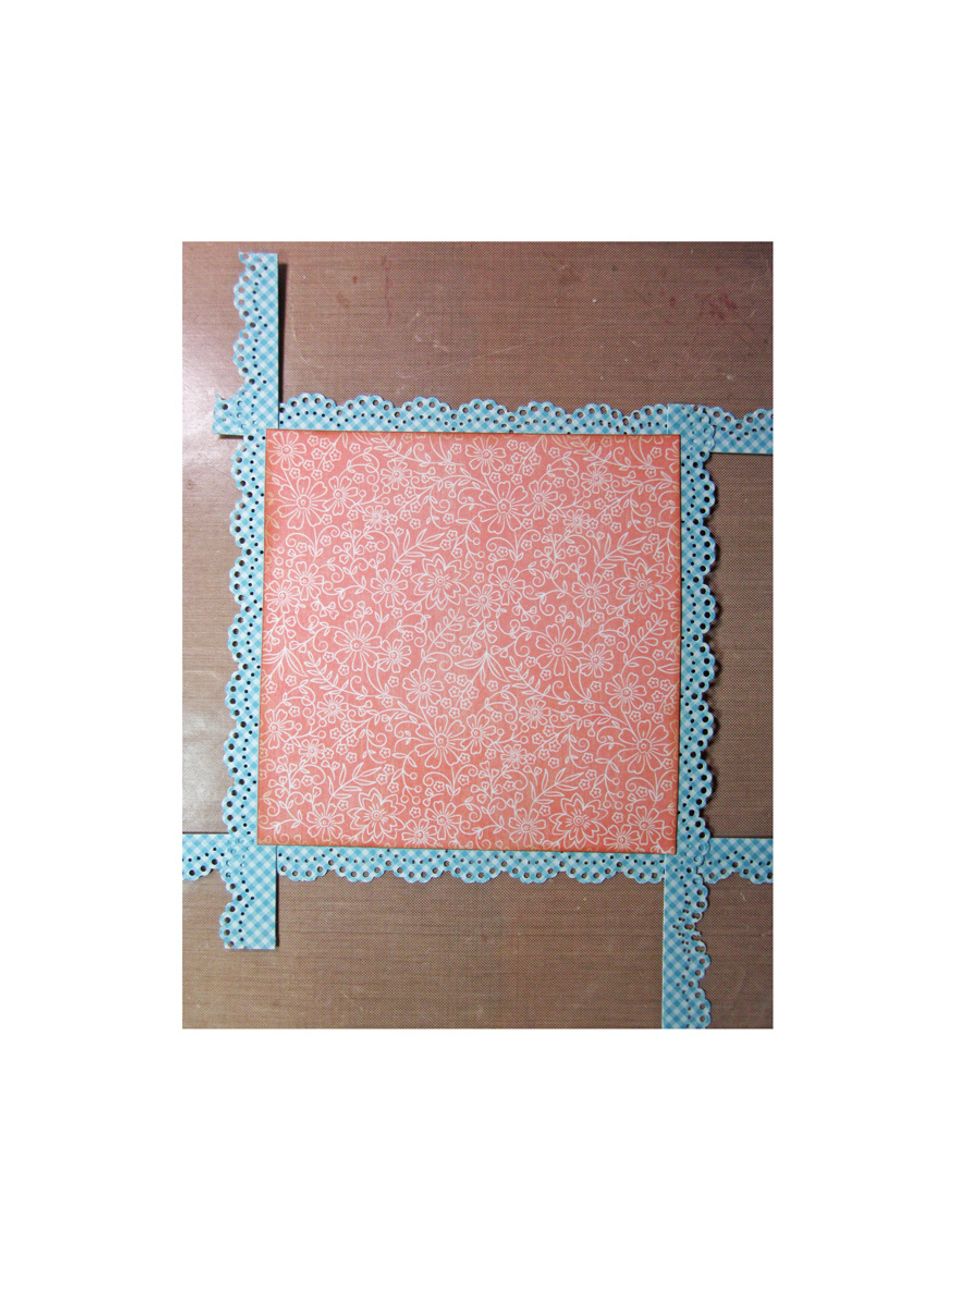
Glue the strips down the side of the front square panel. Don't worry about it overlapping....we'll take care of that next.
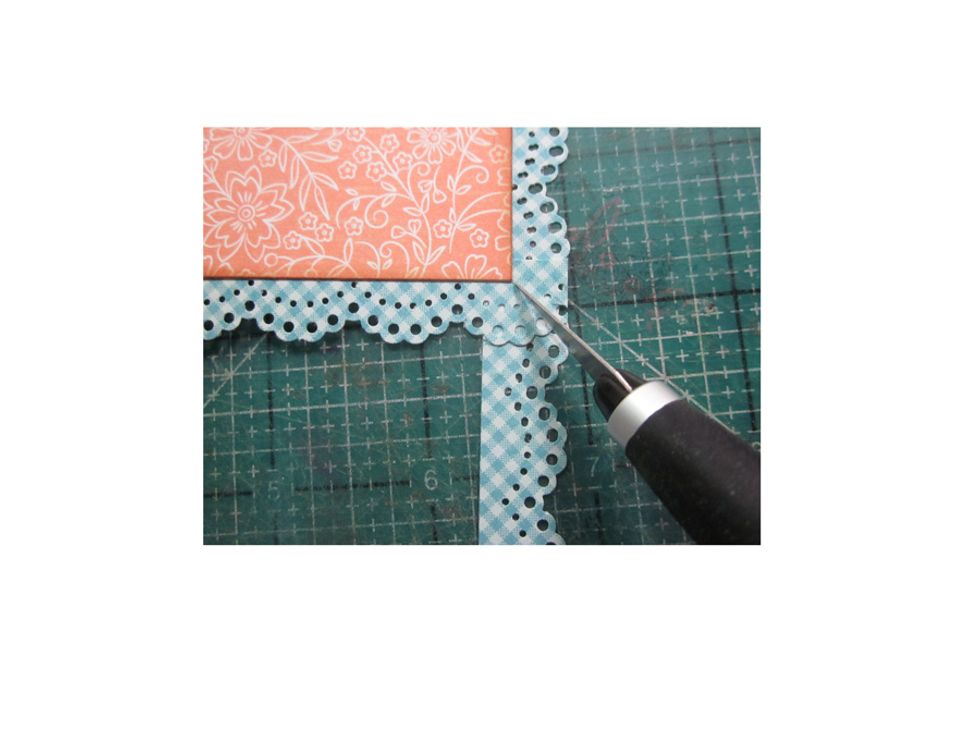
Using an X-acto tool , cut outward from the corner and remove the excess paper.
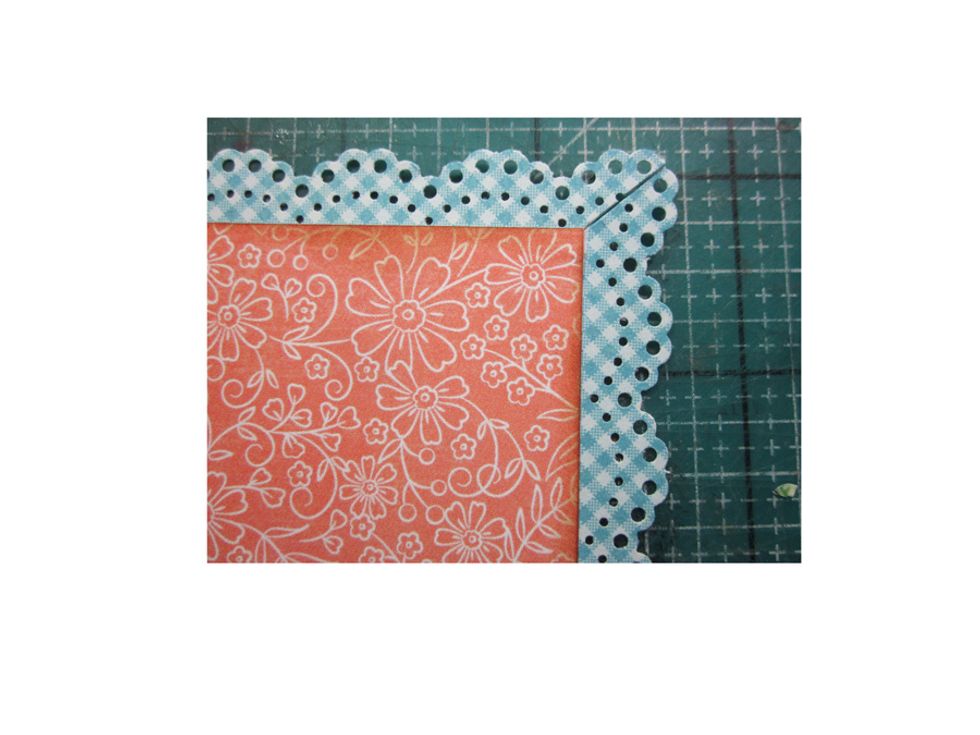
Here is how your edges will look once you've cut them and cleaned them up.
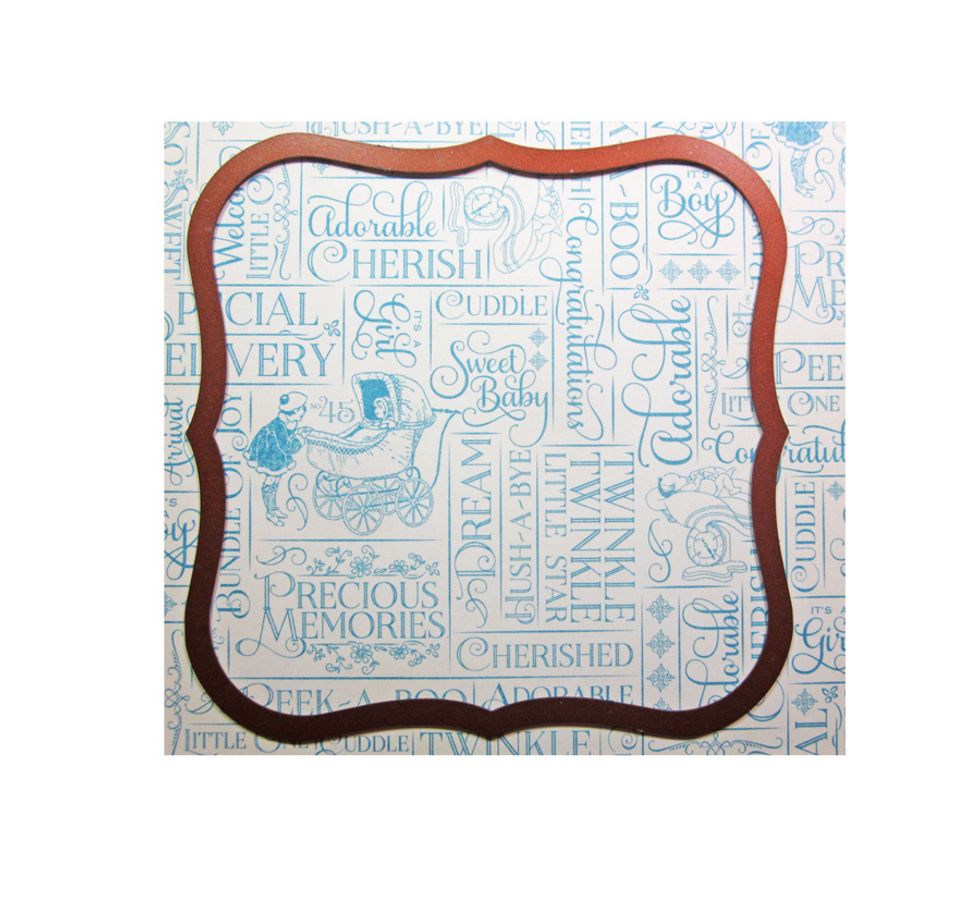
Using a Spellbinders die cut out a small scalloped square.
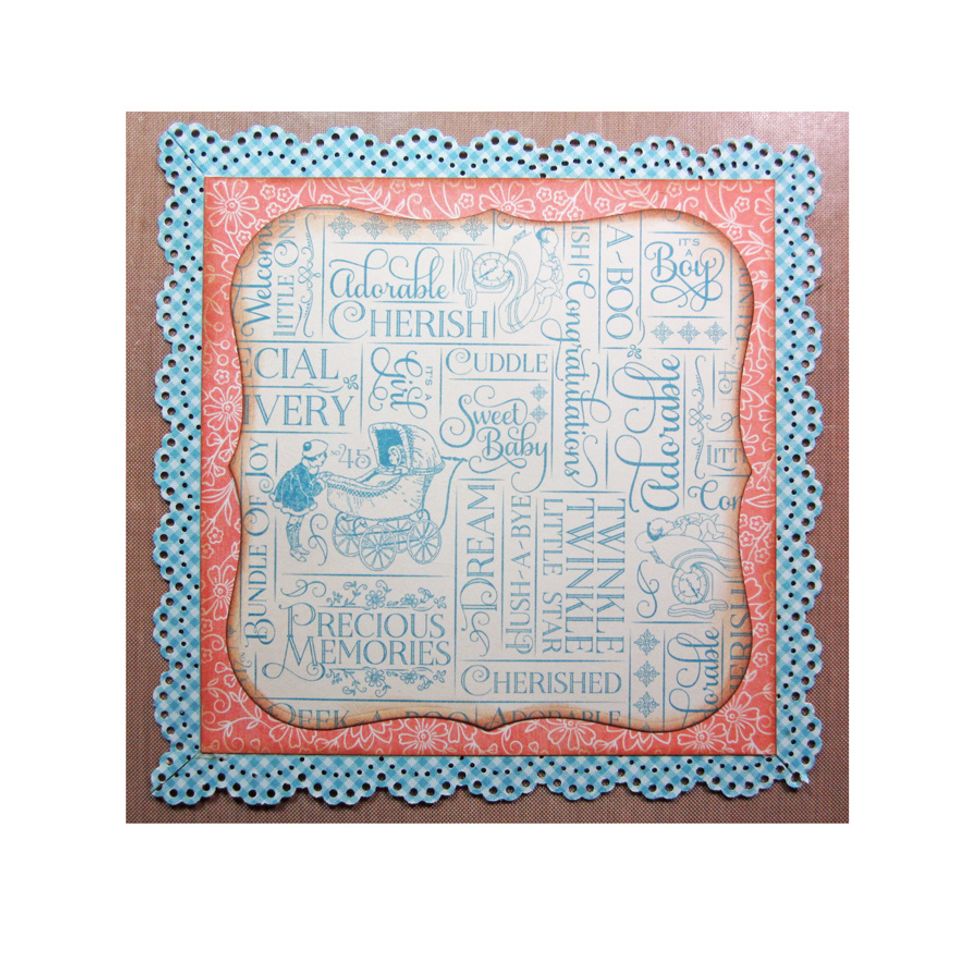
Glue down to the front of your card.

Stamp sentiment on tag using gathered twig distress ink.
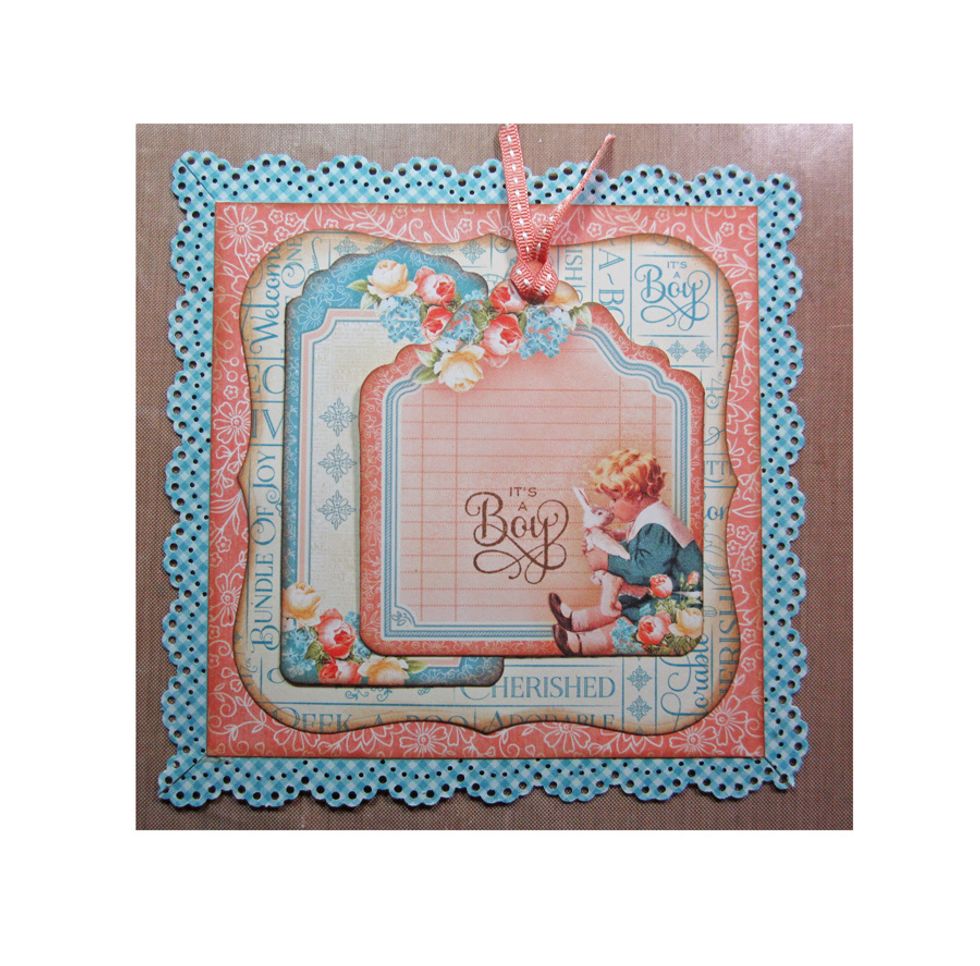
Punch a hole in the top of the tag and add a bit of ribbon. Layer another tag behind and then glue down the stamped tag.
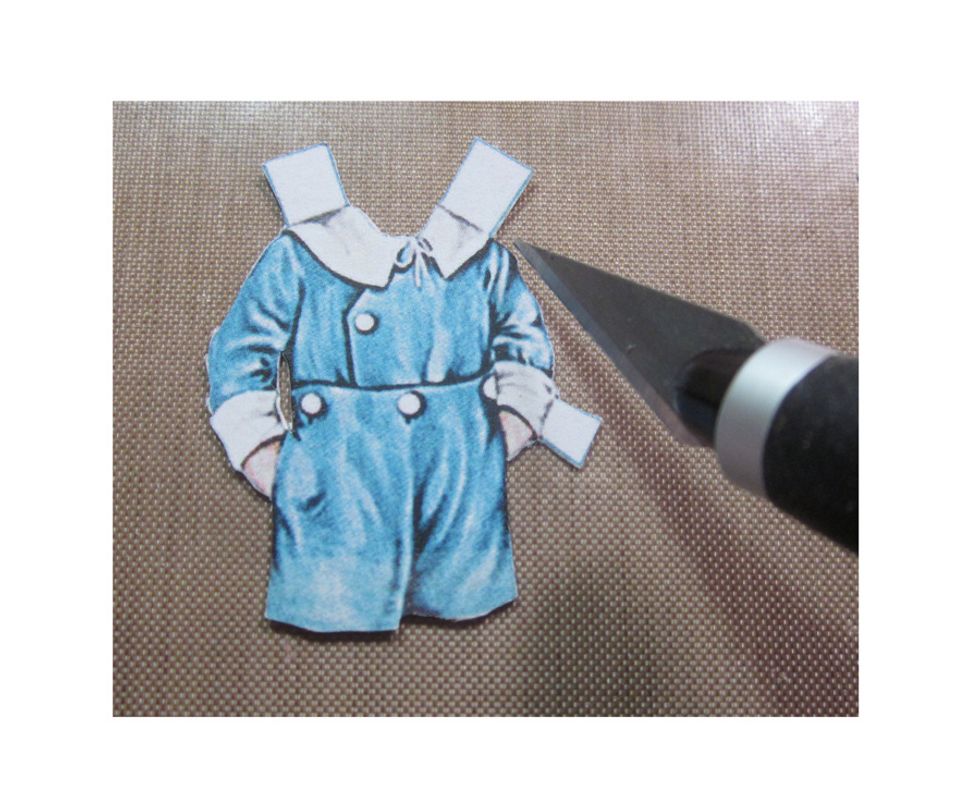
Fussy cut out boys short outfit from the paper collection
Add the outfit to the front of the card with a foam square and then cluster some Petaloo flowers around the outfit and glue down.
Using strong tape apply glue to the lower half only of of the easel card and attach the decorated front panel.
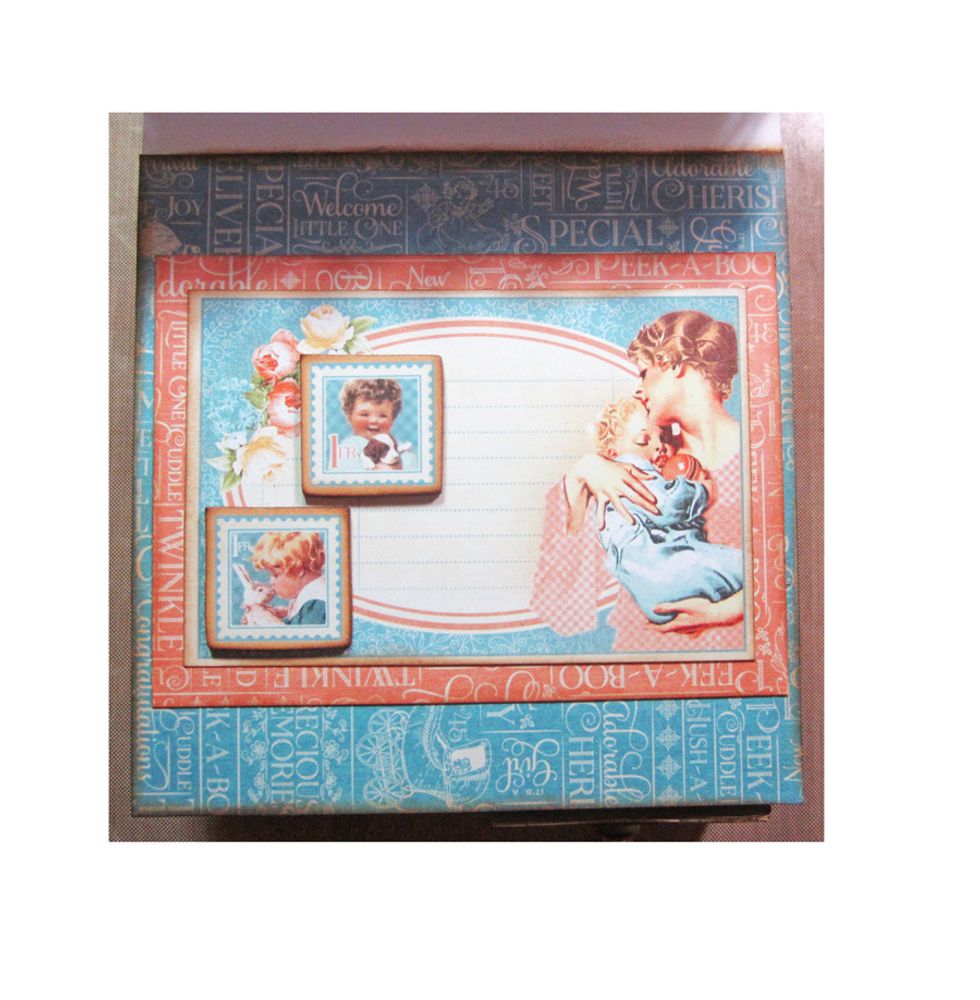
Don't forget to add some inside card decoration. Be sure to use some small chipboard pieces on the interior so the easel card will have something to rest on when opened and stay standing up.
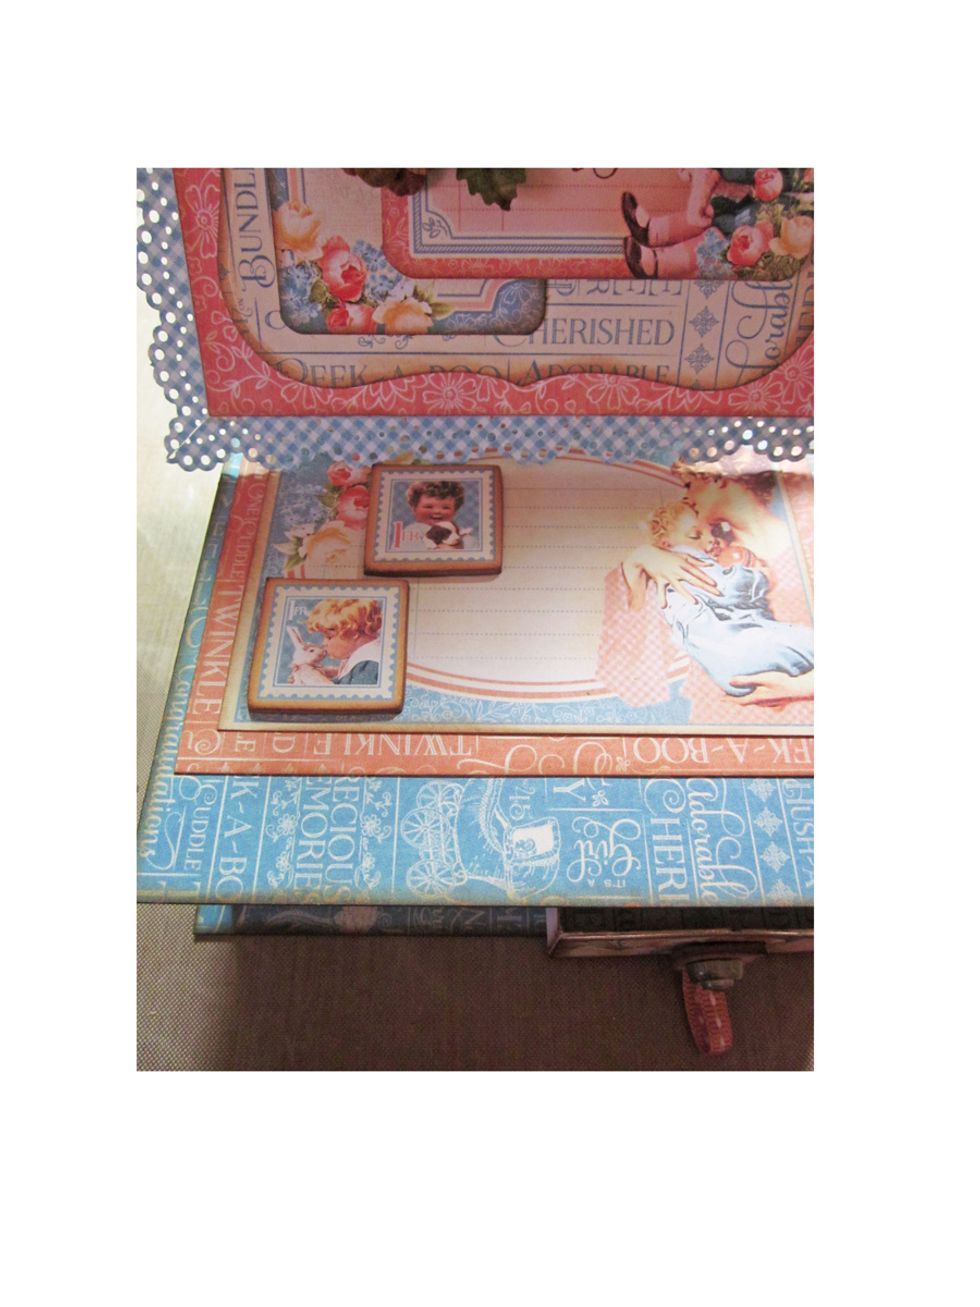
Here's a picture of the raised card resting on the inside chipboard.
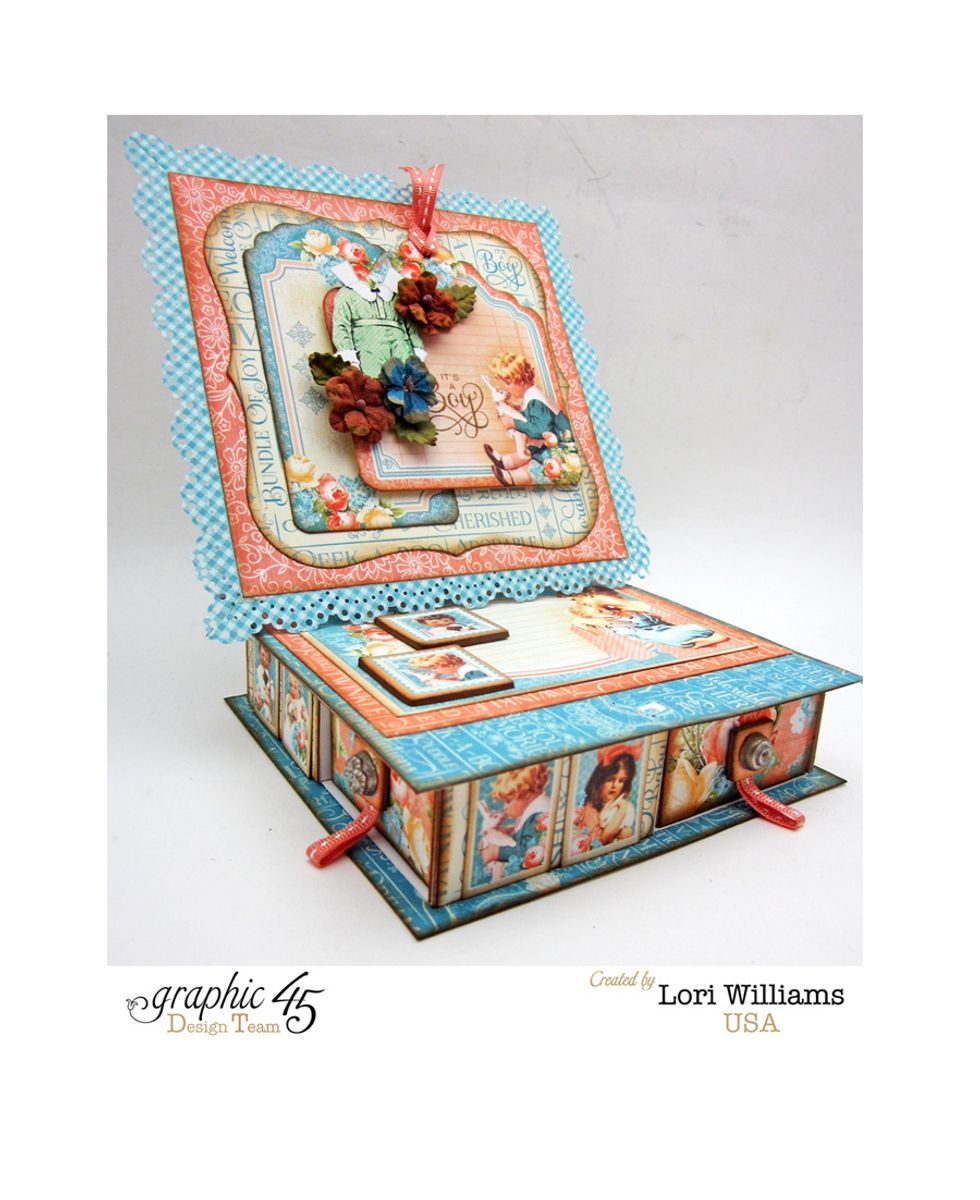
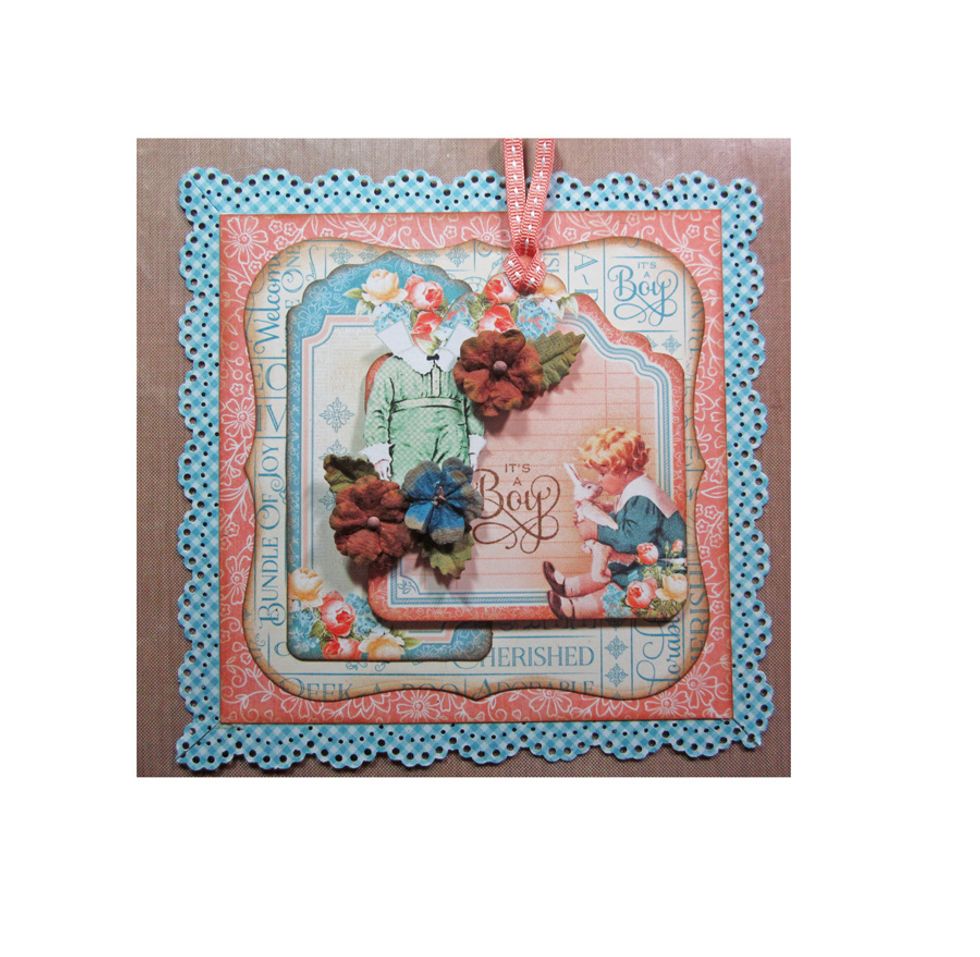
Here is the finished card opened up.
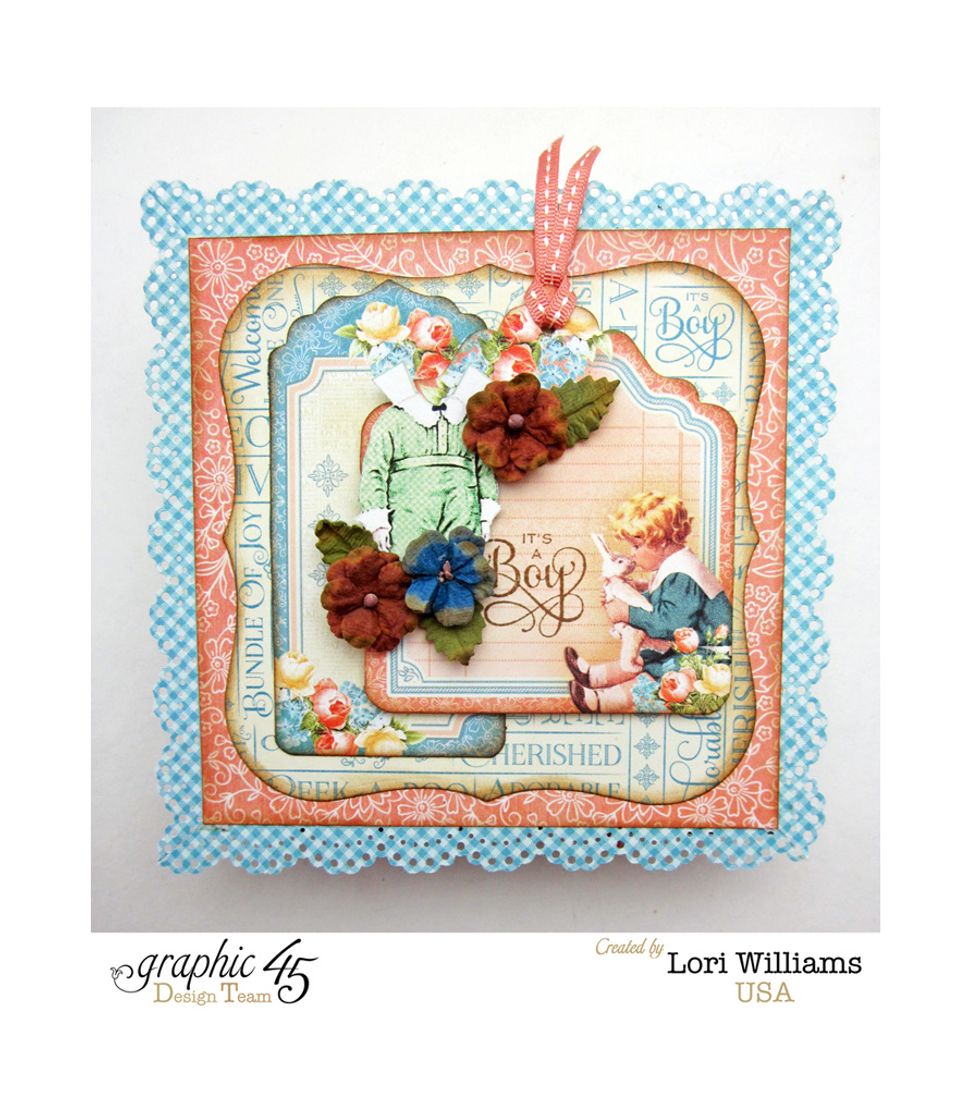
Here's the front of the card.

Close up of the drawer fronts.
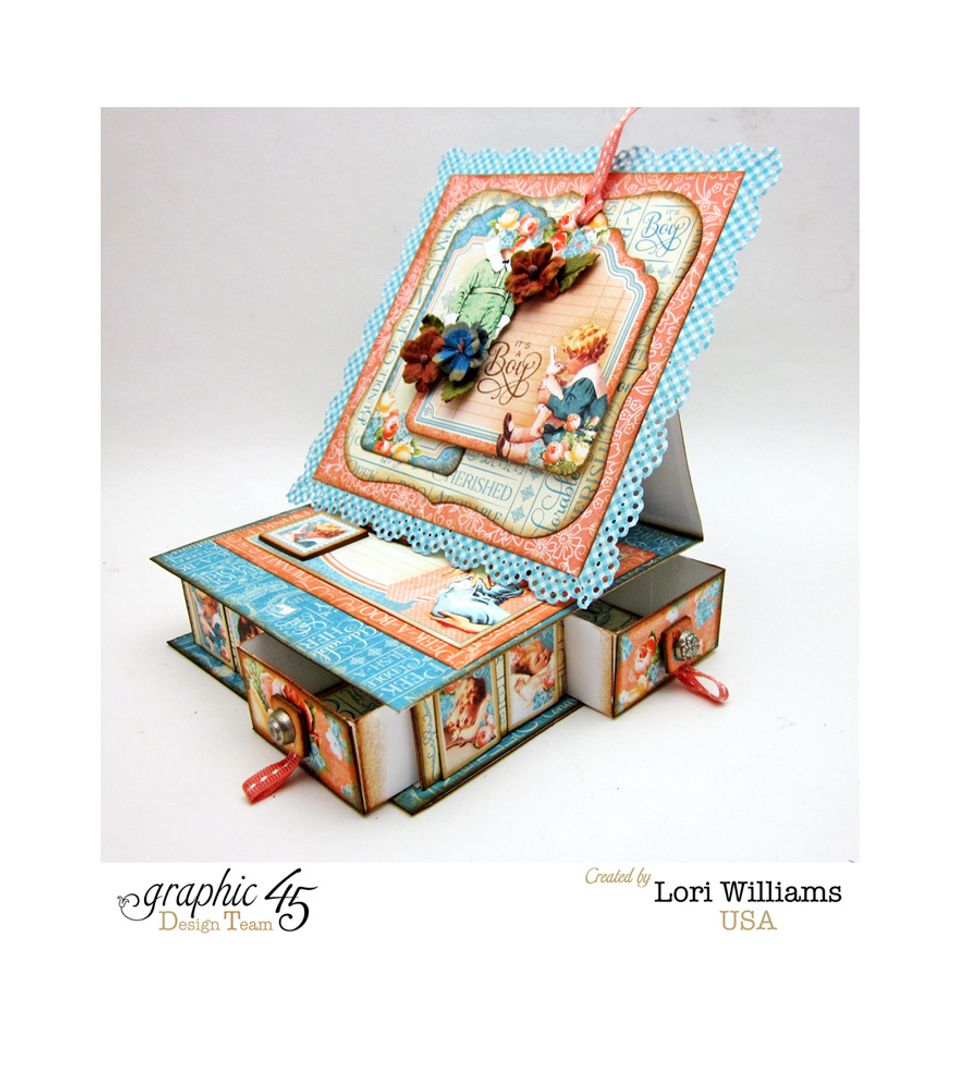
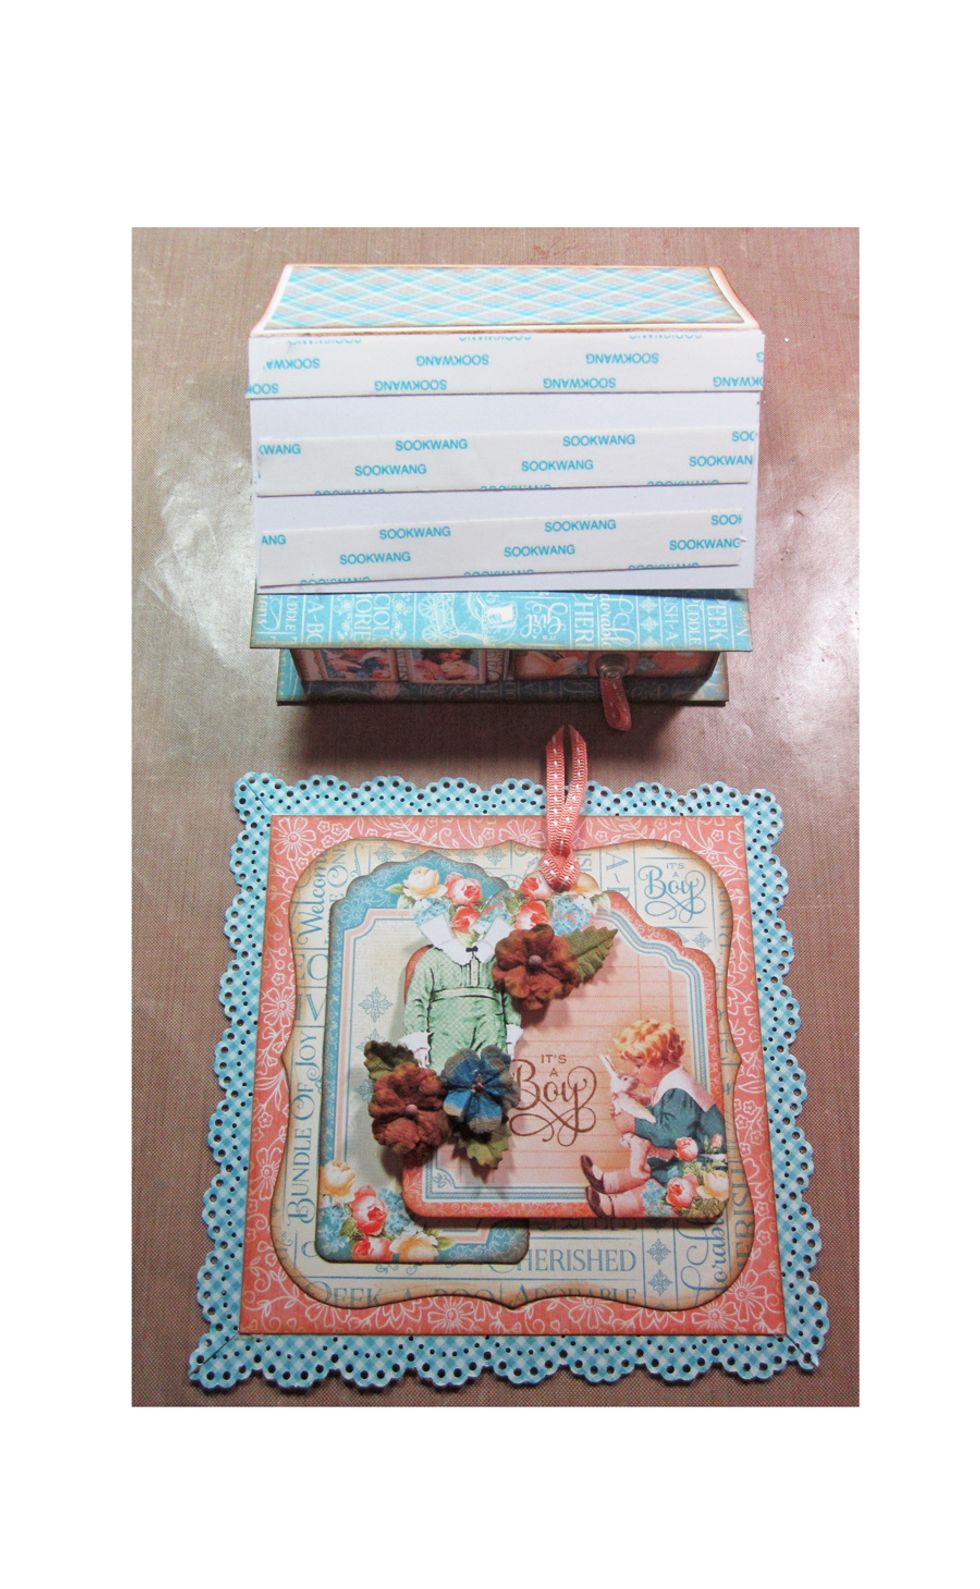
Here are the drawers opened. Want to see all the supplies...check out Graphic 45's blog for the posting with all the supplies.

My name is Lori Williams and I'm a design team member with Graphic 45. You can see more of my work on my blog www.pinkcloudscrappers.blogsp… or on Graphic 45's Blog www.g45papers.typepade.com