The Conversation (0)
Sign Up

Using Cedar Trails 2A or 2B you create your own paper 3D bow.
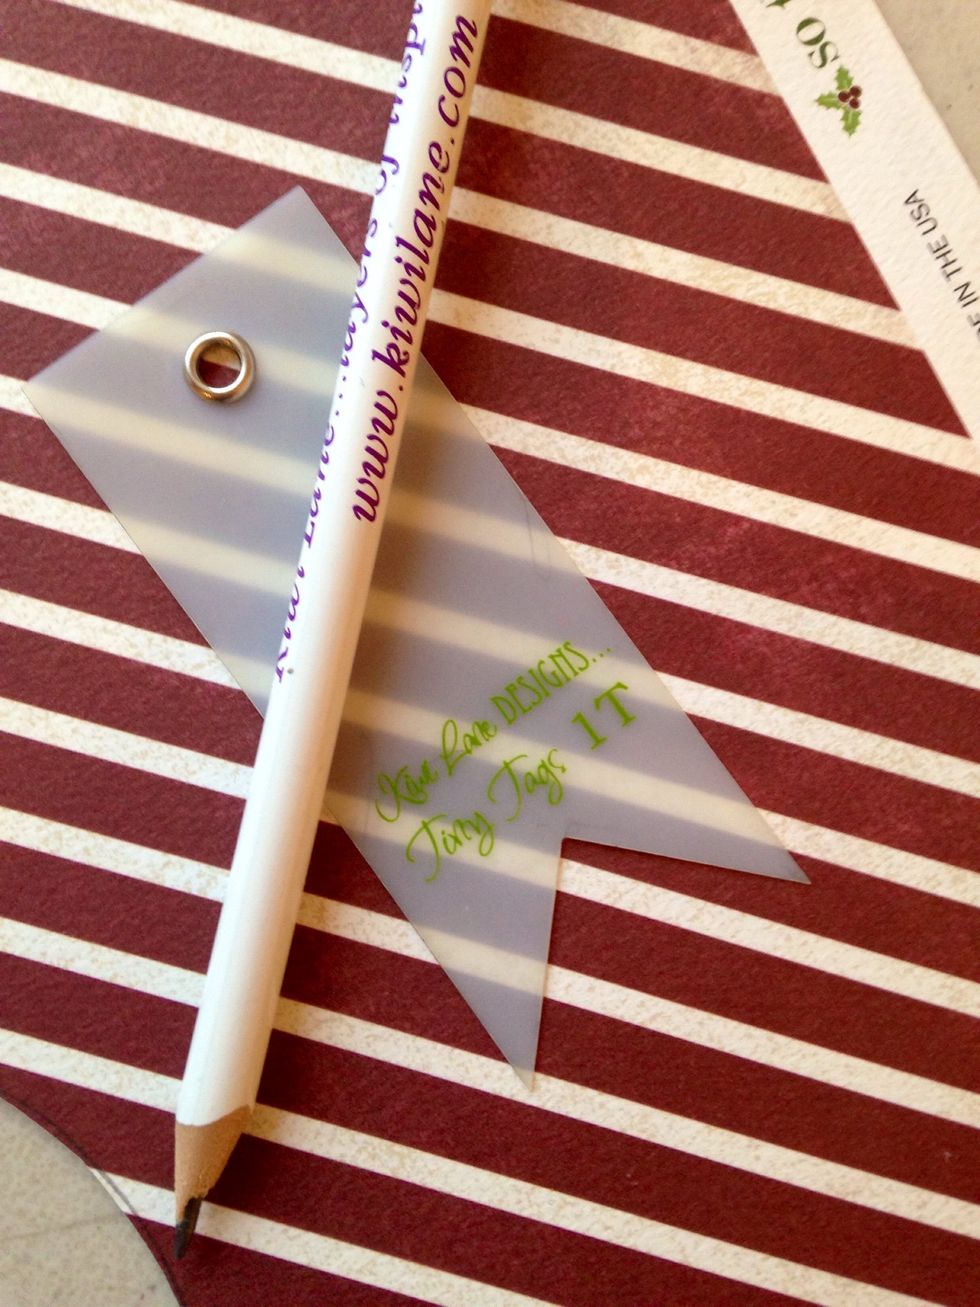
To start Cut two Tiny Tags 1
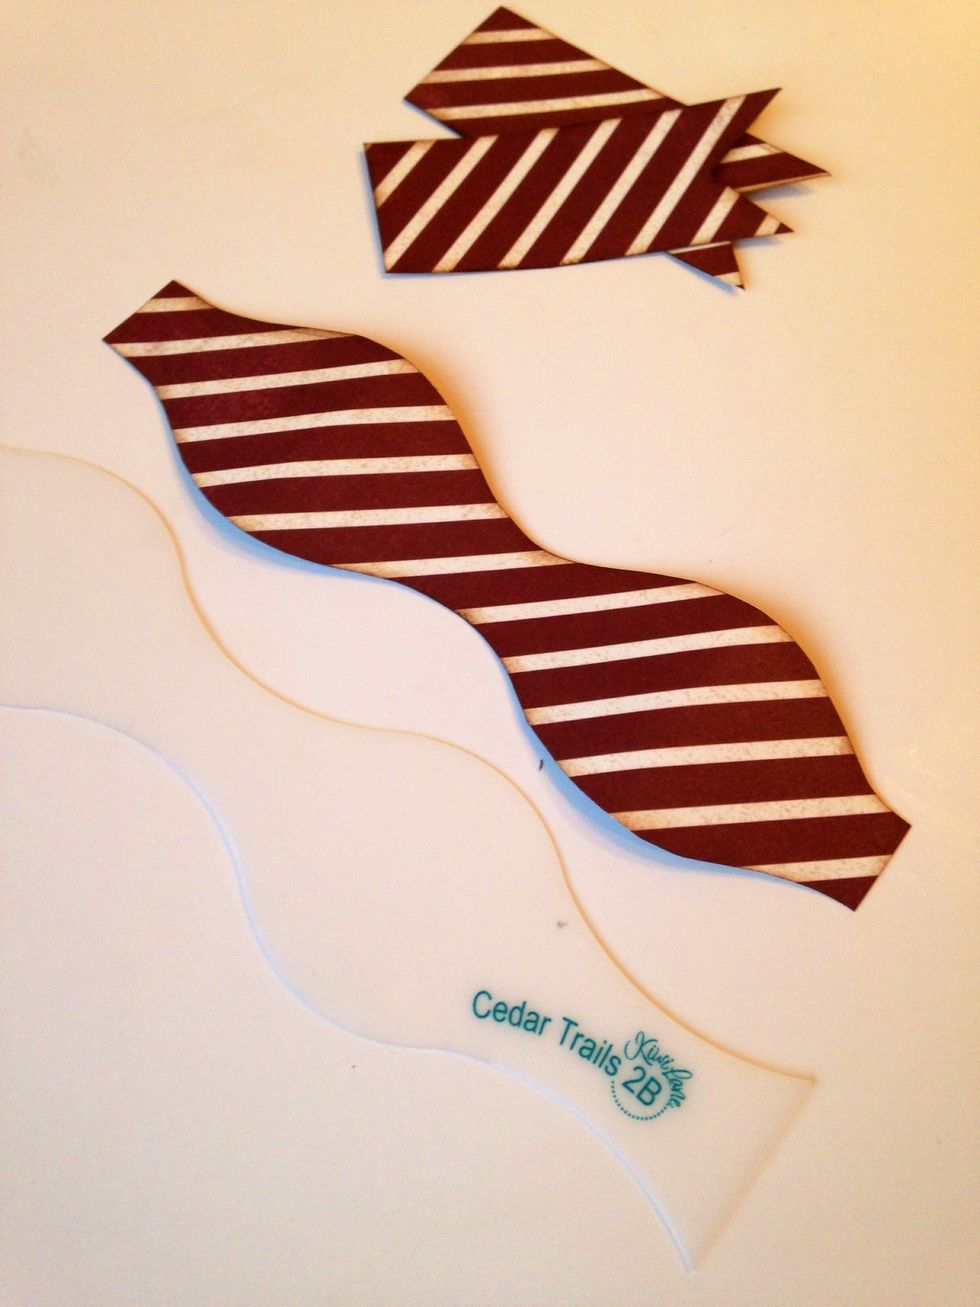
Cut half of the trails only, like you see above.
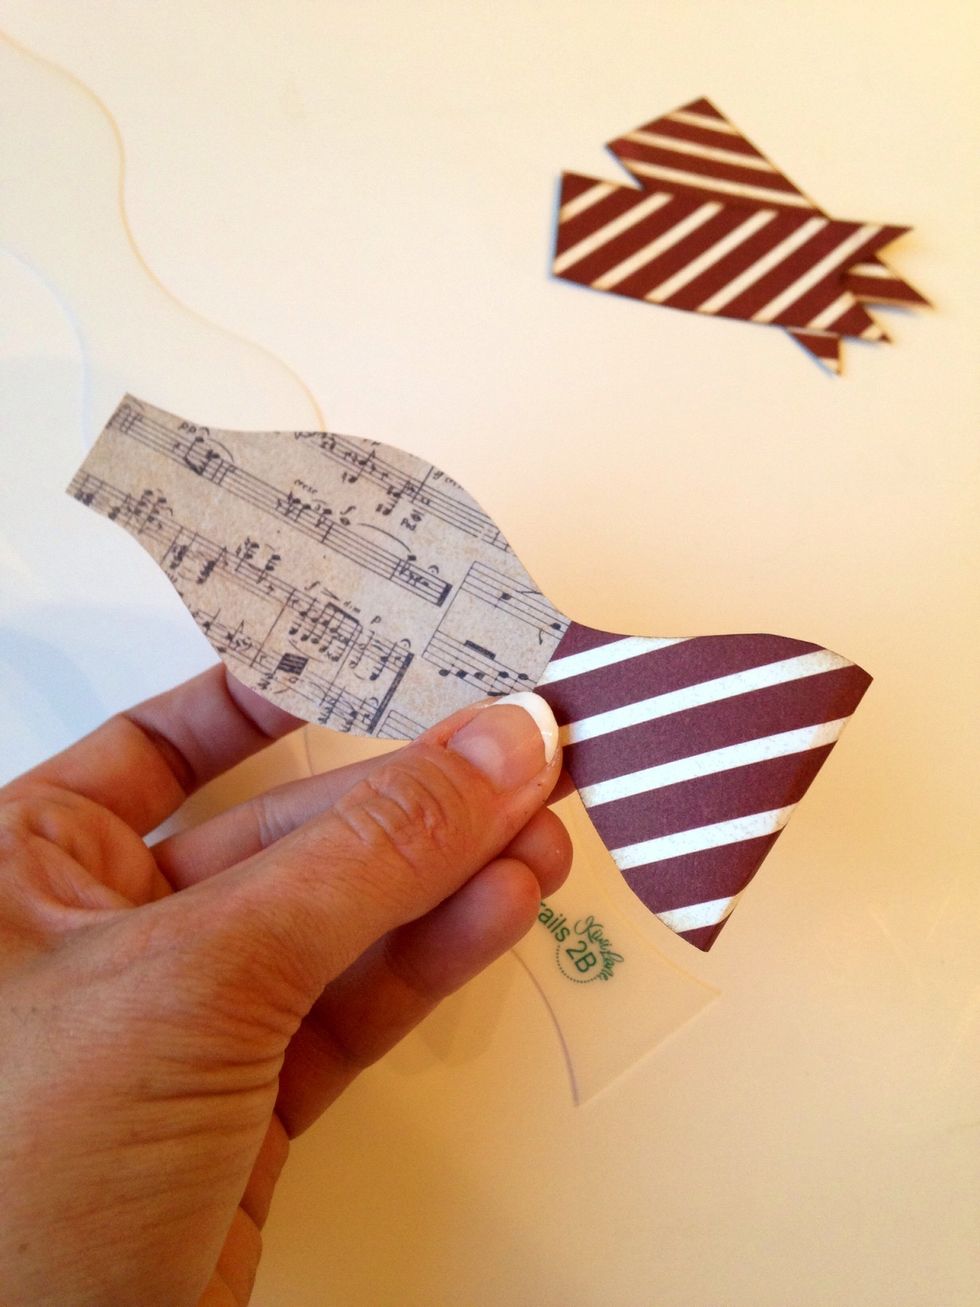
Fold each end to the center to make the bow.
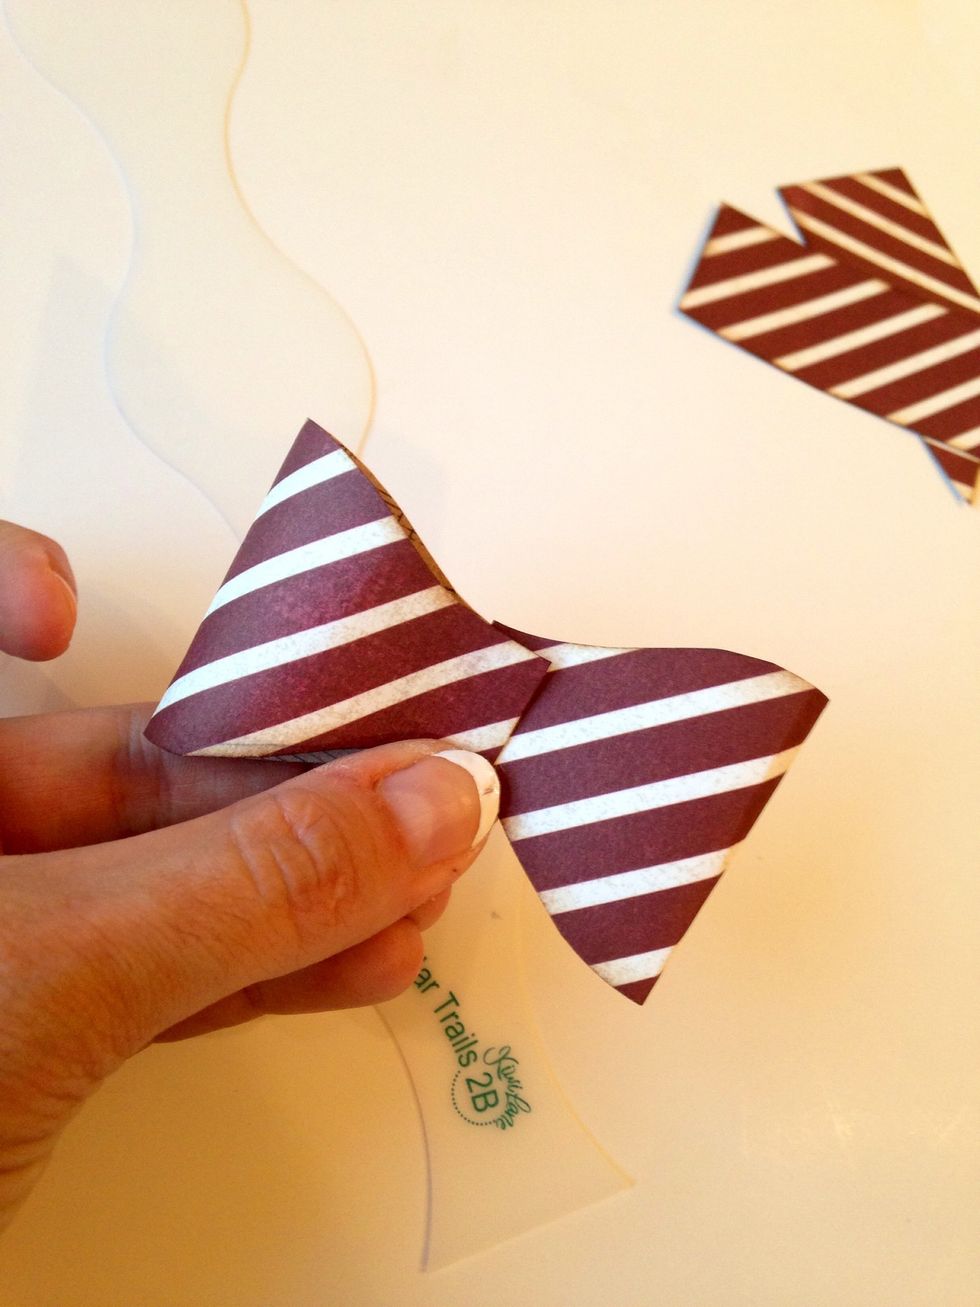
Adhere to The middle.
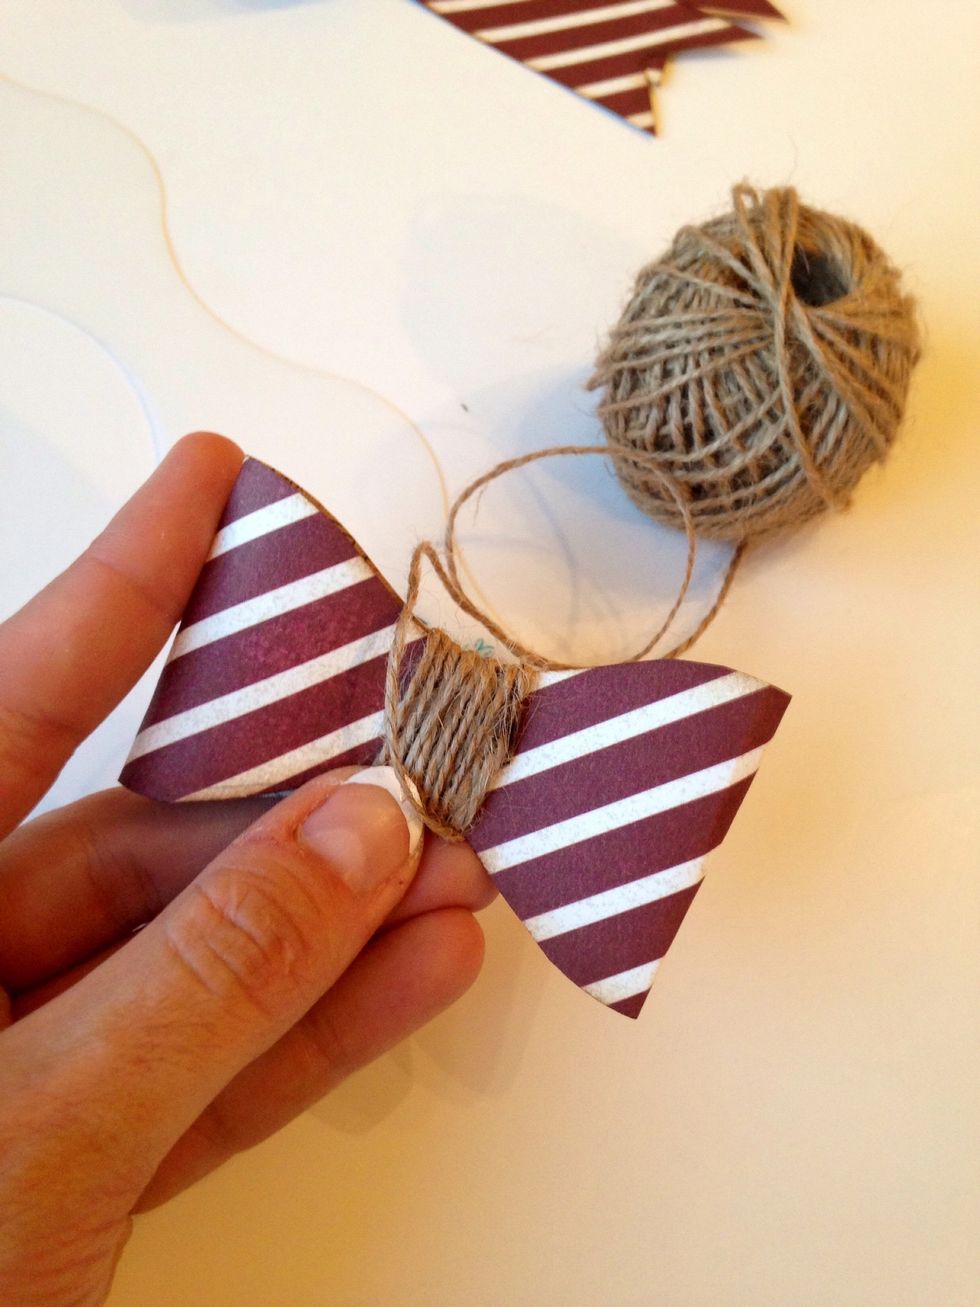
Add some ribbon or twine.
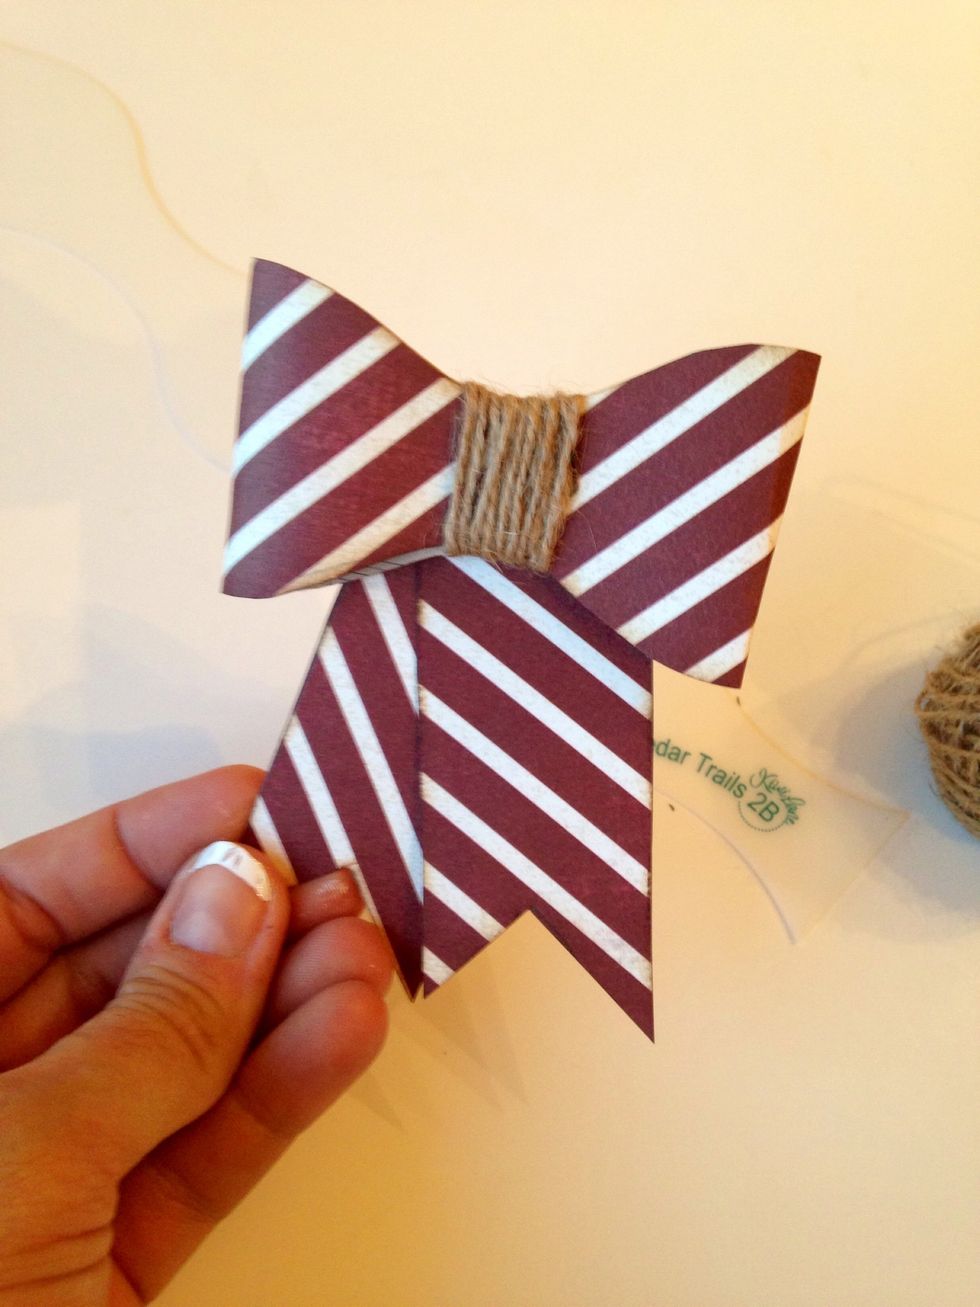
Adhere your tags and you have a bow. Super cute for a gift, card, or use it on your pages.
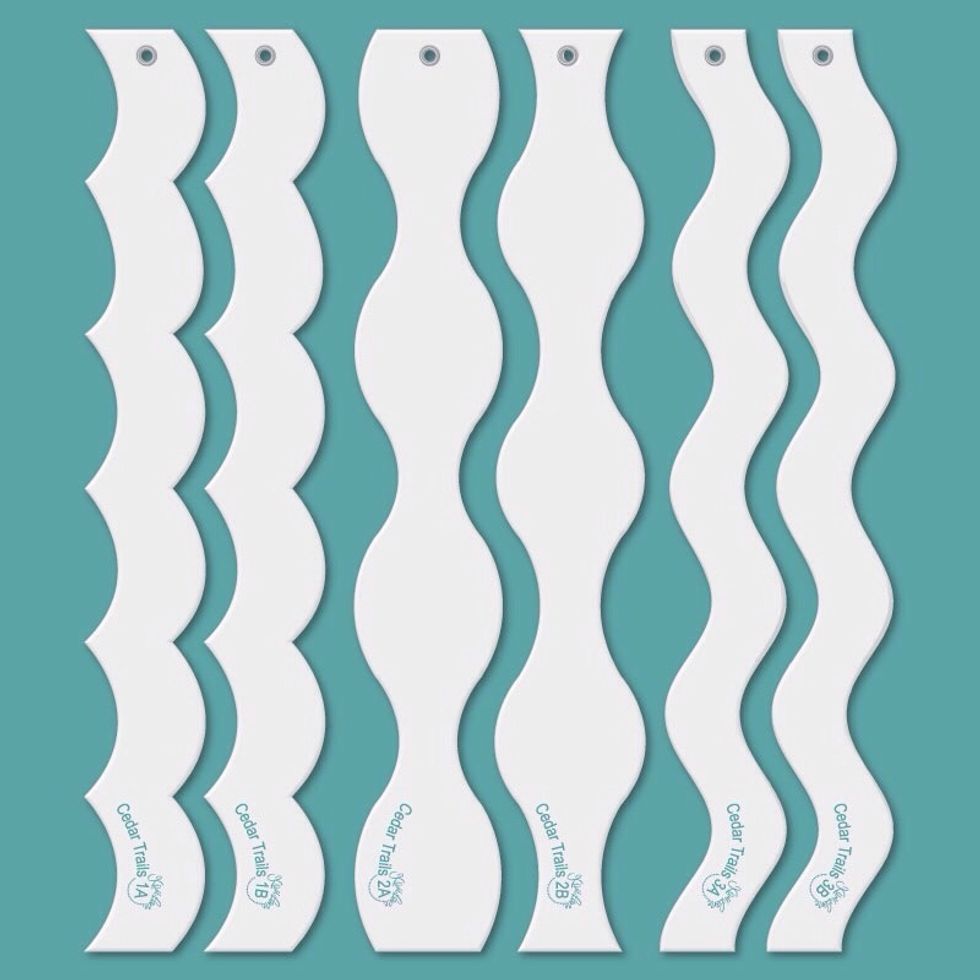
Cedar Trails. Comes with 6 Designer Templates in 3 sets and a ring for easy storage.

Kiwilane.com