The Conversation (0)
Sign Up
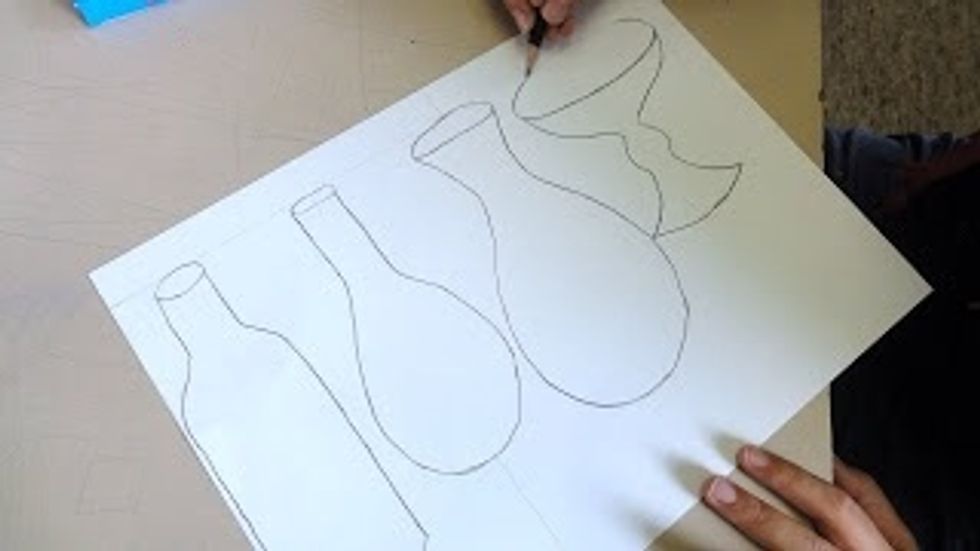
Draw 5 or more bottles or vases. Use a line of symmetry to help make sides even.
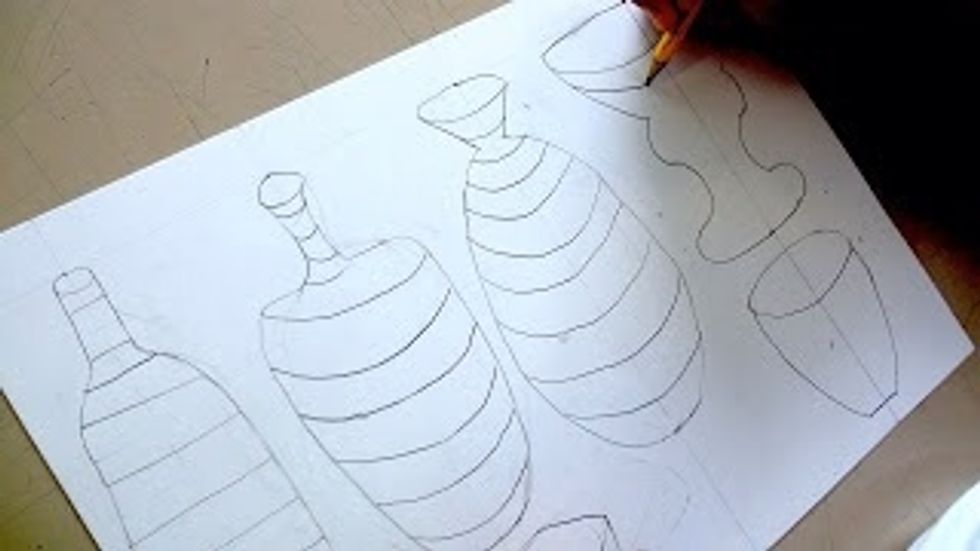
Add contour lines to the bottles.
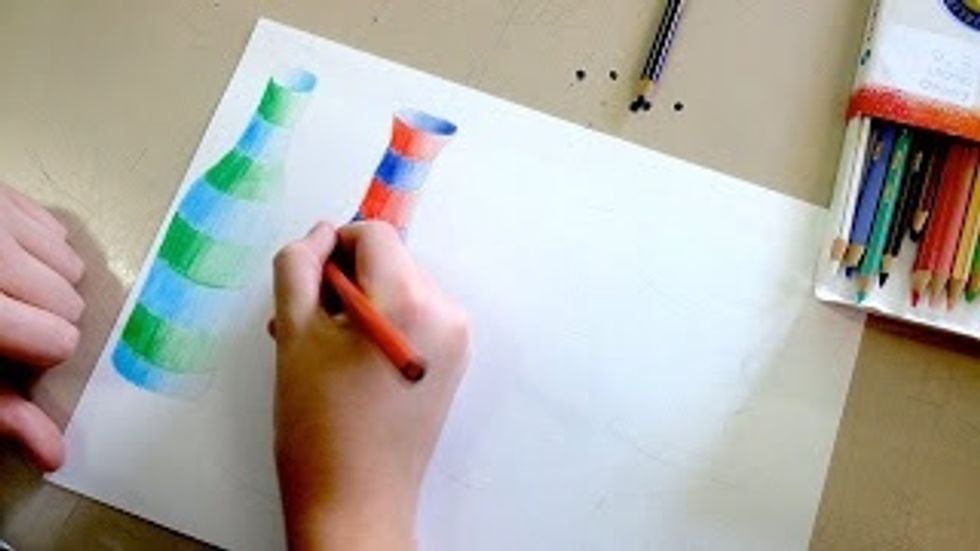
Use colored pencils to add color and value. The shadowed side and the highlighted side of the bottles should all be the same.
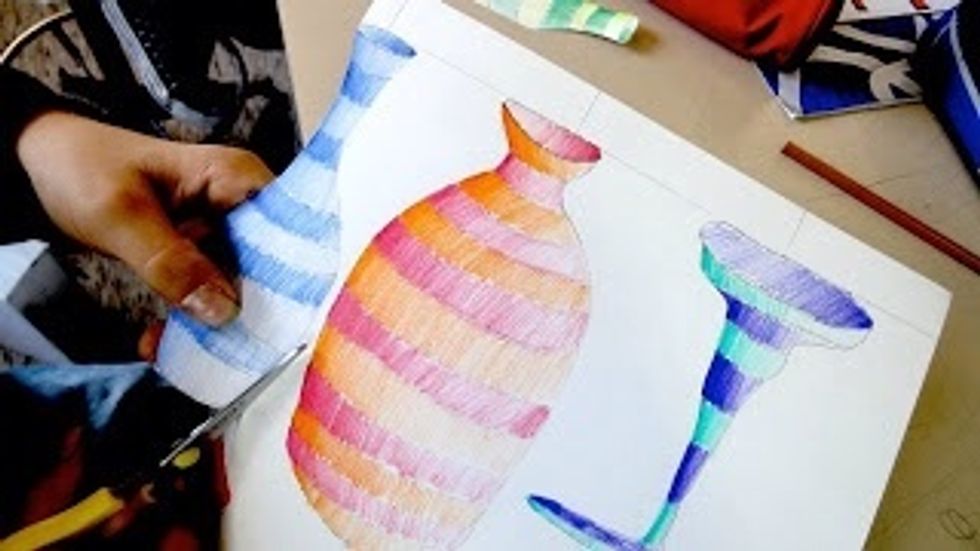
Finish coloring all of the bottles.
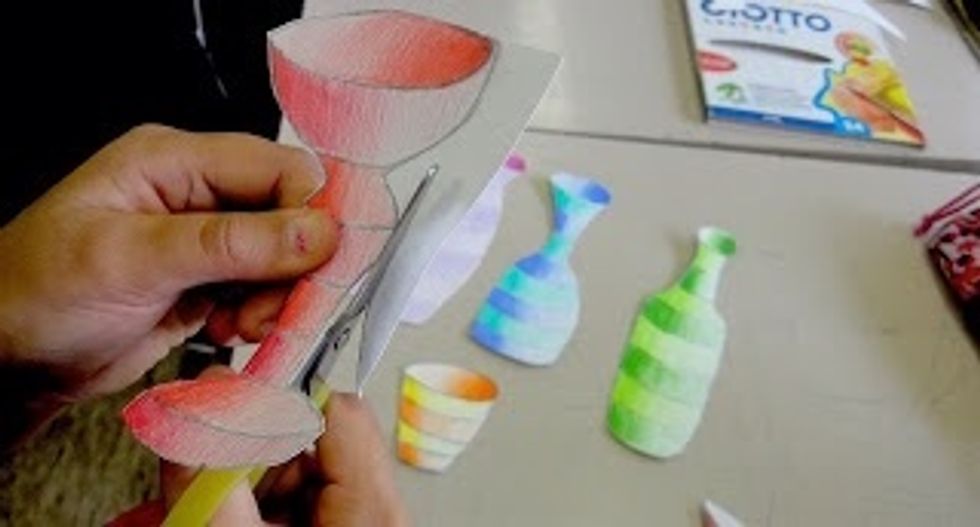
Cut out the bottles and vases.
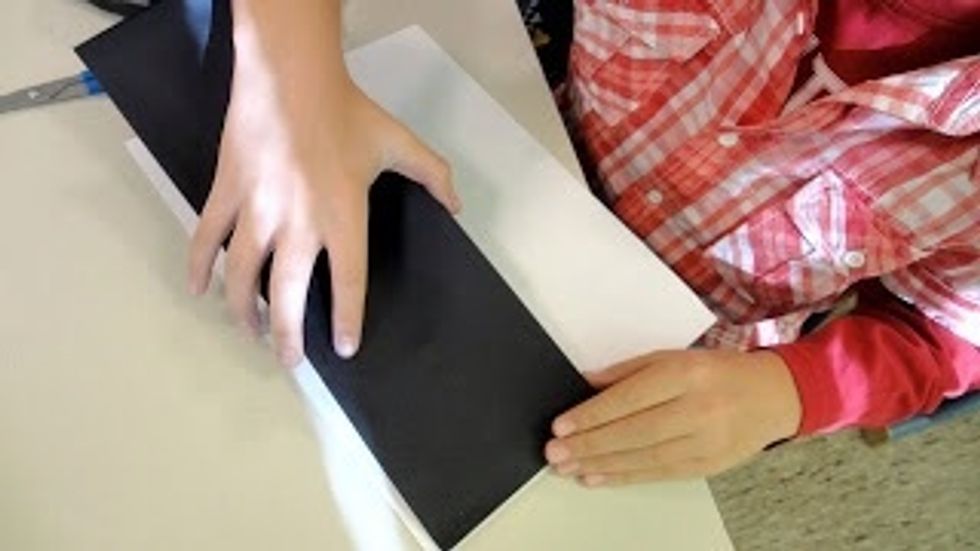
Glue the precut black paper strip to the top of a white paper. The white will become the ground and the black will be the background.
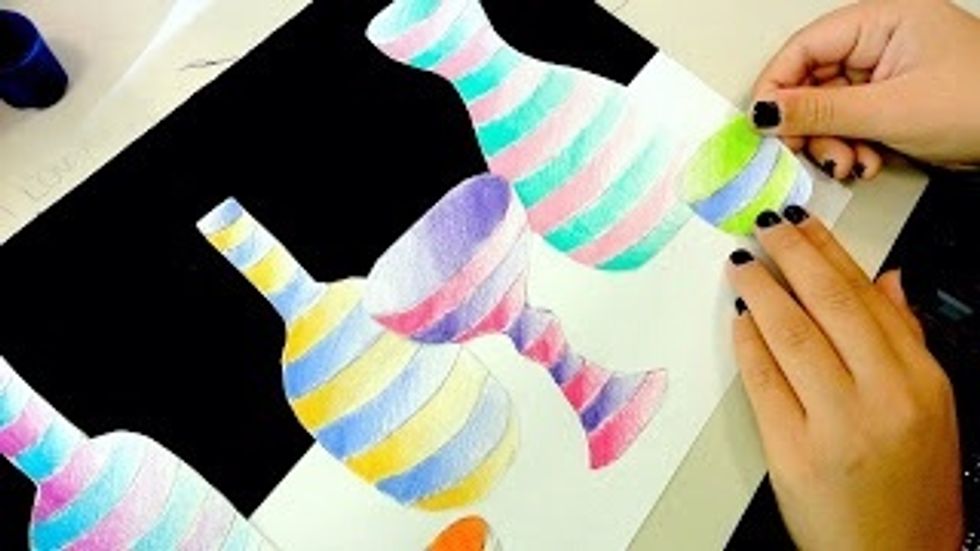
Glue the bottle shapes down to the white area of the per. Pay attention to what shapes are in front and what is farther back. Try to show depth with overlapping shapes and the size of the shapes.
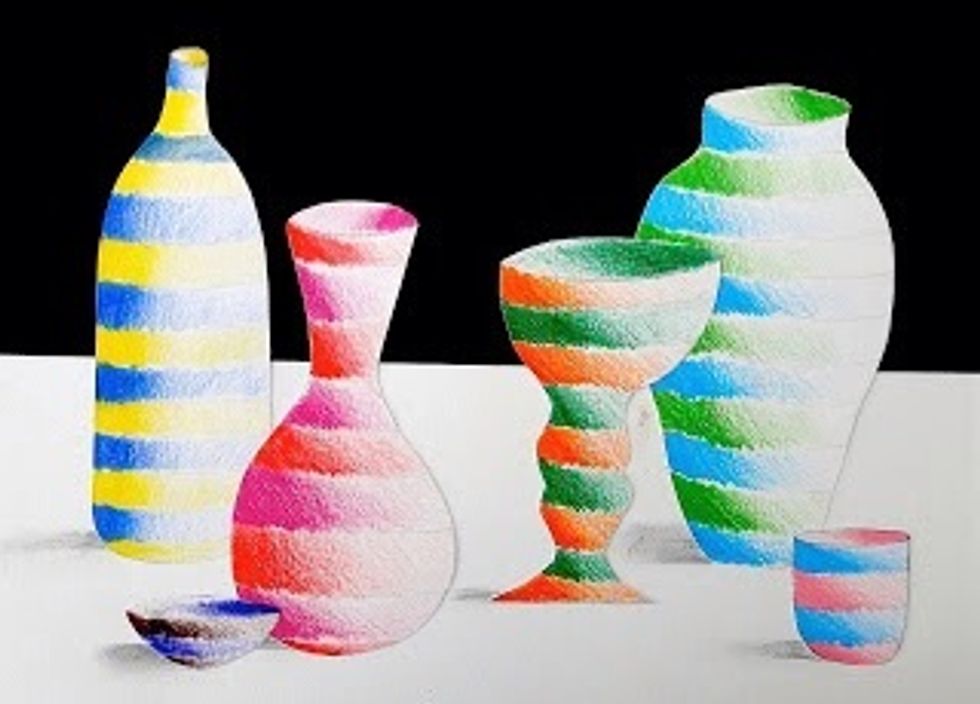
Finished! This lesson is taken from the arteascuola blogspot titled Striped Bottles and Vases, Thursday, October 18, 2012