The Conversation (0)
Sign Up
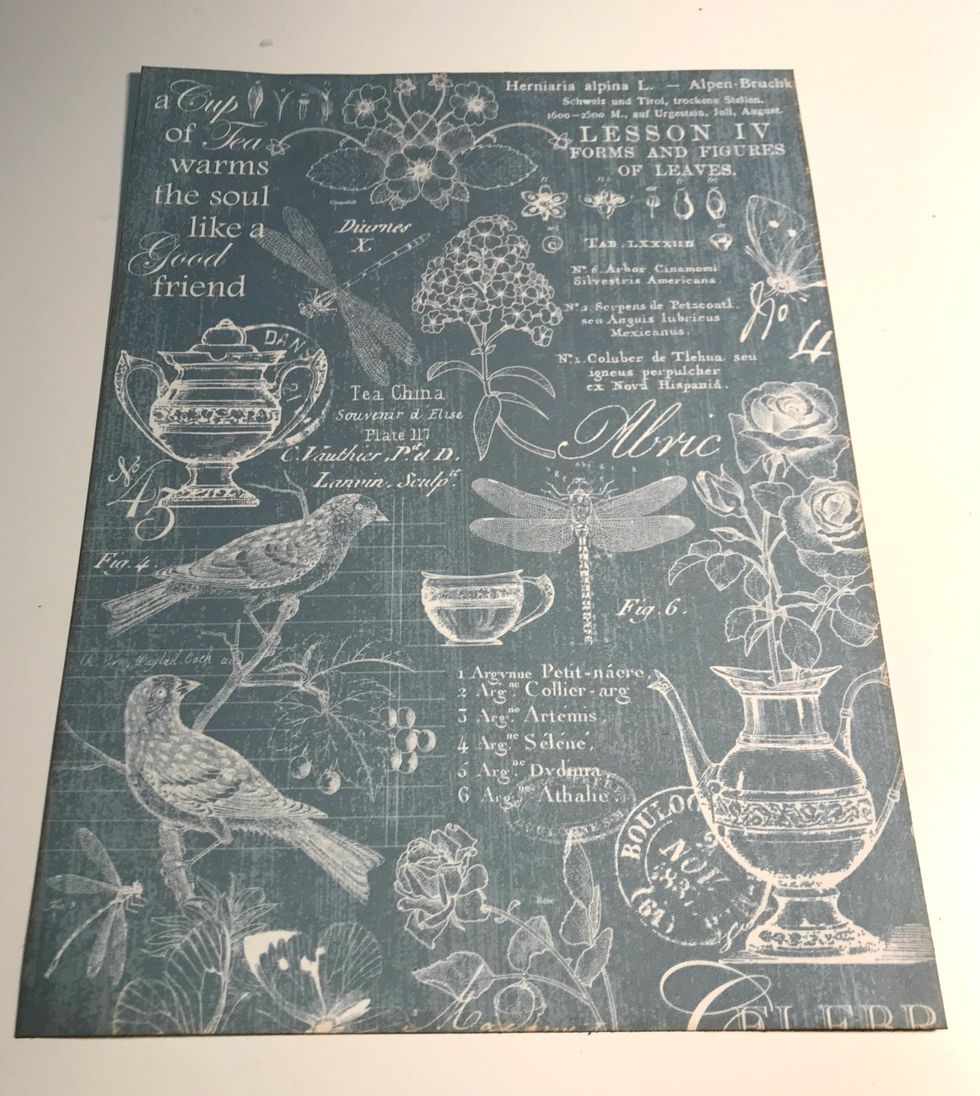
From the blue with white writing paper, cut a piece that measures 7" x 9 1/2". Ink the edges of the paper using Vintage Photo Distress Ink.
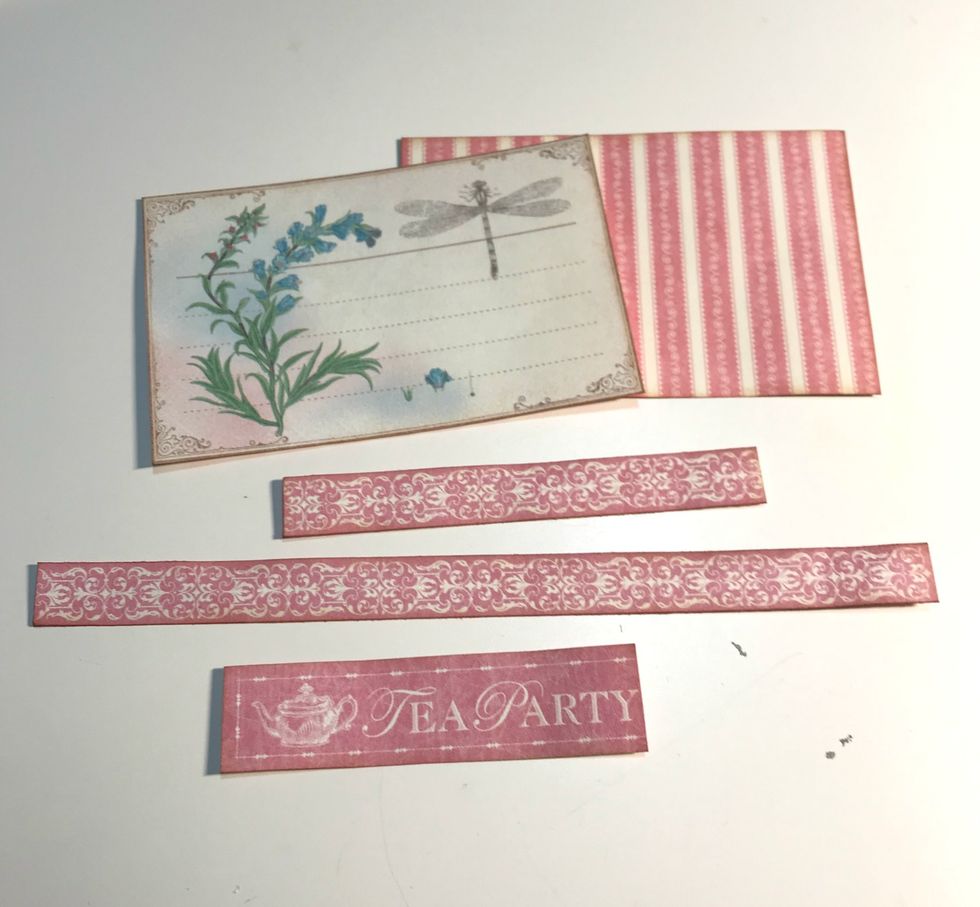
From the borders & cards paper, cut out 2 cards. Cut the pink border in two pieces, 1. 2 1/2" & 2. 6 1/2" long. Cut out the Tea Party word from the border. Ink the edges with Vintage Photo Ink.
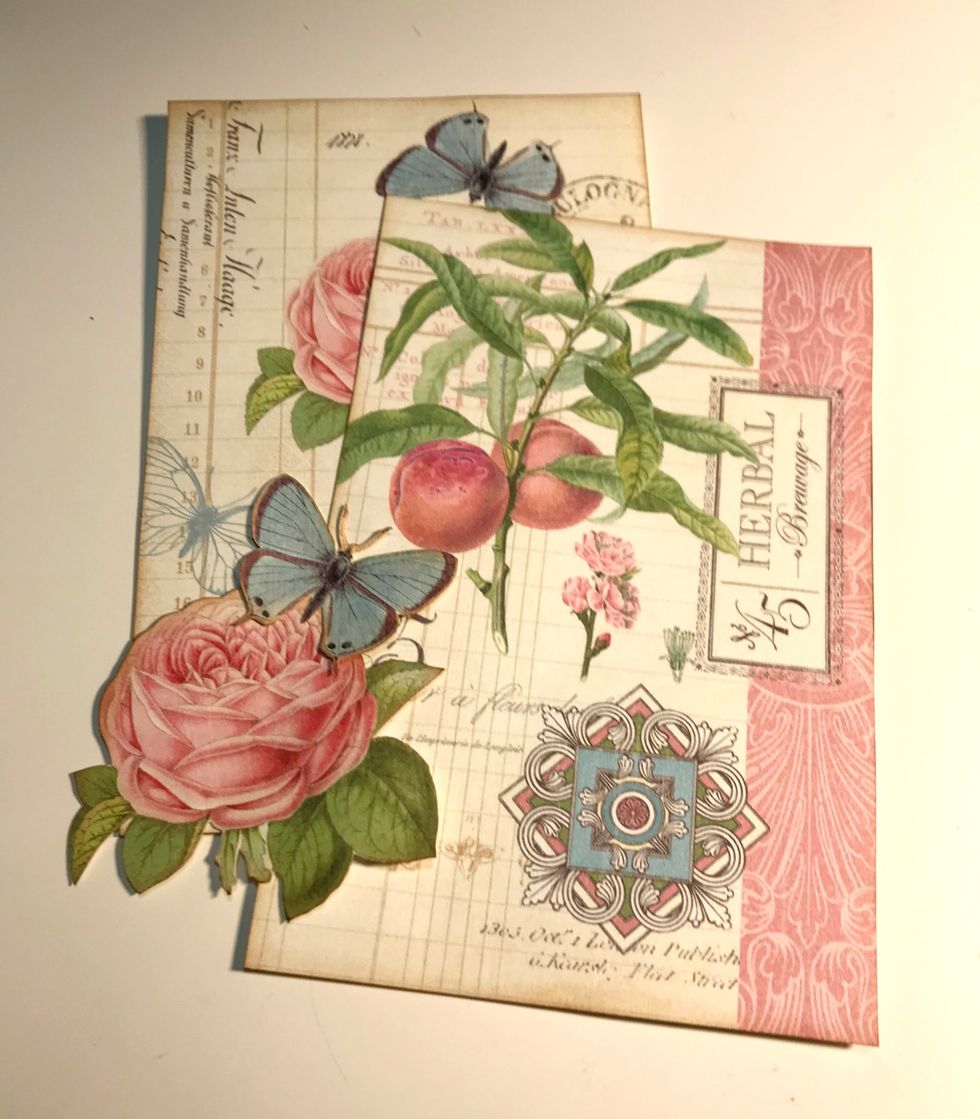
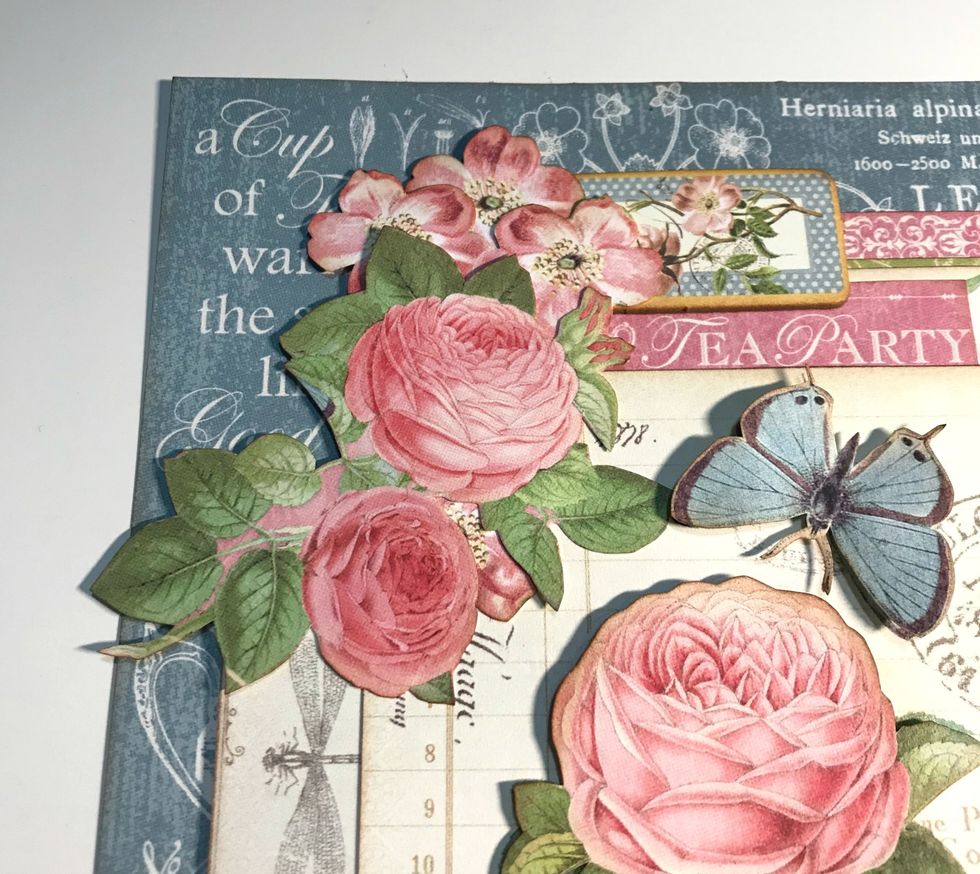
From the 4" x 6" card, fussy cut the Herbal card & rose/butterfly card. From a second rose/butterfly card, fussy cut the rose & butterfly. Ink edges of card & images with Vintage Photo Distress Ink.
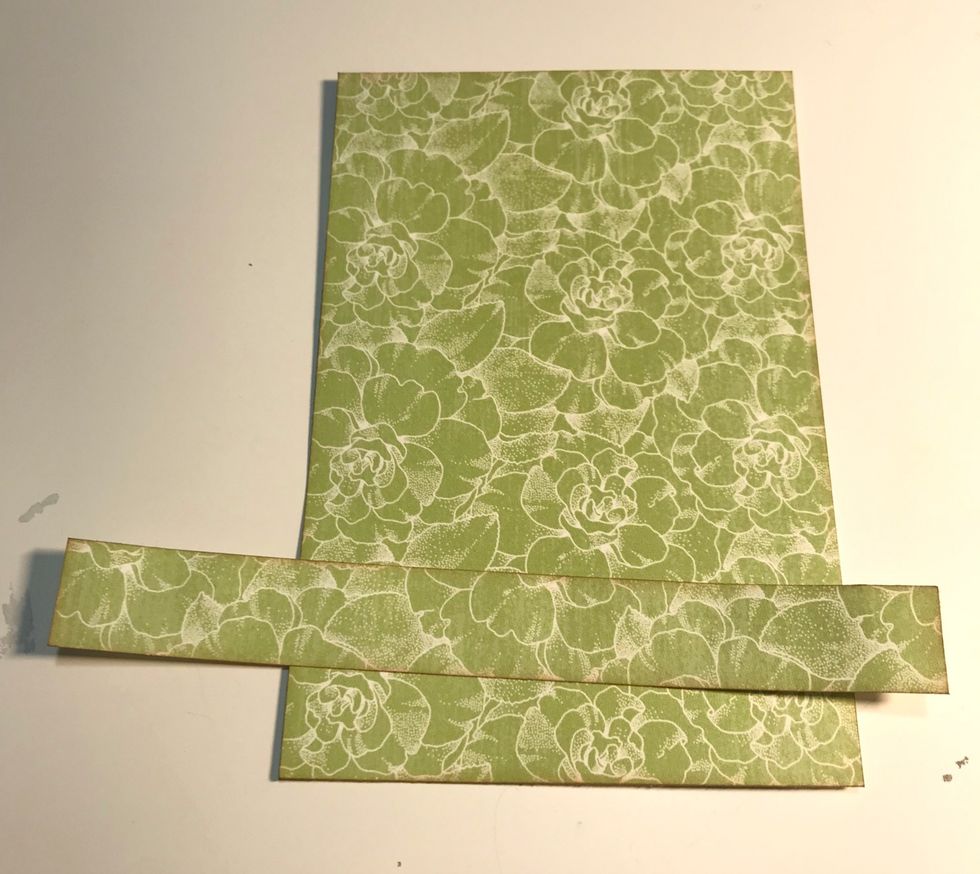
From the green/white floral paper, cut a piece that measures 4 1/4" x 6 1/4". Cut a second piece that measures 3/4" x 6 1/4". Ink the edges of the paper using Vintage Photo Distress Ink.
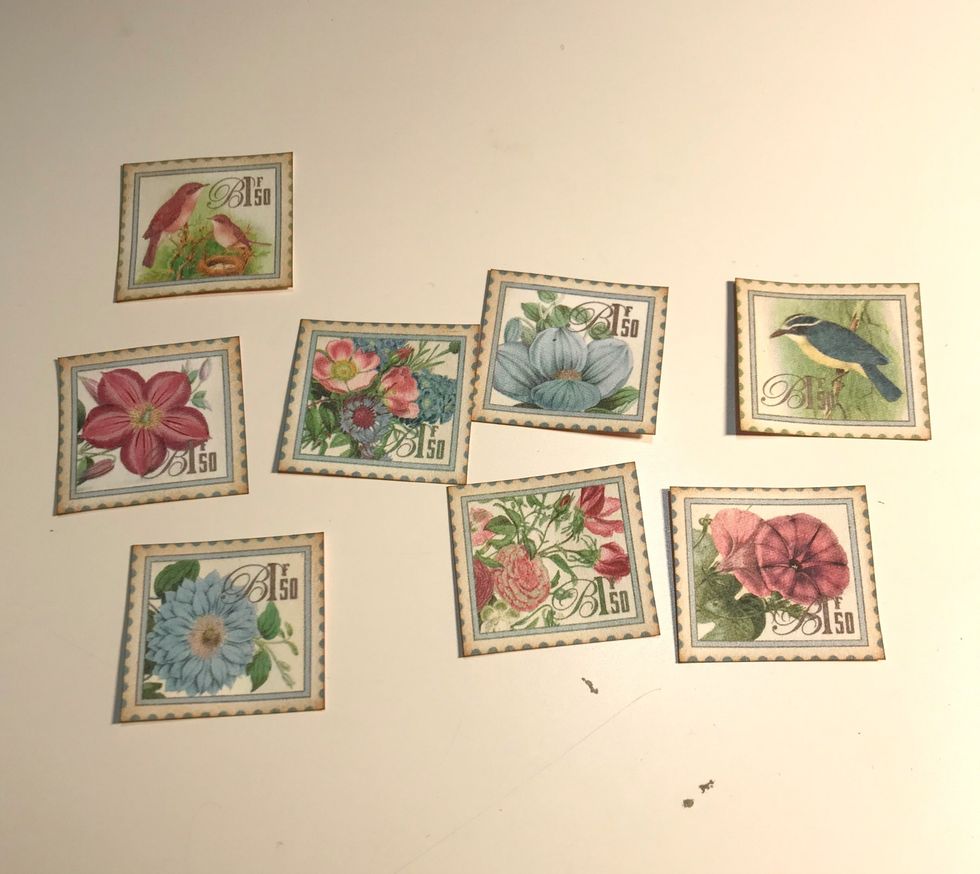
Fussy cut eight stamps from the paper. Ink the edges of the stamps using Vintage Photo Distress Ink.
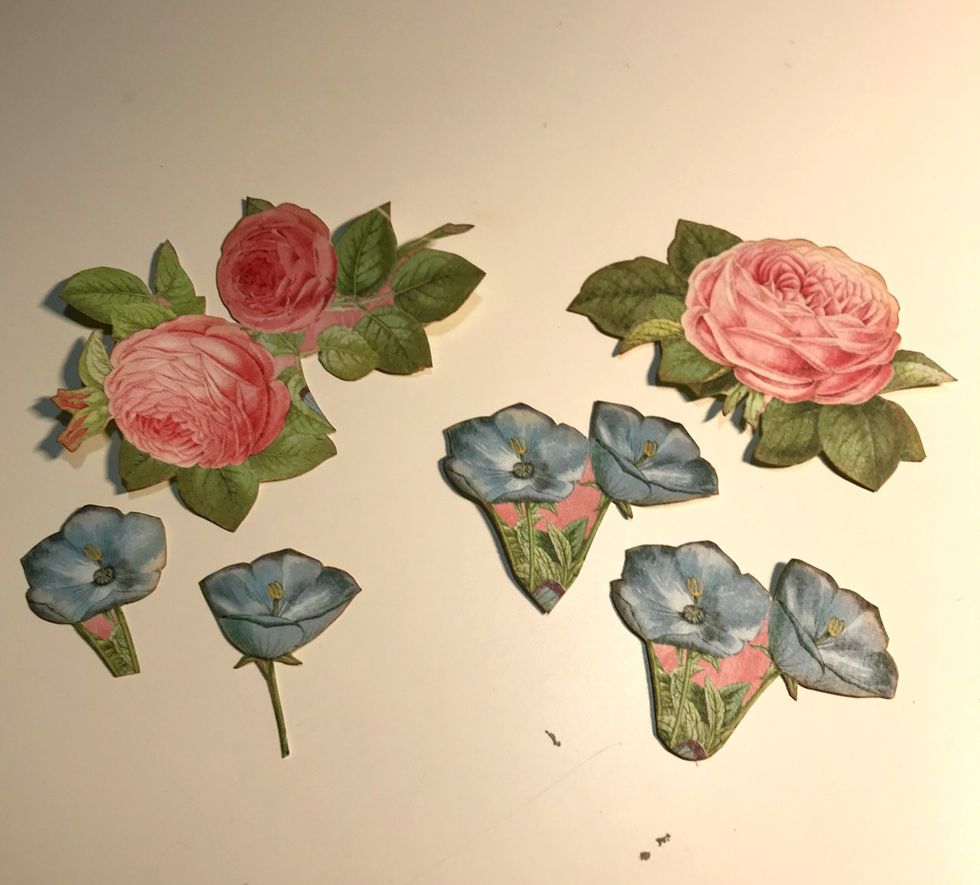
From the floral paper, fussy cut a single rose, a rose bunch and six blue flowers. Ink the edges of the flowers using Vintage Photo Distress Ink.
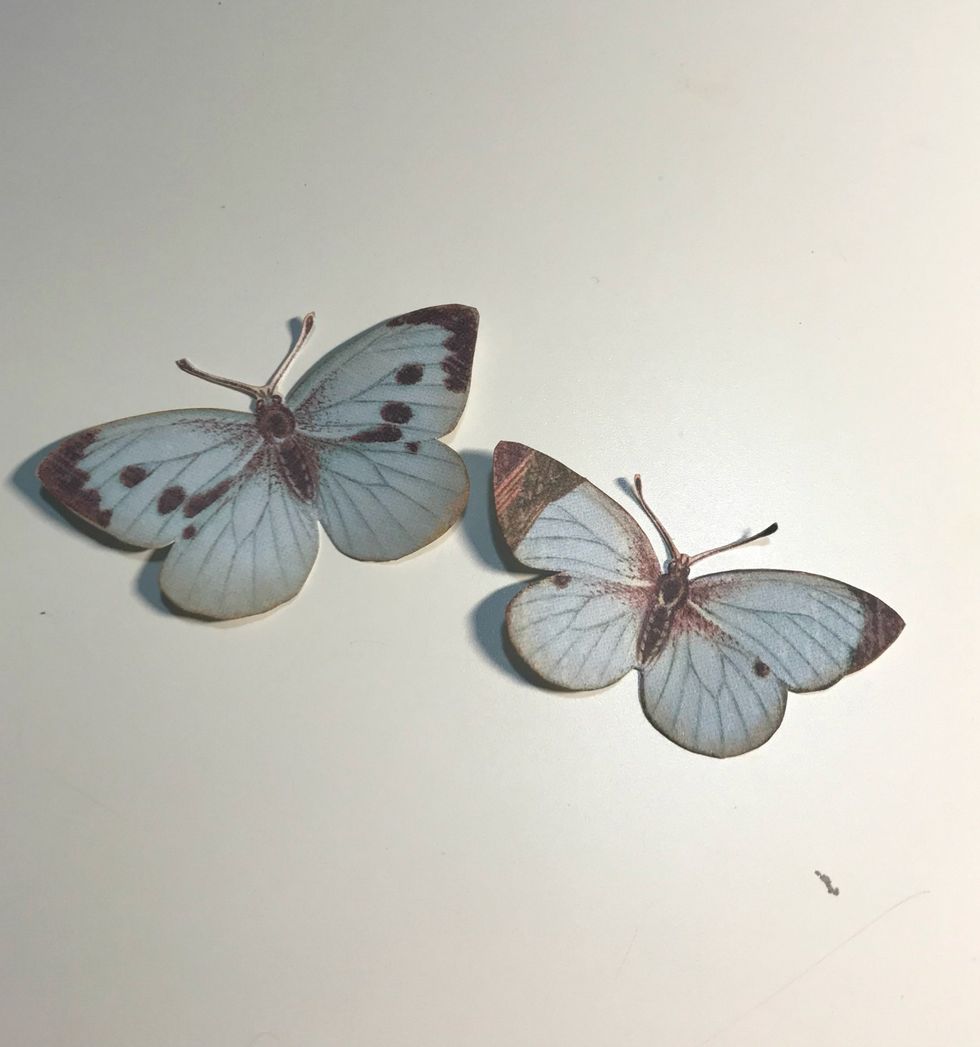
Fussy cut two butterflies from the patterned paper pieces. Ink the edges of the butterflies using Vintage Photo Distress Ink.
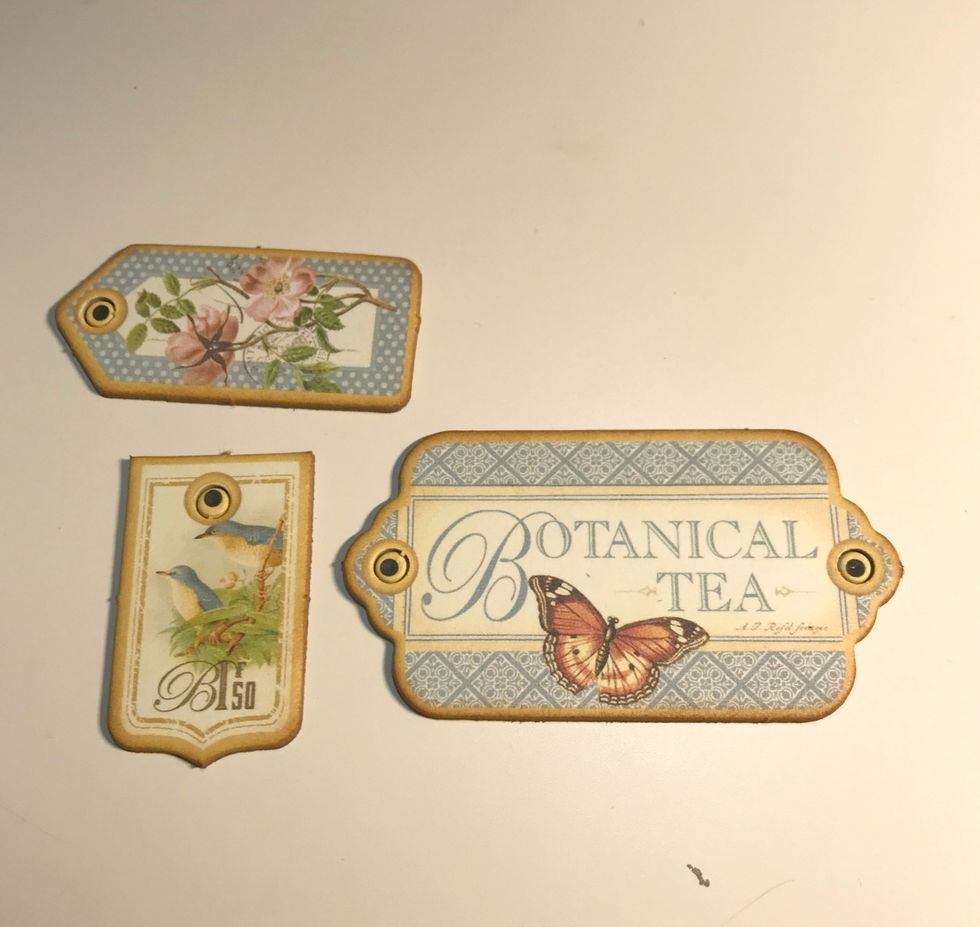
From the chipboard, punch out the Botanical Tea label, the bird banner and the rose tag. Ink the edges of the chipboard pieces using Vintage Photo Distress Ink.
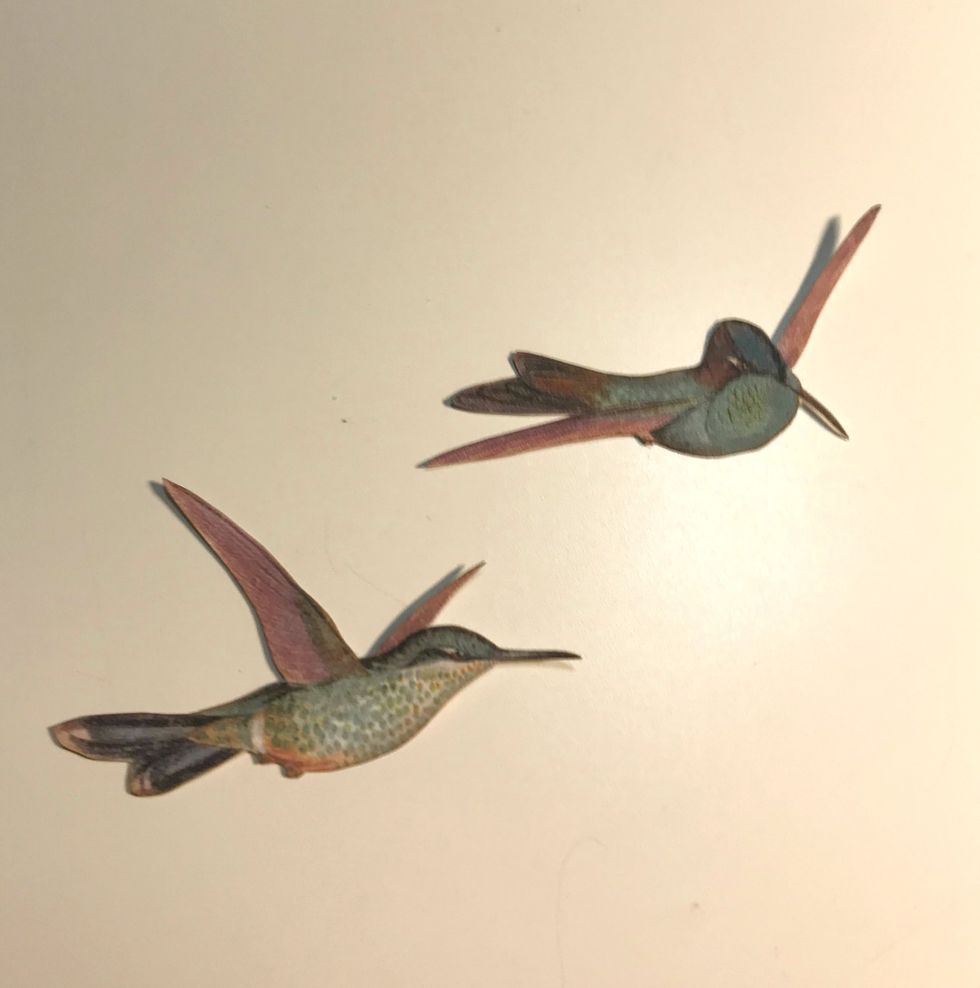
From the patterned papers, fussy cut two hummingbirds. Ink the edges of the hummingbirds using Vintage Photo Distress Ink.
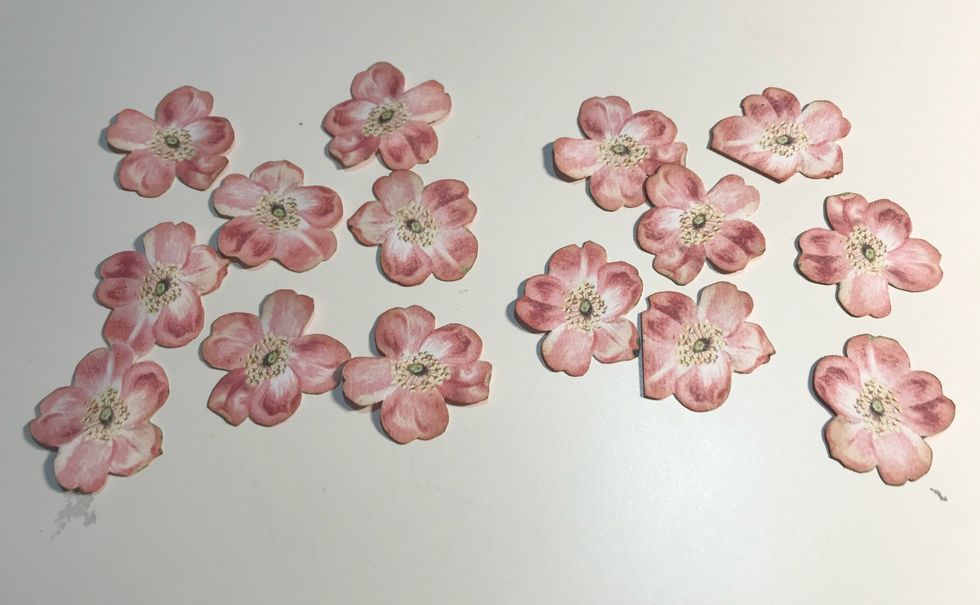
From the pink flowers paper, fussy cut 13 flowers. Ink the edges of the flowers using Vintage Photo Distress Ink.
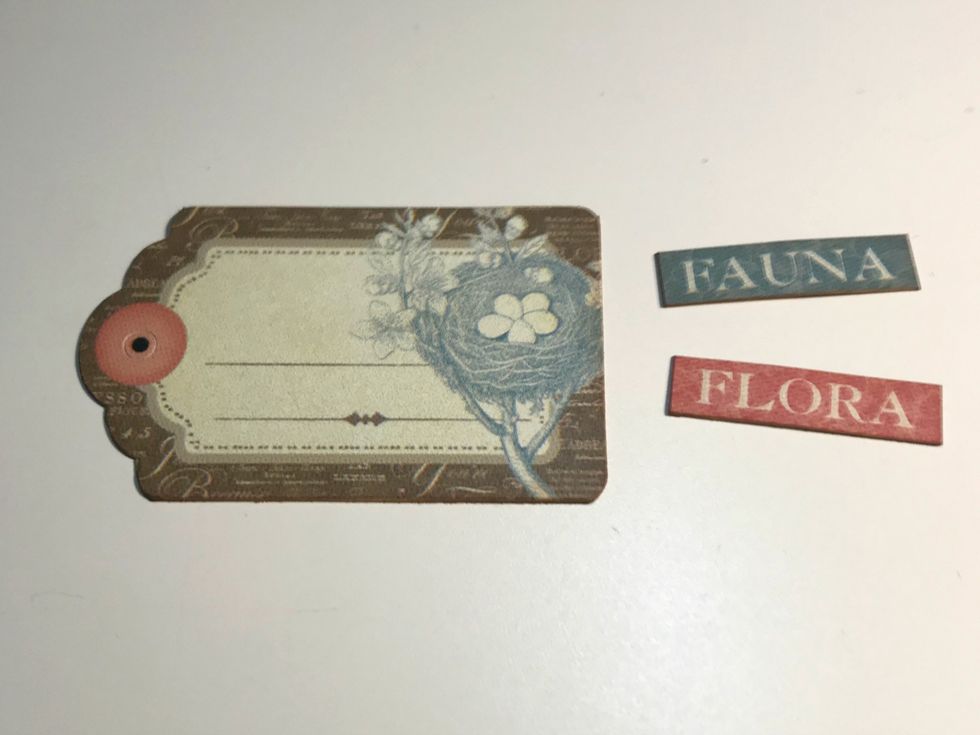
From the sticker sheet, adhere the tag, Flora and Fauna stickers to a piece of scrap paper. Cut the tag and words out. Ink the edges of the words & tag using Vintage Photo Distress Ink.
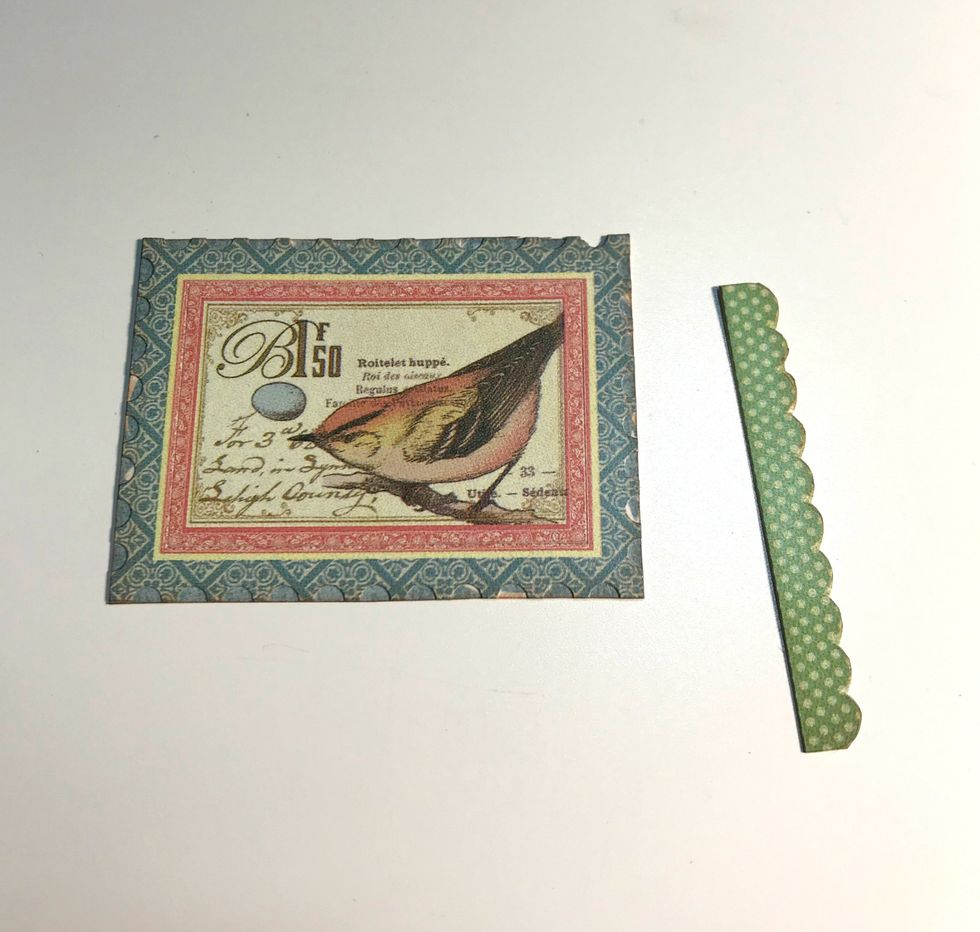
With the sticker sheet still out, adhere the postage stamp and scallop border to another piece of scrap paper. Fussy cut the images out. Ink the edges of the images using Vintage Photo Distress Ink.
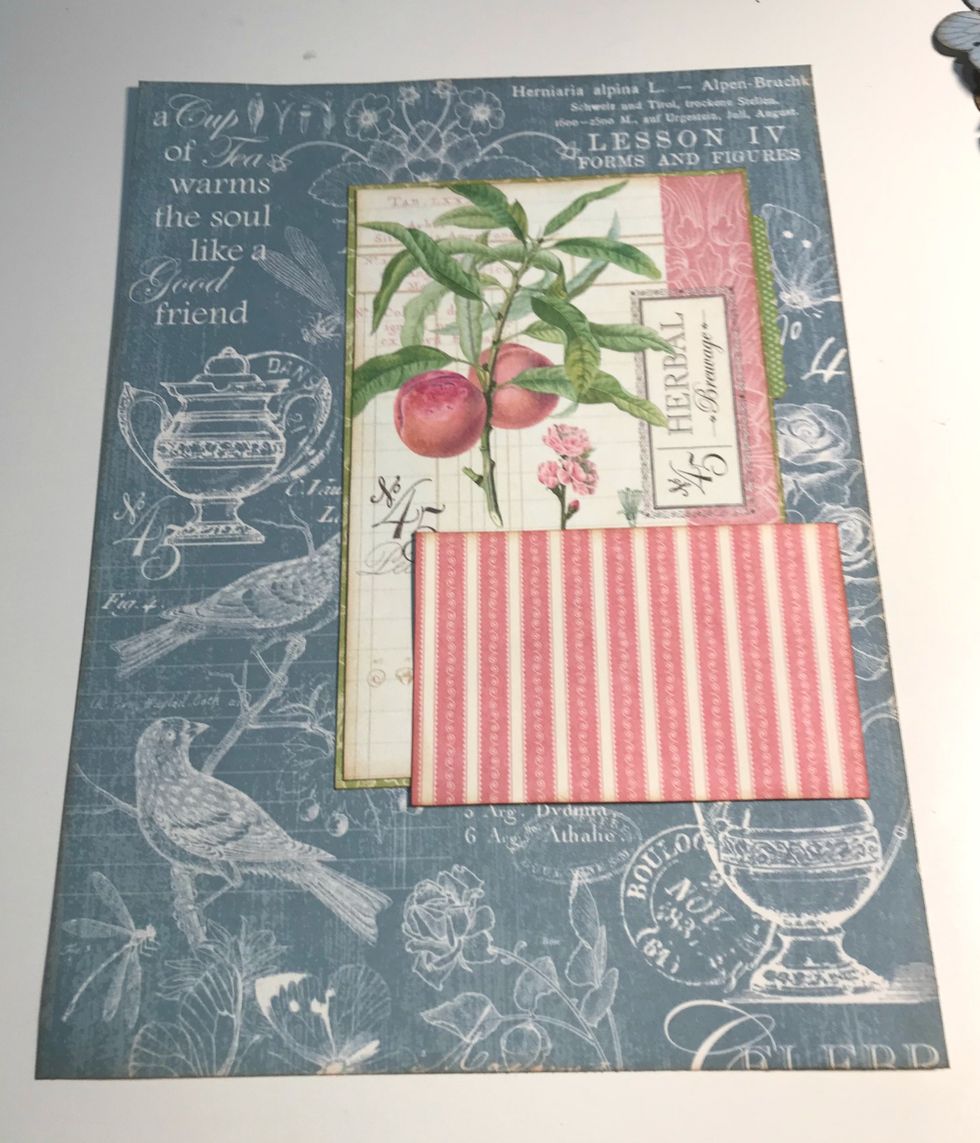
Adhere Herbal card to green/white paper. Adhere floral paper 3/4" from right & 1 1/4" from top. Adhere scallop border to right of herbal card. Adhere the striped card 1/2" from right & 3" from bottom.
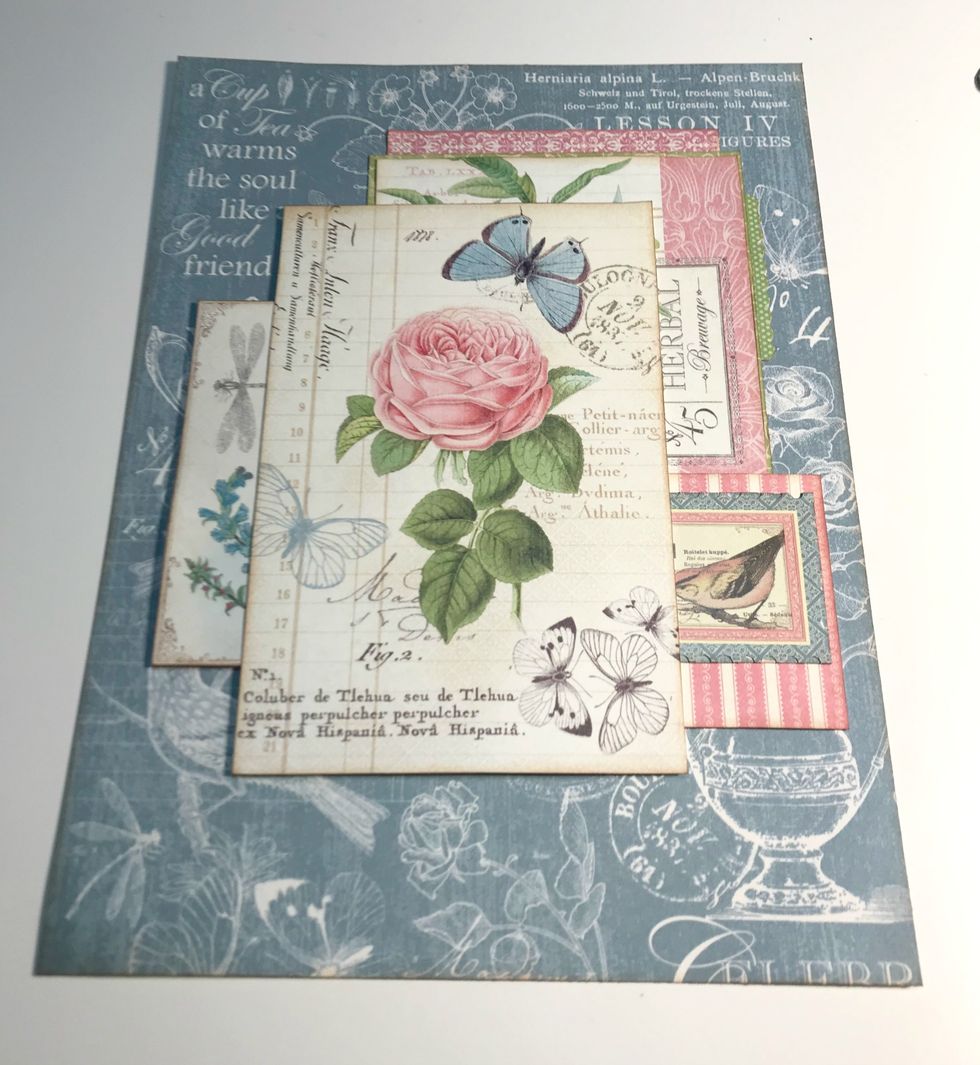
Adhere 3" border partly under herbal card. Adhere card 0.5" from left & 3.50" from top. Adhere sticker stamp to striped paper. Foam square rose/butterfly card 2" from top & 1.75" from right of paper.
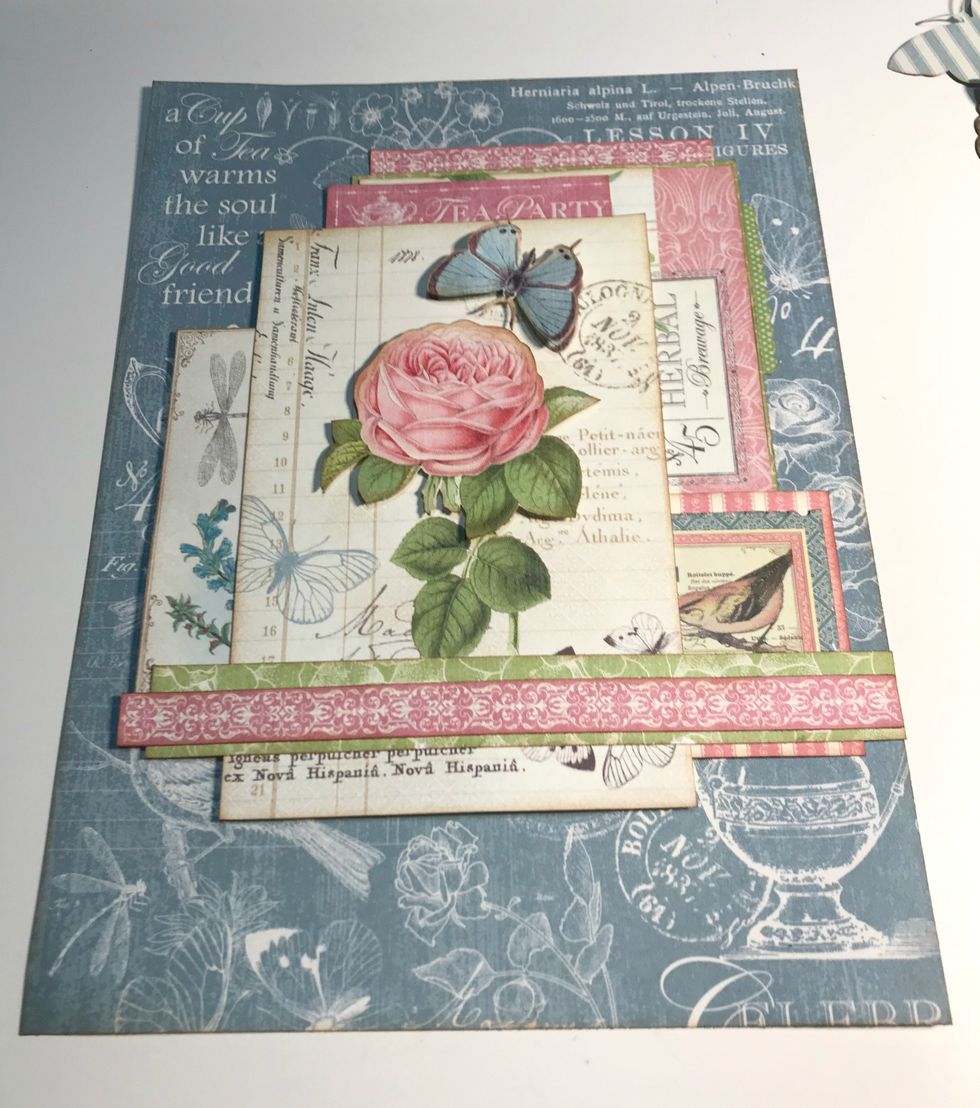
Foam square butterfly & rose over top of image. Adhere long pink border 1/8" from bottom of green/white border. Adhere green/white border 2" from bottom of paper and all the way to right of paper.
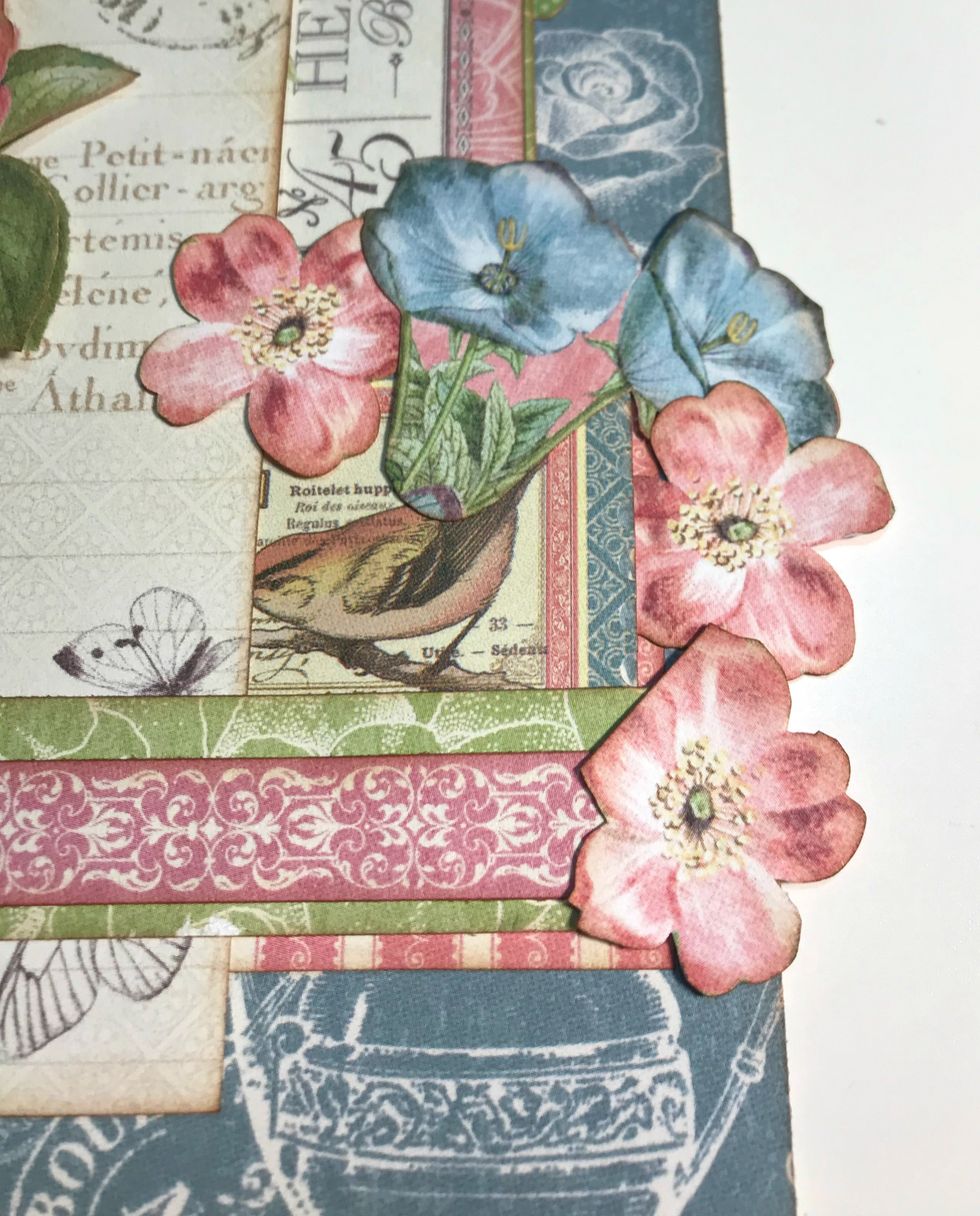
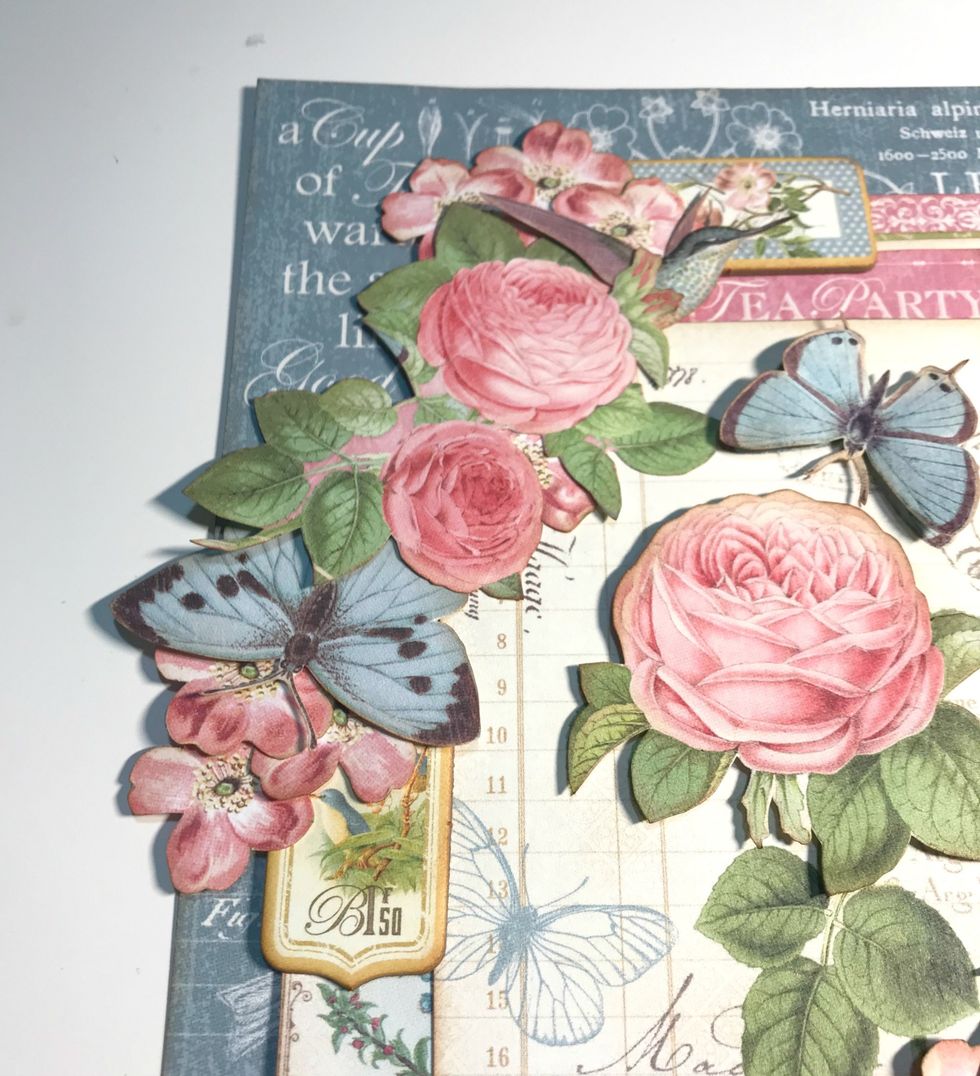
On the right side of the border, adhere a blue flower bunch and three pink roses.
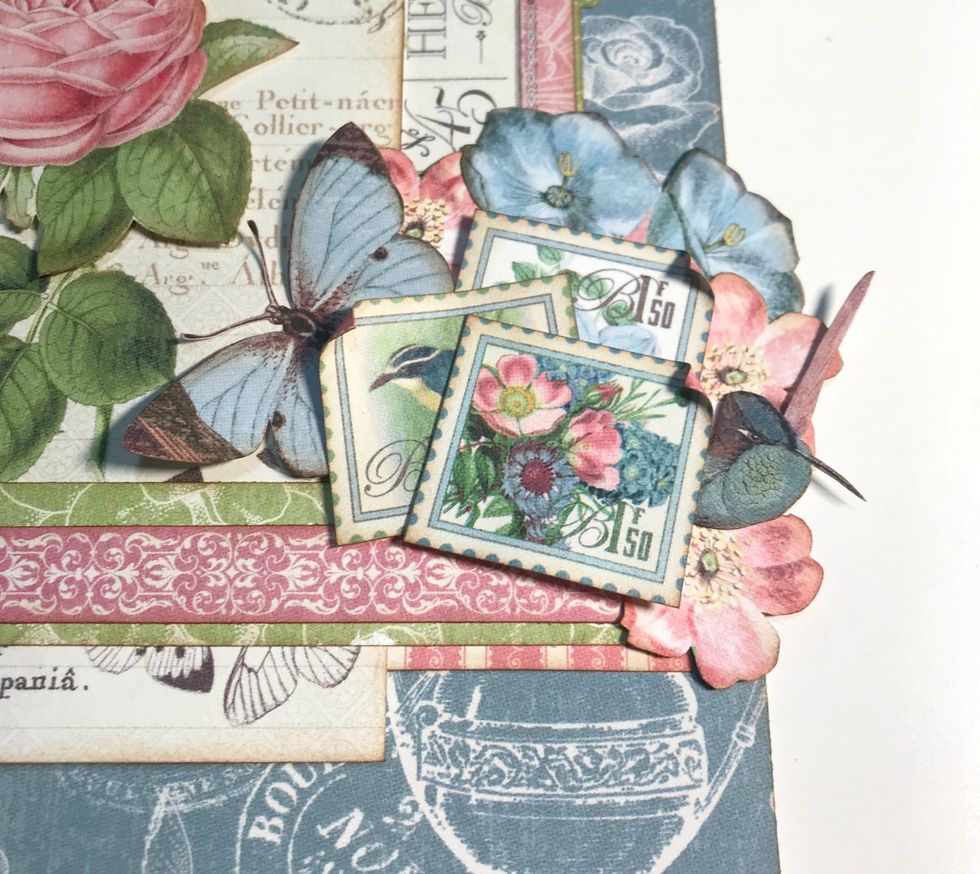
Adhere hummingbird overtop of 2 pink flowers. Adhere butterfly to left of pink flower. Foam square 1 stamp & adhere the other 2 stamps overtop of the empty space. On all 3 stamps roll down 1 corner.
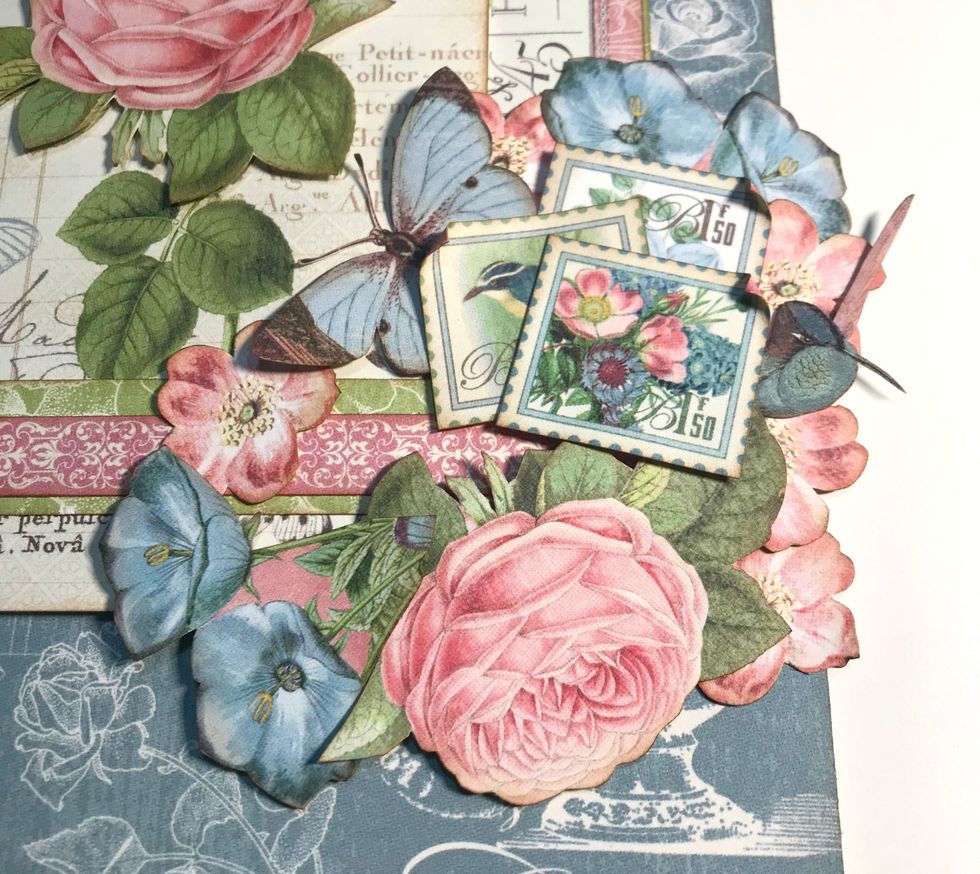
Adhere a pink flower below the 2 pink flowers. Foam square the large pink rose below the stamps. Foam square a blue bunch of flowers to the left of rose. Adhere a pink flower to left of butterfly.
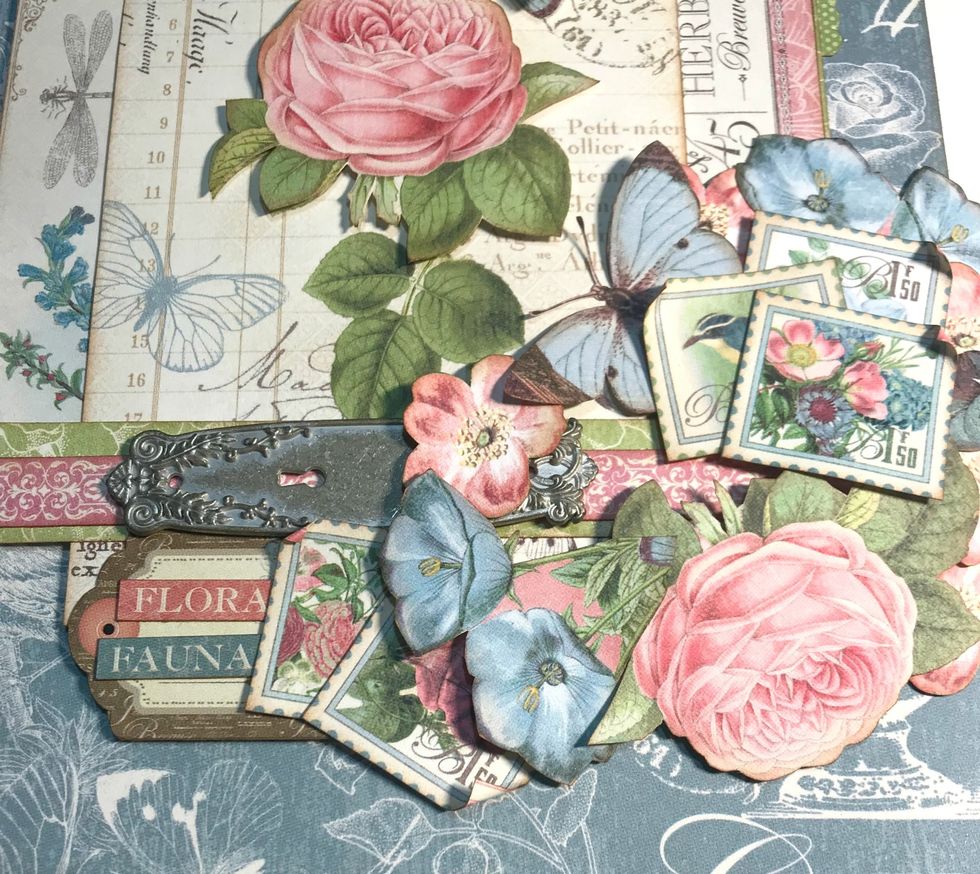
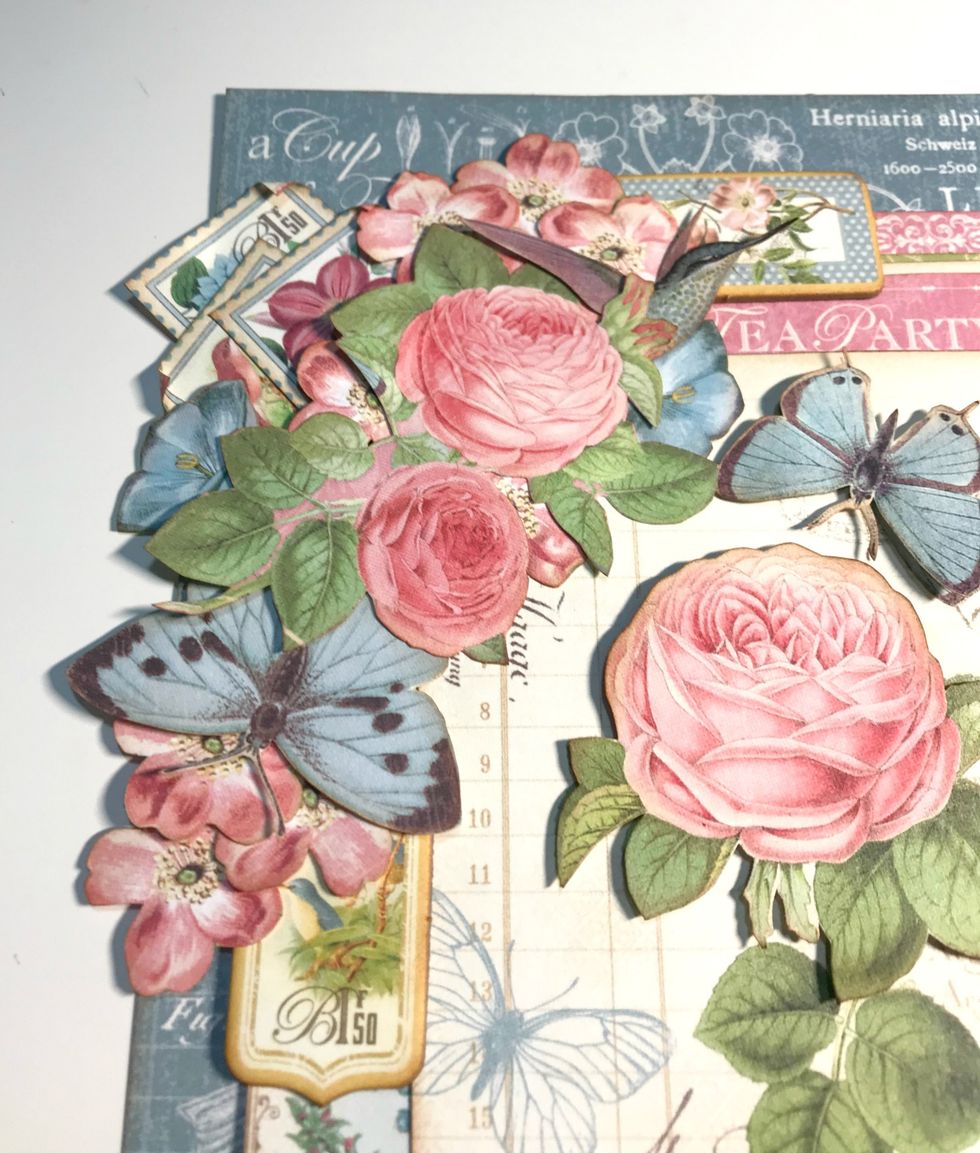
Foam square the sticker tag 1.5" from the left of paper. Adhere words to tag. Adhere 2 stamps to the left of the tag. Roll down 1 corner on each stamp. Lift up single pink flower & adhere door knob.
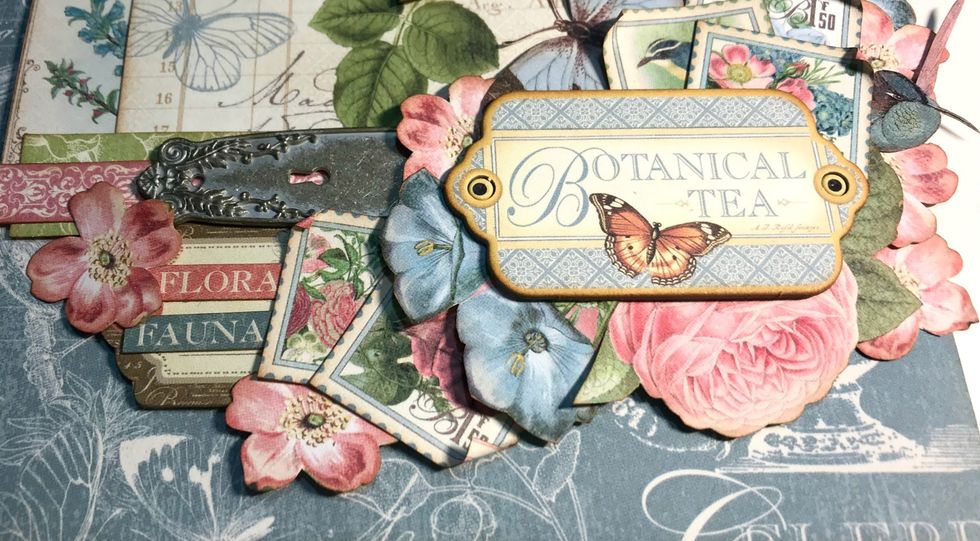
Adhere the Botanical Tea Chipboard piece overtop of parts of the flowers and stamps.
In top left corner of rose/butterfly card, adhere rose bunch. Adhere a 1 pink flower underneath the 2 roses. Adhere 3 pink flowers to right of the rose. Adhere the rose tag to right of pink flowers.
To the left of small rose, adhere the other chipboard banner, 3 pink flowers and a butterfly.
To the right of the large rose, adhere a 1 blue flower & hummingbird. Above the roses, adhere three stamps. Foam square a pink flower between roses & stamps. Roll down a corner on each stamp.
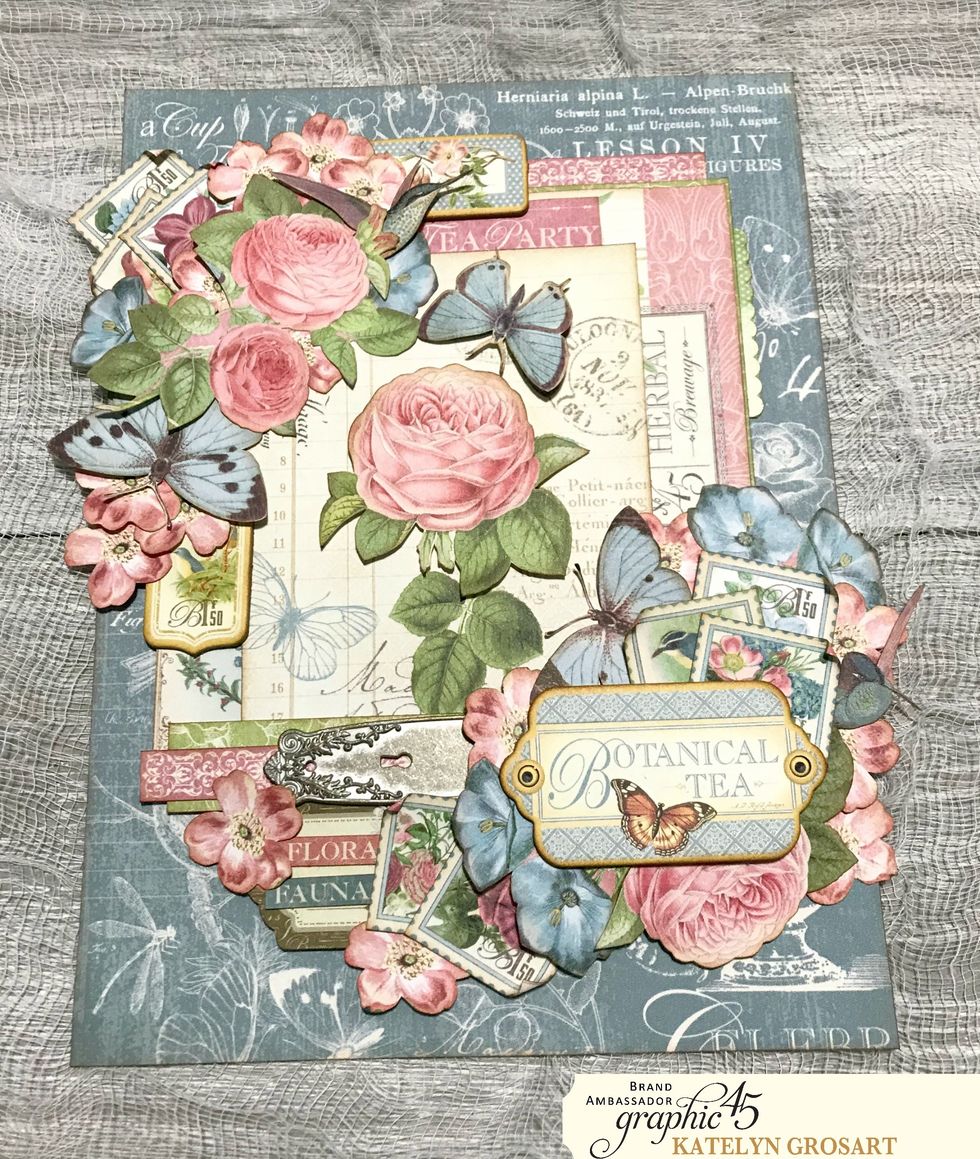
Your Botanical Tea Wall Hanging is now complete!