The Conversation (0)
Sign Up
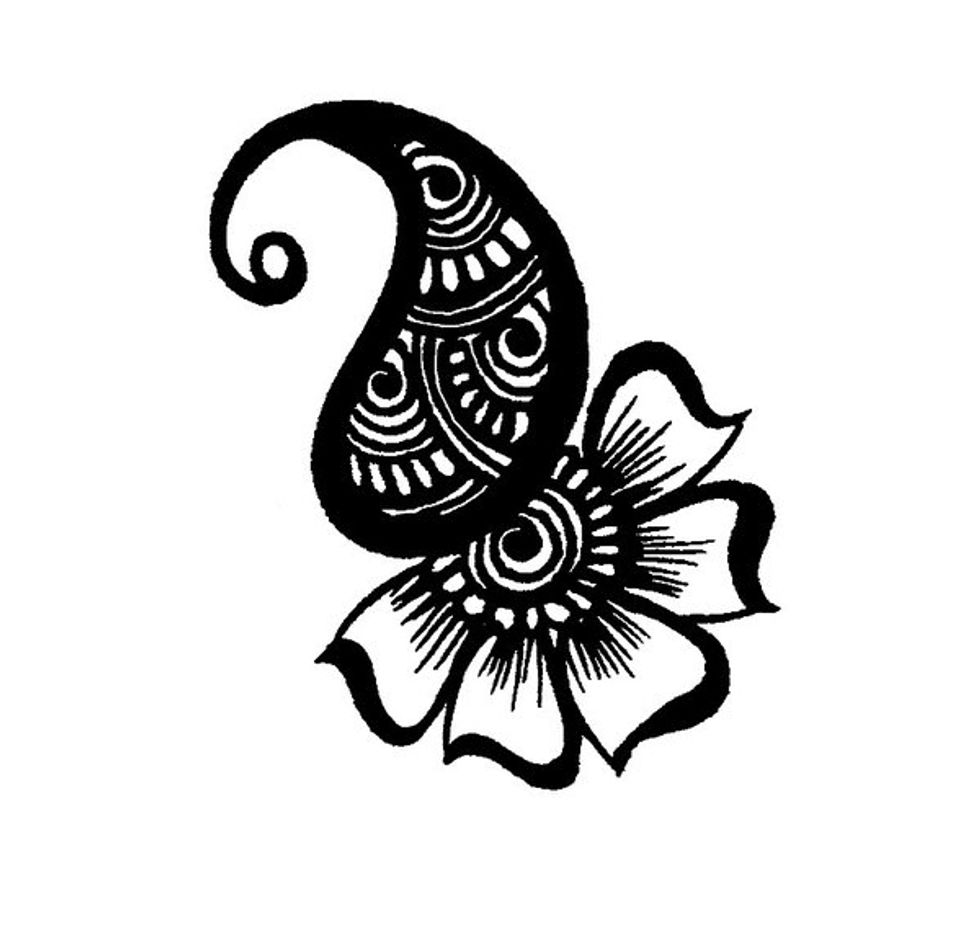
First Create a design. This will be used for a stencil. Black and white, no shading! This design can be on normal paper.
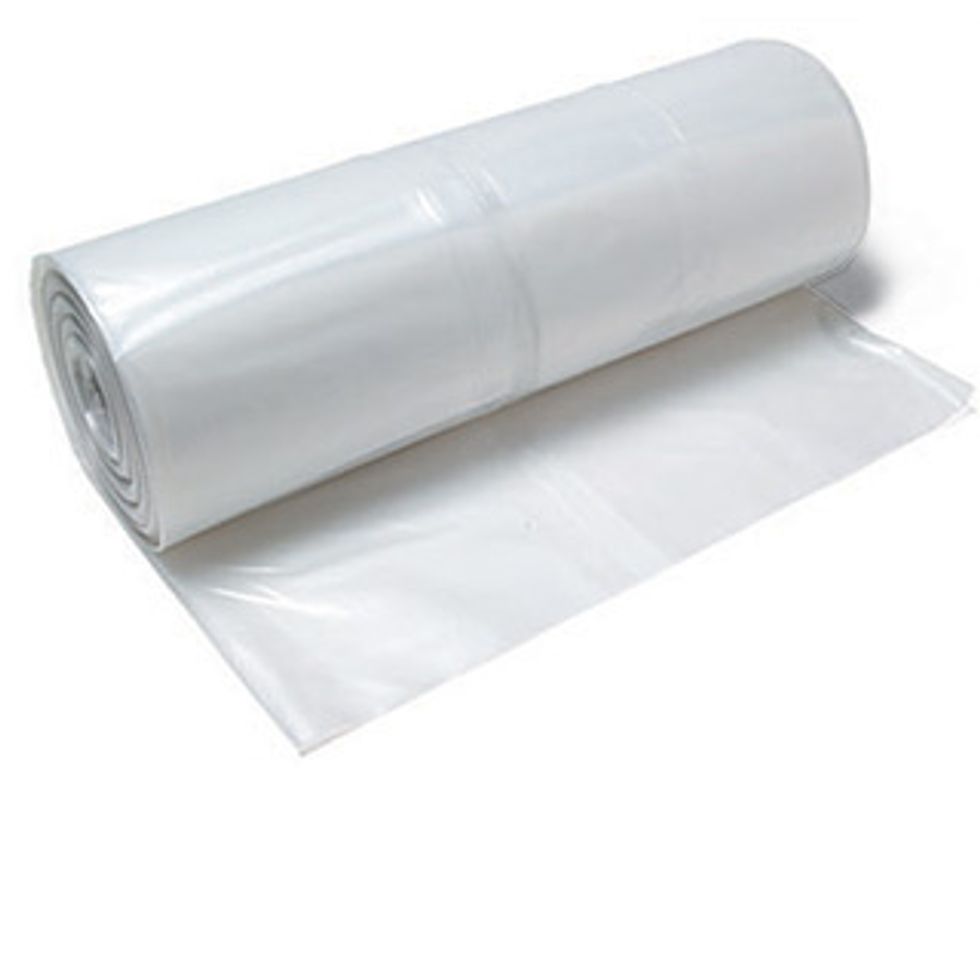
I use plastic sheeting donated by the roll from a local company. Lay over your paper design and trace with permanent marker. Cut out your design using a exact-o knife. Protect your table!

Now you are ready to prepare your fabric. I use cardboard. You can use any cardboard that will help stretch your fabric flat.
I use a glue stick and glue down the plastic to the shirt. It comes off easy in the sink during rinse and washes clean.
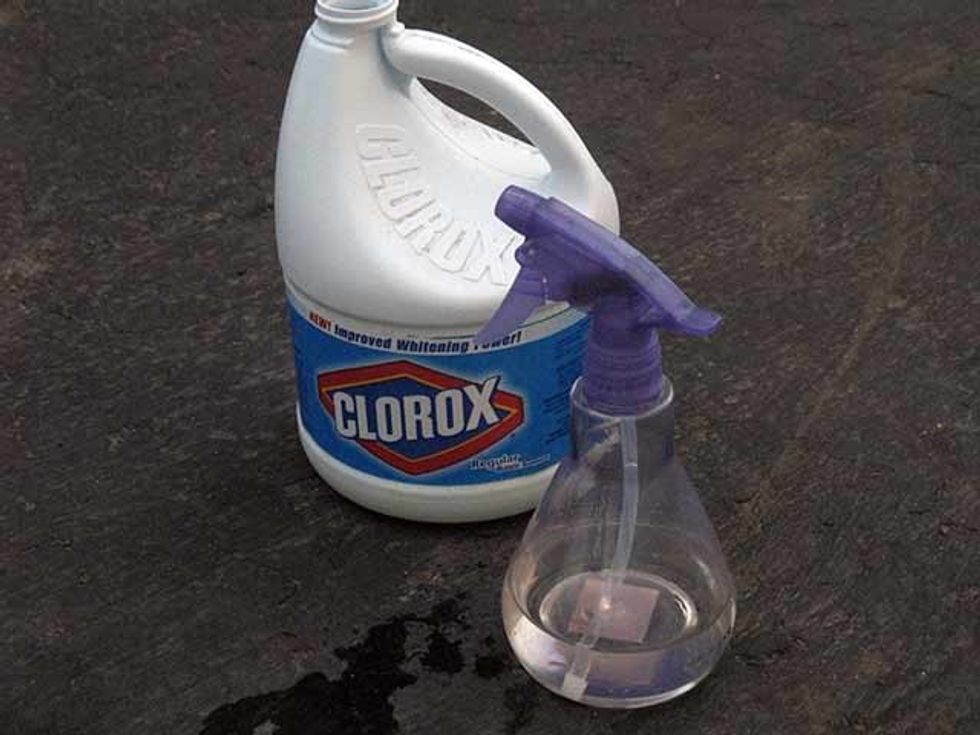
Arrange your space so nothing is bleached (permanently). I use straight bleach. Use a ventilated area. Test your bottle so that it is not clogged or you might get drips or blotches.
I've seen some people use 50/50 bleach and water in their bottle. I go full strength, but you can decide what effect you want. The more bleach the stronger the contrast.
Things like q-tips, brushes and droppers can also be used to apply bleach to your fabric for different designs. Feel free to experiment.
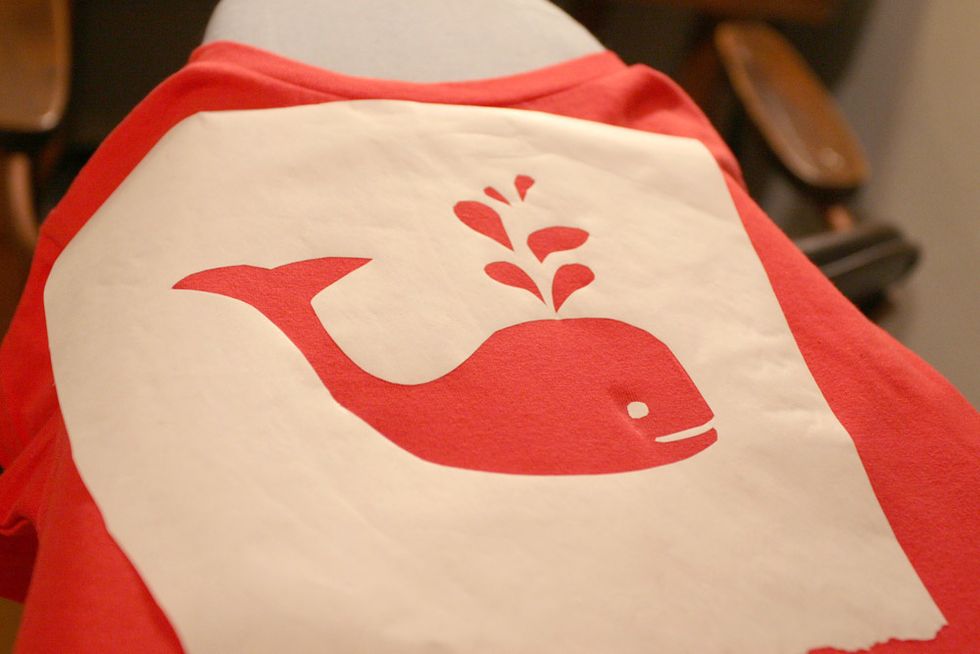
You should start to see results almost immediately. If you don't see anything in 2 min. Then there might be a problem with your bleach or the type of fabric you are using.
Don't be afraid to bleach the back. If you have cardboard between, stretching your shirt feel free to bleach the front and back before proceeding.
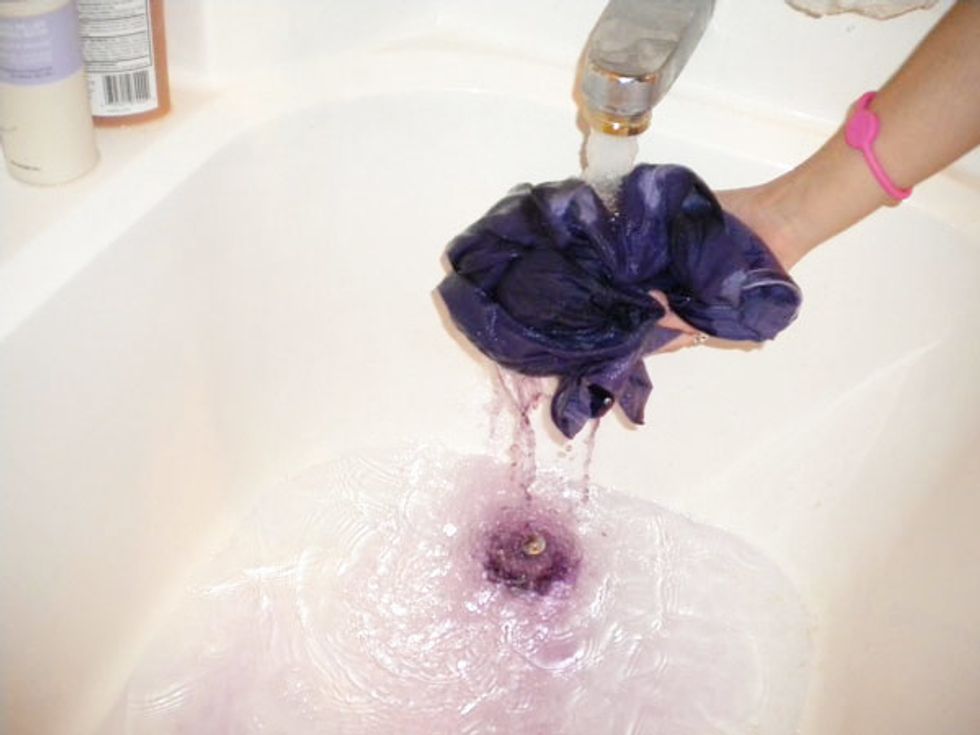
Rinse. It is very important to rinse thoroughly. I recommend washing all together. Bleach can be harmful to your skin.

Reverse Effect.
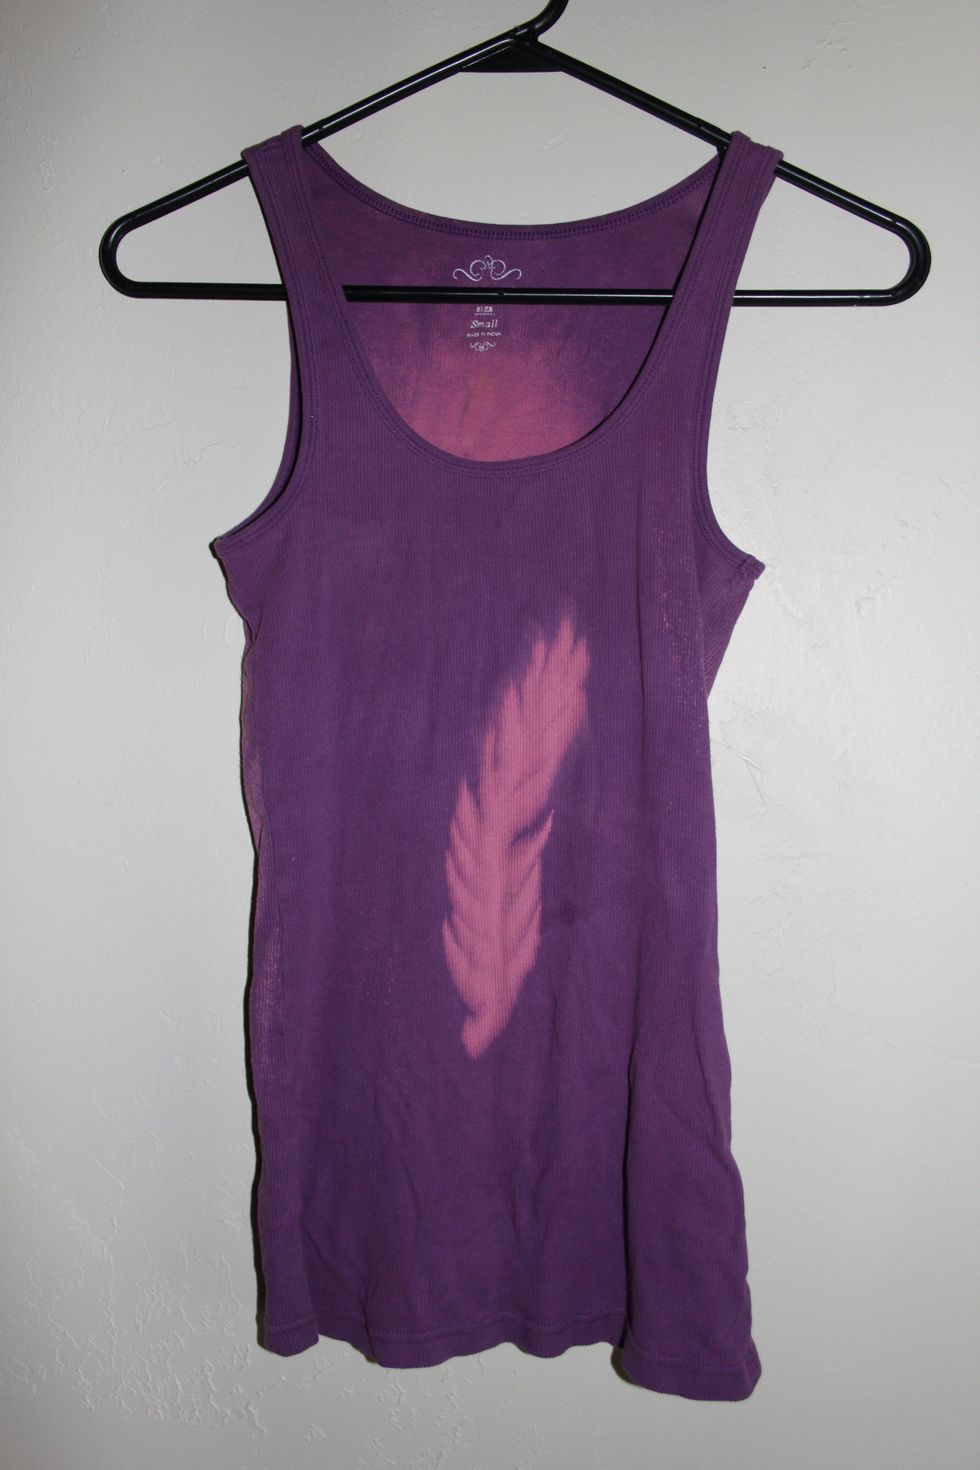
Experiment with colors!
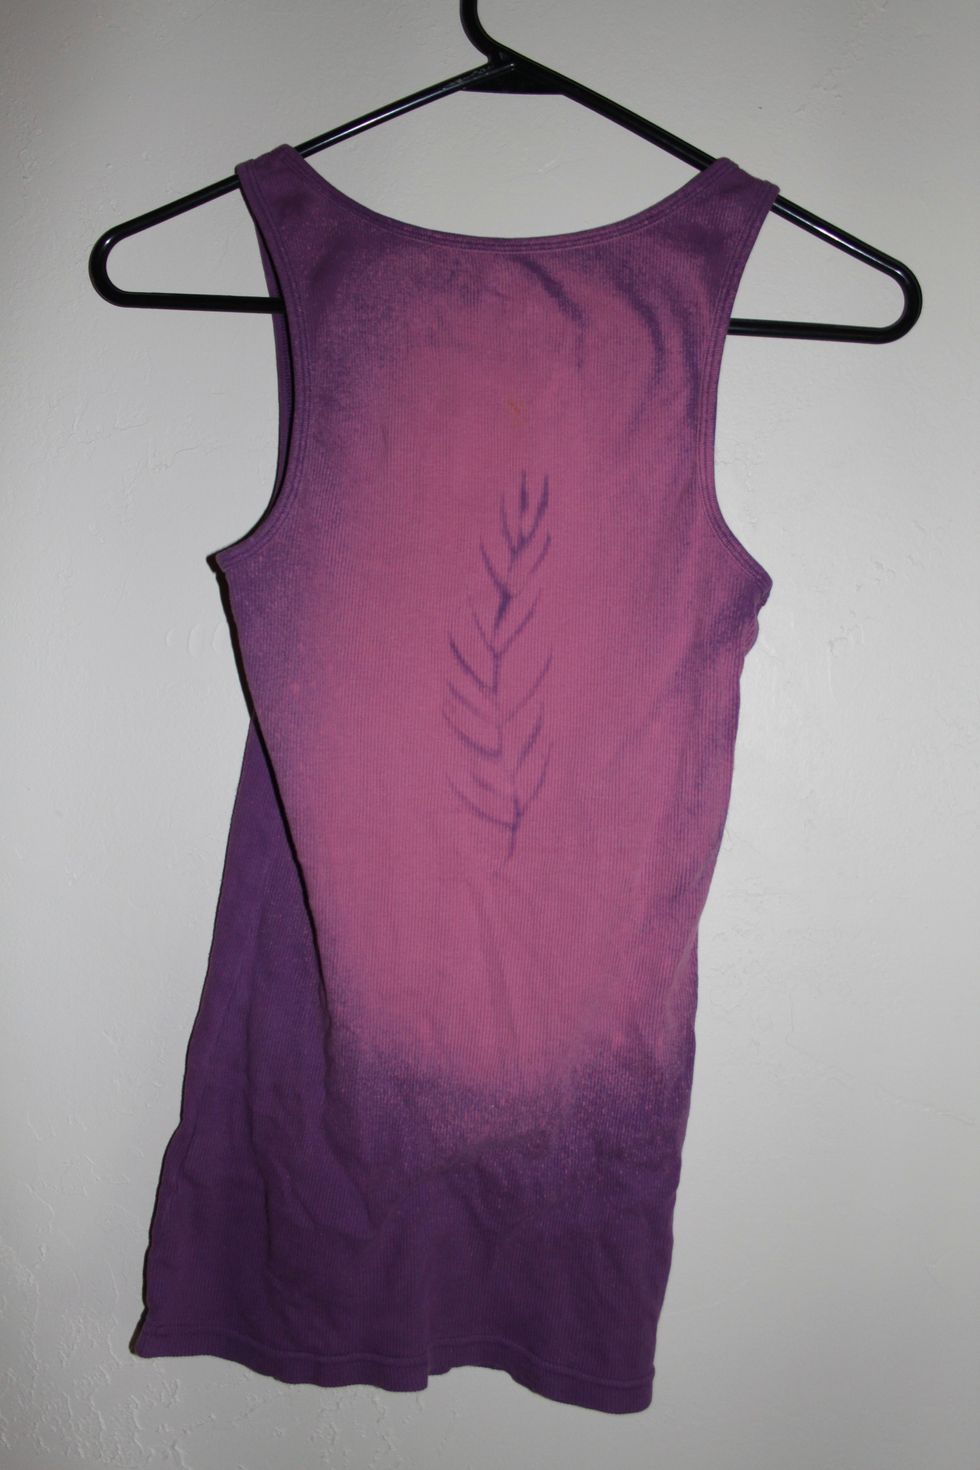
Don't forget the back! If you want to take it further you can add fabric colors, paints, crayons. Batik before or after bleaching. No limit to what you can do.
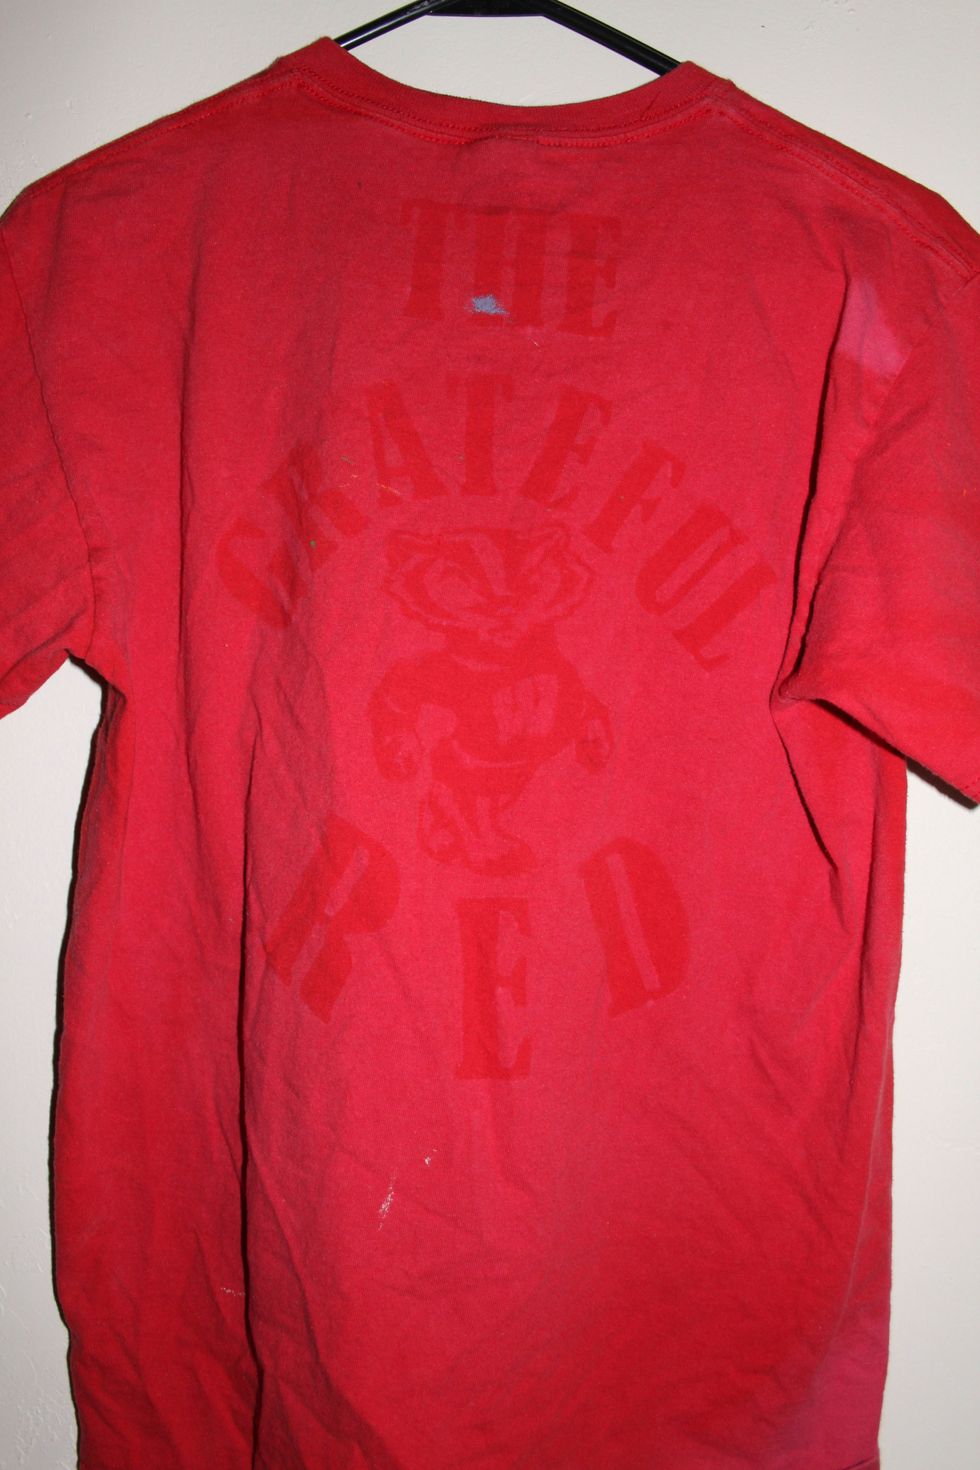
Example of one that didn't bleach so well. Could have been the red coloring of the shirt, but you can see that it is very faded, not too much contrast.

Happy Bleaching!