The Conversation (0)
Sign Up
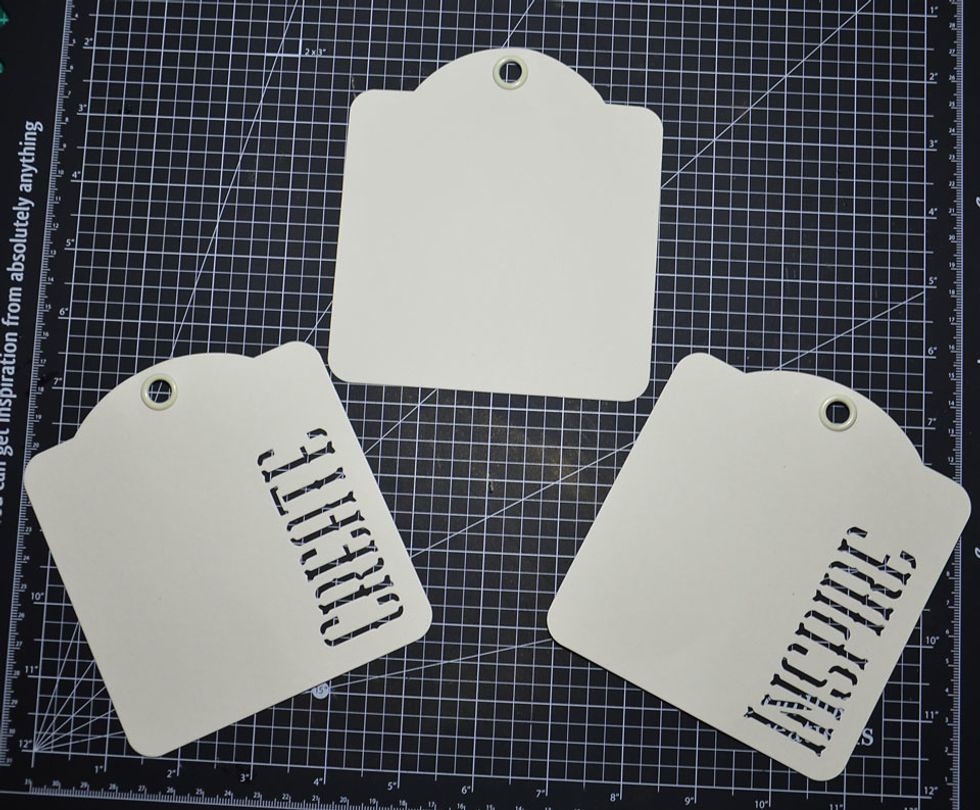
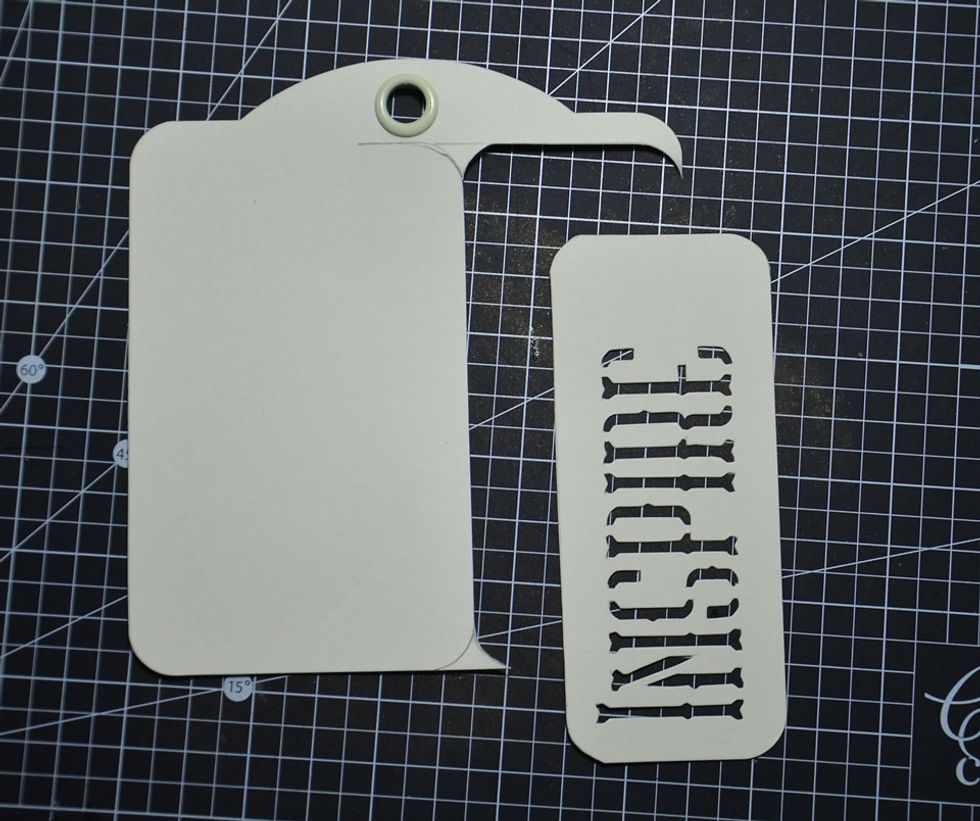
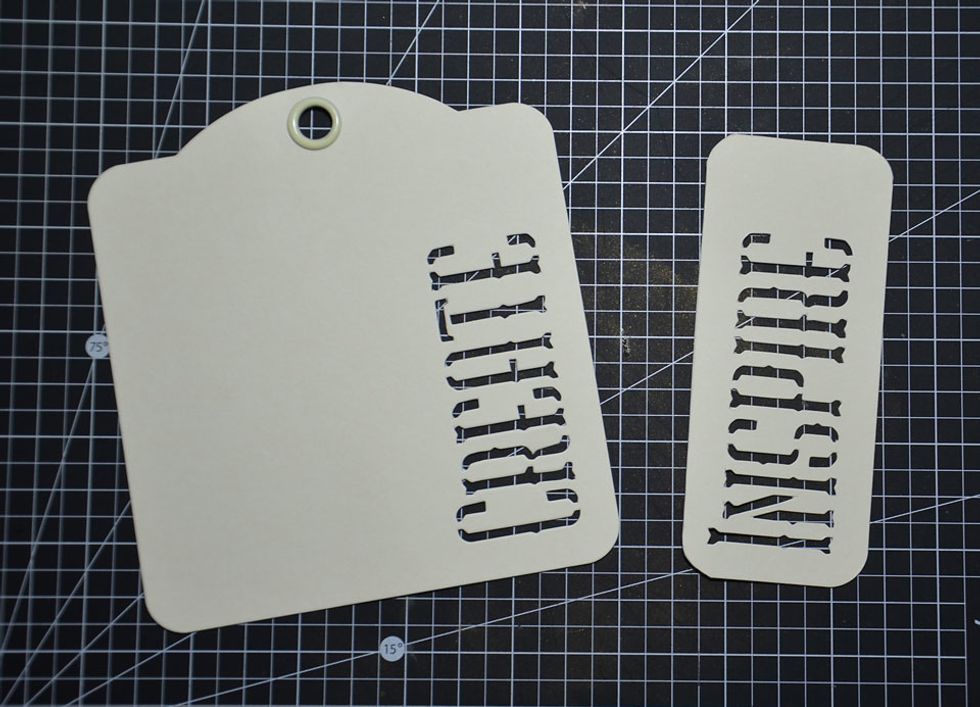
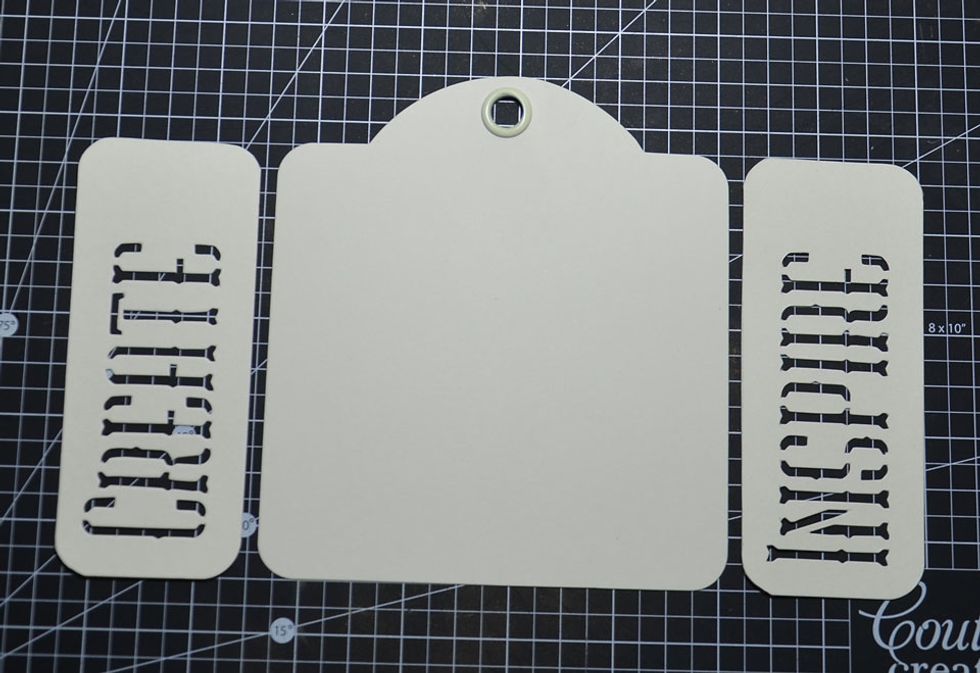
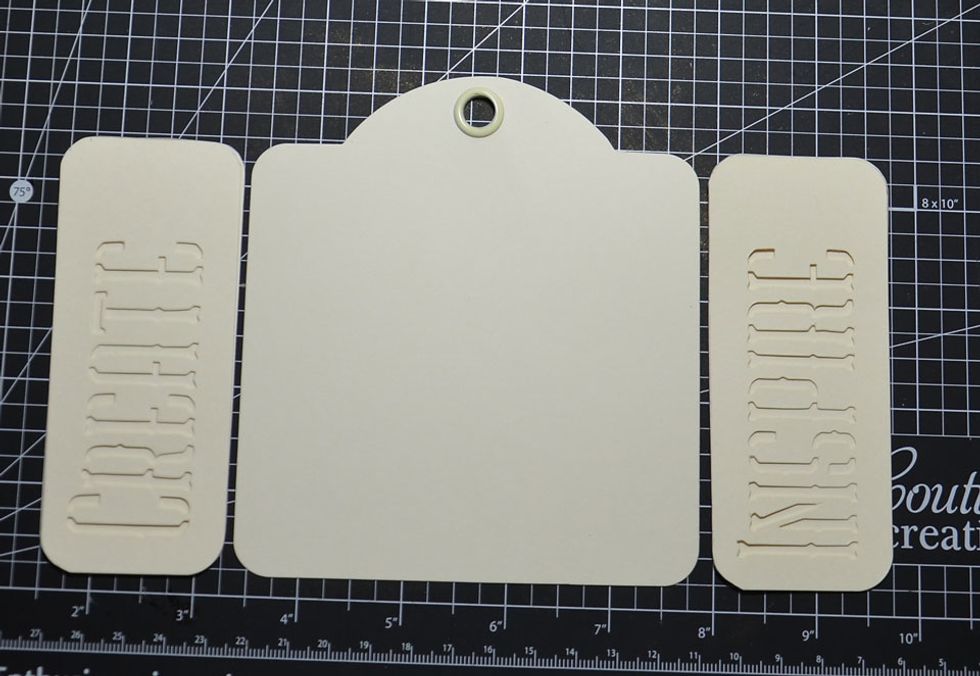
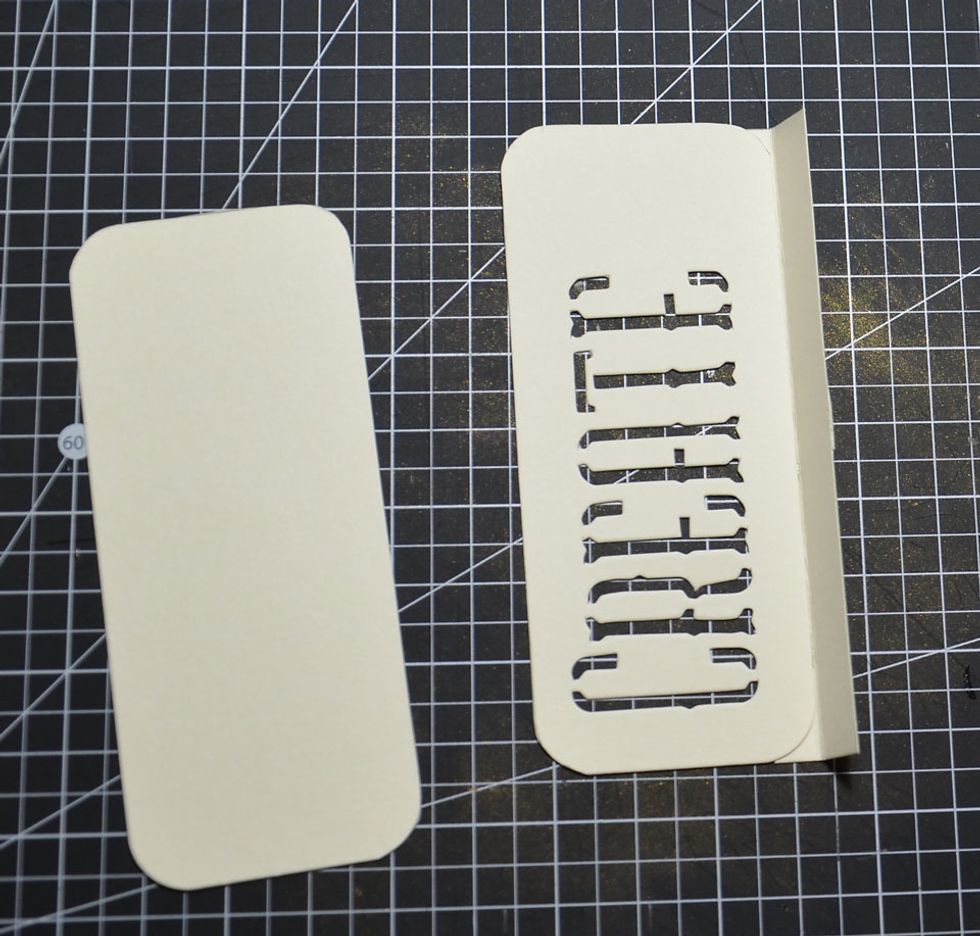
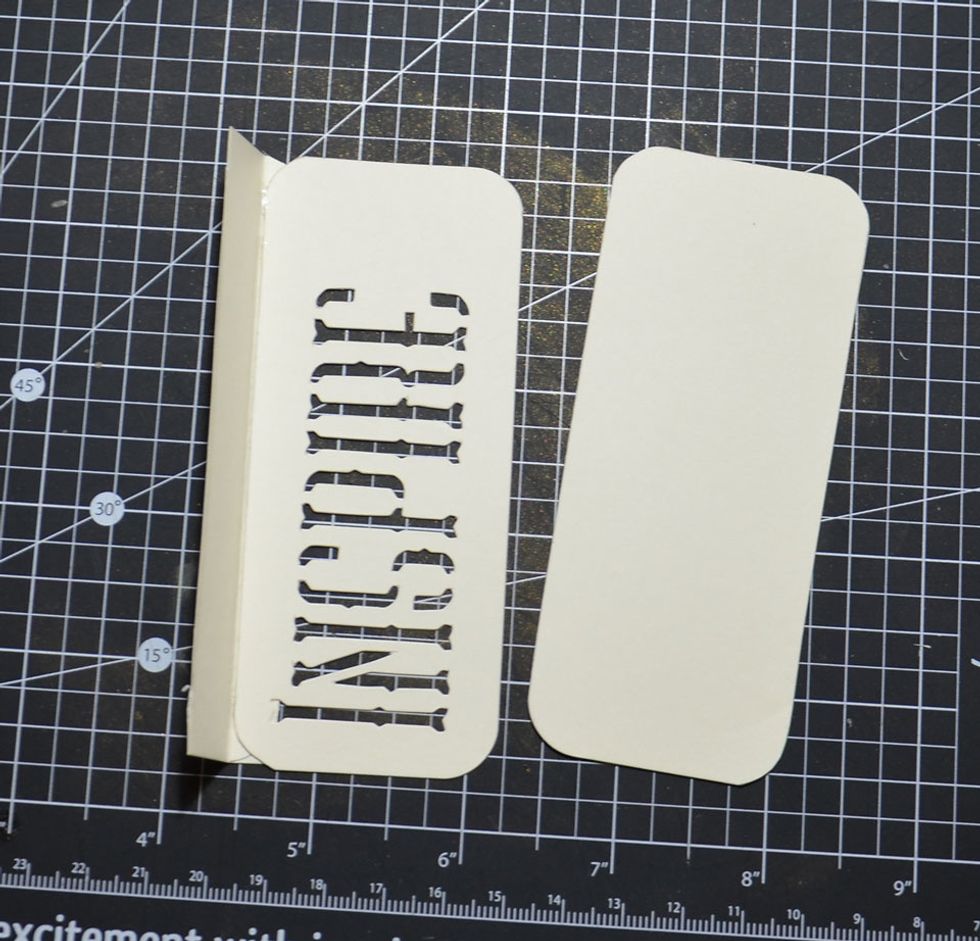
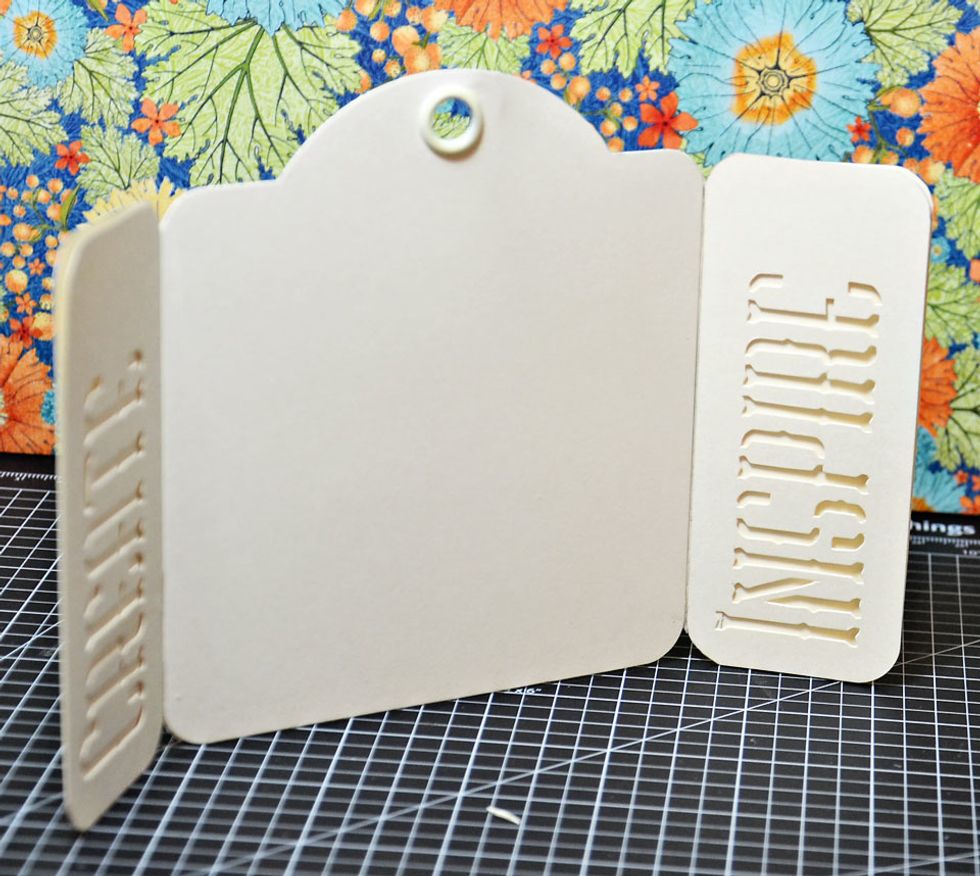
These are the tags you will need. I chose to use the create and inspire word tags for this project.

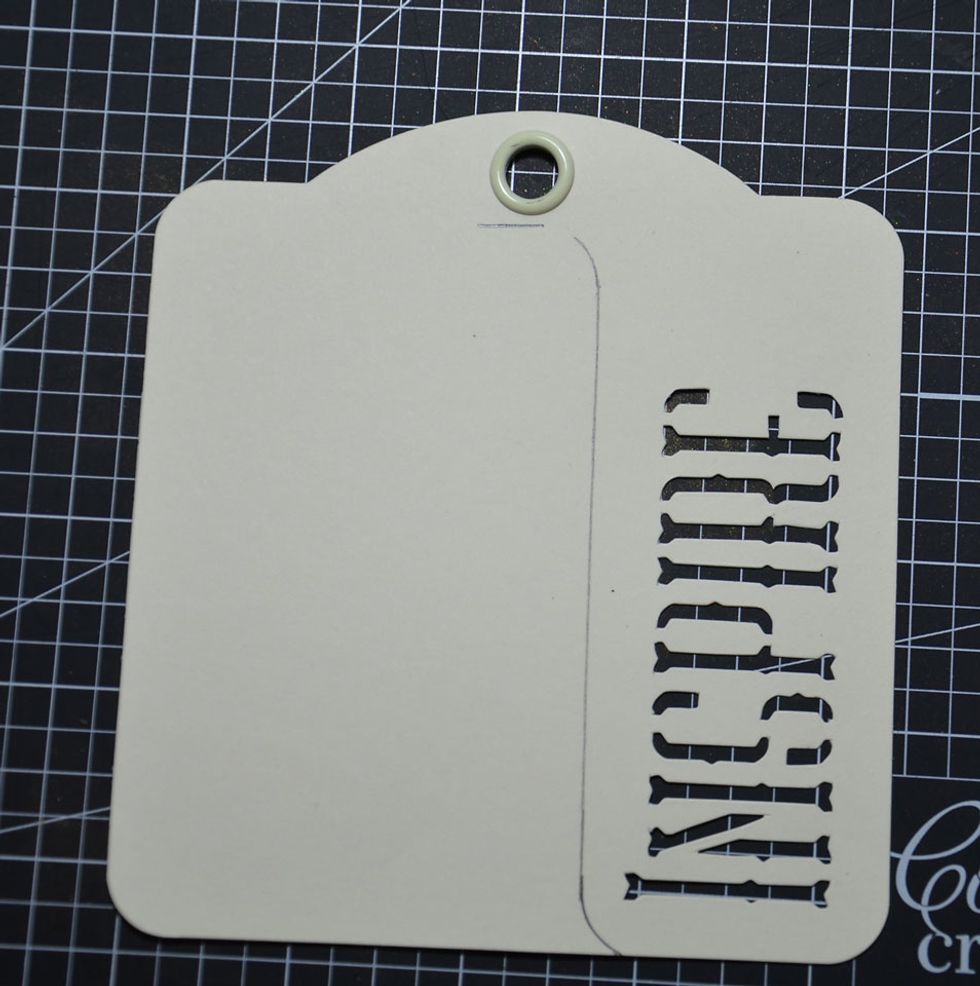
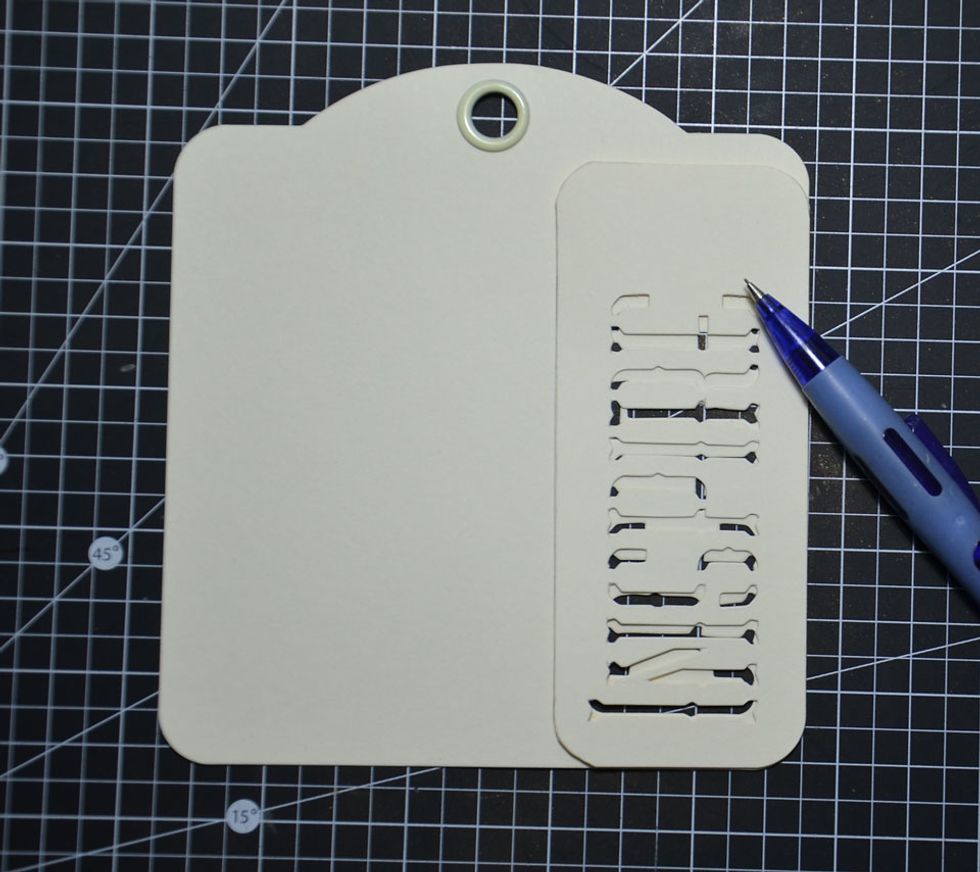
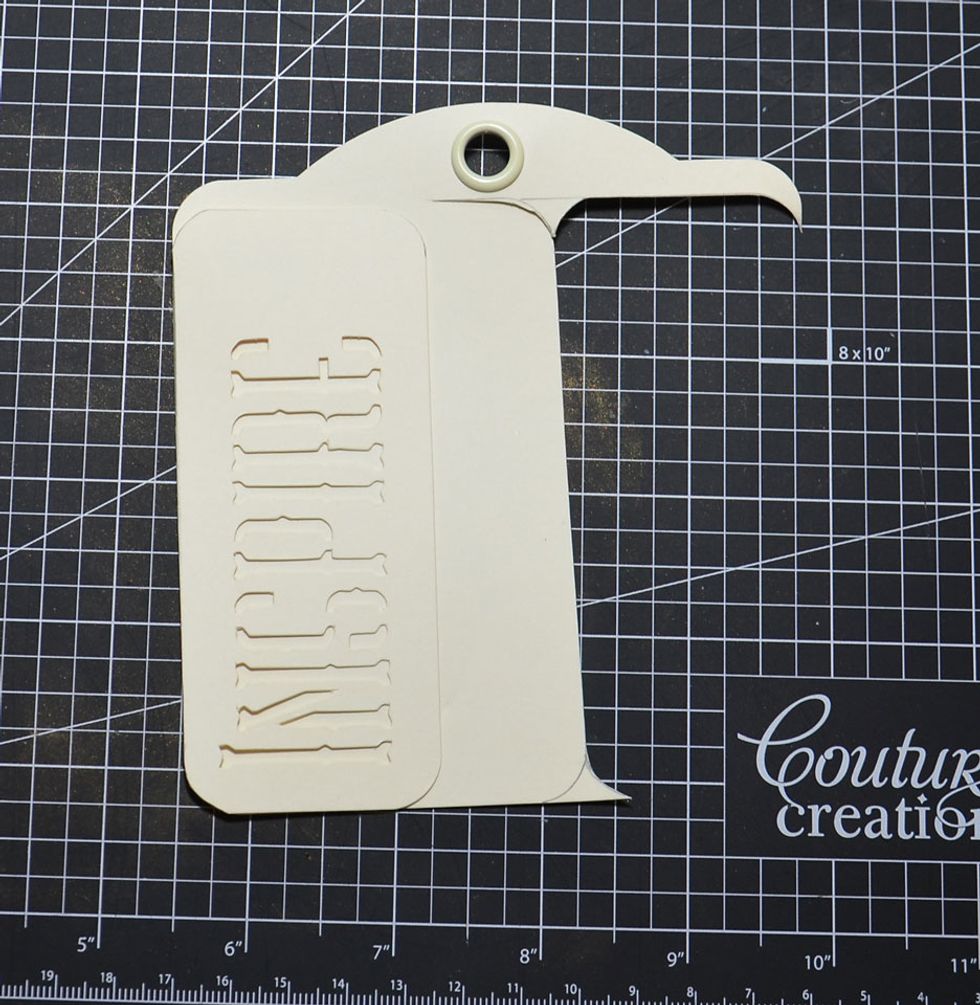
Using another square tag use the side of the tag and draw a line beside the word a similar distance to the other side of the word.

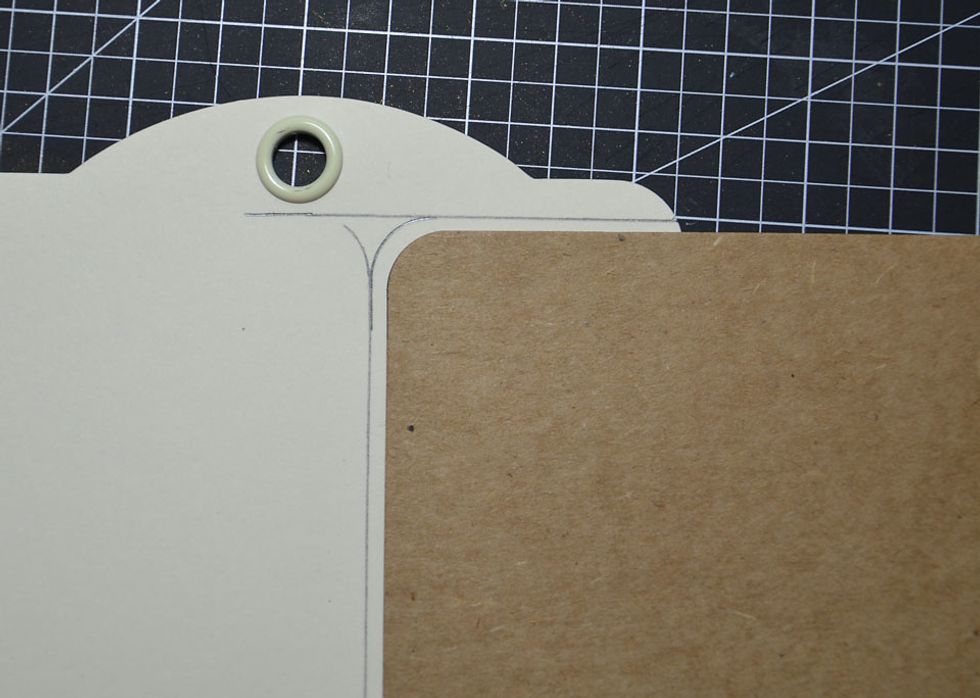
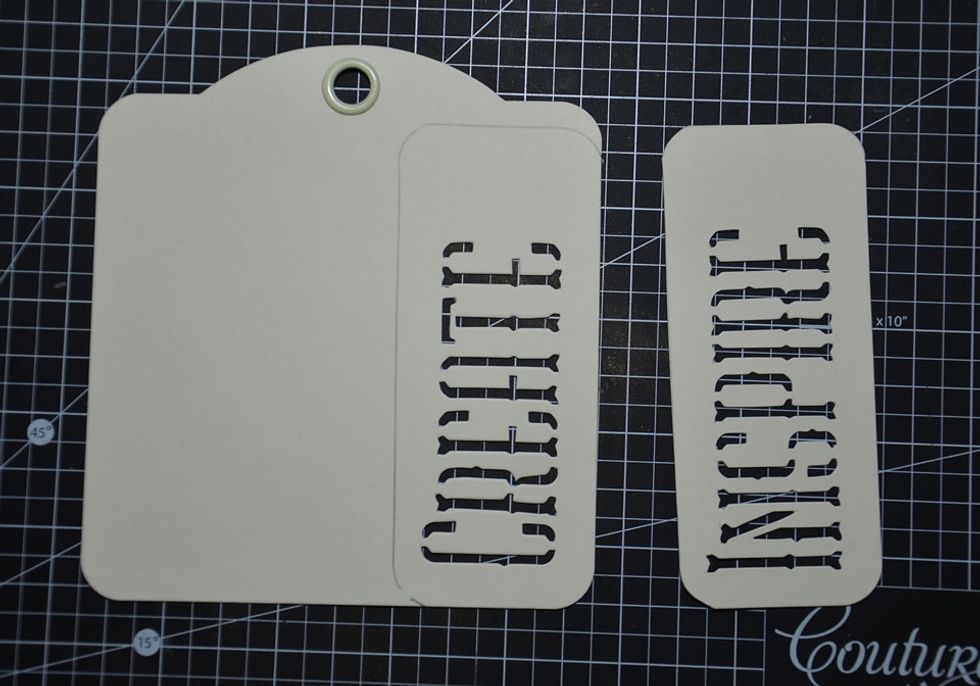
Using another tag place along the line drawn and trace around the rounded corner of the tag as shown.
This is what it should look like once the corner is drawn around.

Draw a straight line along the top of the tag at the desired height.
Use the other tag once again to mark out the corner.
Using the other tag place along the top line and trace around the corner again.

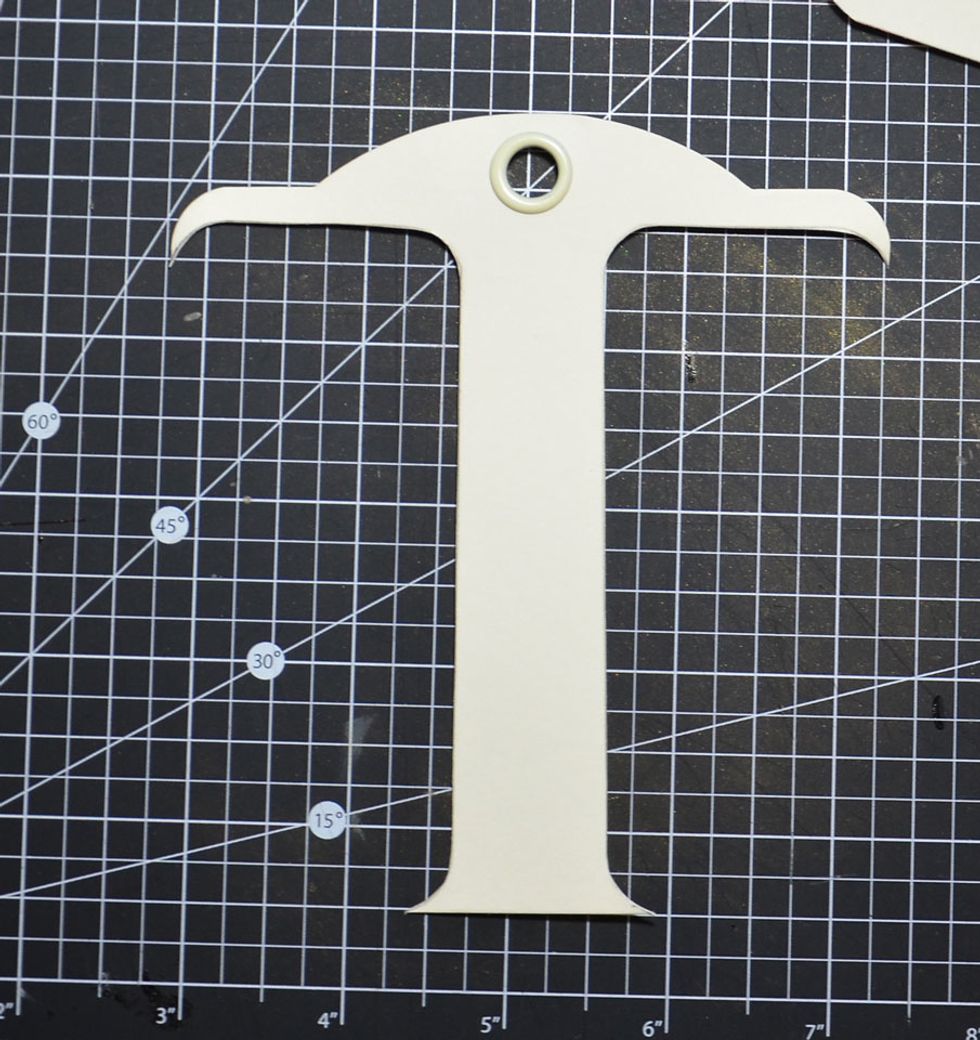
This is now what the tag should look like.
Now cut out.
Get the other word tag.
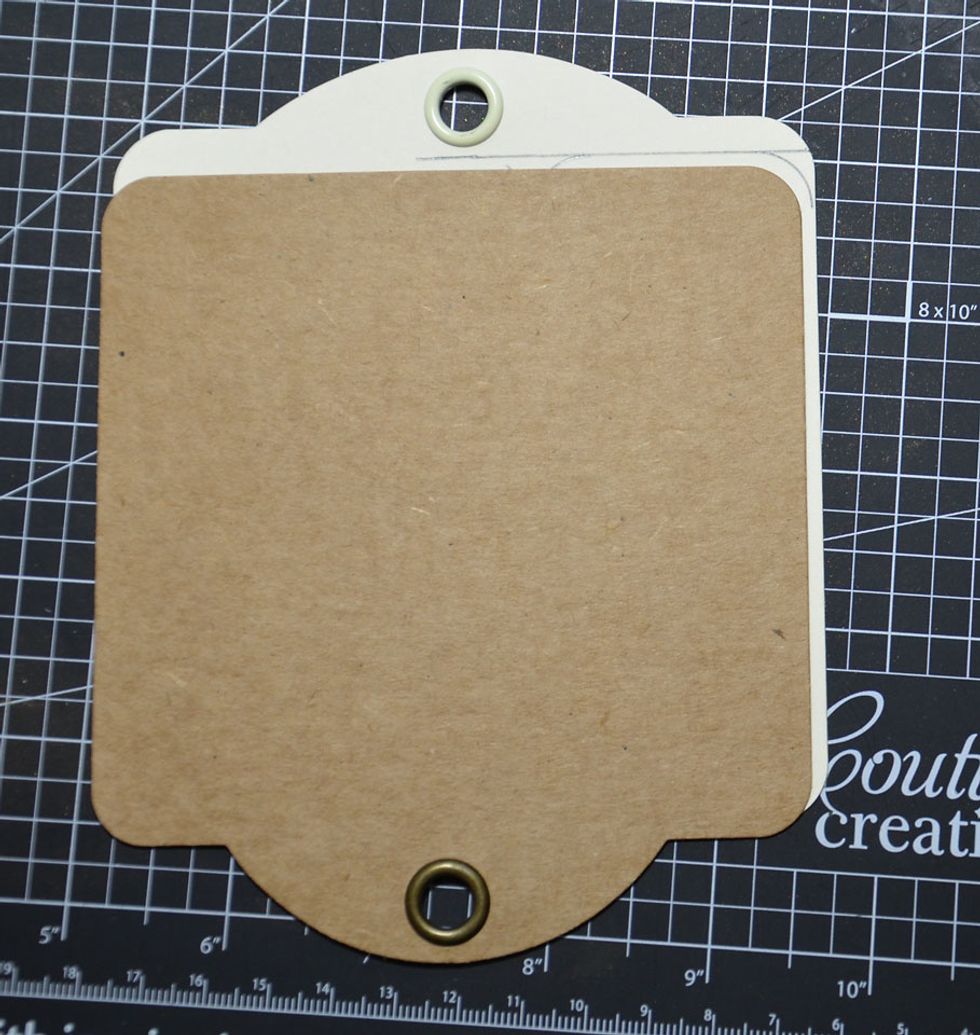
Place the worded piece cut from the tag on the top of the full tag and trace around as shown.
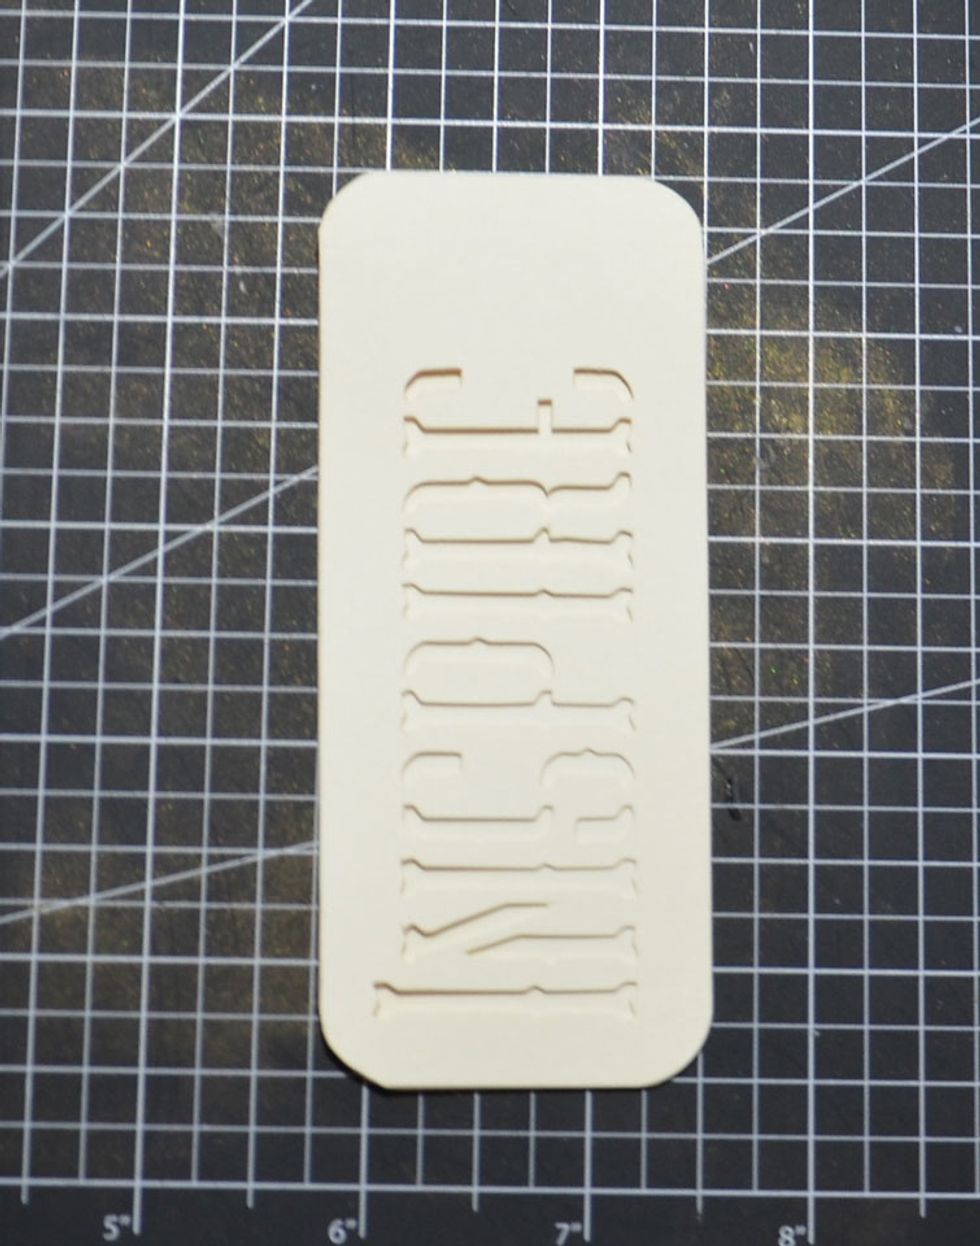
It should look like this, then cut out.
The sides are the same height as the centre tag.
Now using the worded piece, place on top of tag piece and trace around.

Should look like this, then cut out.
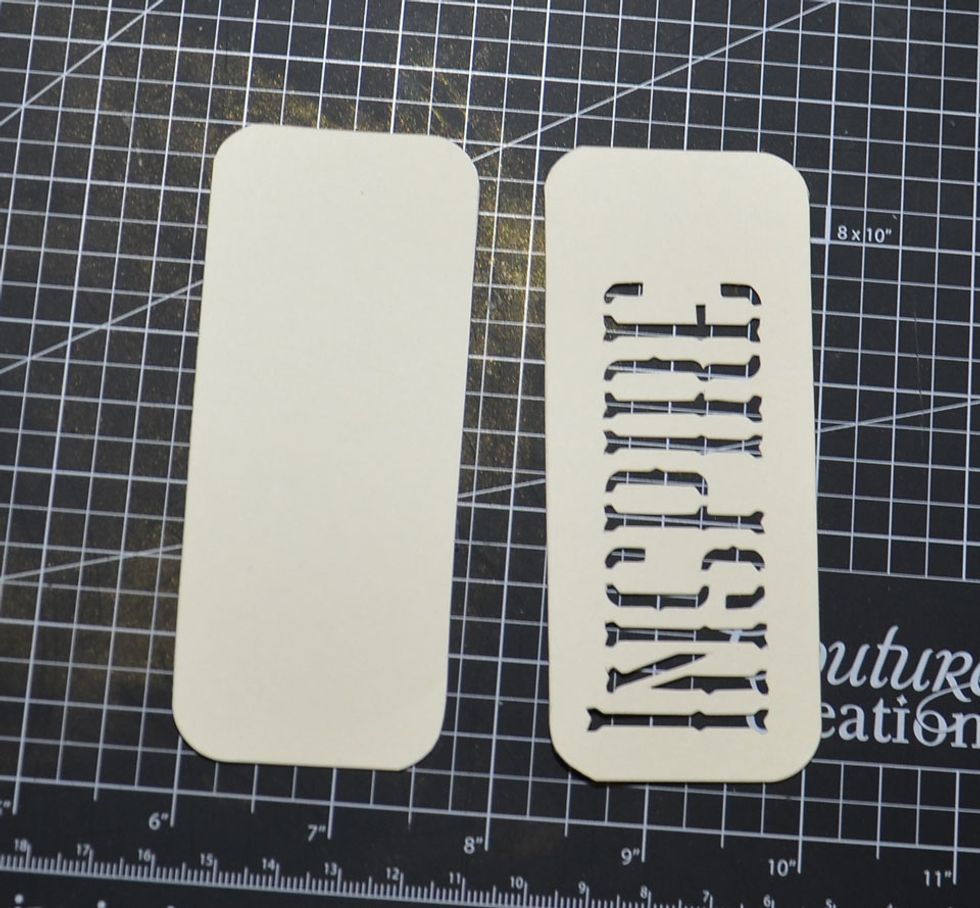
Front and back of worded sides.
They fit together nicely.
Coming together well.
Now you will need the two scraps of the word tags that are left.
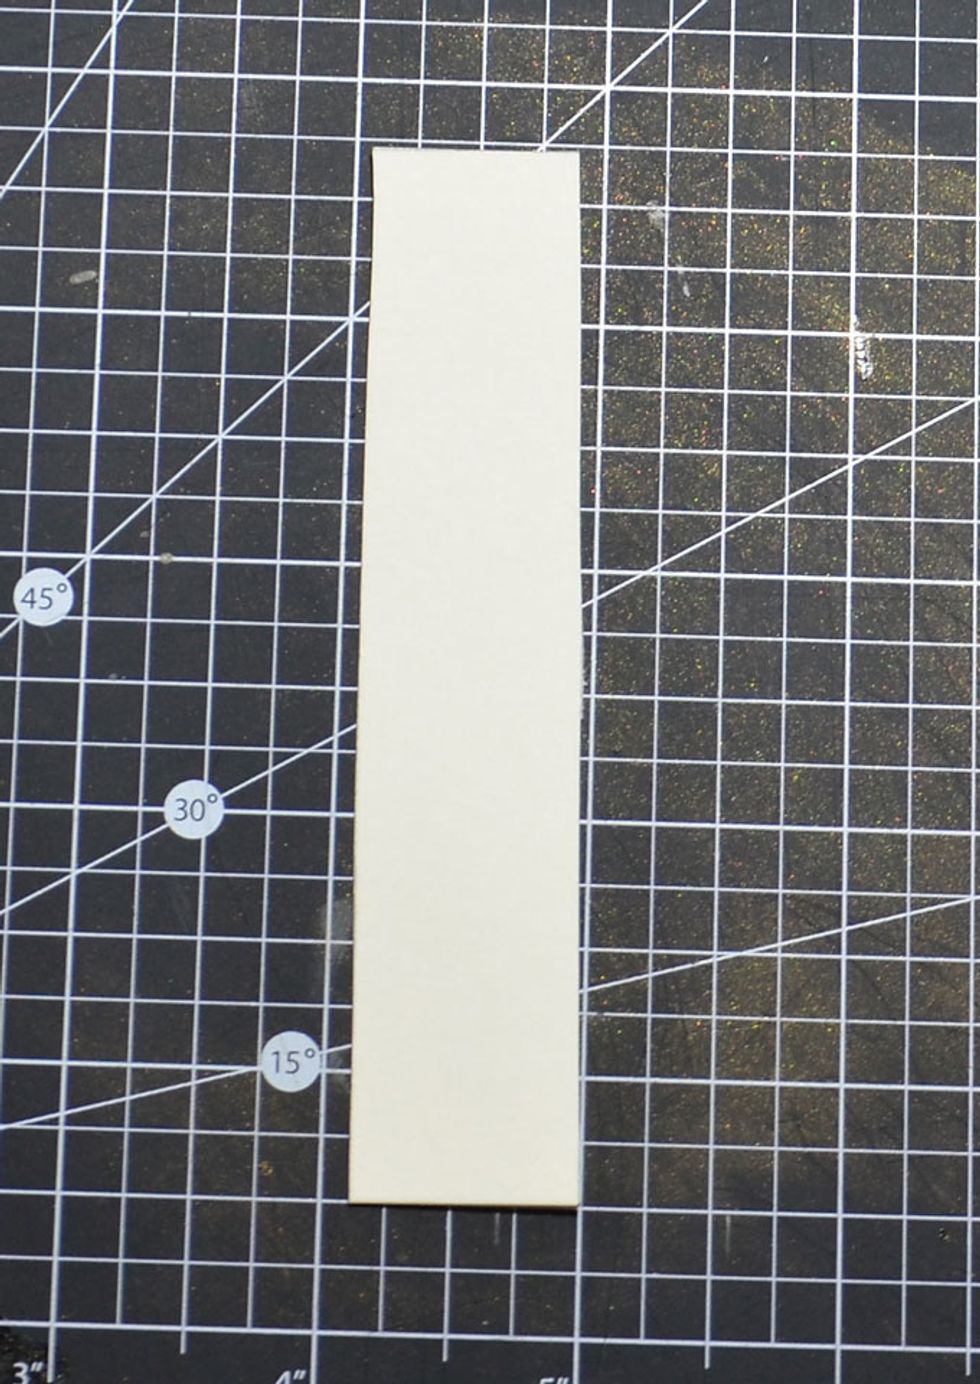
Trim off the top and bottom to leave only a strip.
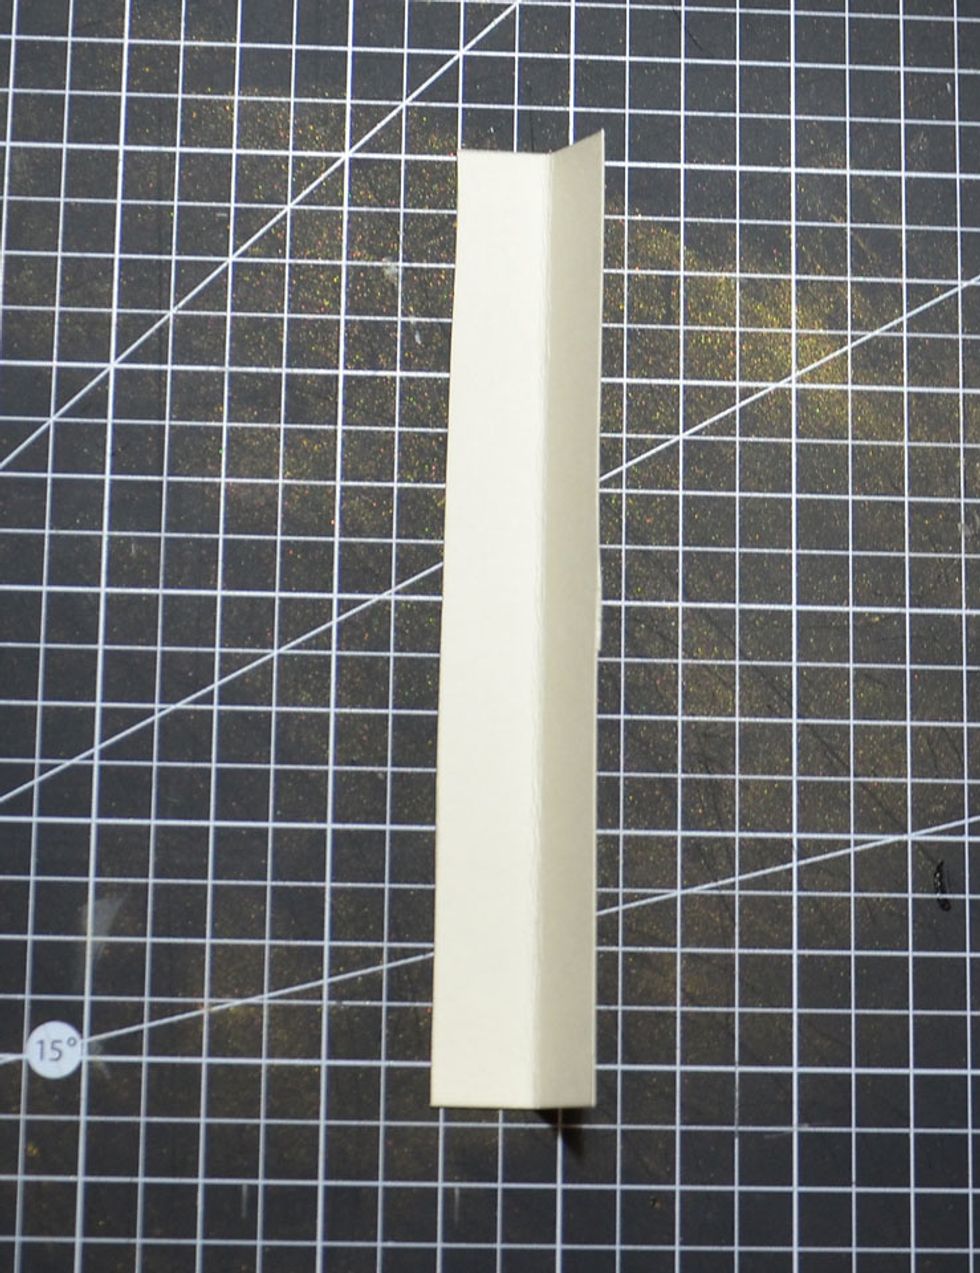
Fold in half.
Attach to word tag piece as shown.
Attach to other side word piece as shown.

Now attach both sides to the centre tag as shown.
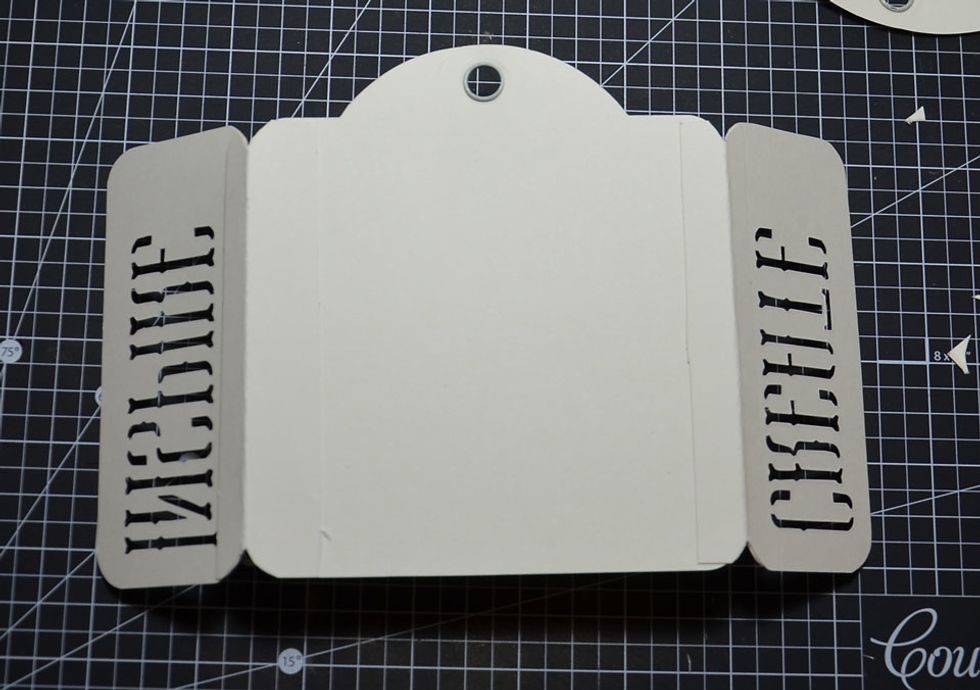
Showing back of tag. Cover the side back pieces with the coloured paper of your choice and attach when ready.
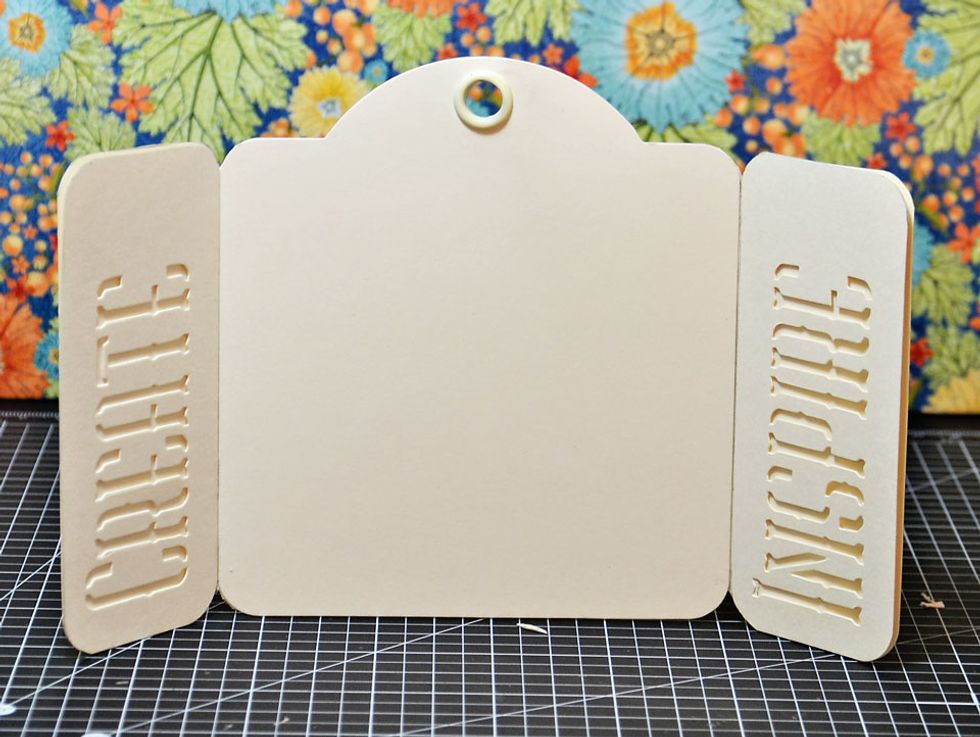
The base bi-fold standing tag is now ready for you to embellish any way you choose.

Standing nicely.

Thus is how I chose to embellish mine. Lots of fussy cut details from the gorgeous Graphic 45 Worlds Fair collection.

A little close up :)

Lots of layers.

Thank you for viewing my tutorial. Joanne Bain - scrappinforme.blogspot.com.au/