The Conversation (0)
Sign Up
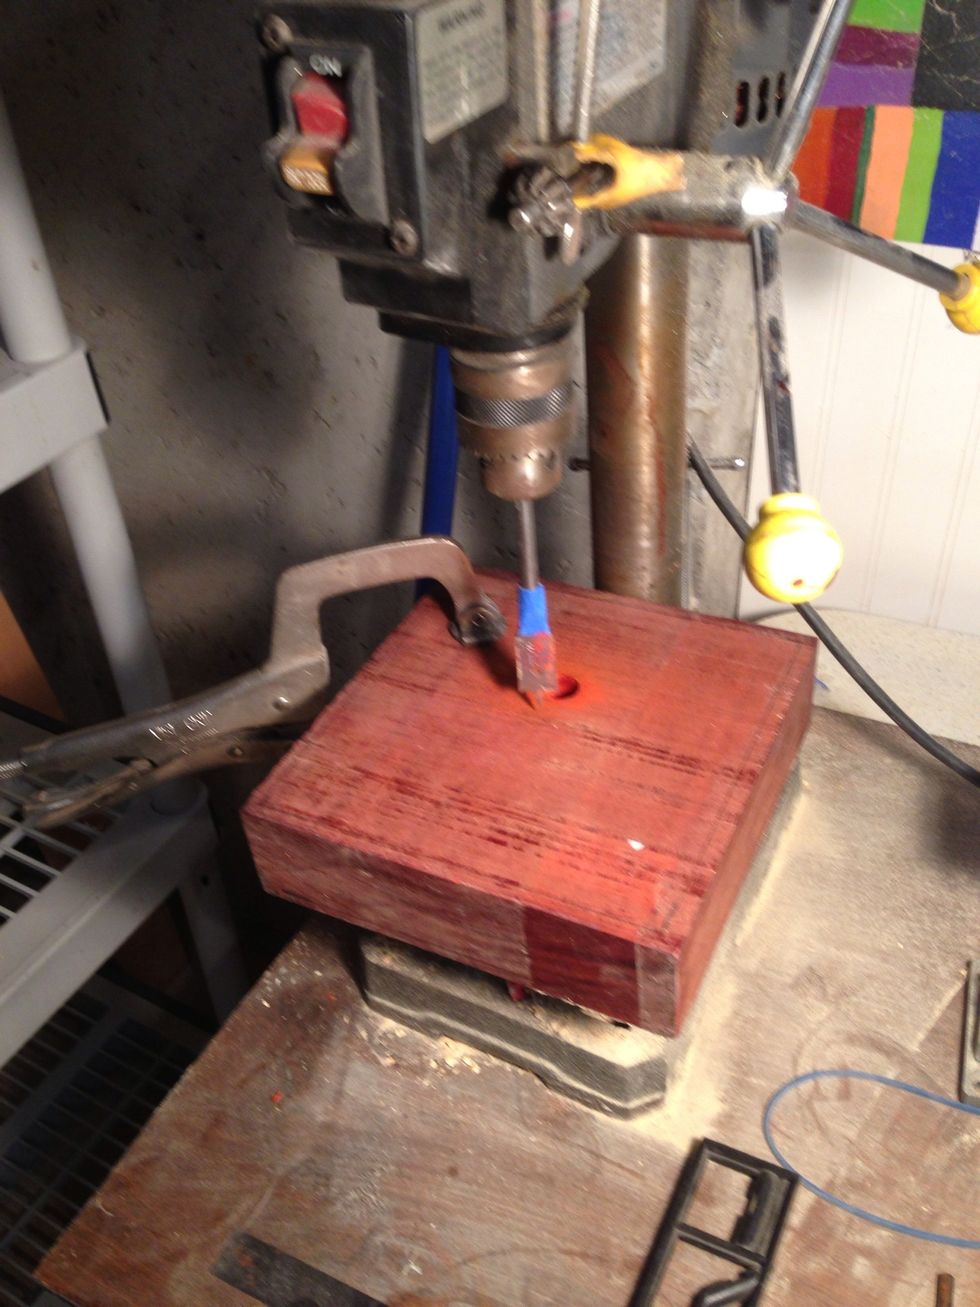
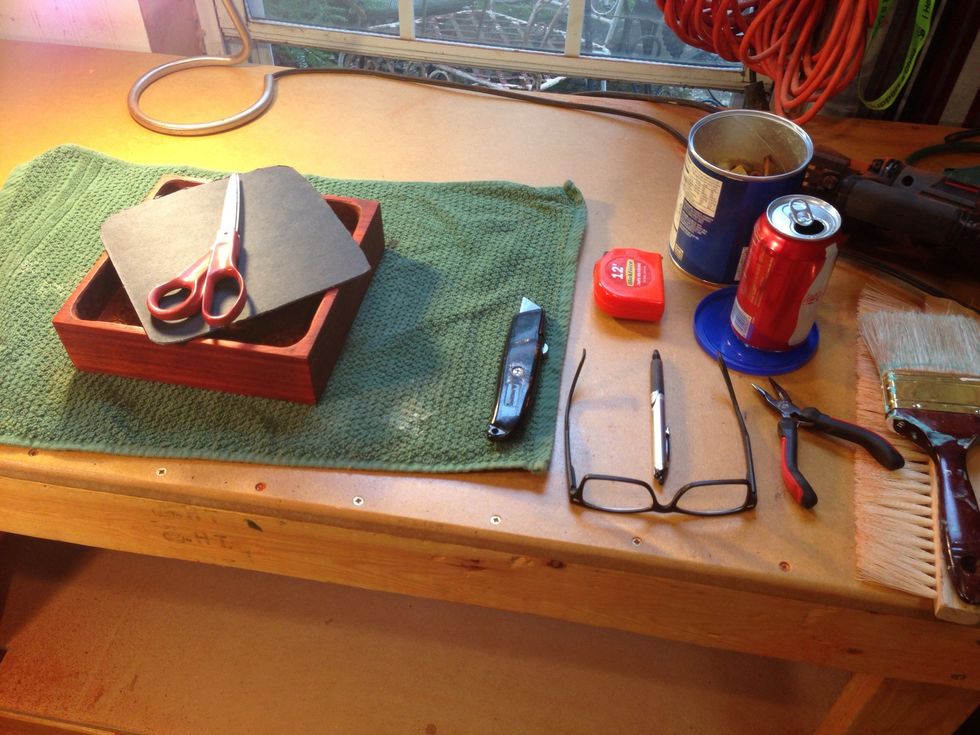
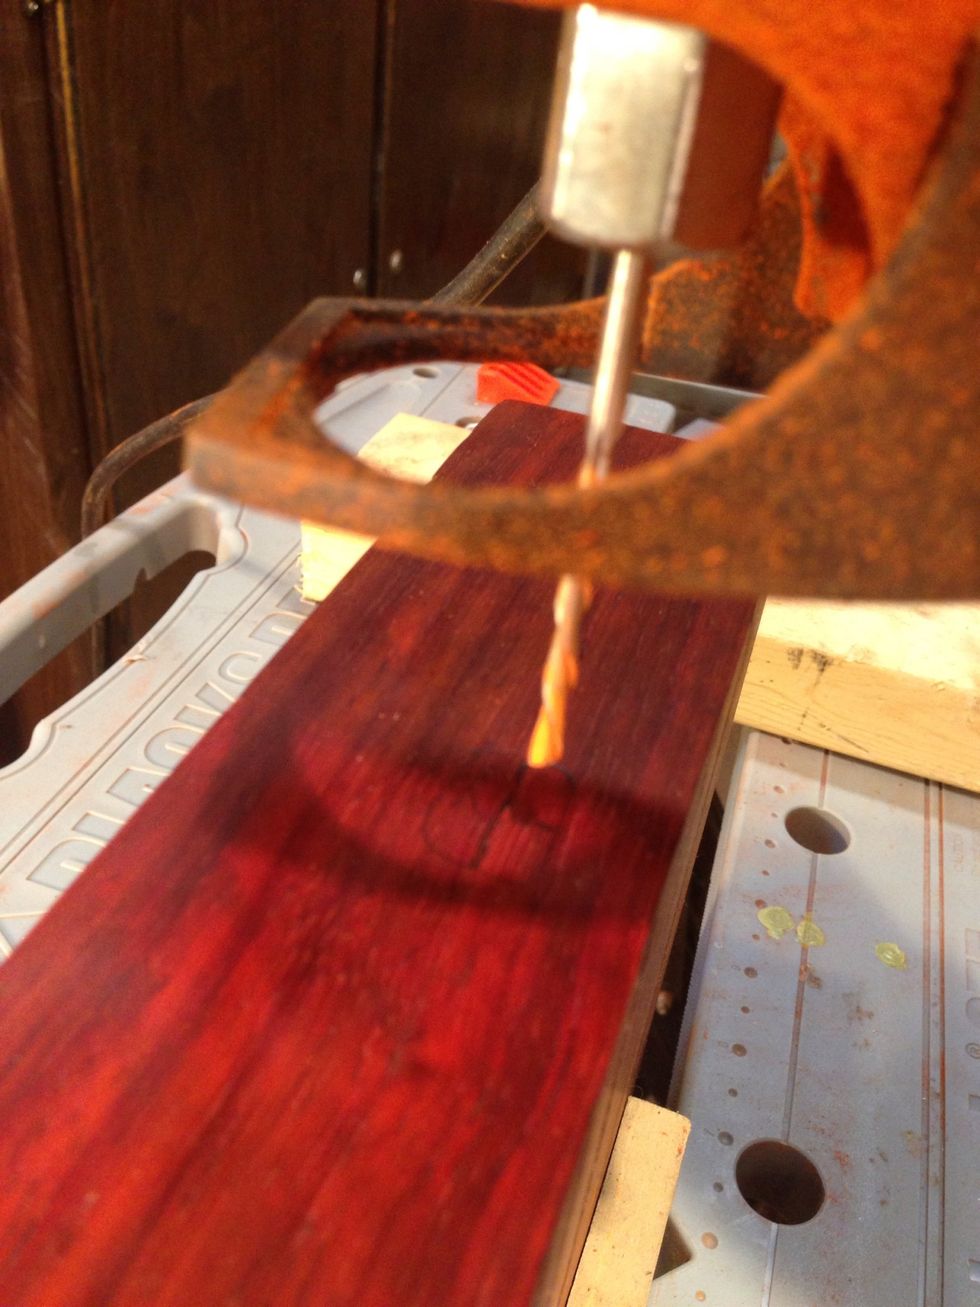
Mark your pattern, set it up on the drill press and get comfortable. Check your depth don't go too deep.
Drill and drill some more. Set the depth so it doesn't go alway through.
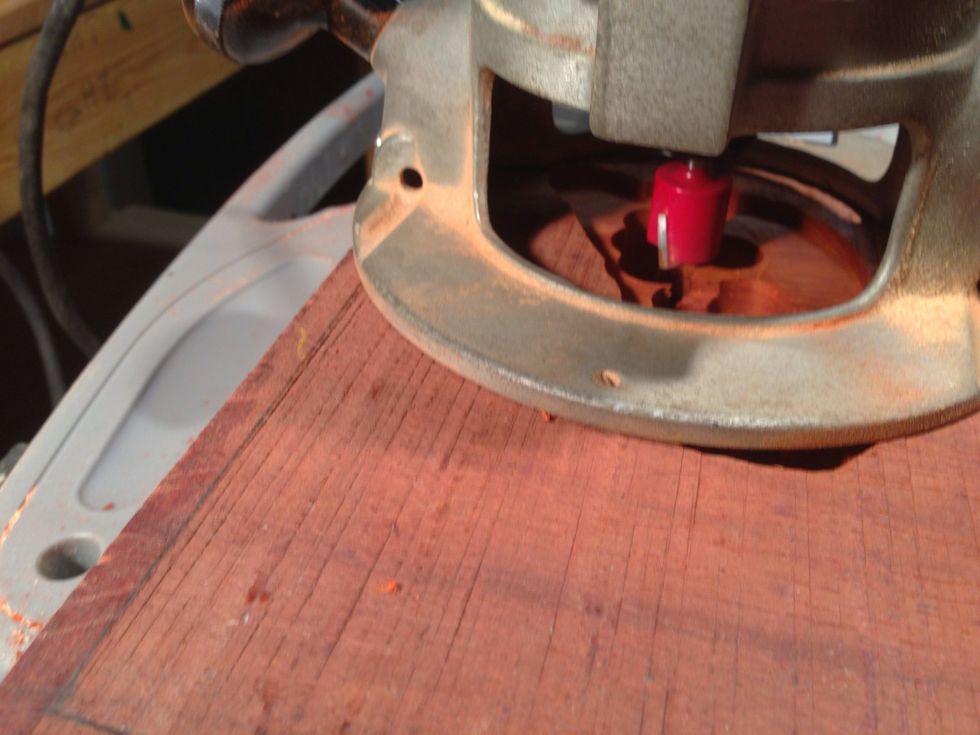
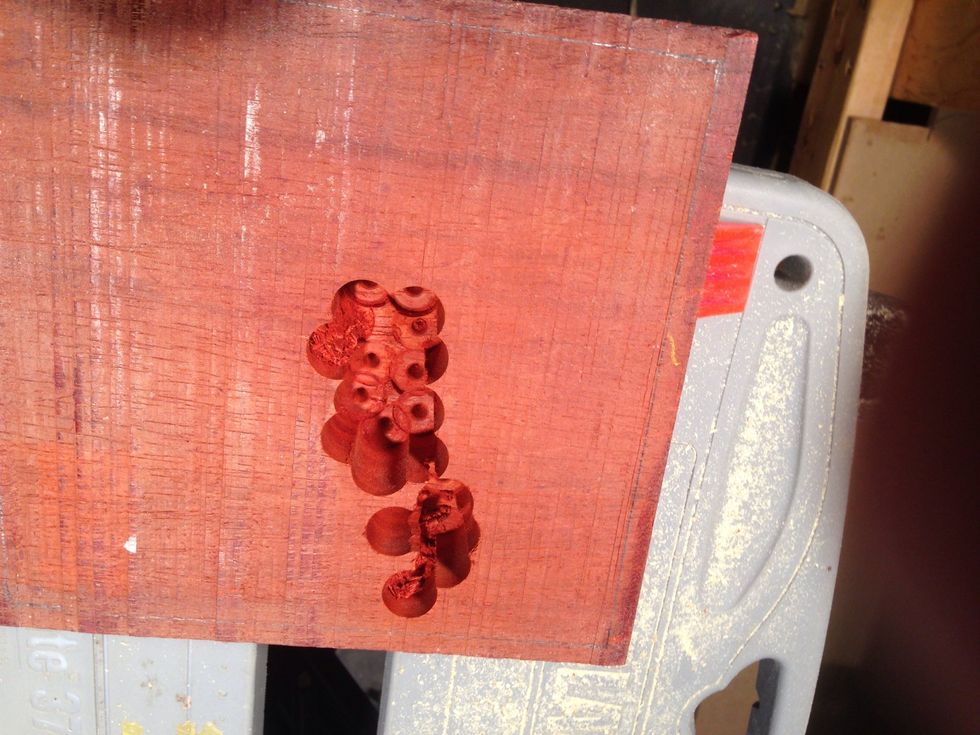
You can use your router to knock out some of the wood that you couldn't drill
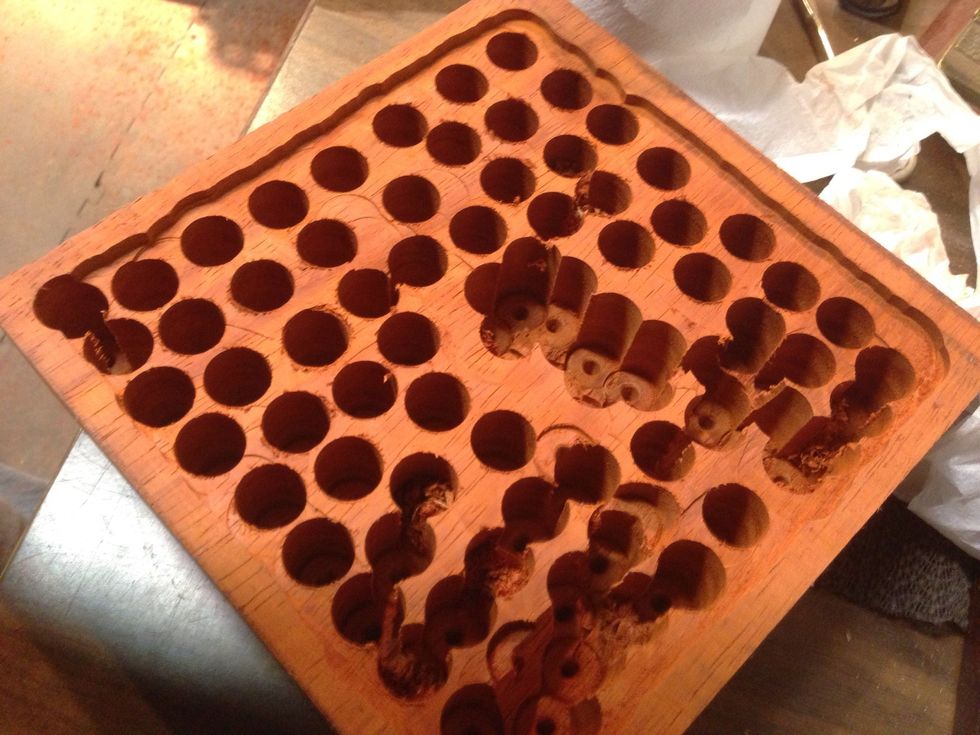
Wow thats a lot of holes.
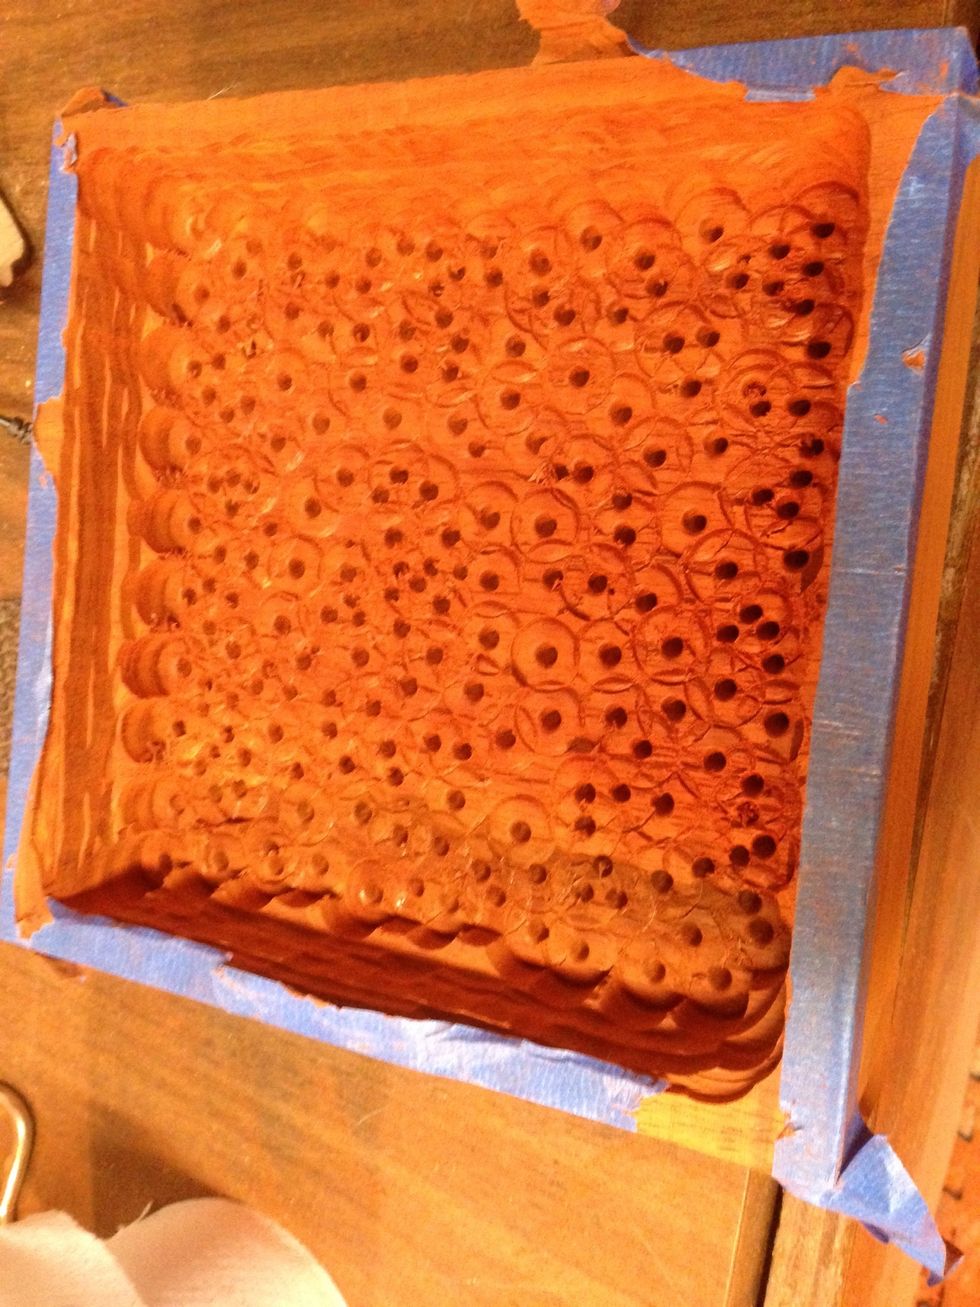
Lots of drills and used the router to get the rest of the wood cleaned out. It is starting to look like a square bowl. Use Blue tape to protect the edges.

The wood made lots of red dust, it was all over me, my glasses and the shop. Wear eye and nose protection.
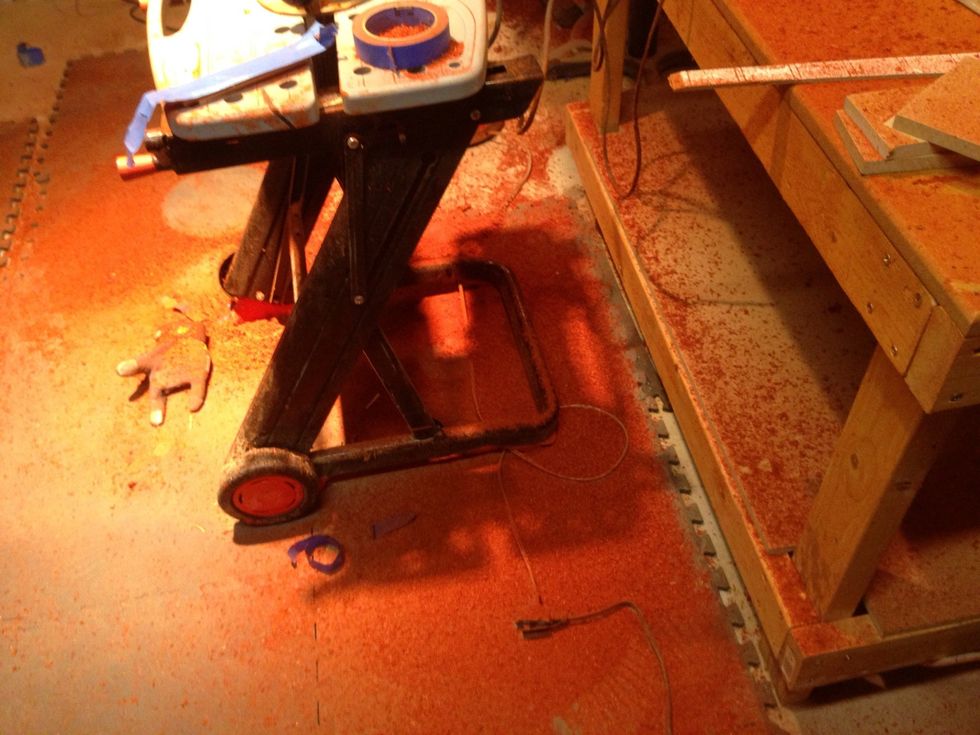
Dust field from MARS.
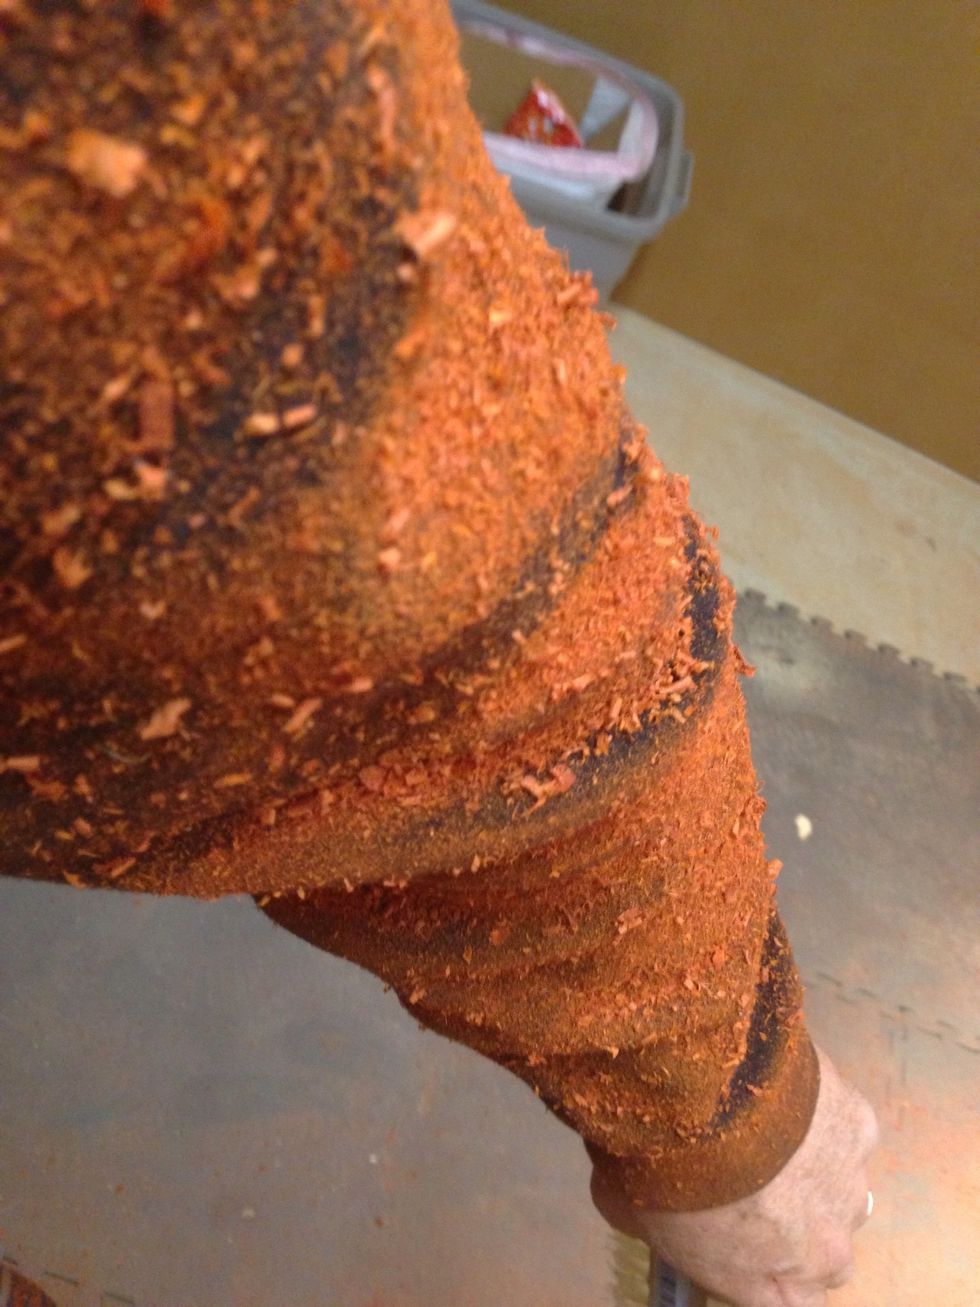
My arm after router work, yikes.
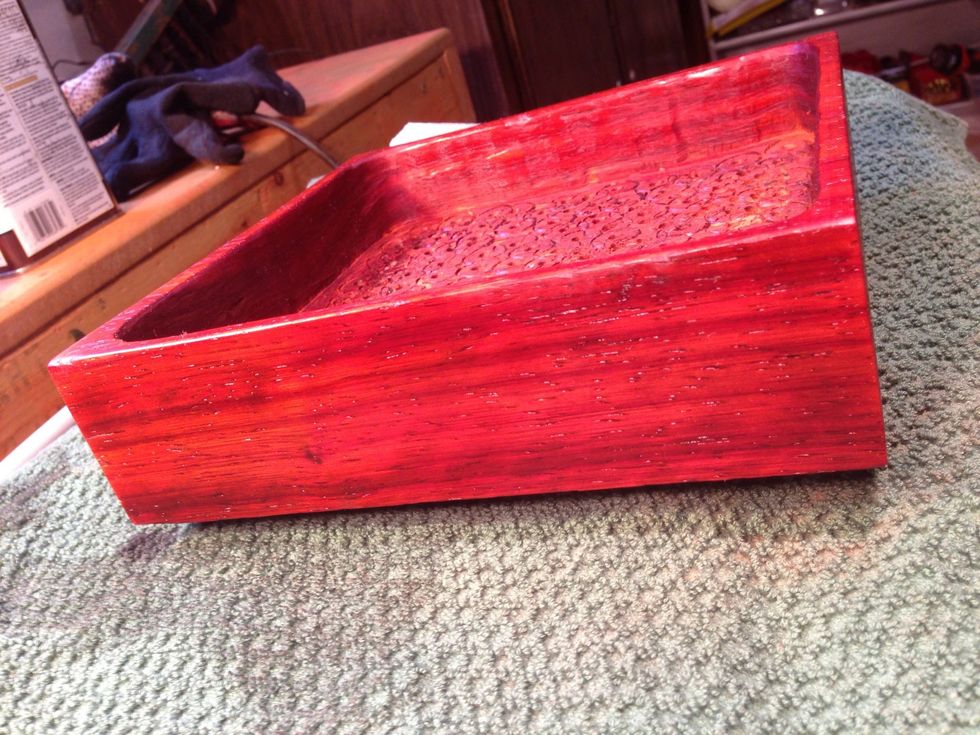
Okay the gentleman's valet is starting to take shape after some sanding. Note beautiful wood grain.
Final assembly,good idea to clean up the dust before you get to danish oil and get dust on the fake leather.
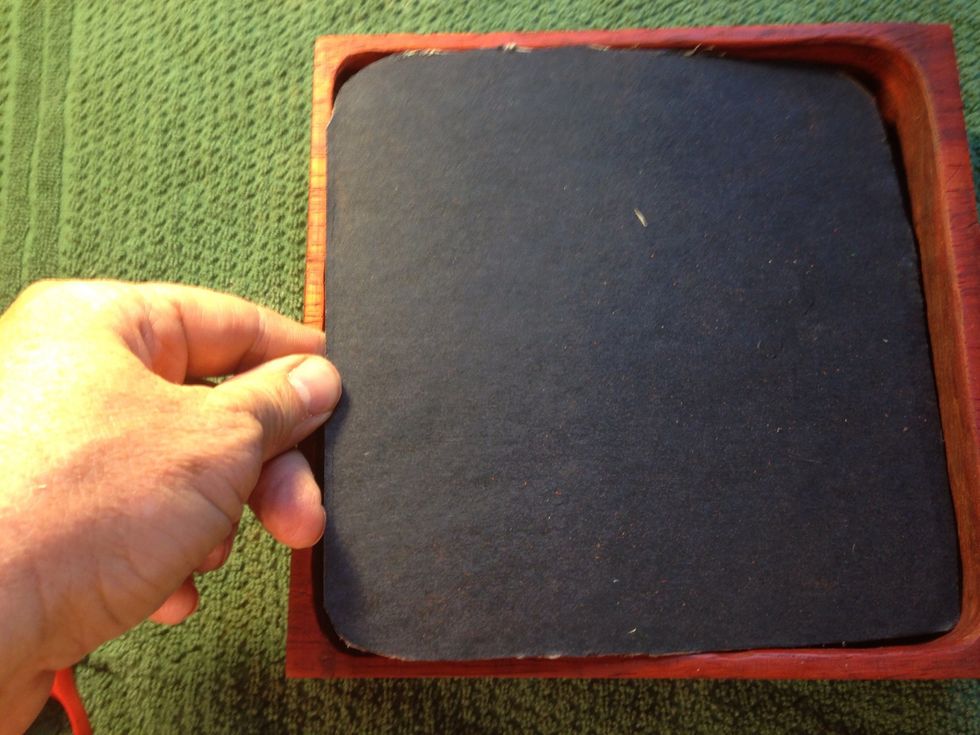
Found the back plate to a picture frame and started to trim to fit. Take off with knife or scissors. Take a little bit at a time, you can't add it back once it's gone.
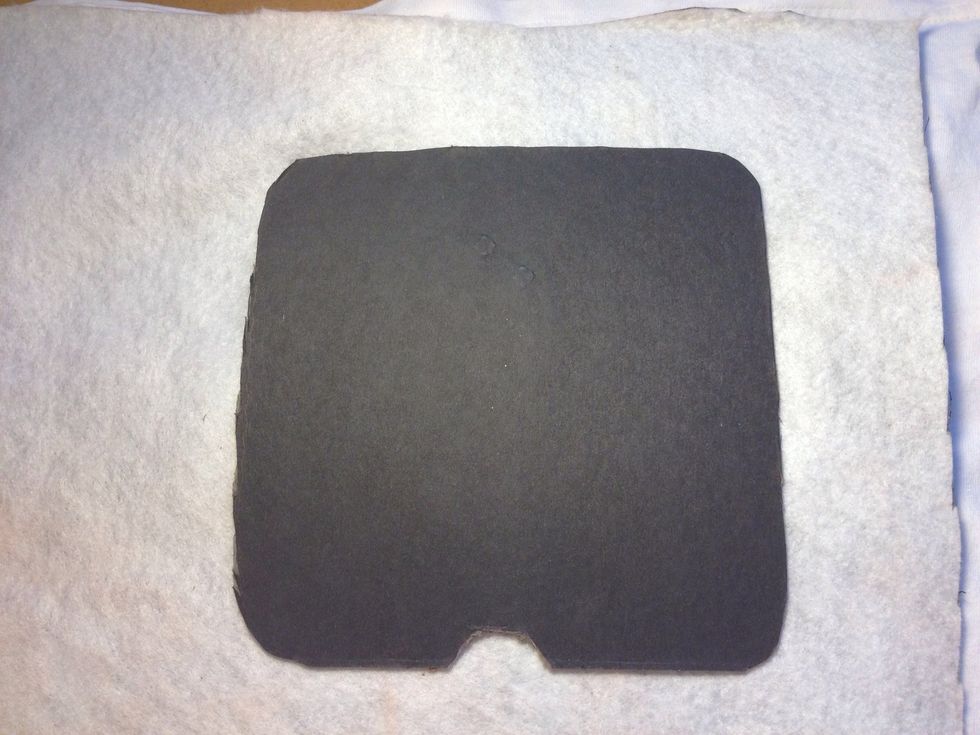
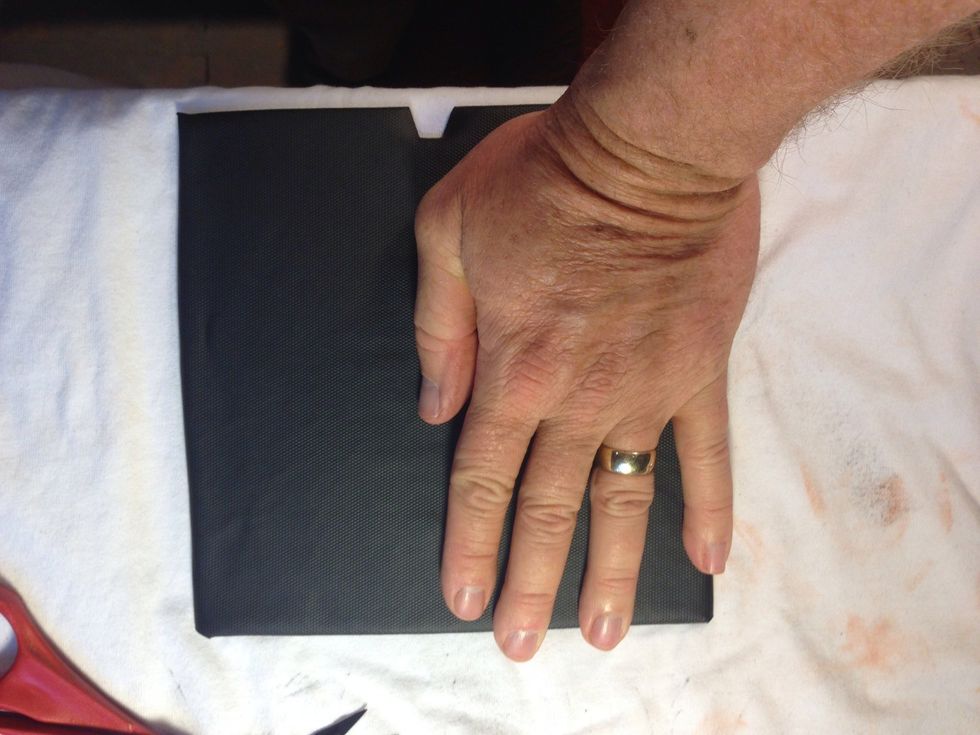
Starting to take shape, cardboard laying on fleather ready for next steps.
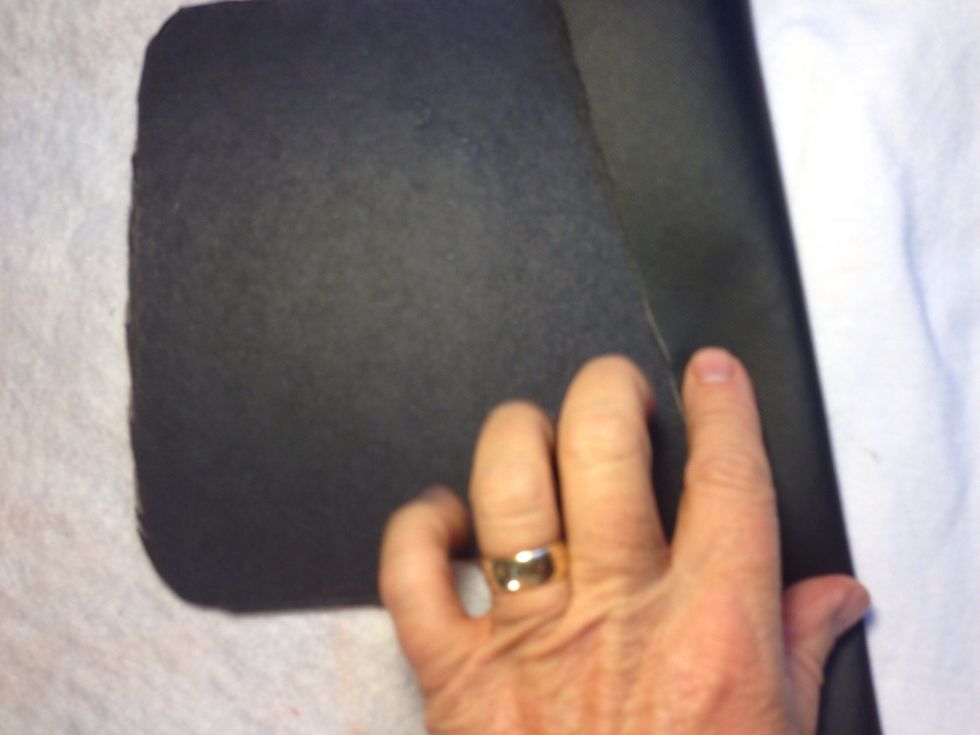
Fold over leather or felt your choice.
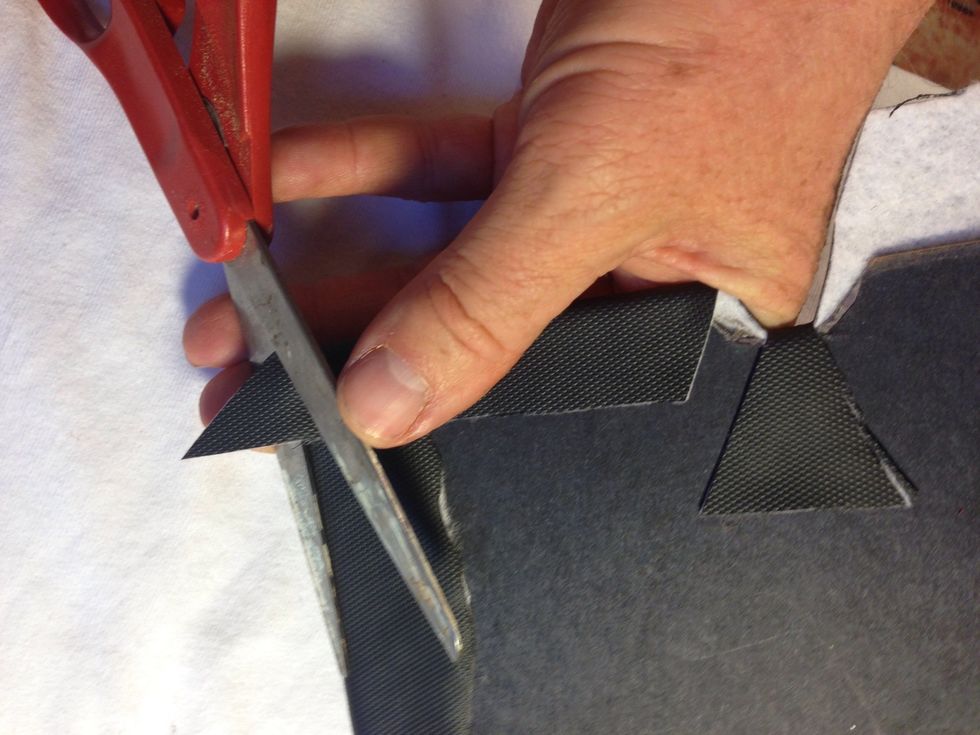
Trim the corners with scissors.
Add spray adhesive to back of felt and fold over and press firmly, you can add some weight to hold it down.
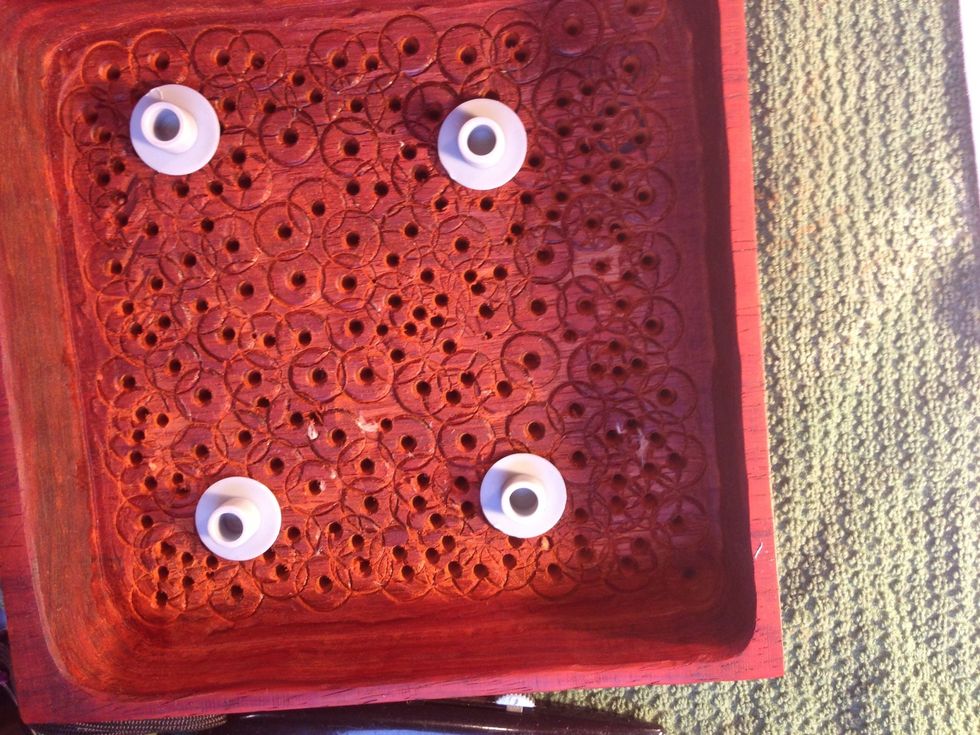
Found some plastic spacers to keep the card board level and give room for all the charger wires have room. You could use wood block if you need.
After the adhesive on the board has dried add hot glue gun to fold over the corners. Don't worry this is all on the underside and is not seen.

Try not to glue your thumb, it's really hot.
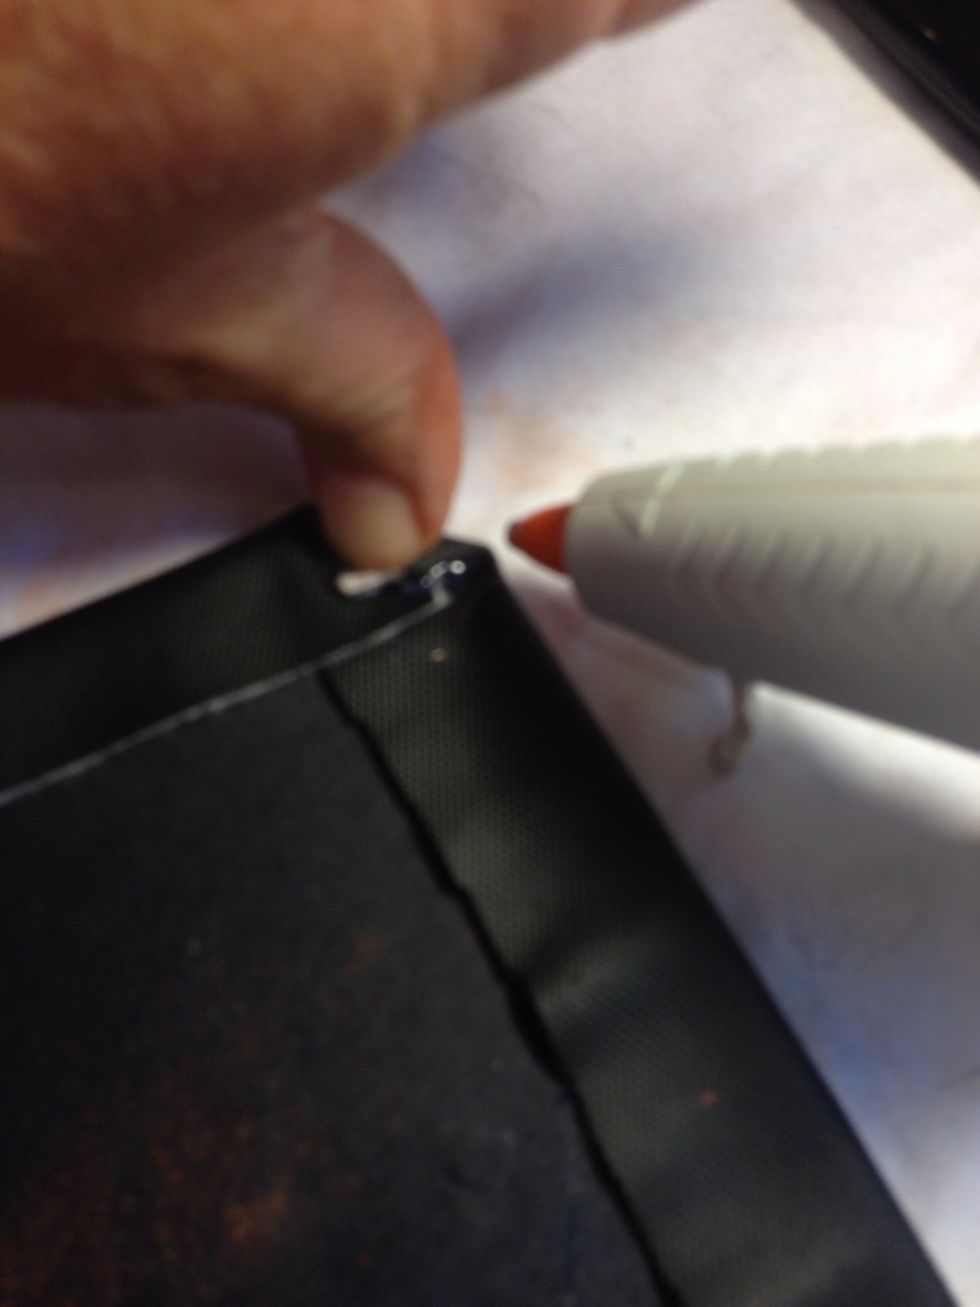
Okay measure thee times and drill your hole for all the chargers to run thru. I suggest go out the back but you could go out the bottom. Don't make the hole too big, say usb plug size.
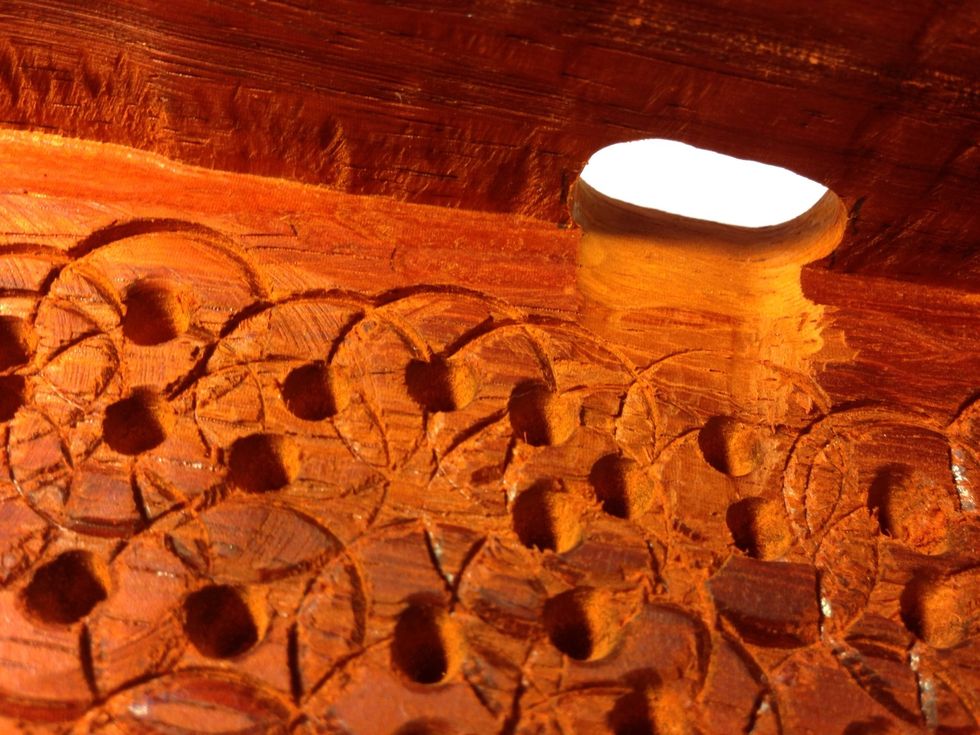
Inside view of charger hole.
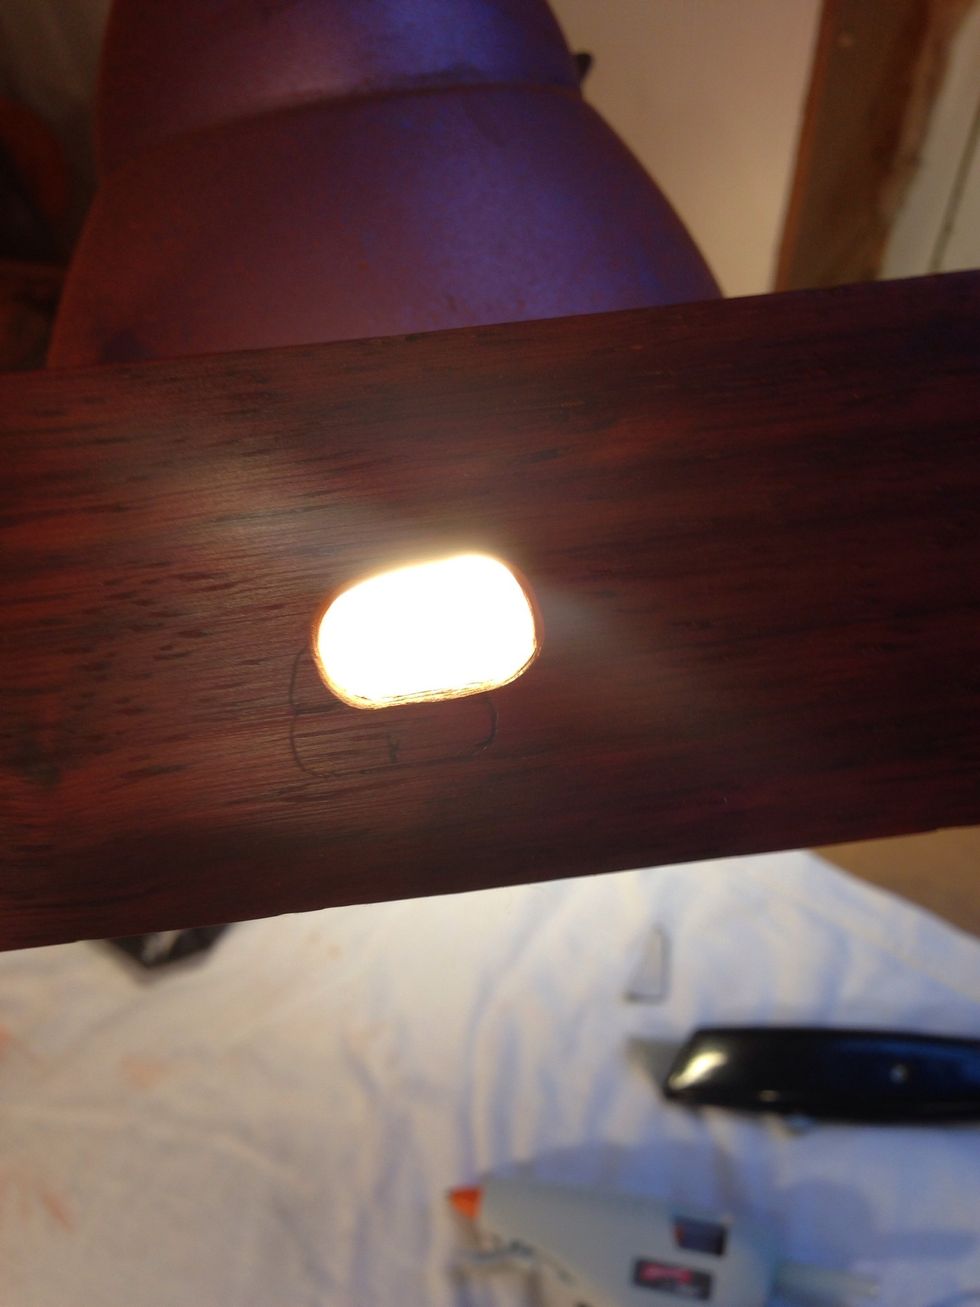
I see the light.

I have run the various cords for a test fit. Make sure they can move smoothly and don't bind.
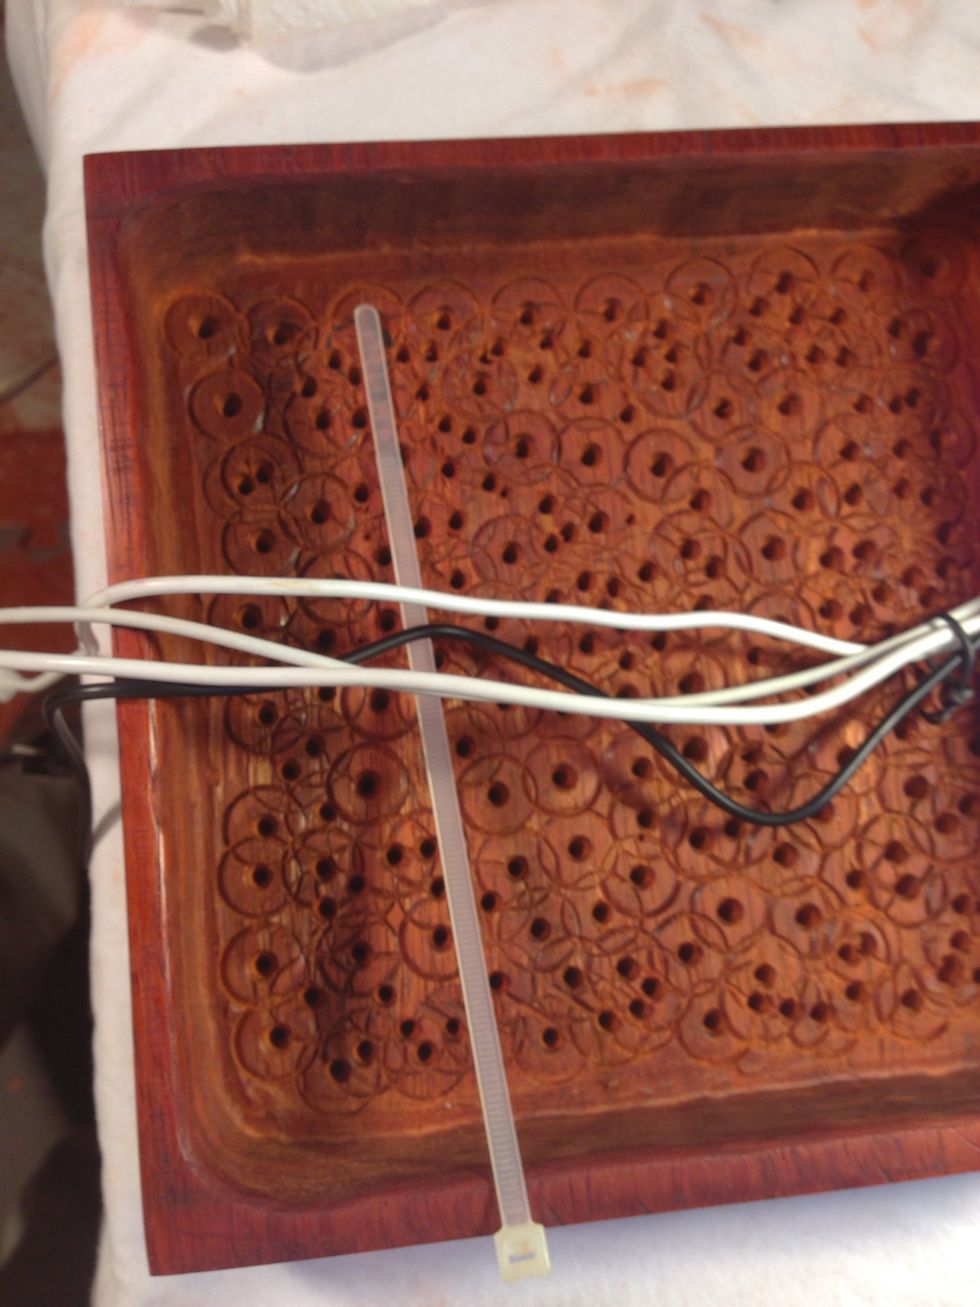
Use a zip tie to manage the cables don't over tighten.
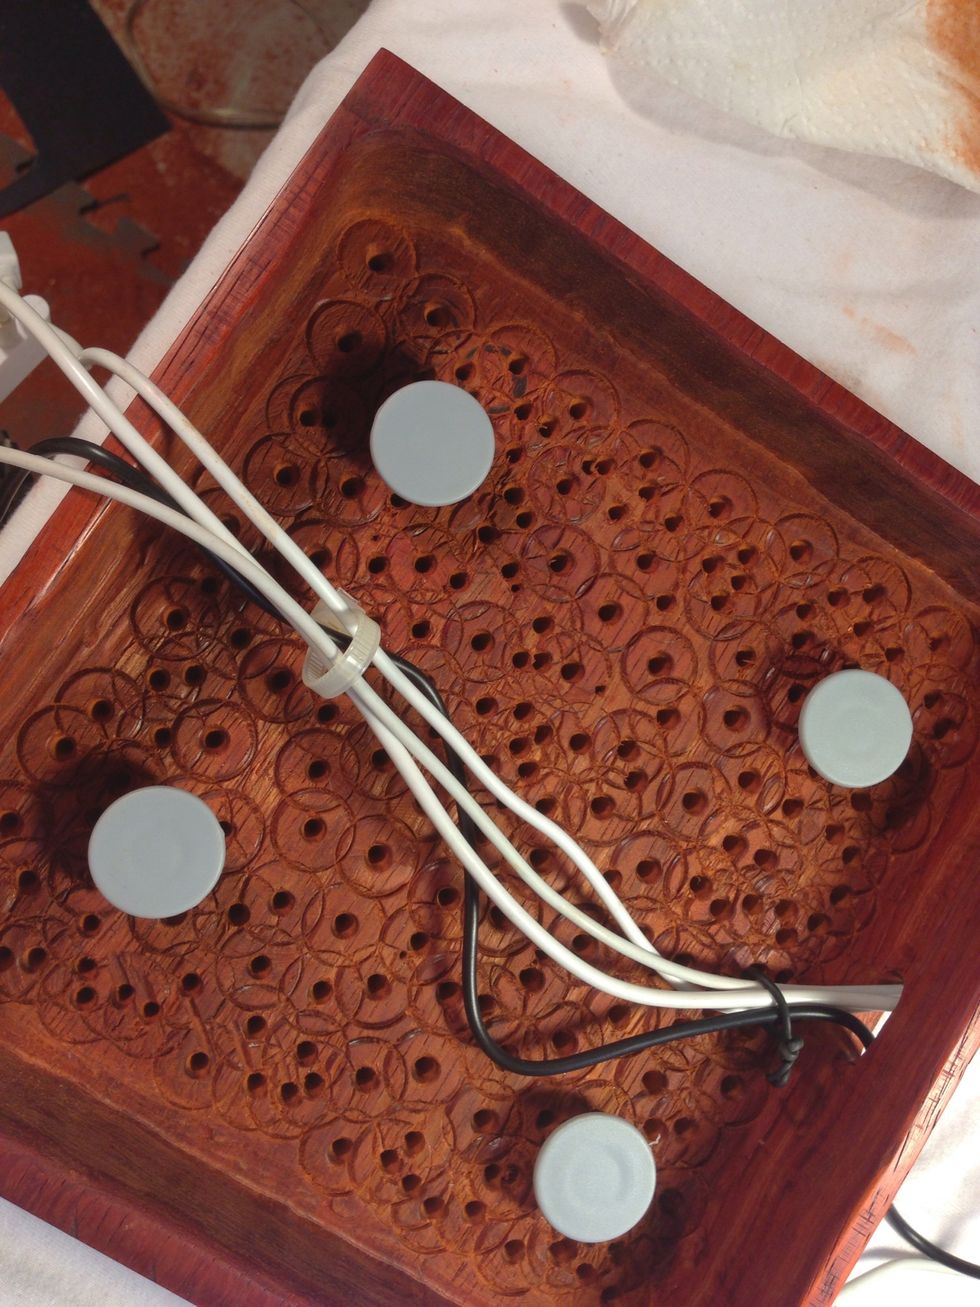
Cables secure and spacers hot glued in, almost ready for the leather top.
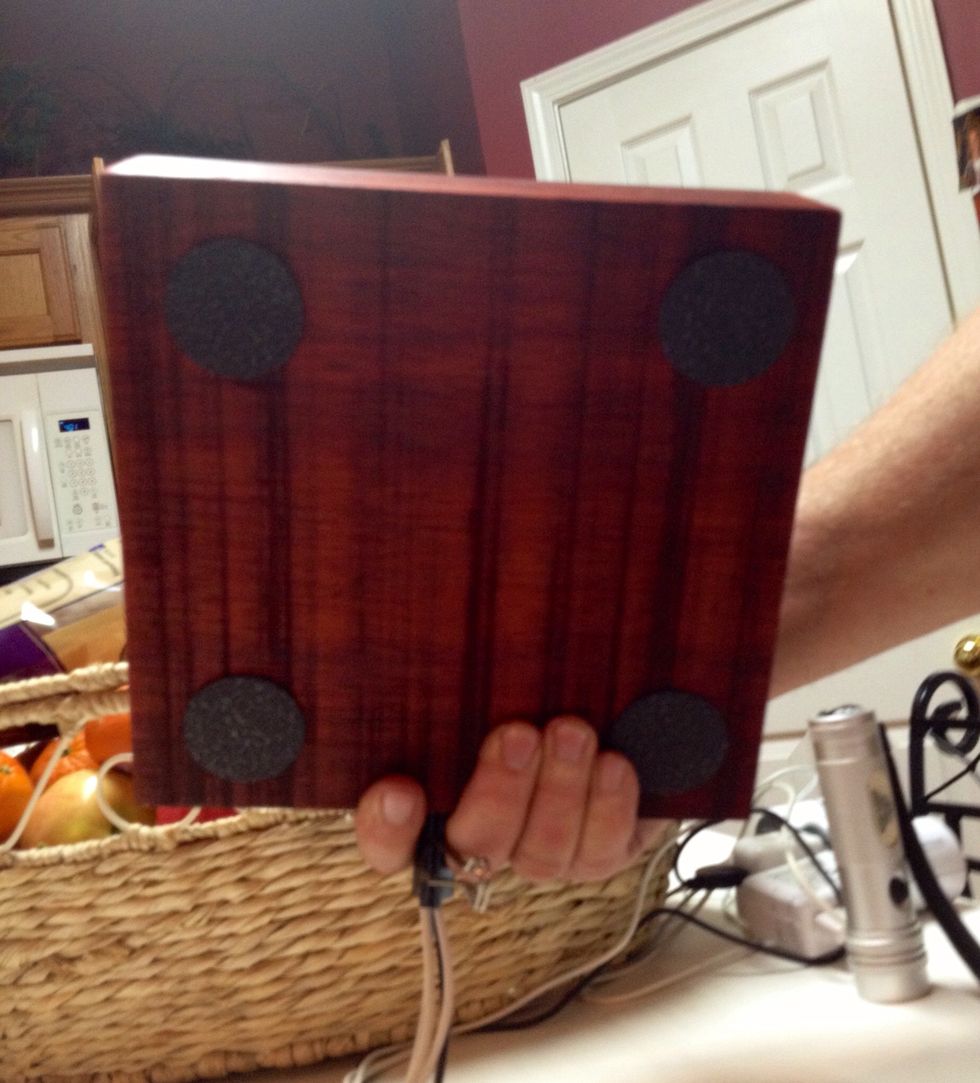
Add a few sticky pads to protect your furniture and to keep your valet sturdy. Add the leather piece to the top.
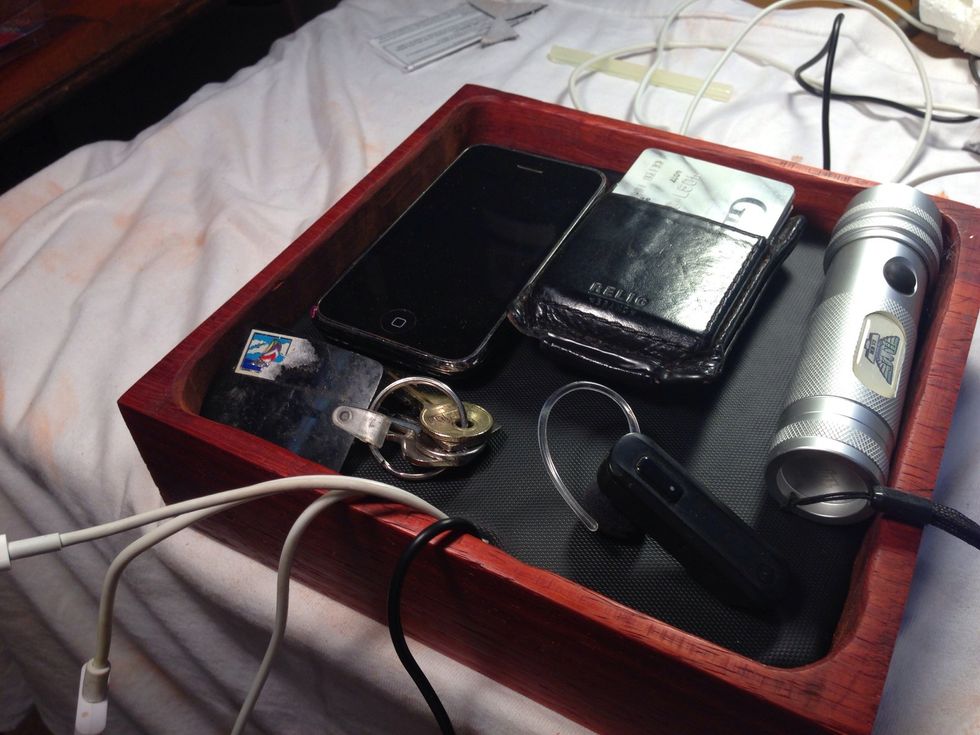
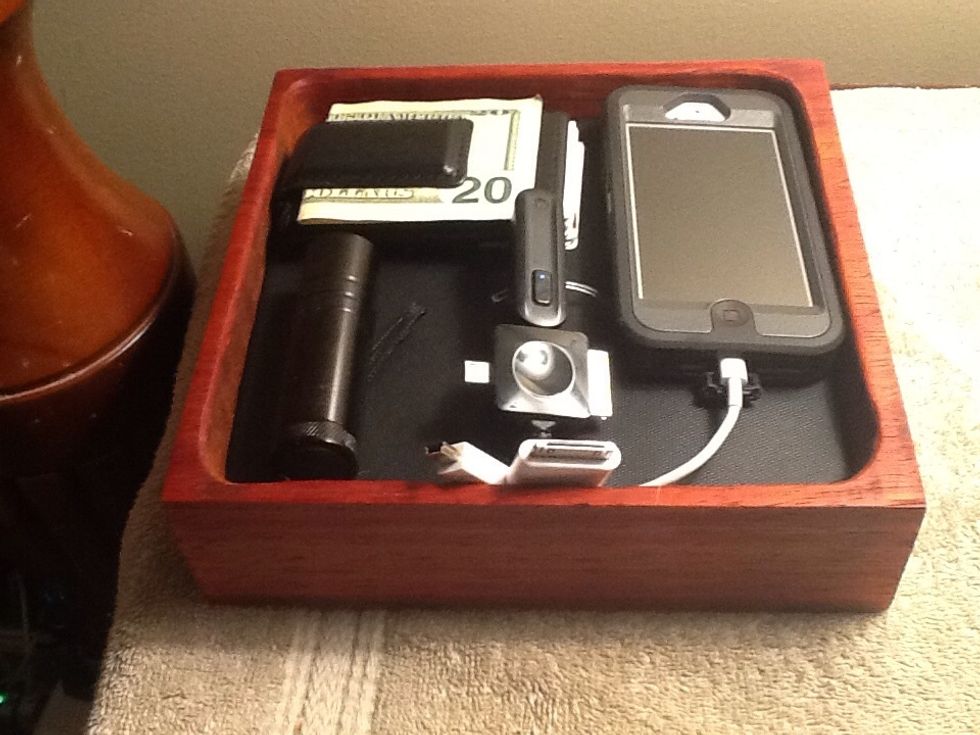
Test fit, Move cables and devices around to fit to your likening.Note depth of leather board.
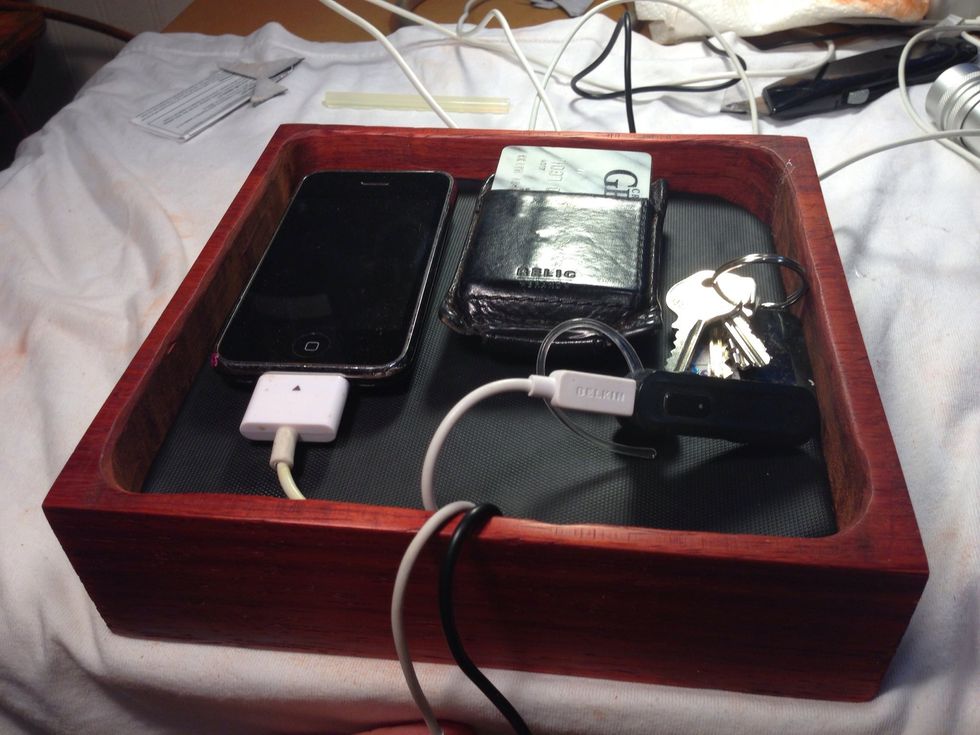
Looking better, holds iPhone charger, ear piece charger, iPad charger, and blue tooth keyboard charger.
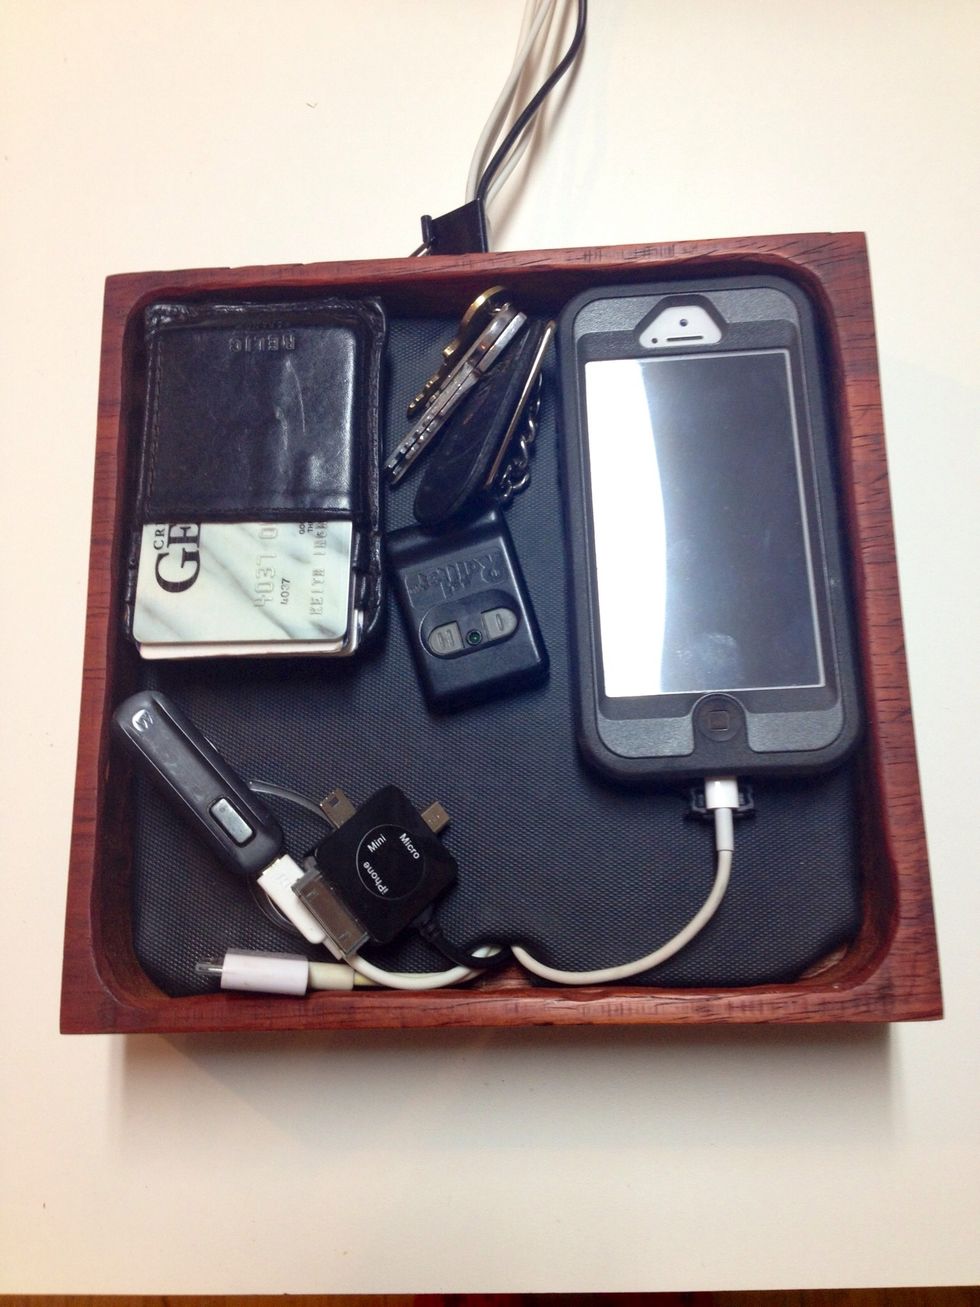
Pretty cool gentleman's electronic valet ready for action.
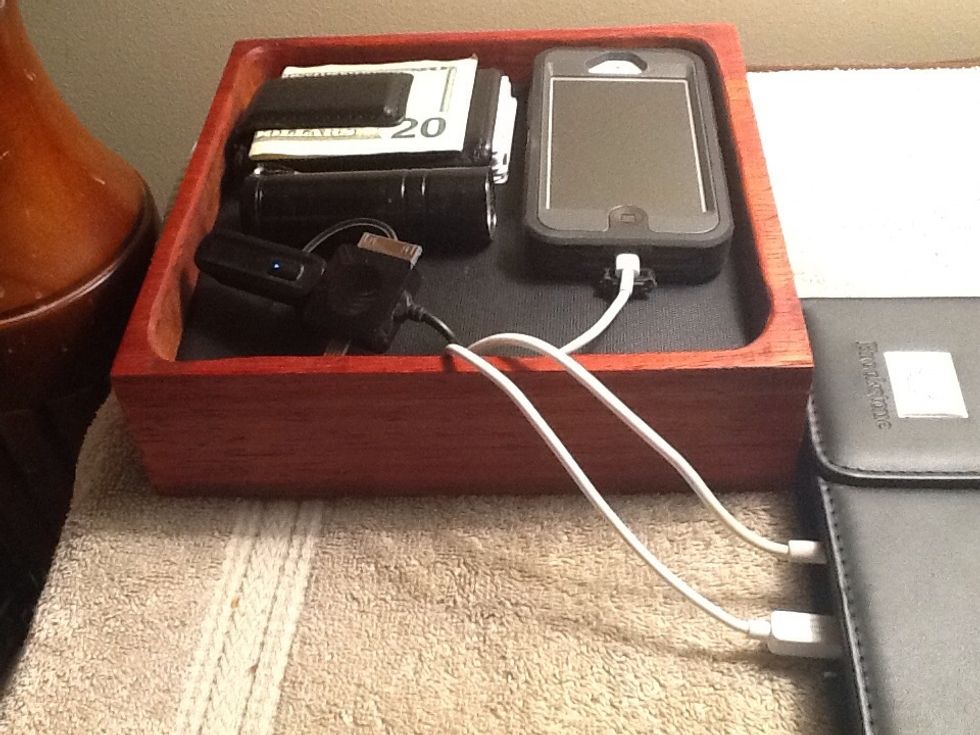
You can extend cables for iPad charger or you can tuck them away if they are not needed.
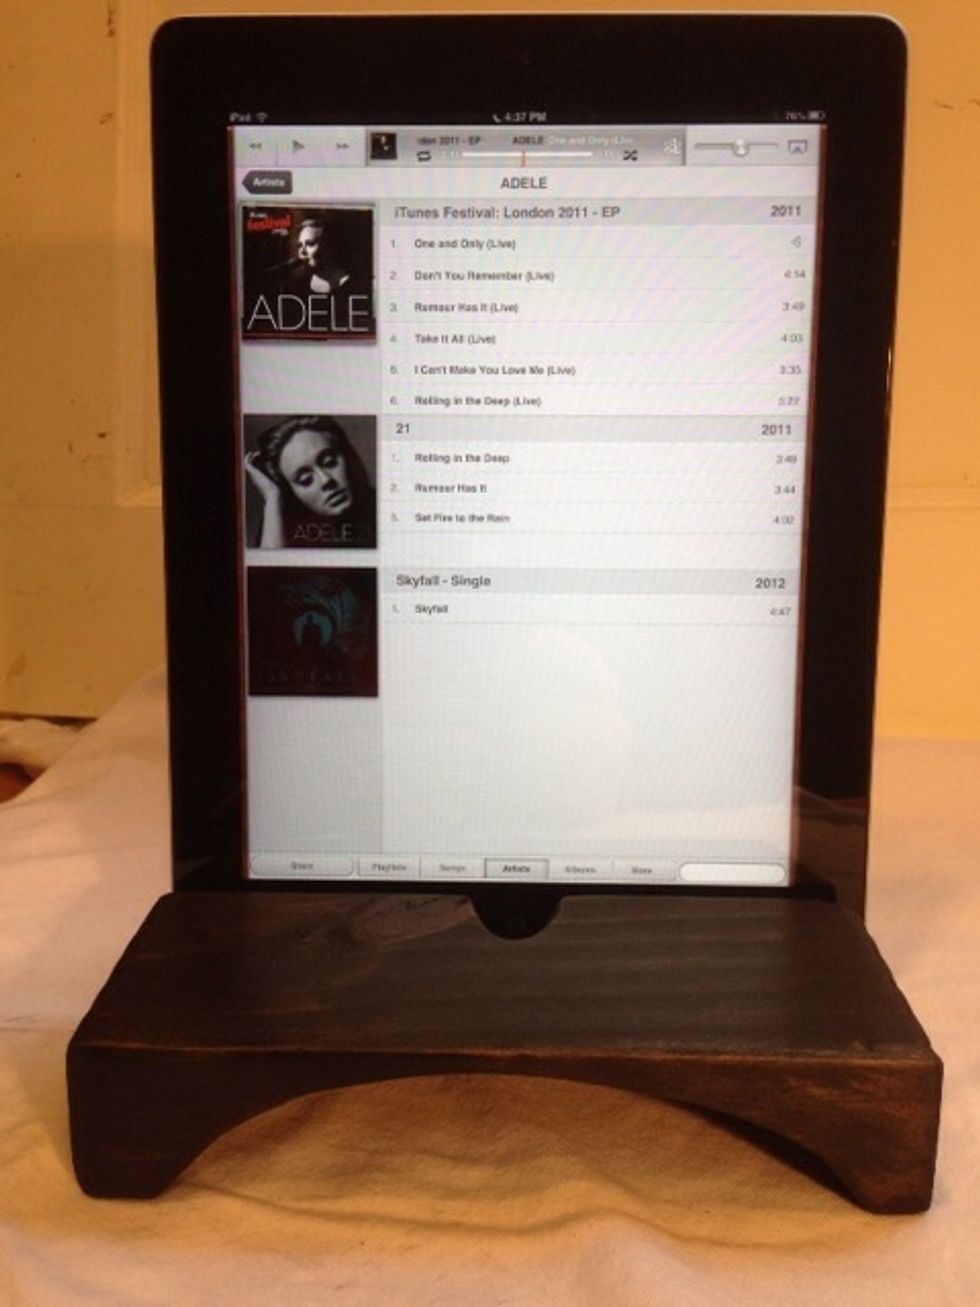
Check out my other Snapguide for iPad natural speaker amplifier.
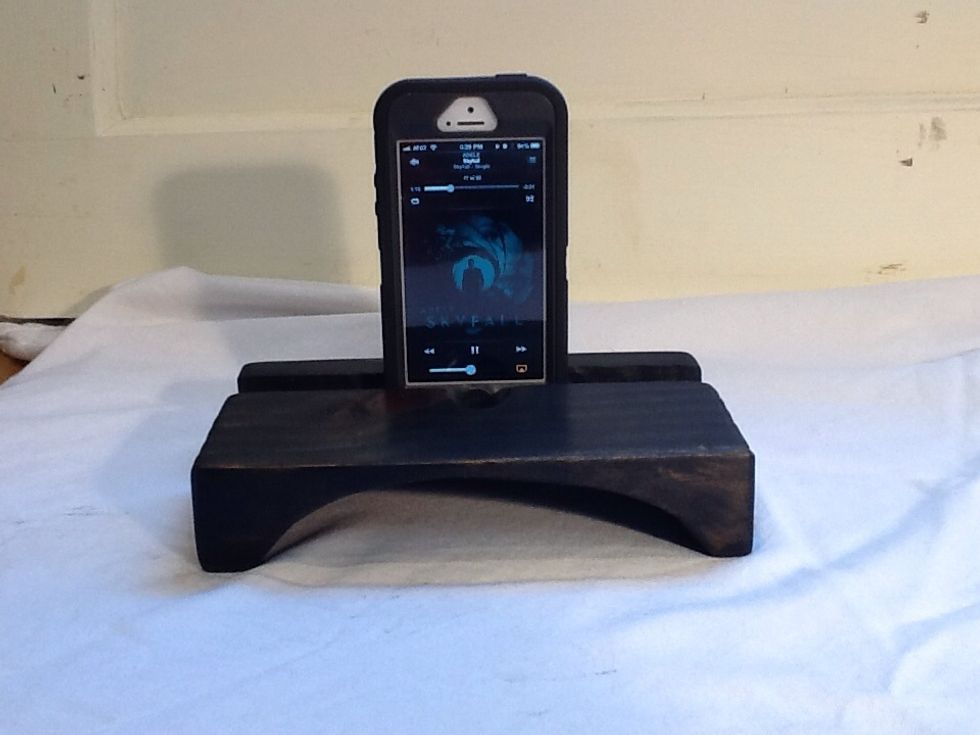
It will work with your iPhone and increase speaker volume with no extra electronics. I gained 25 db with the cave underneath bouncing the sound.
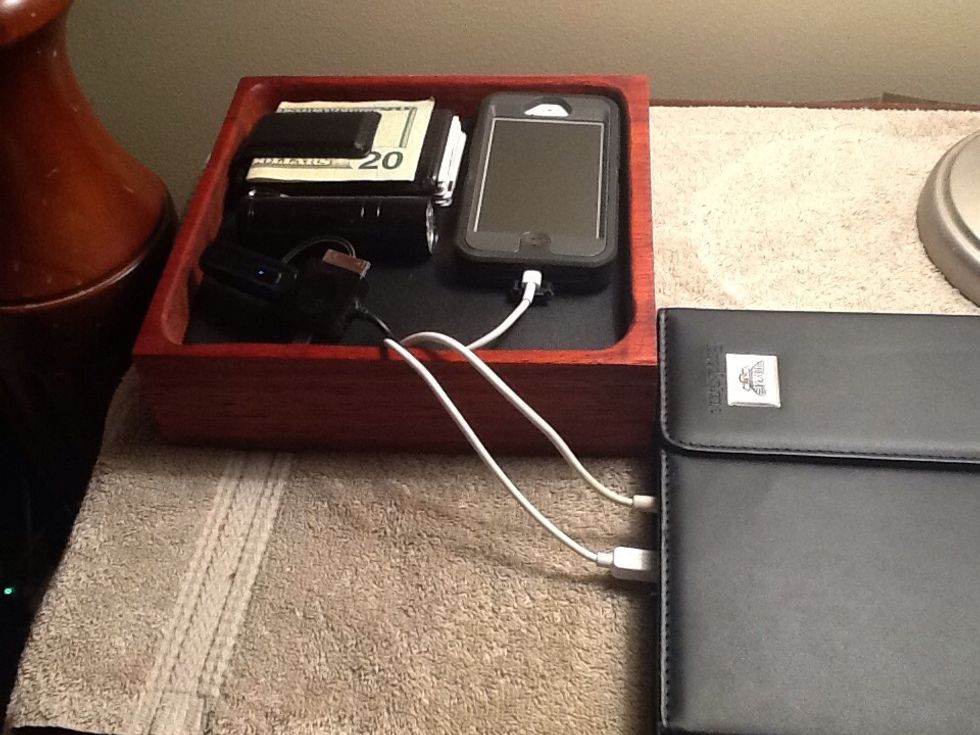
The electronic valet chargers all my devices, holds my wallet and a small flashlight.
Looks great, works great, makes me feel organized at night and wake up ready to go because I can find all my stuff. Pretty cool.