The Conversation (0)
Sign Up

Cut the center design from "Christmas Carol" sheet, adhere to the "Seasonal Sentiments" sheet as shown.
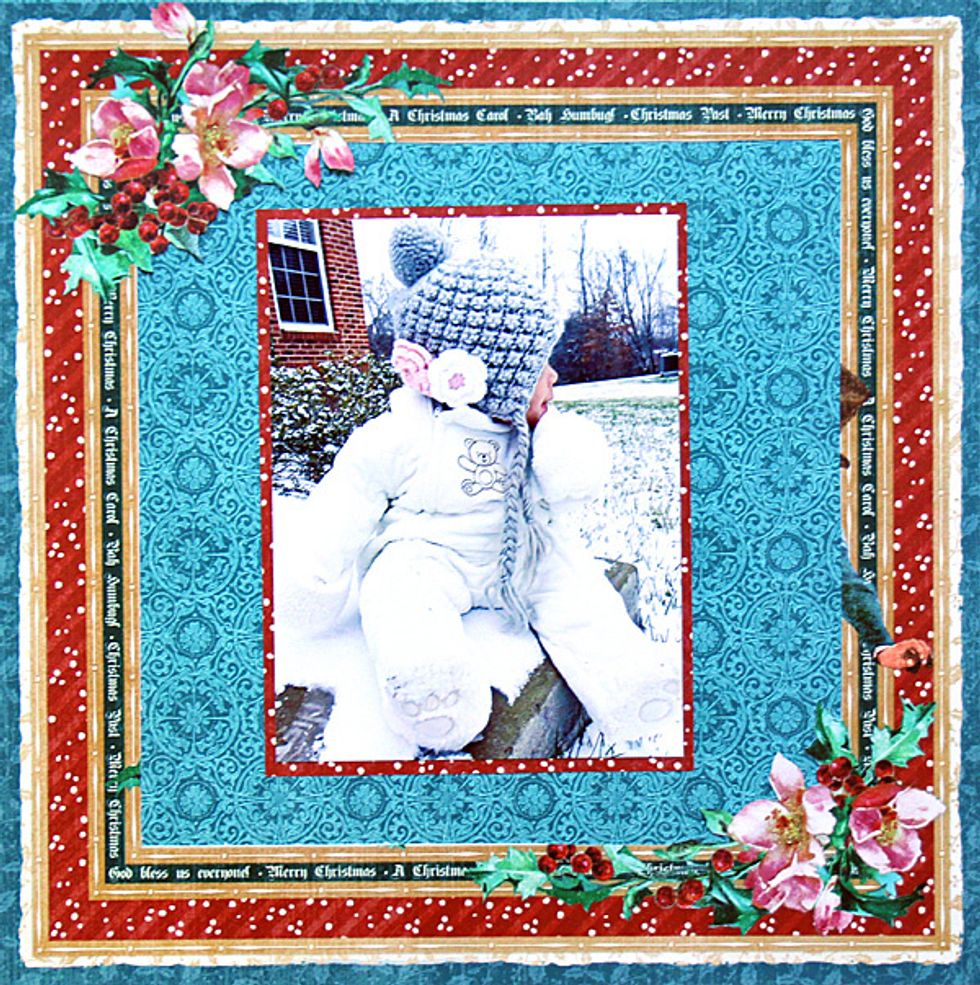
Cut a 5 1/4" x 7 1/4" mat rectangle from the "Christmas Carol" sheet. Adhere 5" x 7" photo to the center of the mat. Adhere matted photo to the center of the page.
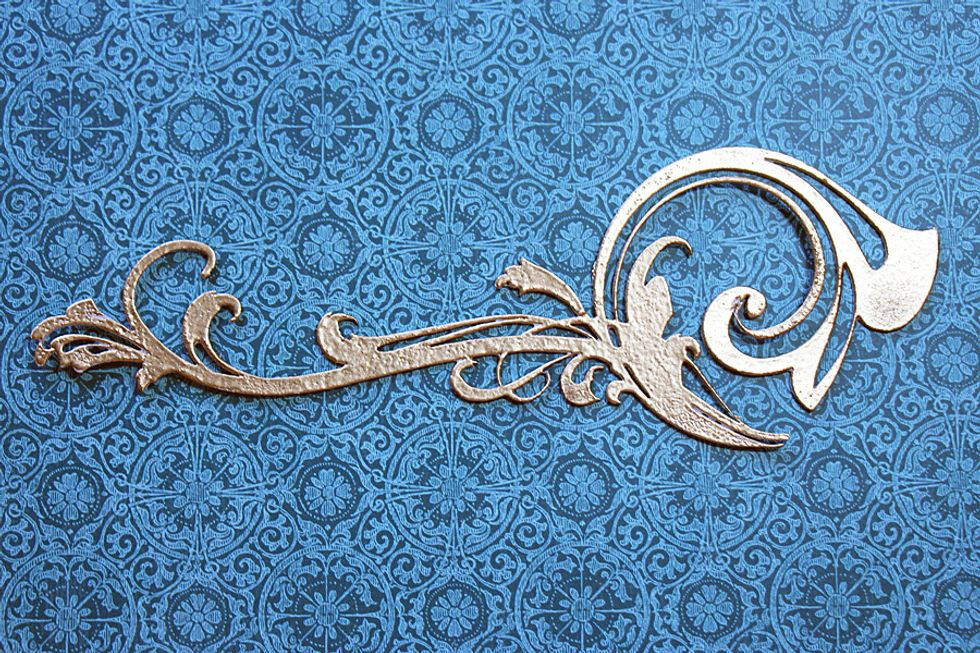
Heat emboss a chipboard flourish using gold embossing powder.
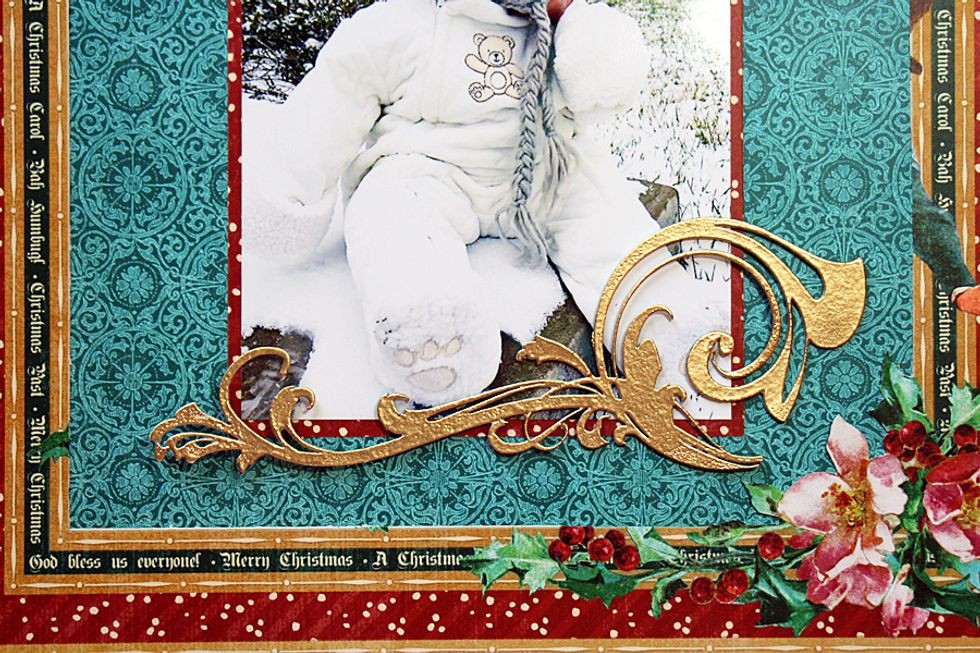
Add the embossed flourish to the bottom of the photo.
From the chipboard journaling sheet, select the shape shown in the photo to the bottom right corner of the photo onto the chipboard flourish.
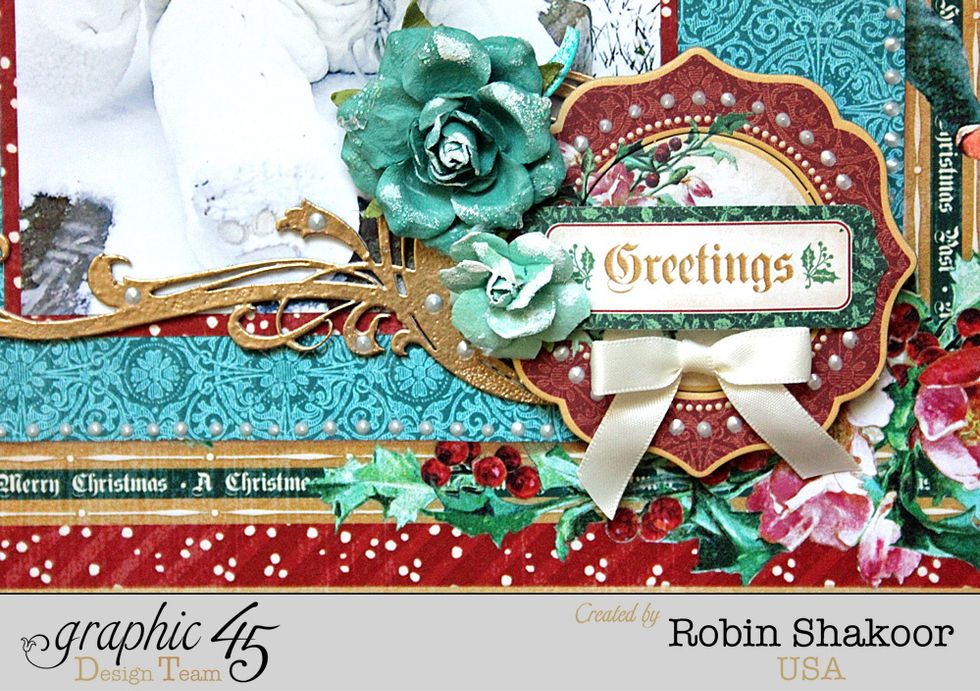
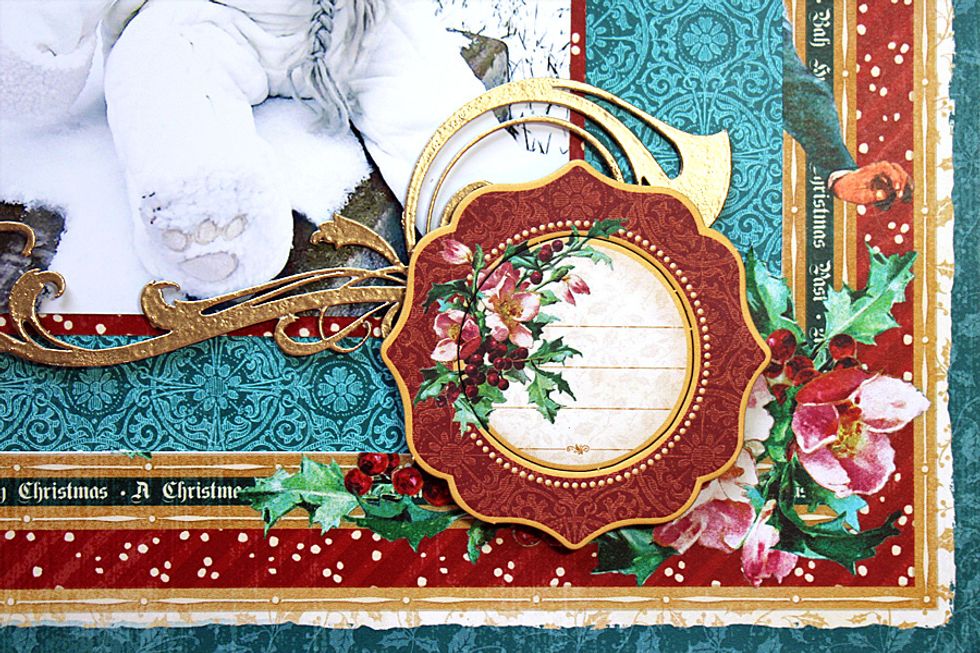
From the Tags and Tickets sheet, add the "Greeting" tag to the center of the chipboard circle. Add two flowers to the upper left side of the round chipboard shape as shown. Add a bow below the tag.
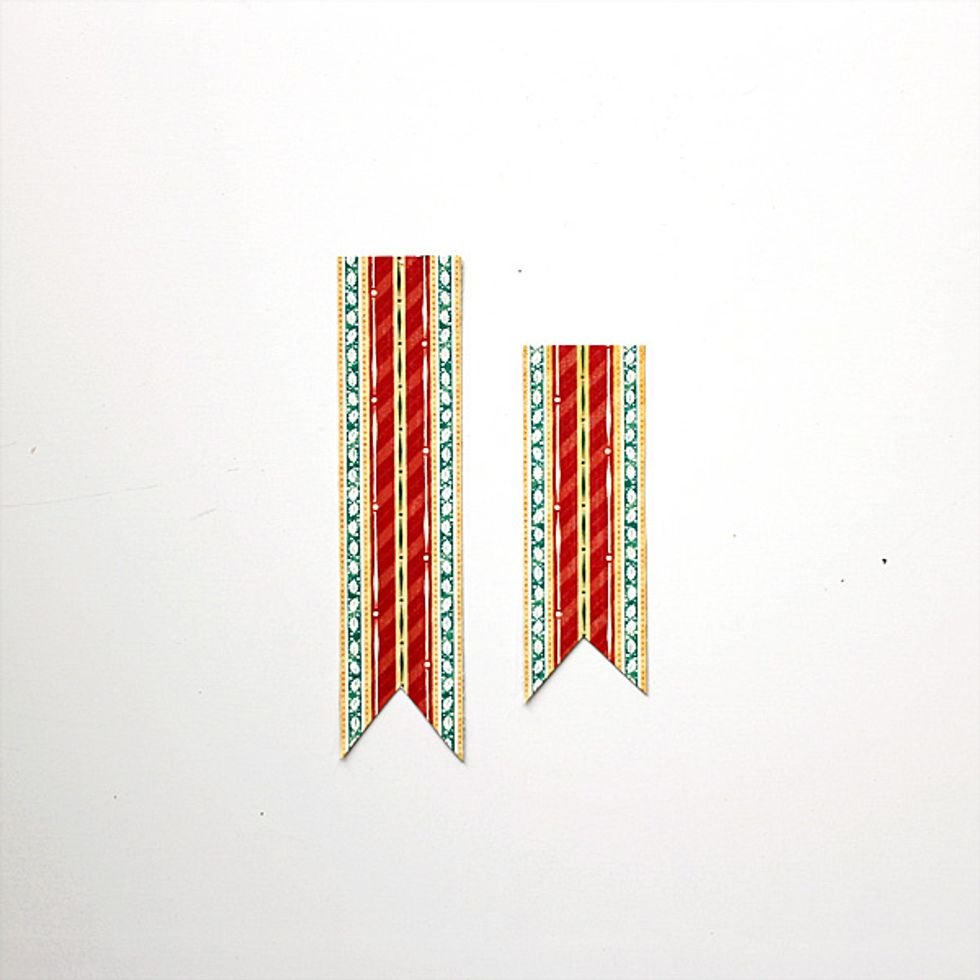
Cut two strips from the "Good Cheer" sheet. One of the strips should be one inch longer than the other. Cut a "V" shape at the bottom of each.
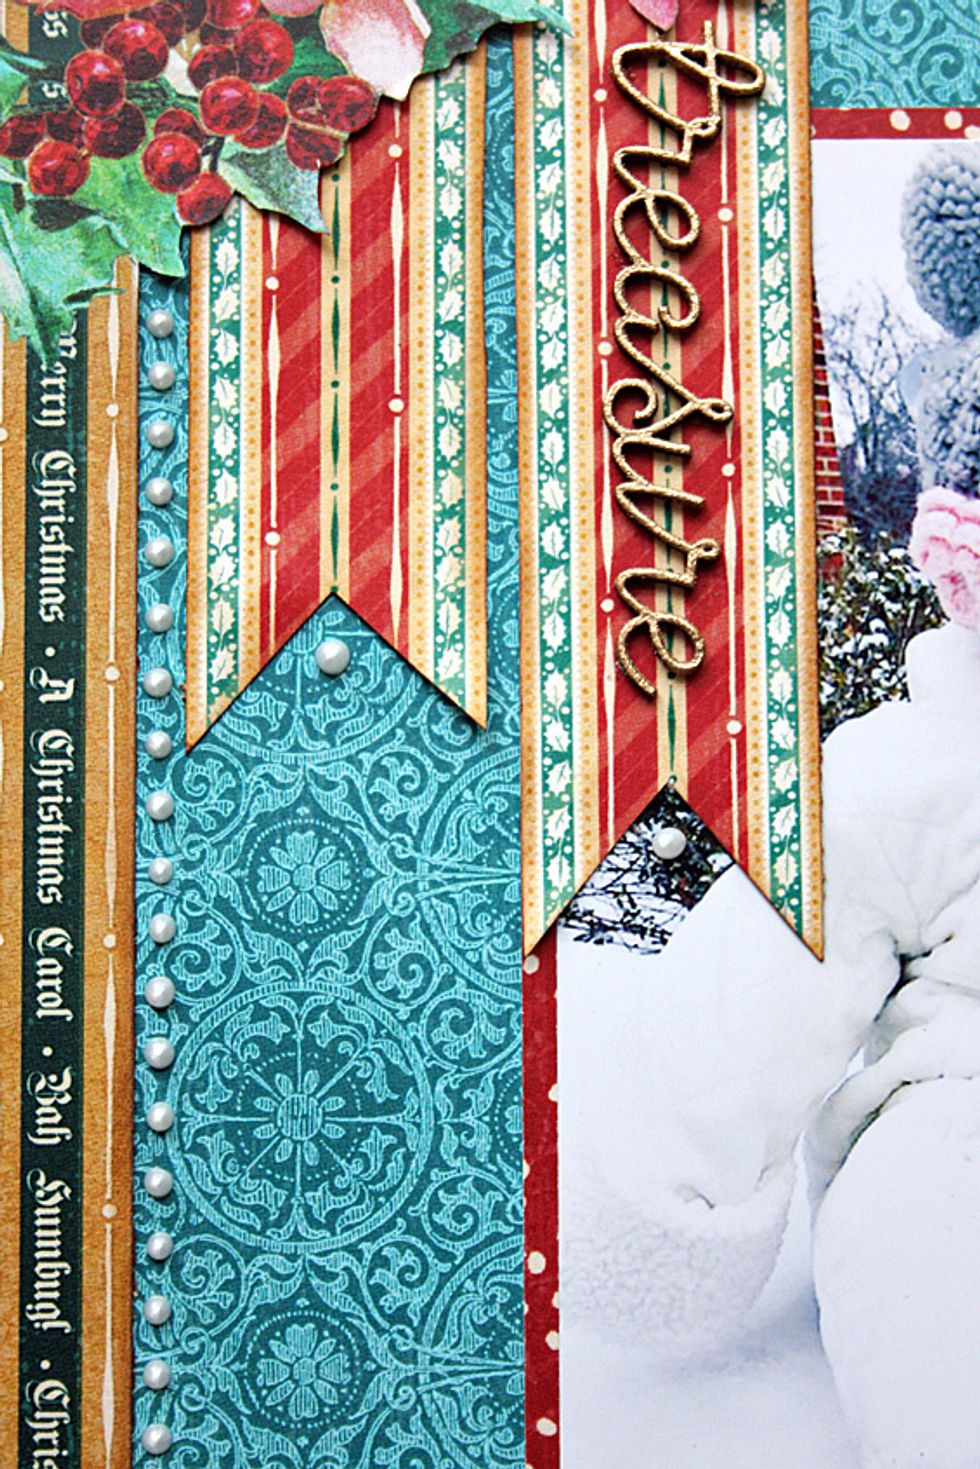
Adhere the strips to the upper left side of the photo. Heat emboss your chipboard title using gold embossing powder. Adhere to the center of the longest banner.
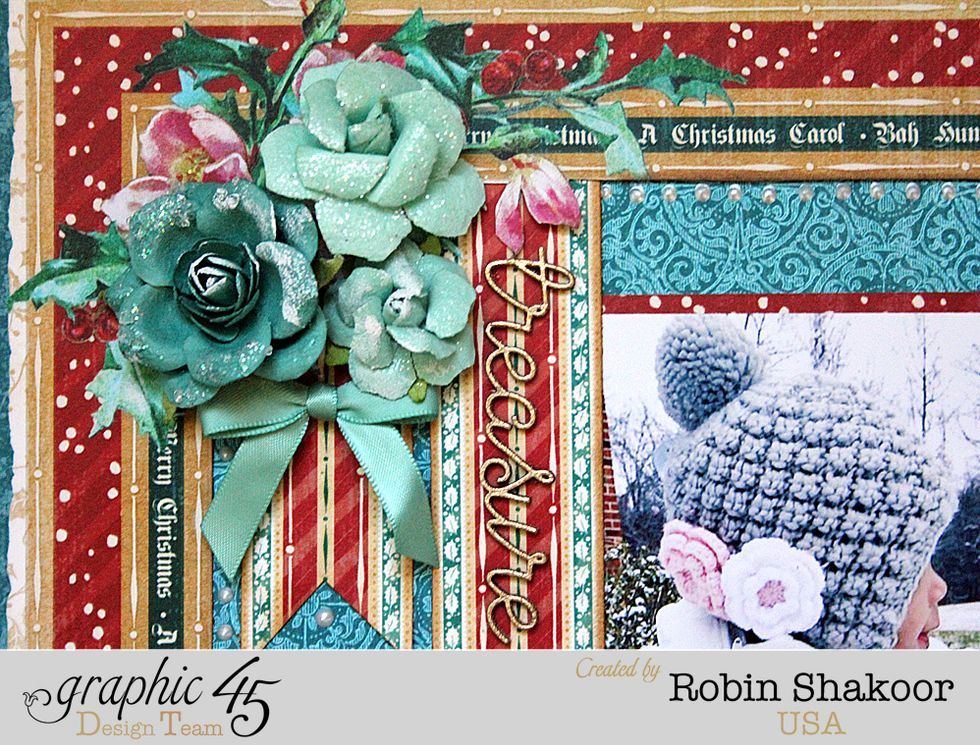
Add flower to the top left corner of the page. You can use gesso sparingly on top of the flowers to create a snow kissed effect. Add a bow under the flower grouping.