Cut your background (main) paper down to 10 1/2 by 10 1/2.
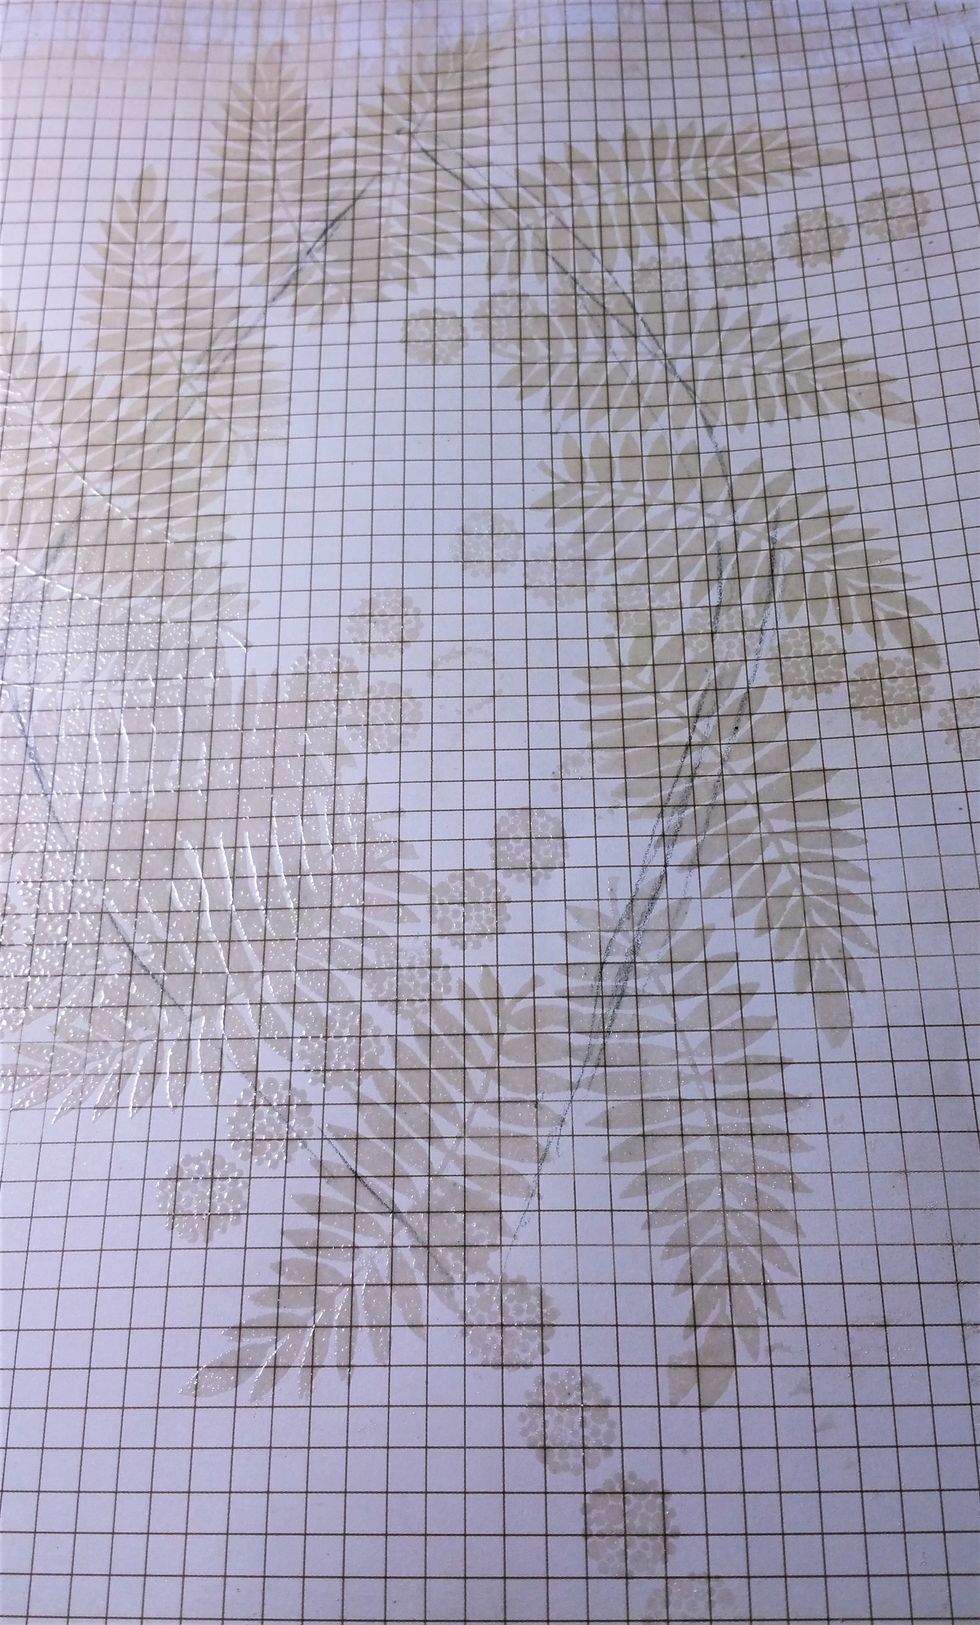
Start by creating an outline shape in light pencil for a basic idea where to stamp. Use a watermark pad and fern stamp to create this portion of background. Apply and activate clear embossing powder.

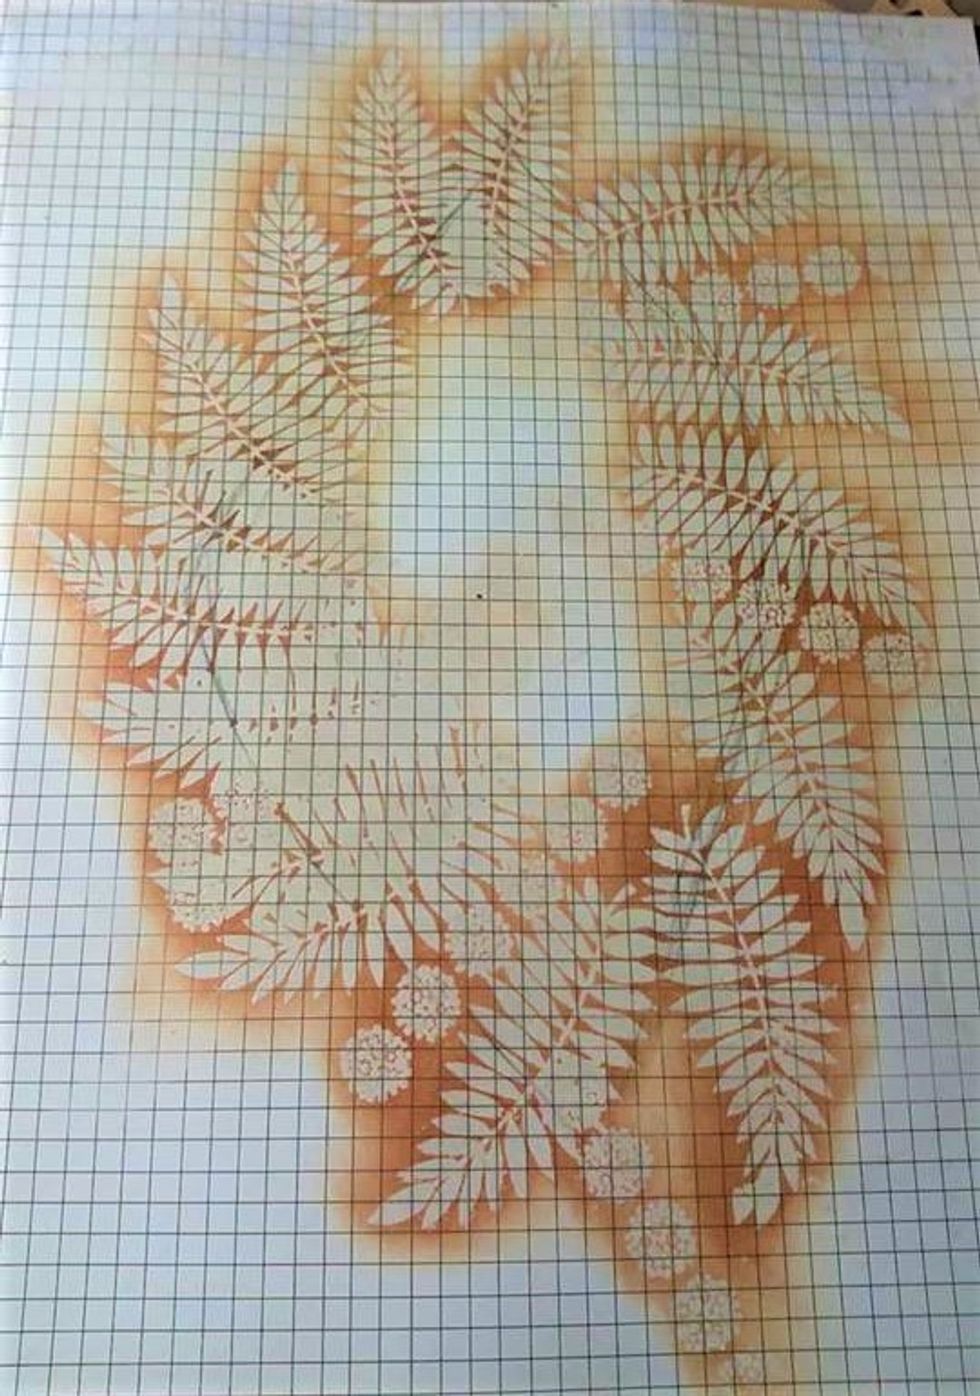
Use a sponge applicator to rub Distress ink on and around embossed fern images. Activate with water mister and dry with heat gun.

For the bottom corner, repeat steps two and three in a small area.

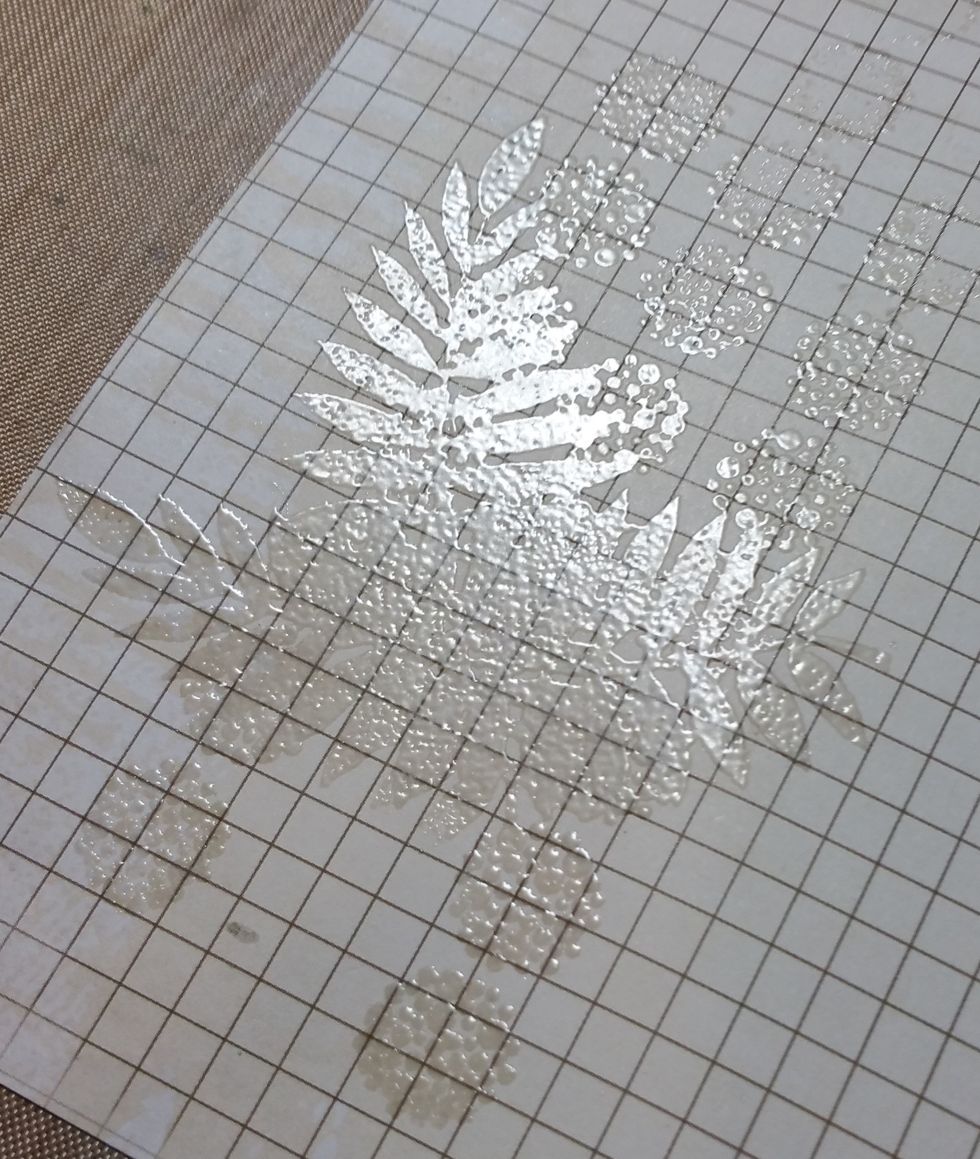
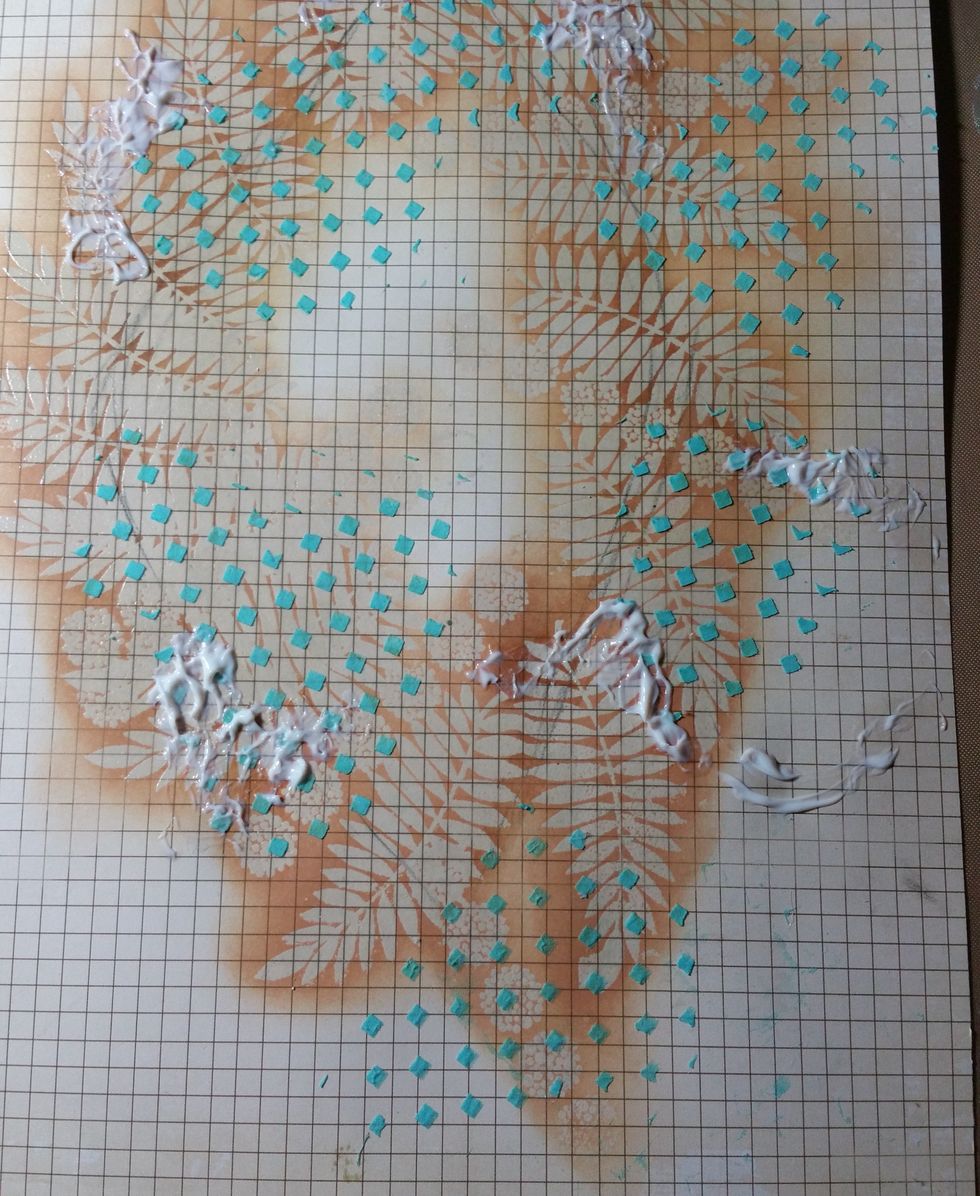
Mix AA colorations waimea bay into texture paste and use with AA Blocked stencil as seen here and in lower corner. Add some spots of matte gel adhesive and art stones for texture.

Add sprays of AA Indigo and Waimea Bay Colorations and water and rotate to allow color to run down. Once dry, use same fern stamp and a darker blue ink randomly for more dimension and enhancement.

Splatter with white acrylic and let that dry. Add more splatters using the Colorations sprays and AA Minx Stargazer.
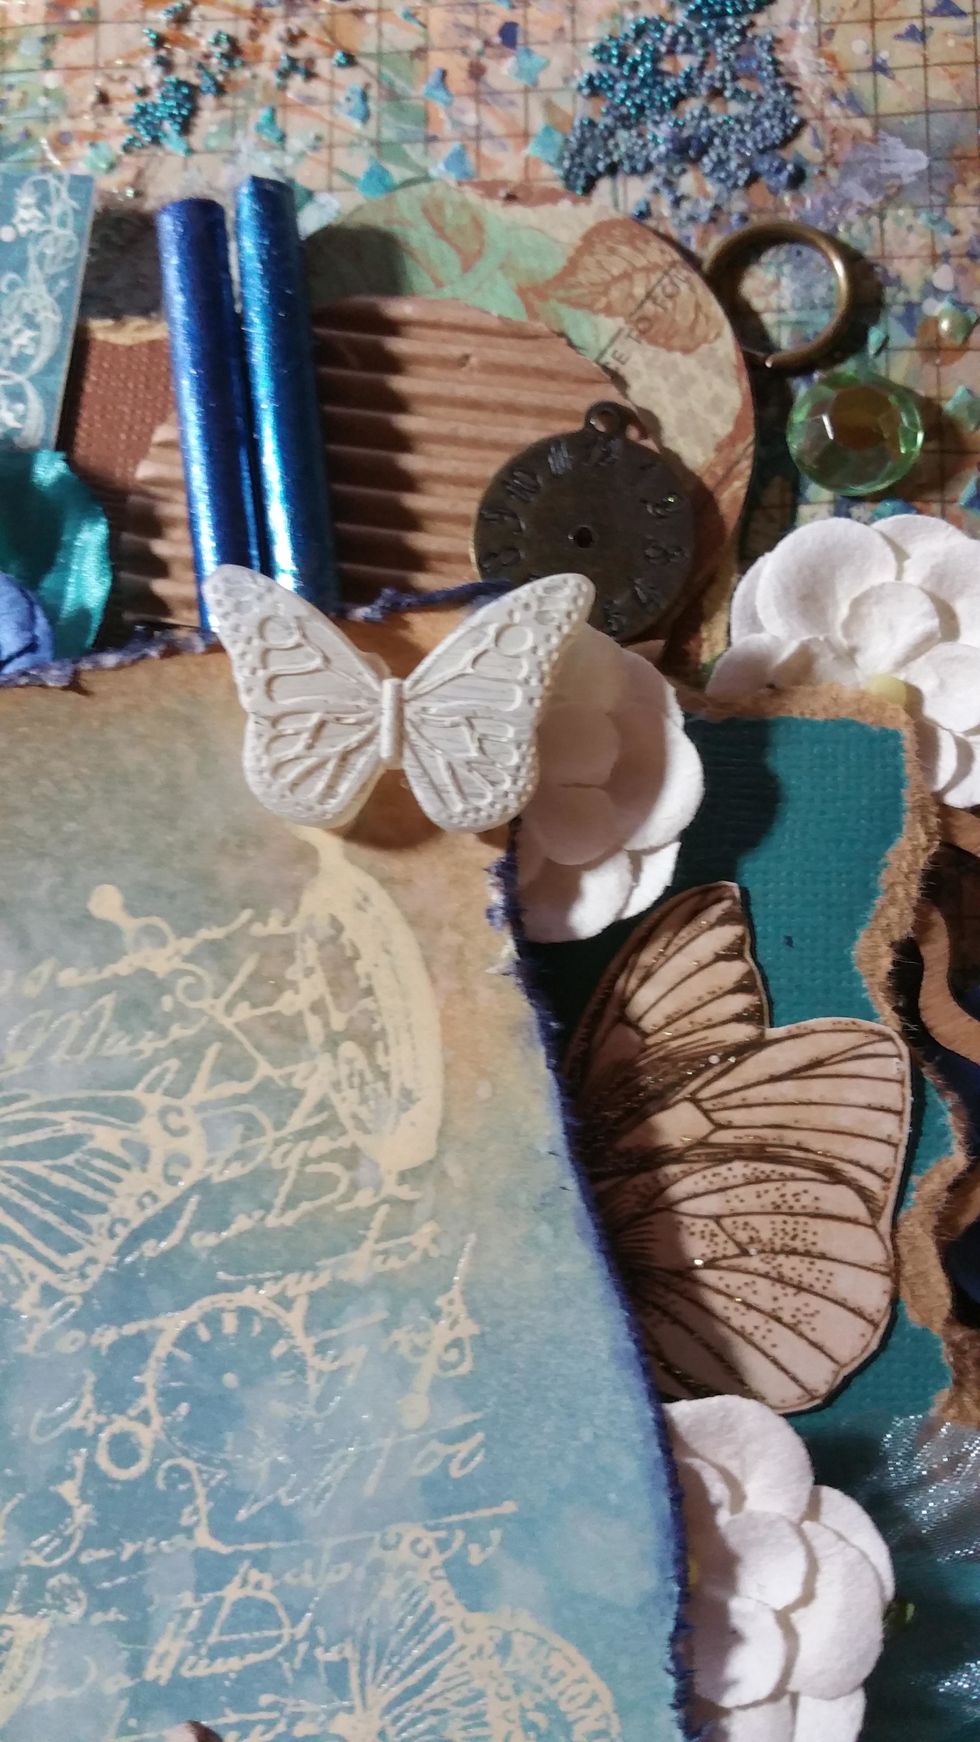
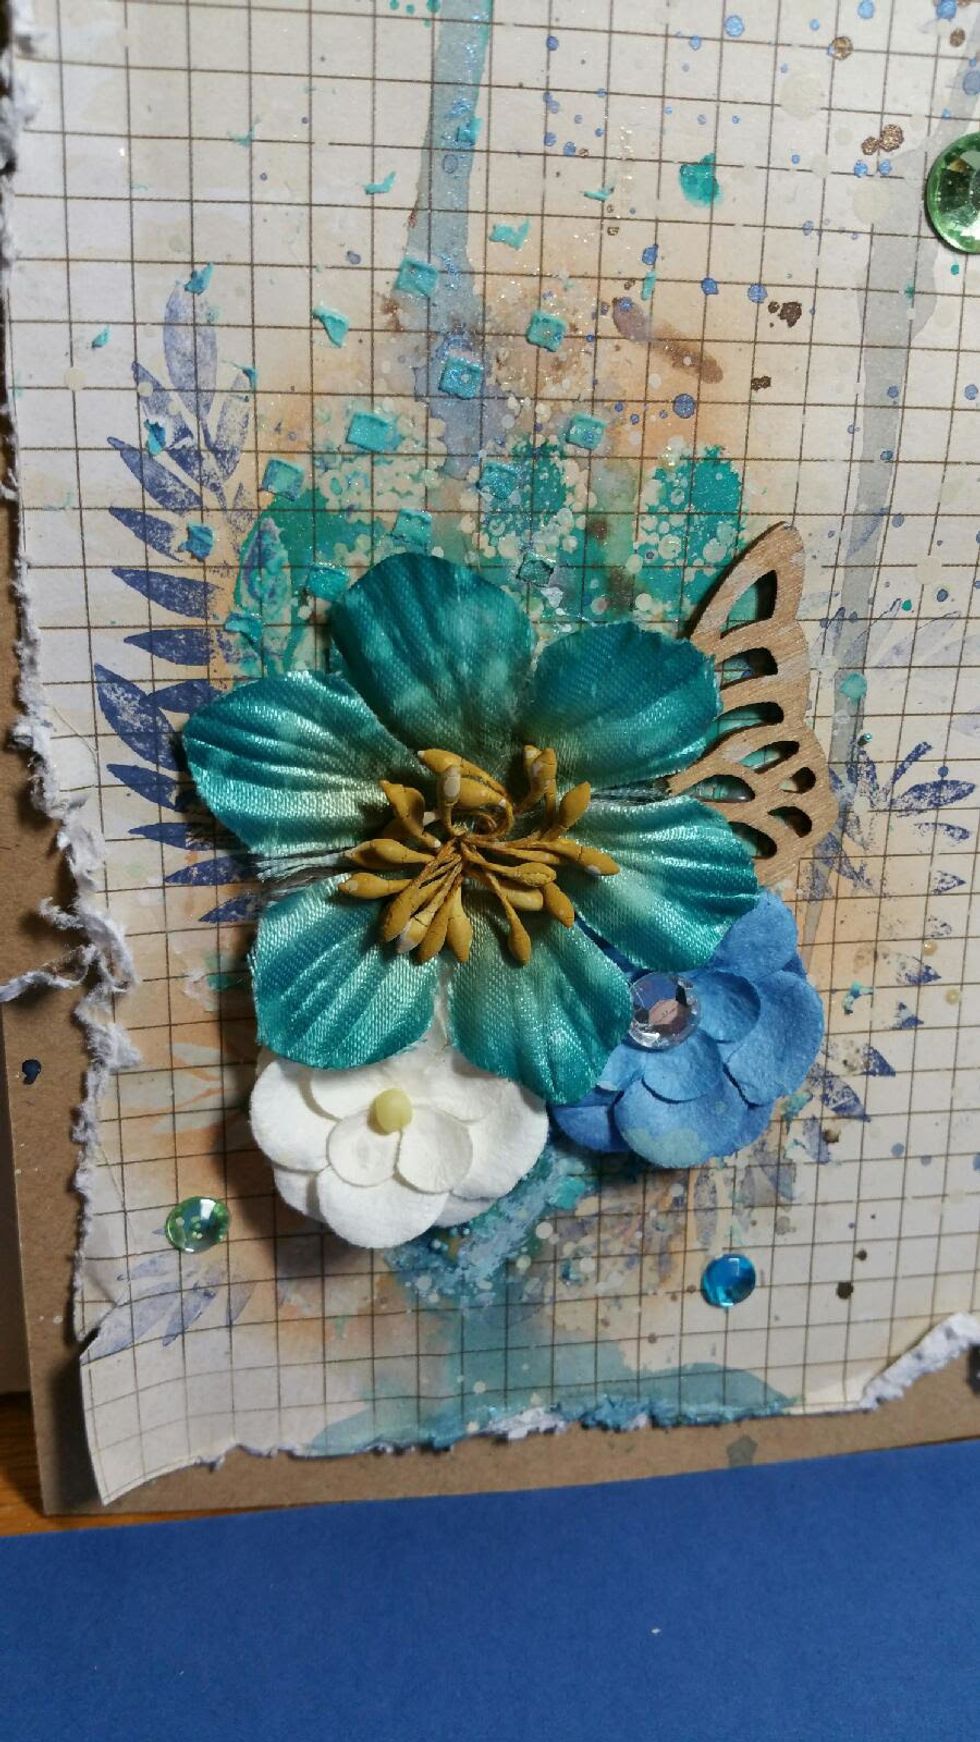
Build your focal point using paper flowers, chippies, fussy cuts, and paper strips with adhesive and cardboard pieces in between for dimension.

Use Blue Topaz Gemstone to paint your straws and cut. Slip under the paper where you like and adhere with a matte gel or other adhesive. here you can add more embellishments as you wish.
Do the same in the lower corner.

Splatters of white acrylic. Cover main photo before if you do not want the splatters on it.
For a more vintage look I distressed edges of paper with a distressing tool and then adhered my finished piece onto a piece of heavy kraft colored cardstock.
Add some glitz with bling stones here and there.
Get all of your amazing Art Anthology products here: https://www.artanthology.net/
I hope you are truly inspired by my project and you create one to share with us at our fan page on Facebook! https://www.facebook.com/groups/741057632686564/
Thanks!