The Conversation (0)
Sign Up
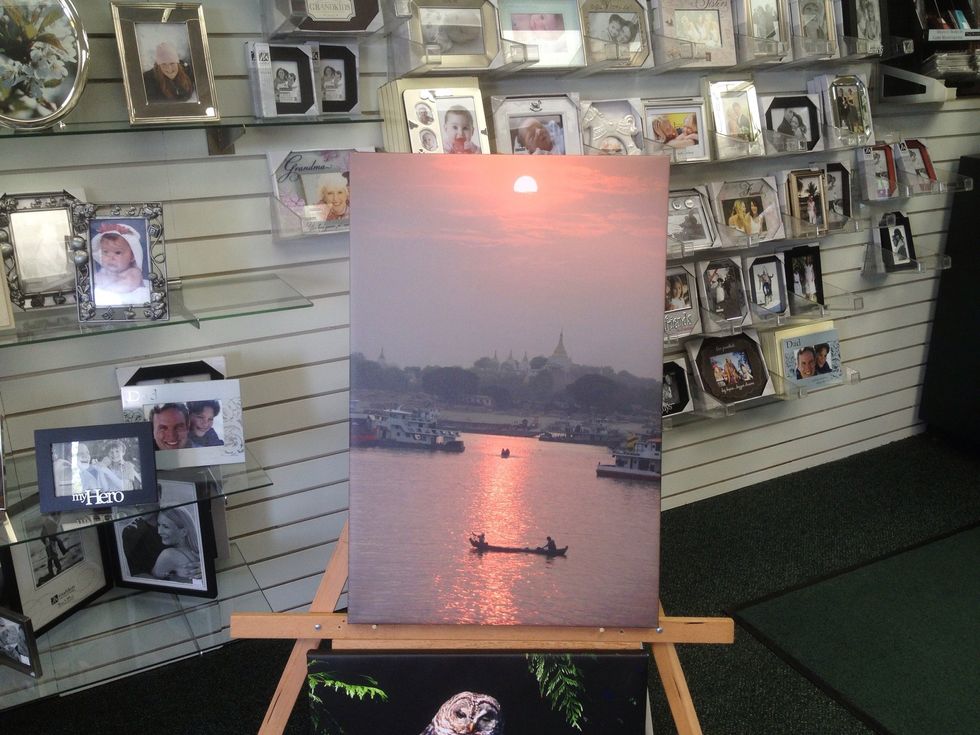
Choose a photo you would like to see on your wall. Make sure it's a quality capture, not blurry or pixelated.
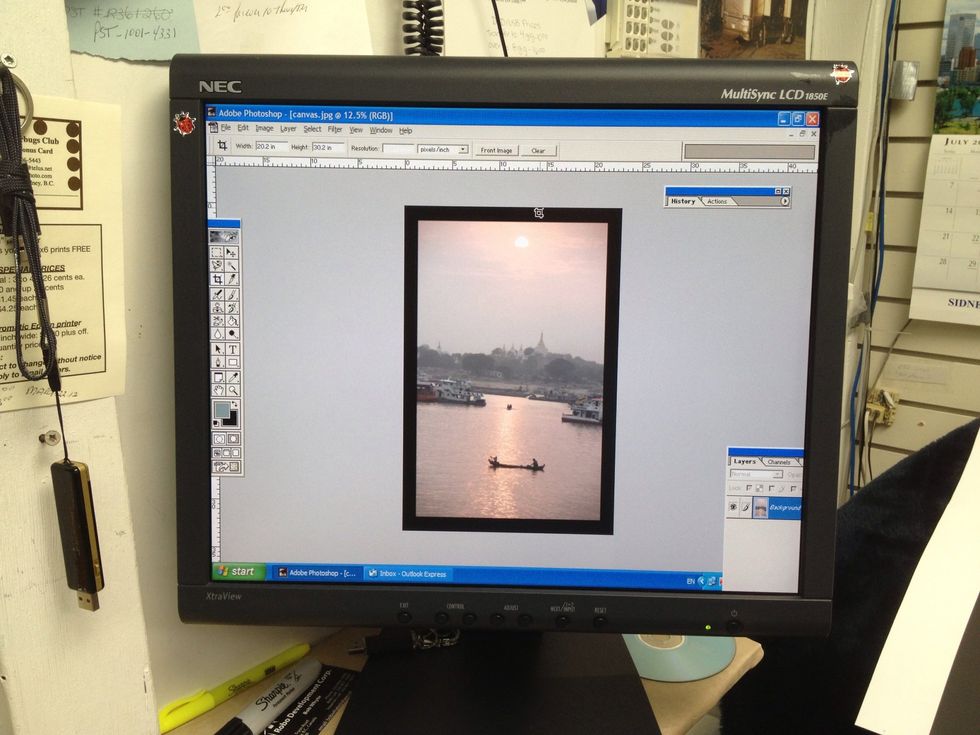
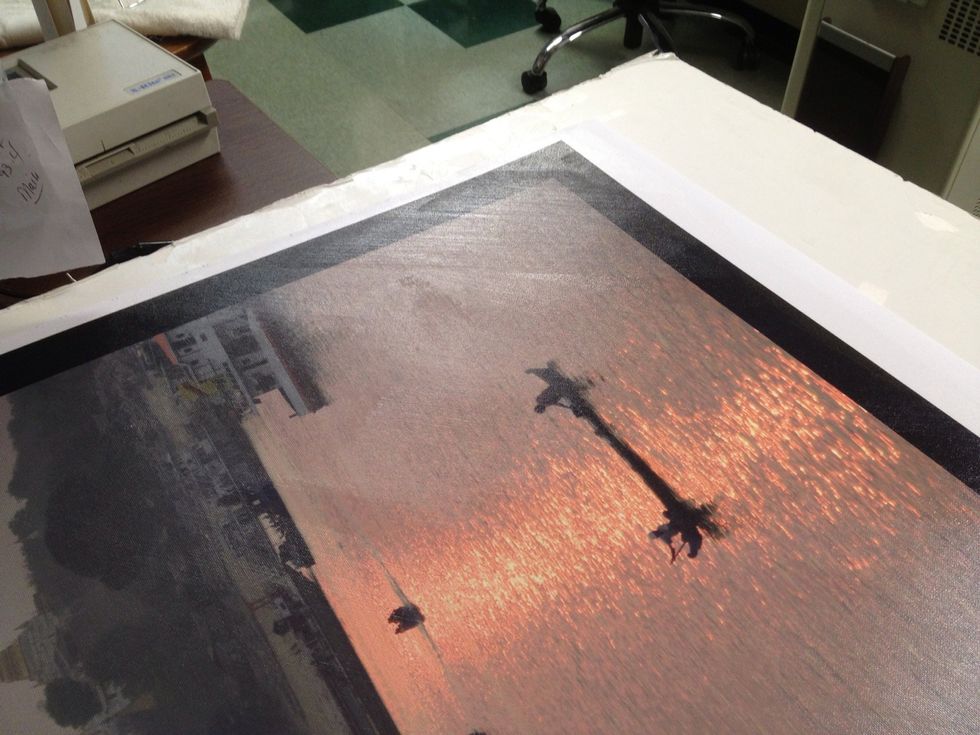
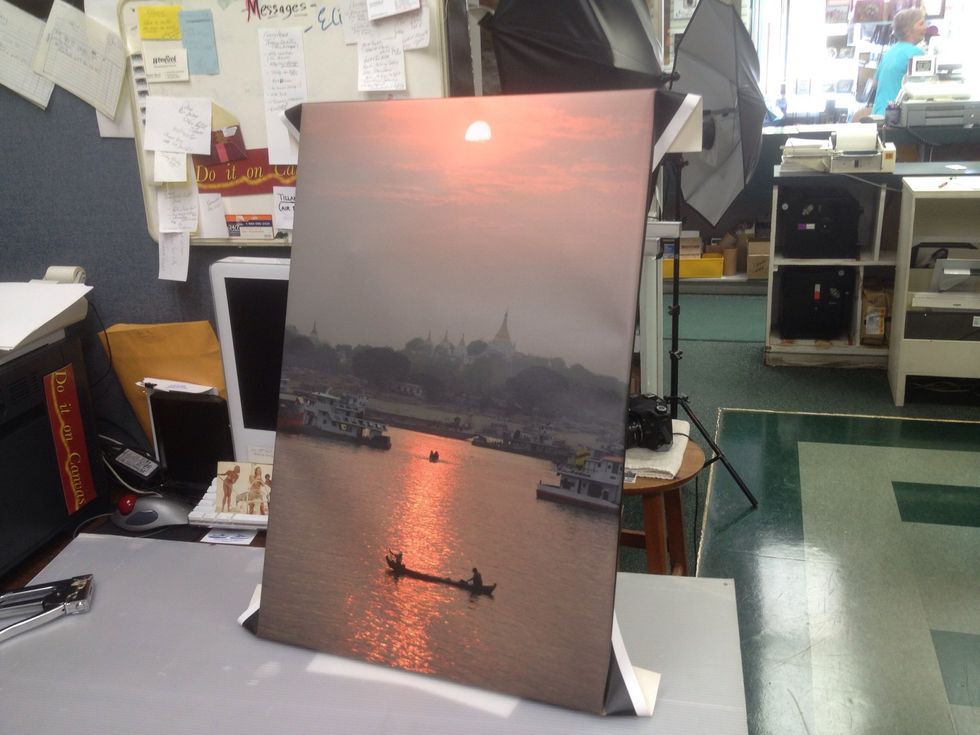
A shot of a river in Myanmar. Looks great. I've added a 1.5 inch border in black for the sides.
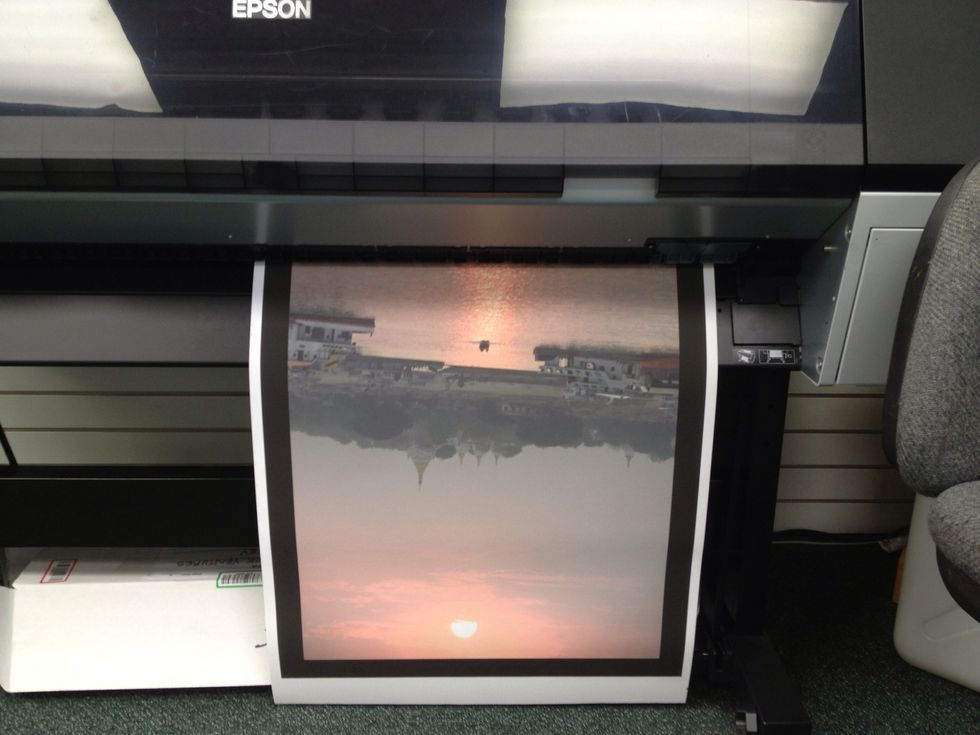
You need to print the photo onto the canvas. We use an Epson 9900, a fantastic machine. The canvas has its own properties and will look different than glossy photo paper when finished.
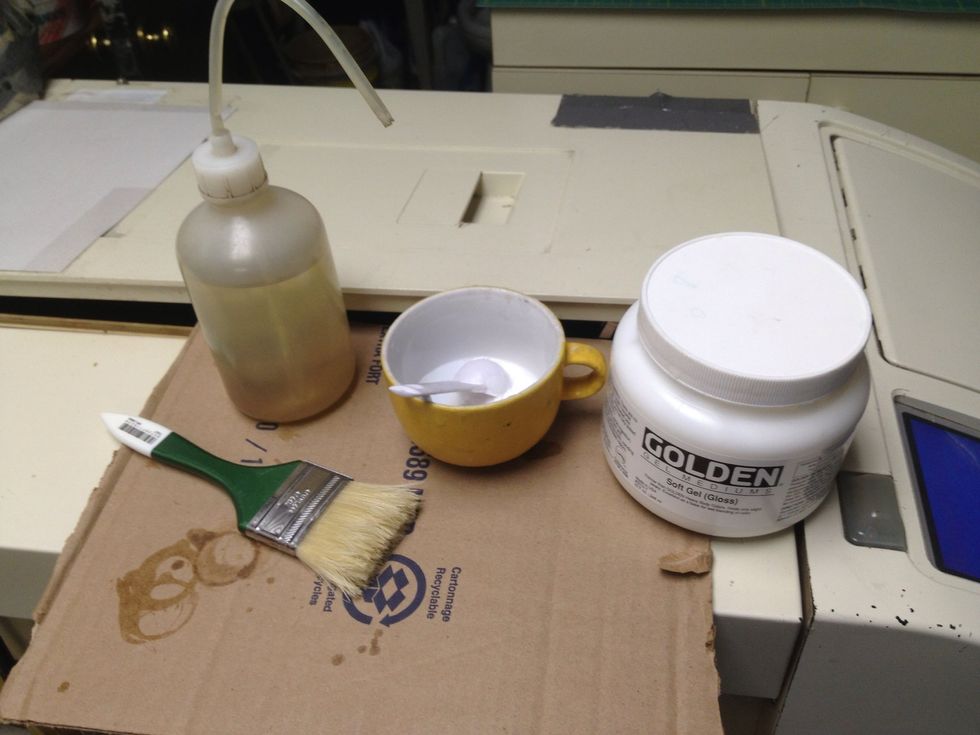
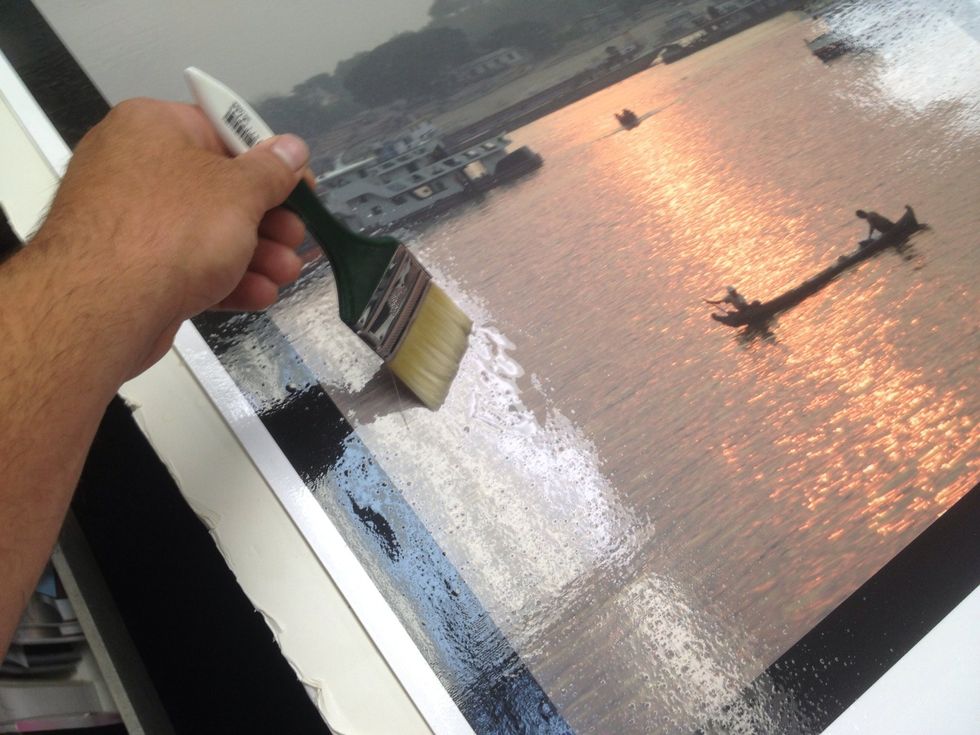
Mix up about half a cup of Soft Gel Gloss. This is to seal the ink to the canvas. The gel will leave some ridges and brush marks on the surface if mixed thick. In this case I went for a thin finish.
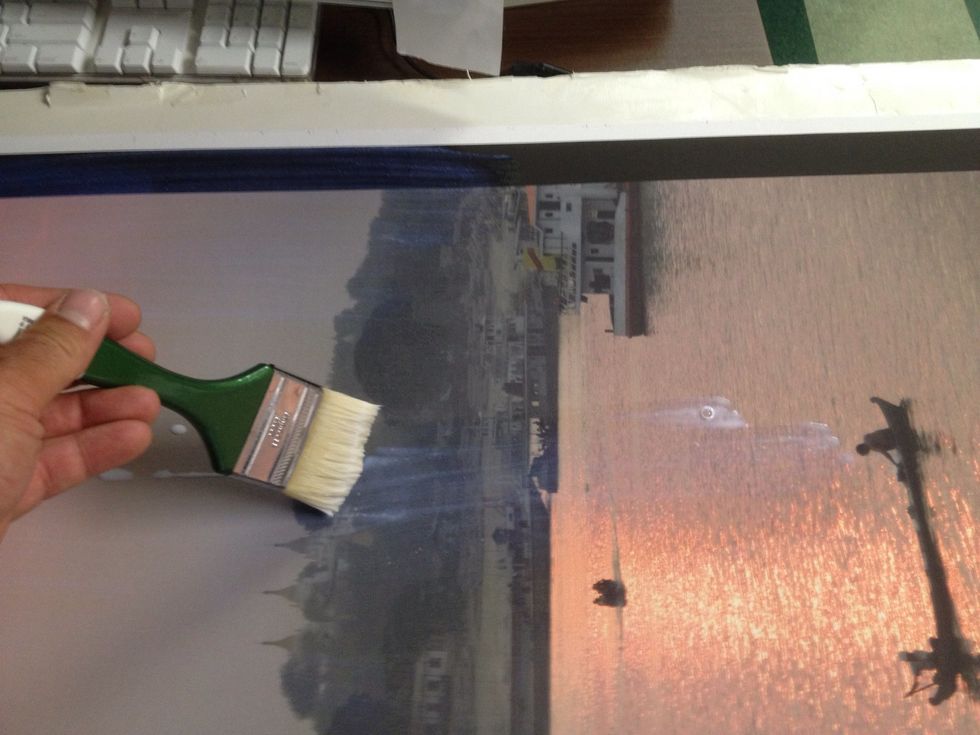
Paint the gel gloss over the entire surface. It's milky, that's cool, it dries clear.
Maintain a certain stroke throughout. As mentioned I have thinned this gel to leave minimal brush strokes but they will be slightly visible so be consistent.
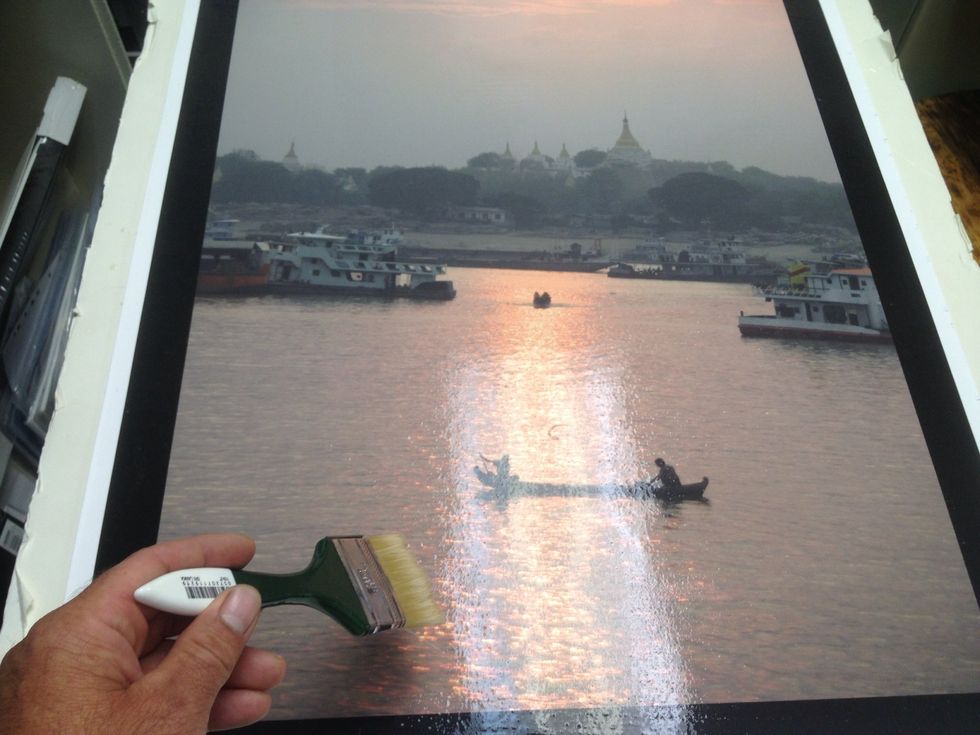
Let the gel coat dry for a few hours. Keep an eye on it to be certain nothing airborne settles on the canvas. Now it's time to apply the satin varnish. This step will make the image pop and shine!
Mix the Satin Varnish as directed. Stroke on this thin mix to excess. It is watery and is self leveling. Get lots on and brush it out evenly but don't over work it as it will self level and dry.

Get the varnish on everywhere. It looks like to much. It's not. It needs a wet mirror finish at this point.
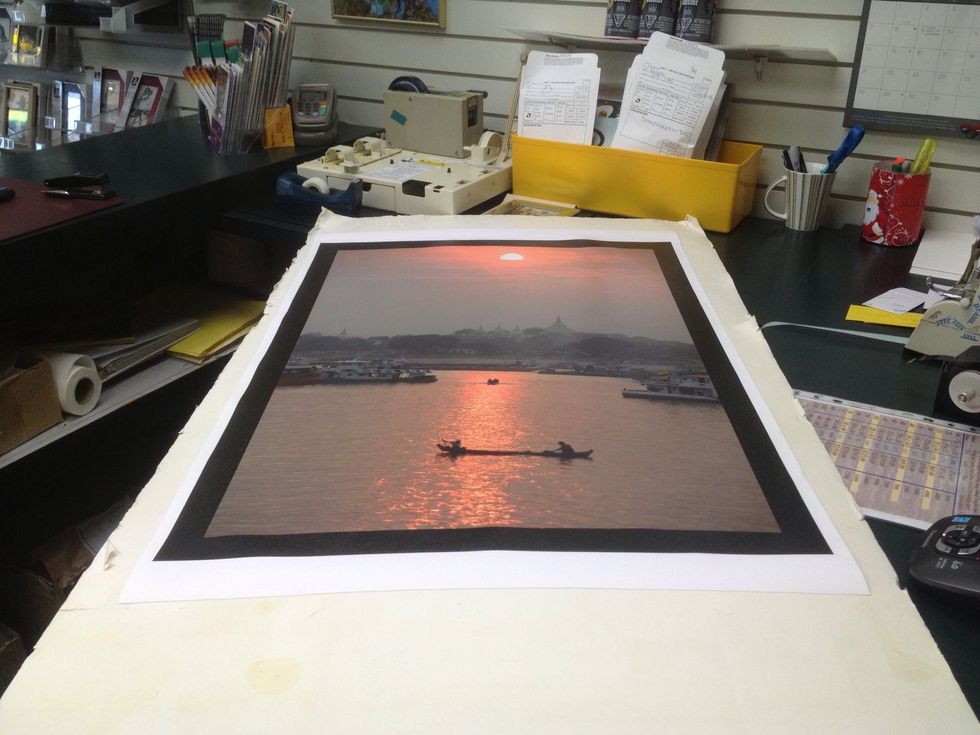
As the Satin Varnish dries the image comes to life.
Let it dry overnight. Now it's ready to stretch. At this point it's all hands and fingers. Don't worry your canvas is sealed and can handle a lot of pulling and bending.
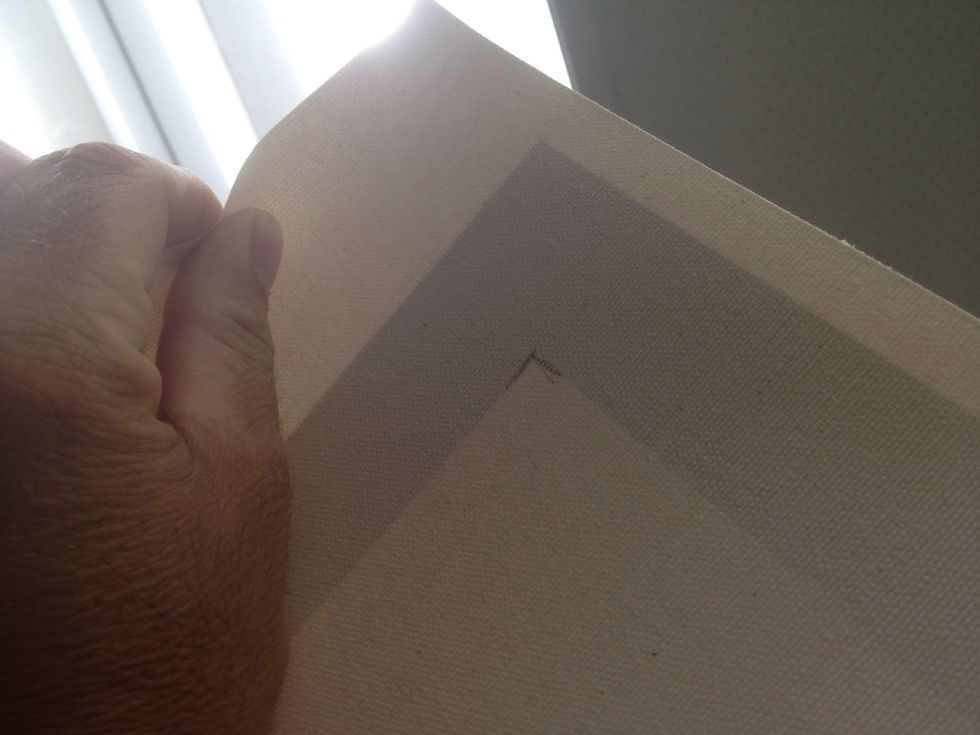
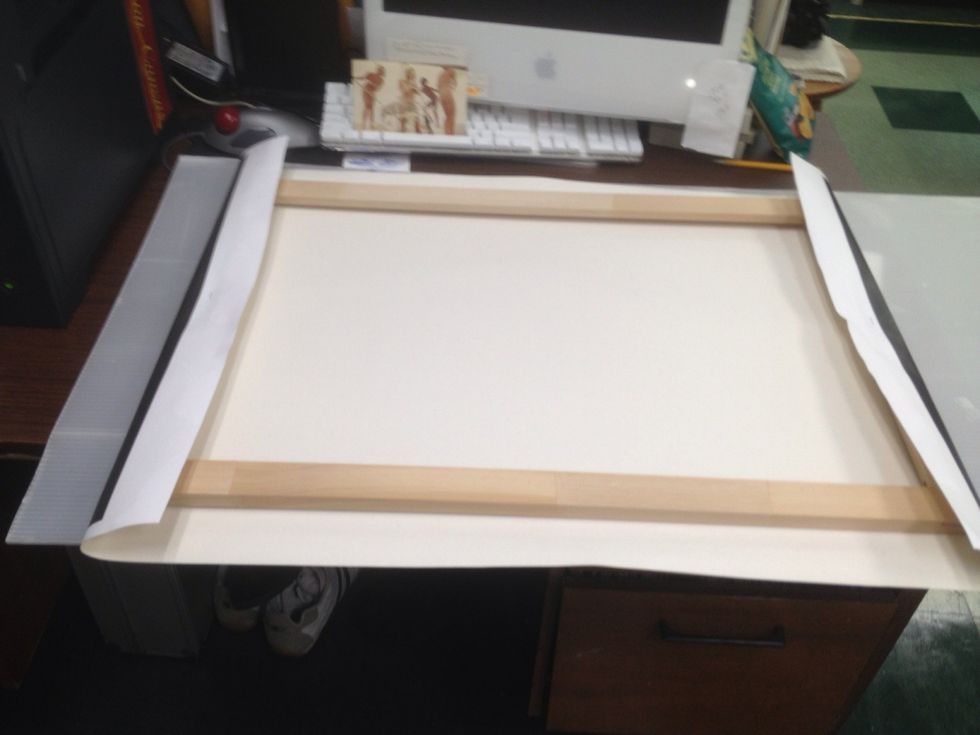
Hold up to a light and pencil in the corners on the back of the canvas.

Align your prepared stretcher bars to the corners.
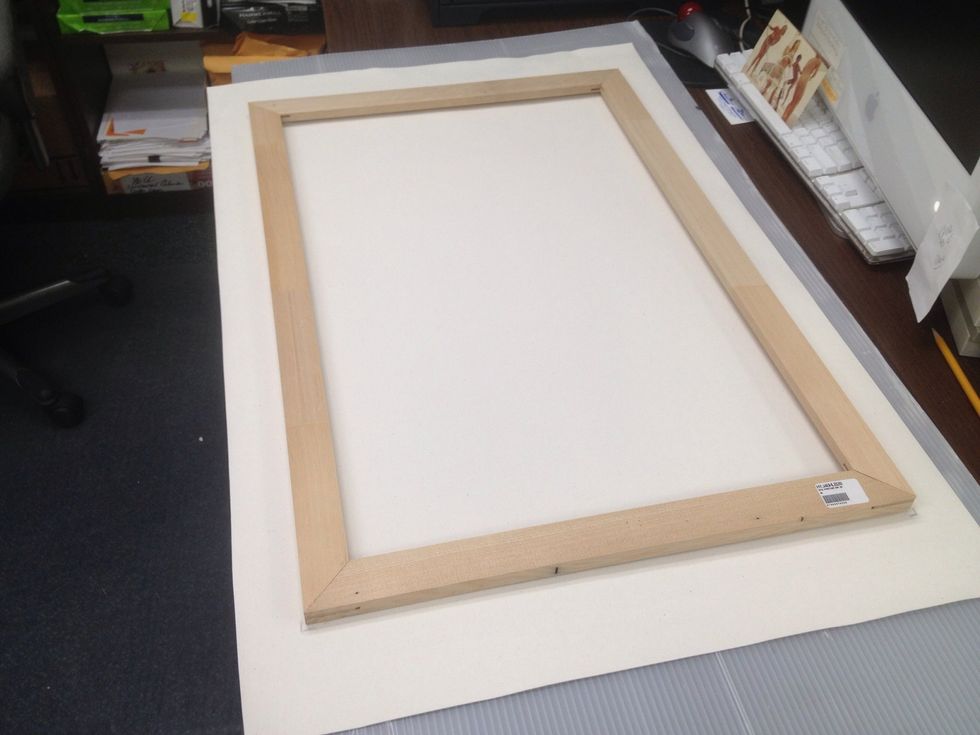
It is all good.
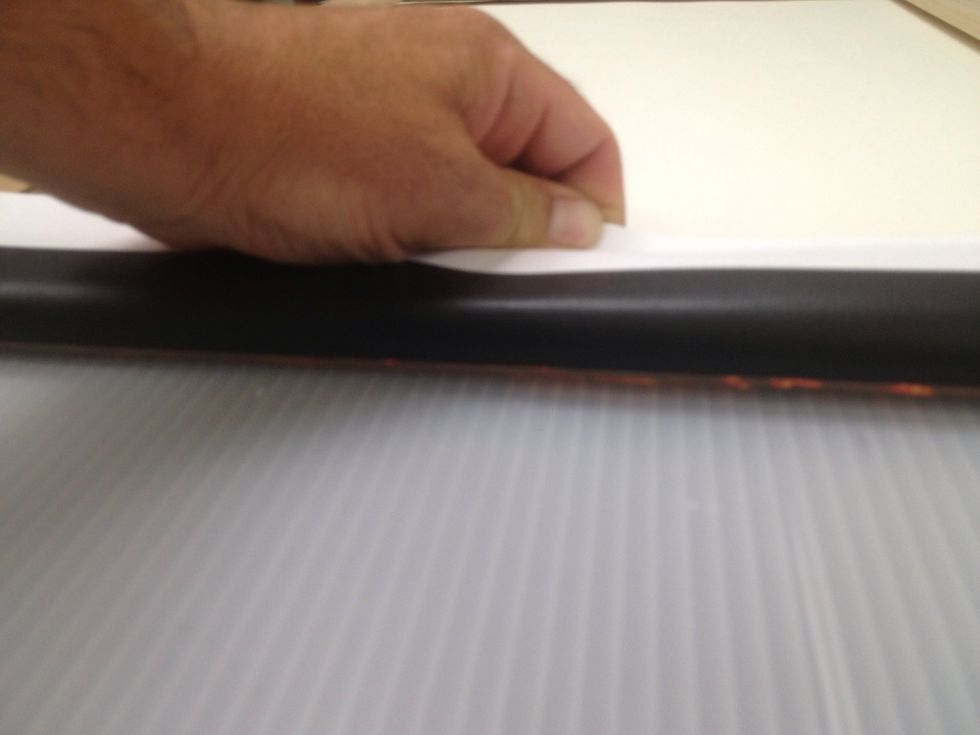
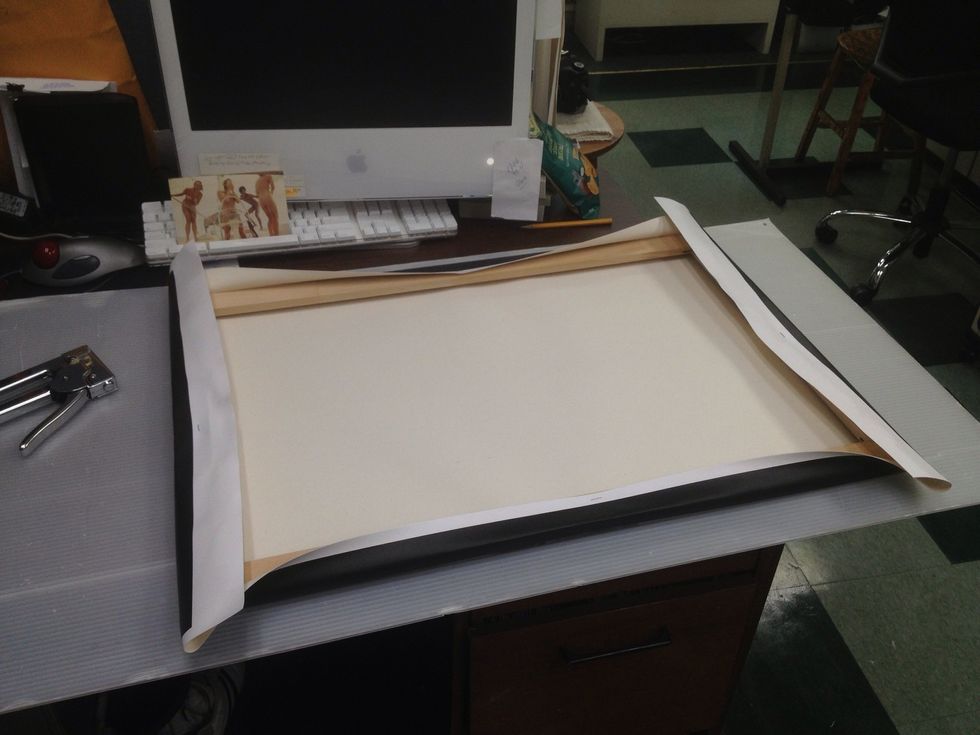
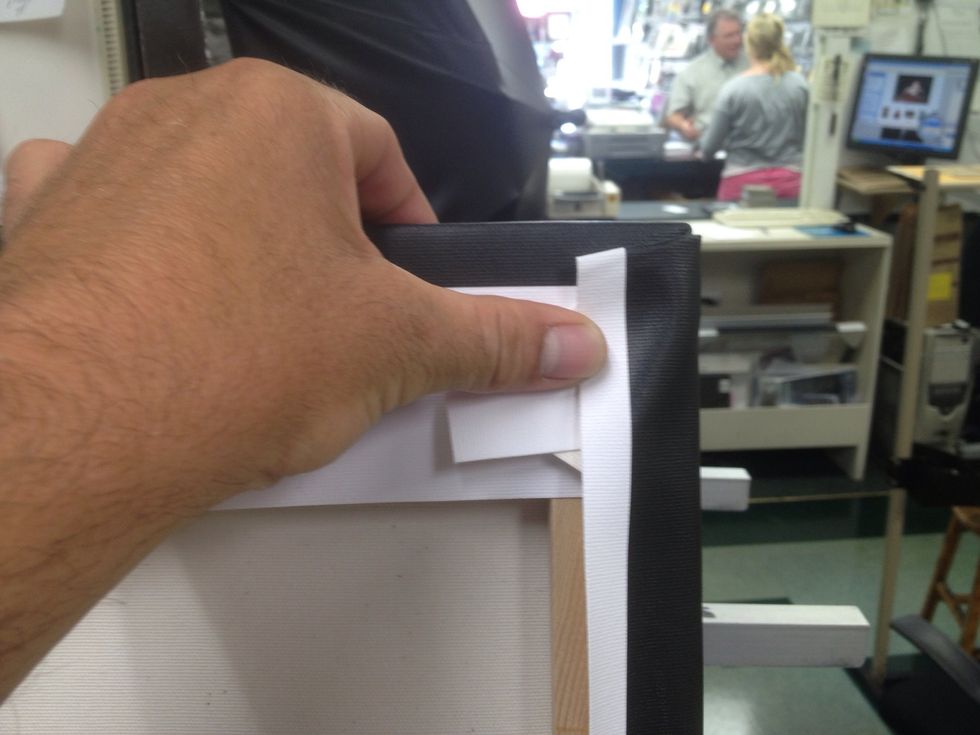
Double check the sides. You want overlap on the sides not the front. Check all four.
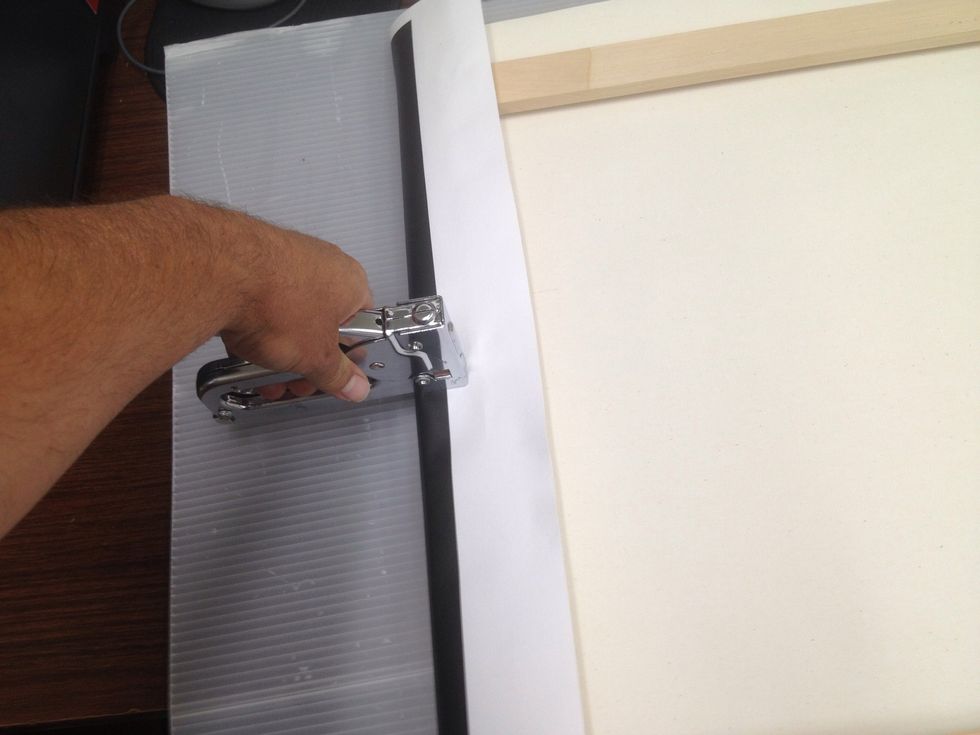
Staple one side, do the opposite. Check for alignment.
Do a long side, check the opposite. Staple.
All side secure. It's even. Time for corners.
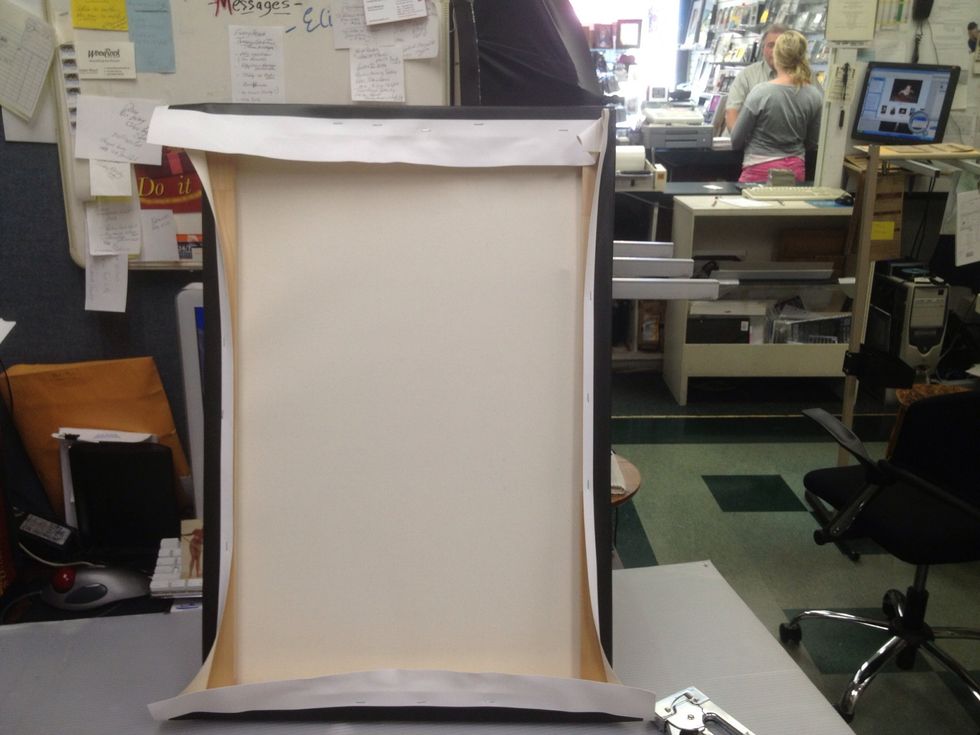
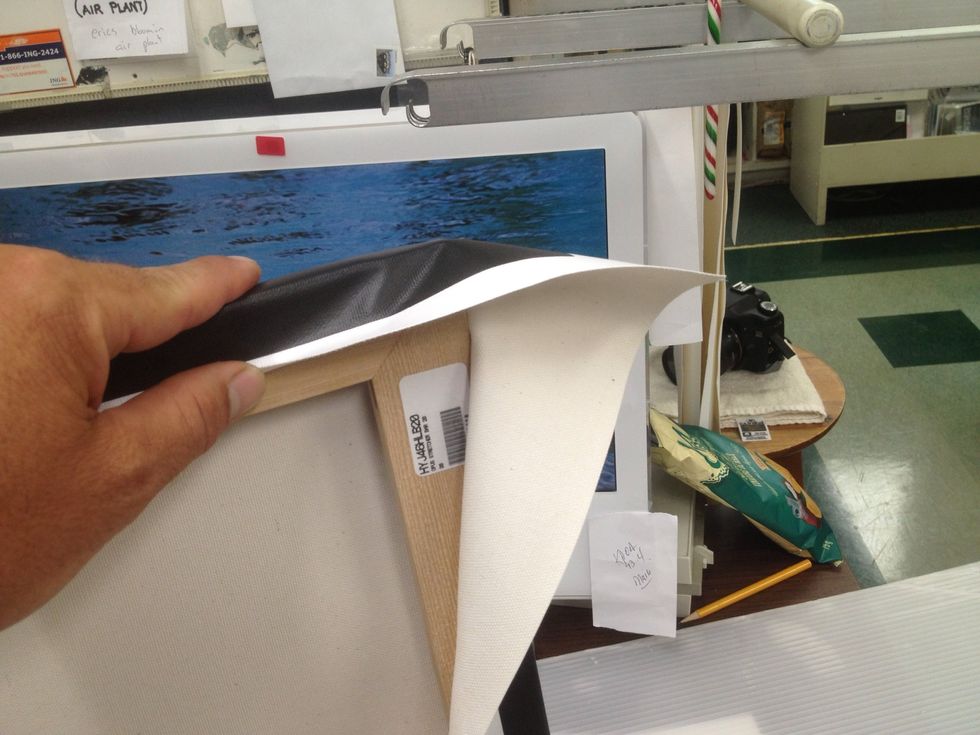
Use " hospital corners".
Once the folds look good staple.
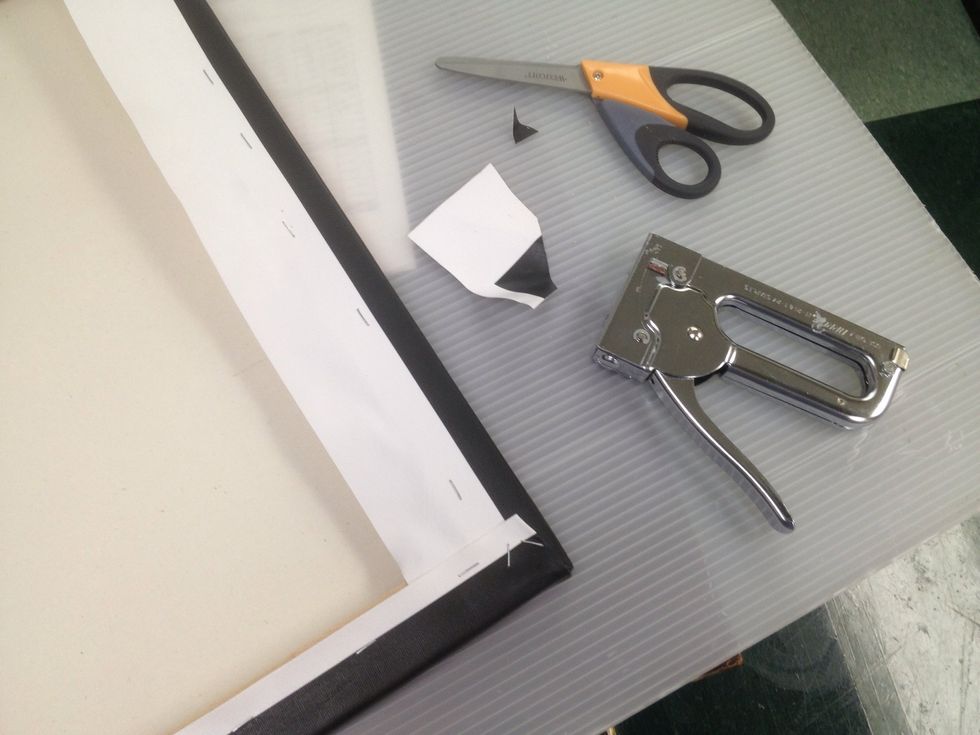
I cut out some bulk. It's tricky. Takes a little practice. Not cutting it out is cool, just makes a slightly bulkier corner.
Work in a circle. Always keep the canvas snug.
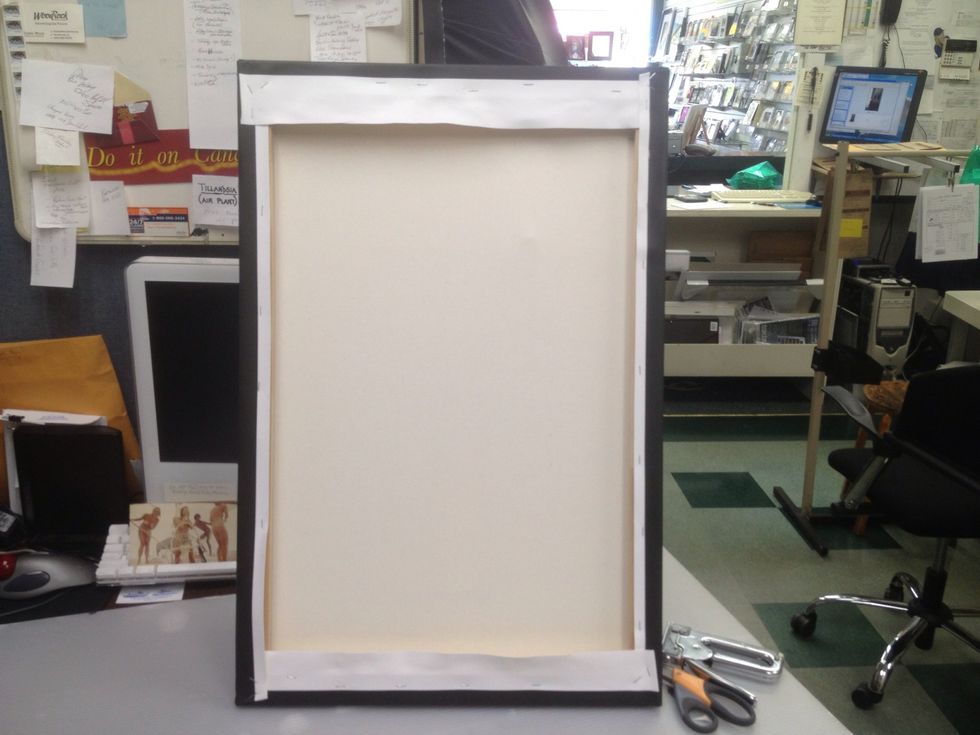
All four corners are complete. Add staples where needed. It should be snug but not overly tight.
It's done. Add a hook or just hang from top bar. It's water proof now and UV resistant. Go hang your art!!