The Conversation (0)
Sign Up
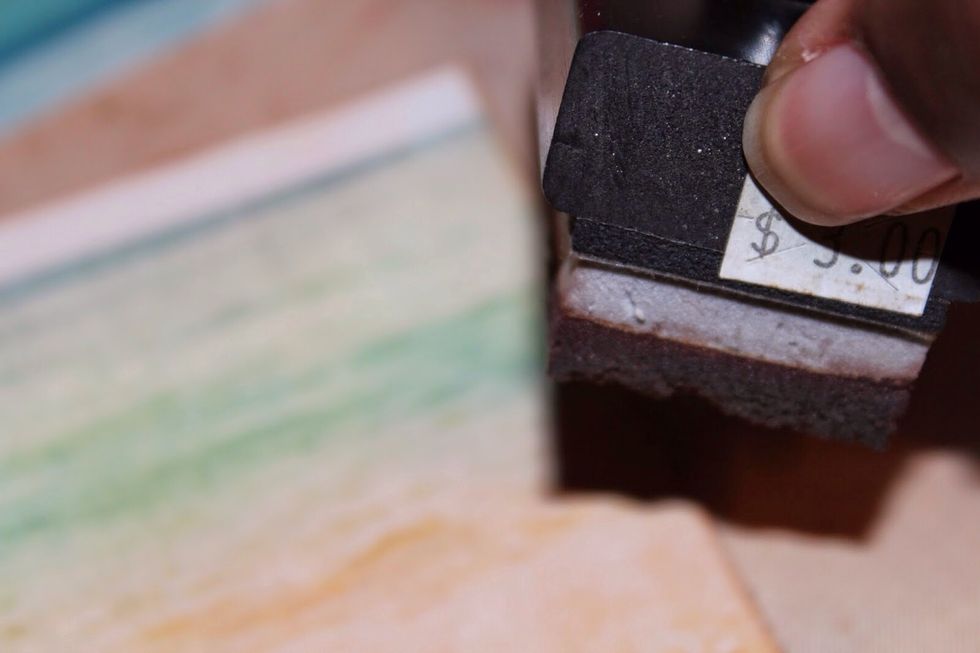
Apply vintage photo ink to patterned paper using foam tool.
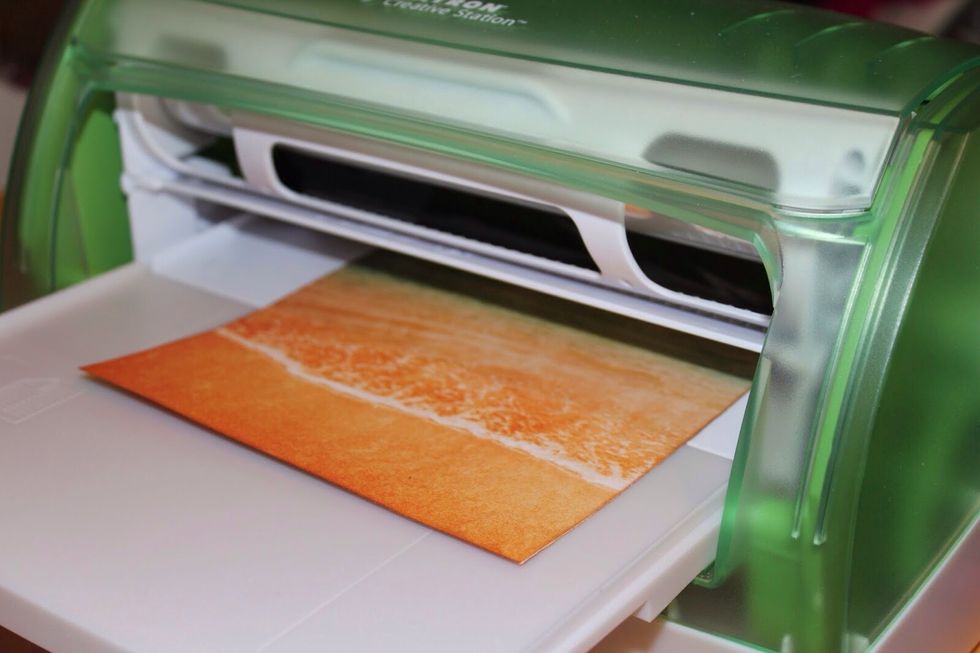
Insert patterned paper into 9" Creative Station.
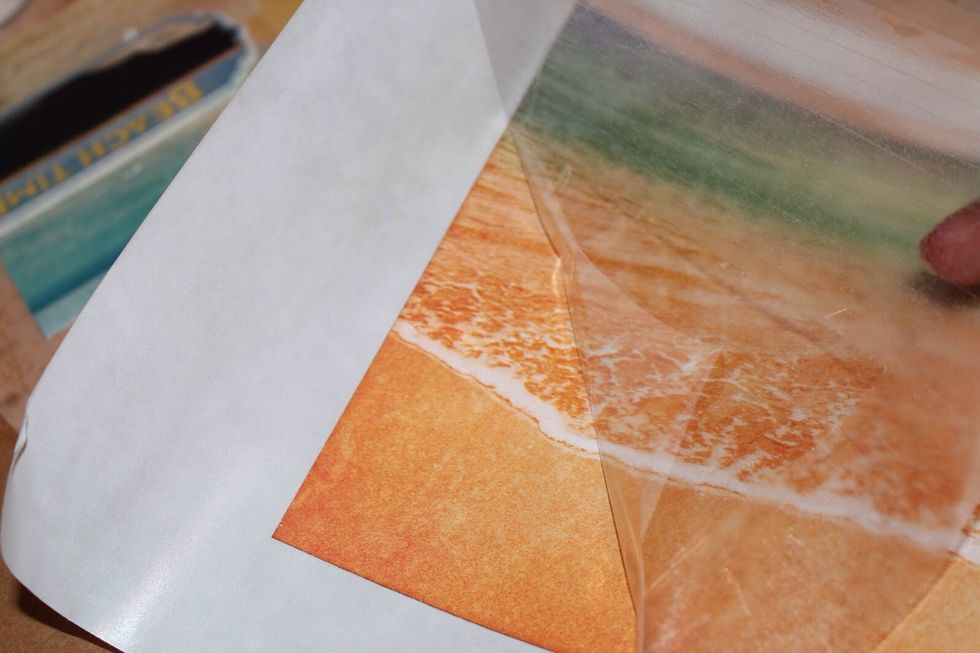
Rub edges and then remove film.
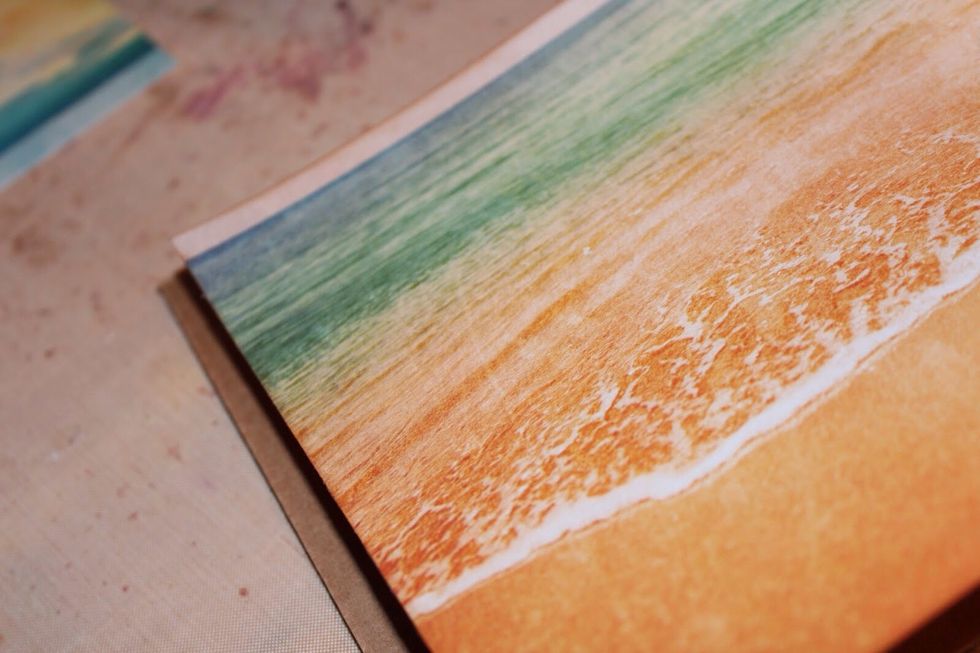
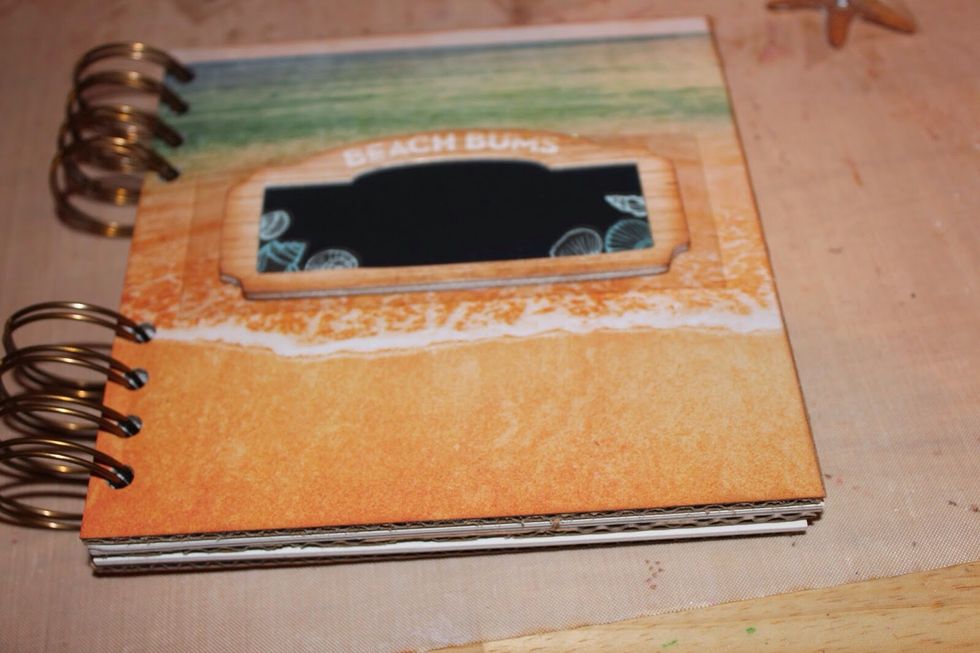
Adhere patterned paper to corrugated board.
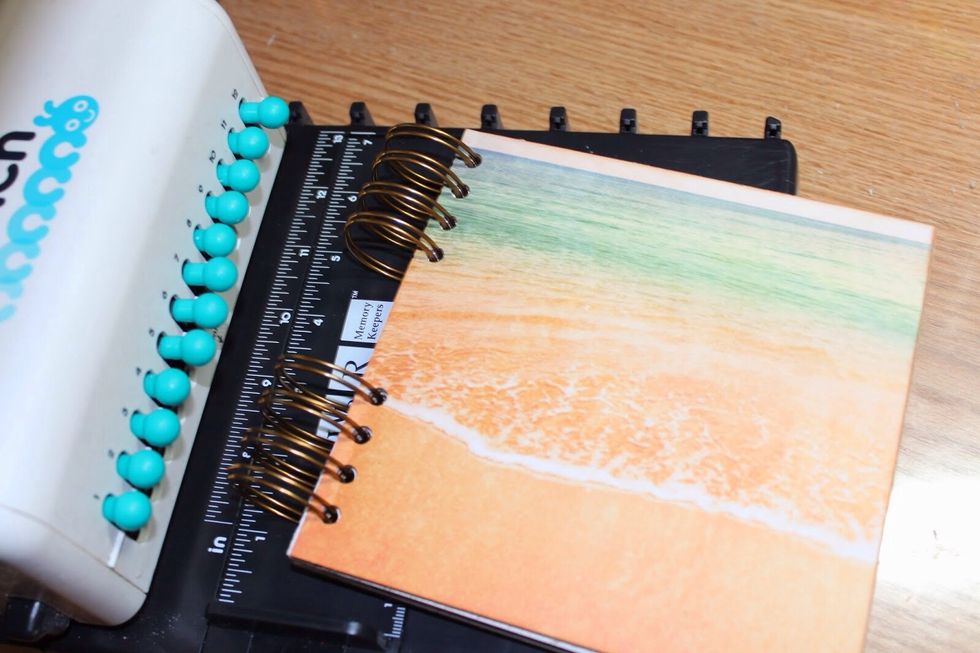
Punch holes in book components using binding tool and then bind book using coils.

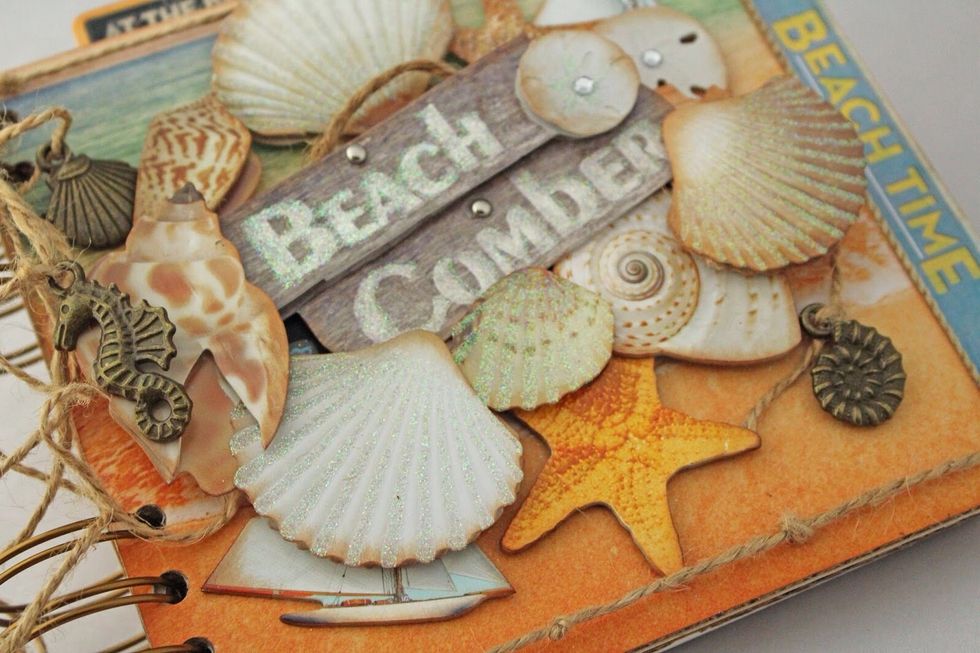
Apply vintage photo ink to 3-D stickers using foam brush.
Continue applying vintage photo ink to all 3-D elements using foam brush and adhere to mini album.
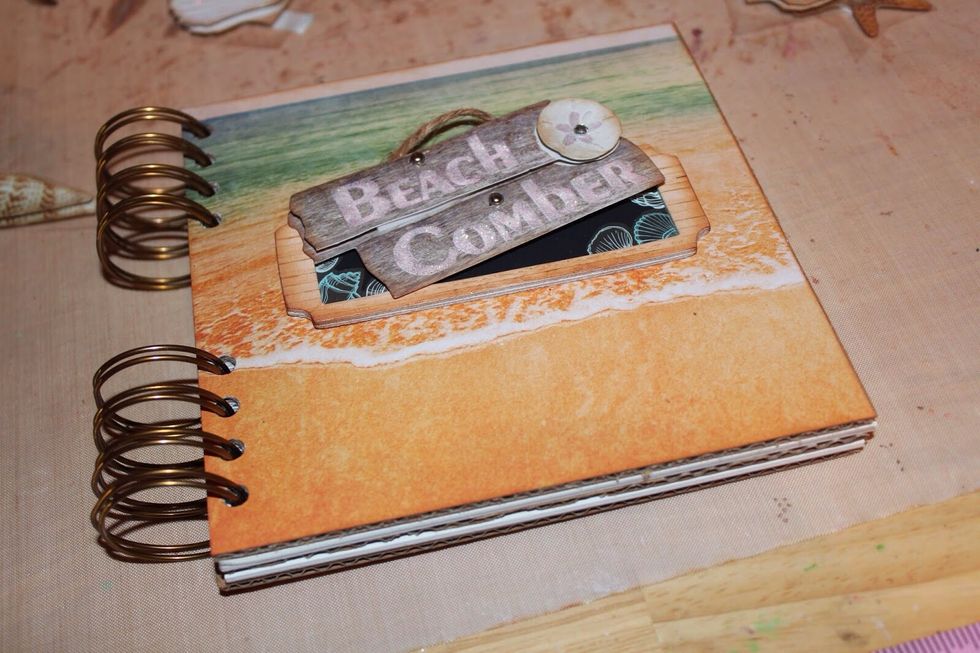
Using 1 sticker as an anchor, build layers of 3-D stickers until happy with design.
Add chalkboard stickers as tabs throughout the mini album.
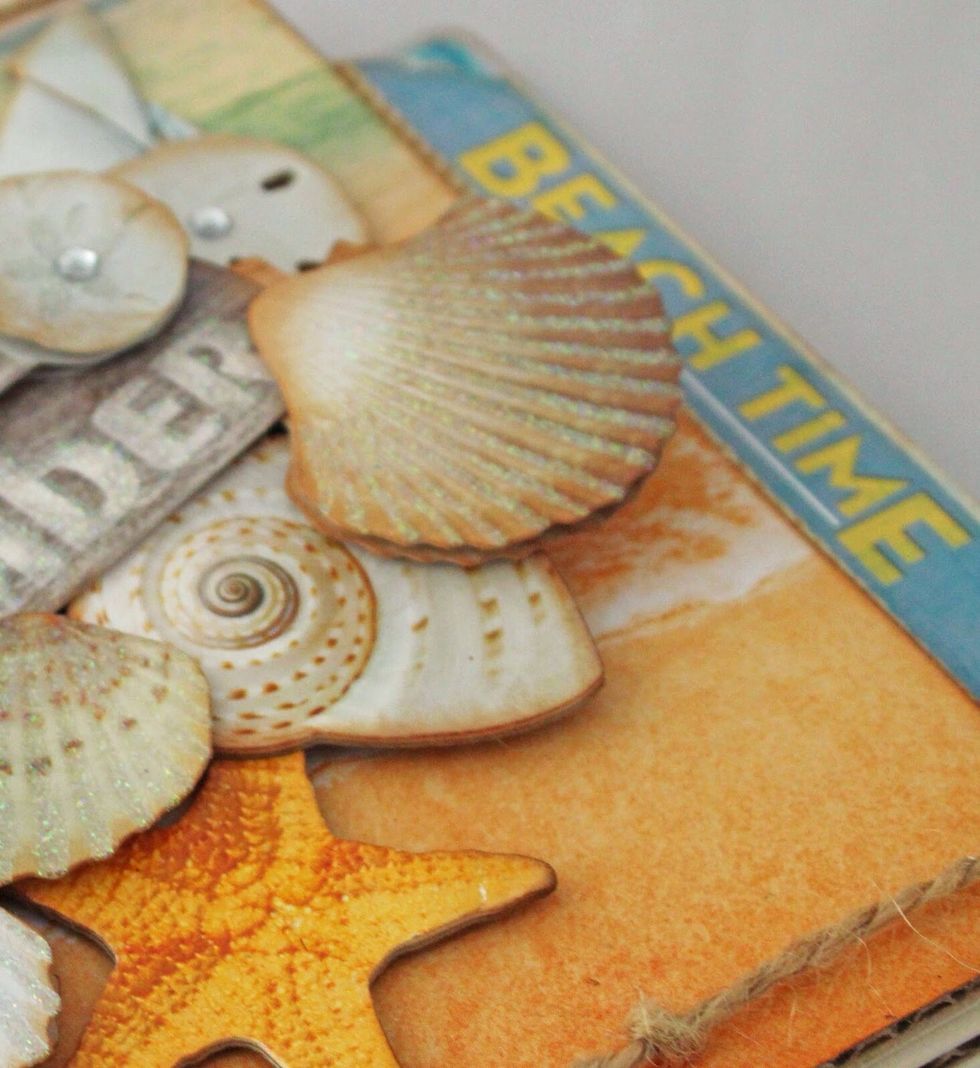
Continue adding vintage photo ink as needed.
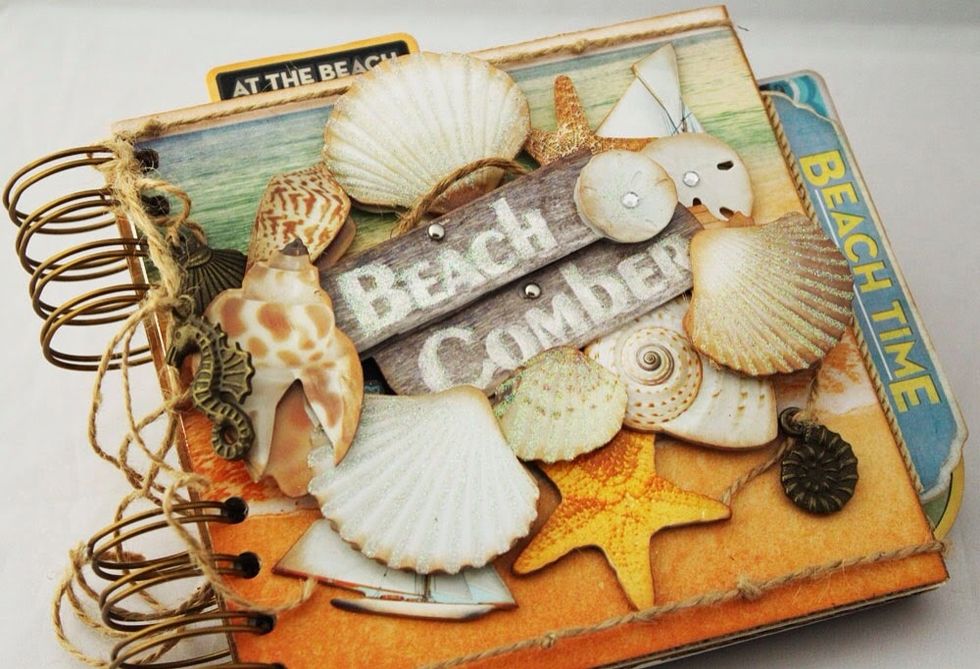
Add hemp and charms. Continue embellishing until happy with results.