The Conversation (0)
Sign Up
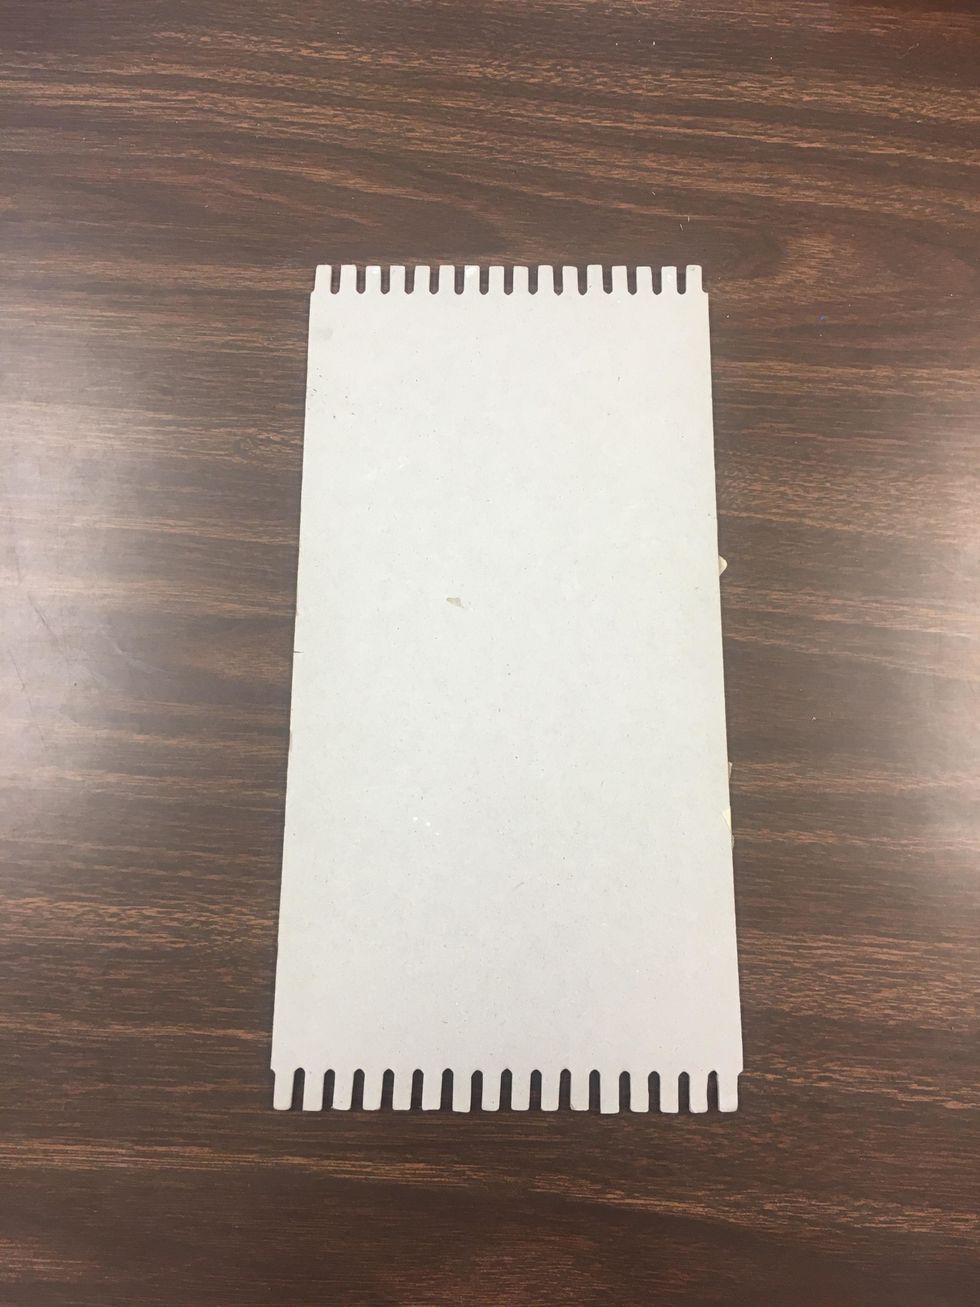
Lay out your card board Weaving Board.
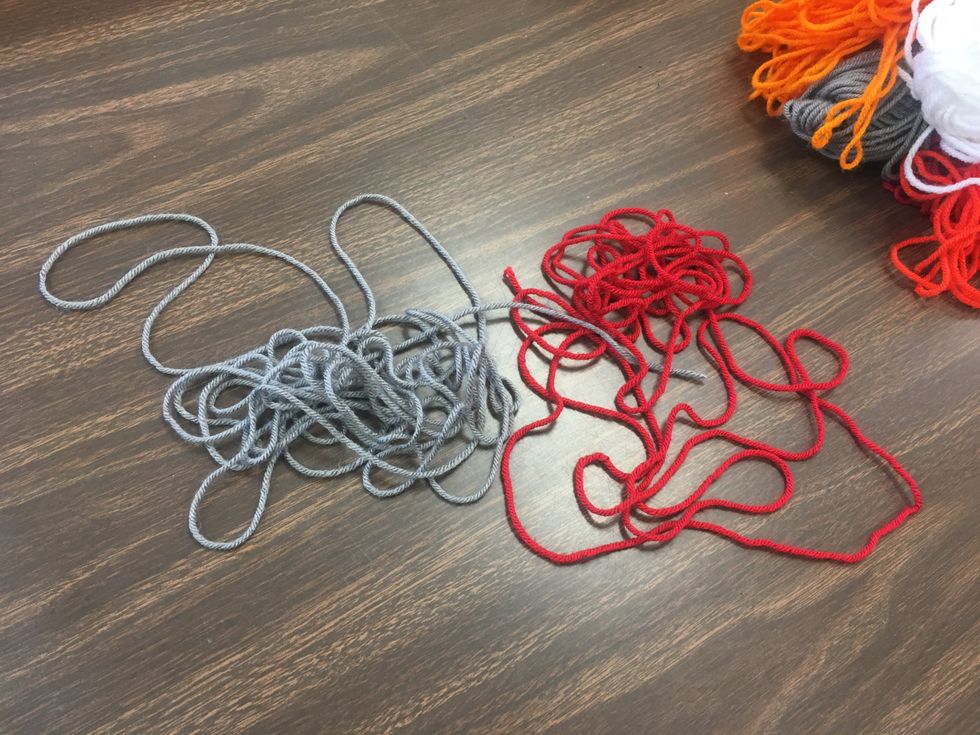
Find two colors of yarn for your base that are not similar in color.
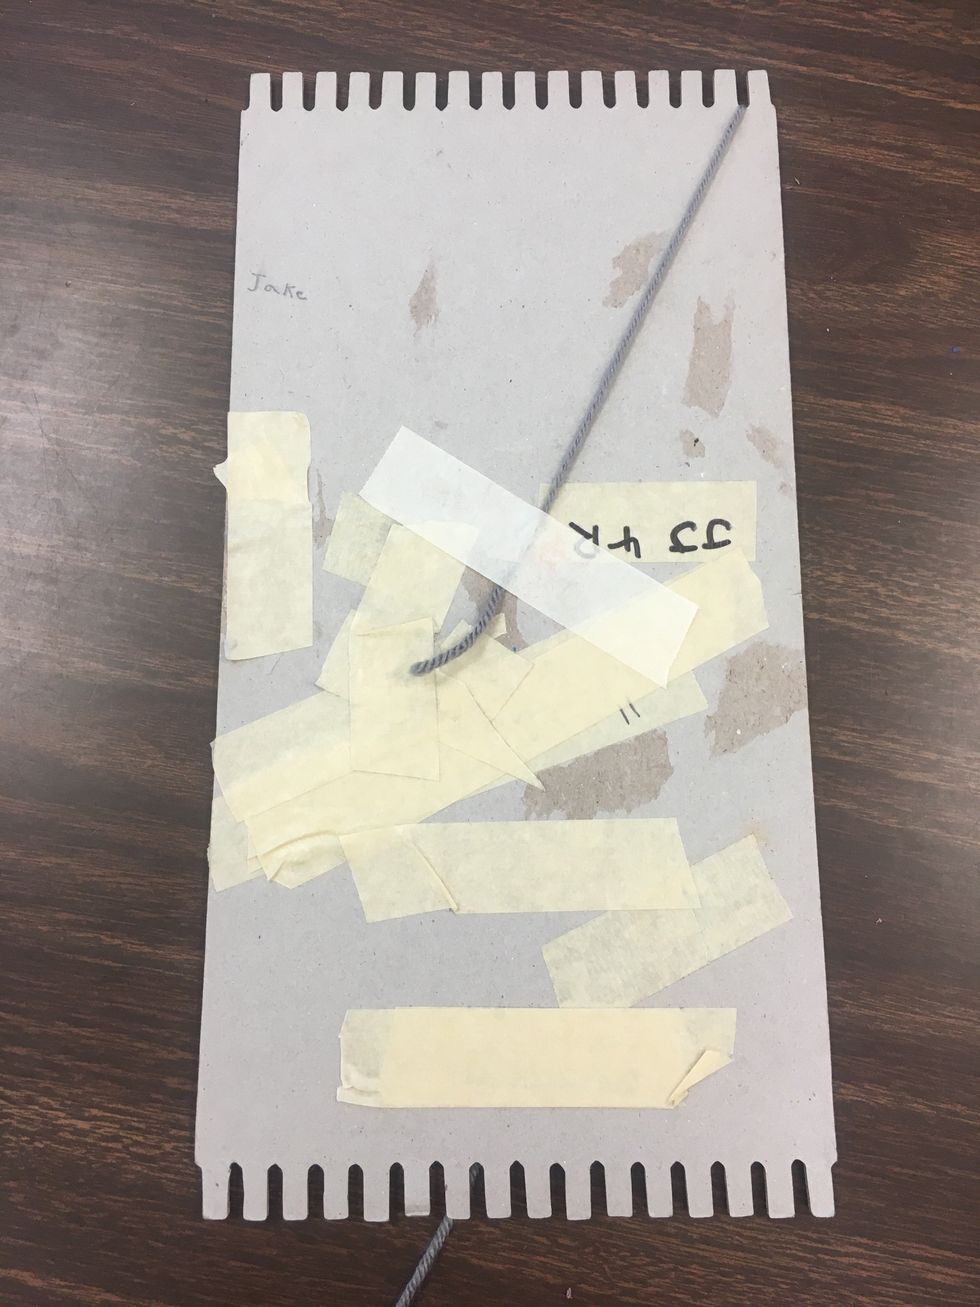
Using about a 4 inch piece of masking tape, secure one of the yarn pieces to the back of the cardboard loom. The yarn can still be attached to the roll of yarn at this point.
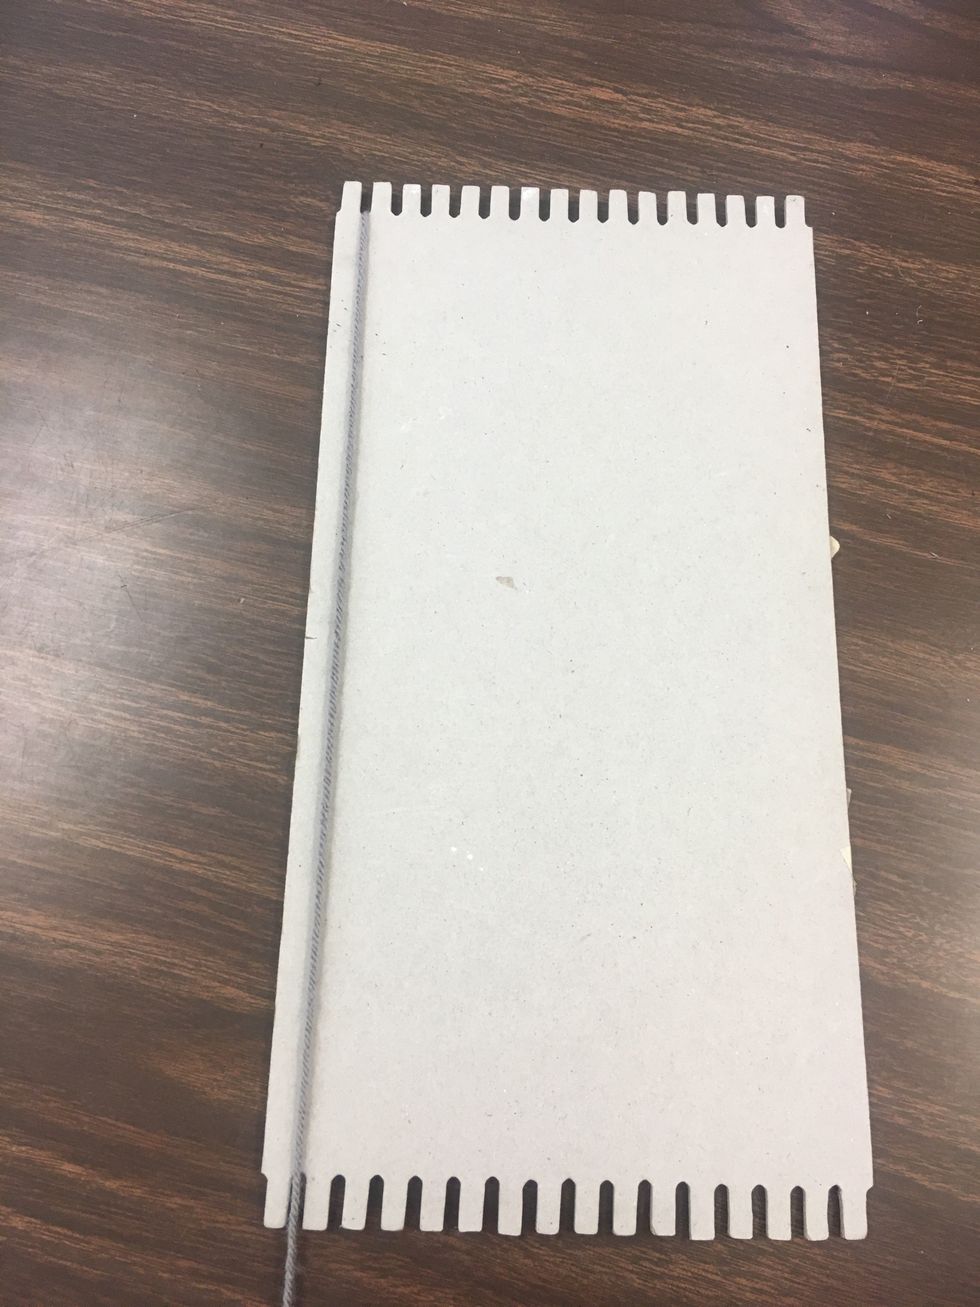
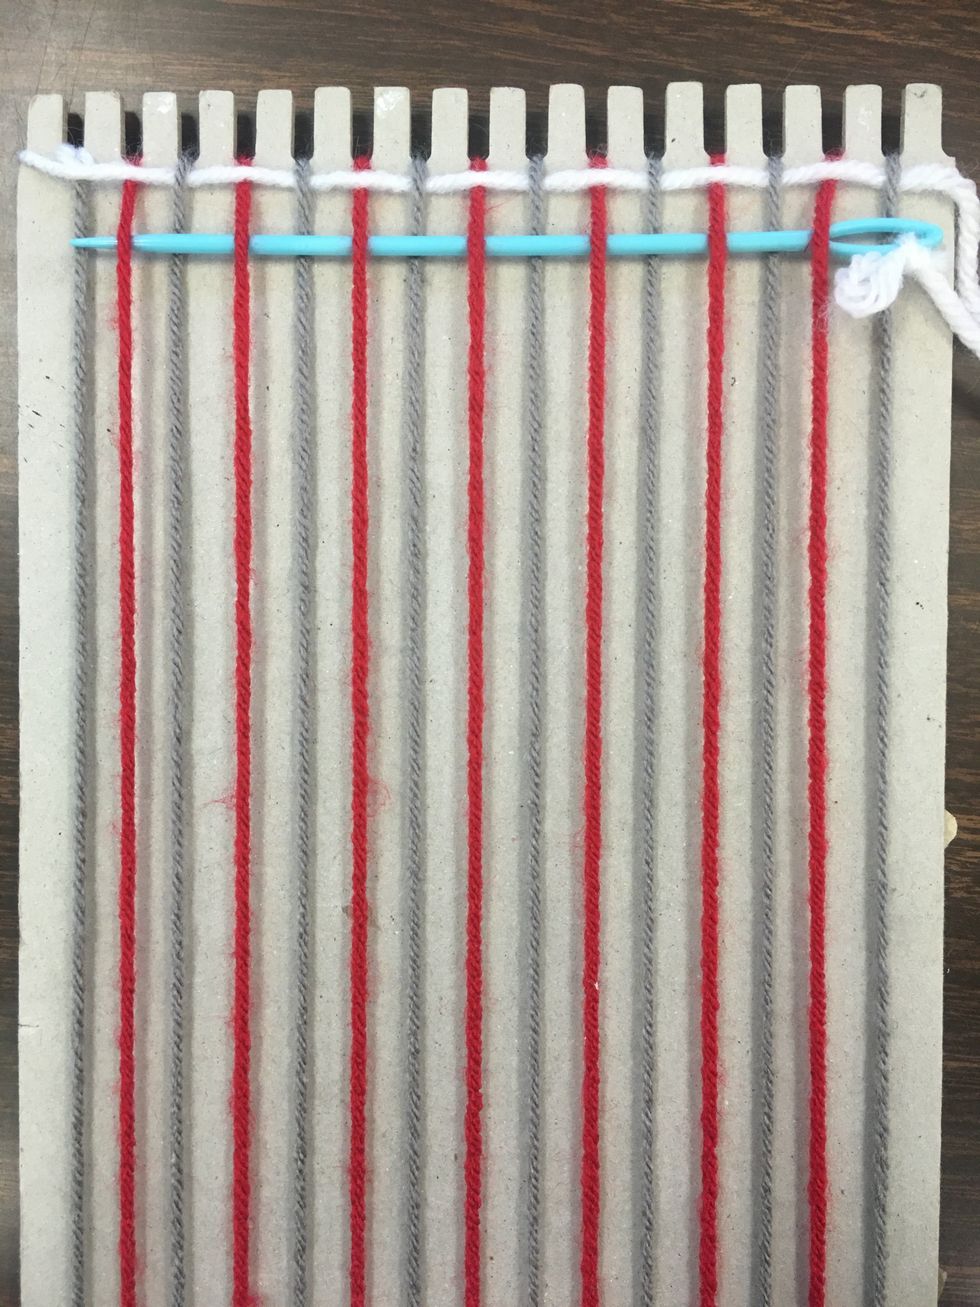
Pull the yarn forward over the first notch in the cardboard and pull straight down to the bottom of the board, and tuck back behind the loom and pull back up to the top.
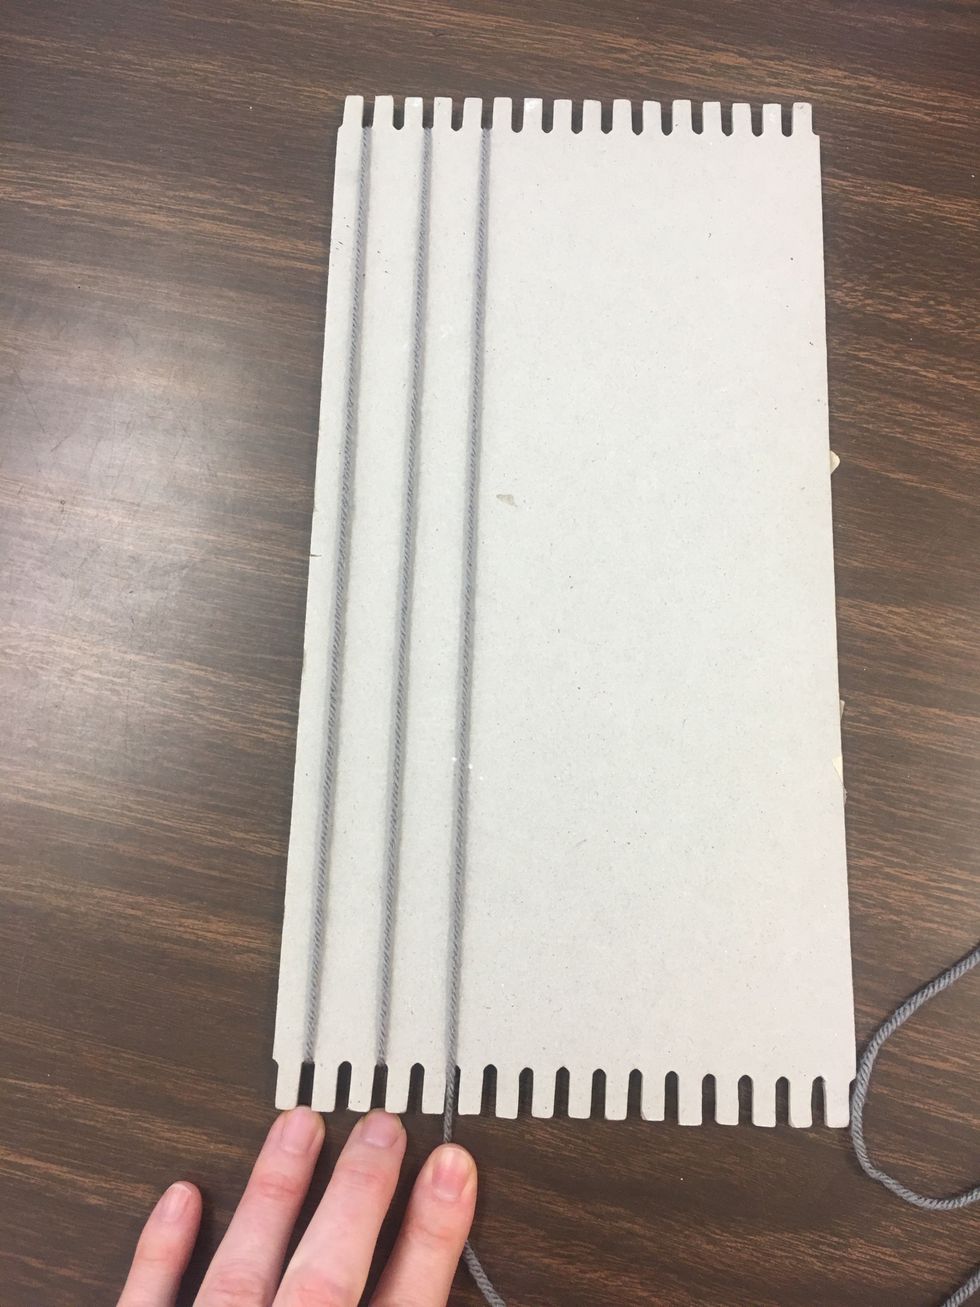
Continue wrapping the yarn around the cardboard going through every other notch, and pulling the yarn taught as you go around. This will act as the base for your weave, so the yarn must be taught.
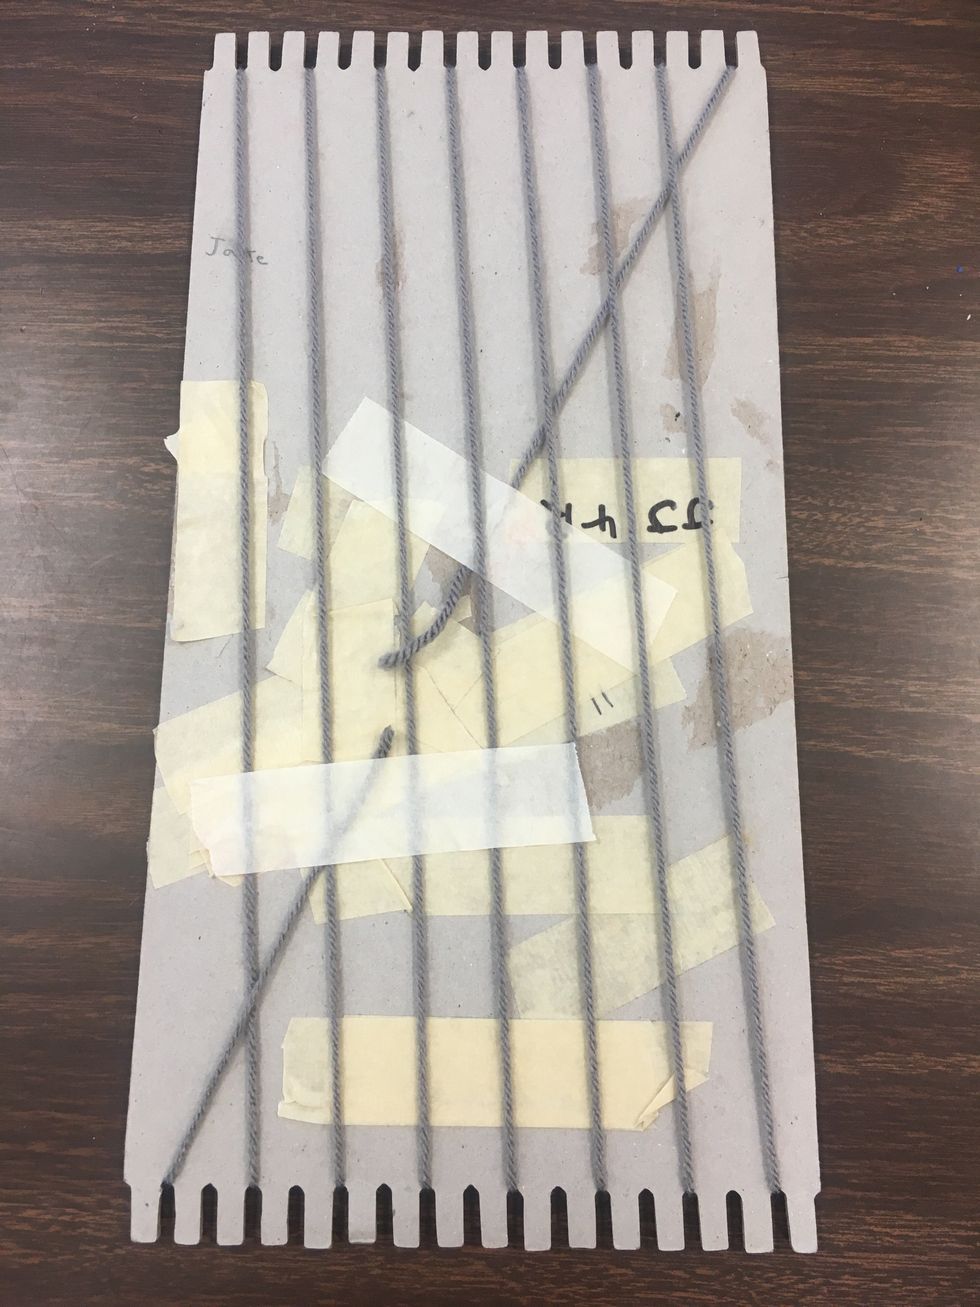
Once you finish w/ the first yarn secure the yarn to the back of the cardboard the exact same way you secured the starting point, with a 4 in. piece of strong masking tape.
Your weave base should look like this from the front at this point.
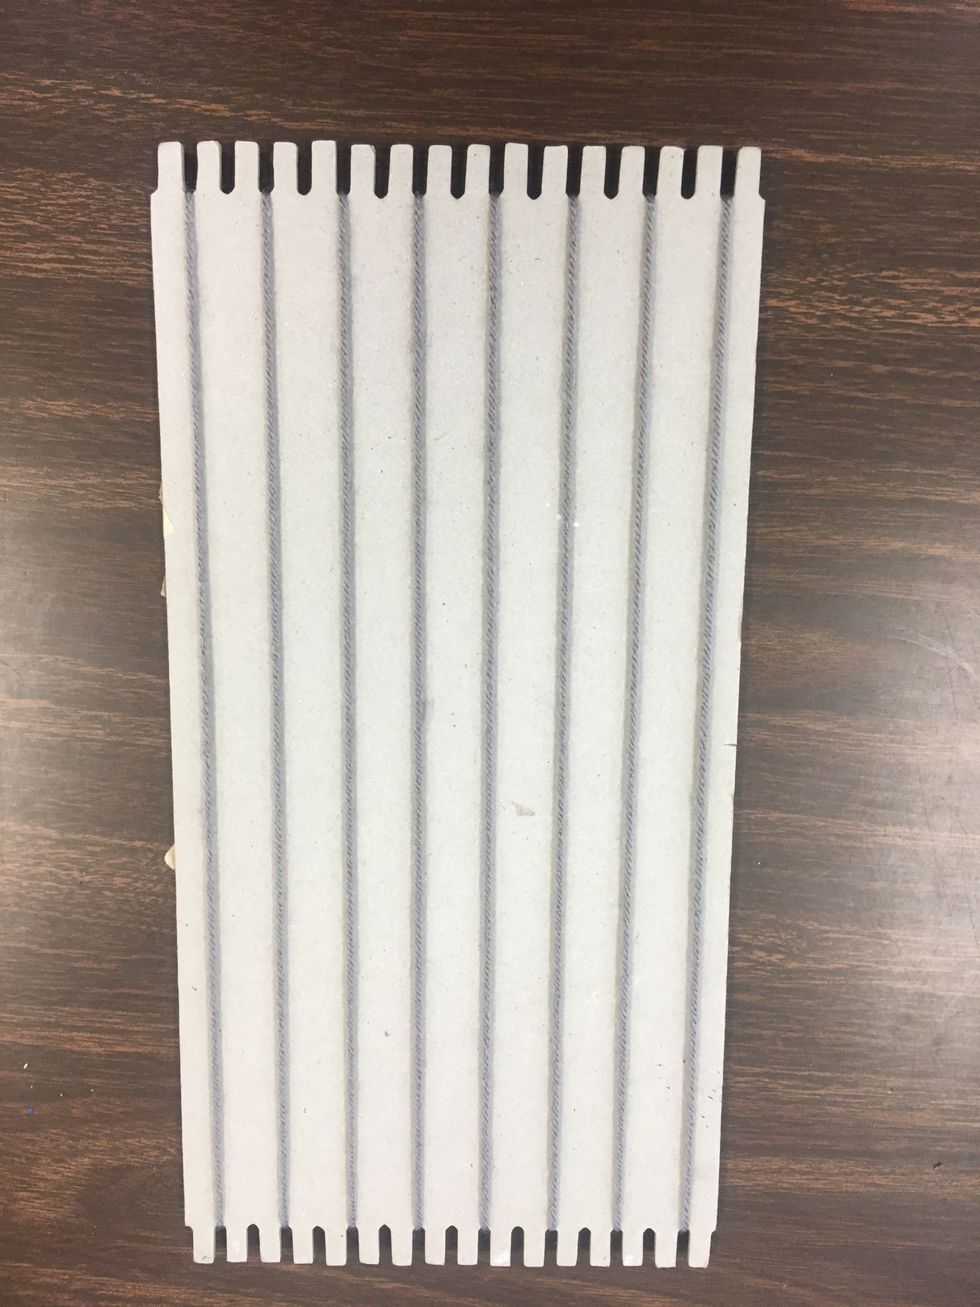
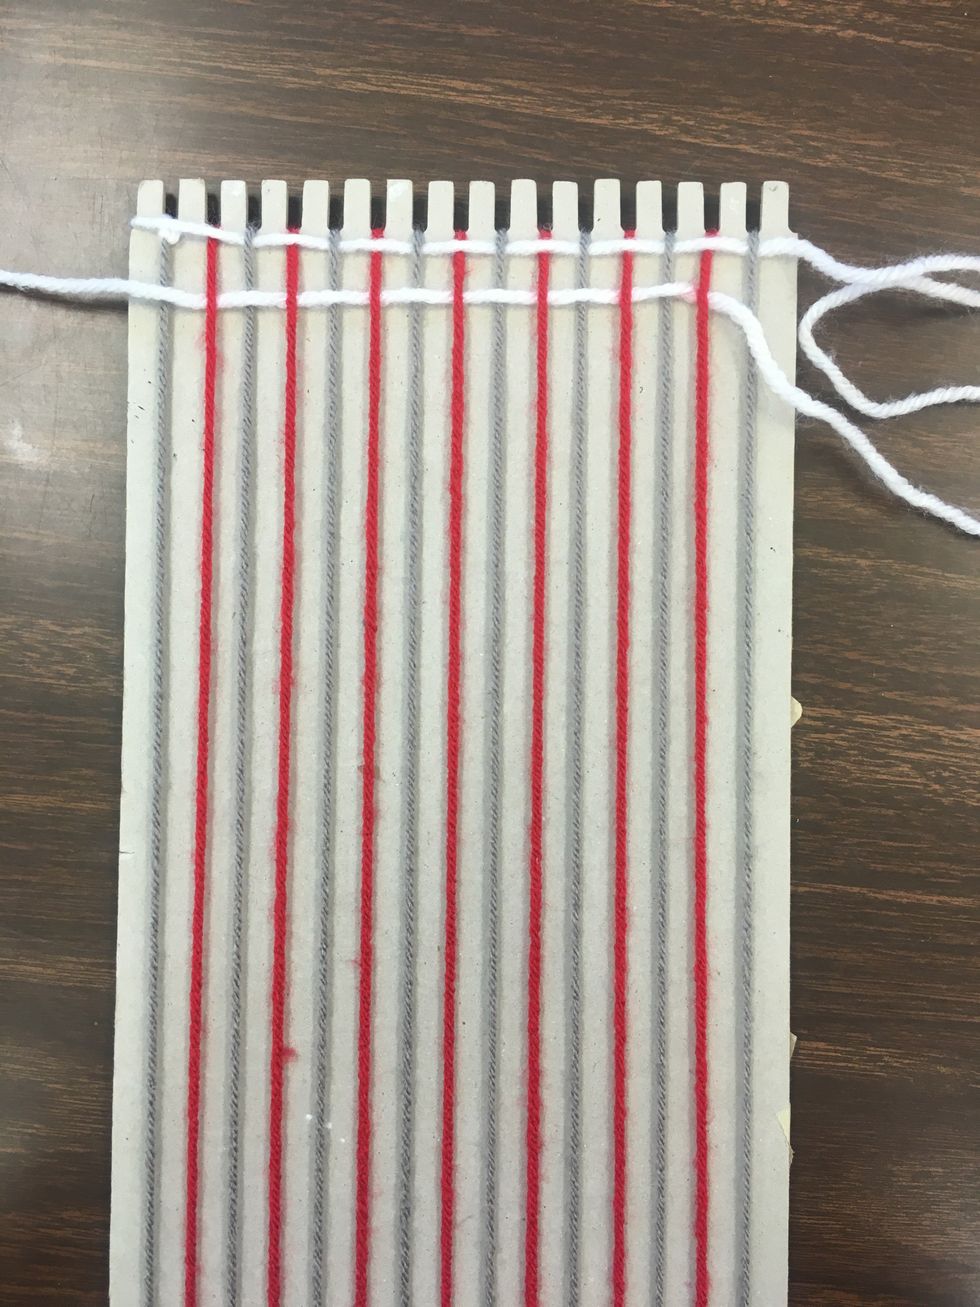
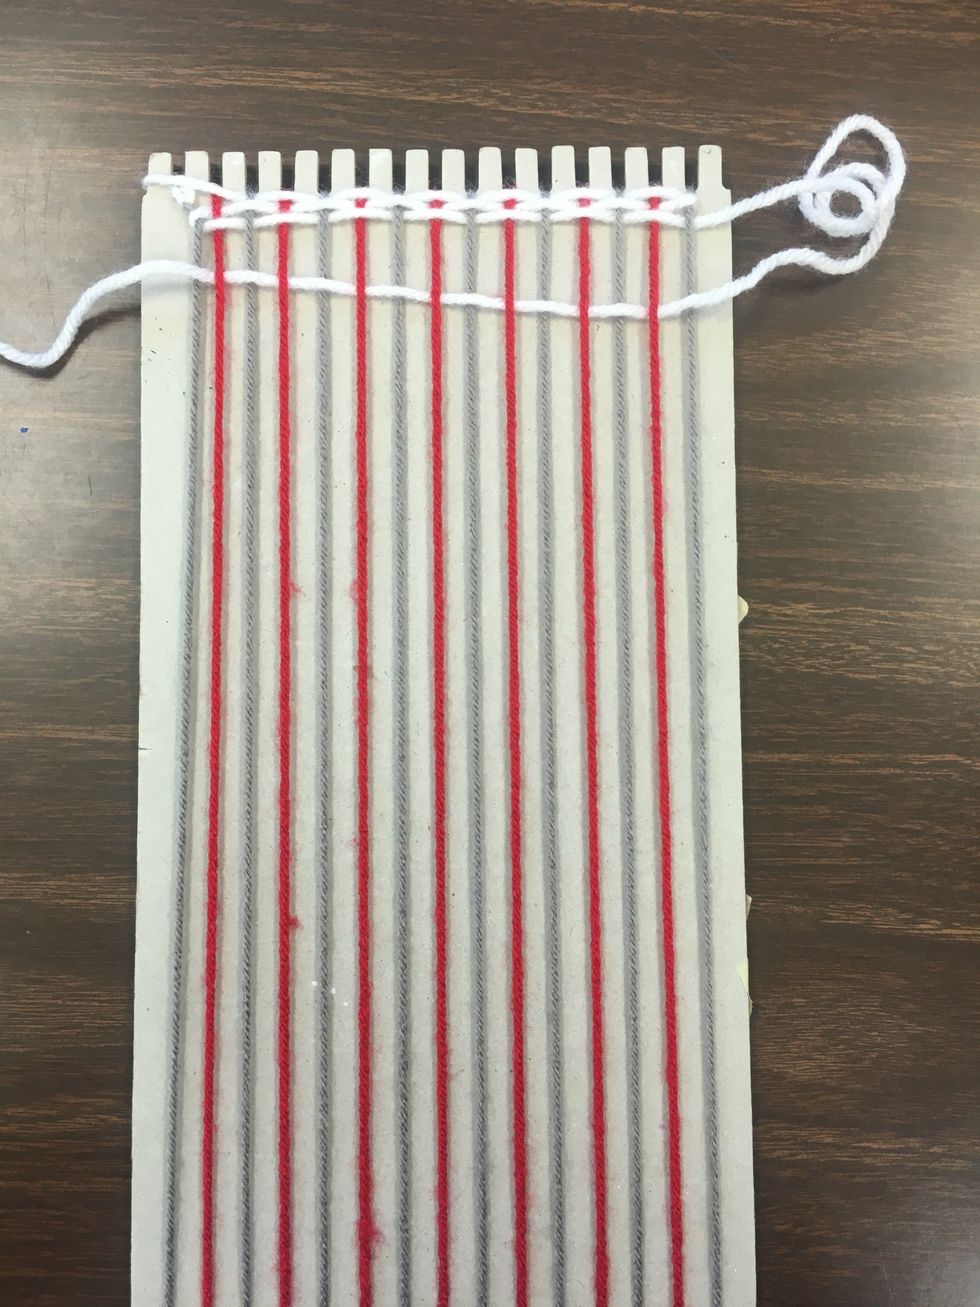
You can now use your other color yarn and repeat exactly what you did with the first yarn, but hitting the opposite notches. Secure your yarn on the back with masking tape and begin wrapping.
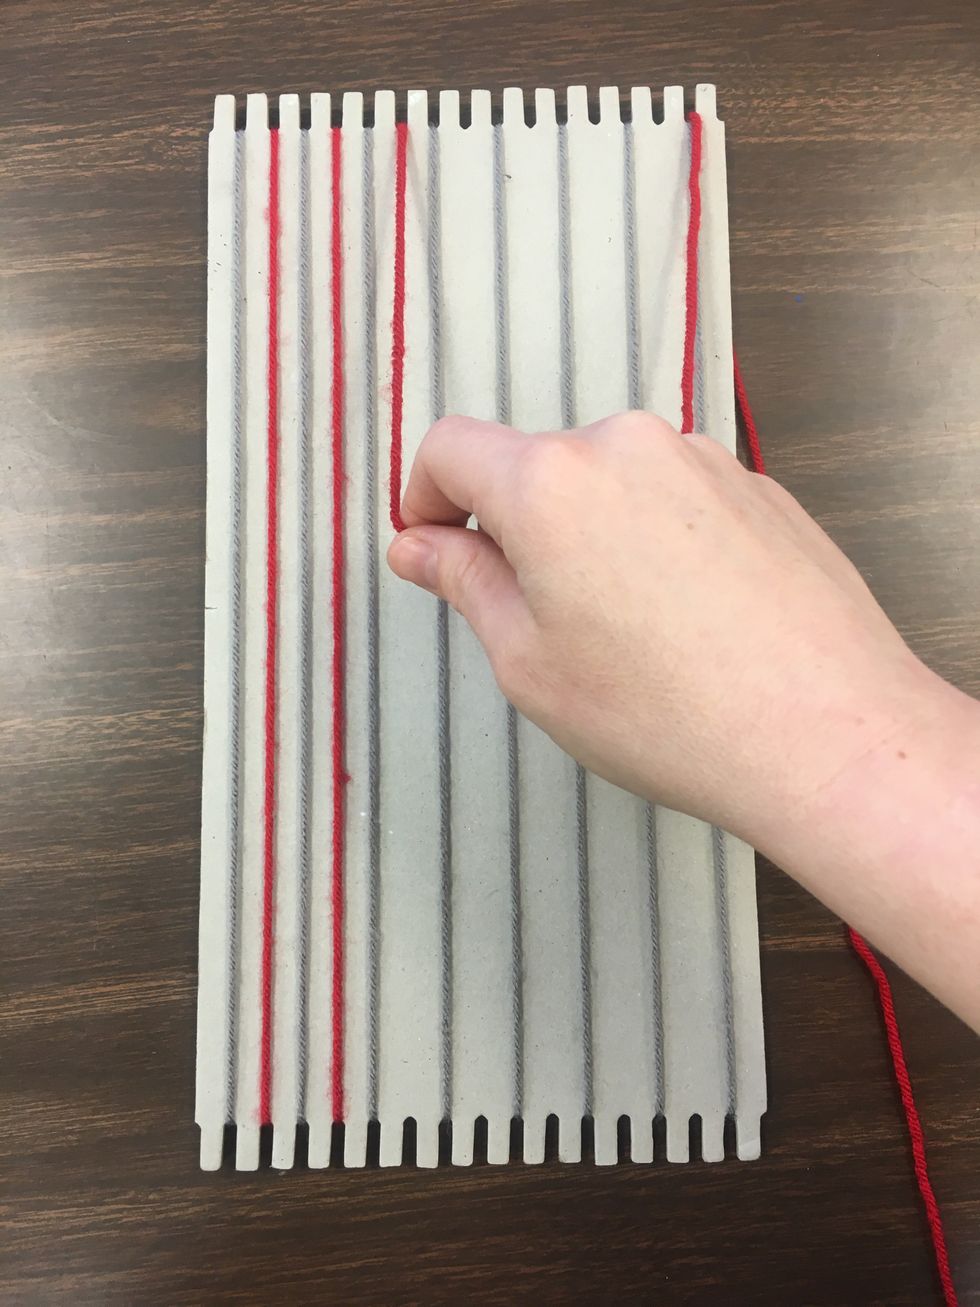
Your base should start looking something like this.
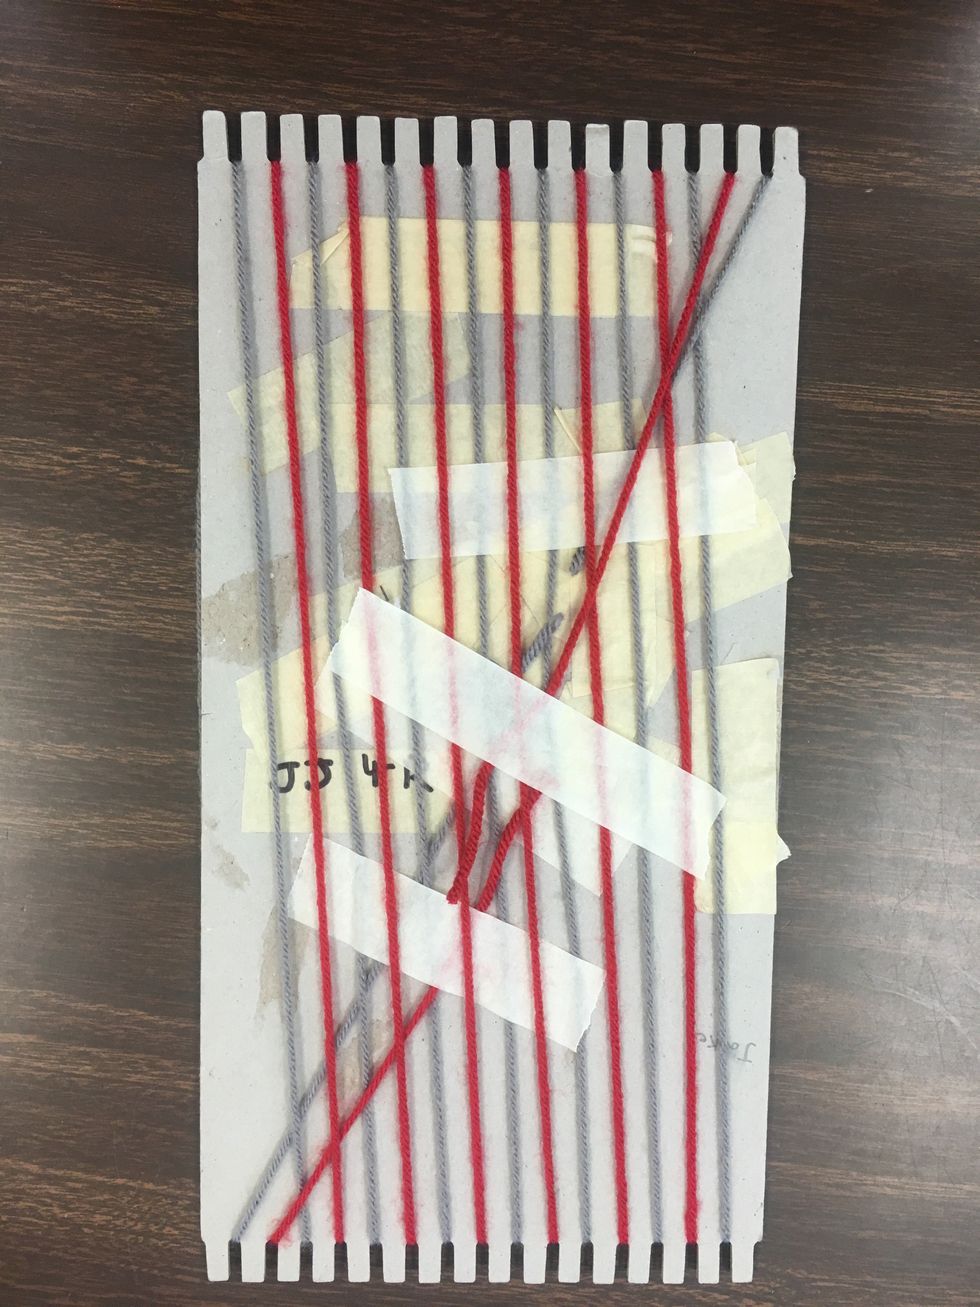
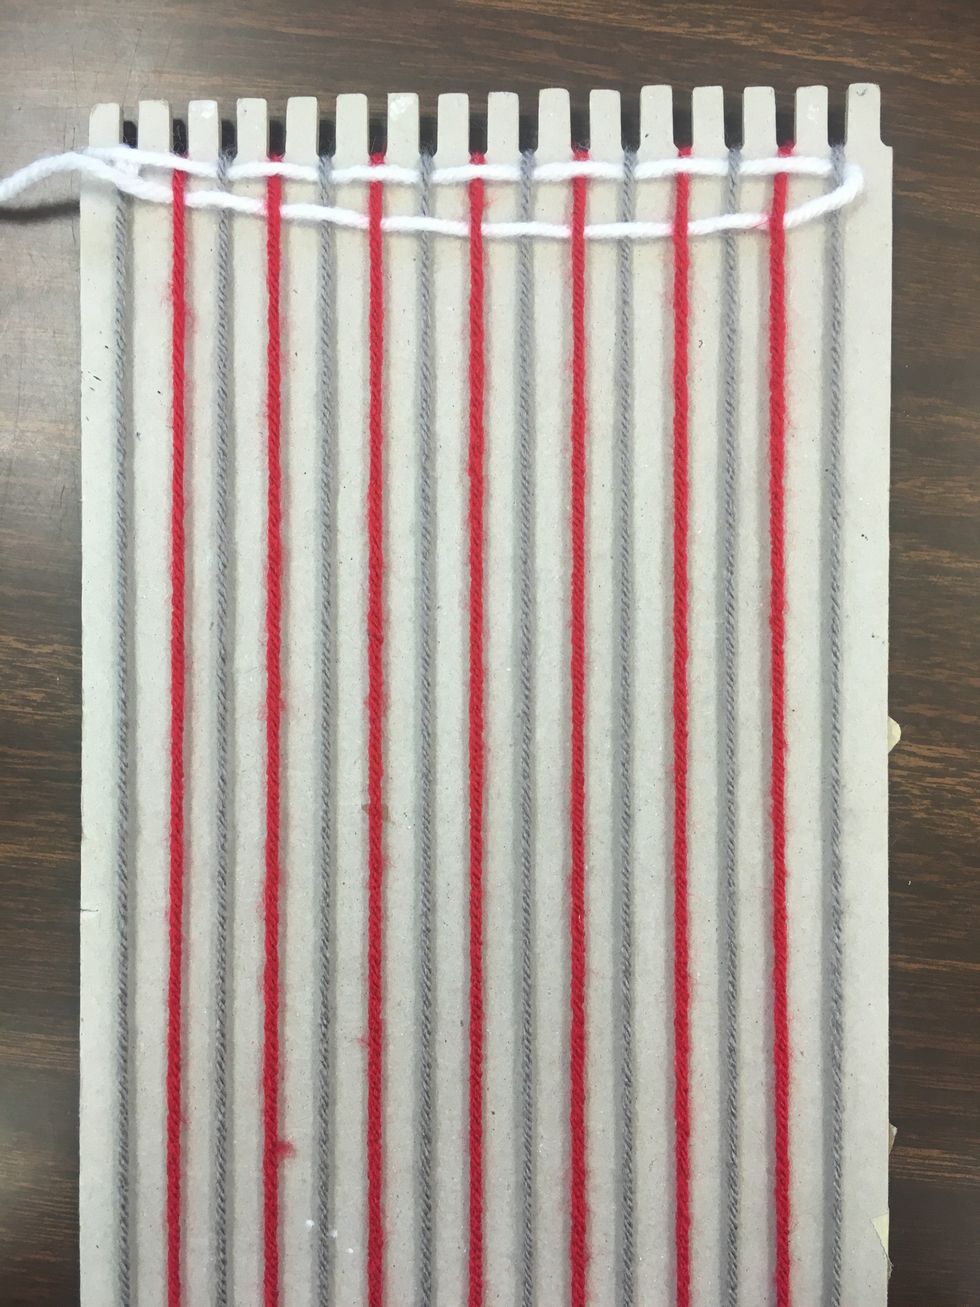
When you are done with the other yarn, flip your loom over and secure the other yarn on the back as well.
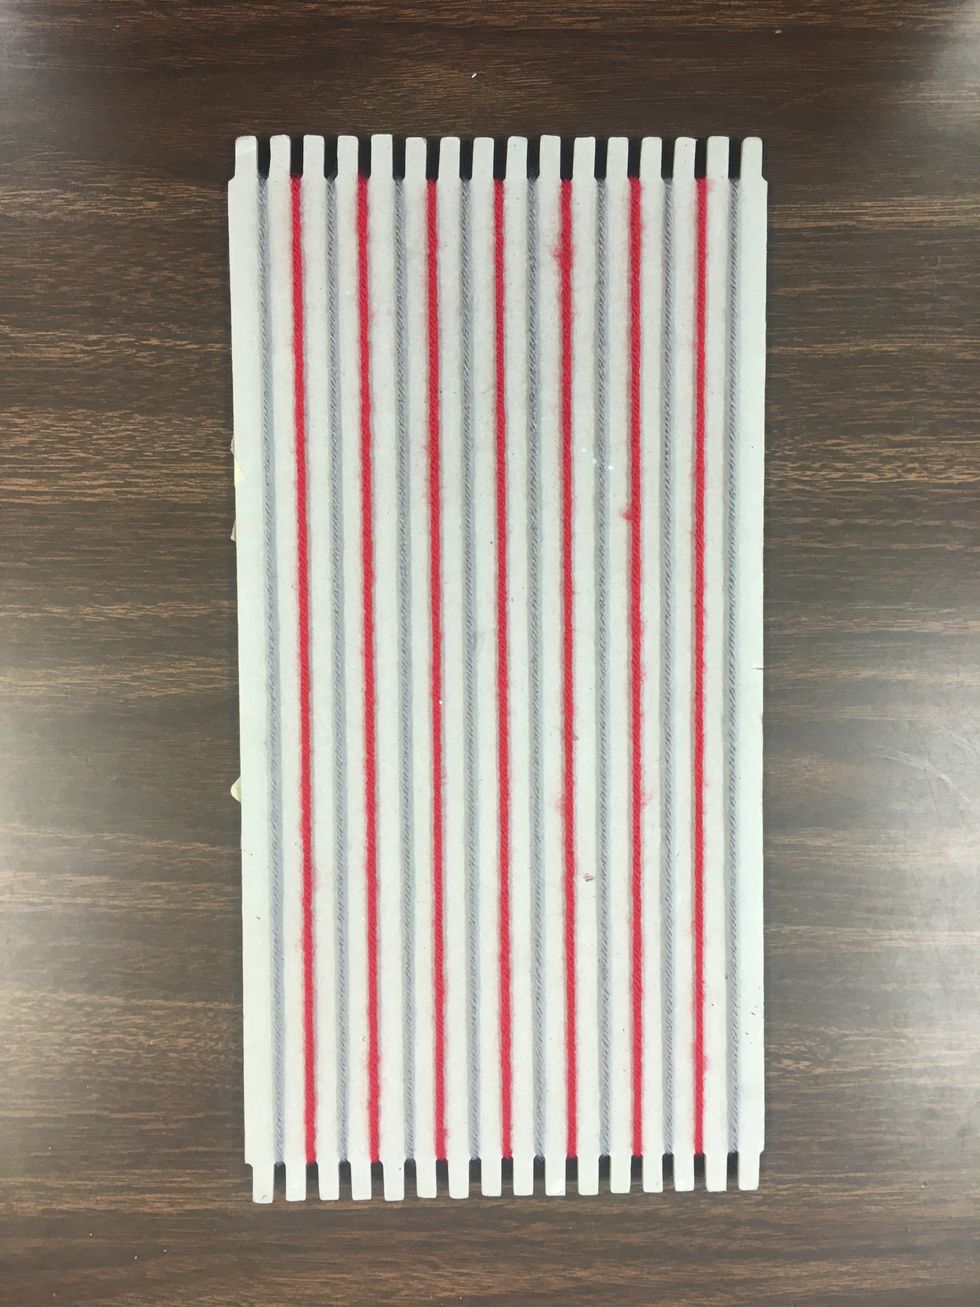
It should now look like this from the front, and you are ready to begin weaving.
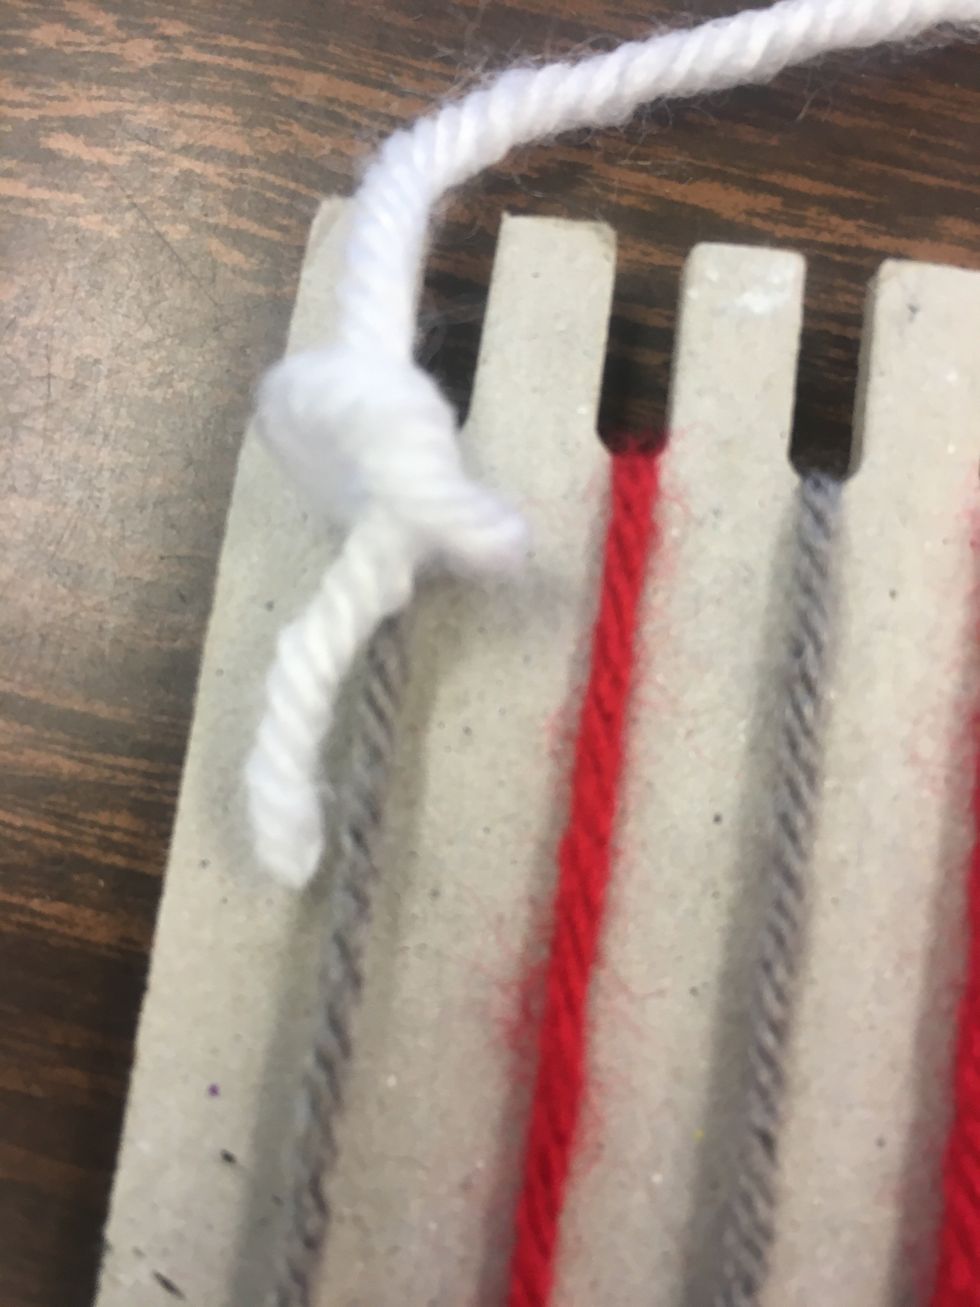
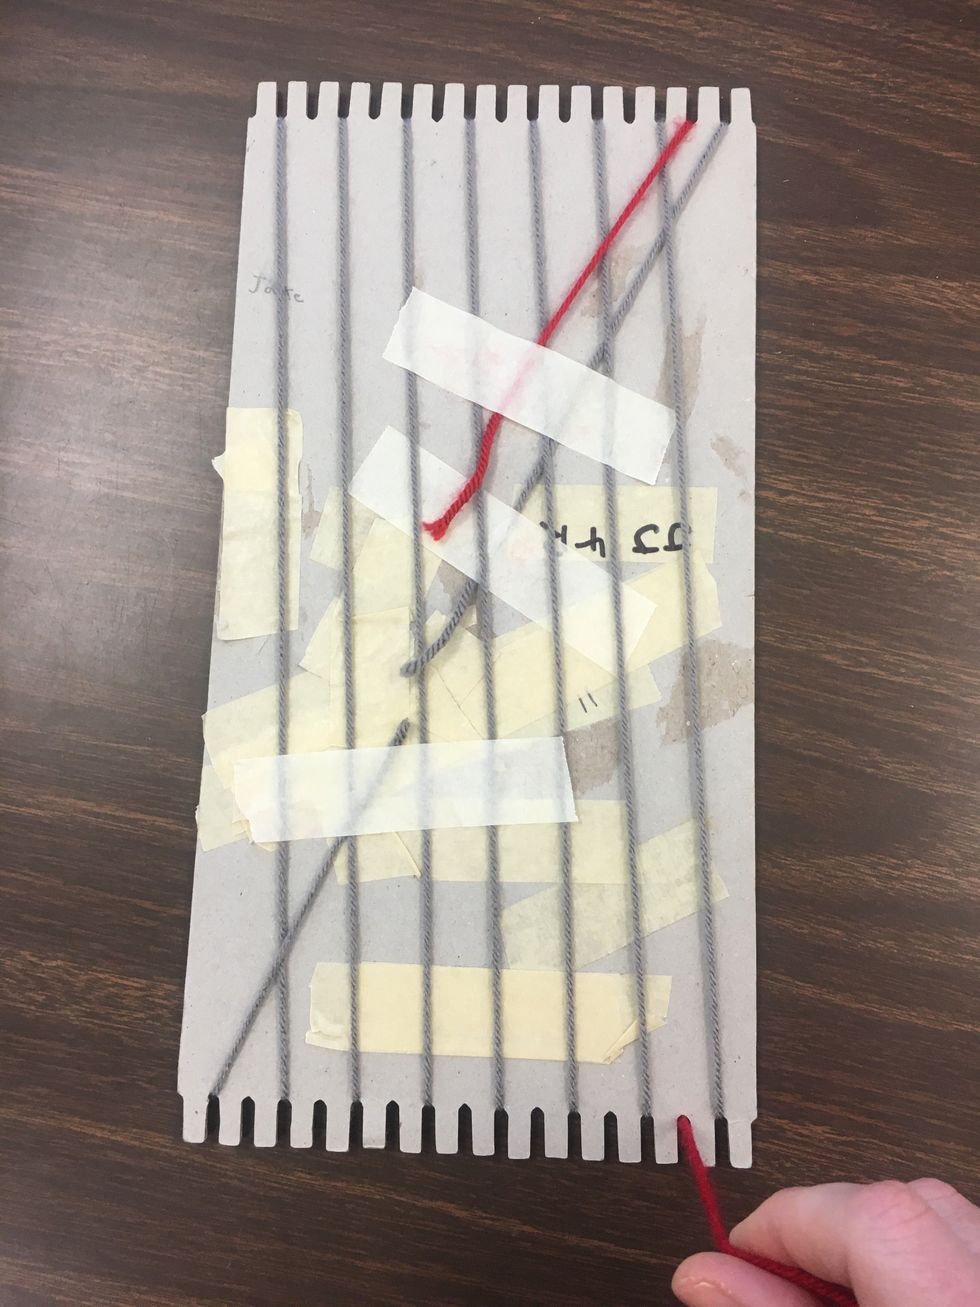
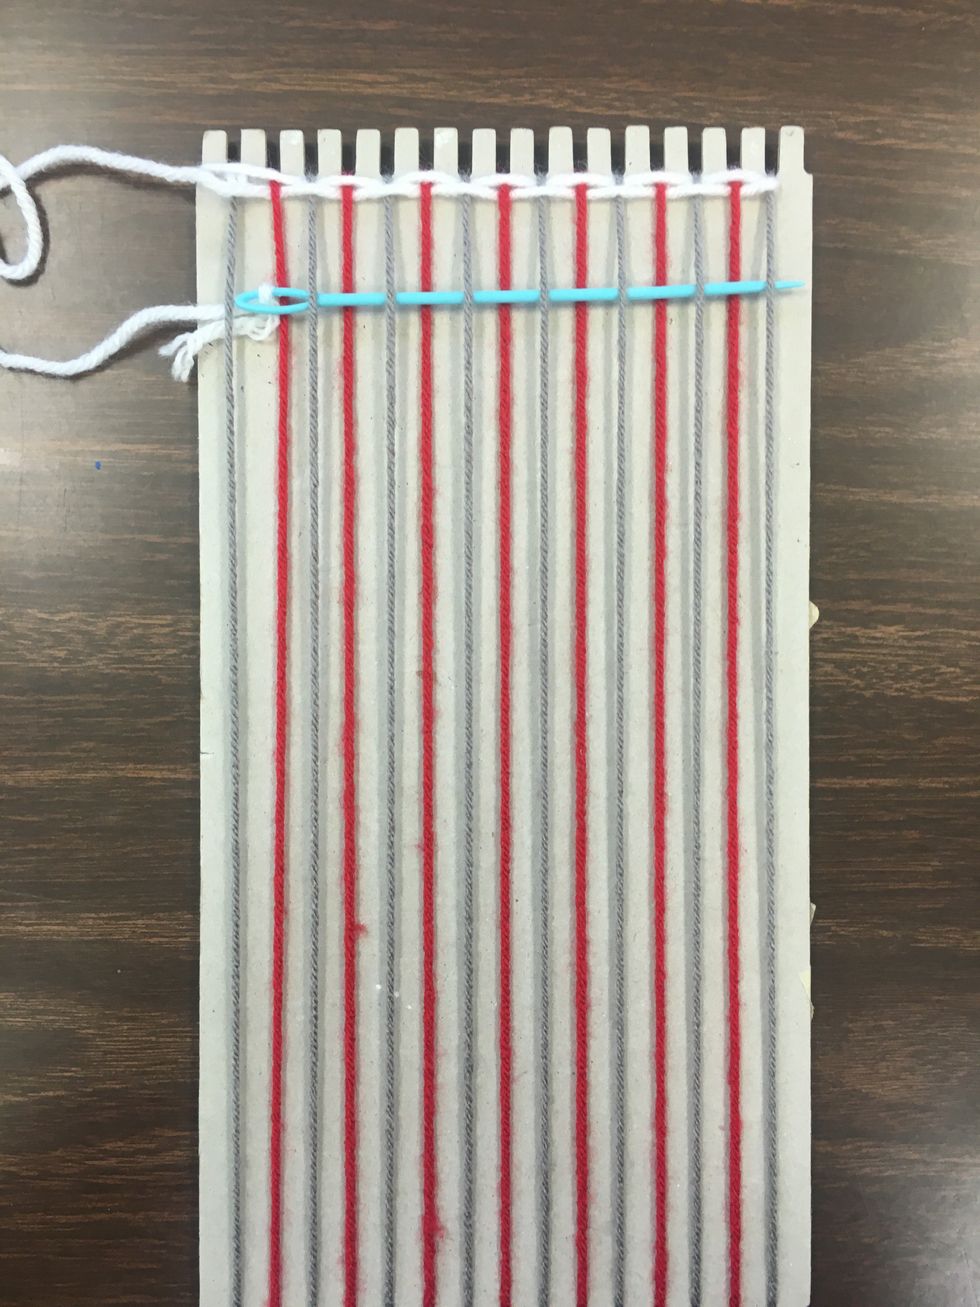
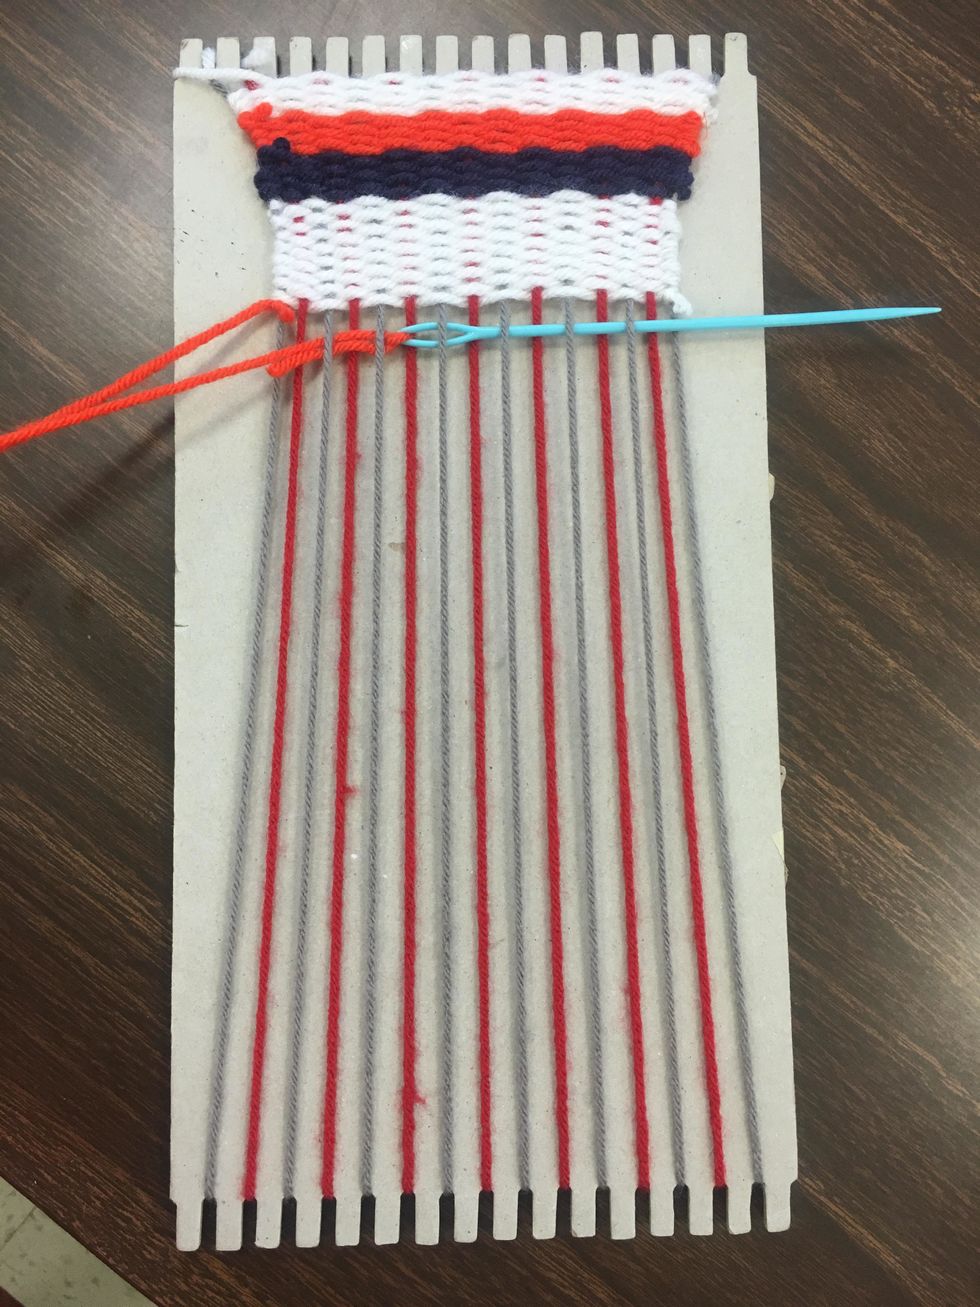
You are ready to begin weaving. Choose the first color that you would like to start with. Cut an arms length piece of yarn. In the top right corner of your loom, secure this yarn with a small knot.
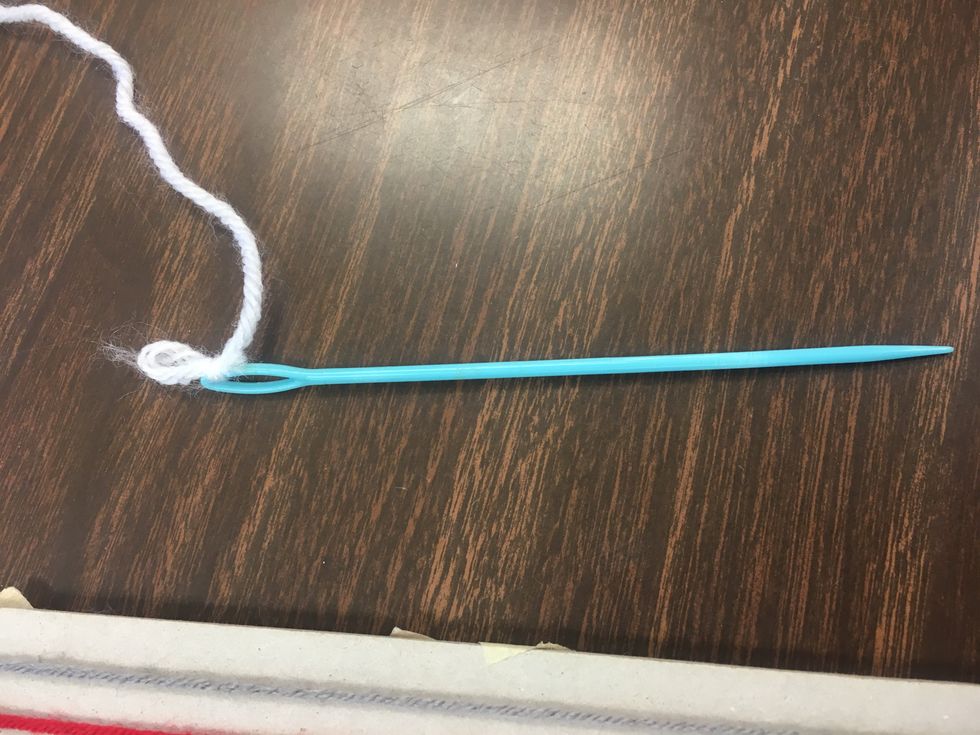
Thread the other piece of yarn through your weaving needle, and secure it with a knot.
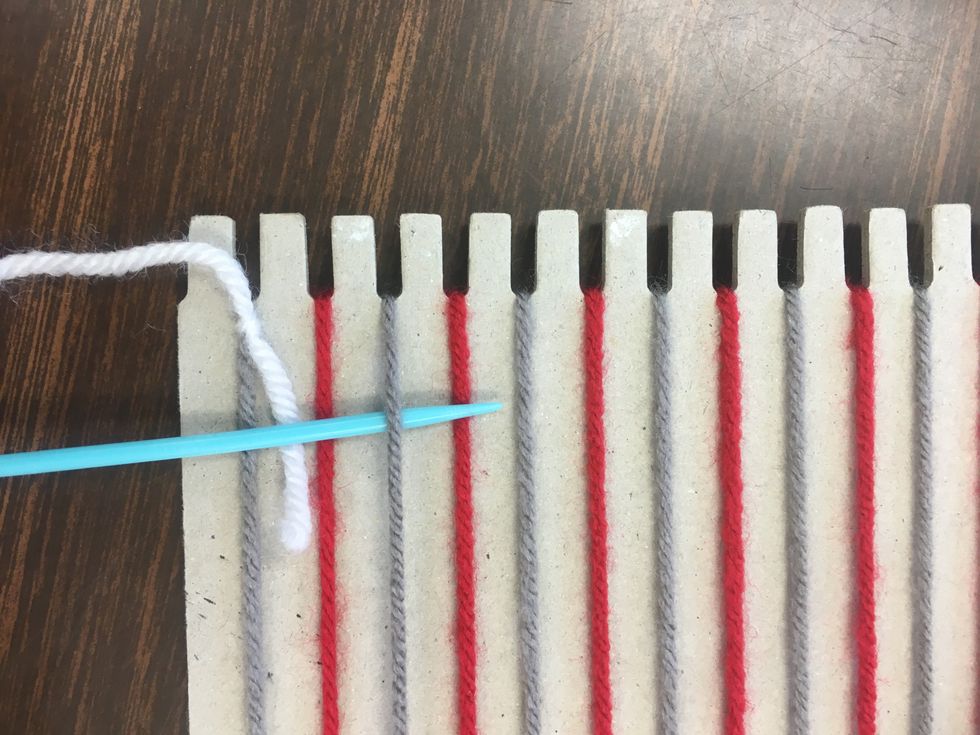
Begin by threading your needle under and over the base yarn. Wherever you begin, you will continue. If you start going under the gray, continue under each gray, and over each red all the way across.
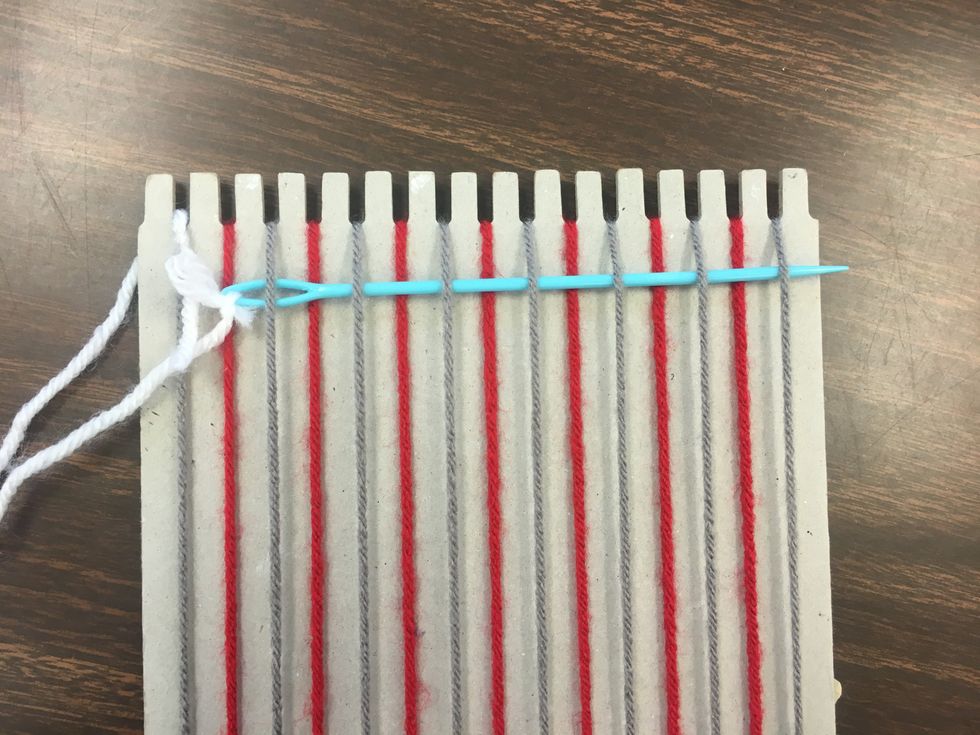
Your first run through should start by looking like this.

Pull the needle through, and the yarn with follow.
Your first row when completed and the thread pulled completely through should look like this.
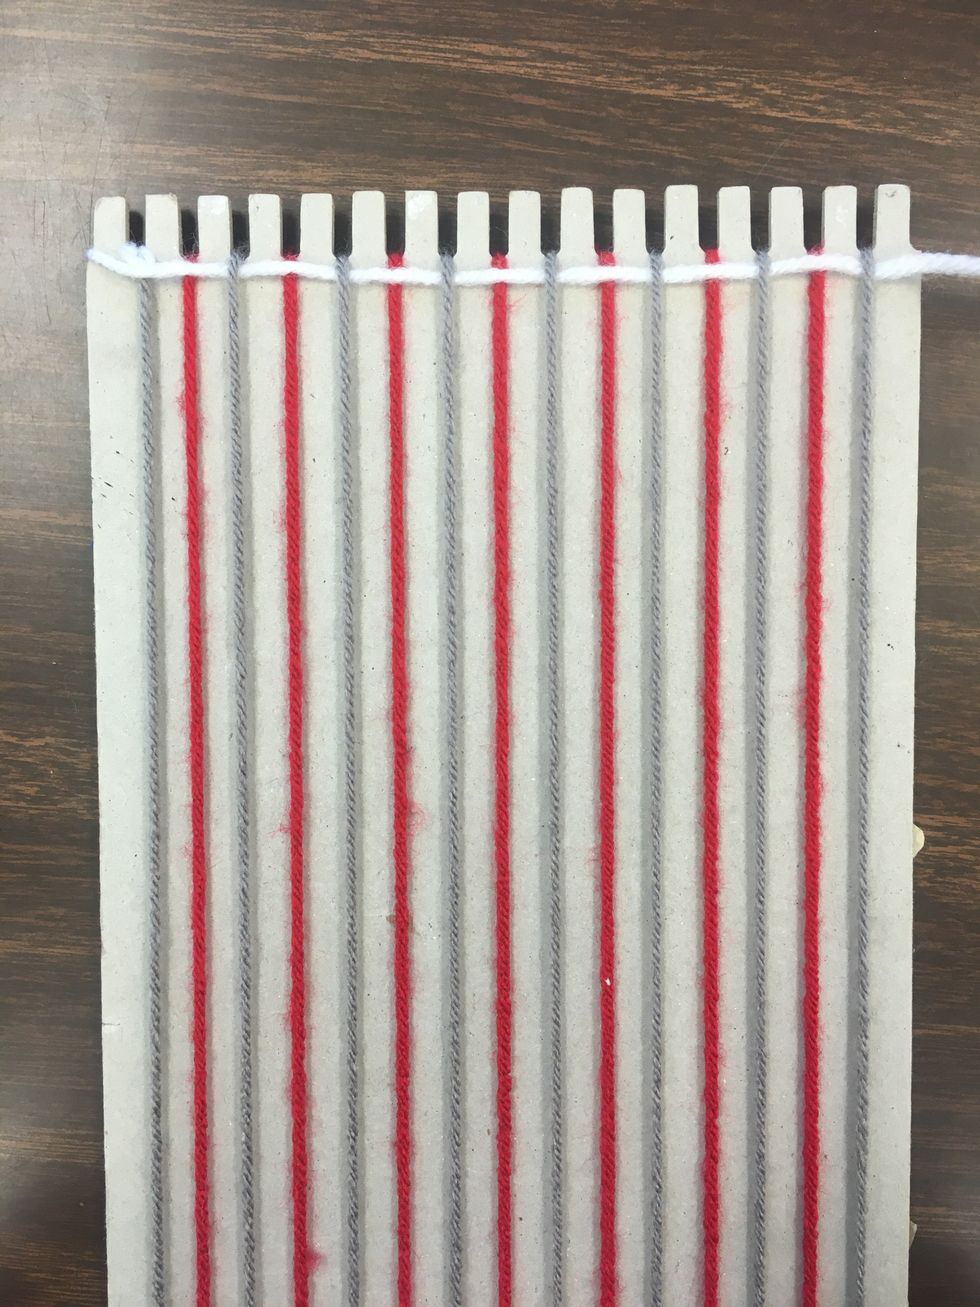
Now begin going back the other way. Be sure to wrap around your last thread, & do the opposite of the first row. See above how the red thread is now the top thread and the gray thread is the bottom.
Pull the thread through entirely.
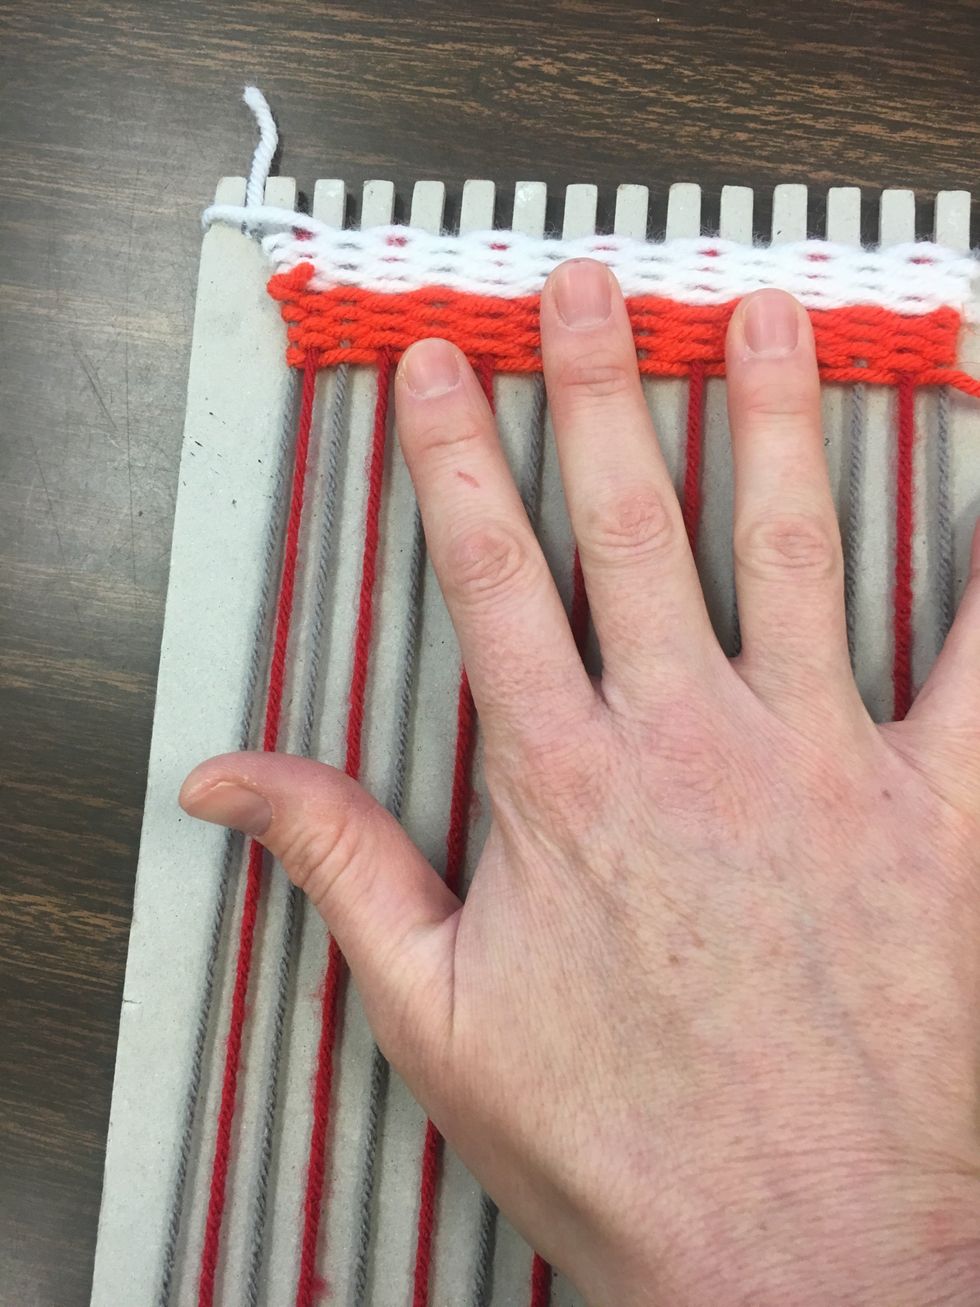
You may notice that your threads are not all at the top. You may use a comb, or even your own finger tips to push the thread up to the top to align with the first thread.
Continue back. Notice the gray thread is now the top thread & the red the bottom. Be careful when you pull through to not pull too taught left to right or R/L because your weave will change shape.
Continue for however many rows you would like. Back and forth, pushing the thread up, not pulling too taught side-by-side.
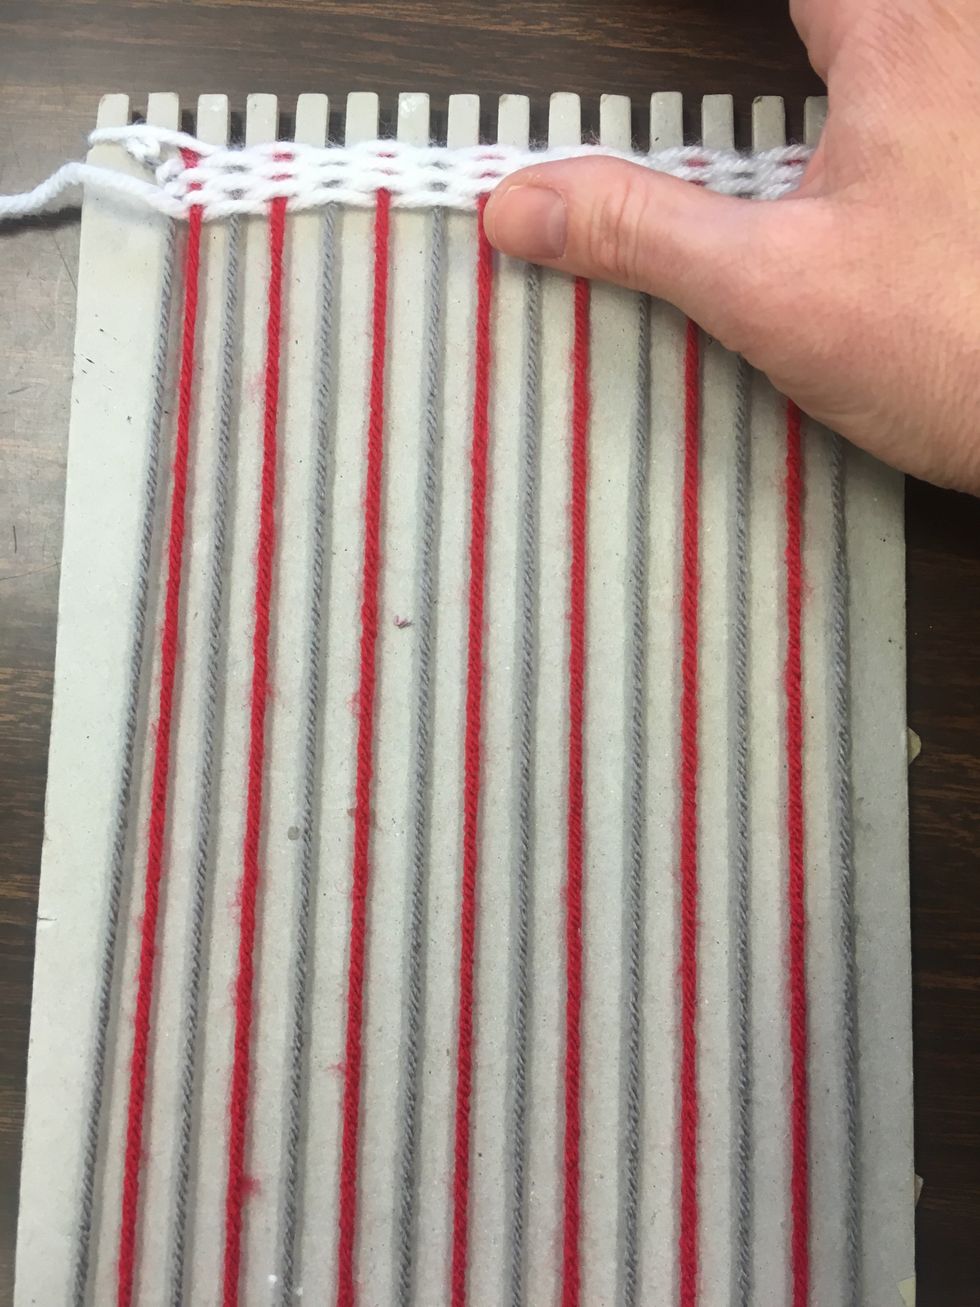
See here how I simply used my fingers to gently push the threads to the top.
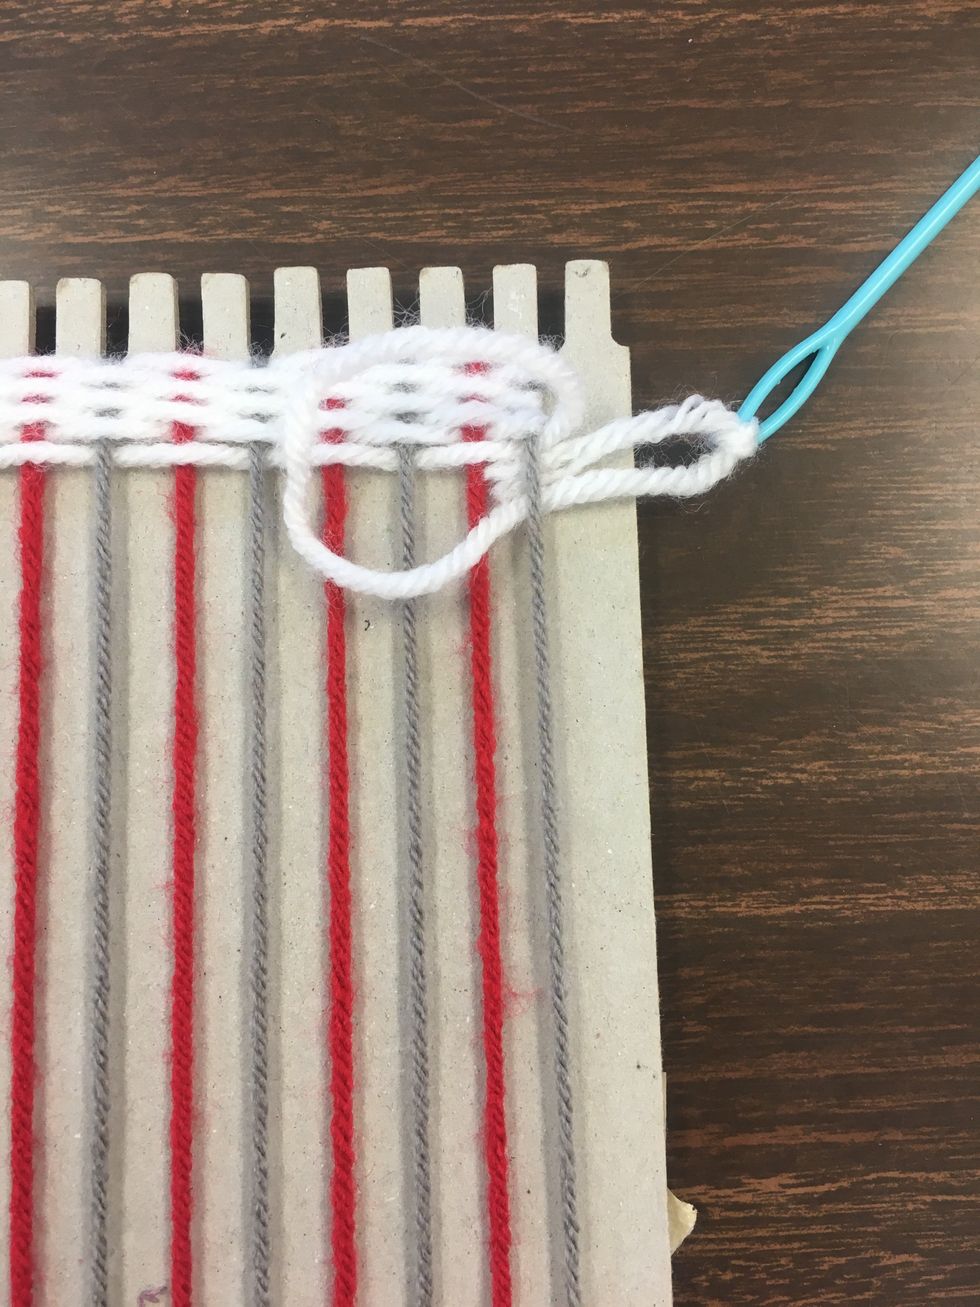
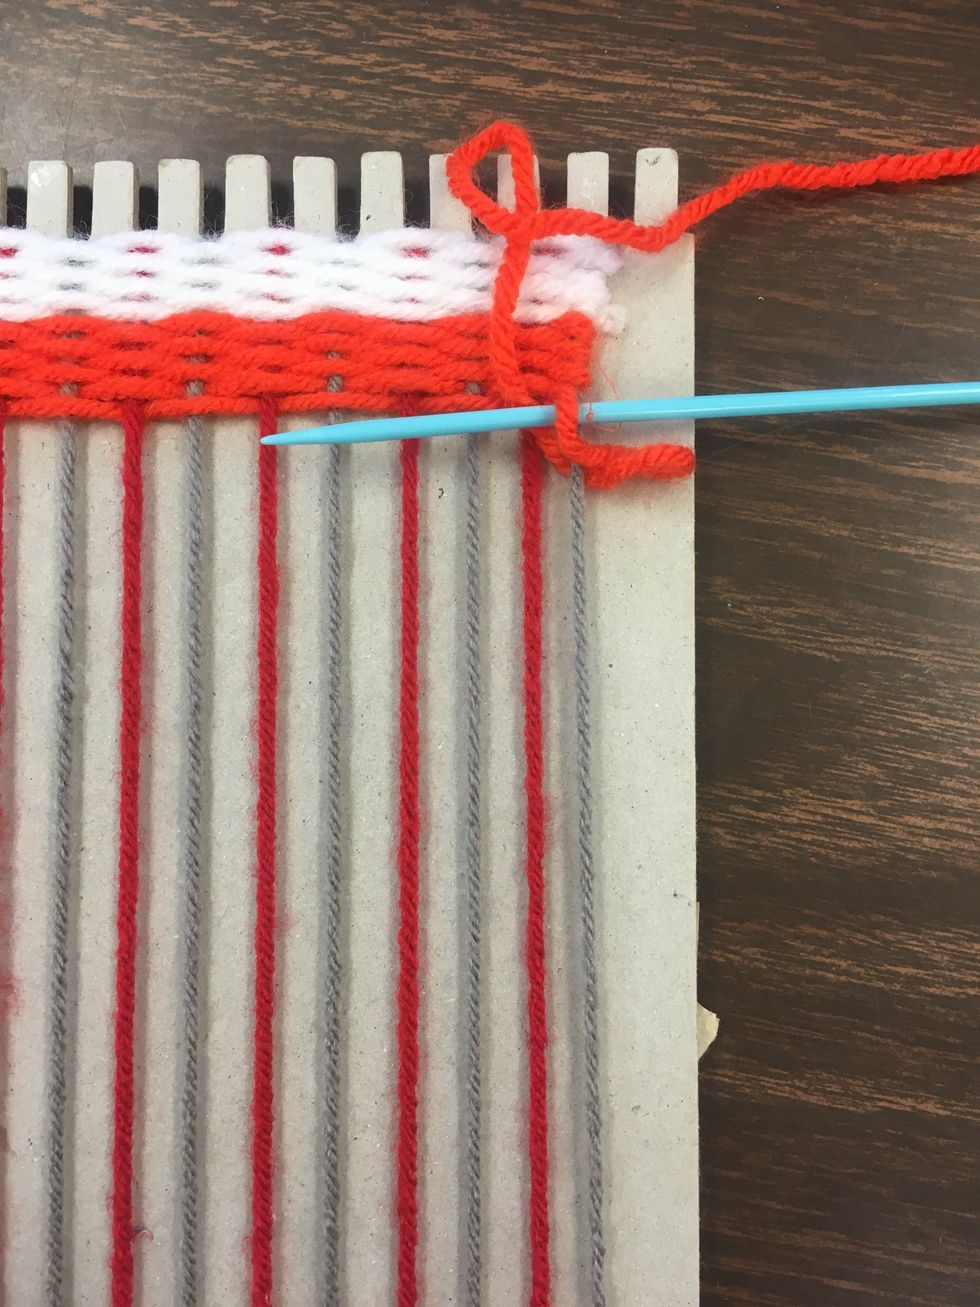
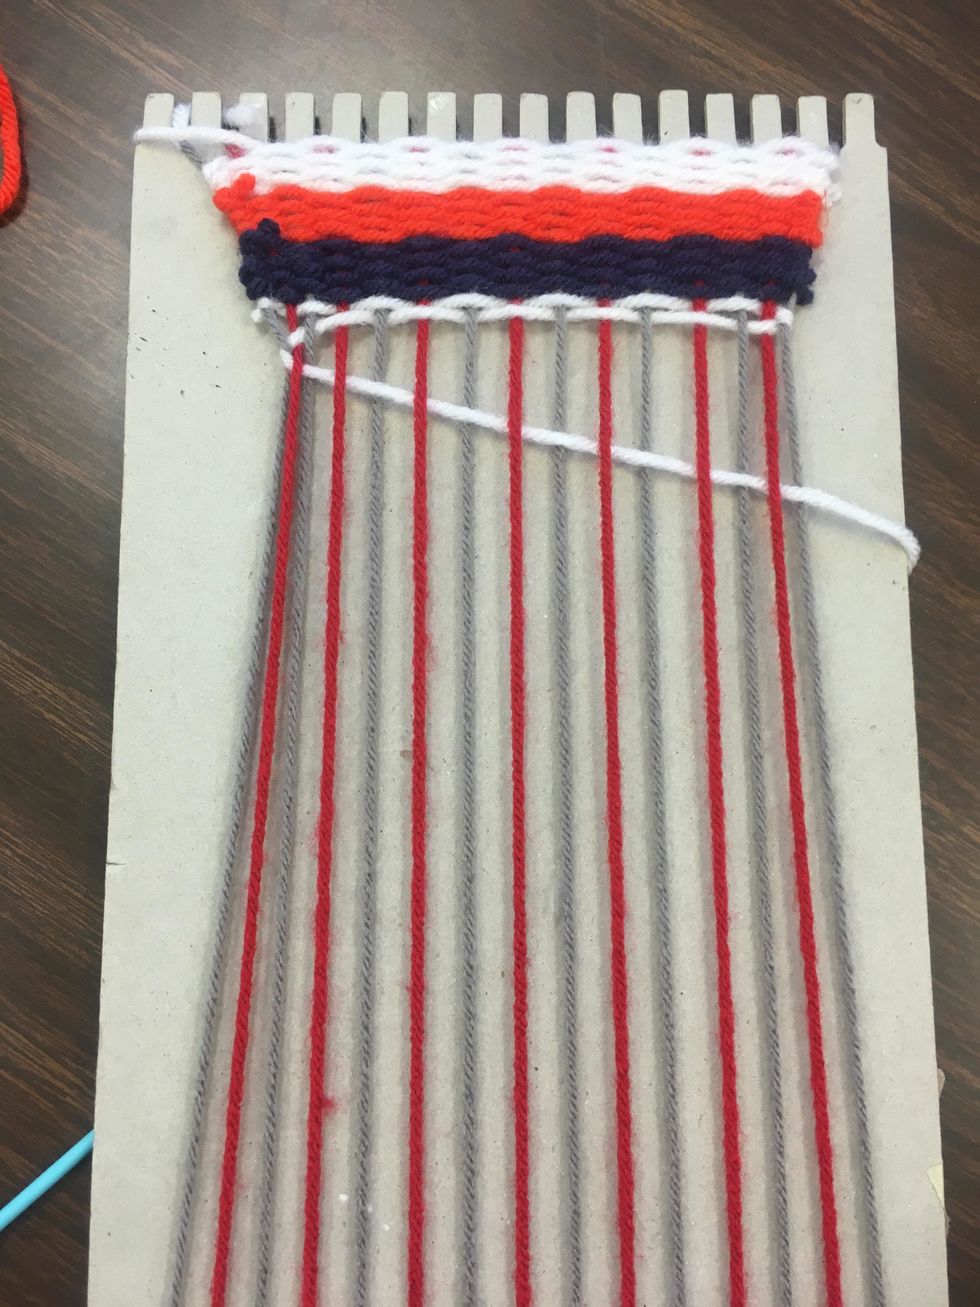
When you area done with a color of thread, you need to pull the thread taught, and tie an gentle knot on the end piece of your base thread.
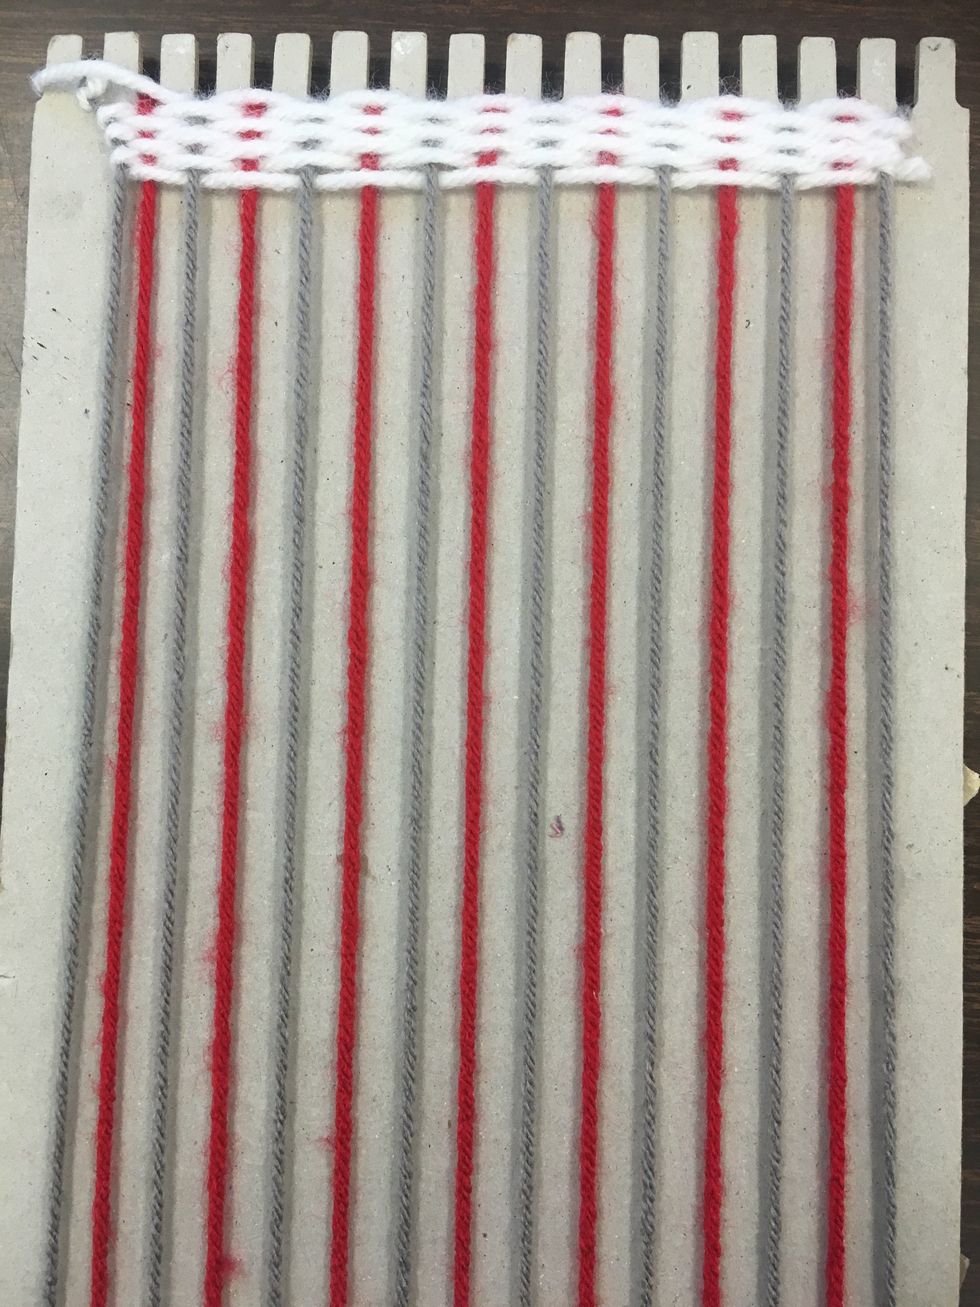
The first color block is complete, and the project should look something like this.
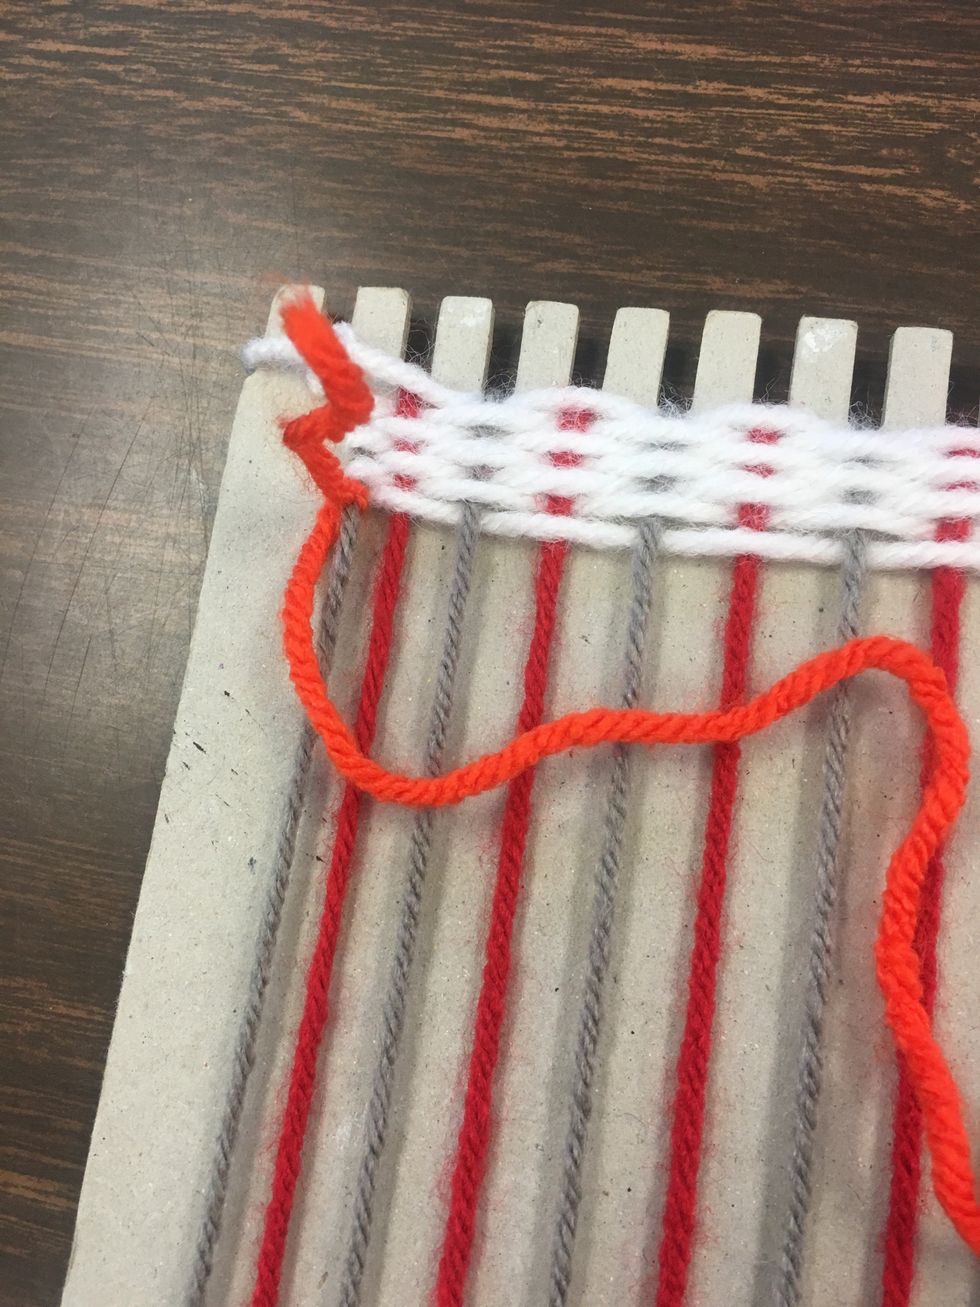
Choose your next color. Secure it by tying a tight small knot on the starting string of your base up at the base of your first color block.

Tie your needle to the end, and resume weaving as you did with the first color.
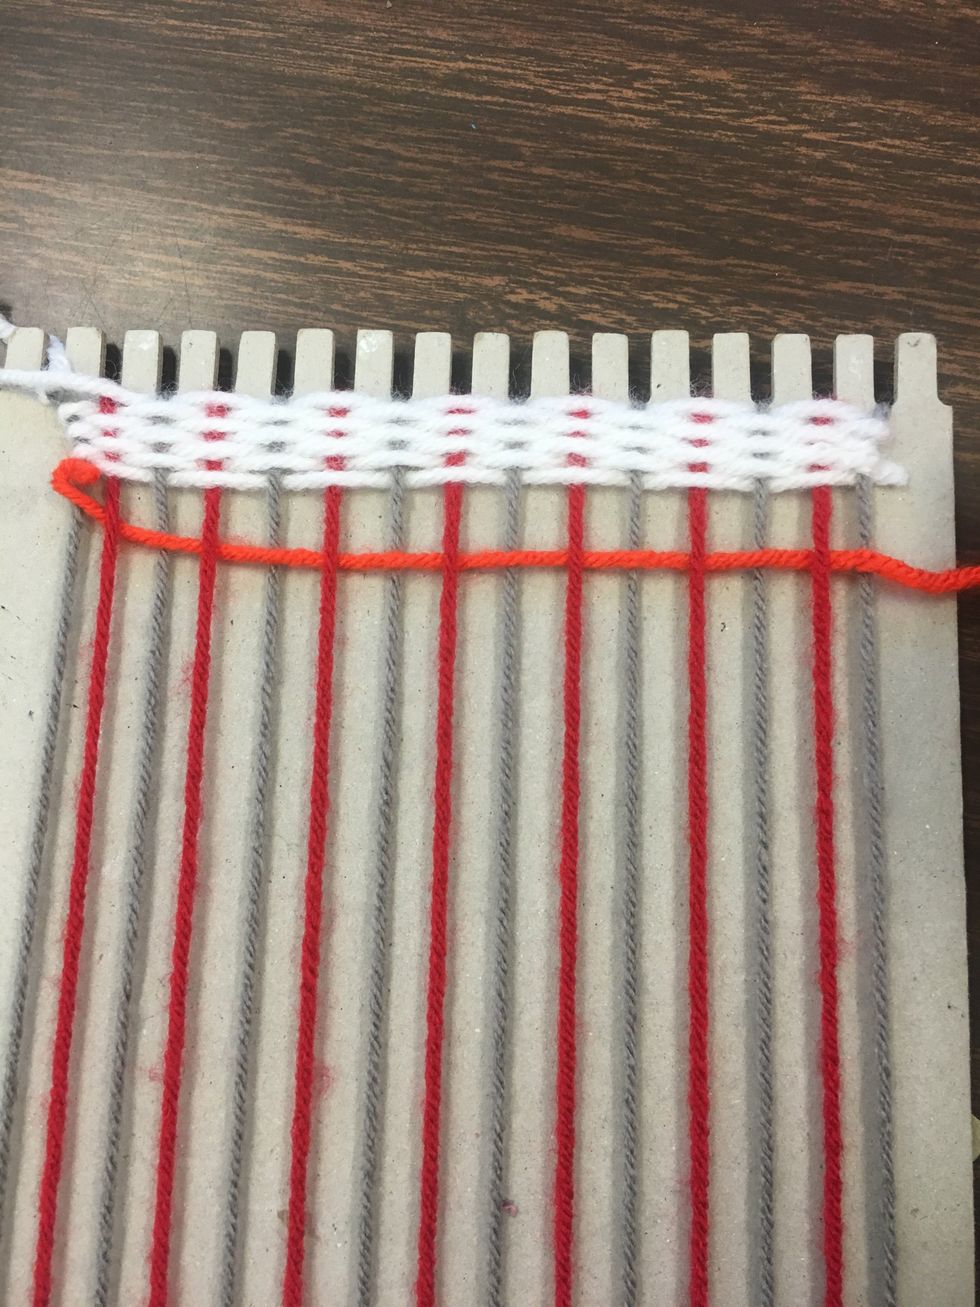
You will notice the same things happen with string number 2 as did with number 1, you will have to push your yarn to the top & carefully wrap each end so not to change the shape of the weave.
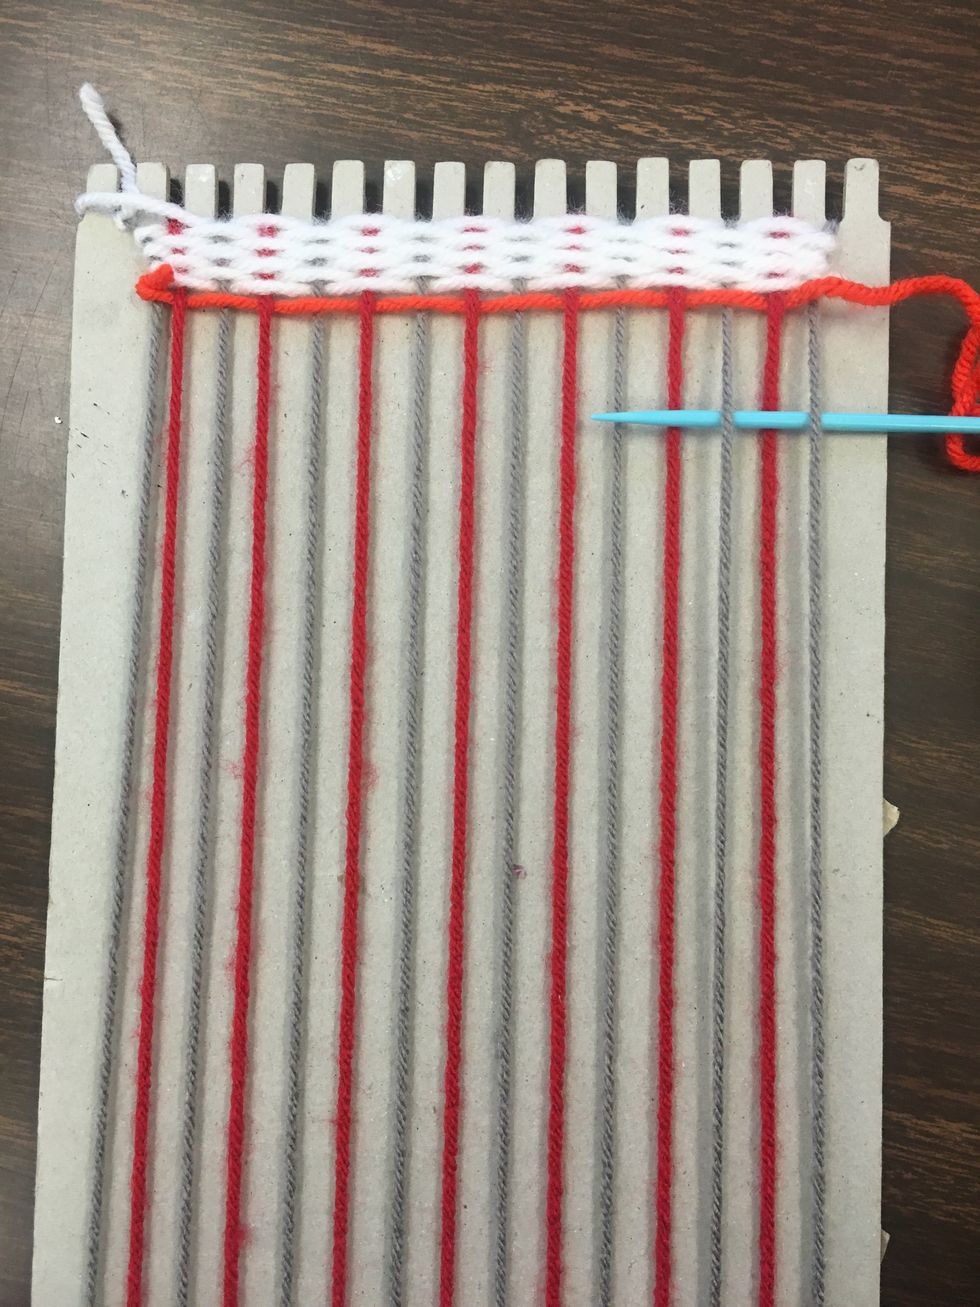
Back the other way.
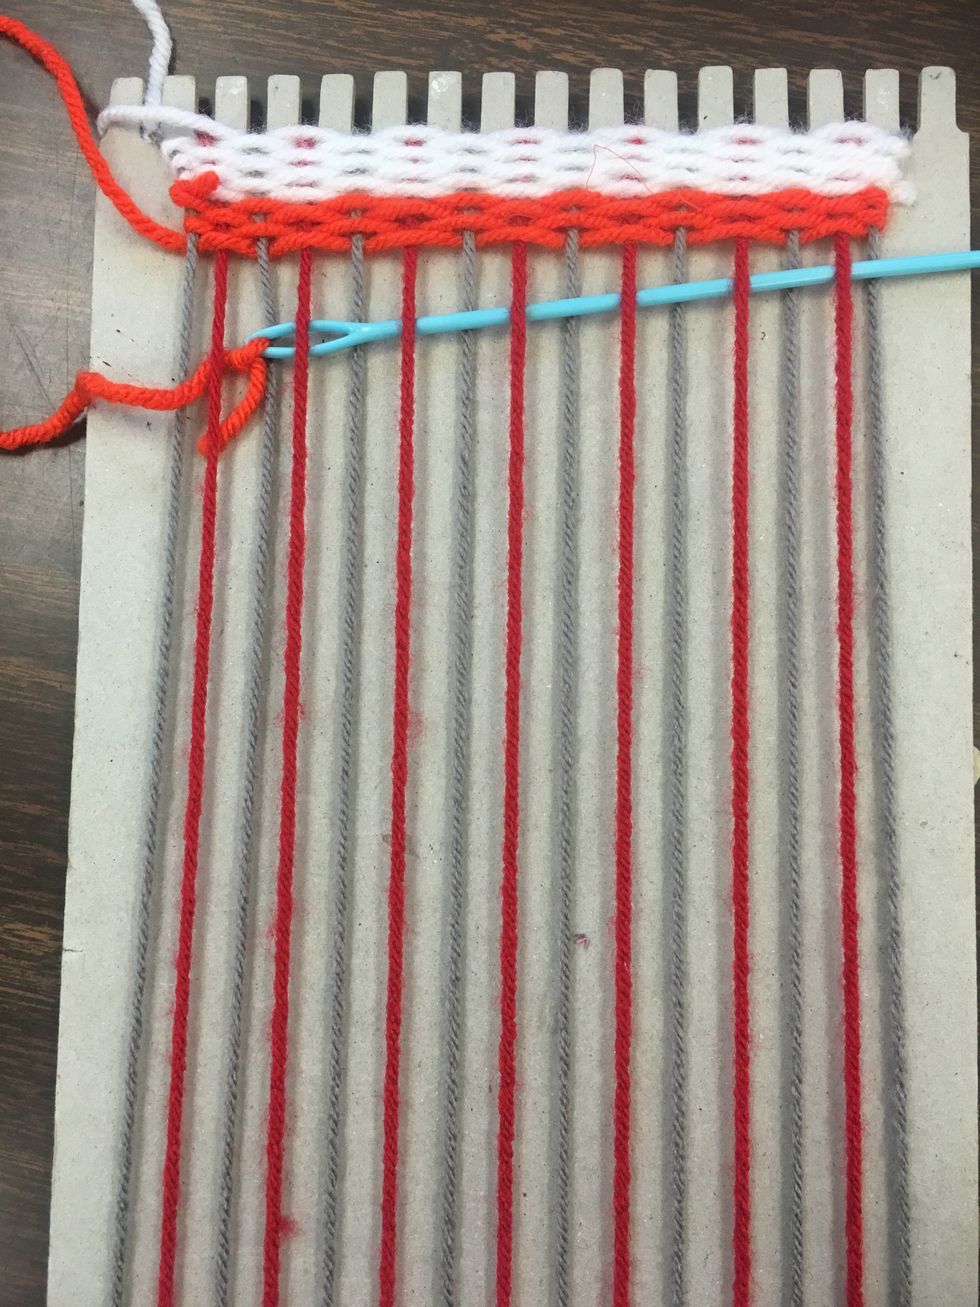
With this weave, I stuck to one basic stitch. You should be able to see the basic pattern formed.
Again, pushing each color and line gently up so that the weave has no gaps.
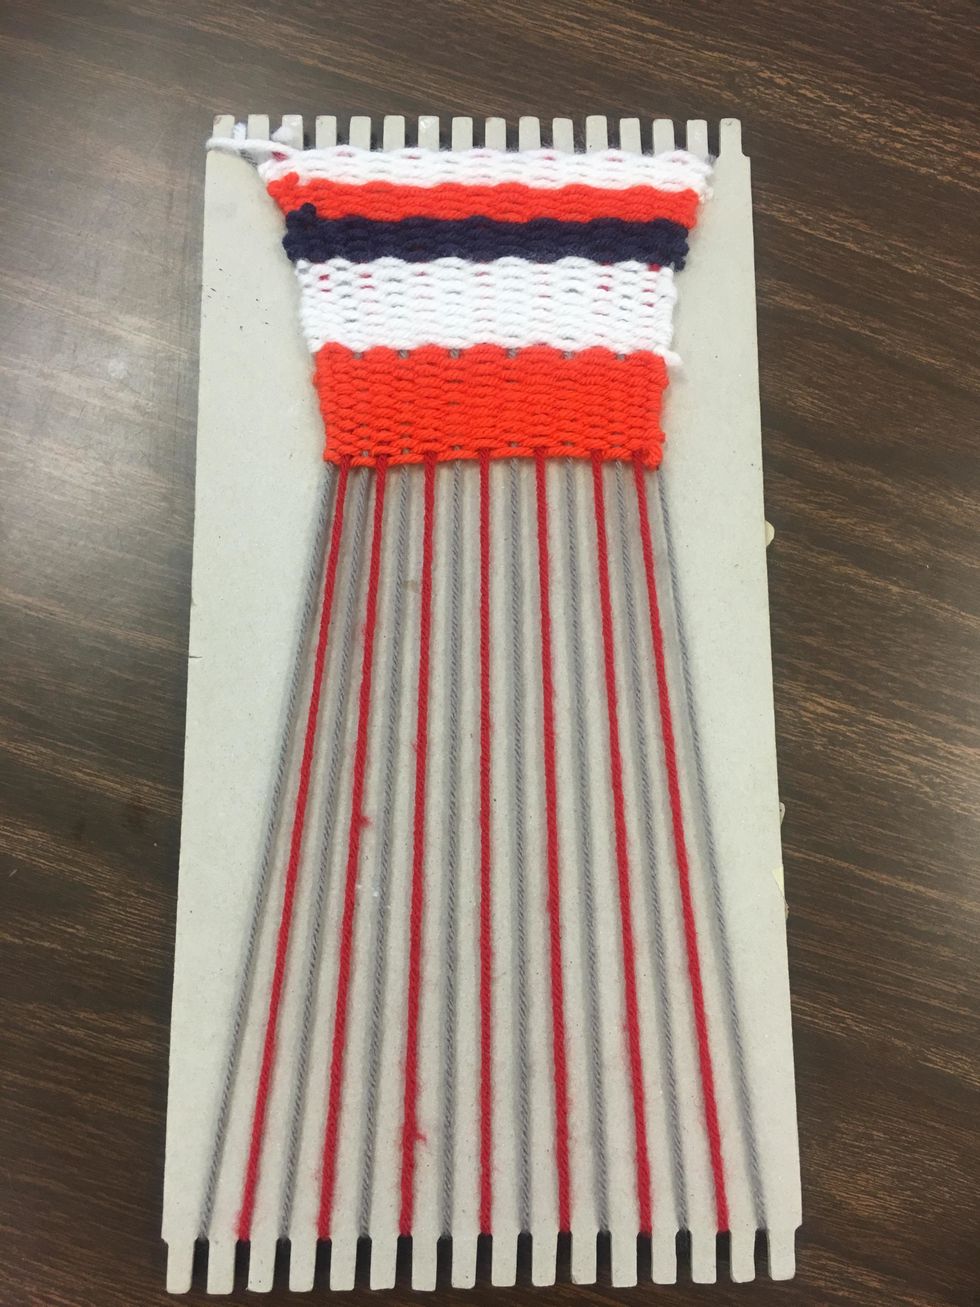
Here you can see me tying off the last step of my orange again just like I did with the white.
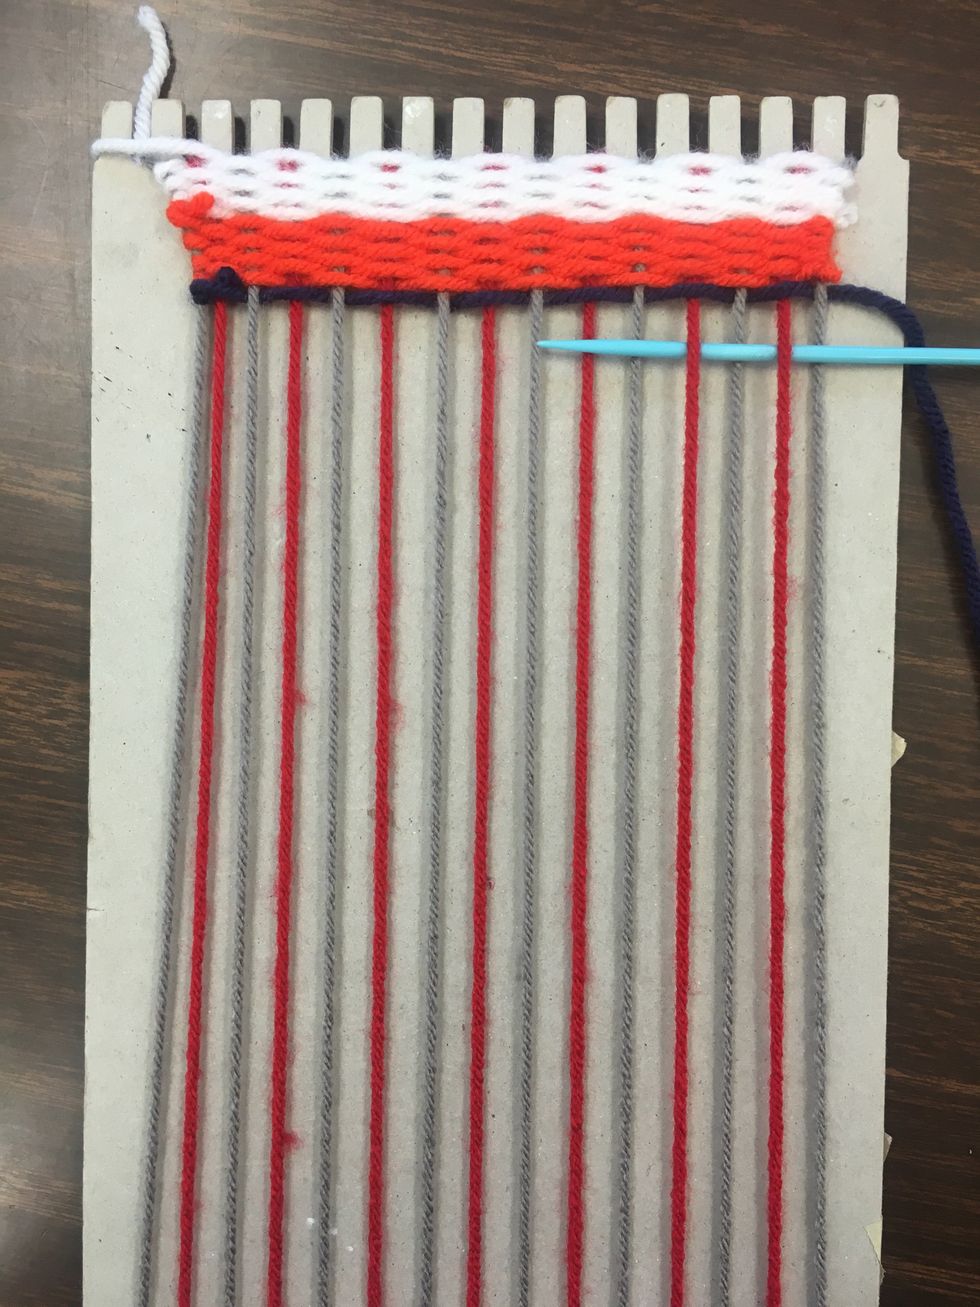
I chose navy as my next color. Im repeating all of the steps now but with navy.
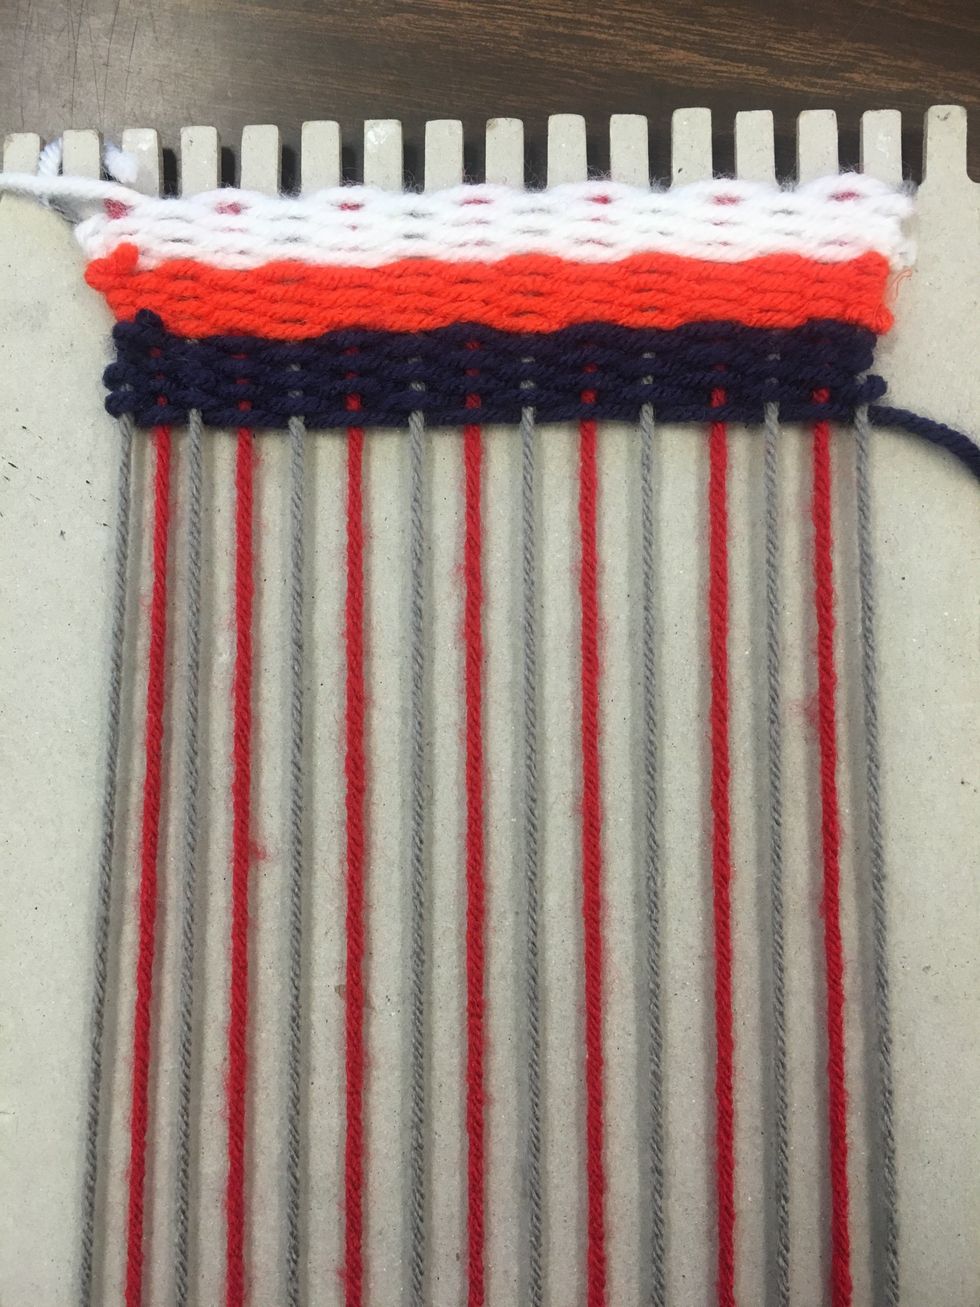
I jumped back to white. You can choose any color pattern you wish with this. You can go all the way down the cardboard, or just a short weave.

You can see I chose larger color blocks for fun, but stuck with the same basic stitch. My weave is getting tighter in the middle. It was hard to prevent it from happening at all.
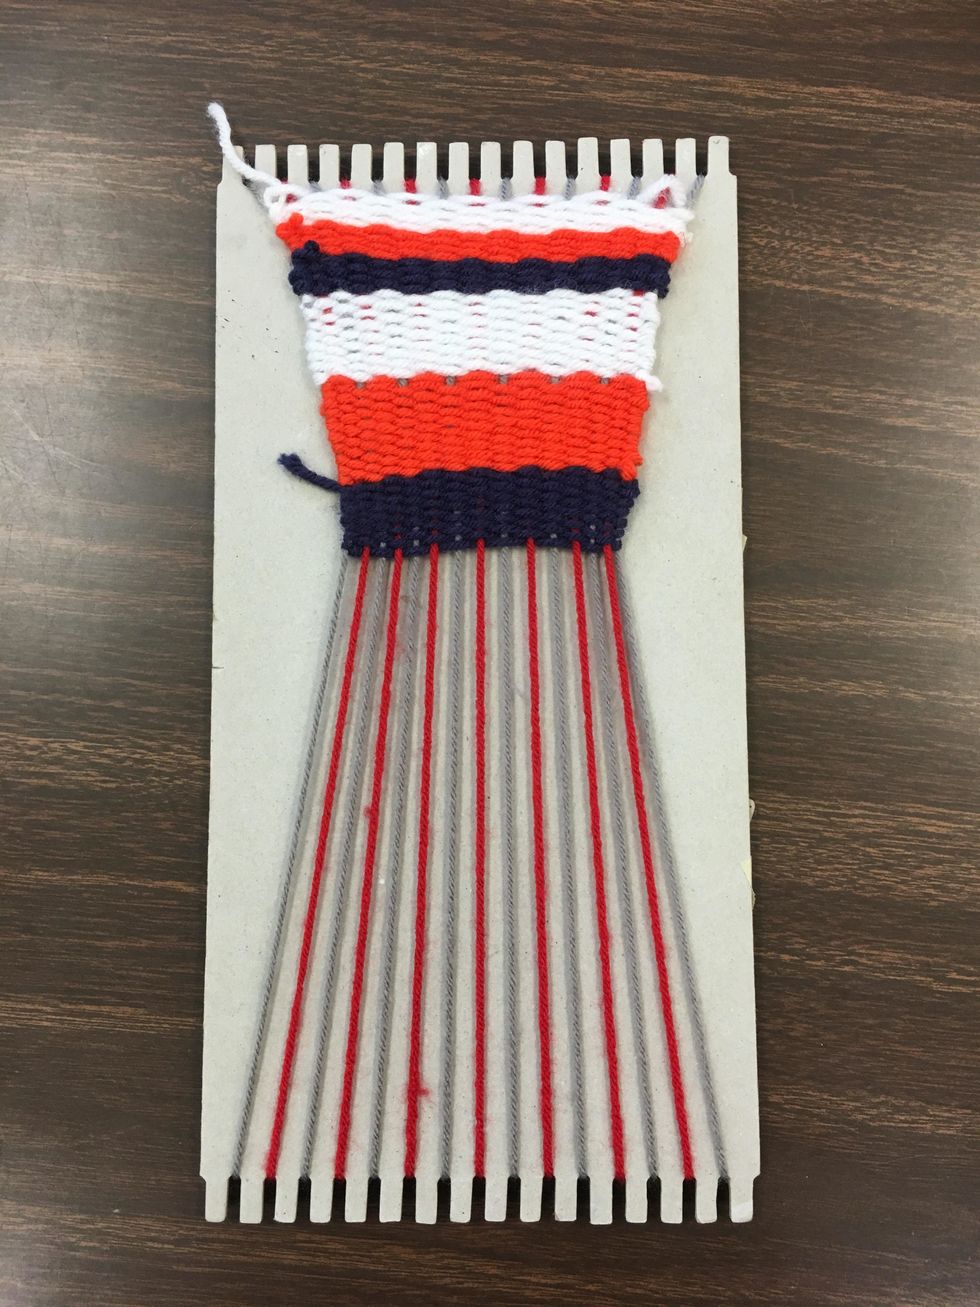
Here is my last step in my short weaving project.
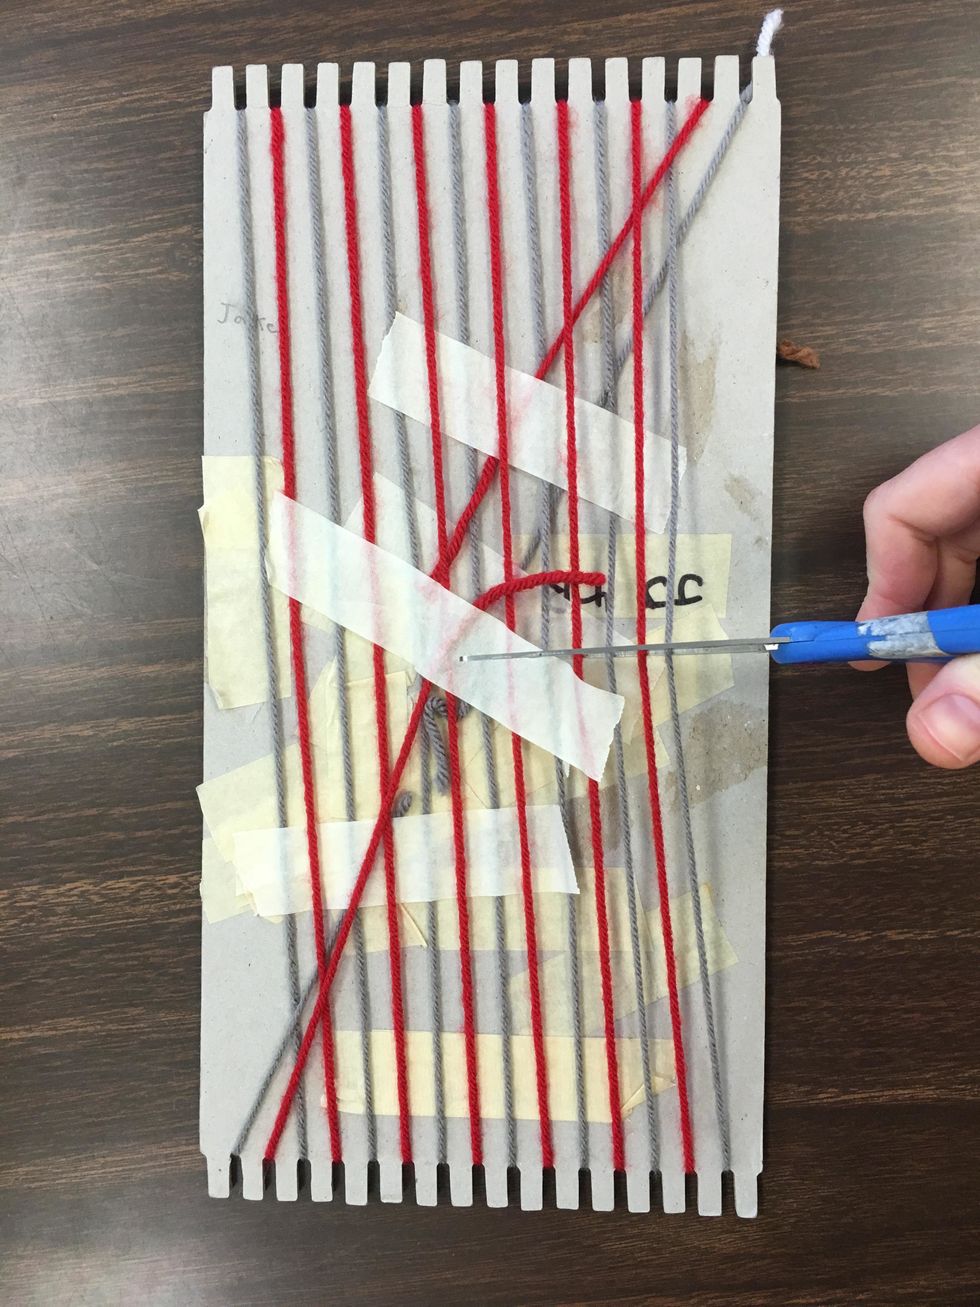
When you are done, flip the project over, and with your scissors carefully cut all the yard on the back of the cardboard straight across, and remove the tape.
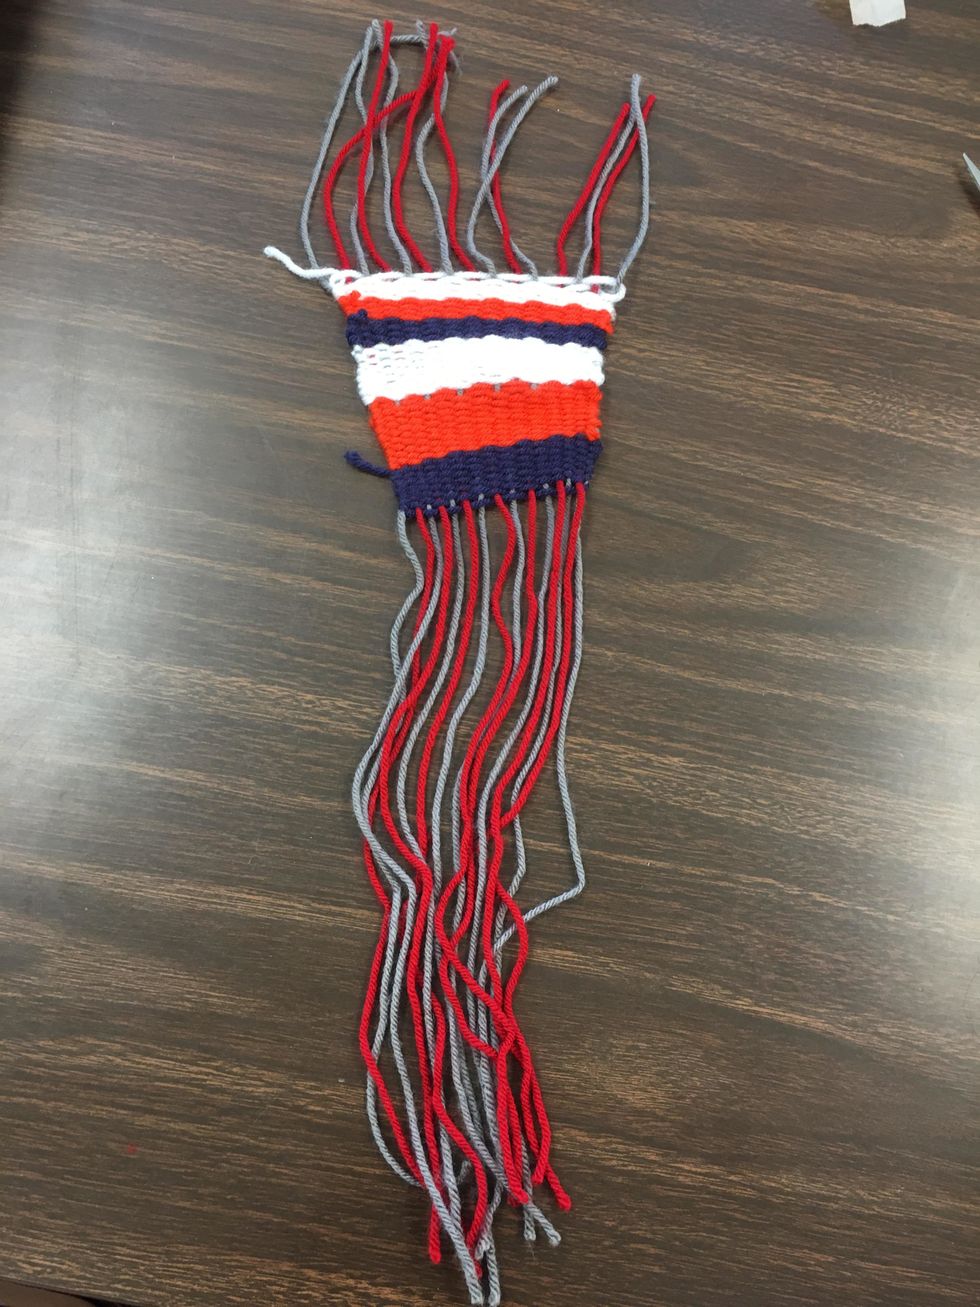
Your project will then look like this.

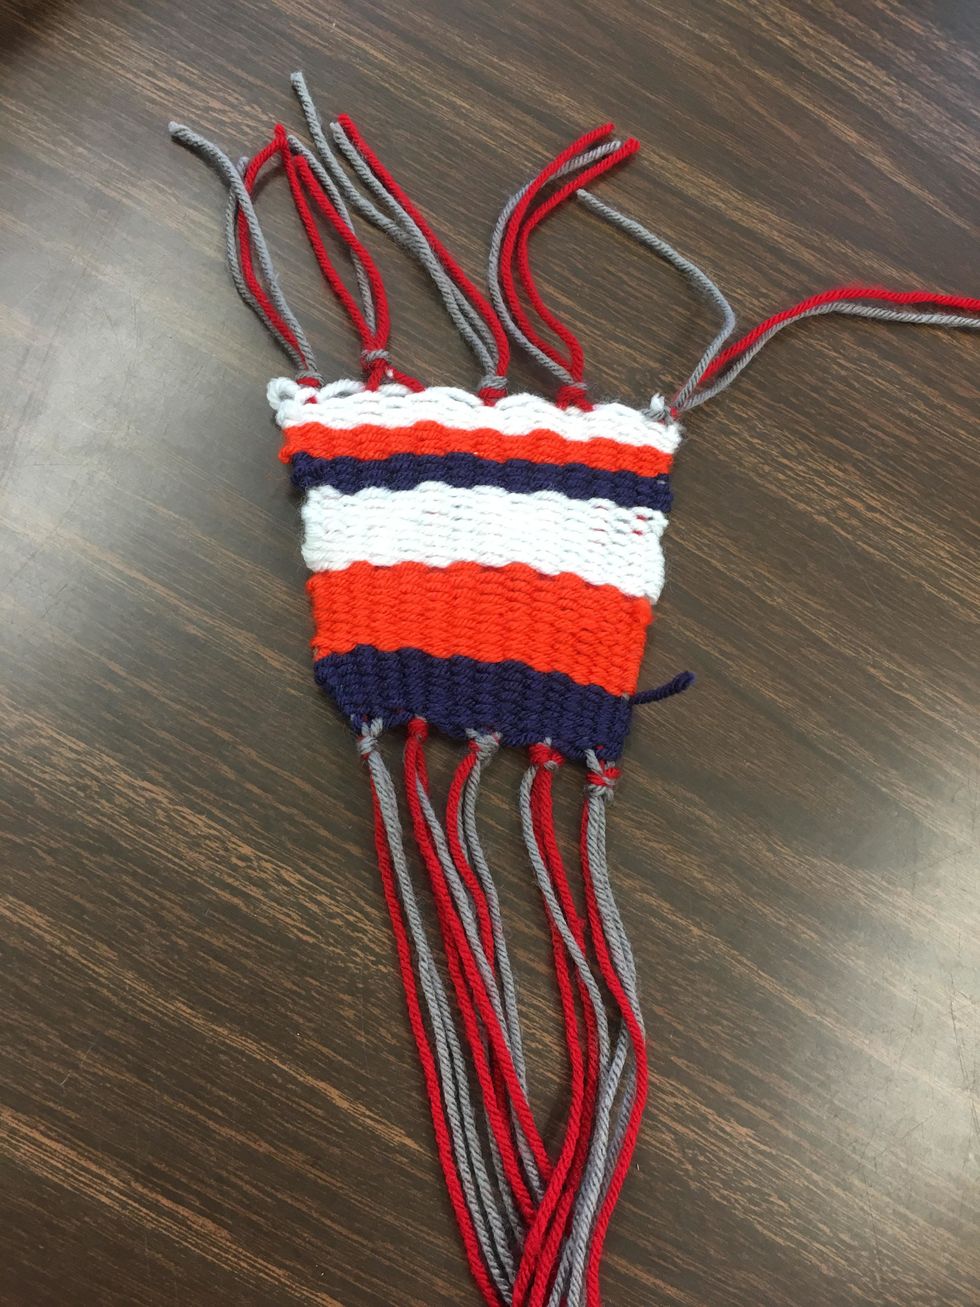
Grabbing 3 yarns at a time, tie knots as close to the project as you can to keep your weave tight. Do this across both the top and the bottom.
When you are done tying off your project it should look something like this.
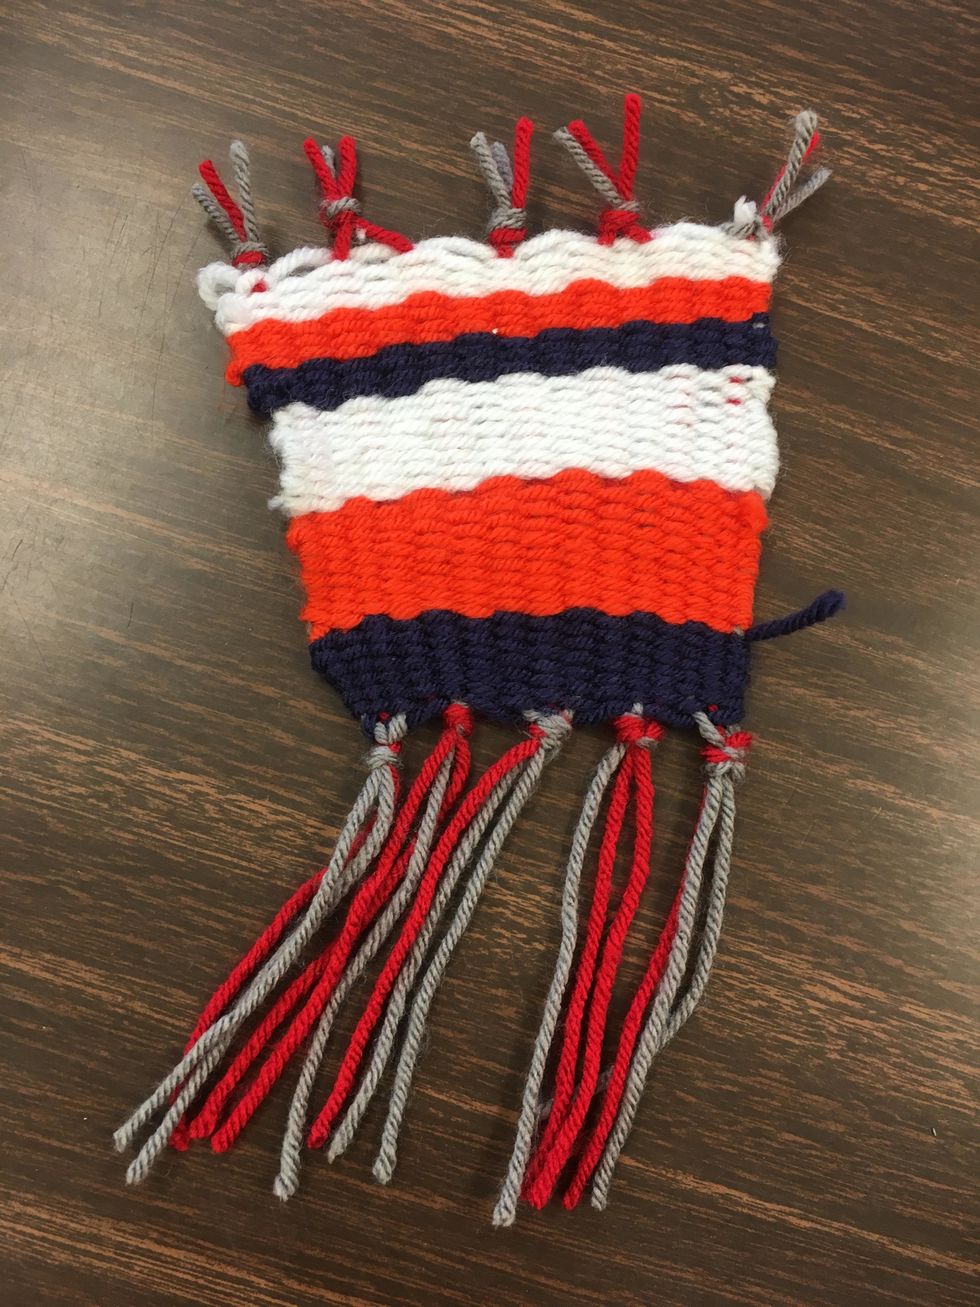
You can then trim your fringe to whatever length you wish to have. You could add beads, or braid it as well, but I stayed very basic with this demonstration.