The Conversation (0)
Sign Up
This tutorial will show you how to create the basic flower cart ready for you to decorate and embellish in the collection of your choice. I hope you enjoy the tutorial.
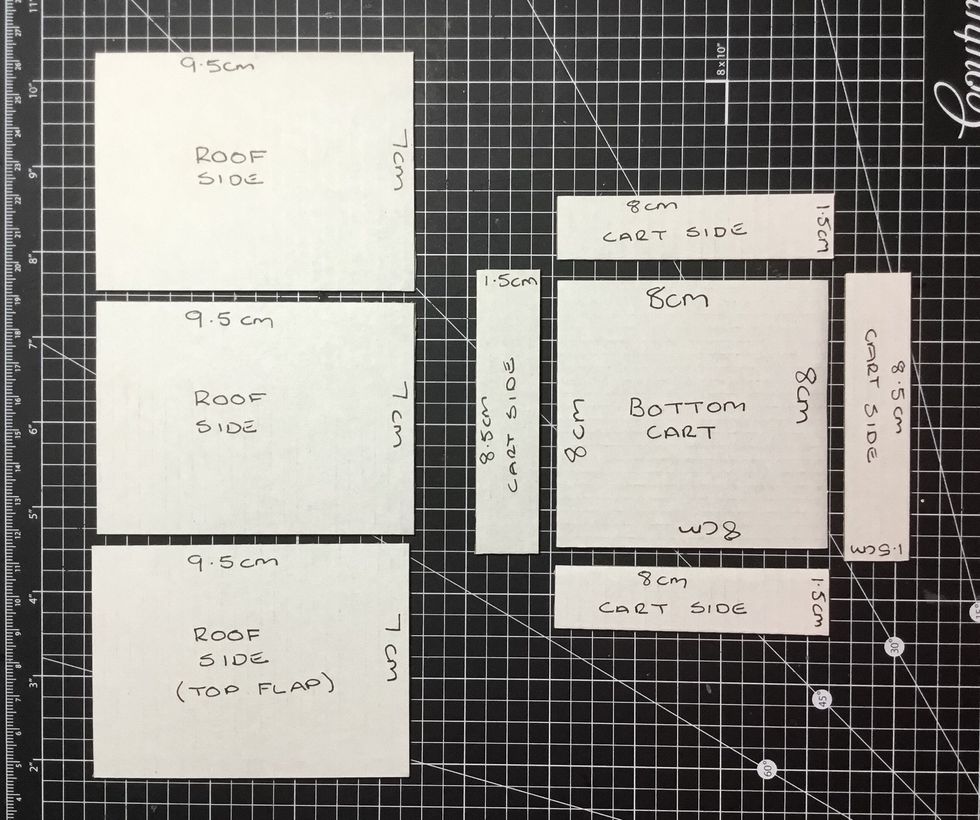
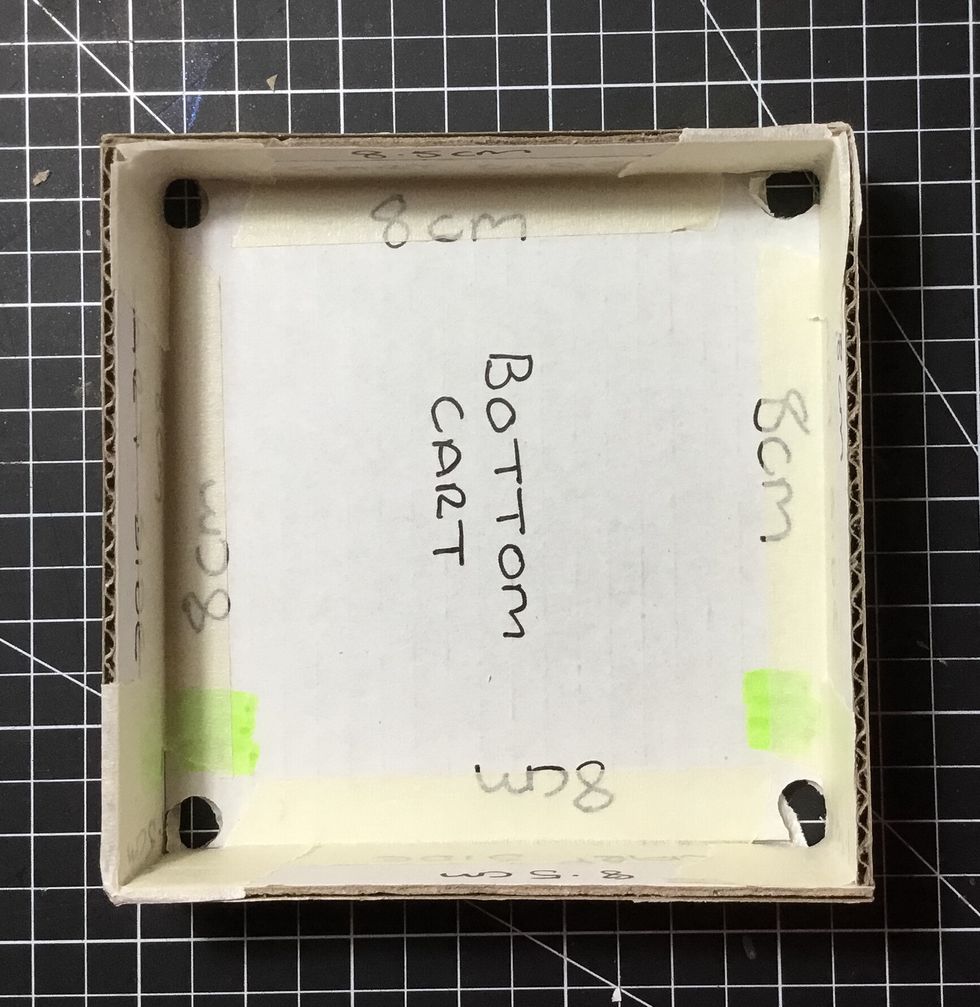
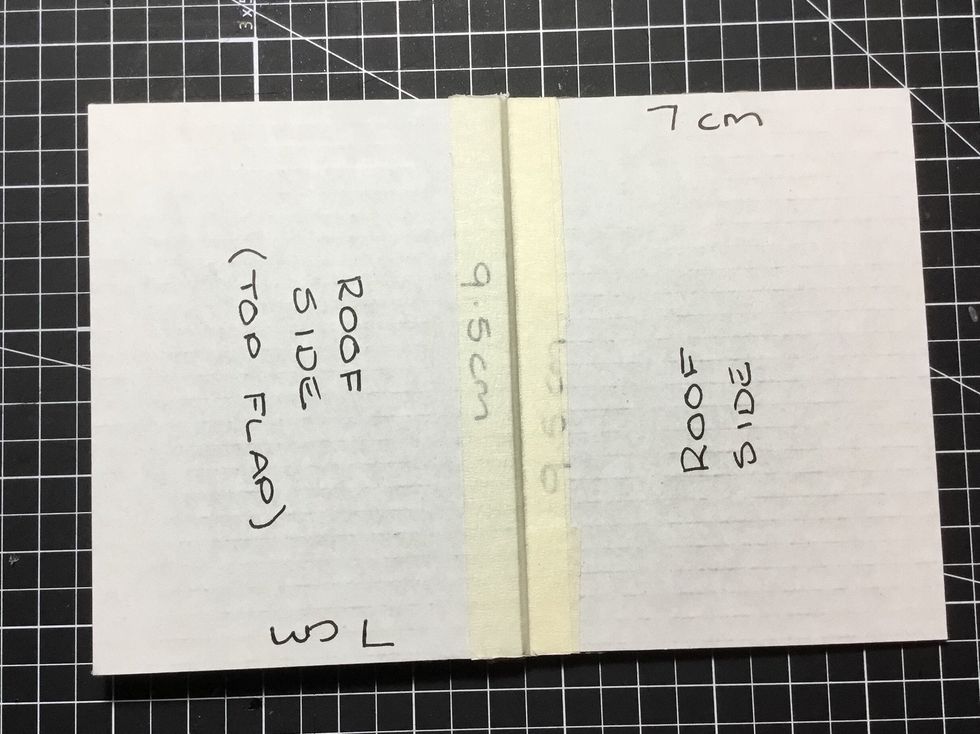
From Cardboard cut these pieces as shown. Cart Base - 1@8cmx8cm, 2@1.5cmx8cm, 2@1.5cmx8.5cm. Roof - 3@9.5cmx7cm.
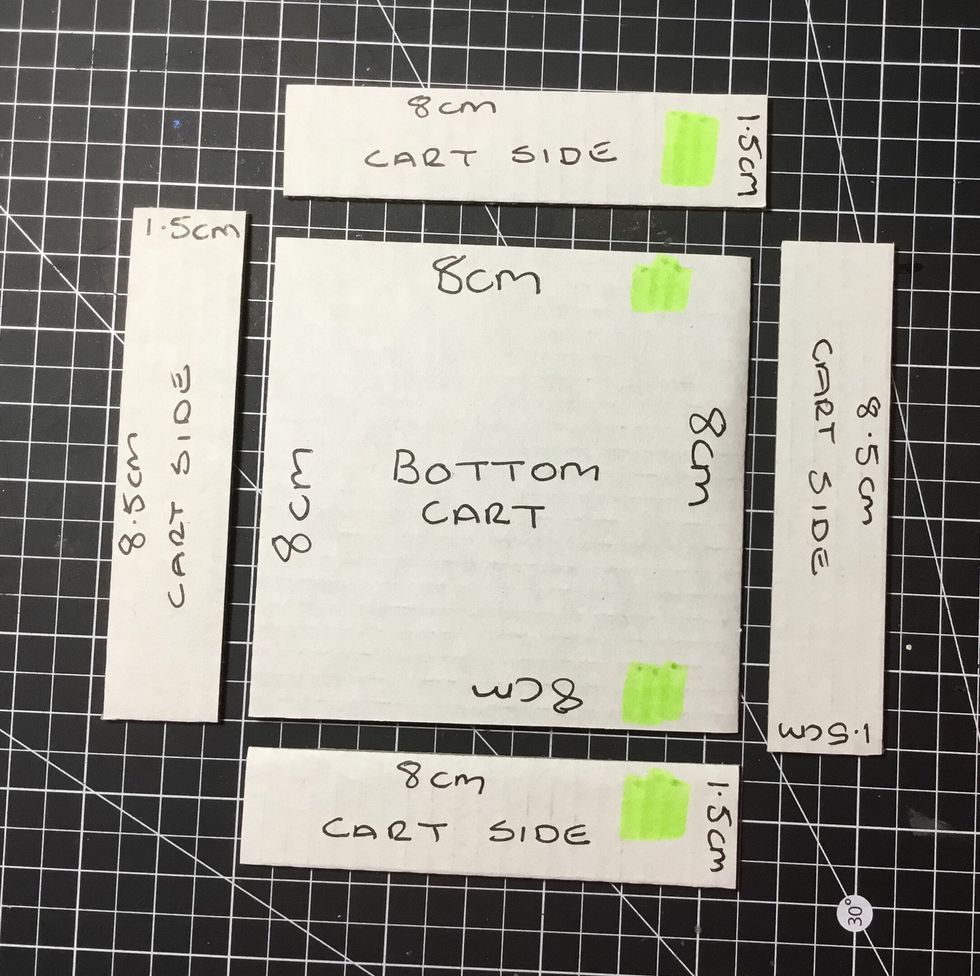
Use a marker pen to mark the 8cm side pieces as shown. These 2 pieces need to be placed opposite each other as shown.
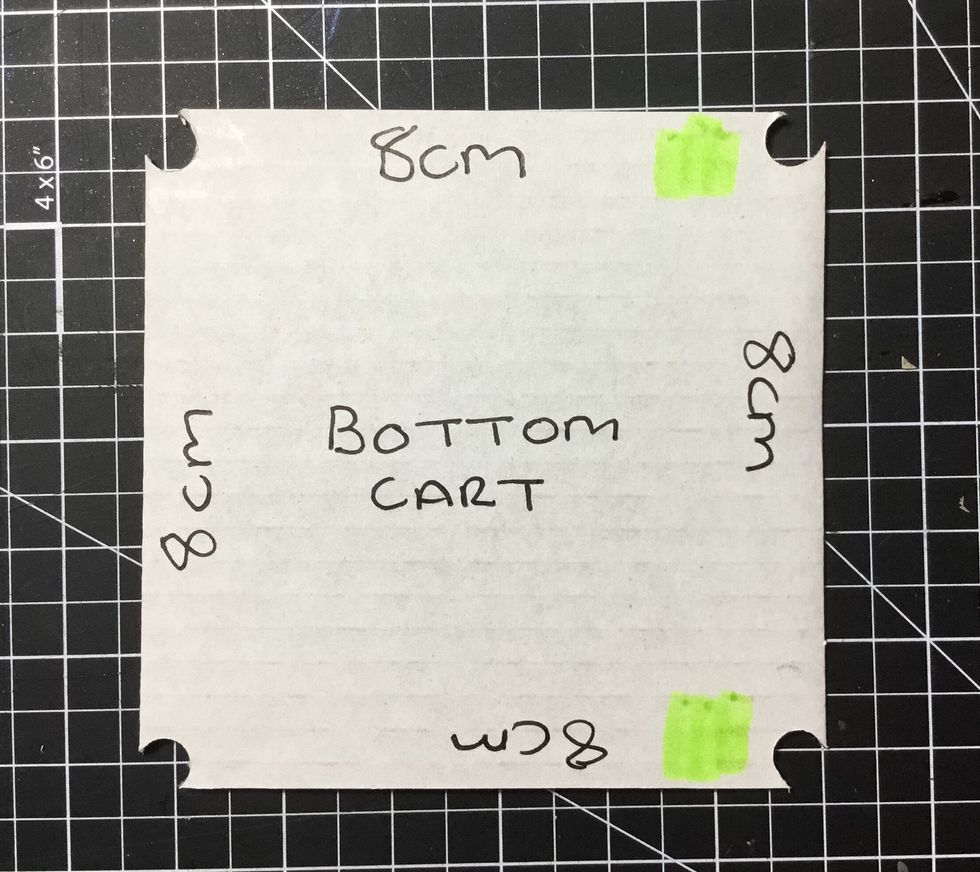
Using a hole punch, punch each corner of the cart base as shown.
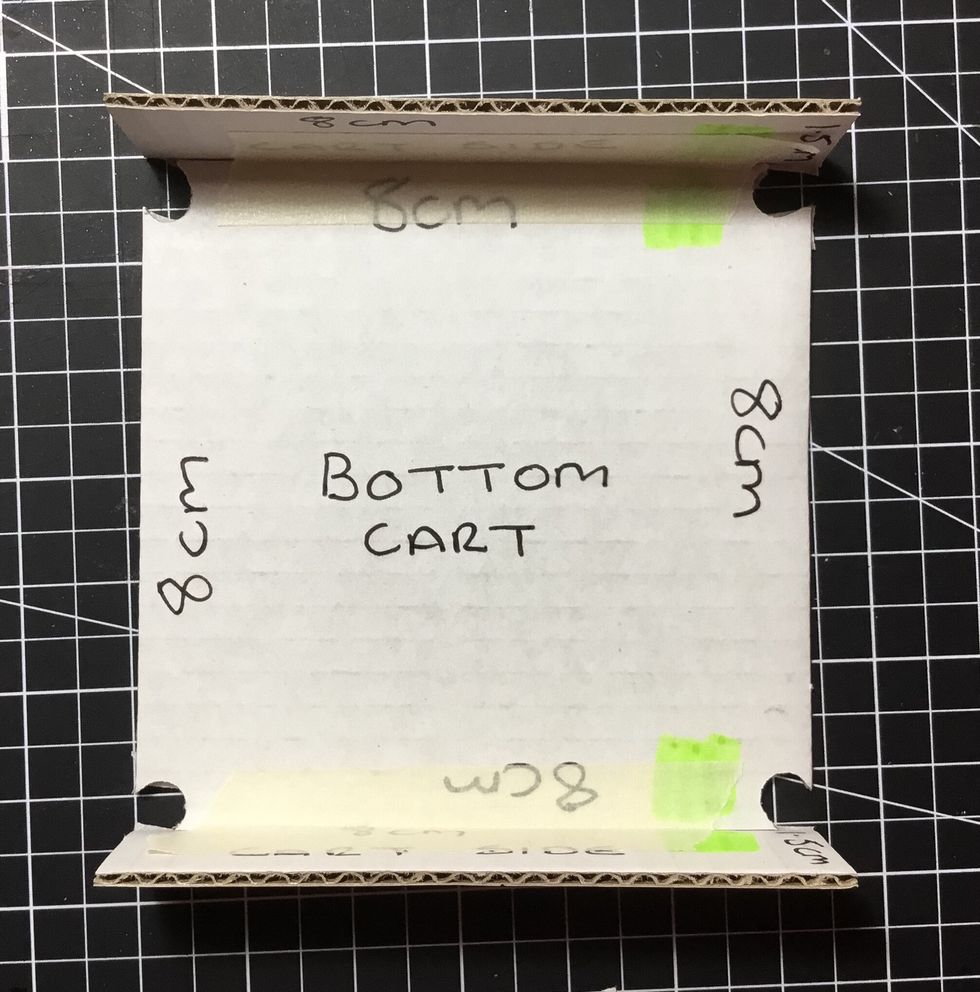
Attach with masking tape the pieces to the cart base that were marked with the pen in the earlier step as shown.
Attach other sides to base using masking tape.

Measure 2cm in from each side of the base on one side only and punch holes as shown. These will allow holes for the handle.
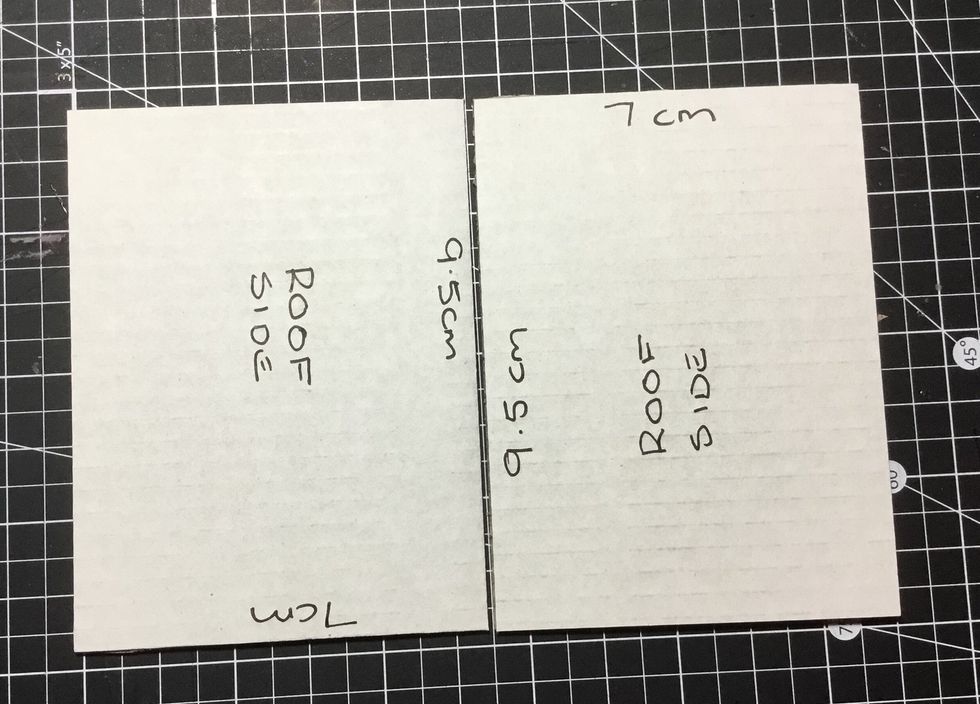
Next get 2 of the pieces cut for the roof and place as shown. Leave a small gap in between as shown and attach together using masking tape.
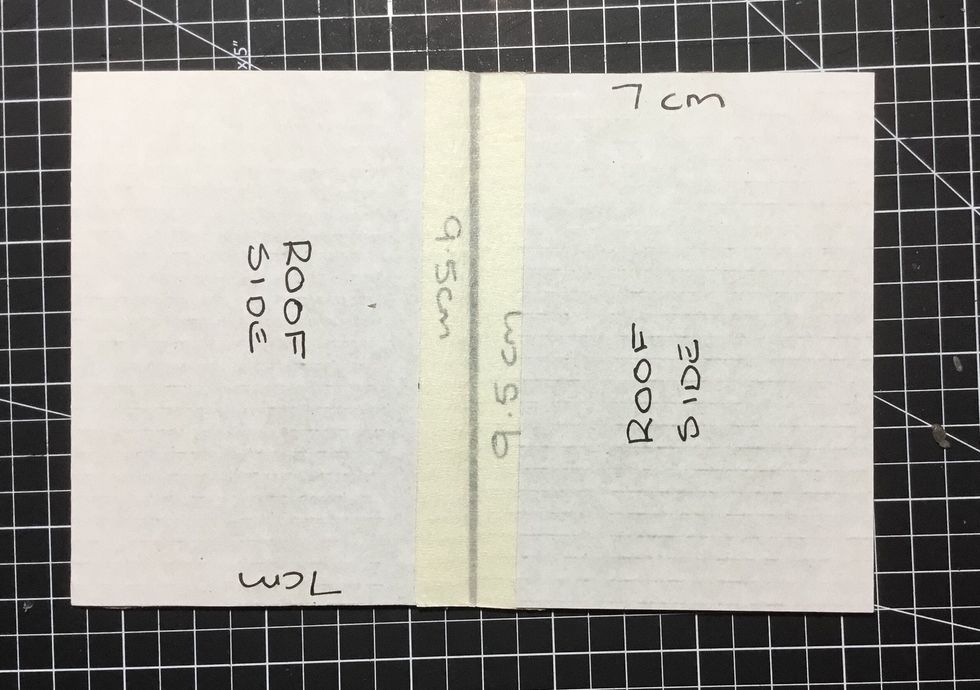
As you can see through the masking tape the gap between the roof pieces. This is vital as it needs to be able to fold.
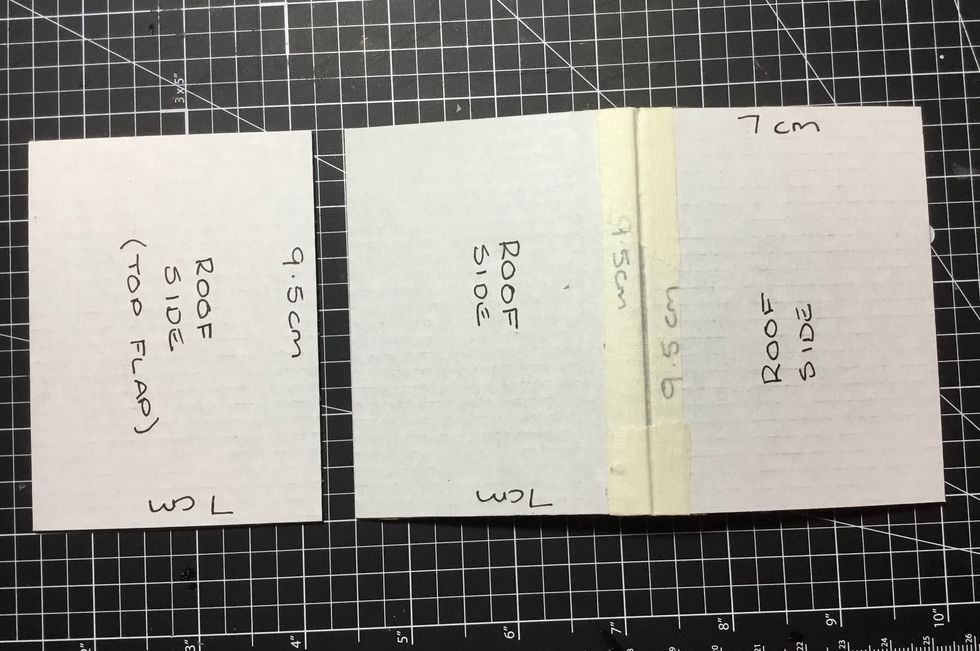
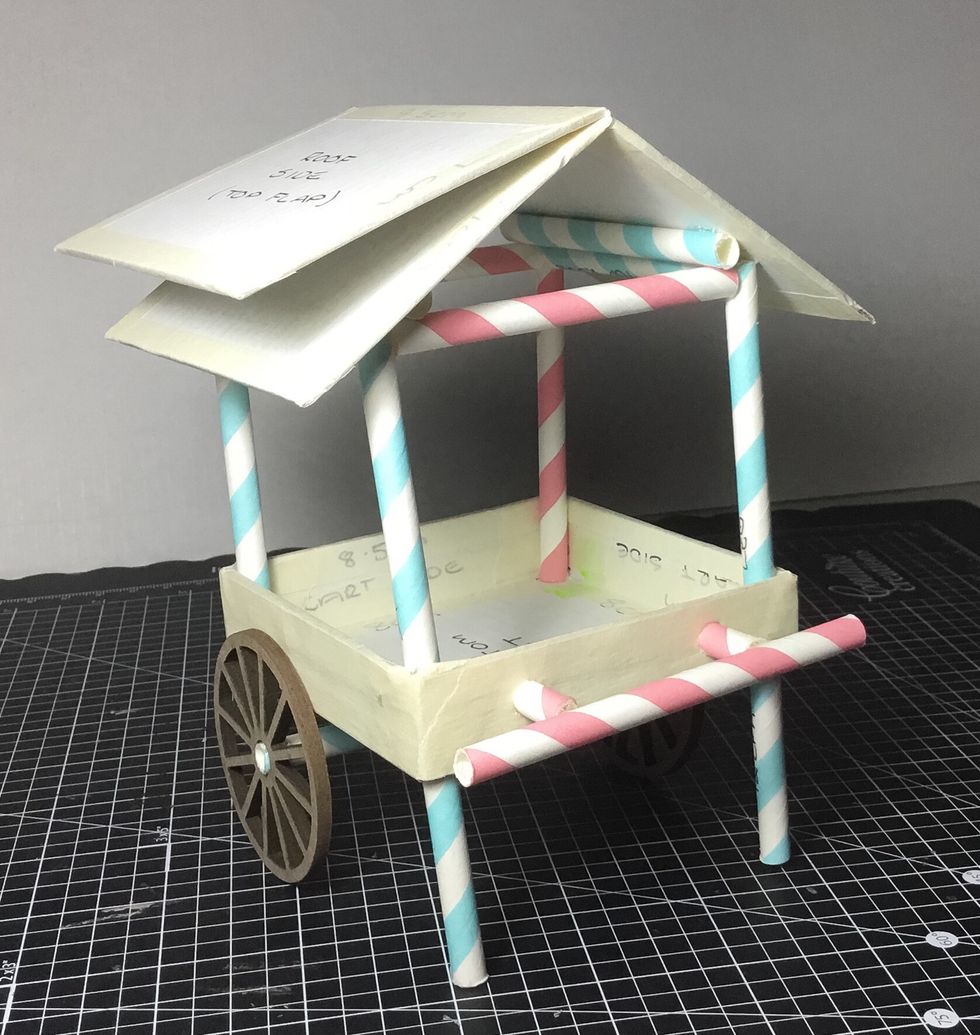
Now get the extra roof piece. PLEASE NOTE - if you do not wish to have a pop up roof you do not need to add the piece.
Attach on top of the roof as shown using masking tape. Attaching this will allow you to have a pop up roof.
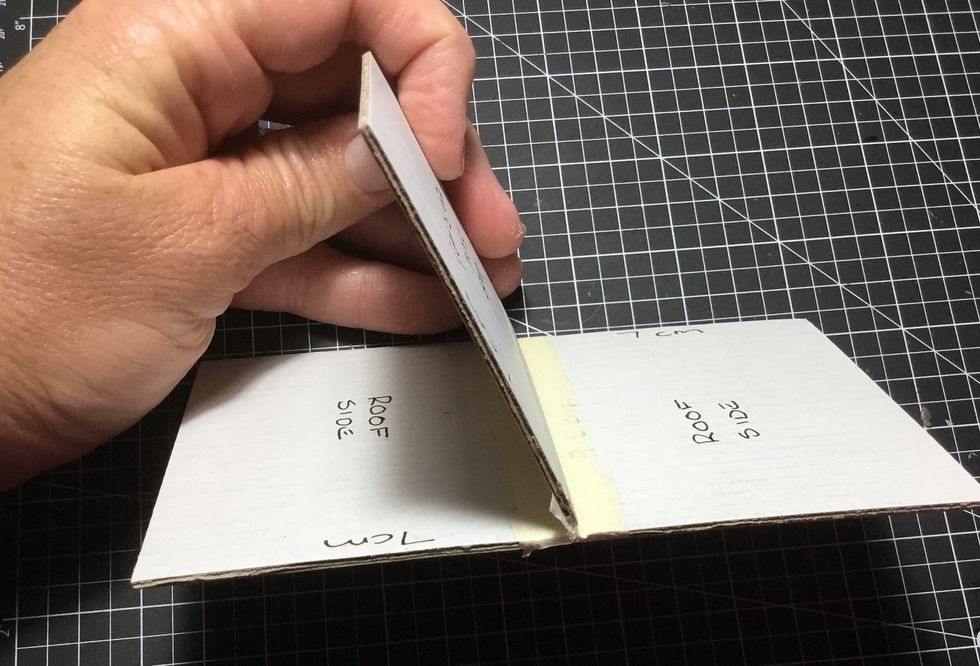
Showing the folding roof.
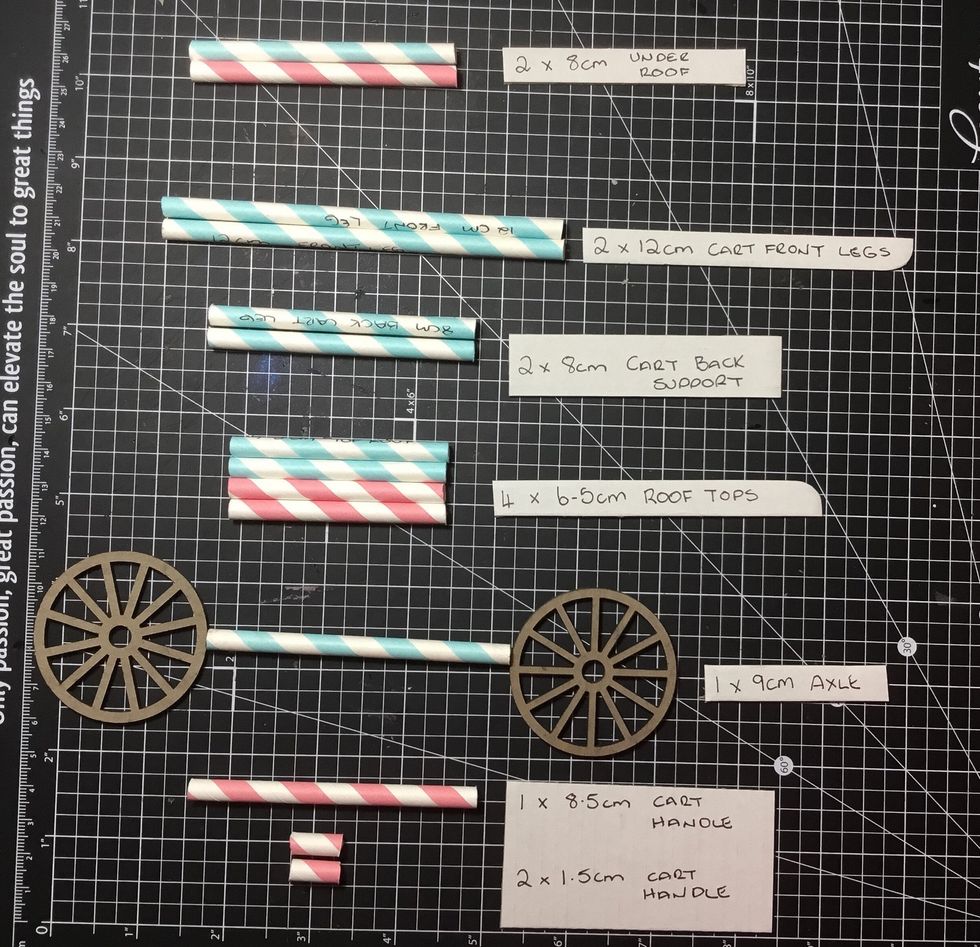
Straws cut the following lengths. Cart front legs - 2@ 12cm, Cart back uprights - 2@ 8cm, Under roof support - 2@ 8cm, Cart axle - 1@ 9cm, Cart Handle - 1@ 8.5cm & 2@ 1.5cm, Top Roof Frame - 4@ 6.5cm.
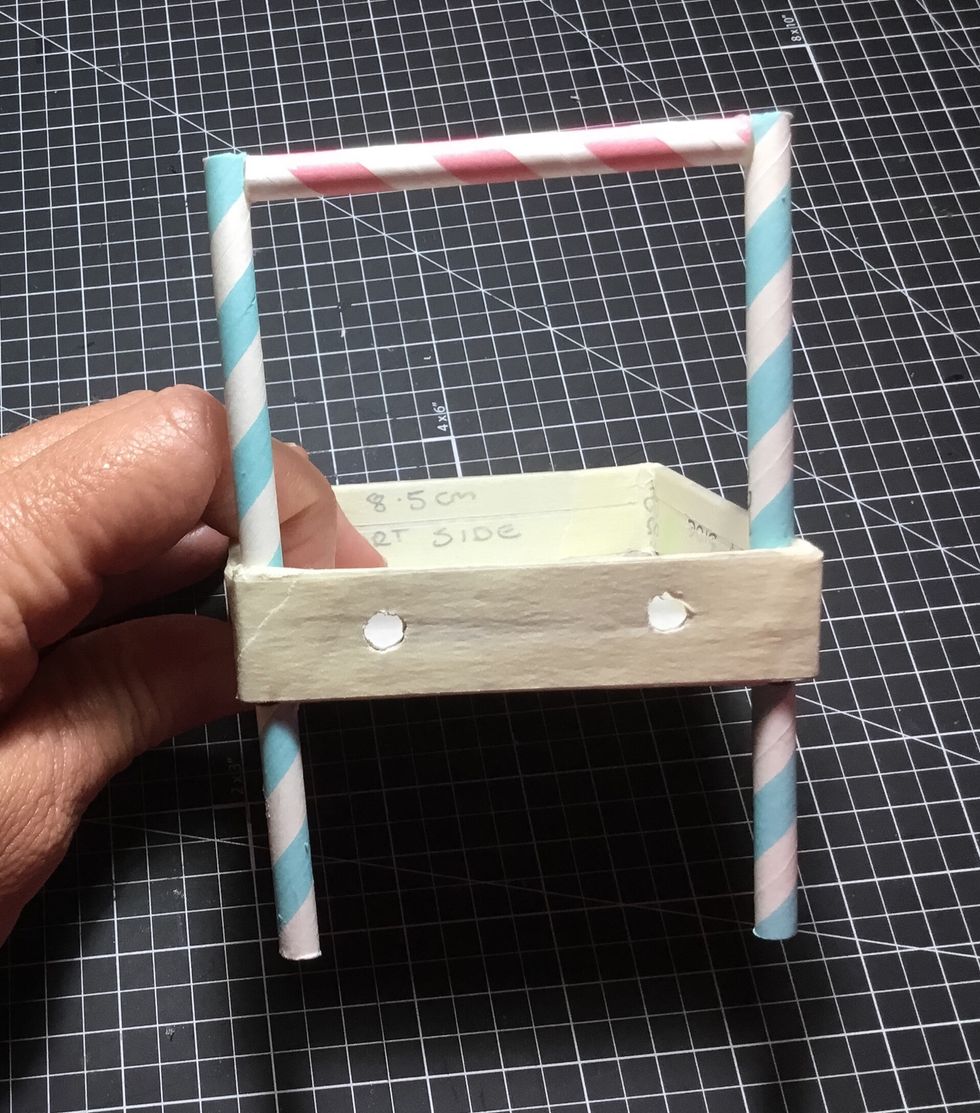
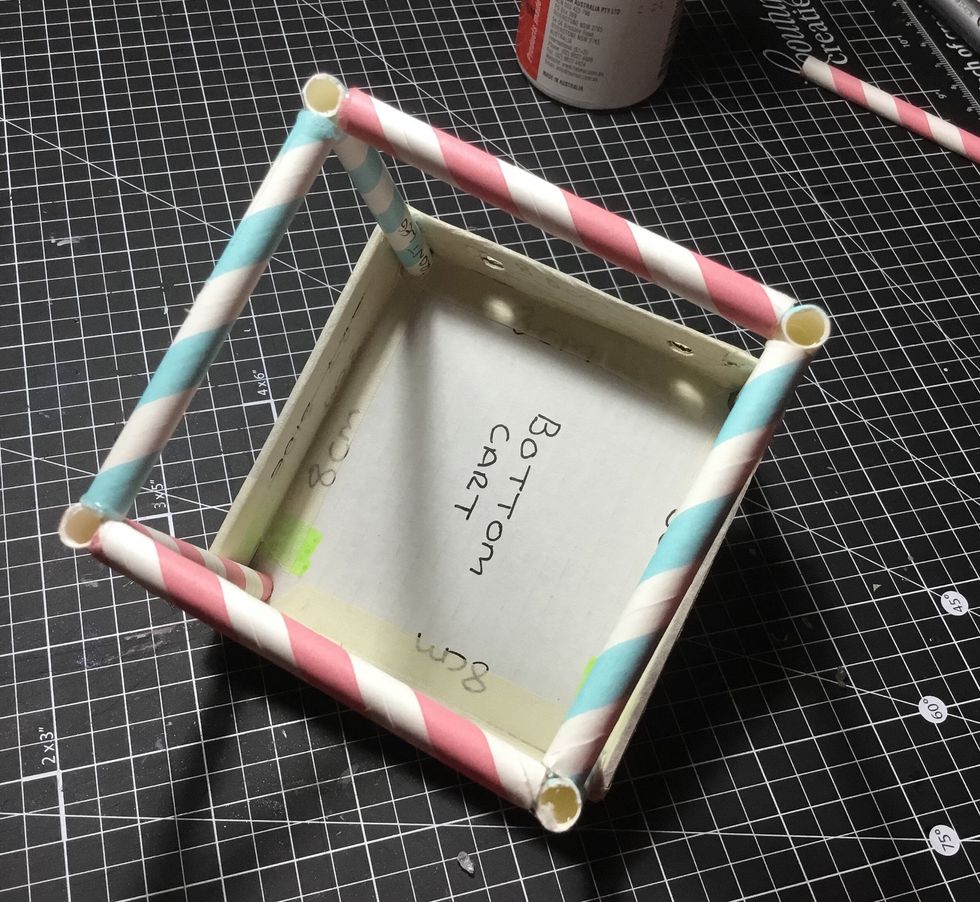
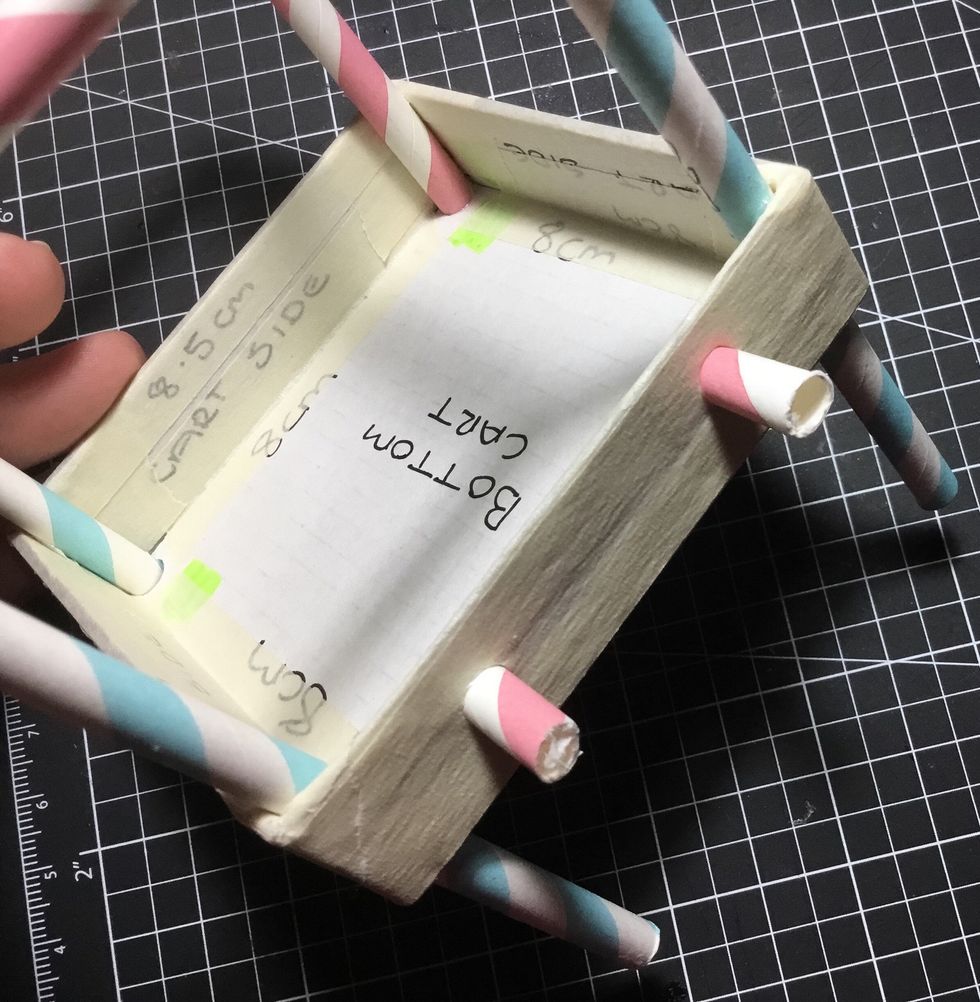
Measure 4cm from the bottom of the front cart legs and mark. Push up through holes in the front of cart base but stop at line mark and glue in as shown. Attach with glue one of the roof frame pieces.
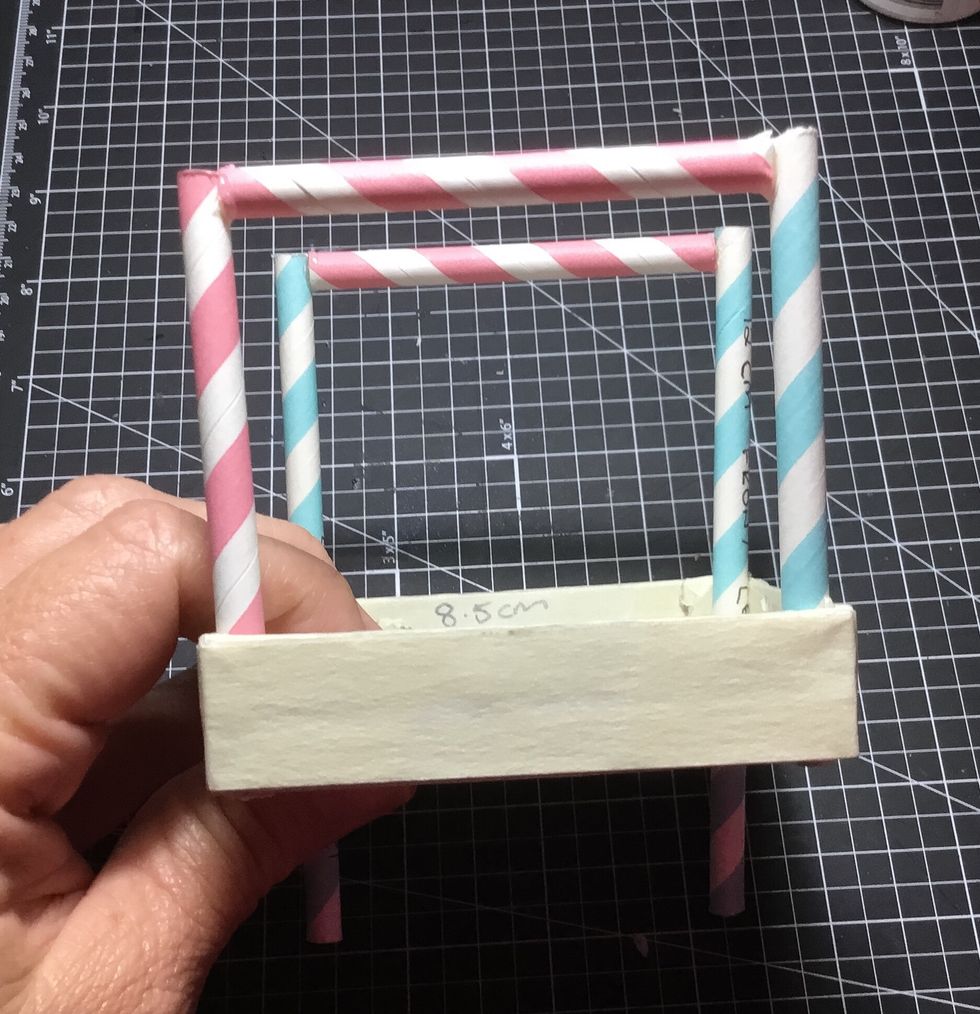
Push the back cart uprights through remaining holes, be sure to keep level with the underside of the base of the cart and glue in place as shown. Then attach the roof frame piece as shown.
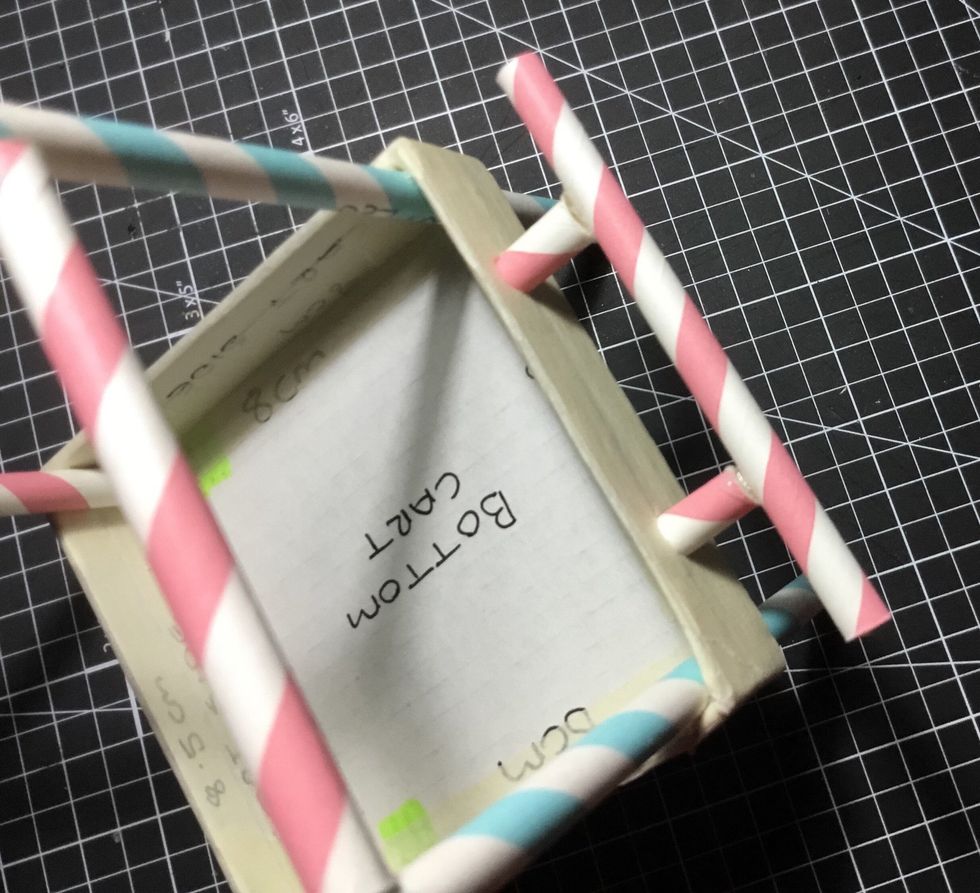
Now glue remaining 2 roof frame pieces as shown.
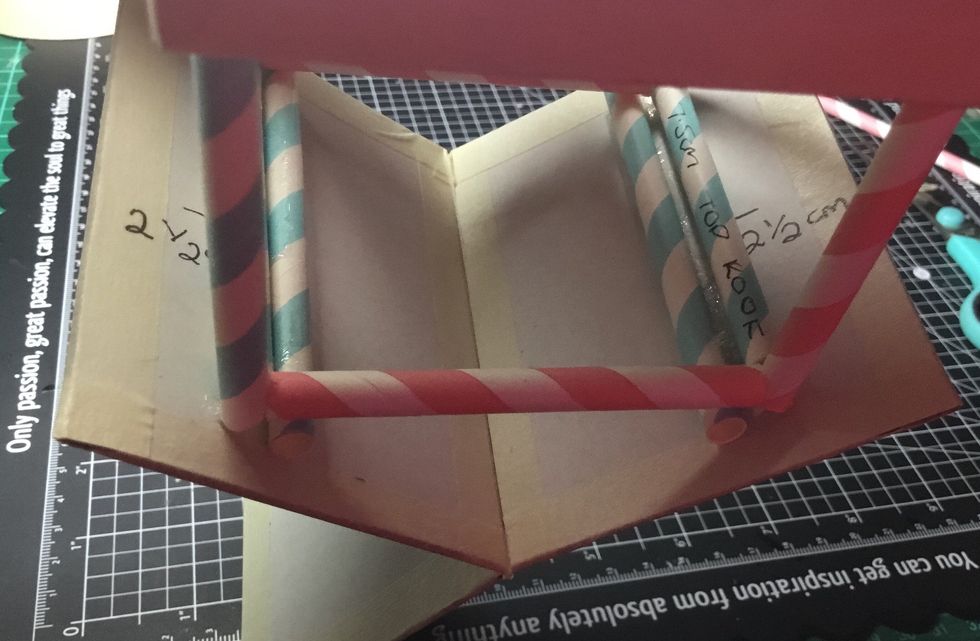
Now to the handle. Glue in the 2x 1.5cm handle pieces as shown.
Glue front handle piece as shown. PLEASE NOTE - now that the cart is together and the glue is dry it is a good idea to paint the cart to the colour of your choice.
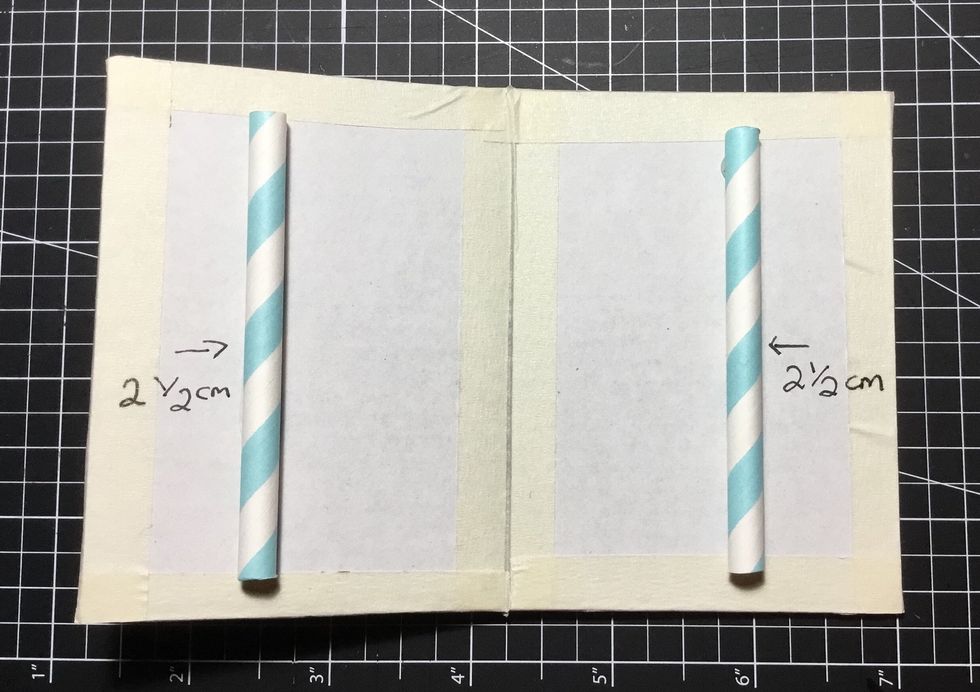
Turn roof piece to the underside and measure 2.5cm from each side. Attach 2x roof support pieces as shown. PLEASE NOTE - paint this once the glue is dry to the colour of your choice before attaching.
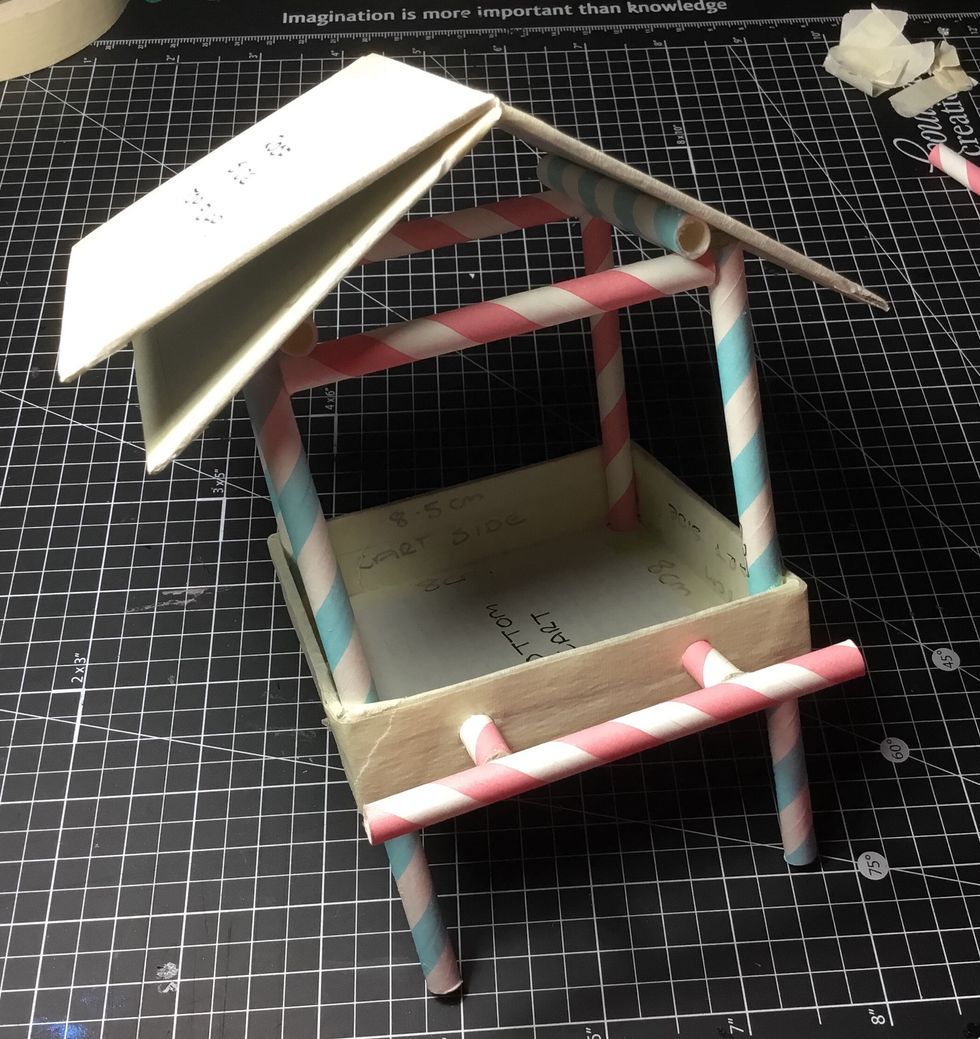
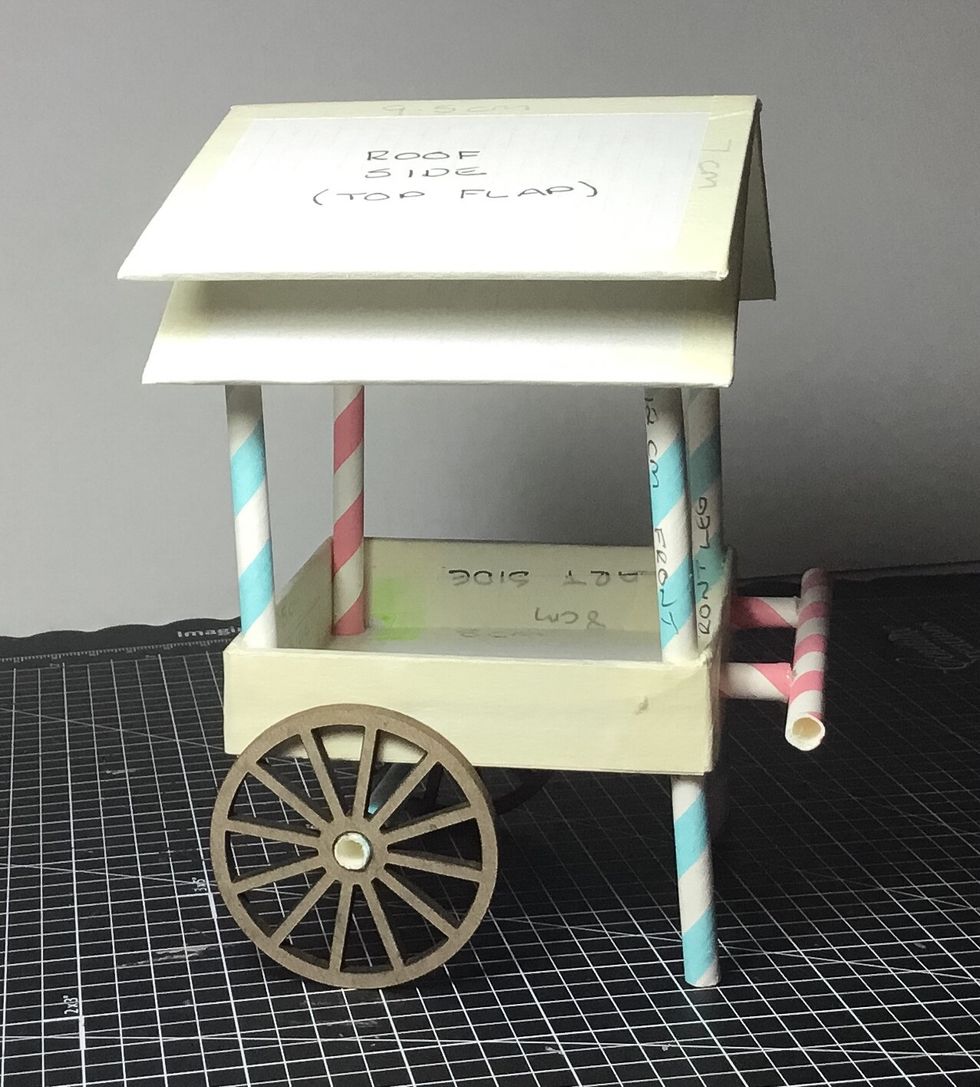
Now attach roof piece as shown. PLEASE NOTE - It is a good idea to cover the roof with your choice of paper before attaching.
Showing how the roof is attached.

Attach axle to the wheels of your choice. PLEASE NOTE - once glue is dry paint to the colour of your choice. Do not attach to cart until you have finished embellishing your cart.
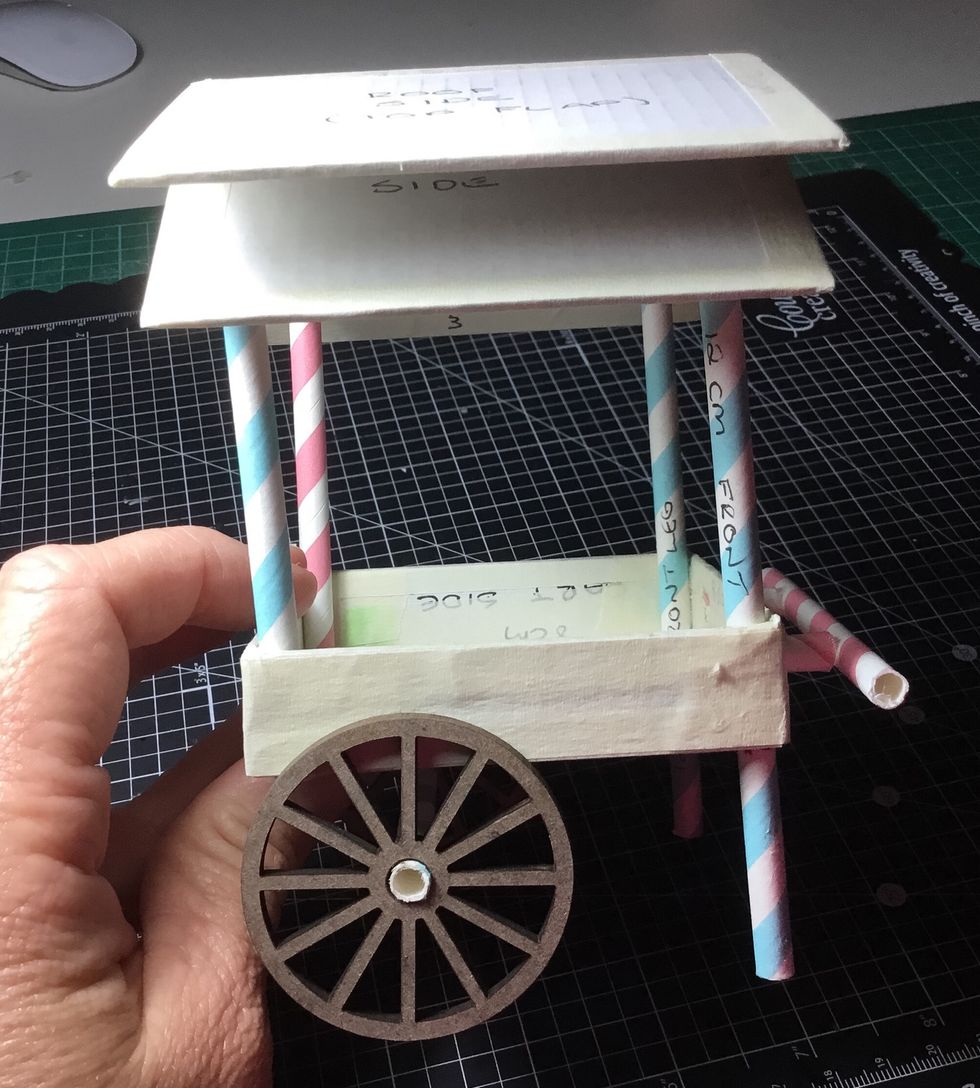
Once cart is embellished attach the wheels as shown. They actually glue to the side of the cart this is why they cannot be attached until after the cart is finished.
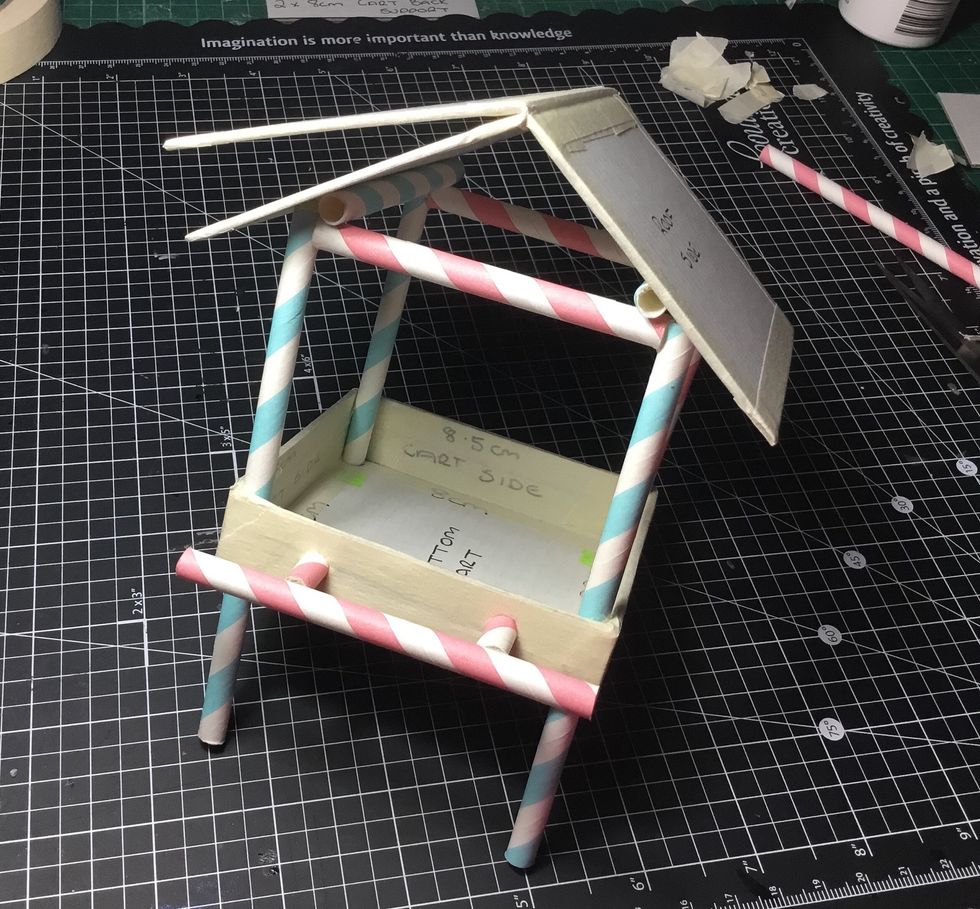
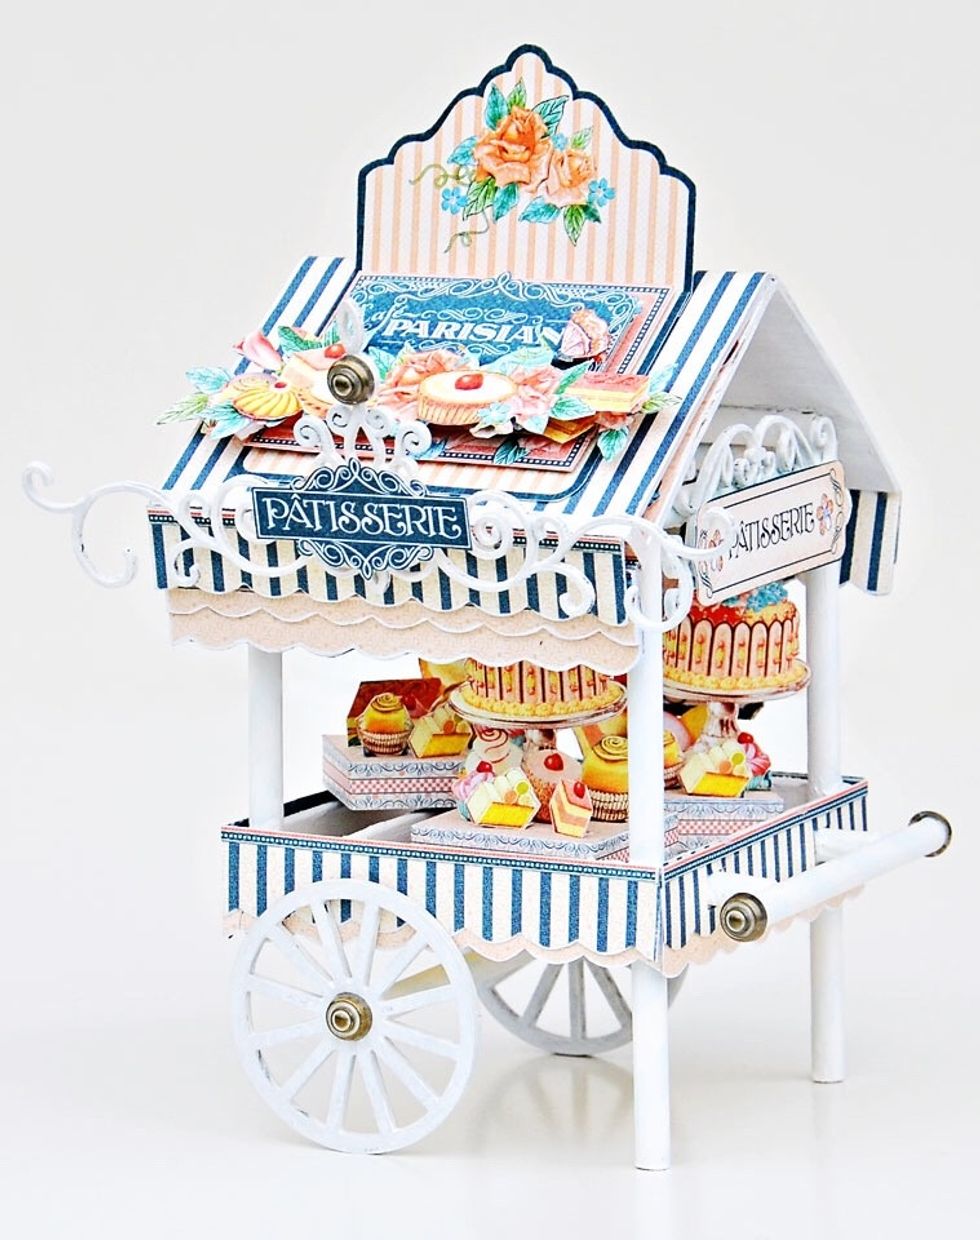
The basic cart is finished and should look like this.
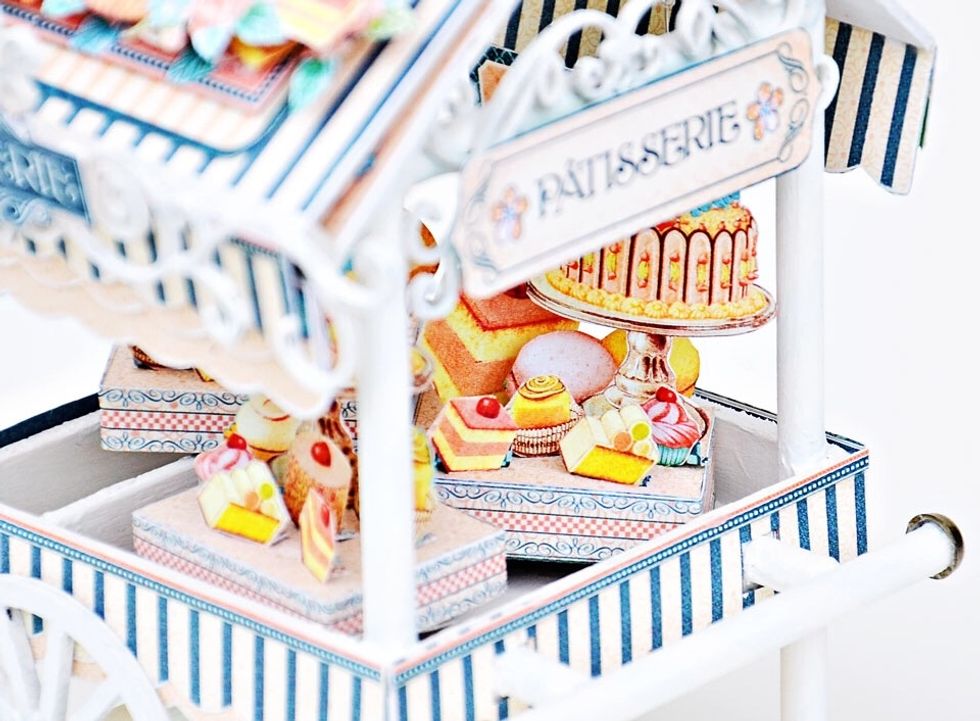
All ready to be made pretty and embellished with the collection of your choice.
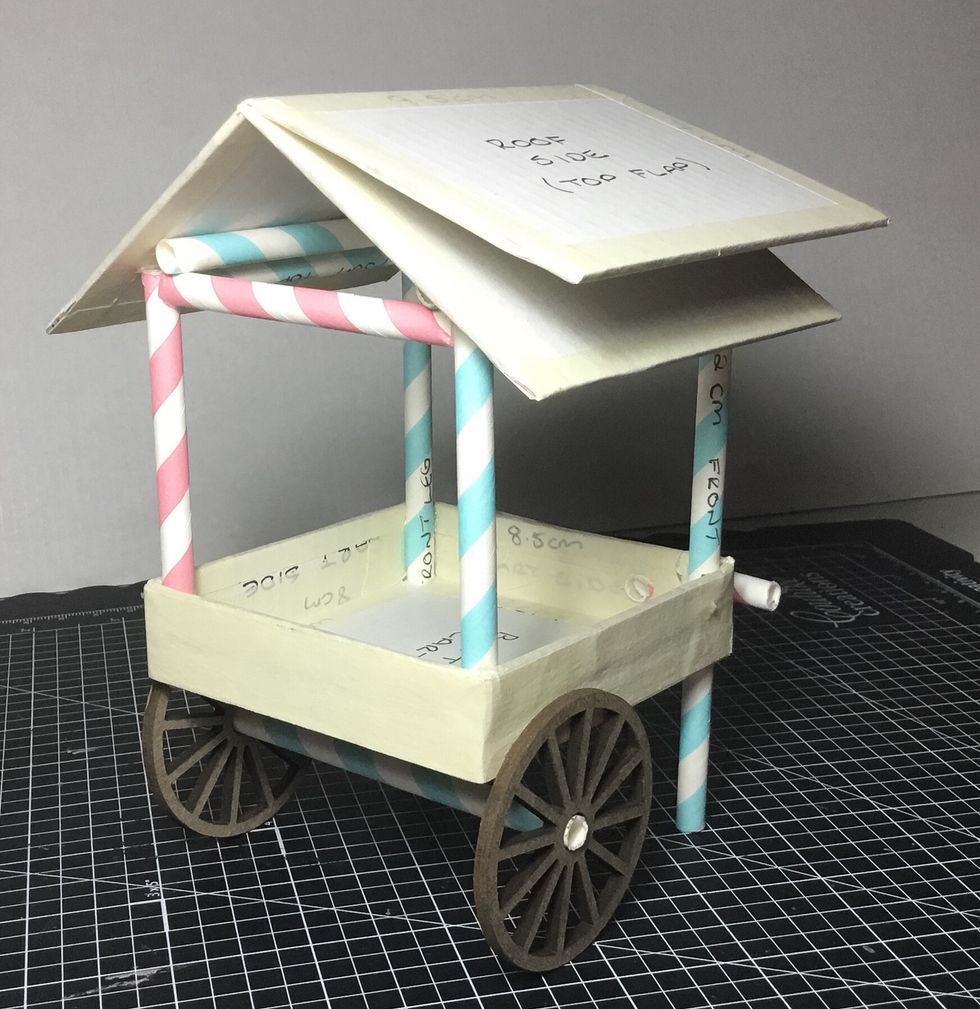
A view from behind.
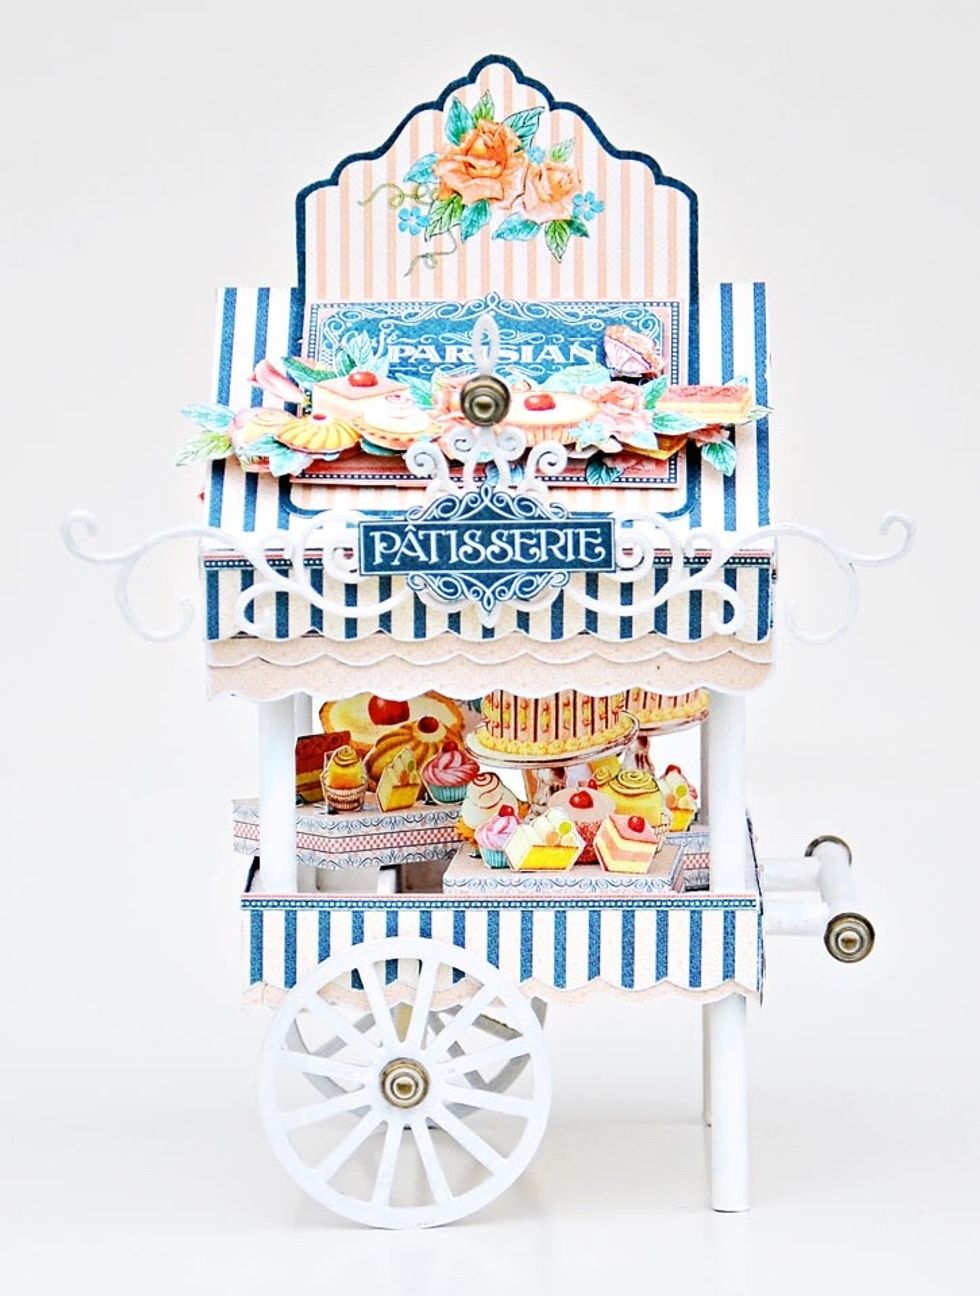
I chose to use the gorgeous Parisian Cafe collection by Graphic 45 to embellish mine.
Thank you for viewing my tutorial. Joanne Bain - scrappinforme.blogspot.com.au/