How to create a banner & adapt it for any occasion
Create a Banner & Adapt It for Any Occasion
55
STEPS
TOOLS
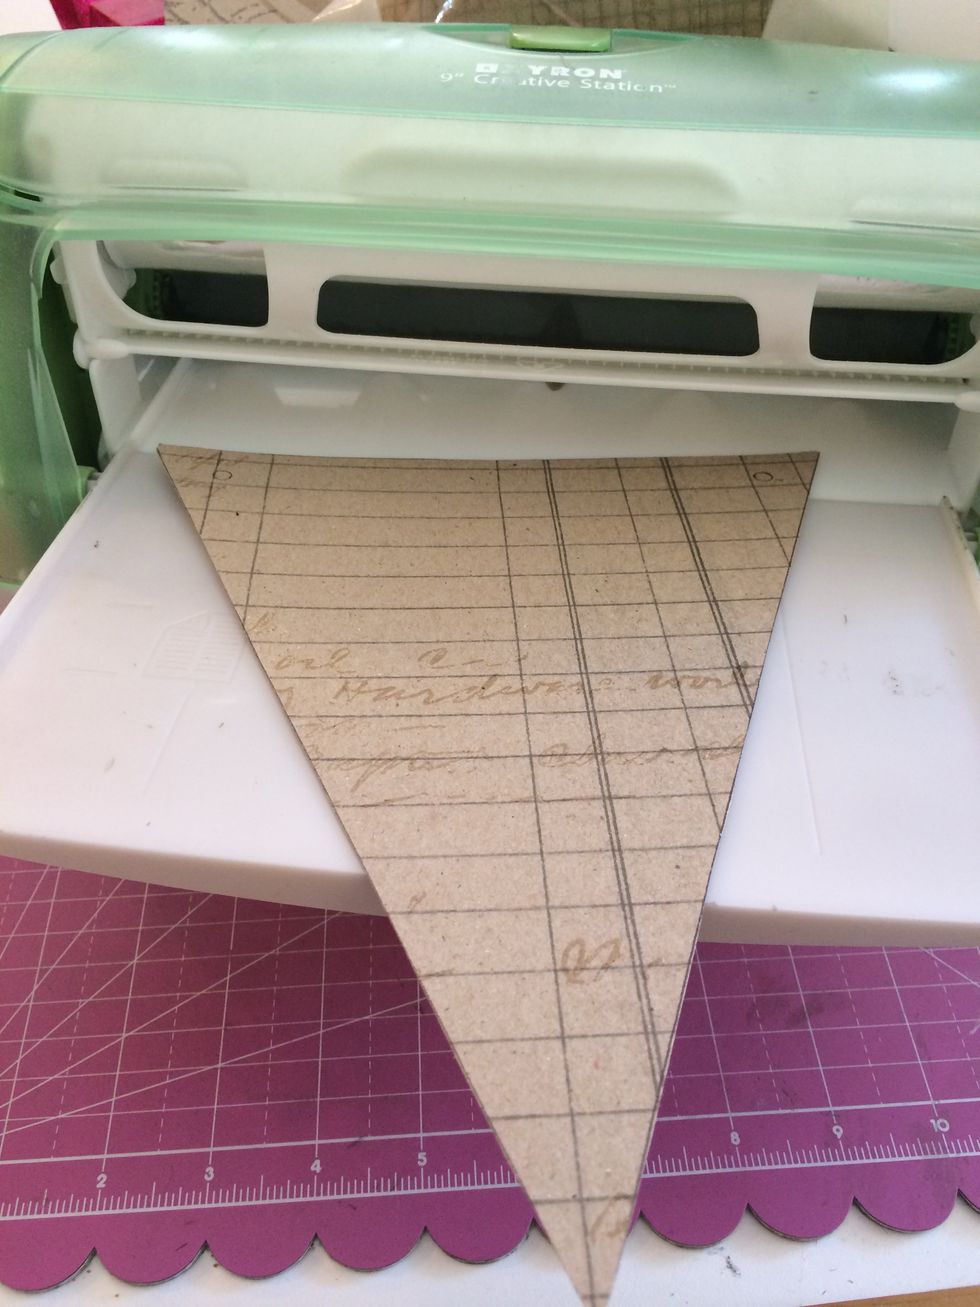
Cut pennant shapes from patterned paper and run though Xyron 900
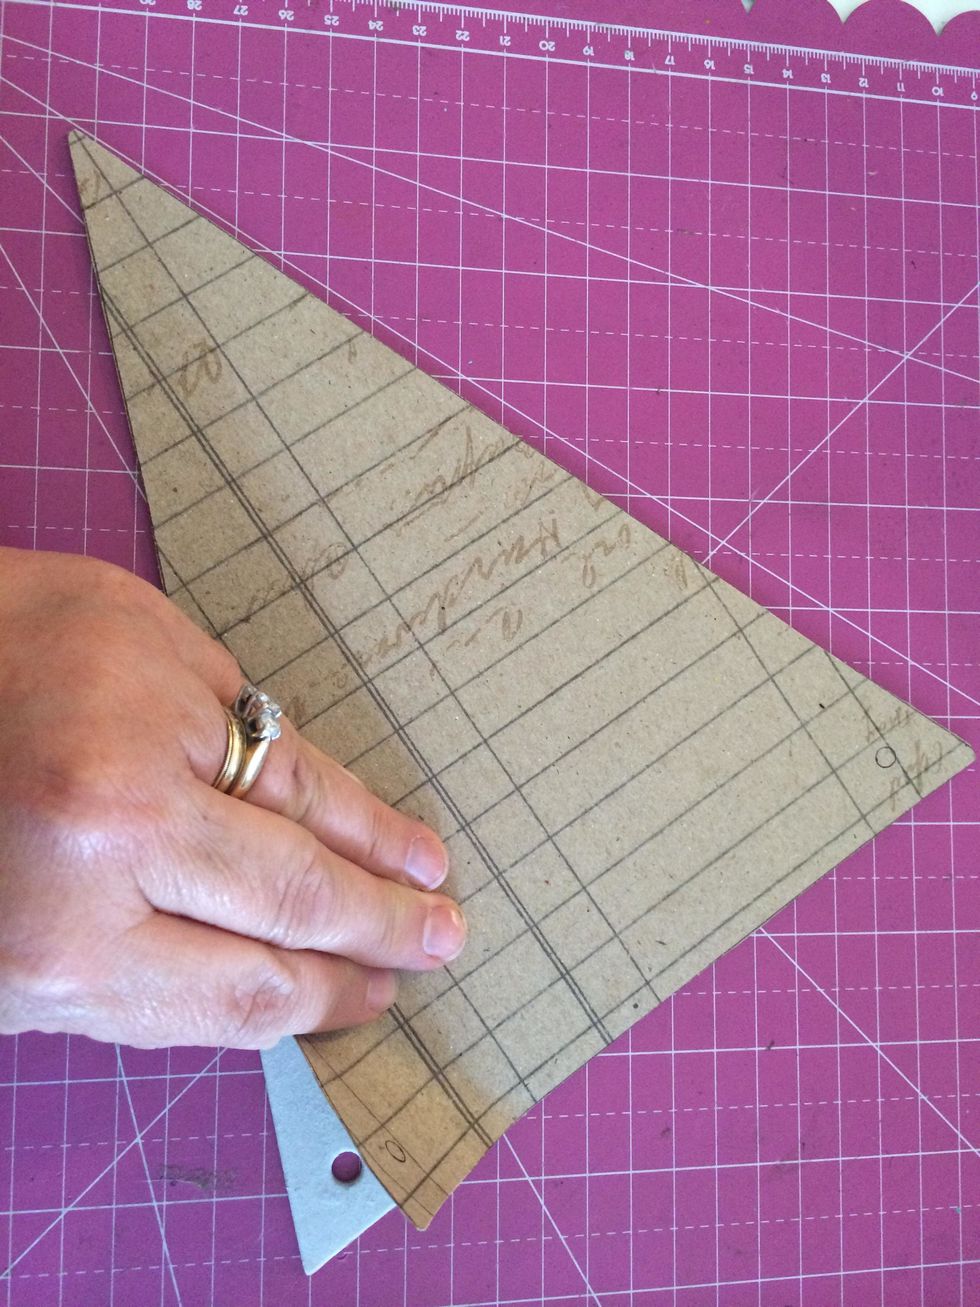
Adhere patterned paper piece to chipboard base

Cut 2 inch strips from patterned paper and create a Lolly for each pennant piece.
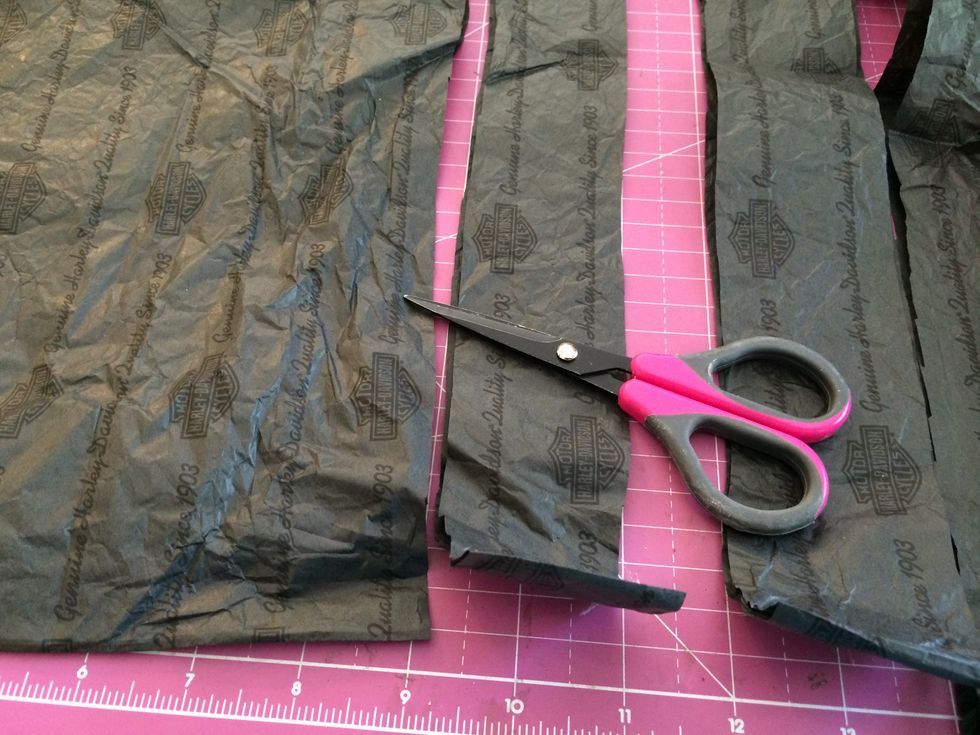
Cut tissue paper in strips approximately 1 1/2" wide.
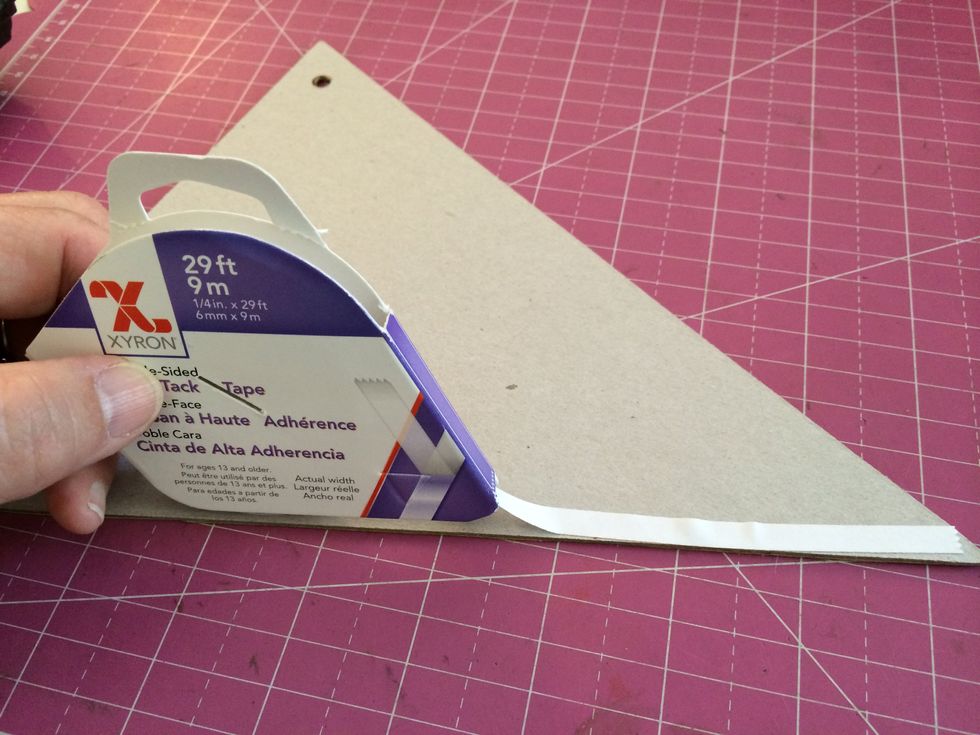
Run a solid strip of Xyron's Double Sided high tack tape along both sides of each pennant piece.
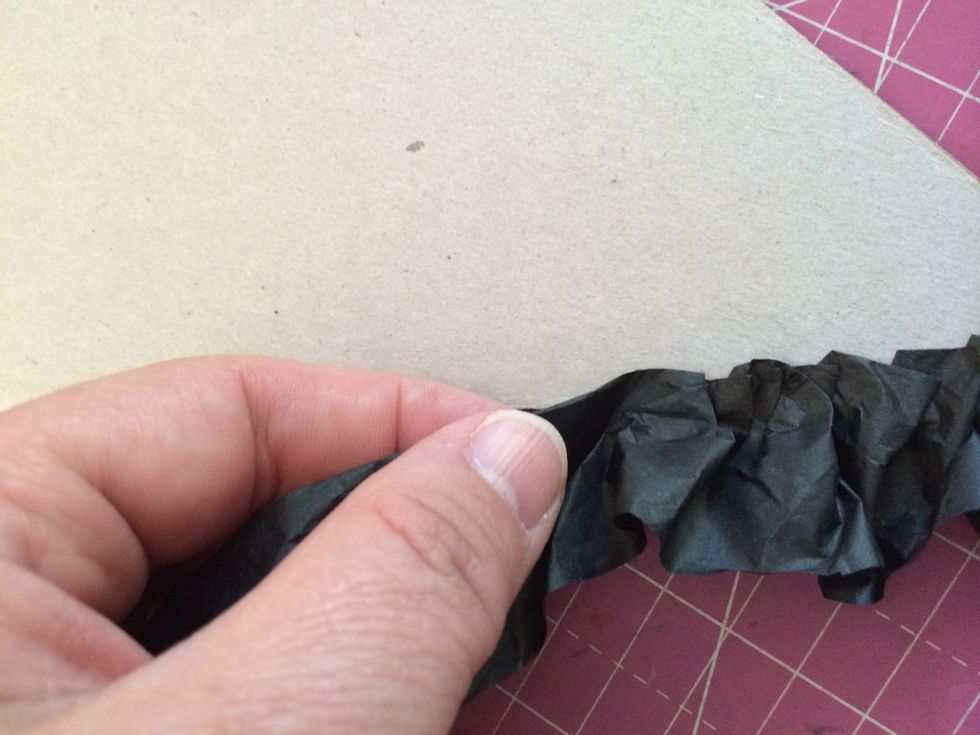
Fold each tissue paper strip almost in half (it will look like 2 staggered layers of ruffle). Finger pleat tissue and press into double sided tape strips along each side of pennant pieces.
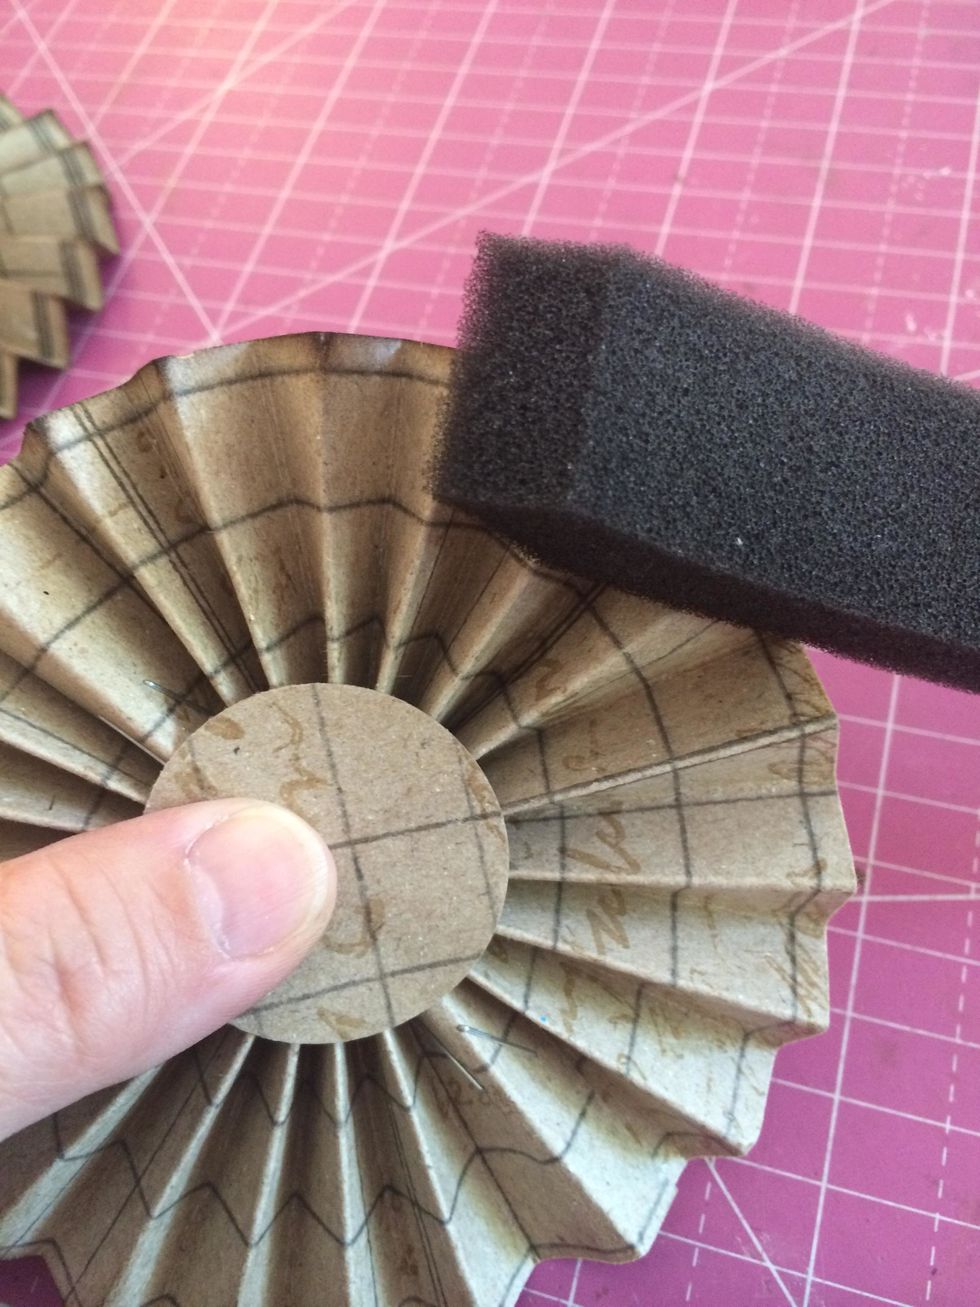
Ink each lolly and pennant piece.
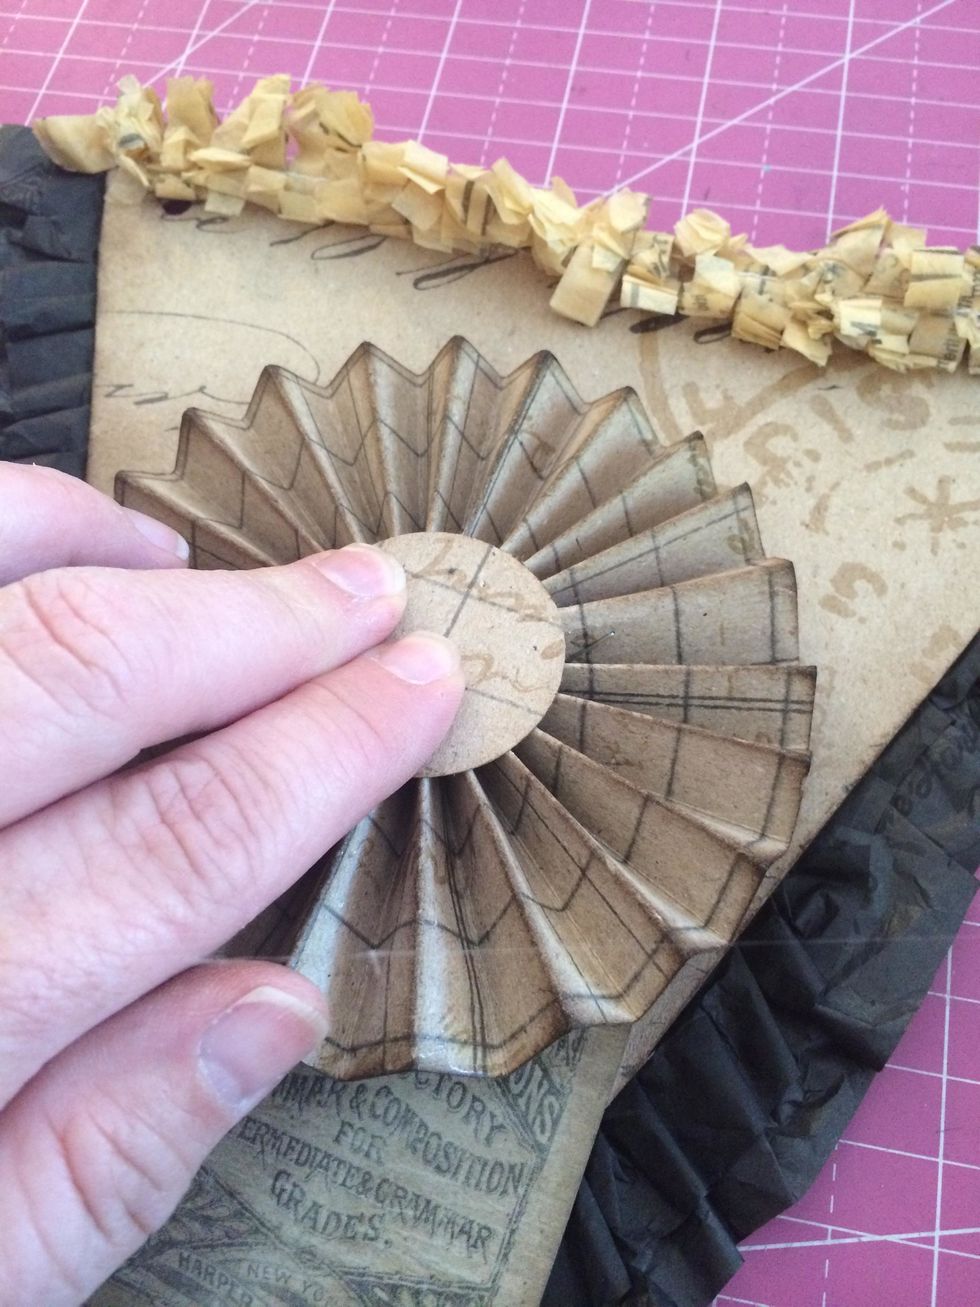
Adhere lolly (with Xyron-Teresa Collins liquid adhesive) to center of pennant piece. Repeat for each pennant piece.
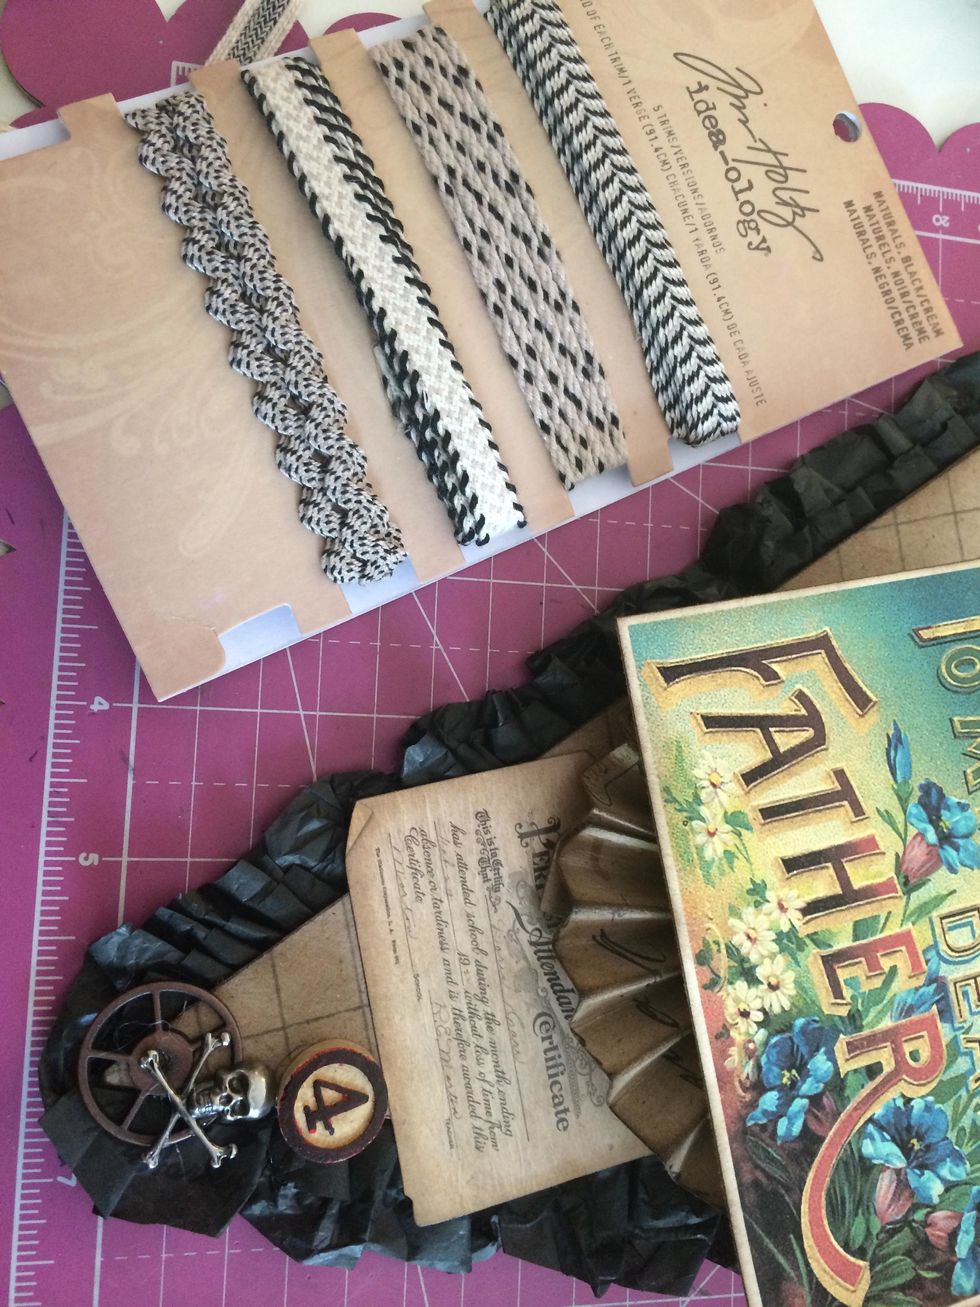
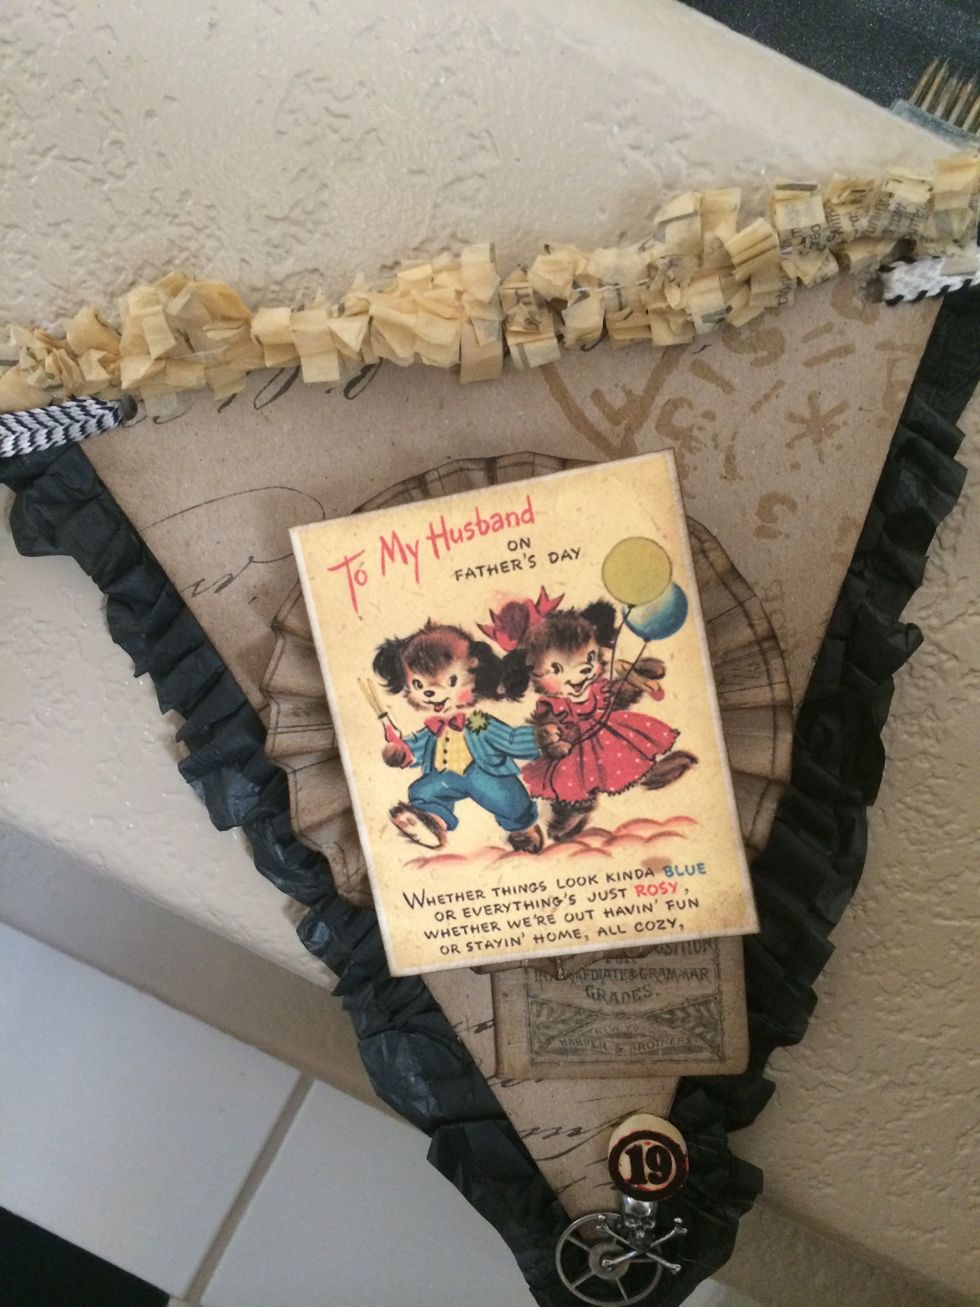
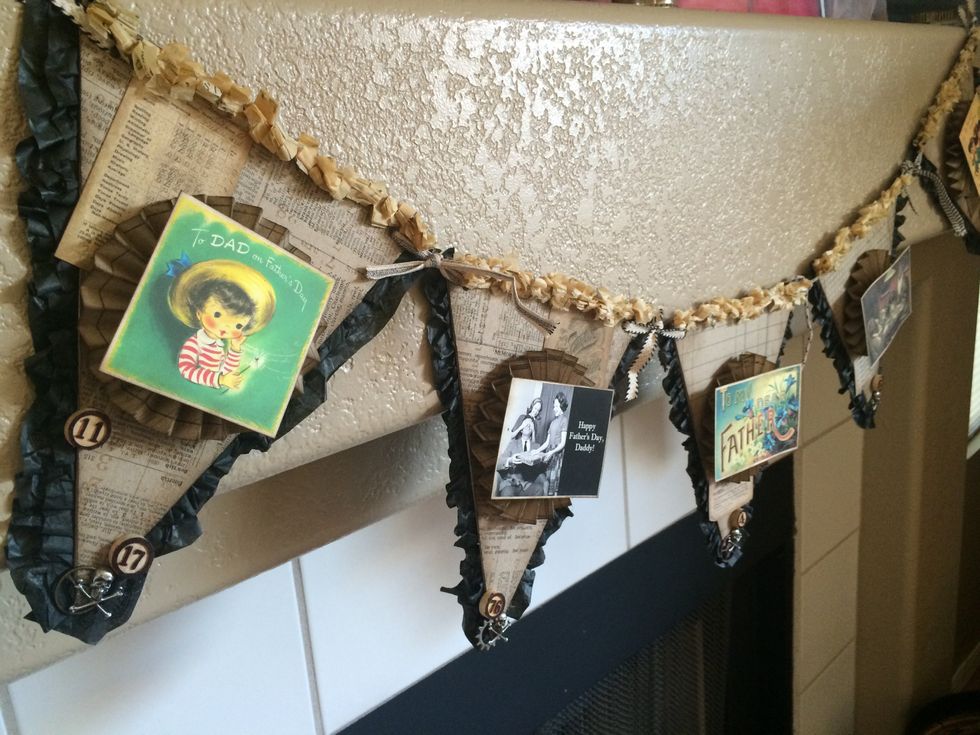
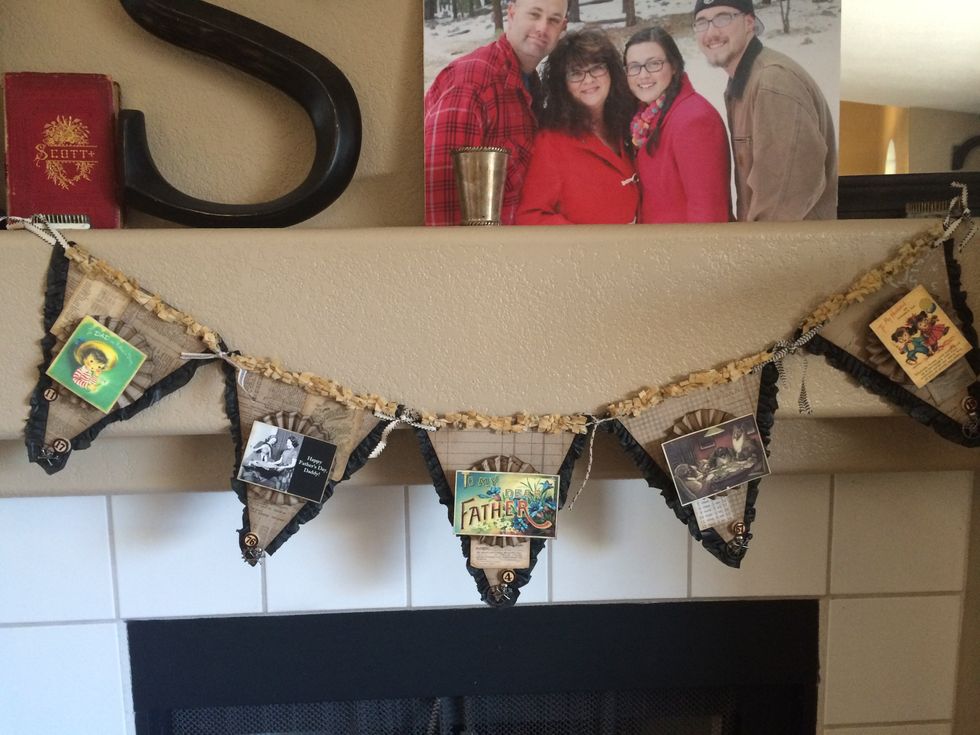
Embellish each pennant piece with Tim Holtz Salvage Stickers,metal crossbones, mini gears and bingo pieces. Adhere a vintage clip art to center of each lolly. Tie pieces together with Tim Holtz trims.
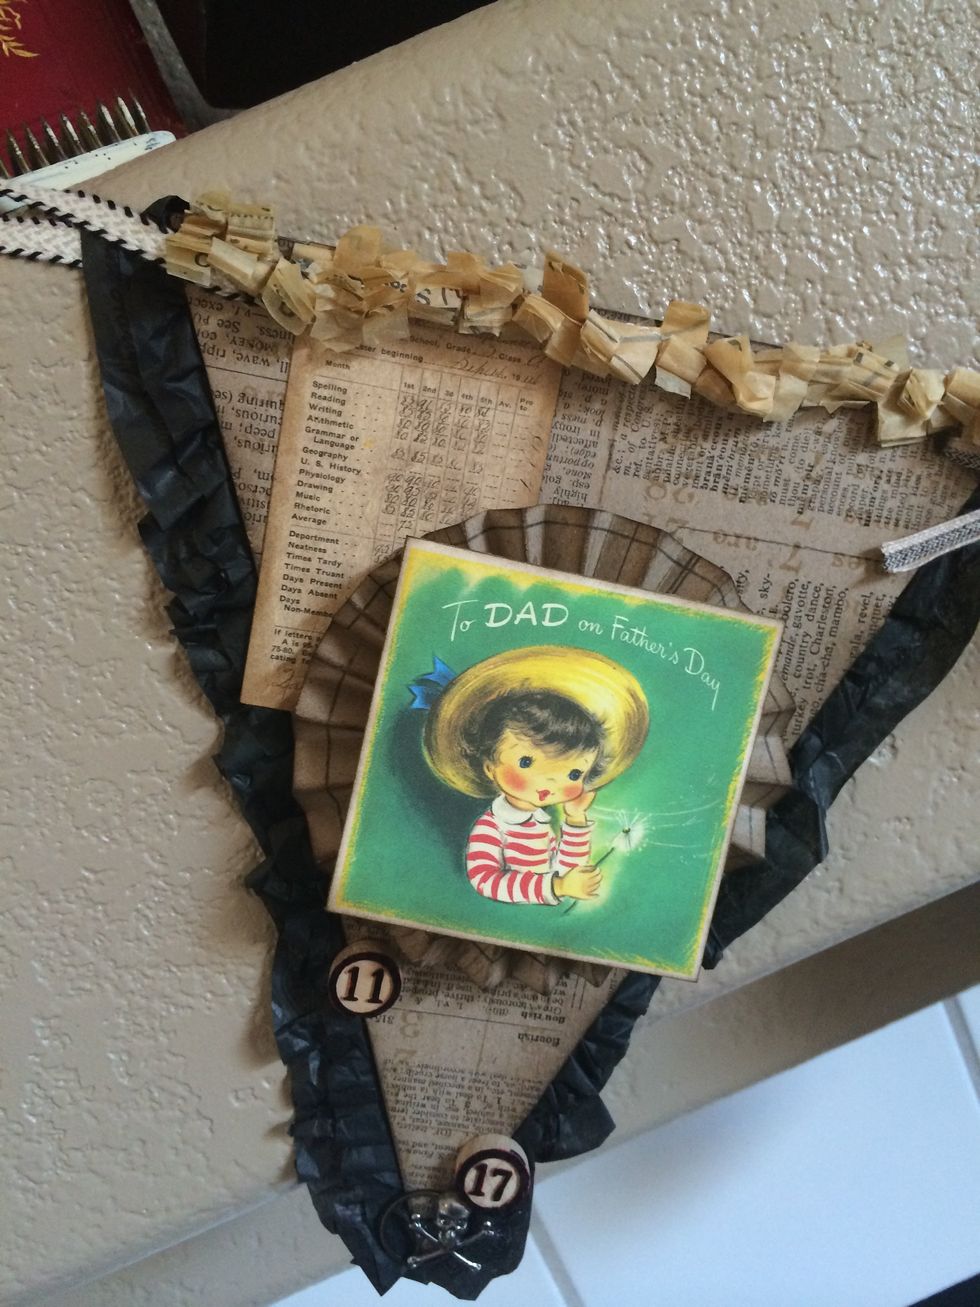
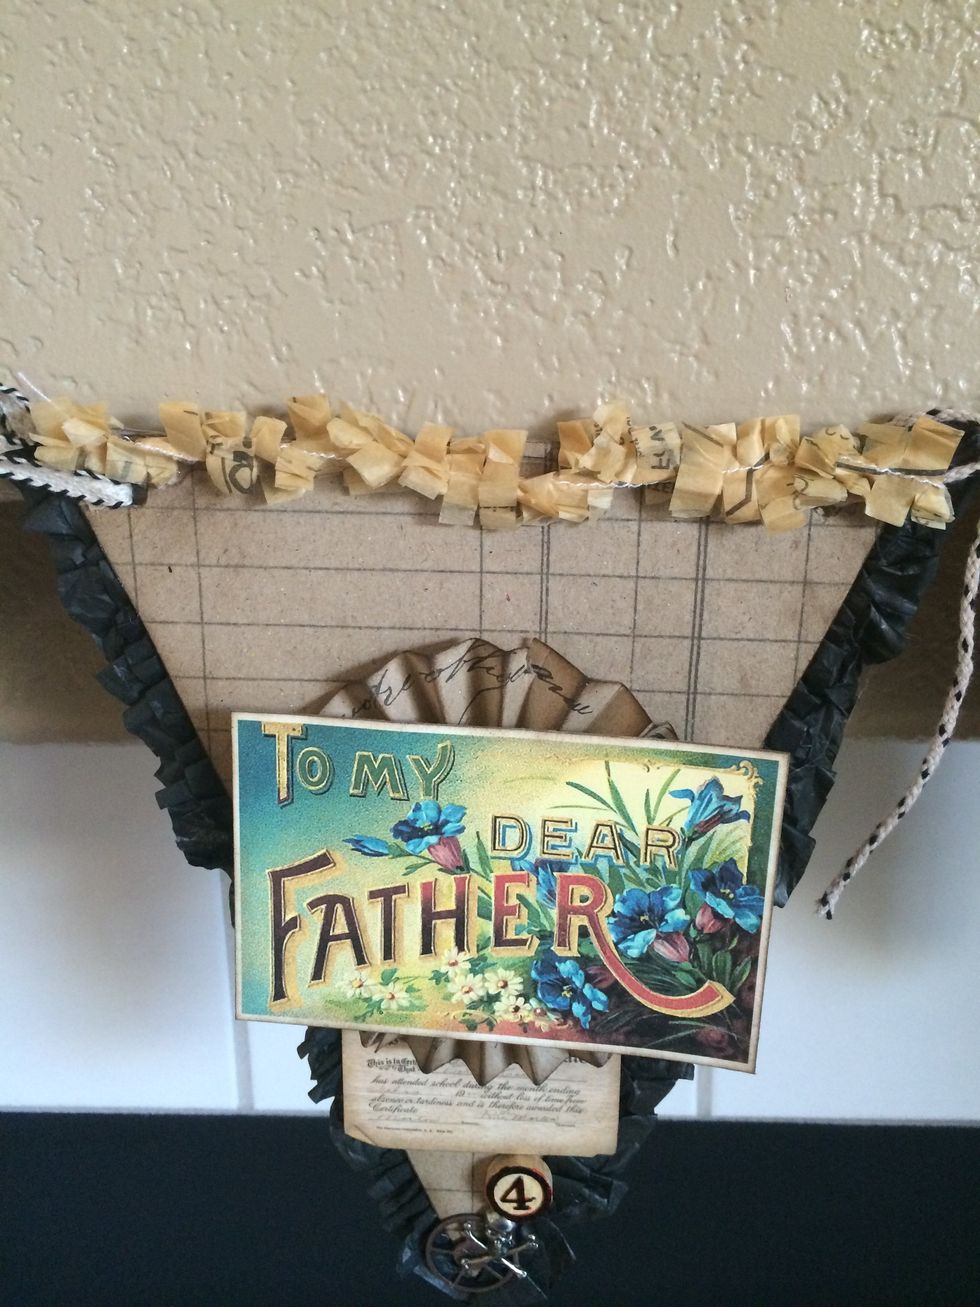
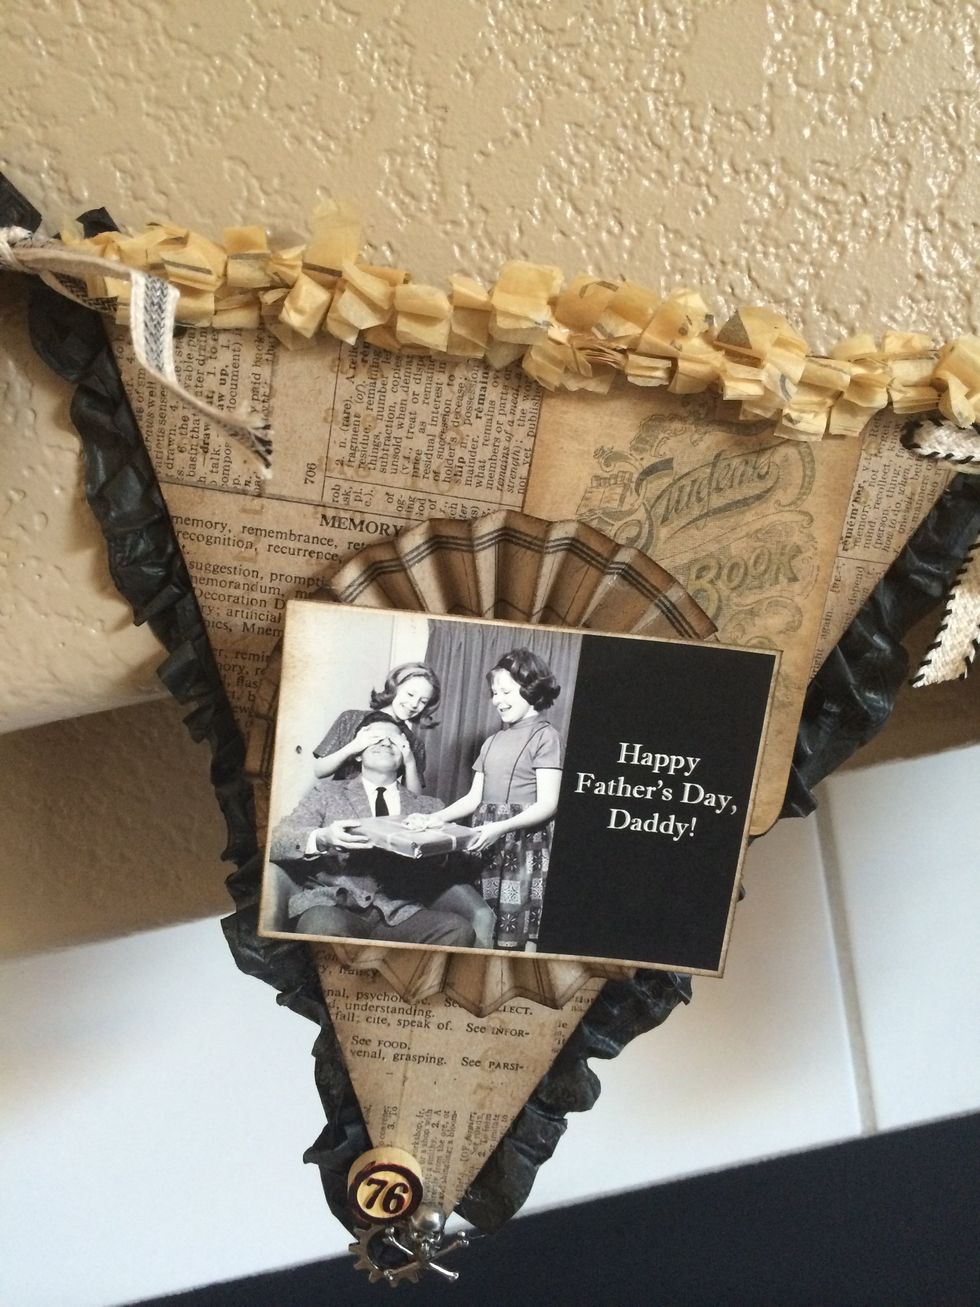
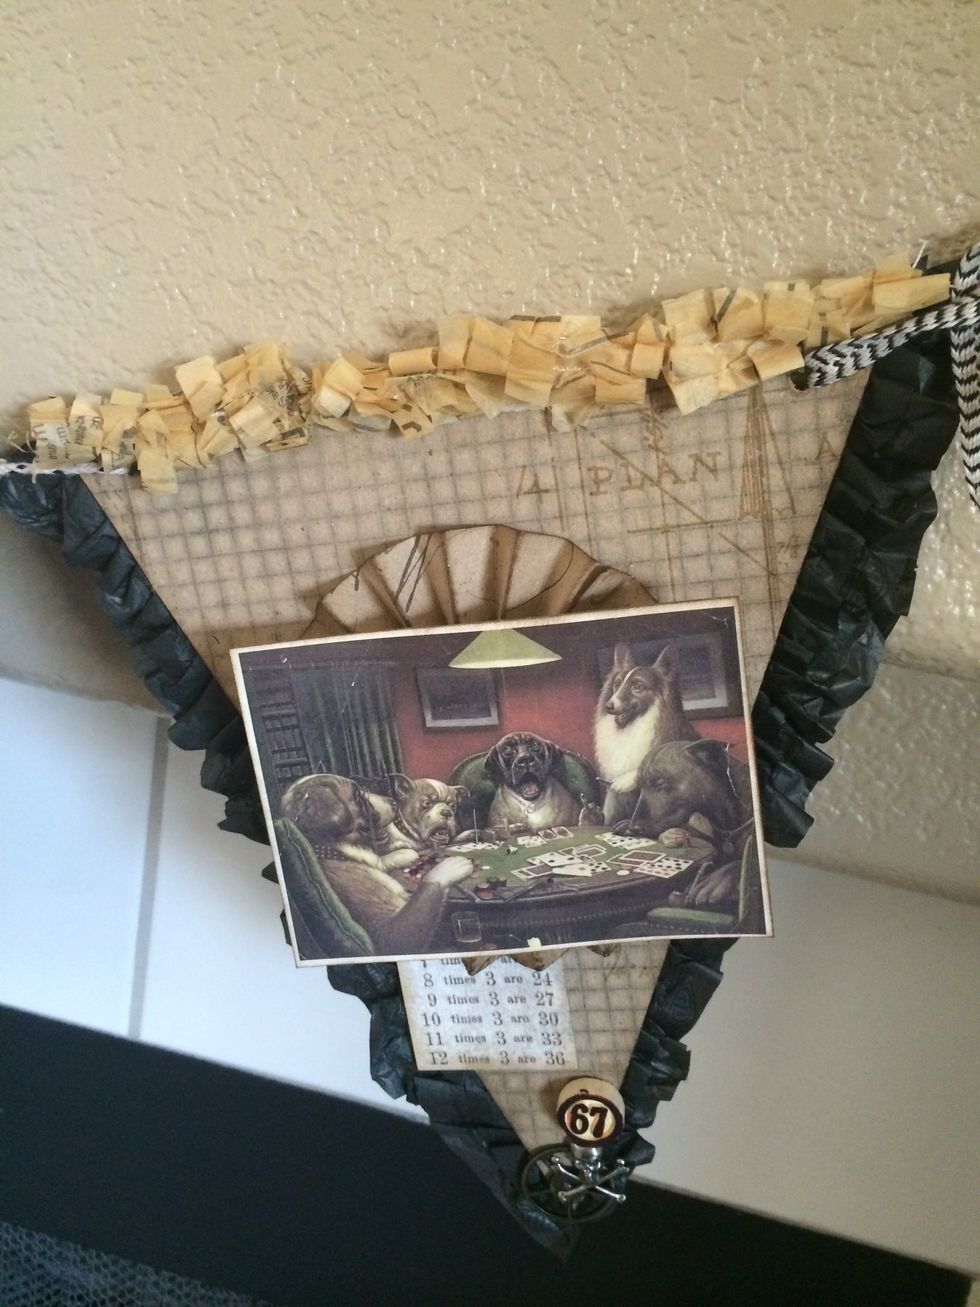
- Xyron 900 Creative Station-permanent adhesive
- Xyron Teresa Collins liquid adhesive
- Xyron Double sided high tack tape
- Tim Holtz Idea-ology Kraft Resist Paper Stash
- Tim Holtz Idea-ology Trimmings-Natural/Black/Cream
- Tim Holtz Idea ology adornments crossbones
- Tim Holtz Idea ology metal mini gears
- We R Memory Keepers Trim & Score board
- Ranger distress ink-Black Soot
- Vintage Clip Art-Scrapbook Barn Gilbert
- Tim Holtz Bingo pieces
- Tim Holtz Ideaology Crowded Attic Salvage Stickers
The Conversation (0)
Sign Up