The Conversation (0)
Sign Up
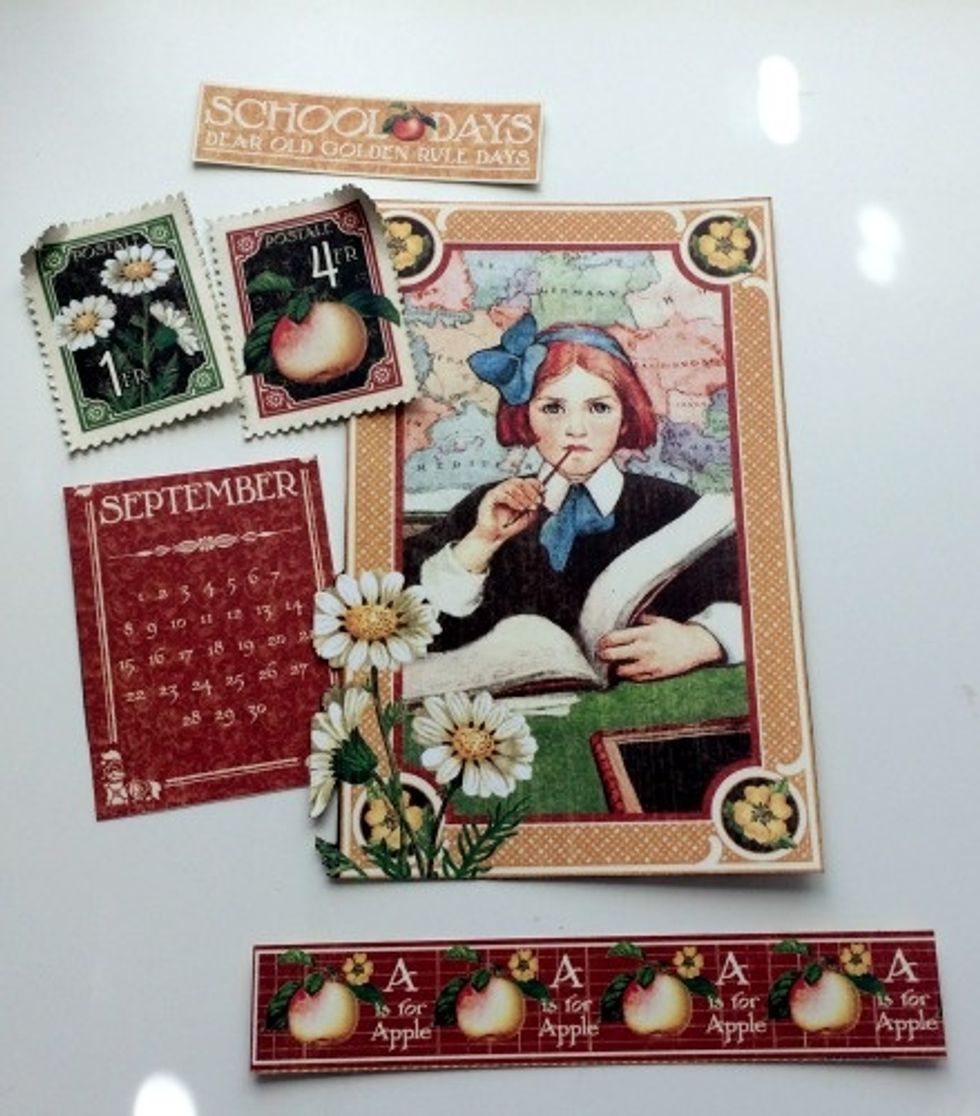
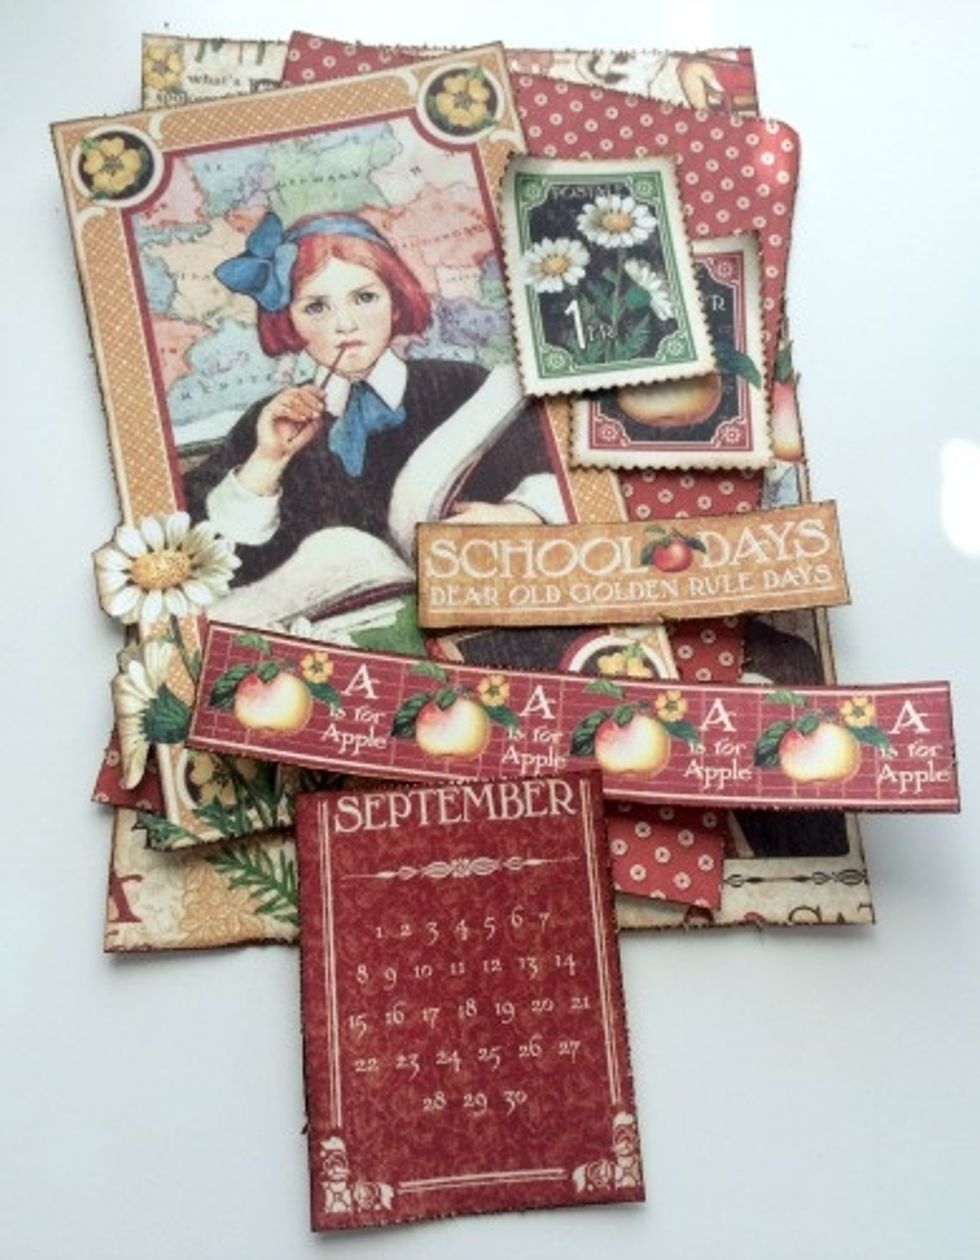
From the September Collective paper, cut out: the Apple border, September Calendar, School Days sentiment, Girl sitting at desk, and two postage stamps.
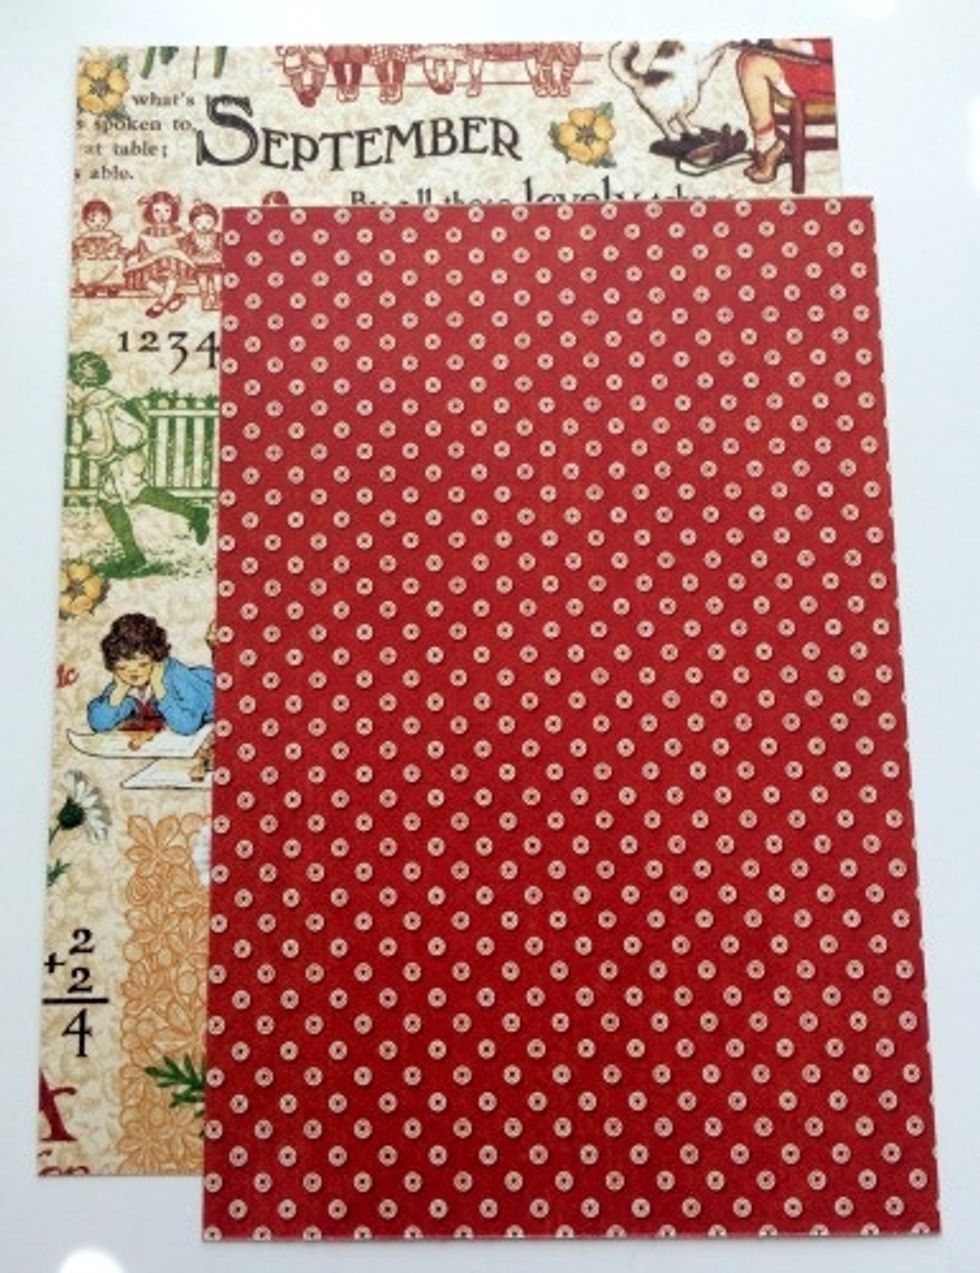
From the September Montage paper, cut a piece that measures 4 3/4" x 6 3/4". Cut a second piece that measures 4" x 6".
From the Java Cardstock, cut a piece that measures 4 1/4" x 6 1/4".
To create the card base, you'll need to cut a piece of Cream Puff Cardstock to 7" x 10". Score at 5". Fold the card in half.
Edge distress all the patterned paper pieces, cut aparts and brown cardstock. With a blending tool, apply Vintage Photo Distress ink to the edges of the pattern paper and cut aparts.
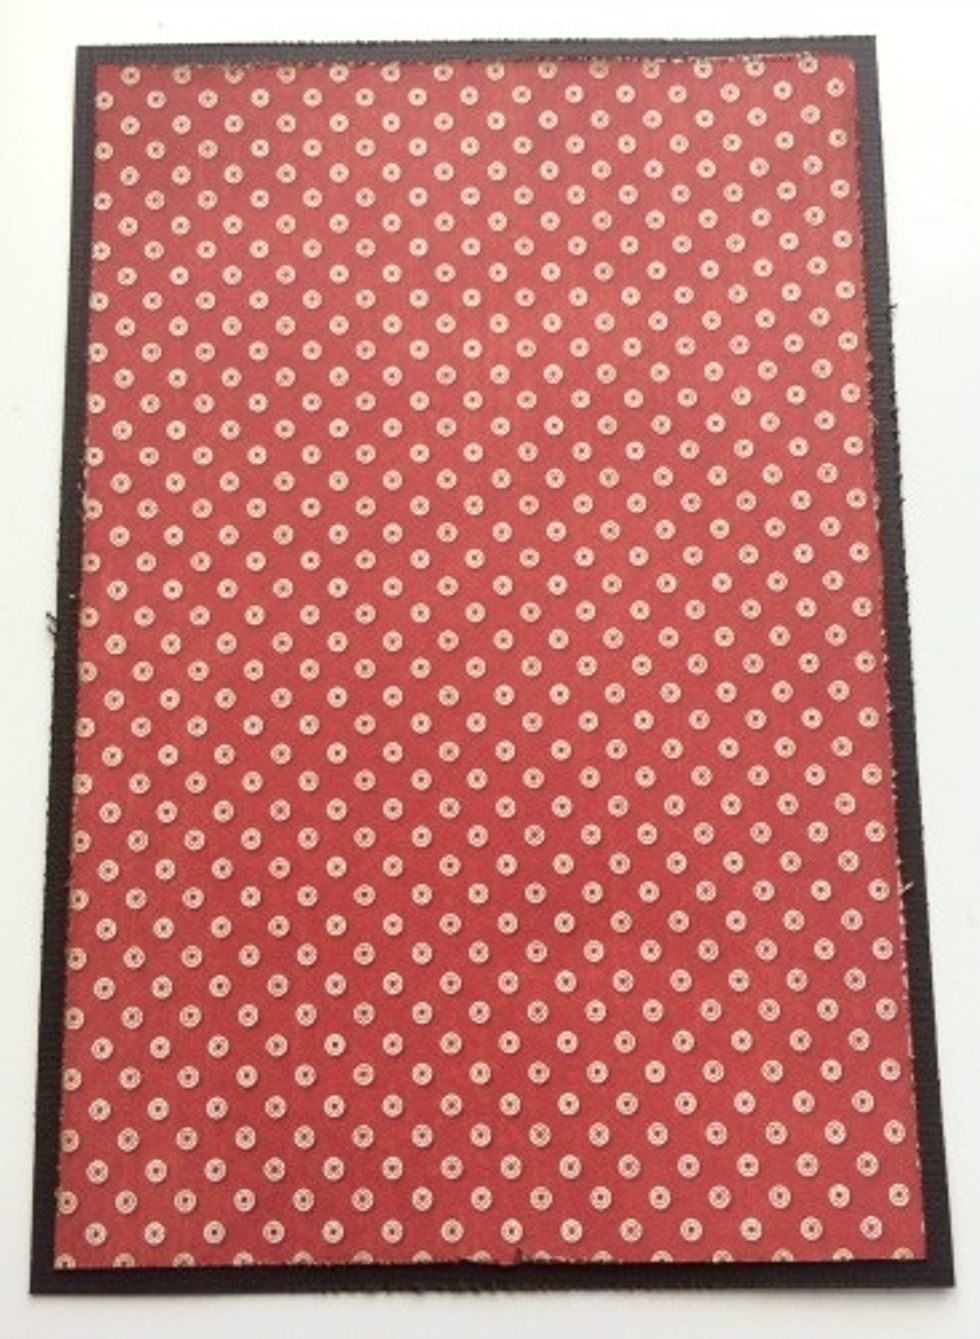
Adhere the 4" x 6" piece of red and white dot paper to the brown cardstock.
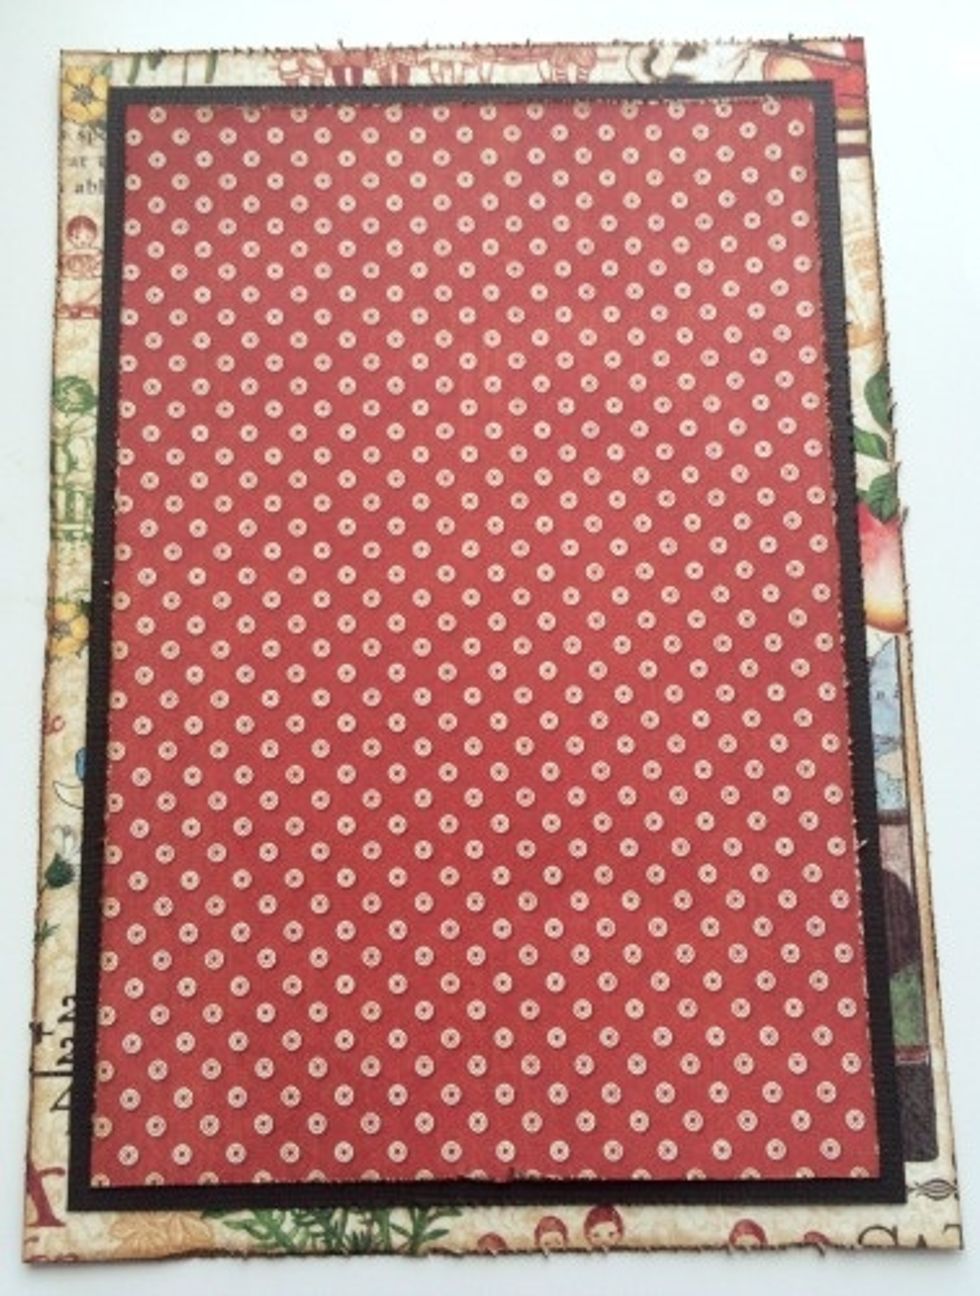
Adhere the brown cardstock piece to the 4 3/4" x 6 3/4" September patterned paper. You'll end up with a 1/2" border all the way around.
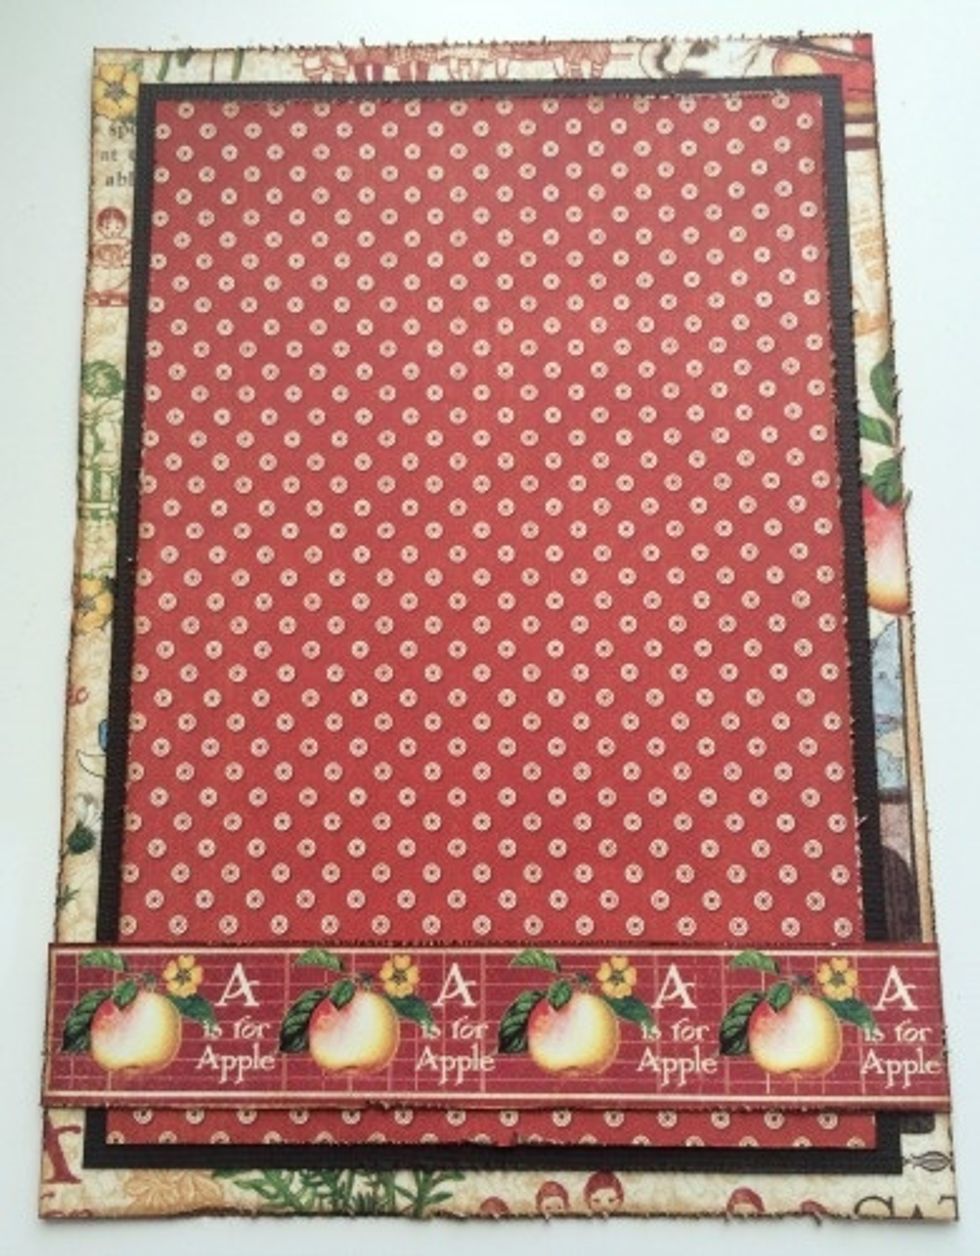
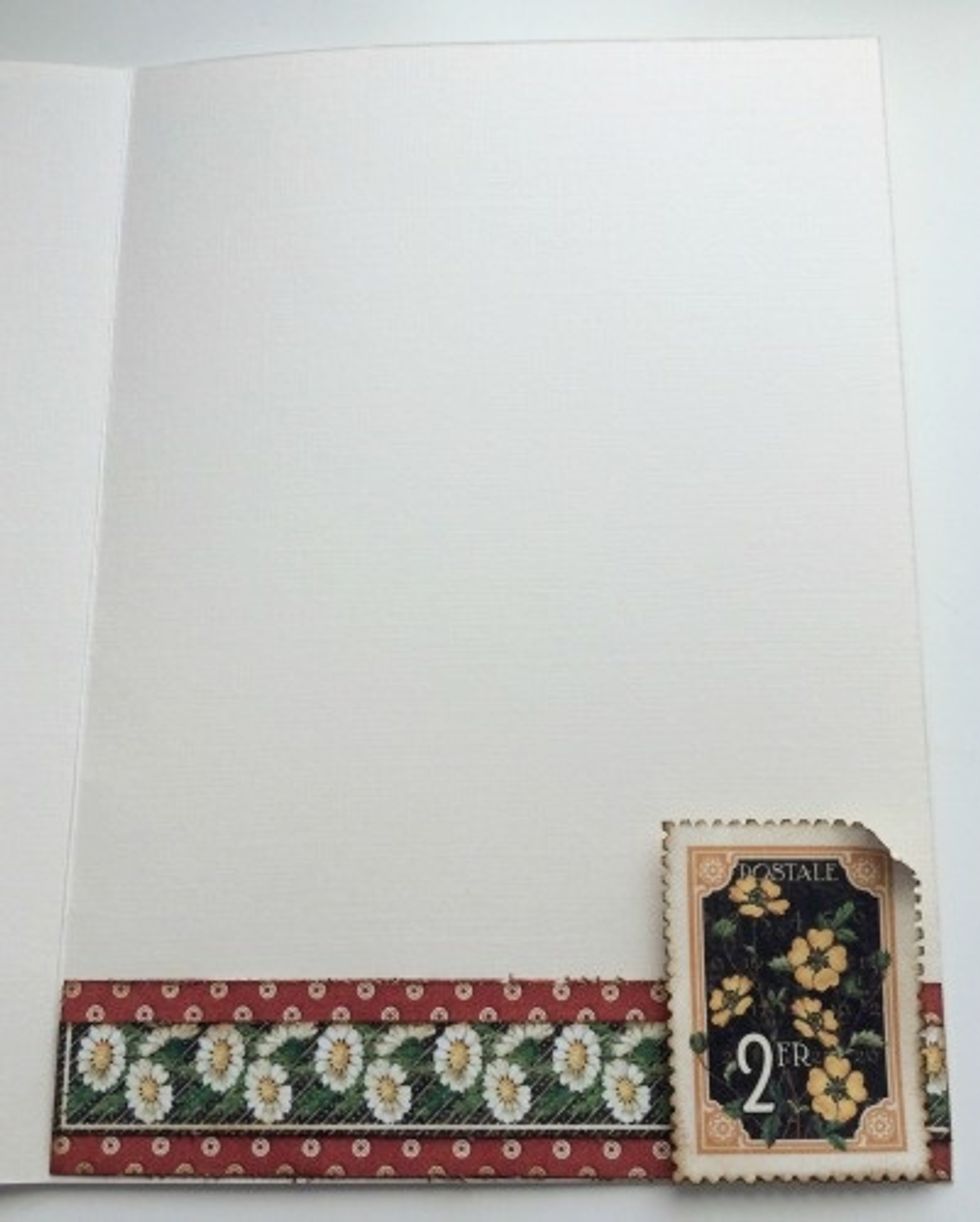
Adhere the apple border a 1/4" above the bottom of the red and white dot paper. The border will stretch all the way across the patterned paper.
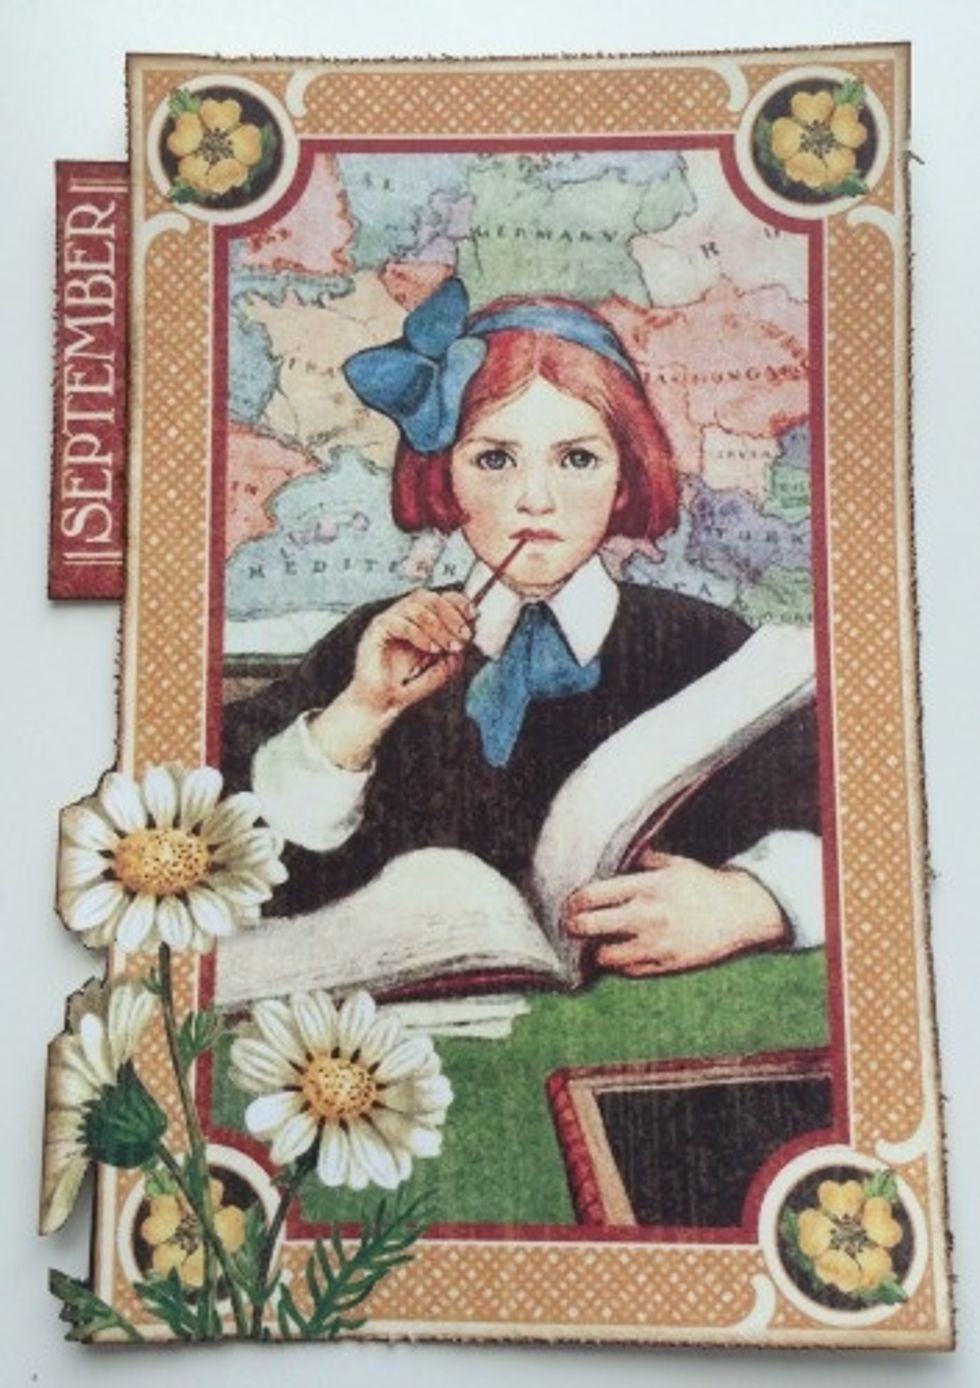
Adhere the September calendar cut apart to the left hand side of the girl image.
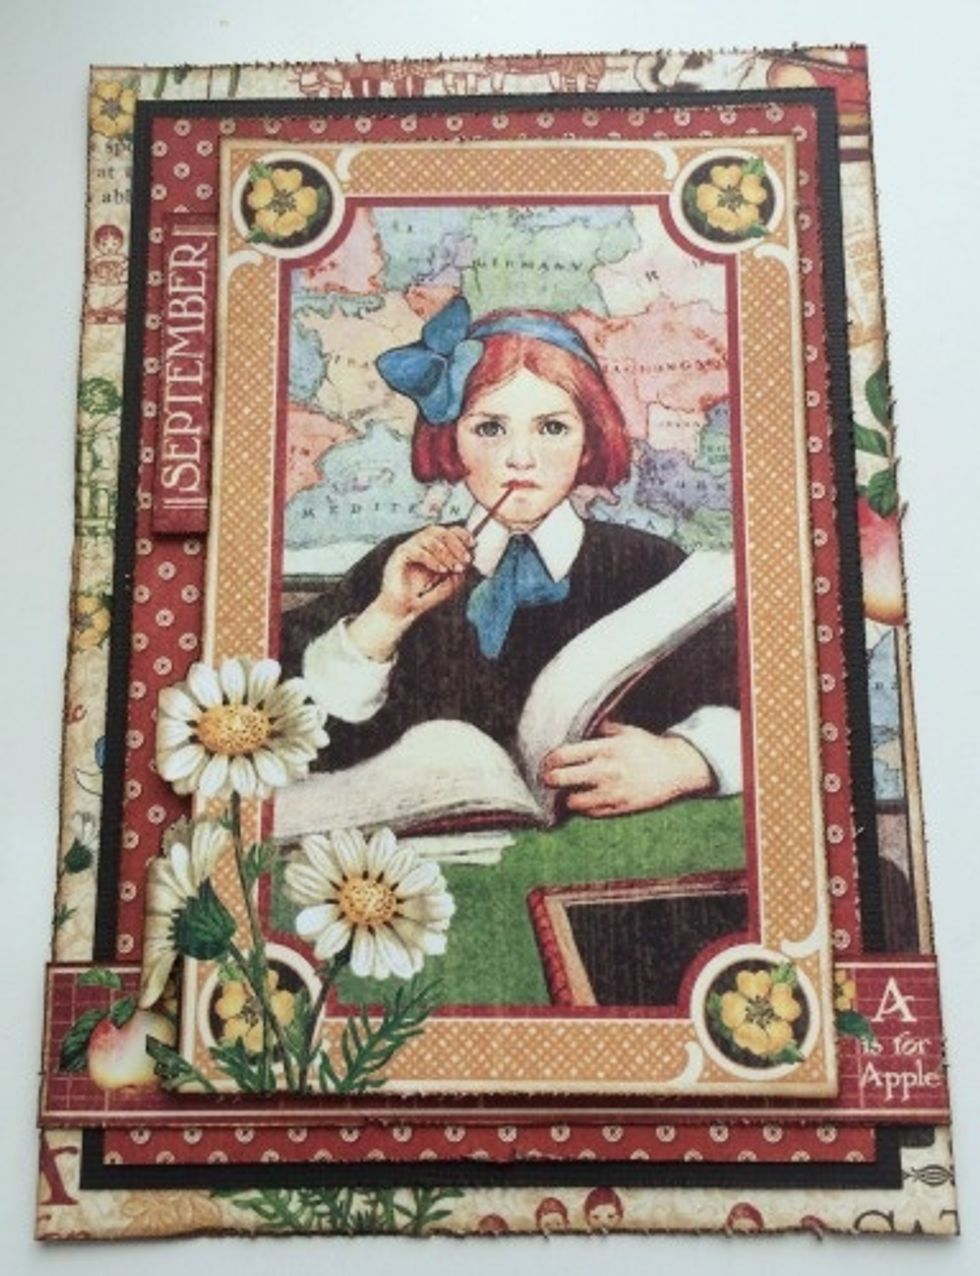
Use foam squares to adhere the girl image to the red and white paper. Make sure there is a 1/4" border on the right and left of the girl image.
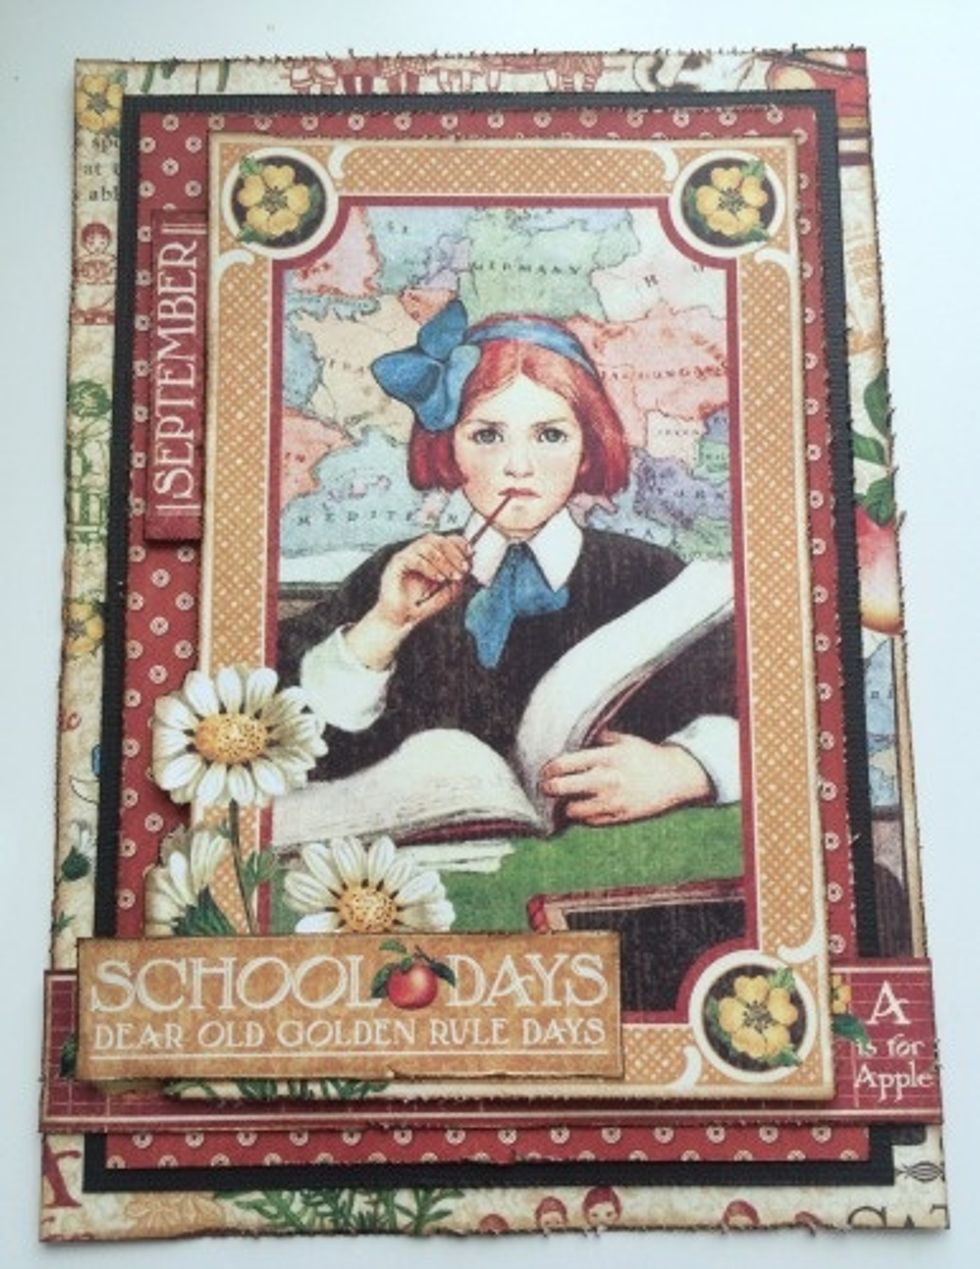
Use foam squares to adhere the School Days sentiment slightly over top of the daisies in the bottom left hand corner.
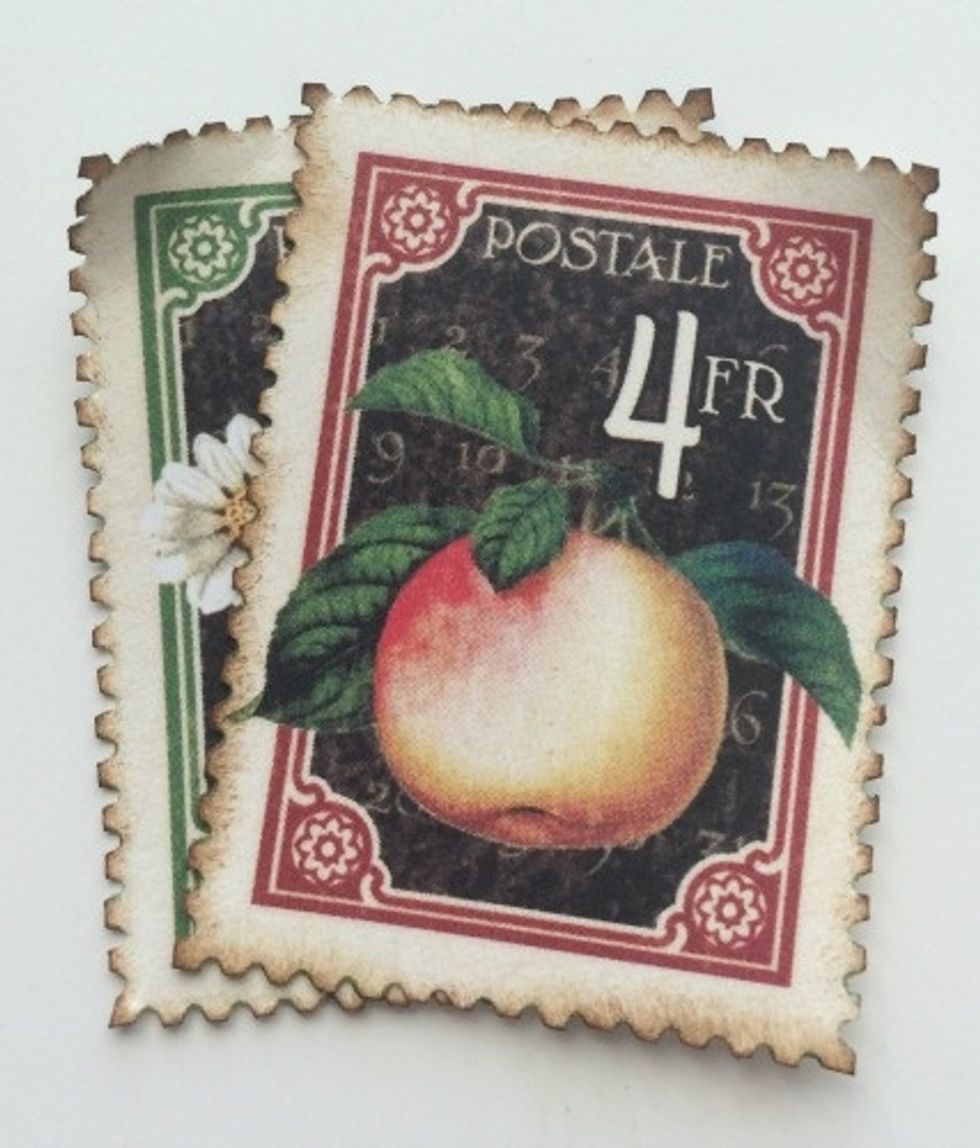
Adhere the postage stamps together. Make sure you can see part of the second postage stamp.
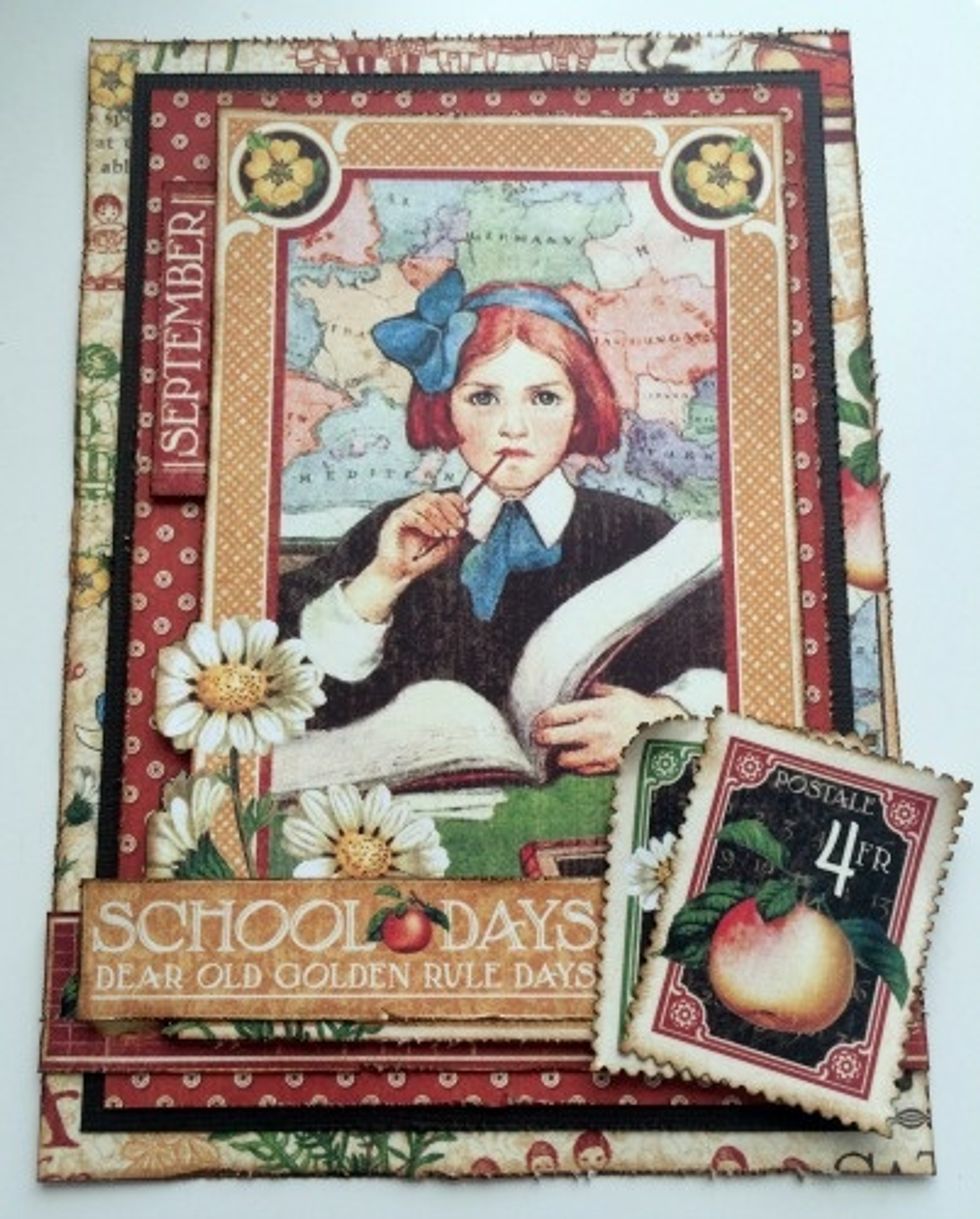
Use foam squares to adhere the postage stamps to the right of the School Days sentiment. Once the postage stamps have been adhered, roll the top left and right hand corners of the postage stamps.
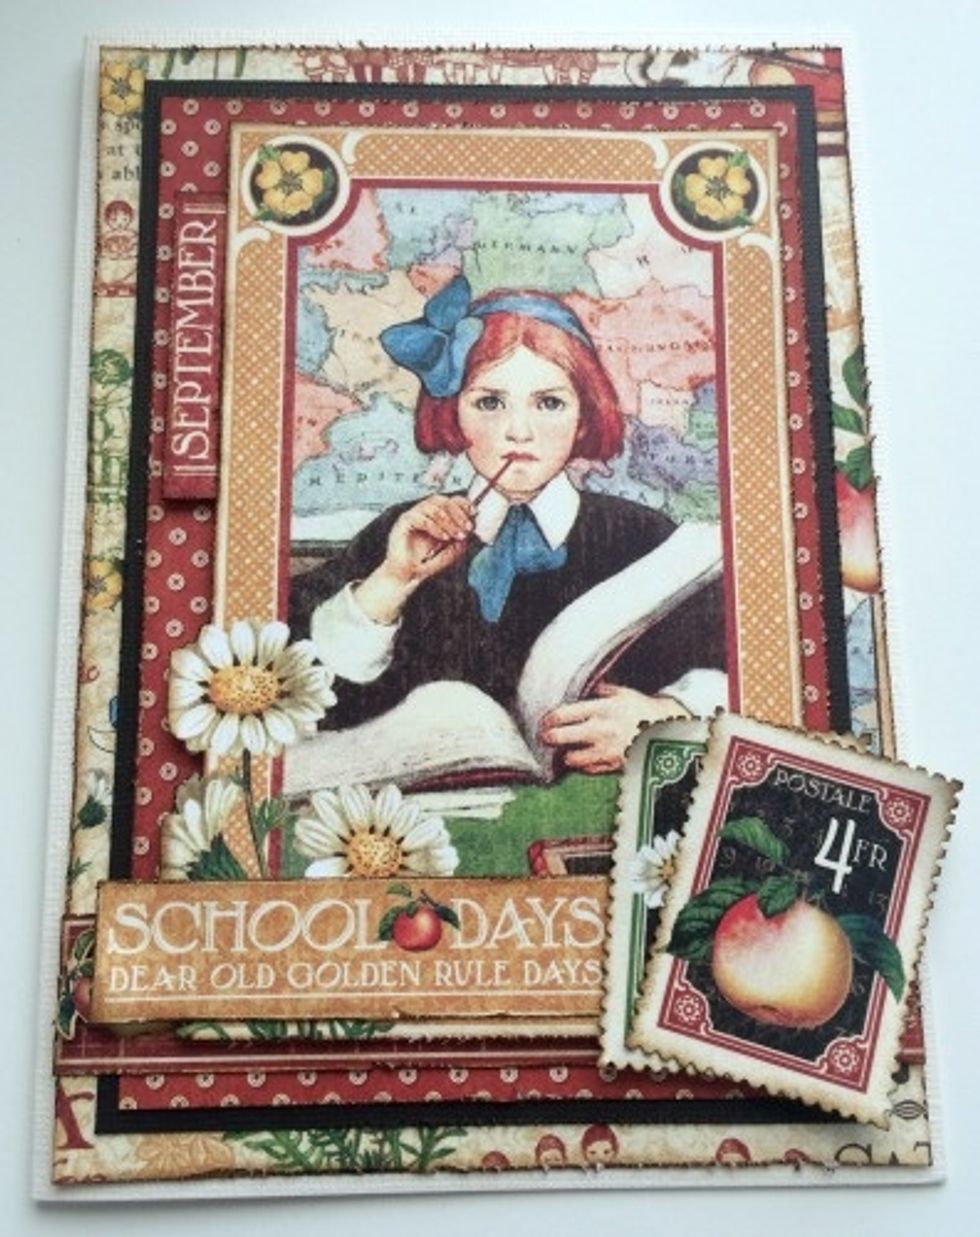
Adhere the completed card front to the cardbase.
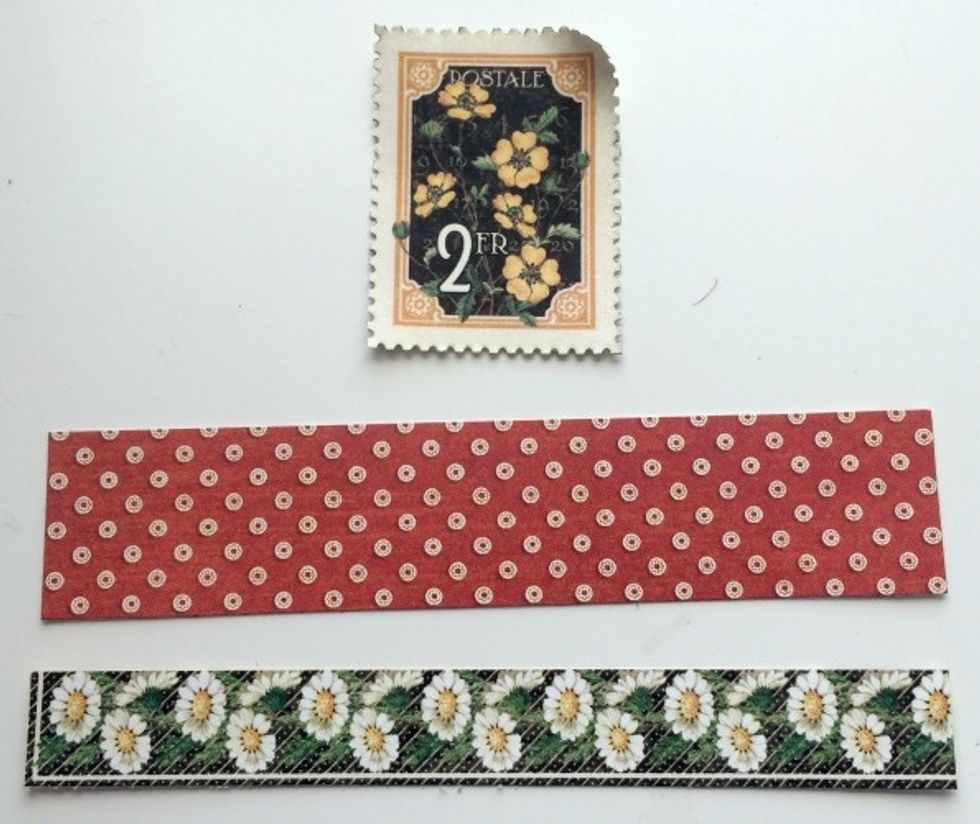
From the September Collective paper, cut apart a postage stamp and the daisy border make sure it measures 5" long. From the September Montage paper cut a piece of red and white dot paper 1" x 5".
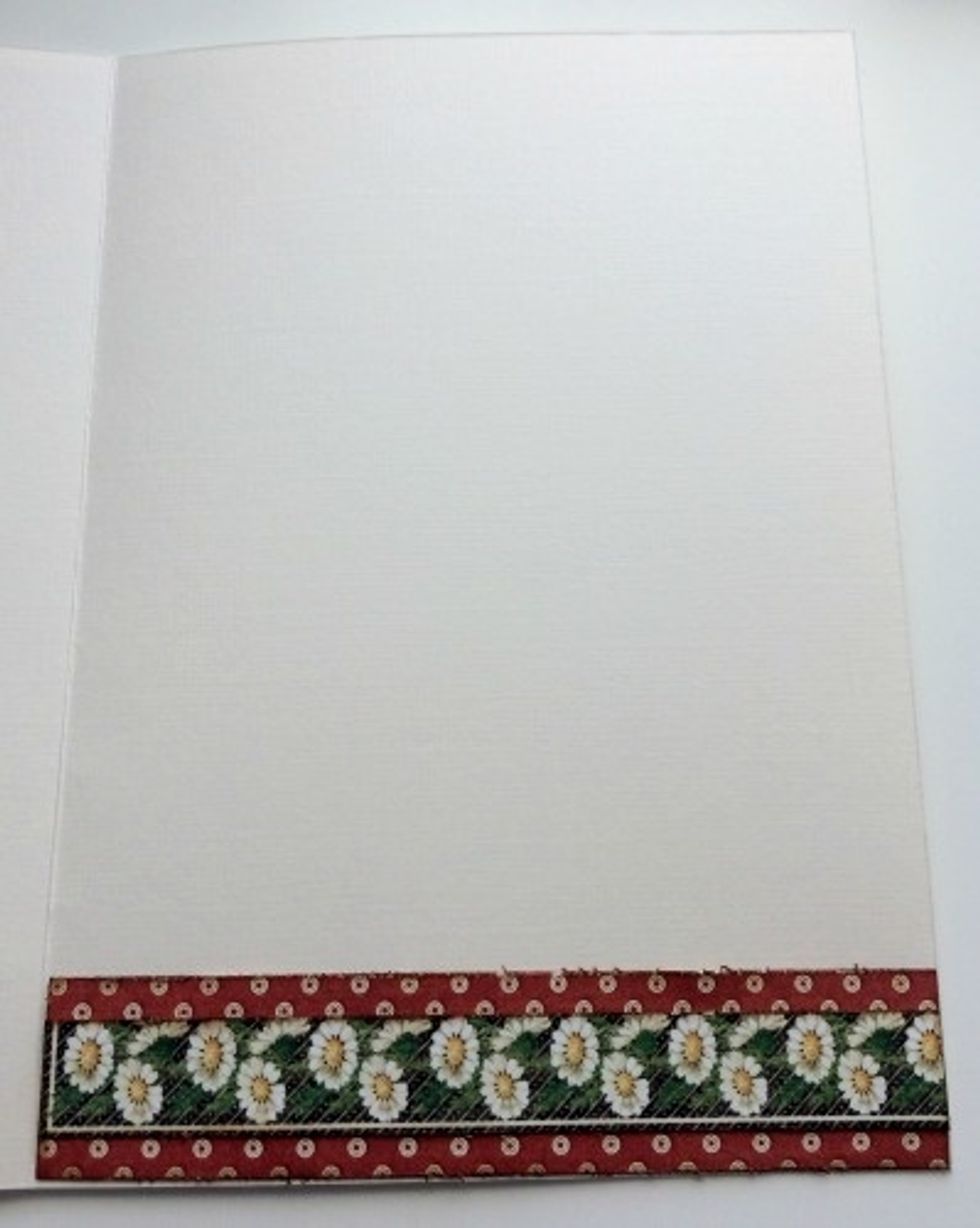
Edge distress and ink the edges of the patterned papers. Adhere the red and white dot paper to the bottom inside of the card. Adhere the daisy border to the middle of the red and white dot paper.
Use a couple of foam squares to adhere the postage stamp to the bottom right hand corner of the inside of the card.

Your card is complete! Now it's time to create your tag.
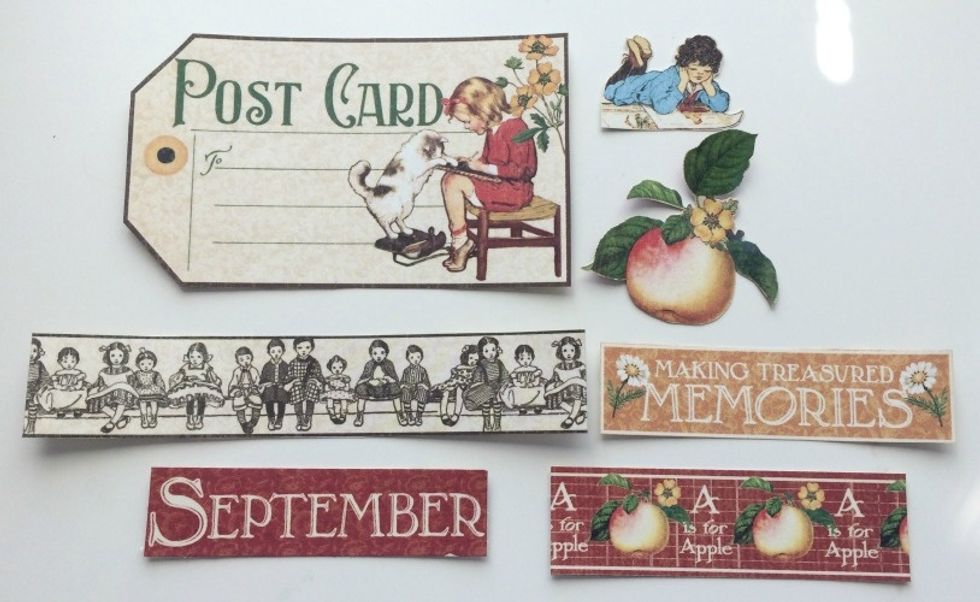
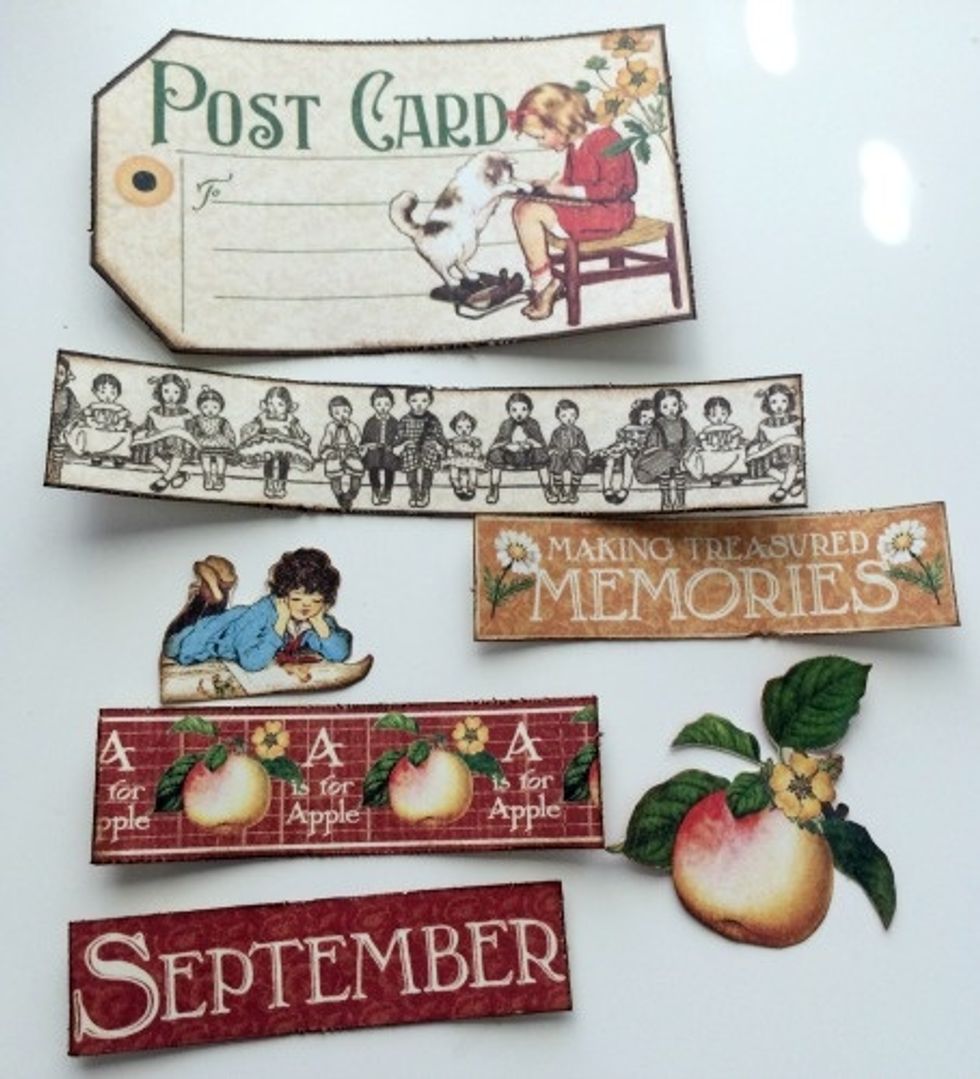
From the September Collective paper, cut apart the Post card, Children border, Making Memories sentiment, September title and fussy cut the little girl reading. From the Montage paper - cut out apple.
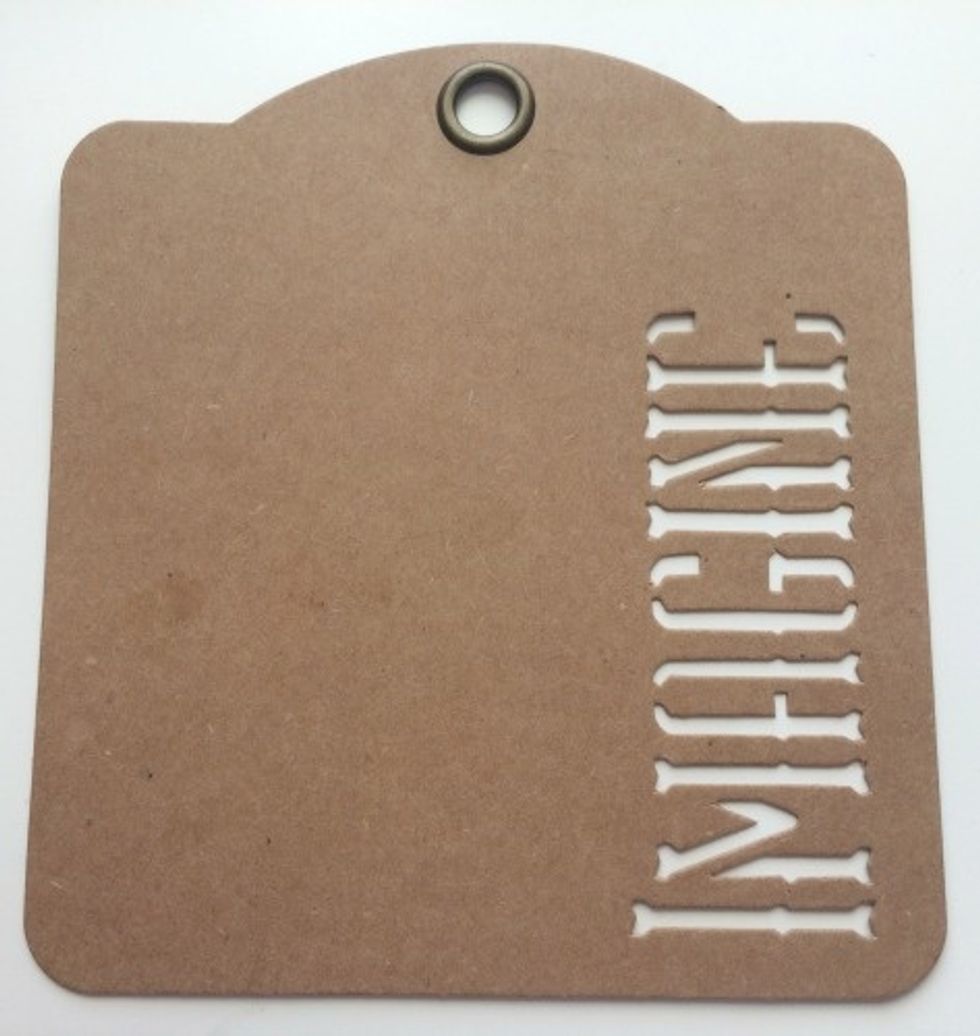
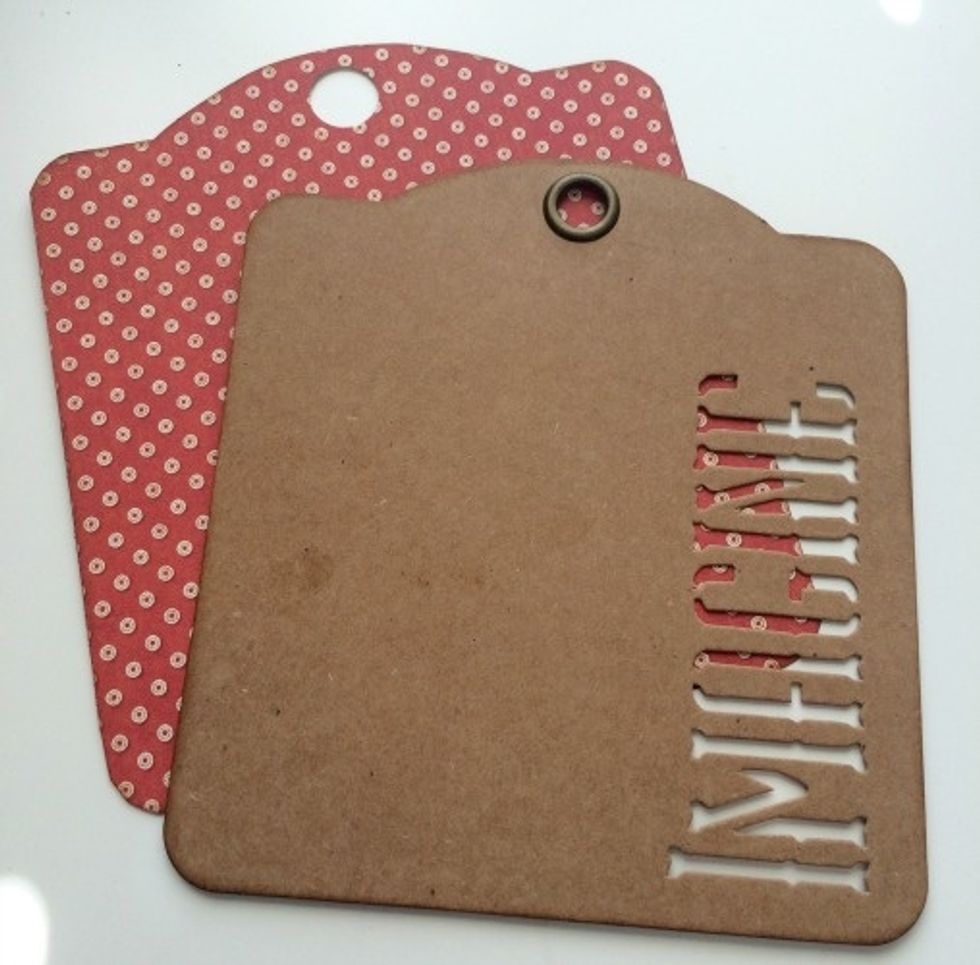
From the Create, Inspire, Imagine Kraft Tags, you'll need to pull one Imagine kraft tag out.
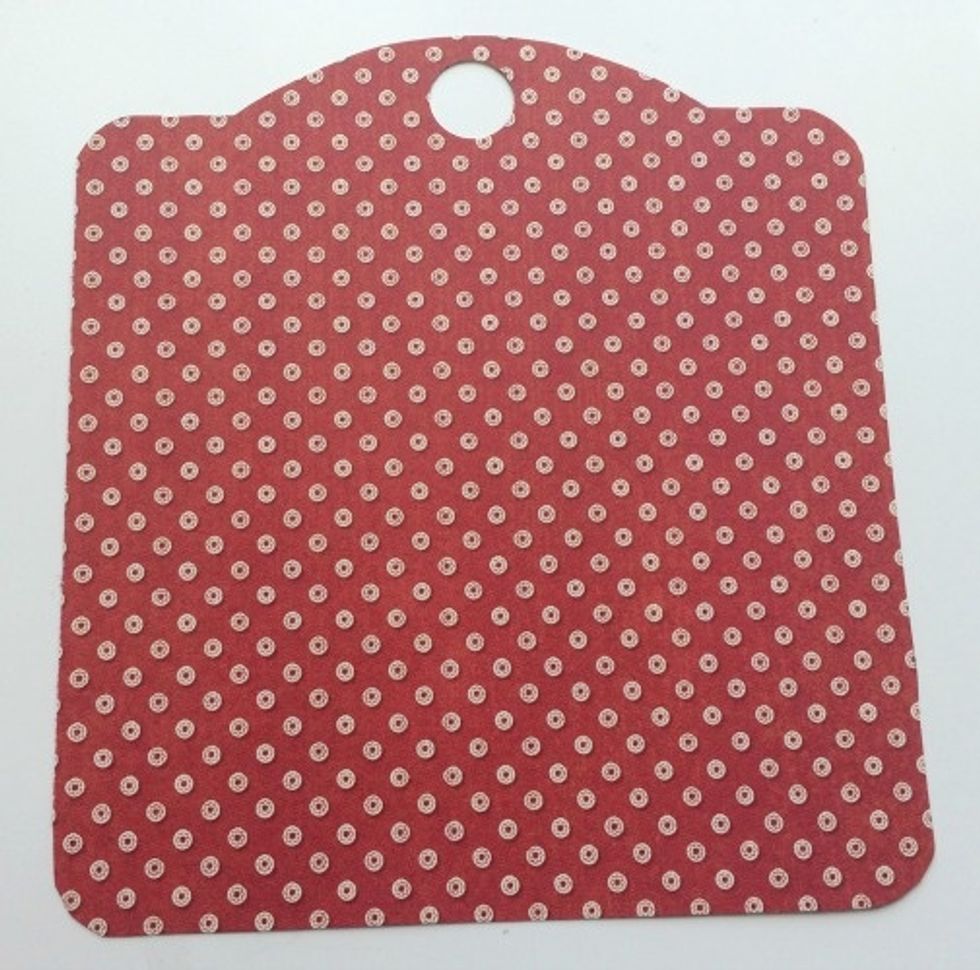
From the leftover September Montage paper, trace the kraft tag onto the red and white dot paper. Make sure to mark where the eyelet is and then punch out the hole with a 1/2" circle punch.
Edge distress all the cut apart pieces except the fussy cut images. With a blending tool, apply Vintage Photo ink to the cut aparts and fussy cut images.
With a blending tool, apply Vintage Photo Ink to the Imagine Tag as well as the red and white dot patterned tag image.
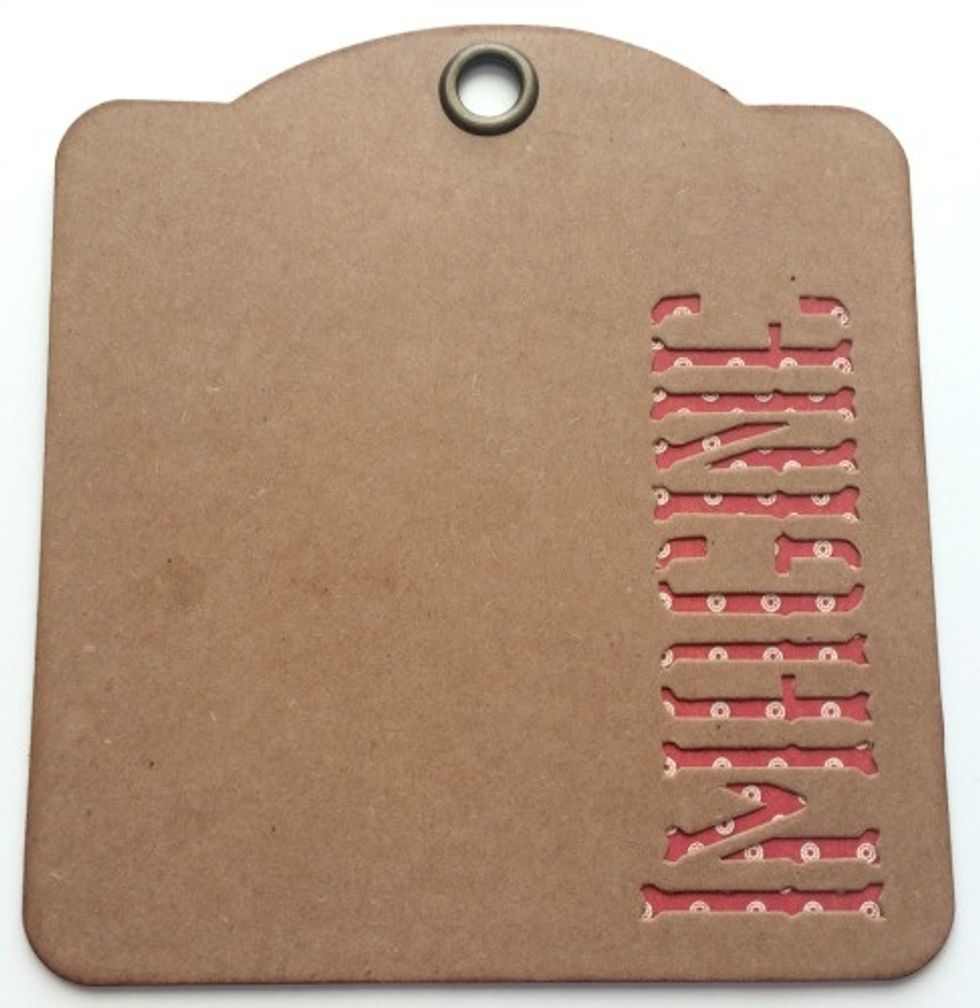
Adhere the kraft Imagine tag over top of the the red and white dot paper tag.
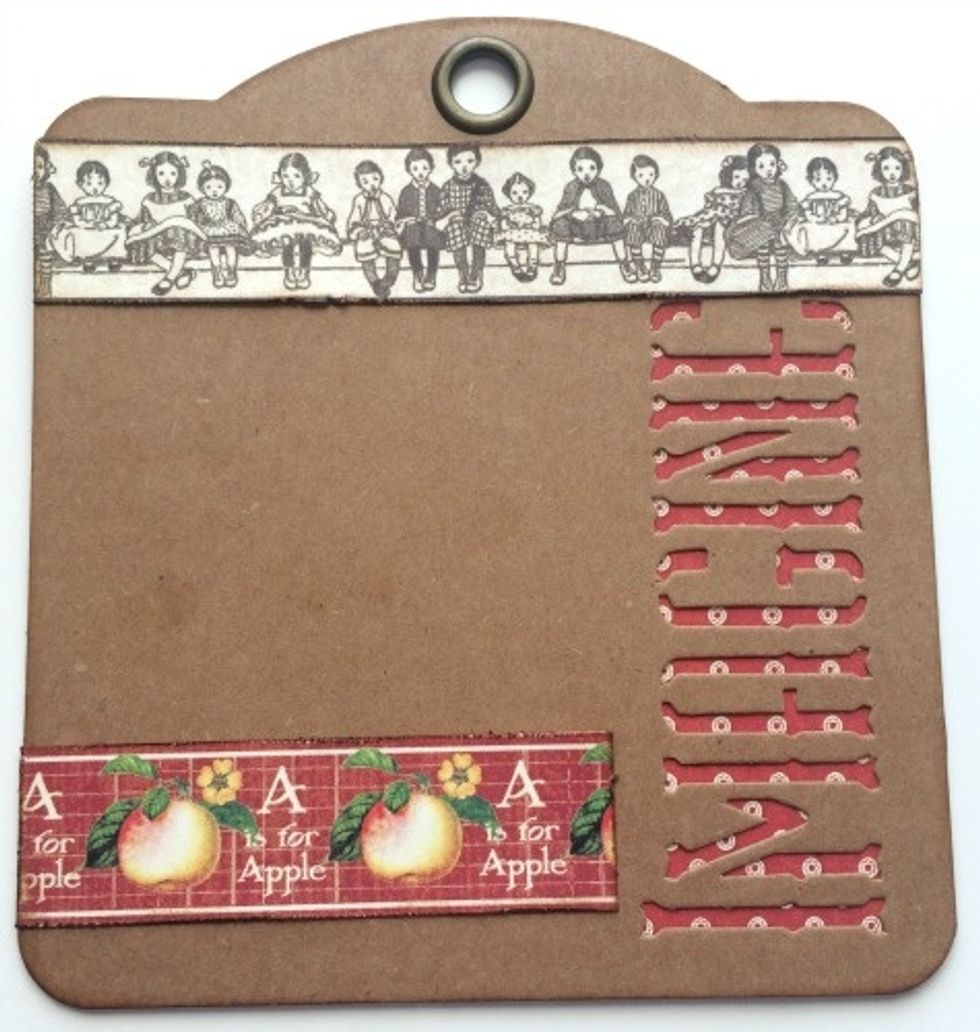
Adhere the children border to the top of the tag. Make sure it sits slightly underneath the eyelet. Adhere the apple border 1/4" from the bottom of the tag. Make sure the border is right to the edge.
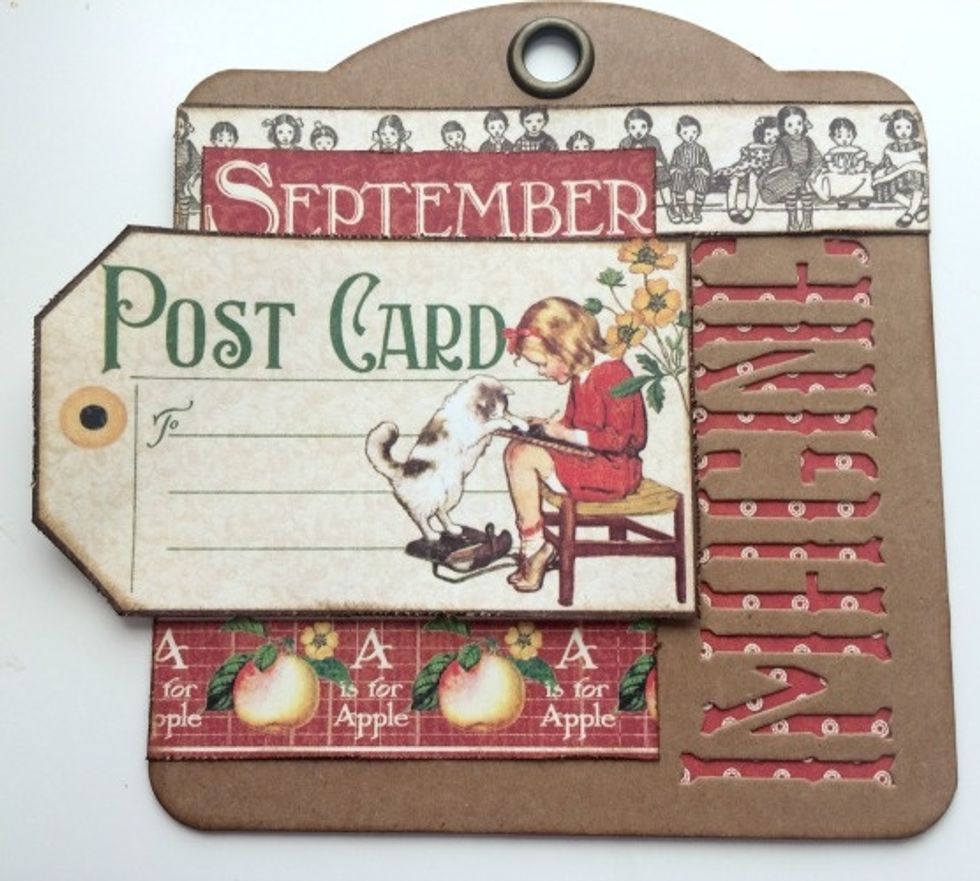
Adhere the September word 1/4" from the left of the tag and 1/2" from the top of the children border. Use foam squares to adhere post card slightly over the apple border and underneath the September.
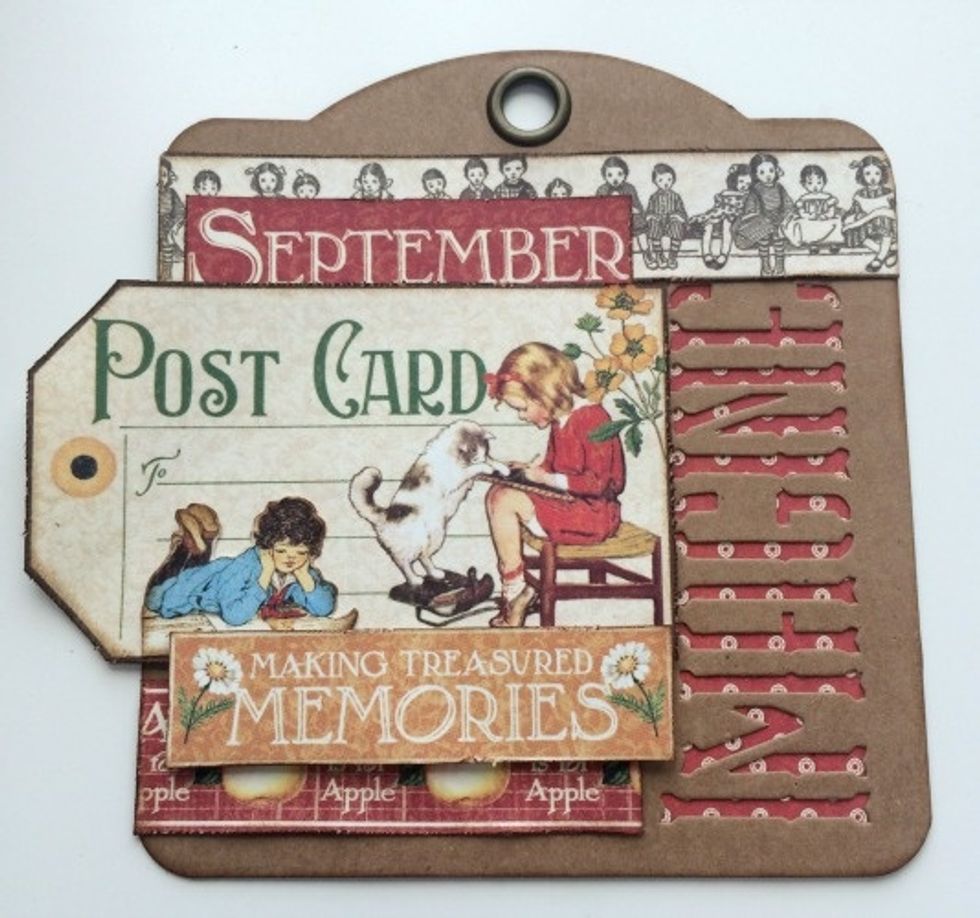
Use foam squares to adhere the making memories over top on the right hand side of the post card. The sentiment will cover parts of the apple border.
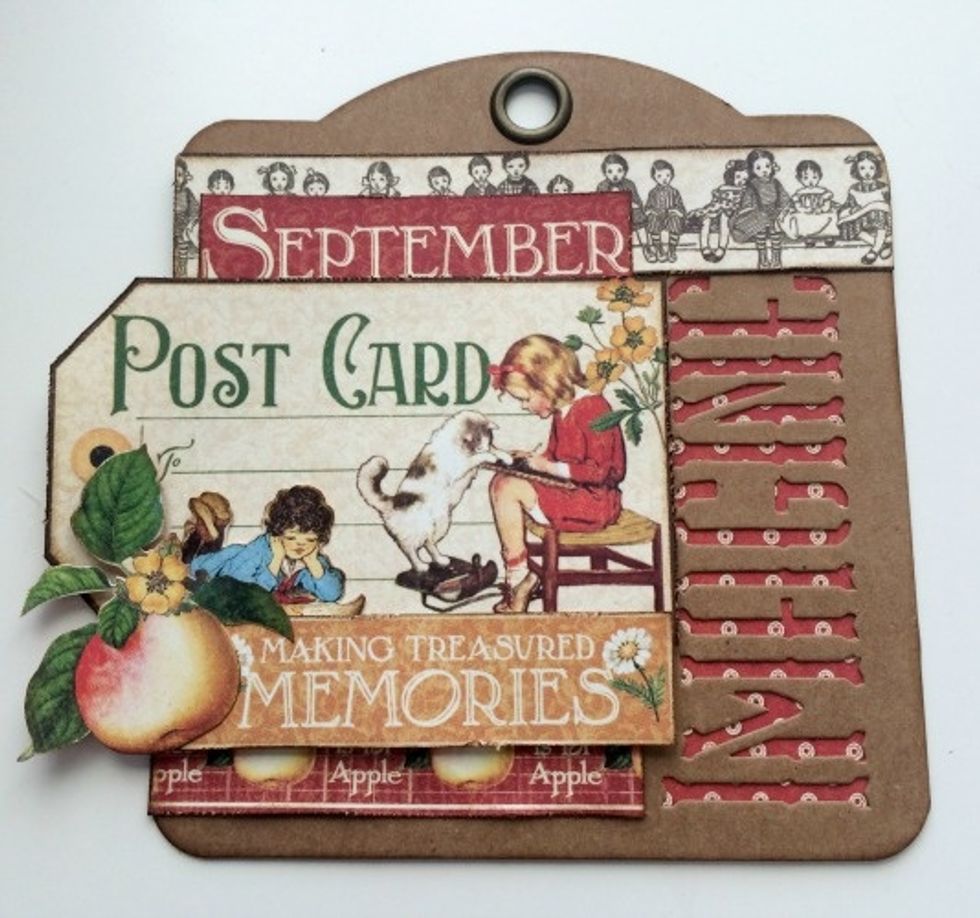
Adhere the girl reading to the left of the cat and at the bottom of the post card. Use a couple of foam squares to adhere the apple to the left of the making memories sentiment.
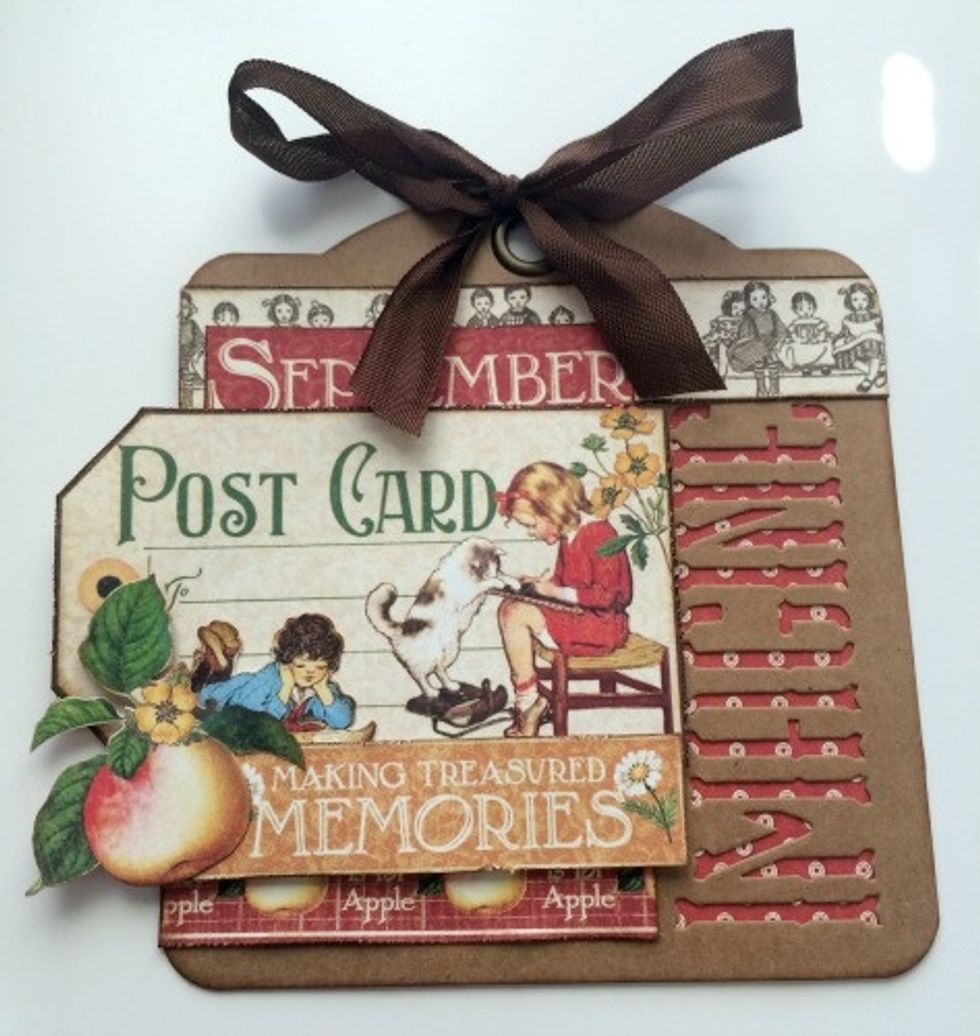
Using the brown seam binding ribbon and tie a bow at the top of the tag.
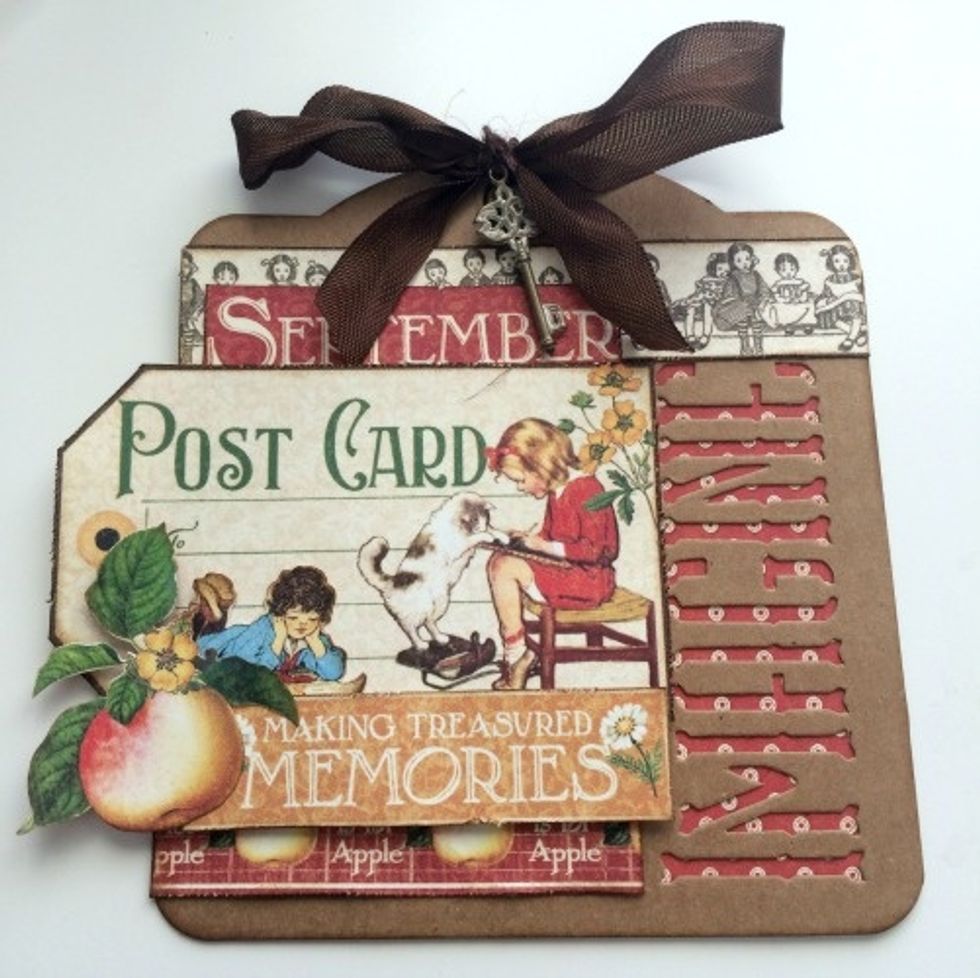
To finish the tag, use brown twine to tie the key to the middle of the bow. Your tag is now complete!