The Conversation (0)
Sign Up
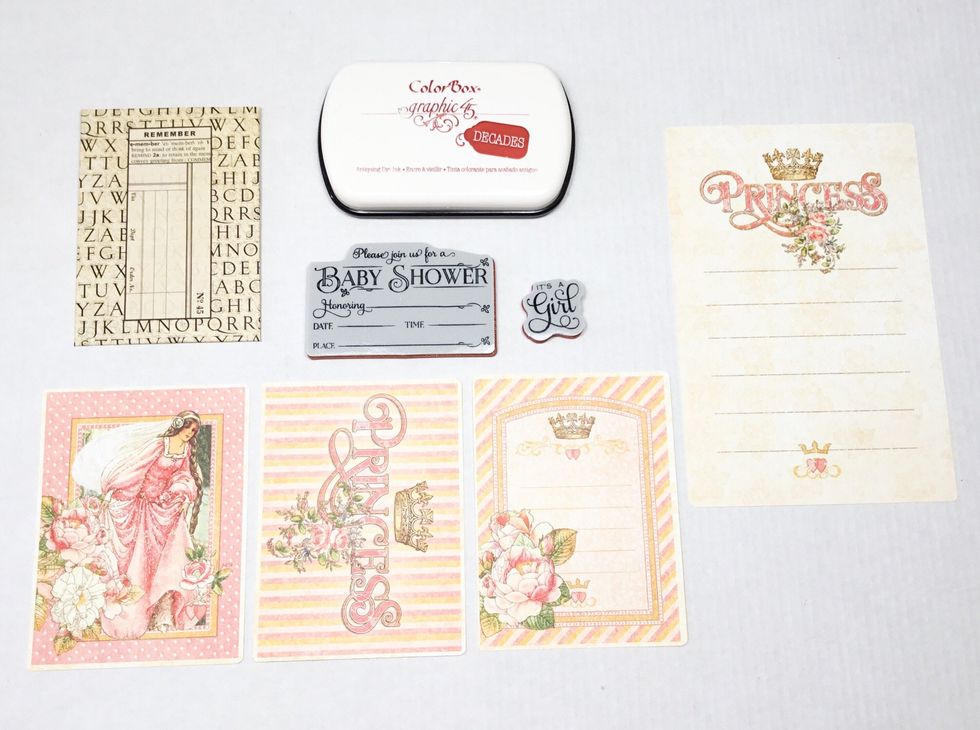
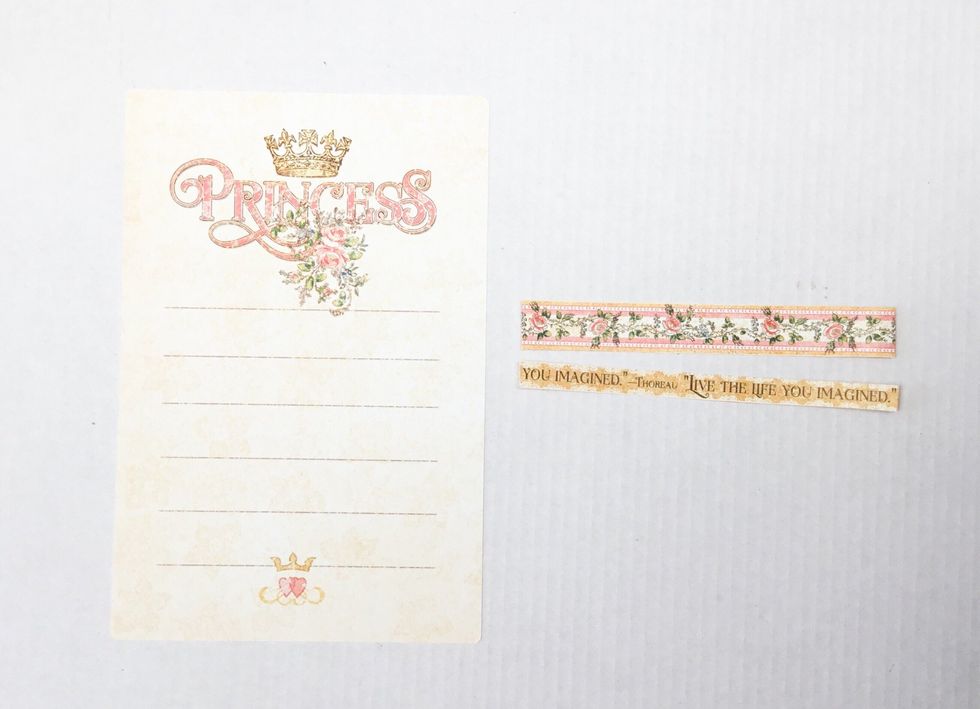
You will need these supplies as shown to complete the invitation.

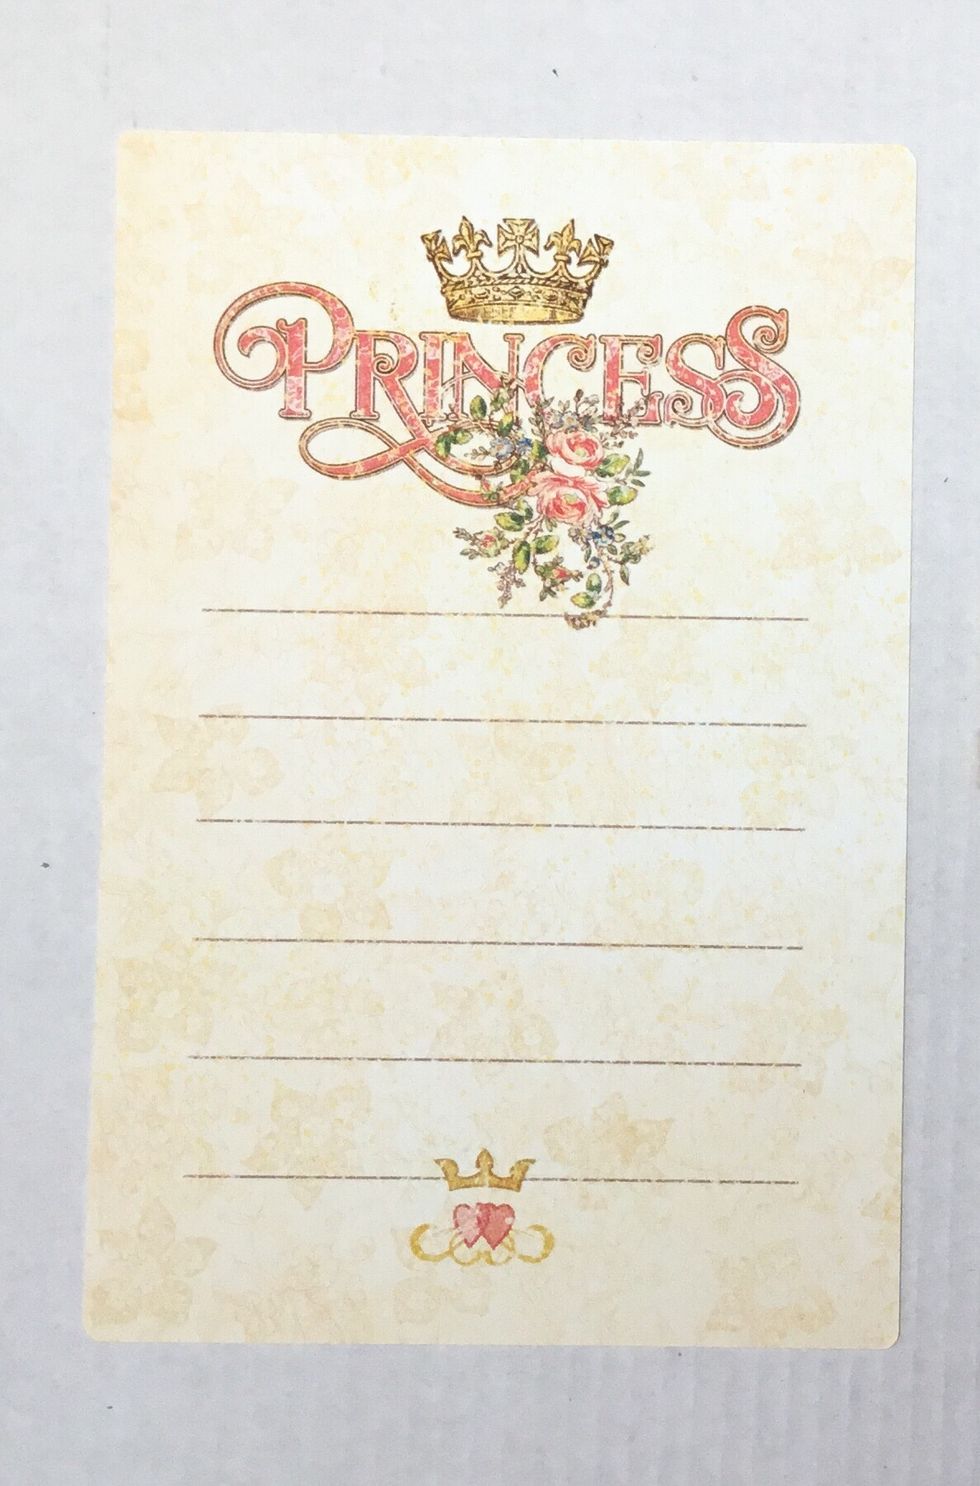
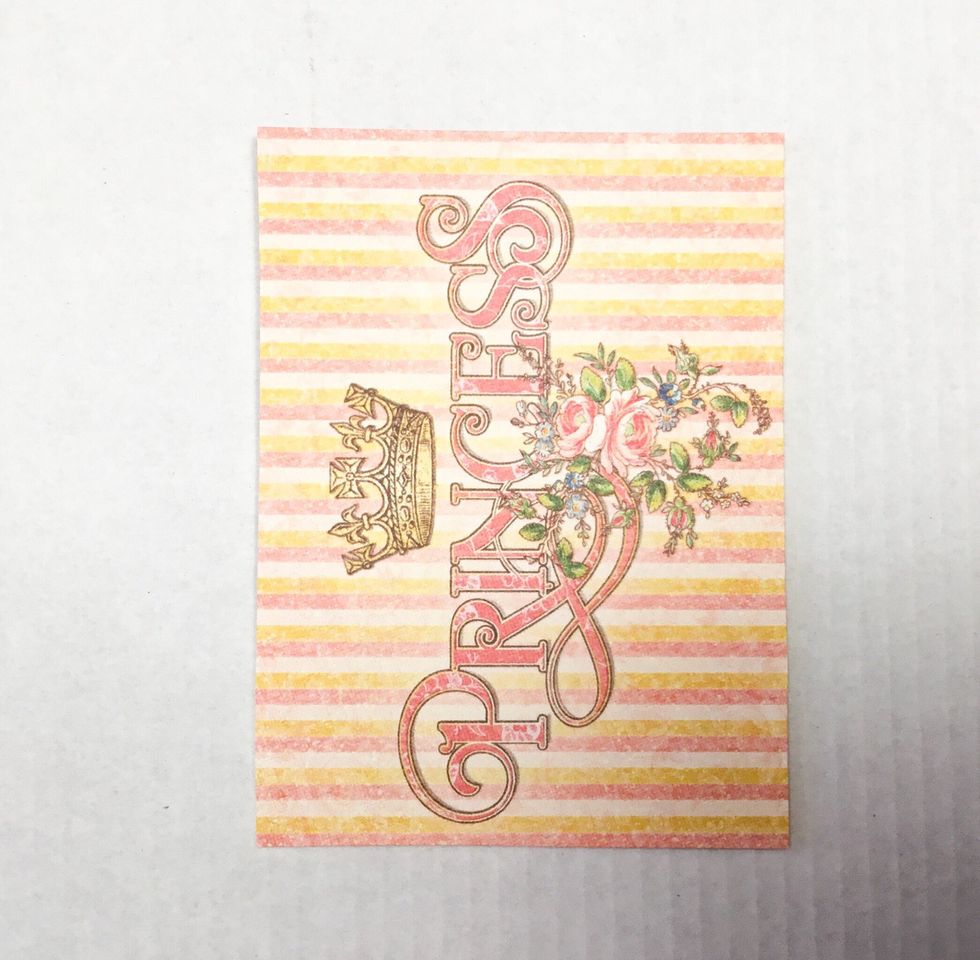
Locate and fussy cut the images shown from the Princess Title paper and the Princess Strip paper in the 8x8 paper pad.
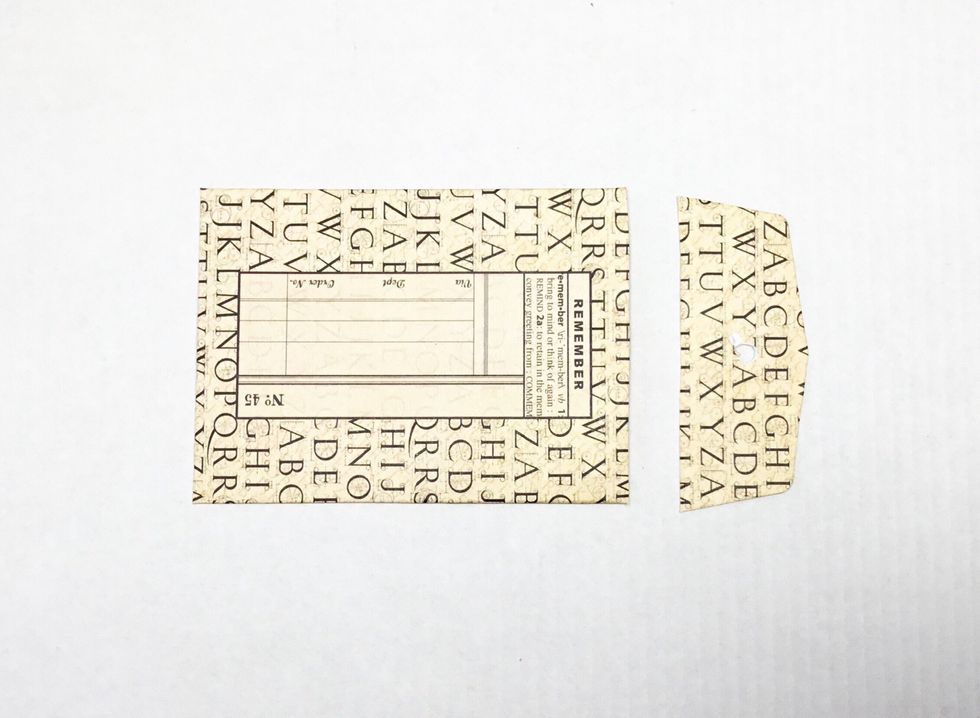
Cut the flap off of the ATC envelope.
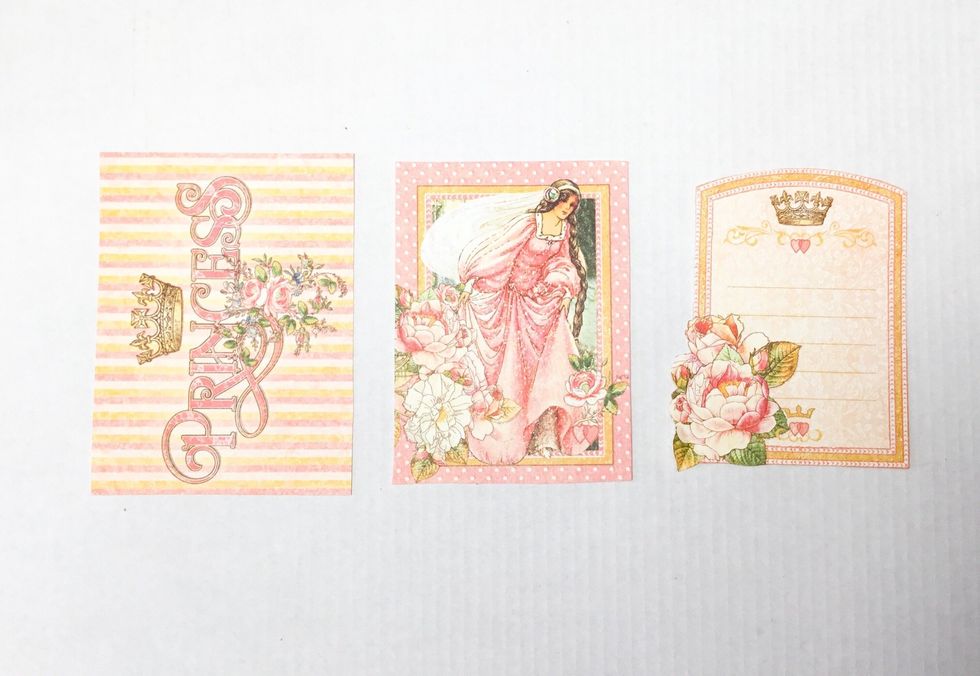
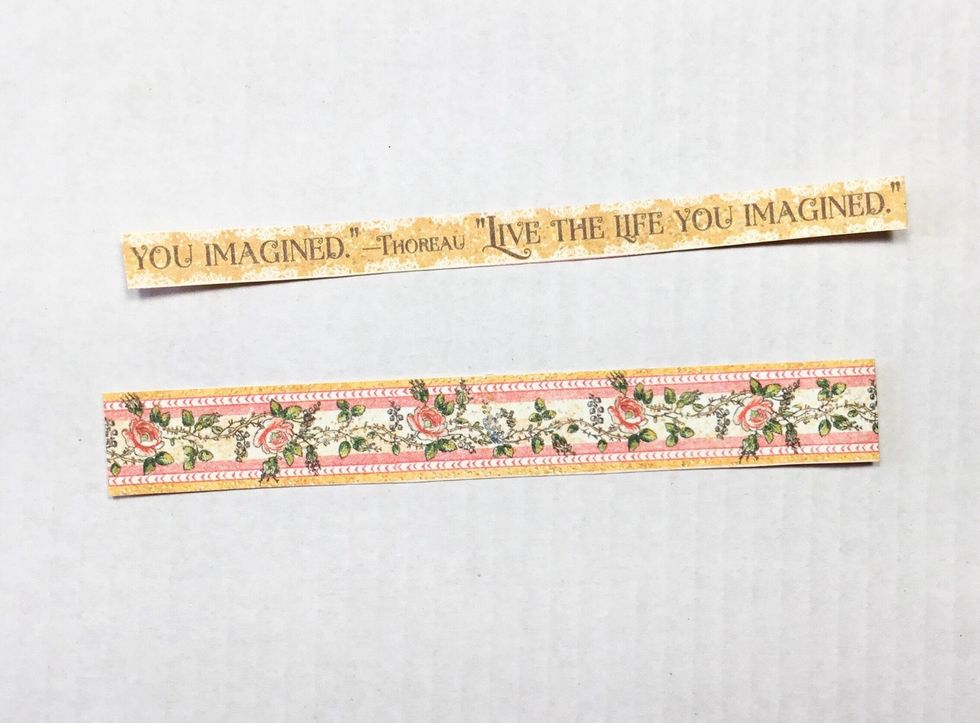
From the striped card on the left trim off the white border edge, from the centre one cut 5mm from each edge and then fussy cut the centre design from the card on the right as shown.
If cut correctly they should layer nicely as shown created a layered border.
Gather these supplies.
Create the invitation pull using these 2 border strips.
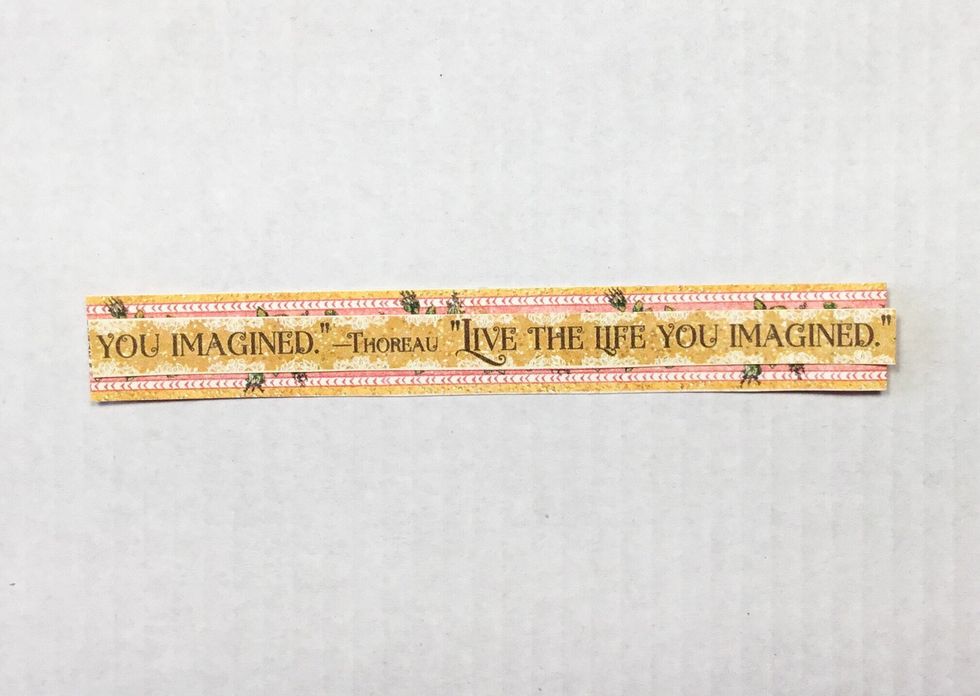
Layer as shown.
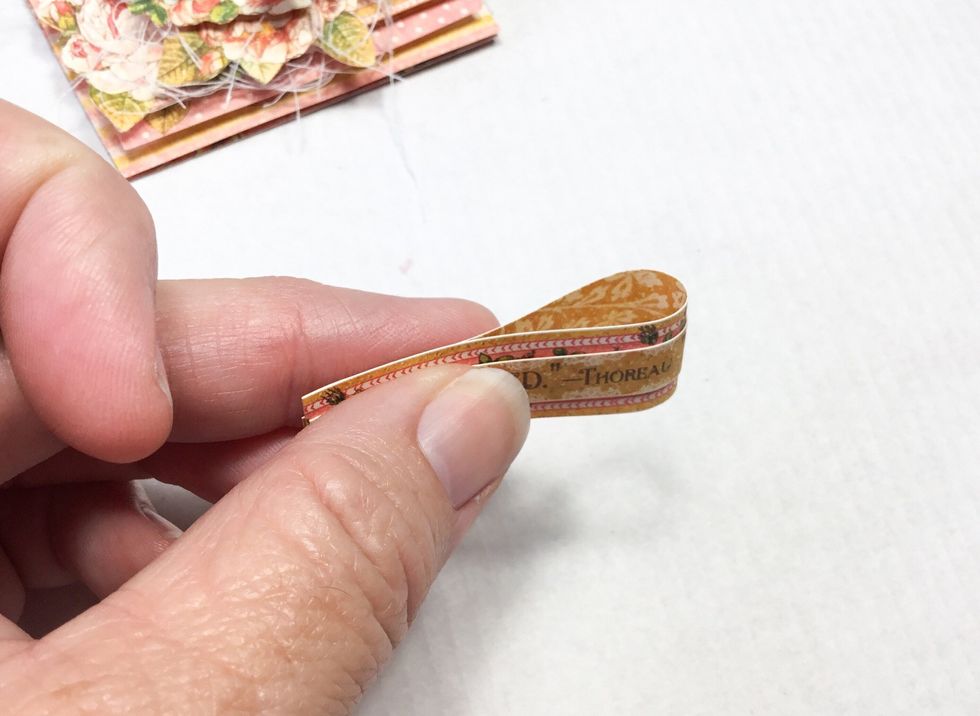
Fold as shown.
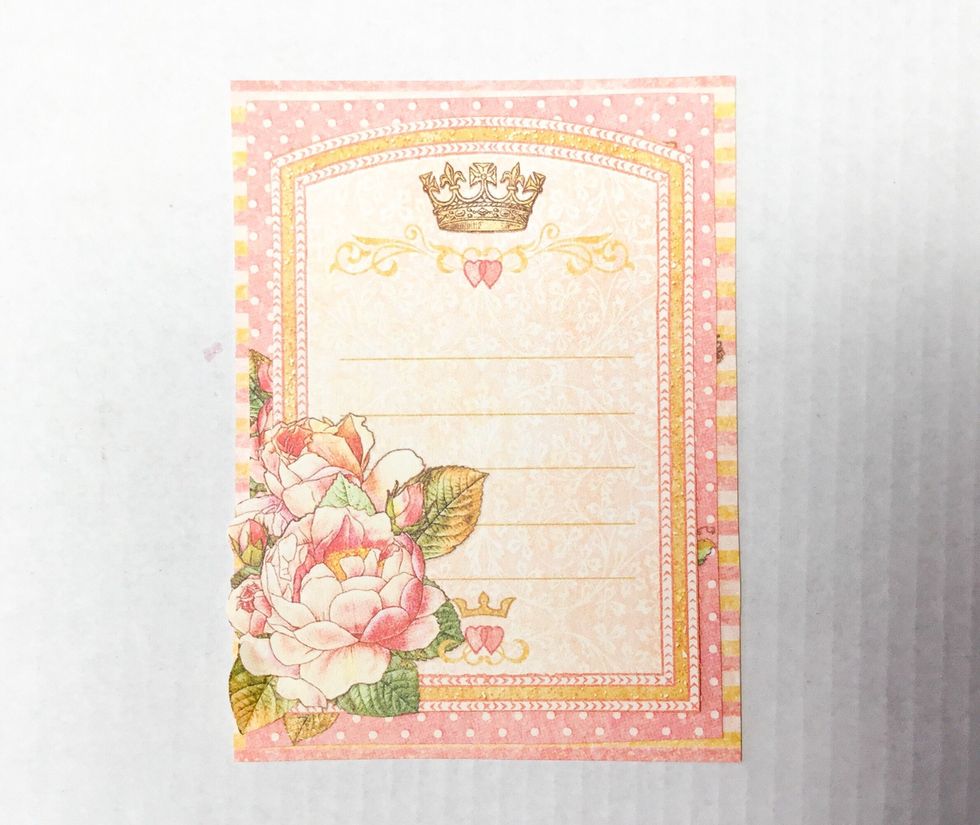
From the large card you will need to trim about 5mm off of each edge to allow it to slide inside the ATC envelope.
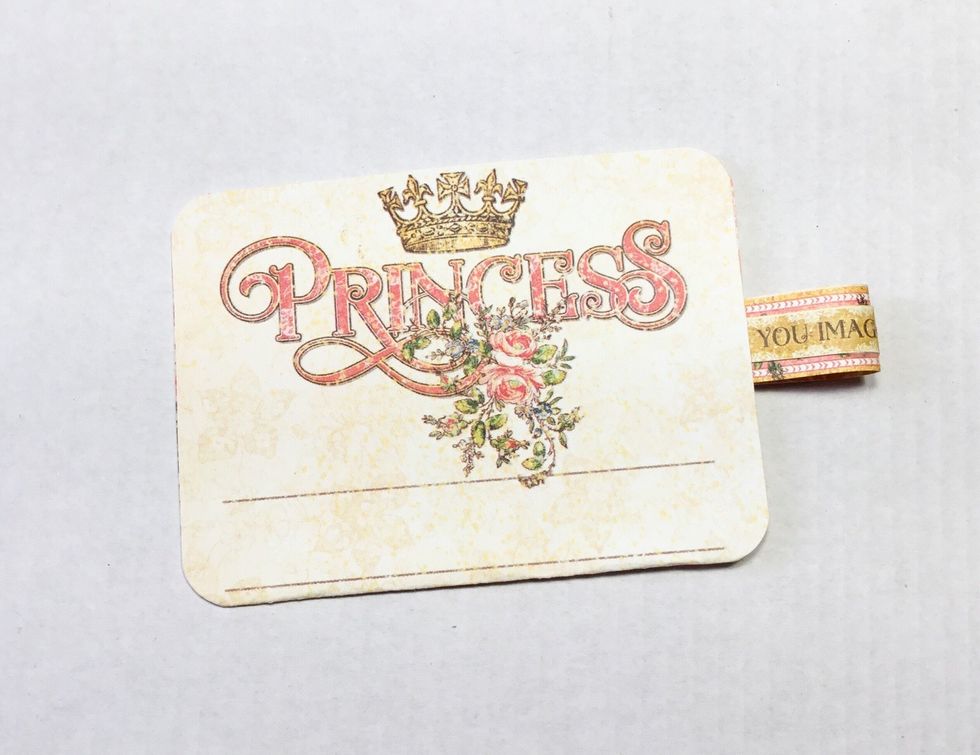
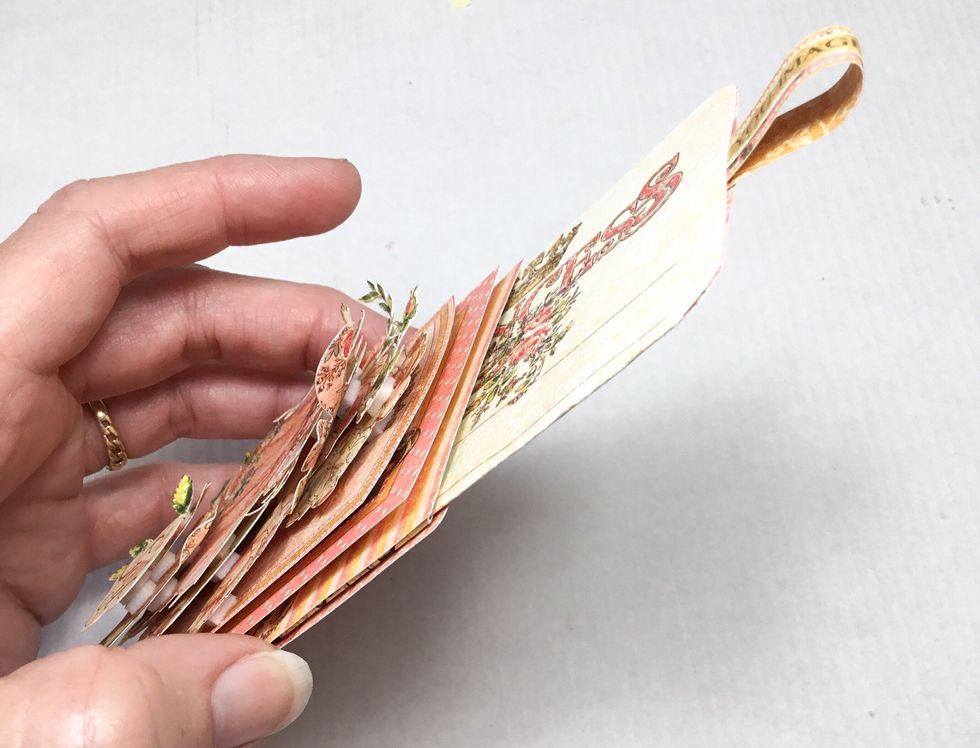
Once trimmed fold the card in half and then before you glue together attach the tag pull you created to the centre of it as shown. Then round the corners of the folded card.
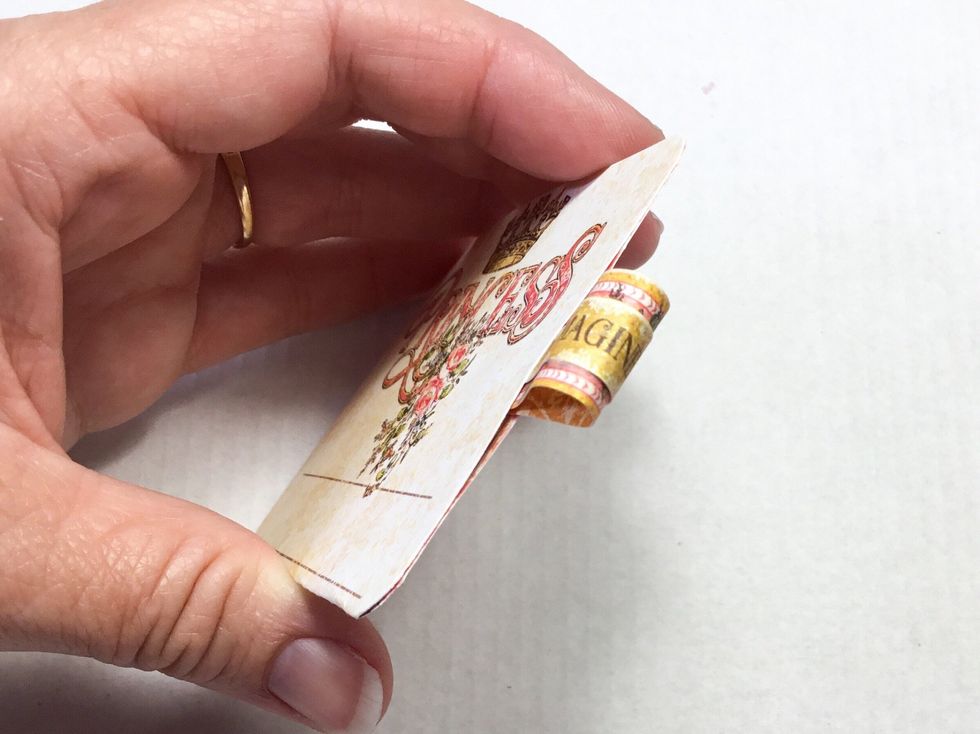
Showing how to glue in the tag pull.
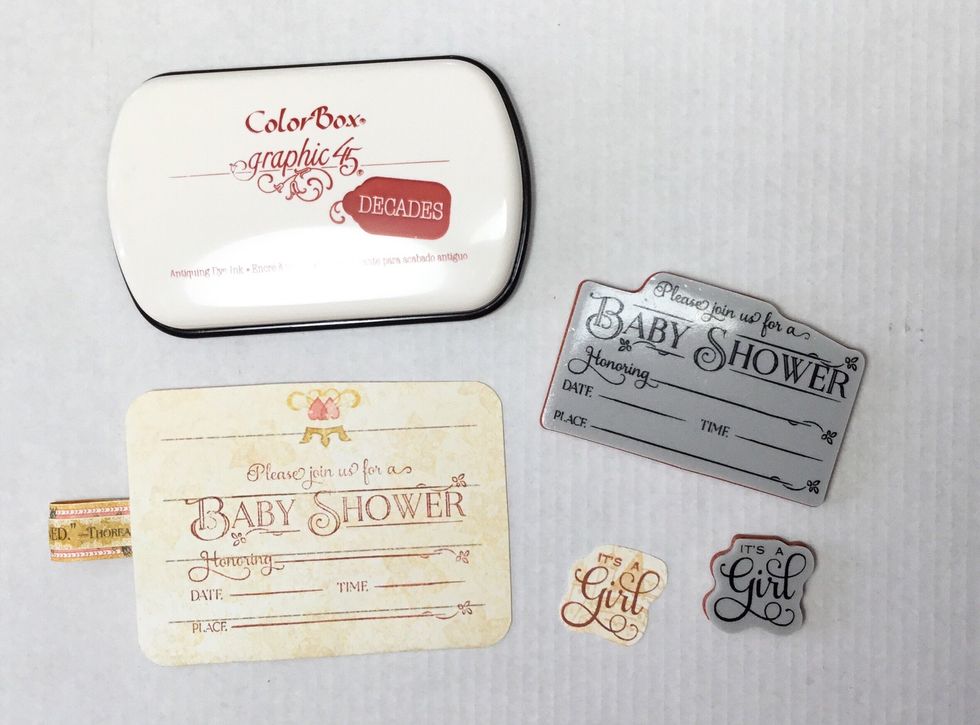
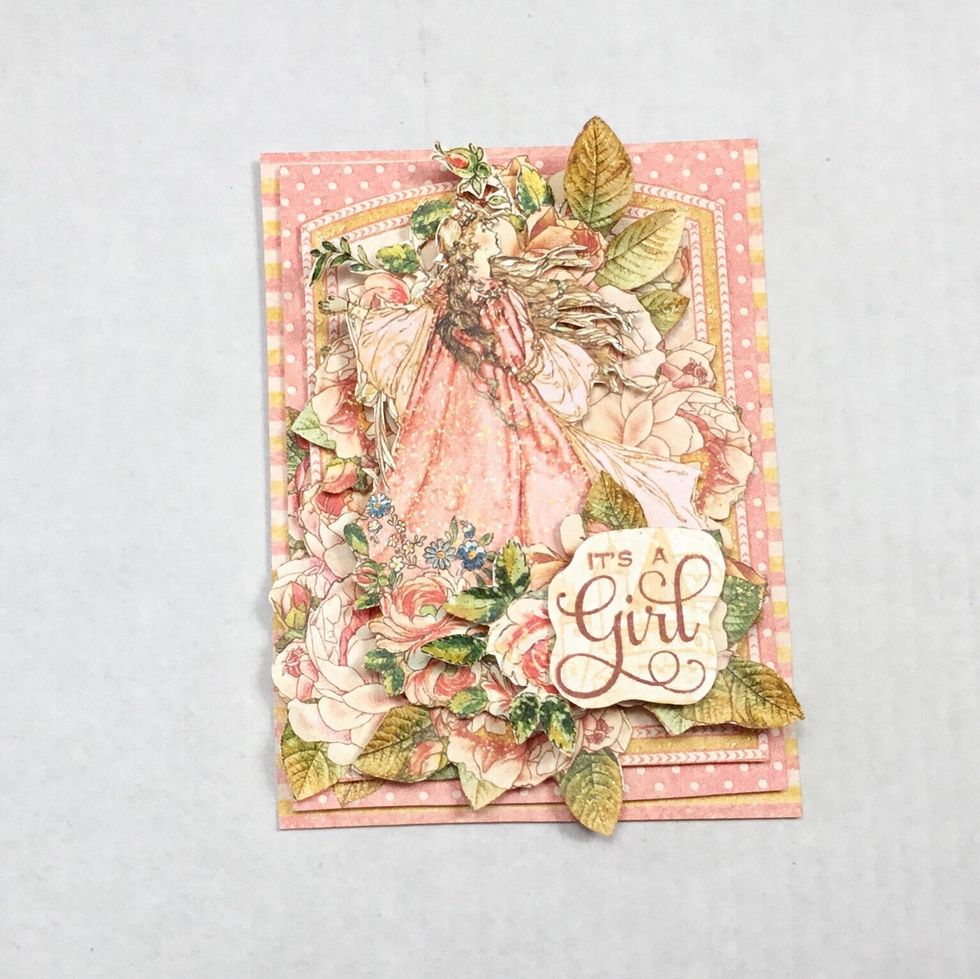
Now the centre card is finished turn over and using the baby shower invitation stamp and Decades ink stamp onto the the card as shown. While stamping also stamp the It’s A Girl onto paper and cut out.

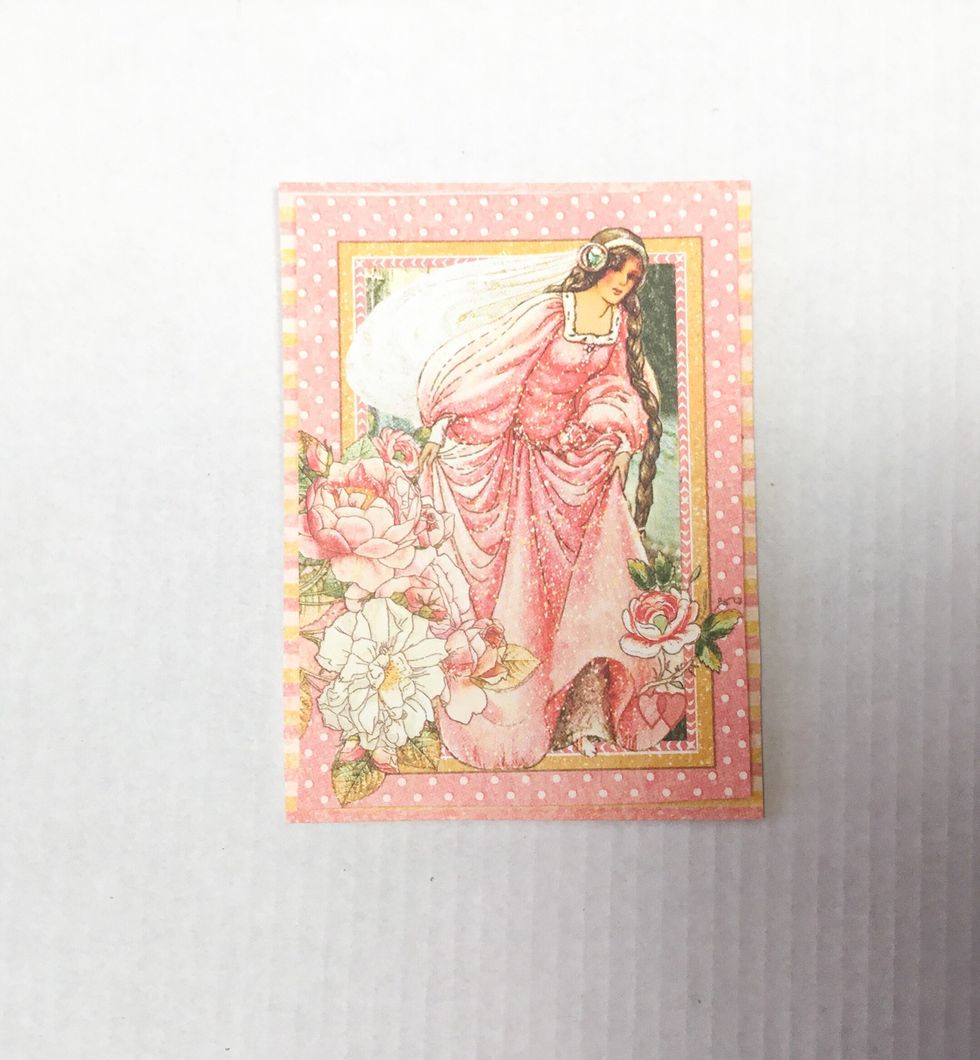
Time to start layering. Continue through the following steps to create the front of the envelope.
Layer 1
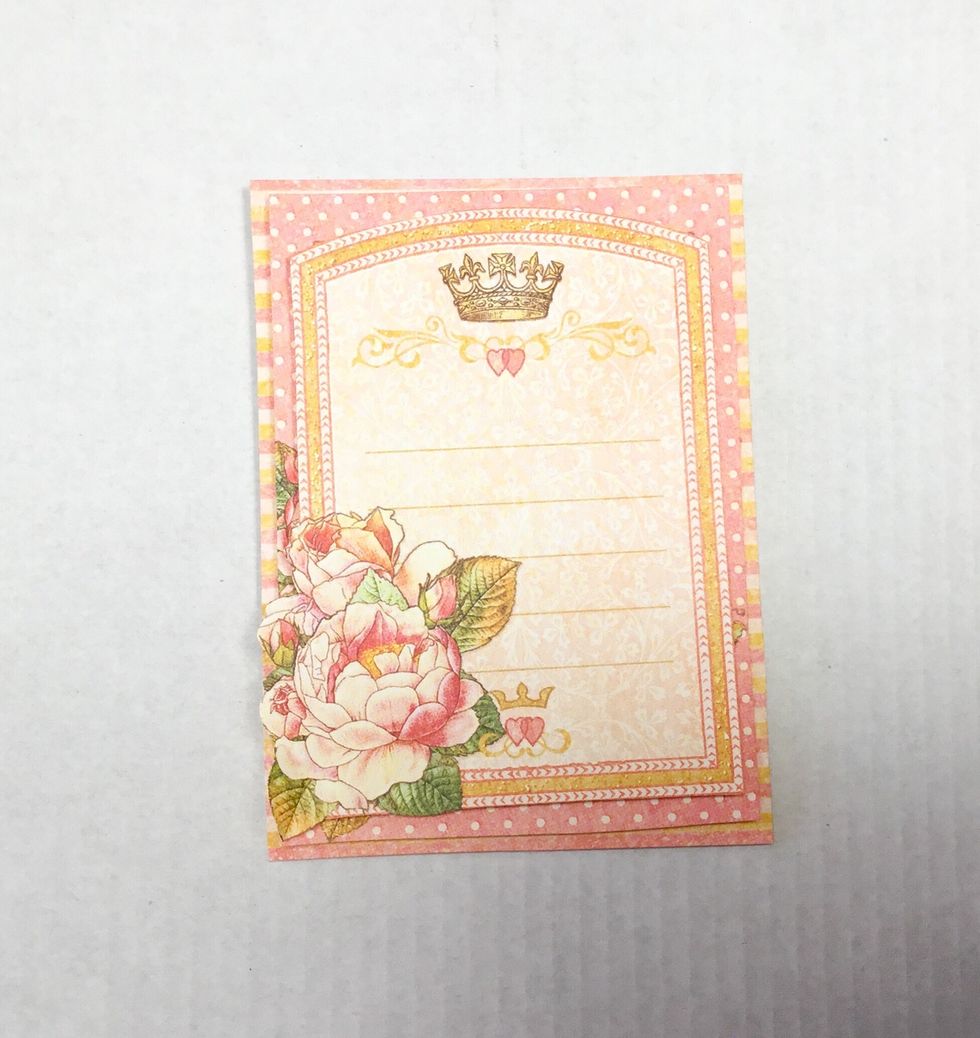
Layer 2
Layer 3
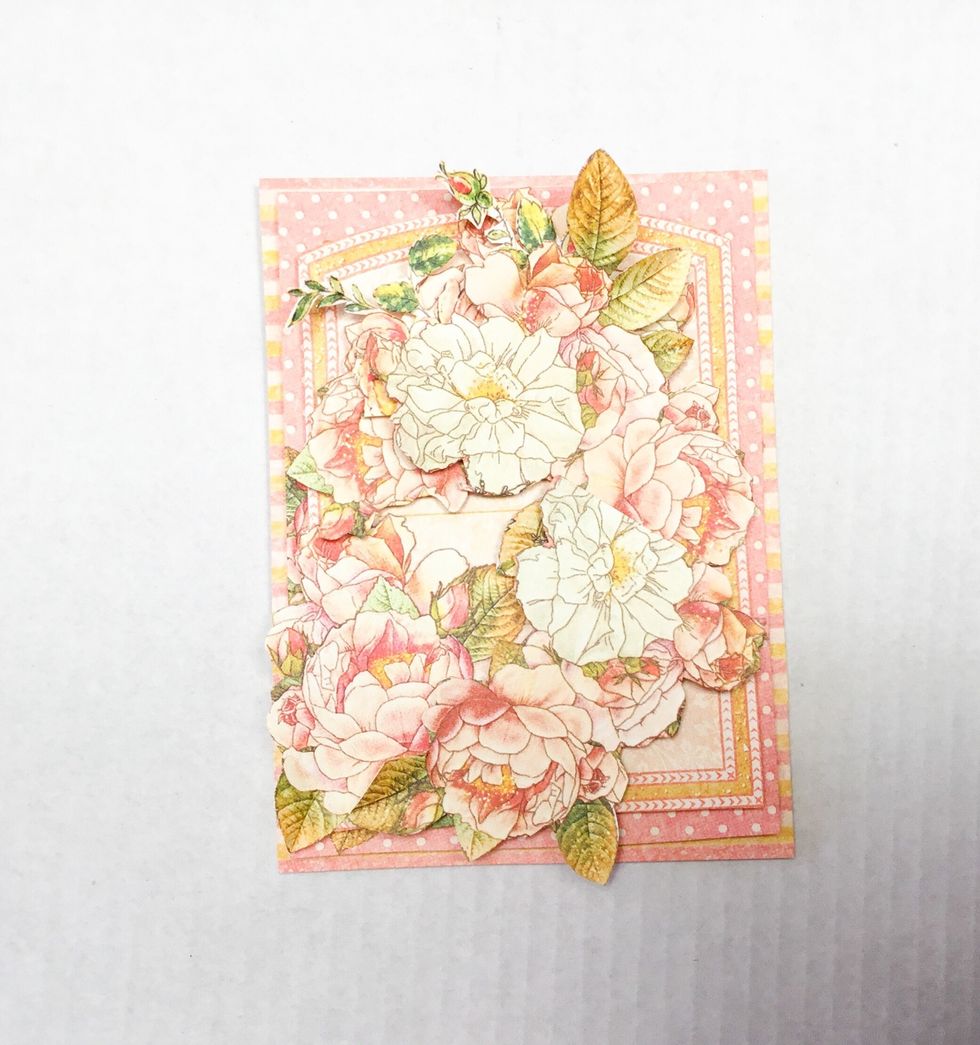
Layer 4
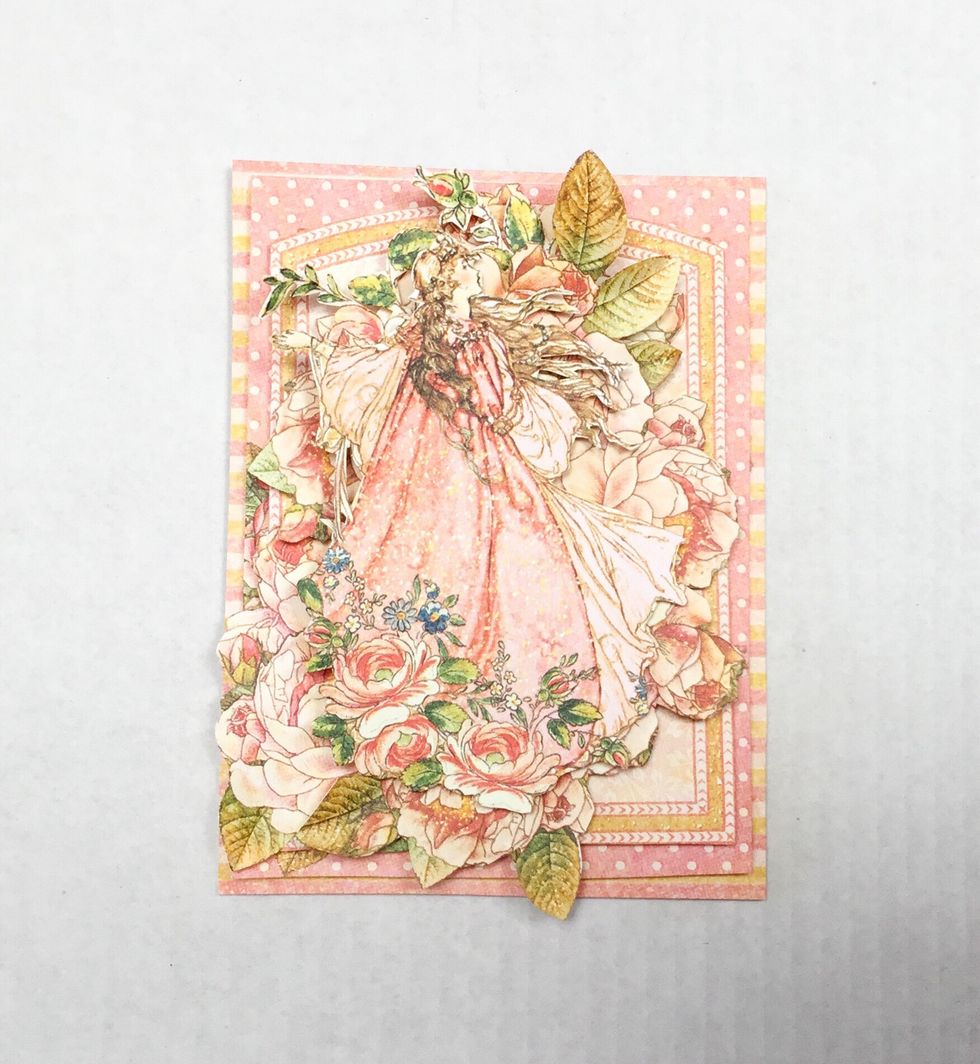
Layer 5
Layer 6. Final layer and the front of the envelope is finished.

Cut out and attach the pattern paper of your choice to the back of the envelope.
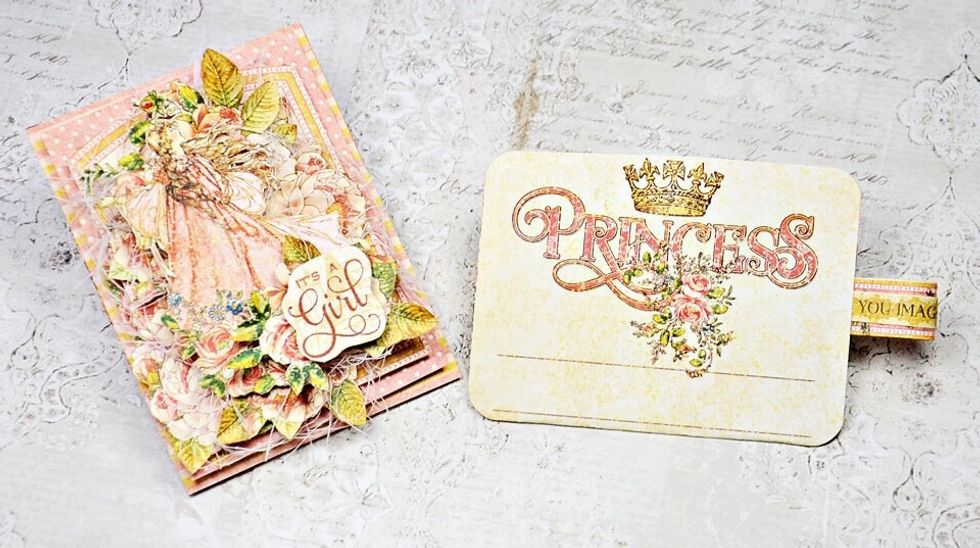
Slide in the centre card and your invitation is finished.

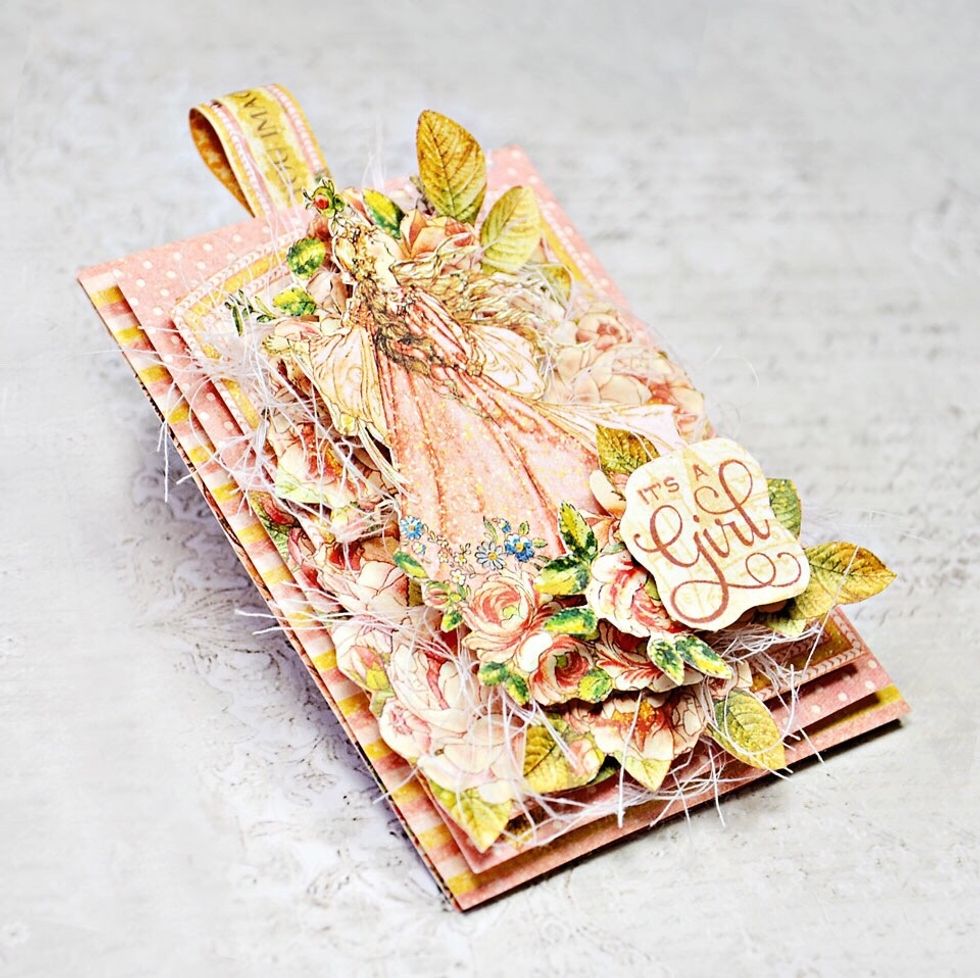
Now the invitation is finished it should be looking something like this.
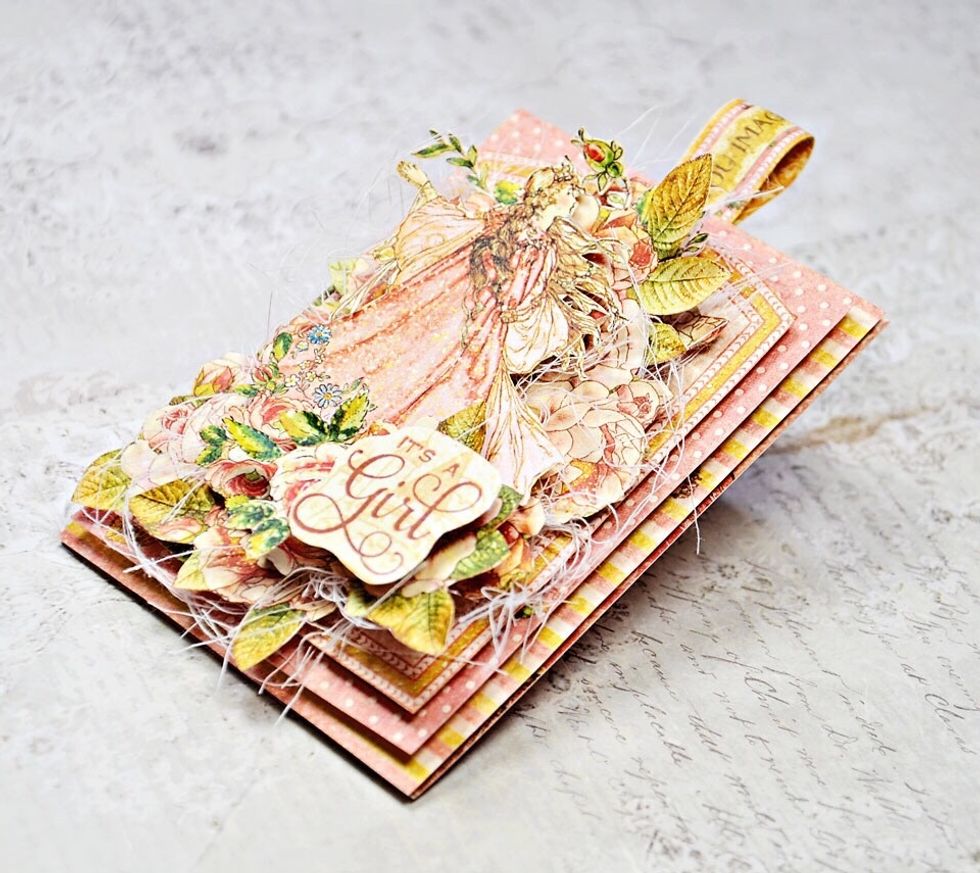
Some close ups.

I hope you have enjoyed my tutorial. Please visit my blog - www.scrappinforme.blogspot.com.au