The Conversation (0)
Sign Up
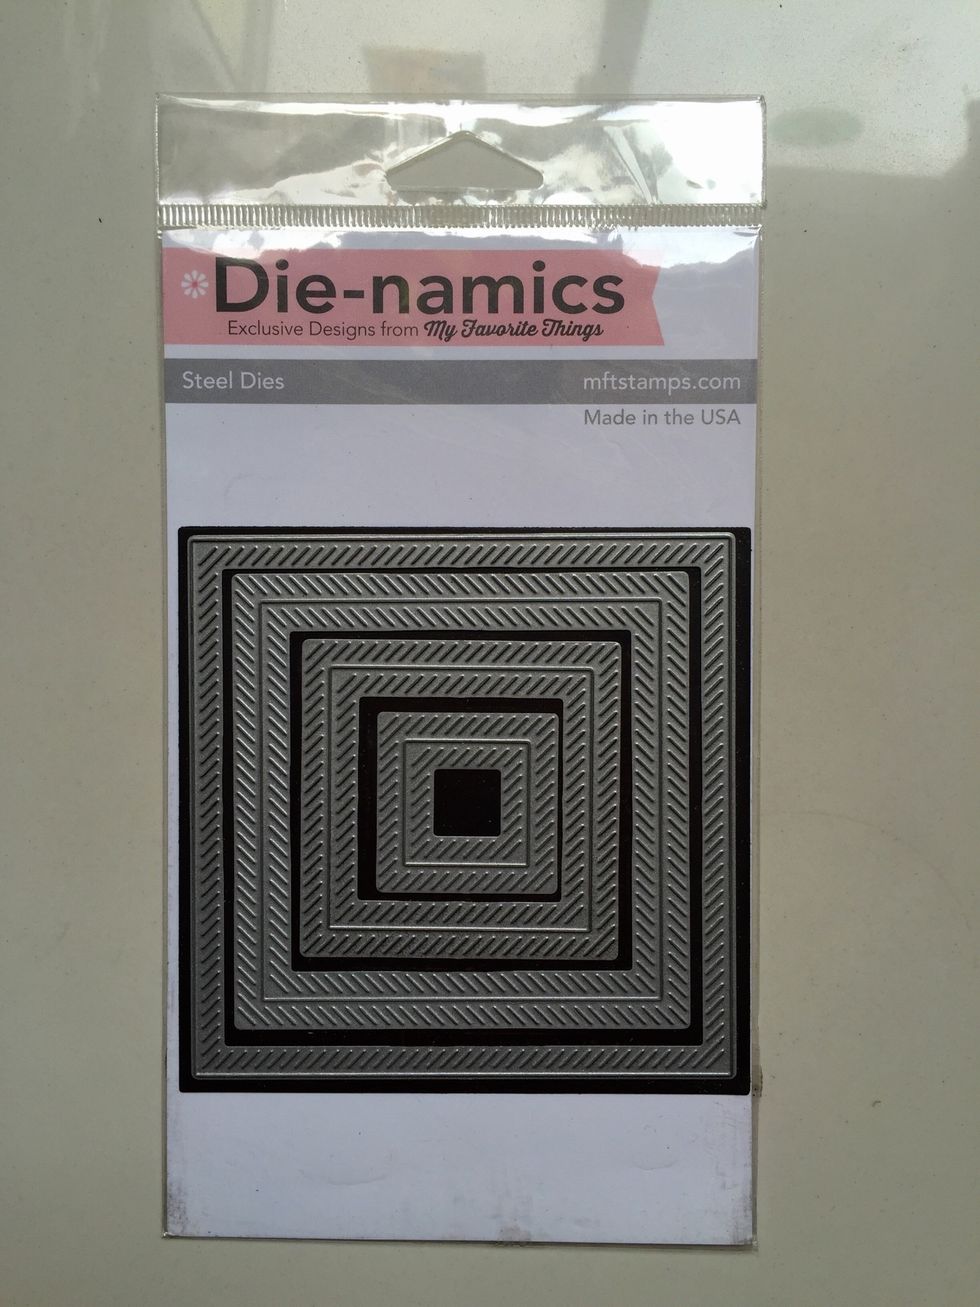
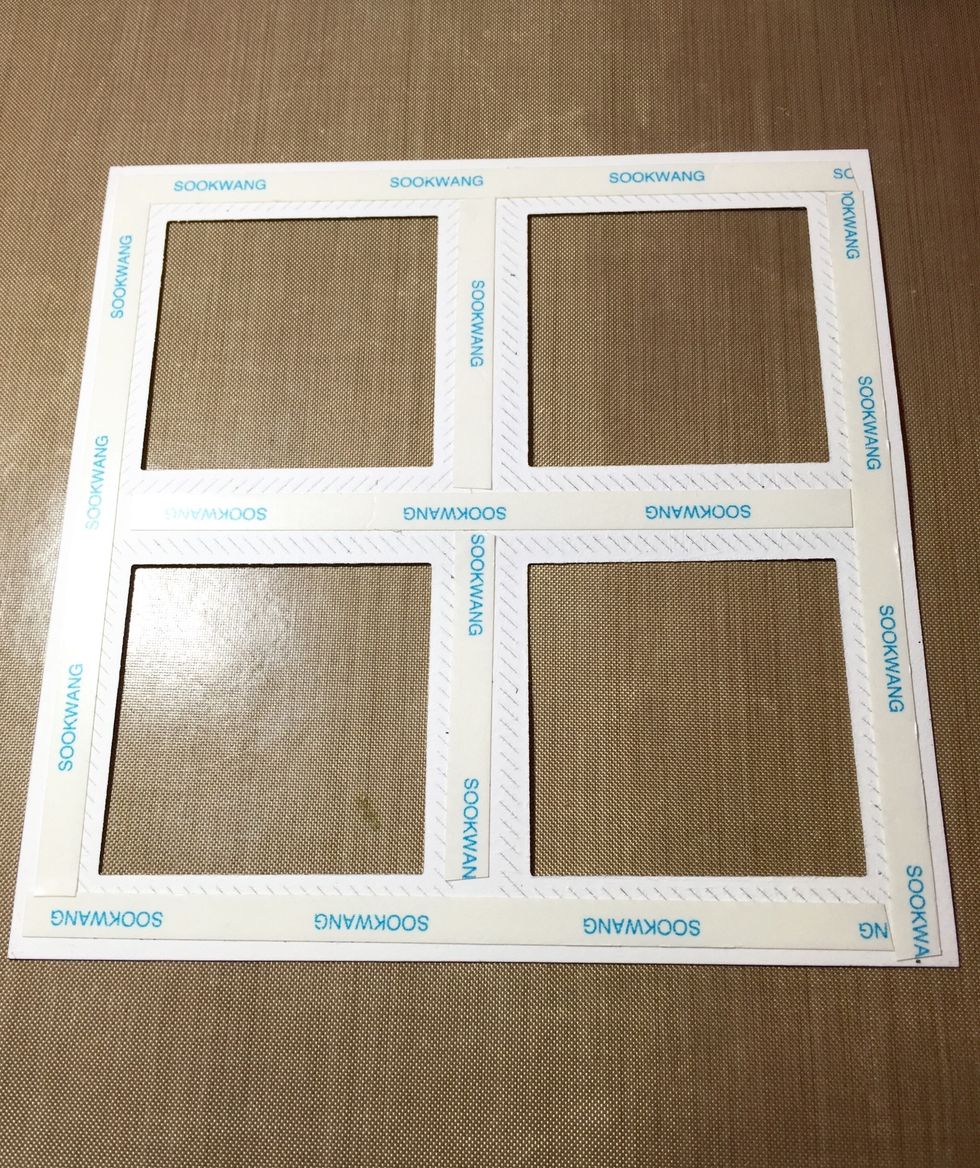
My Favorite Things die. Comes in 4 sizes. The stitches run on the edge of the cut square as well as on the negative edge. I'm using the 3rd smallest die
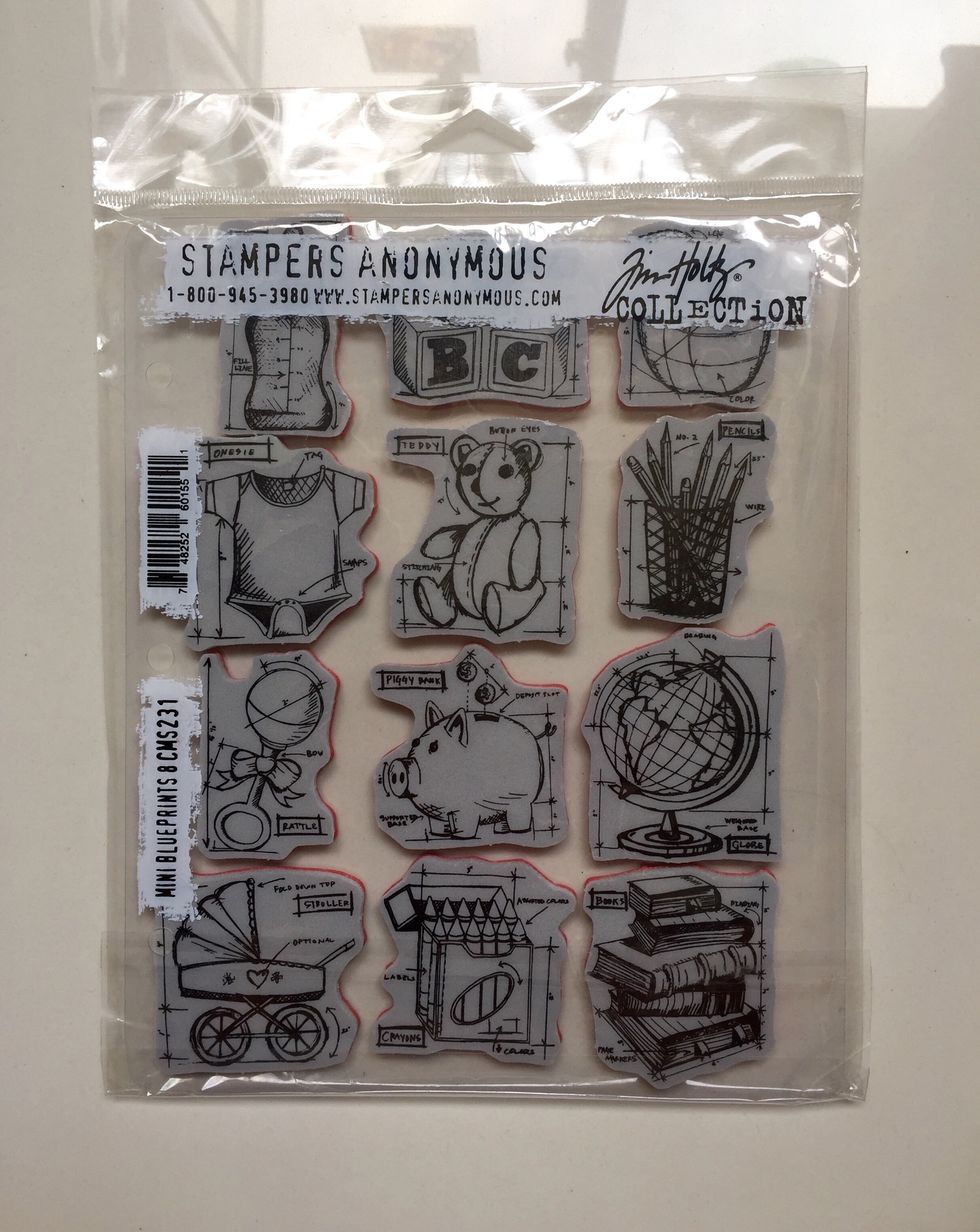
Tom Holtz stamp
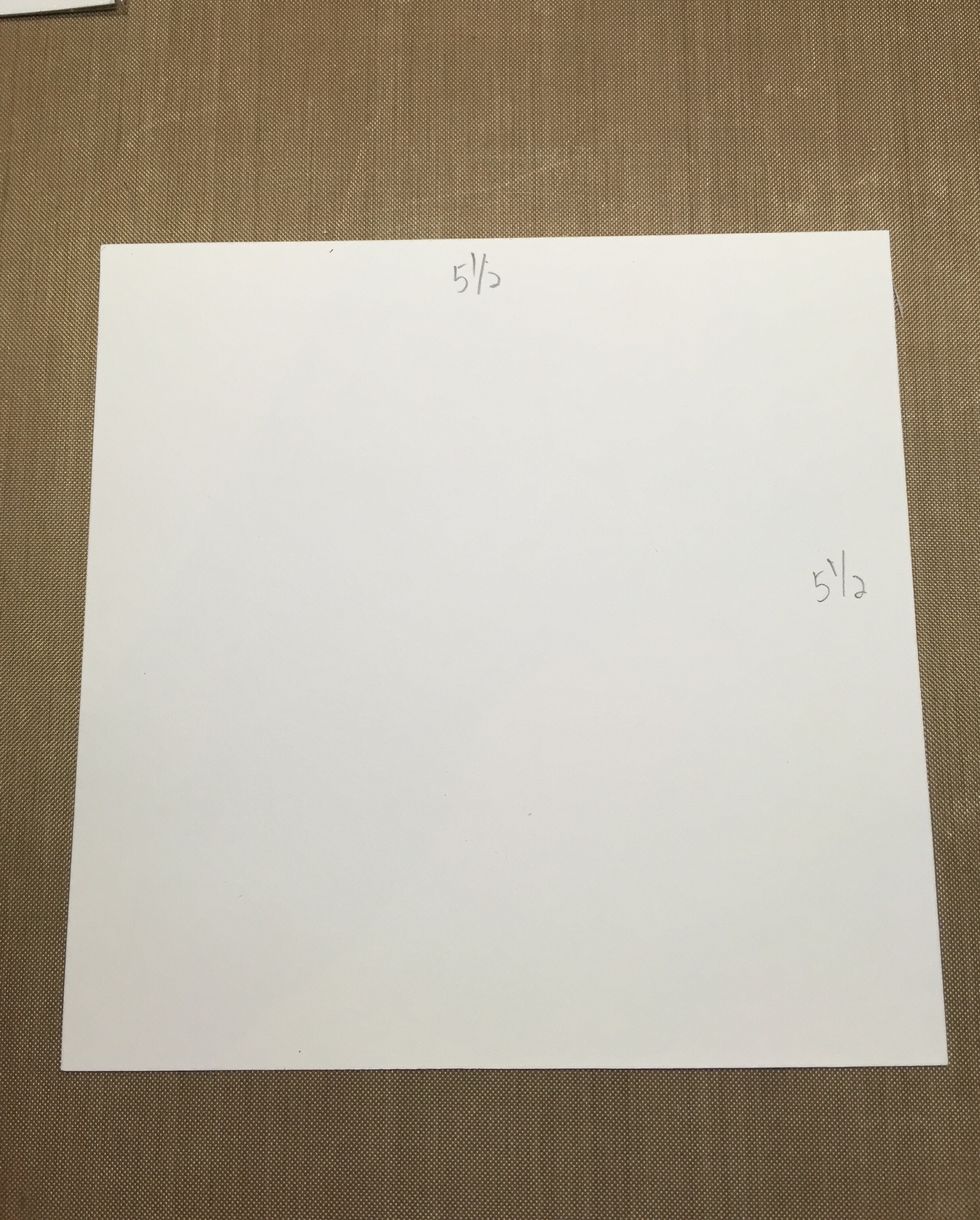
Cut a white cardstock at 5.5" x 5.5". That's the size I'm working on
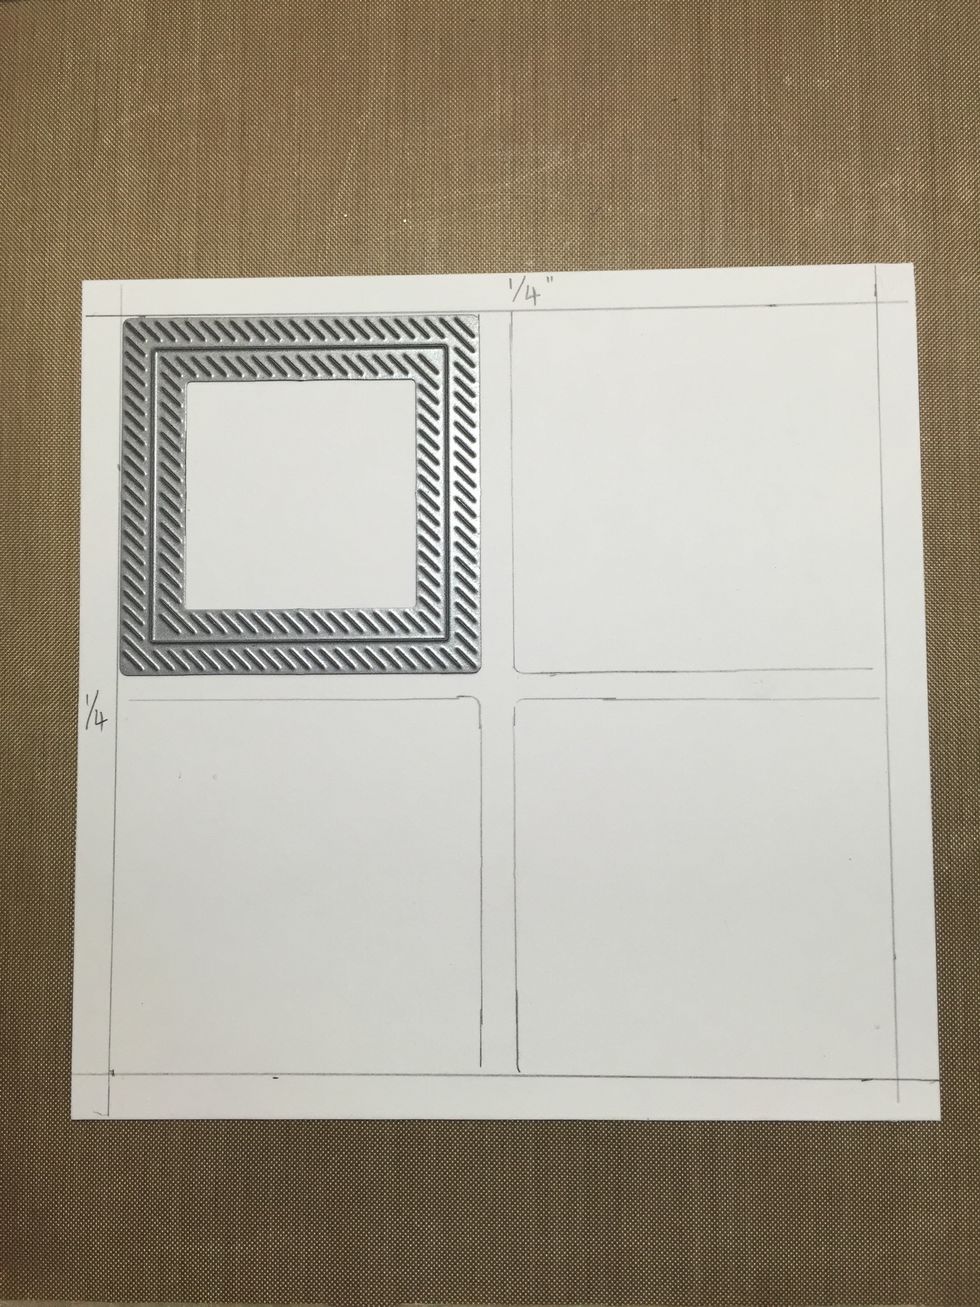
I wanted the dies to be in the middle of the paper so I'm leaving a border of 0.25" around the paper and using a pencil to denote where I'm cutting the 4 stitched dies

This is how it looks after cutting the 4 squares. Erase the pencil marks
Cut an acetate the same size at 5.5" x 5.5" and use scor tape to adhere to paper.
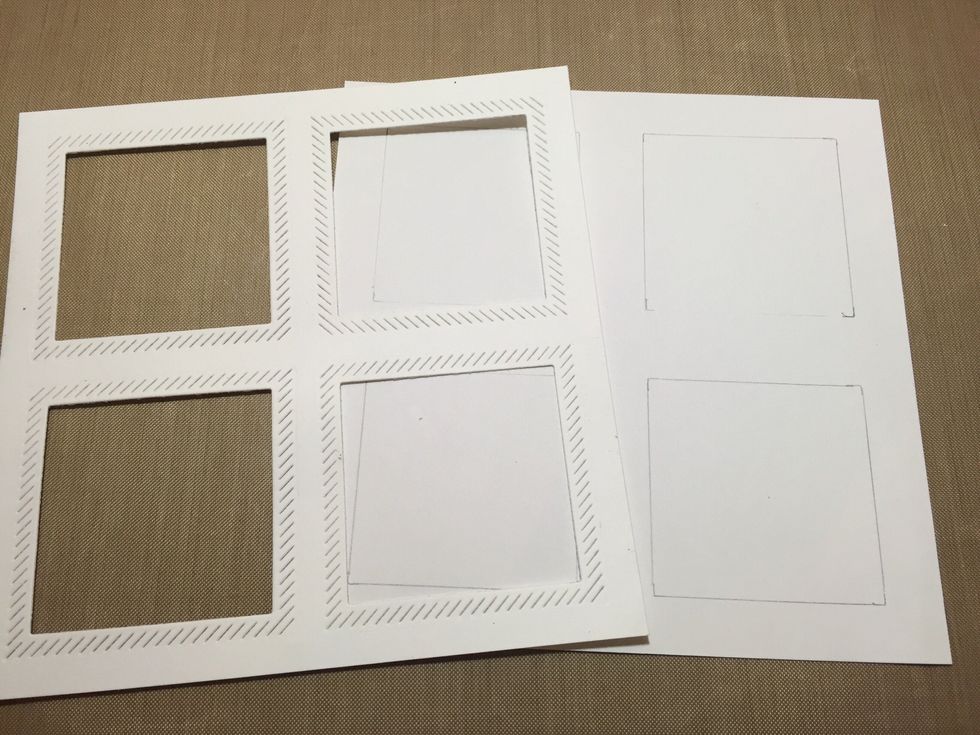
Cut another white cardstock at same size of 5.5" x 5.5". Place the 1st paper over it and pencil over the 4 "windows" onto the 2nd card. This is for ease of stamping
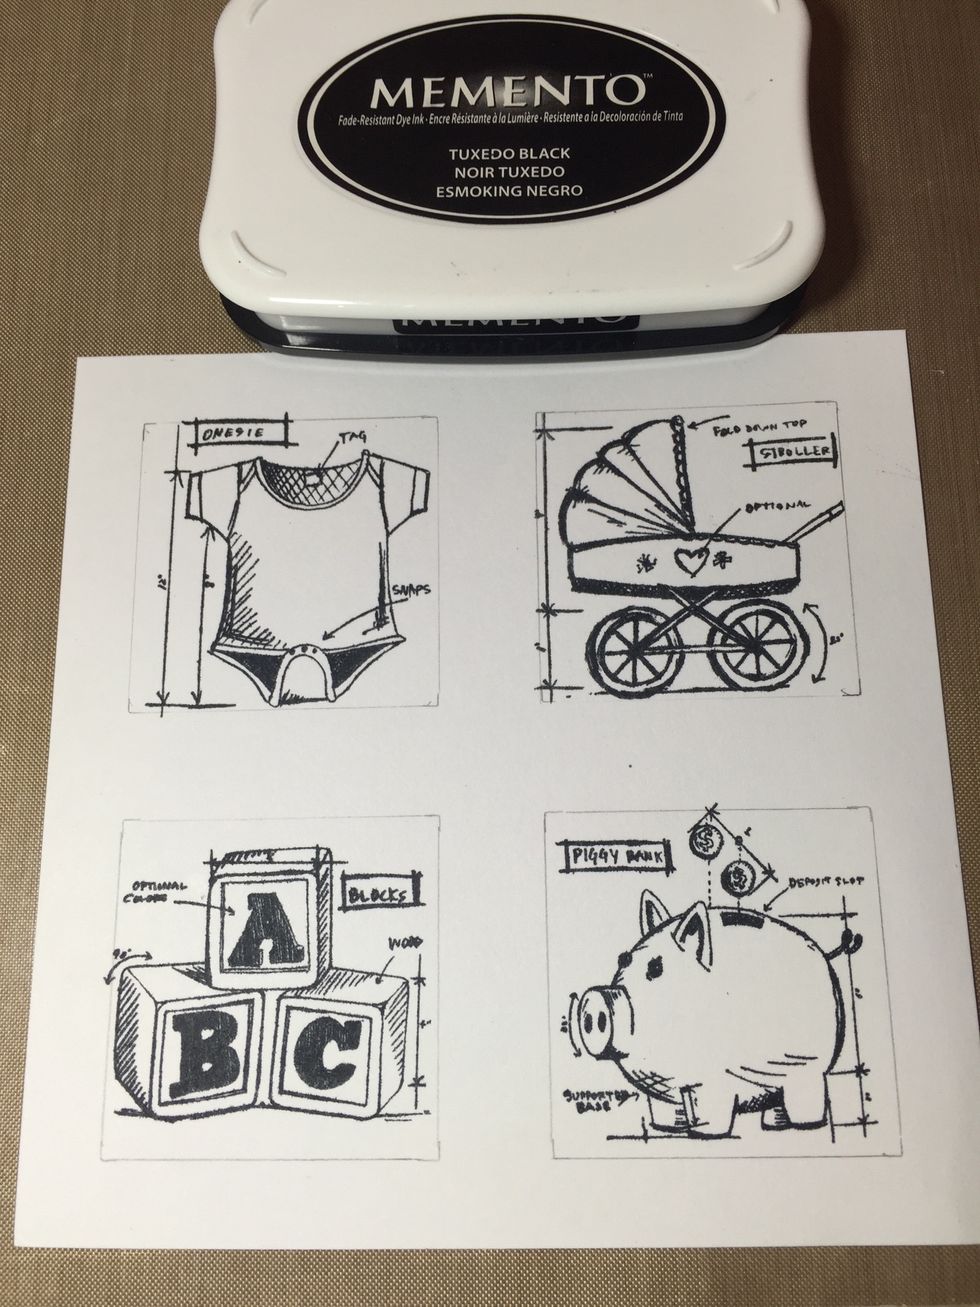
Stamp your images using Memento ink. Erase pencil marks

Colour them in with Copic markers! :) I love this part!

I used Wink of Stella clear glitter to add shine to certain parts of the stamped images. Here's a closeup
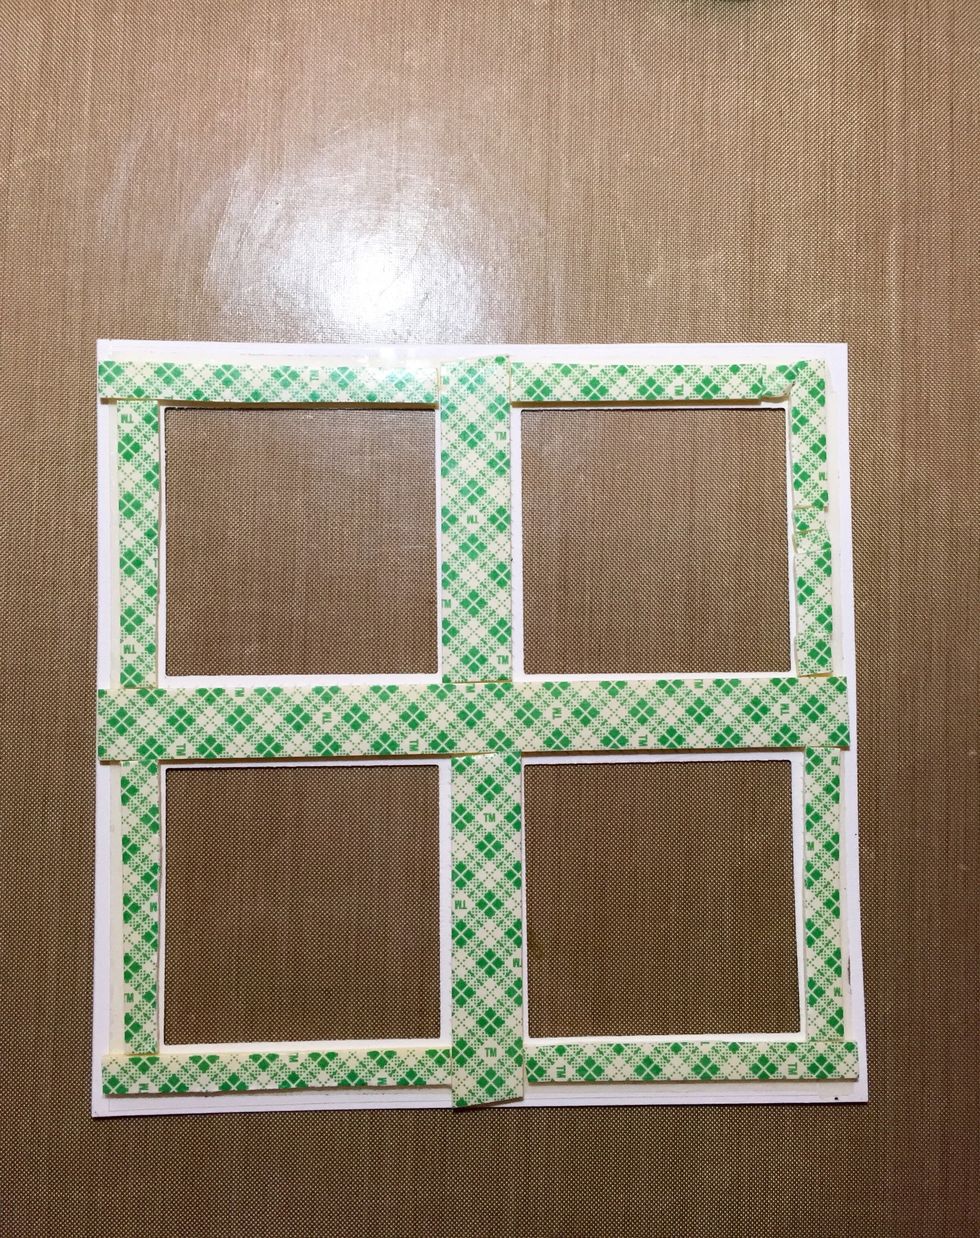
Add foam tape to the acetate of the card. I adhered foam tape around the edge of the "windows" as I wasn't sure if I had wanted to add embellishments inside them like a shaker. I didn't.
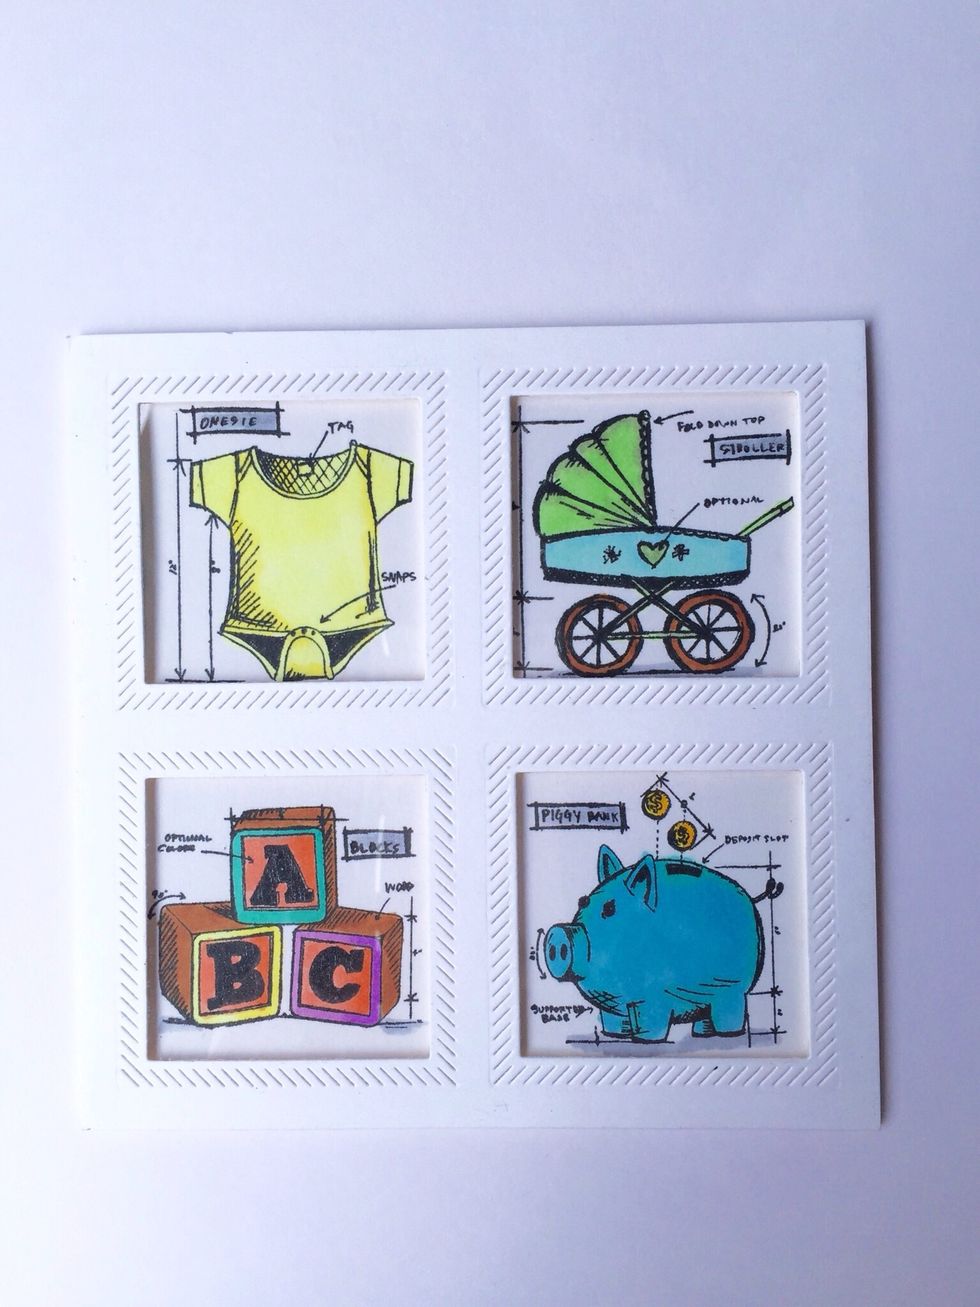
The finished look. From here, you can either create a card, a frame or rest it on an easel stand.
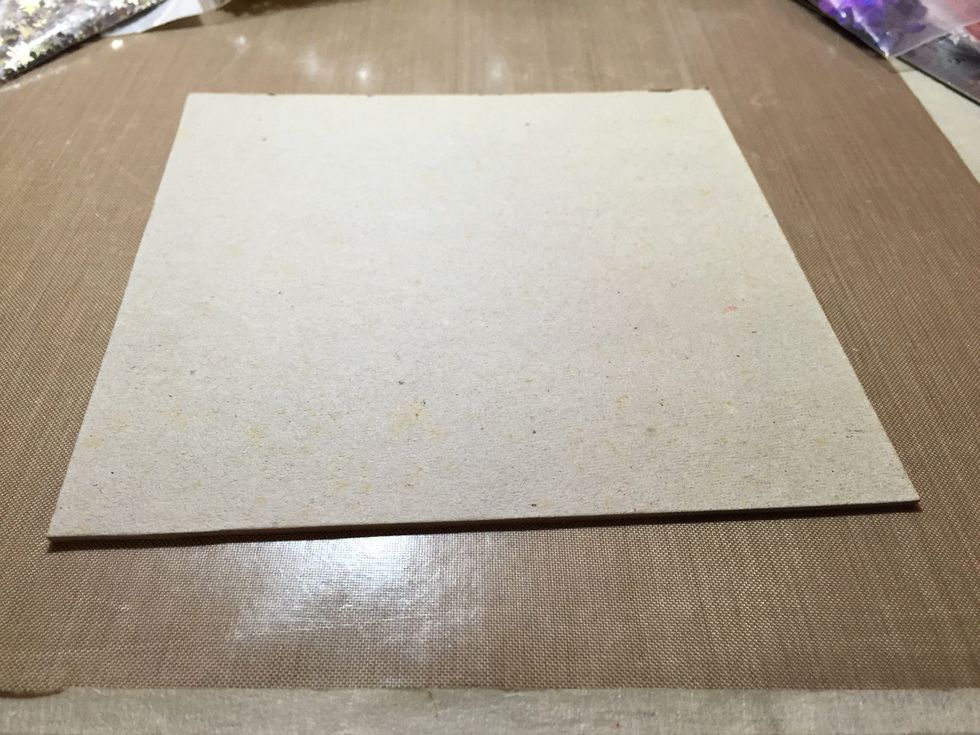
If you want to use it as a standing frame, better to adhere a thick cardboard behind it for strength
As a standing frame, backed it with a frame backing
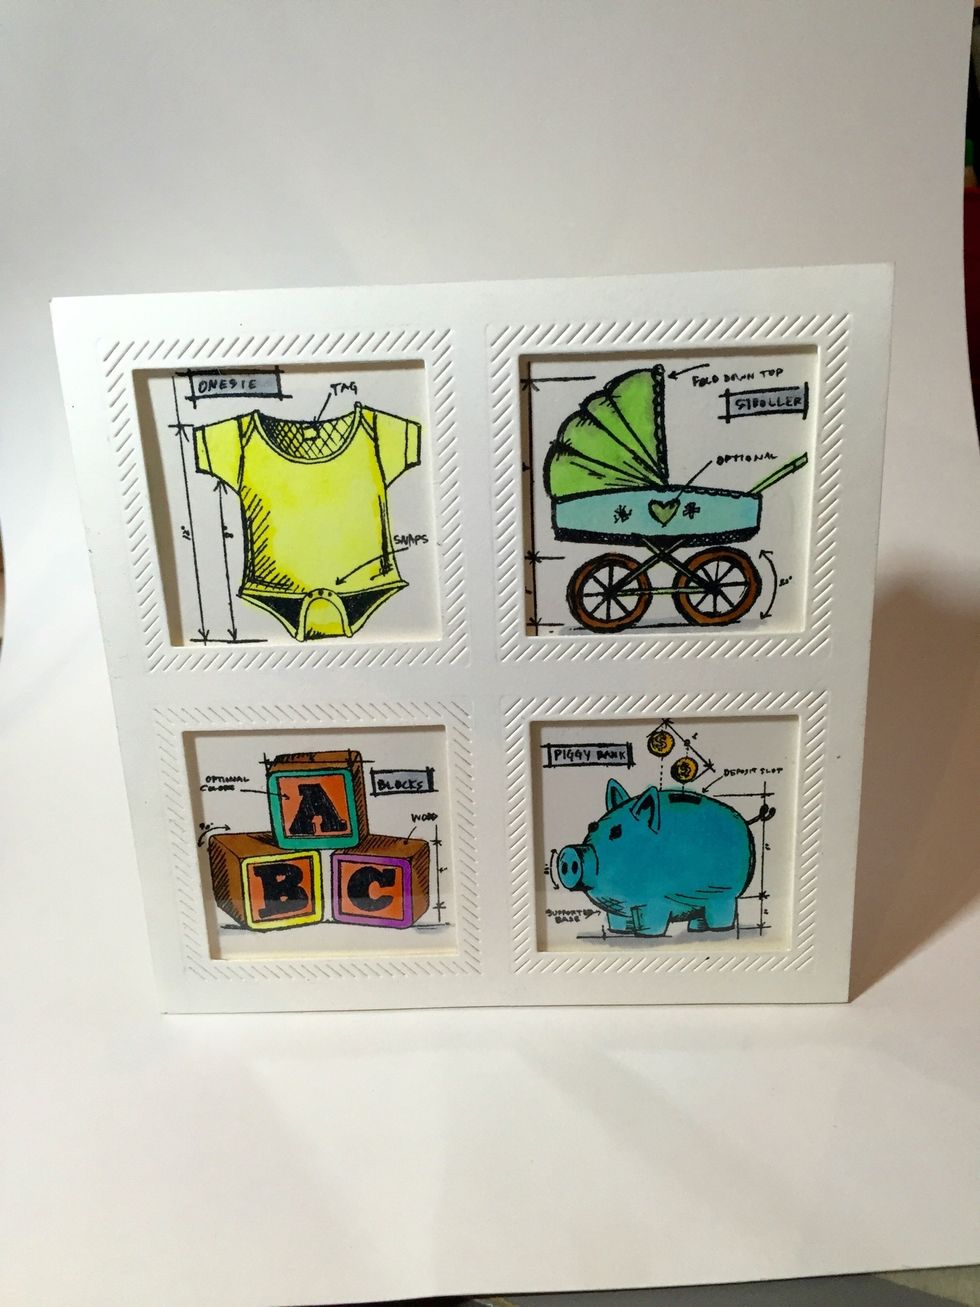
As a frame

You can personalized it by adding the name of the child or replacing one of the stamped images with a photo of the baby!
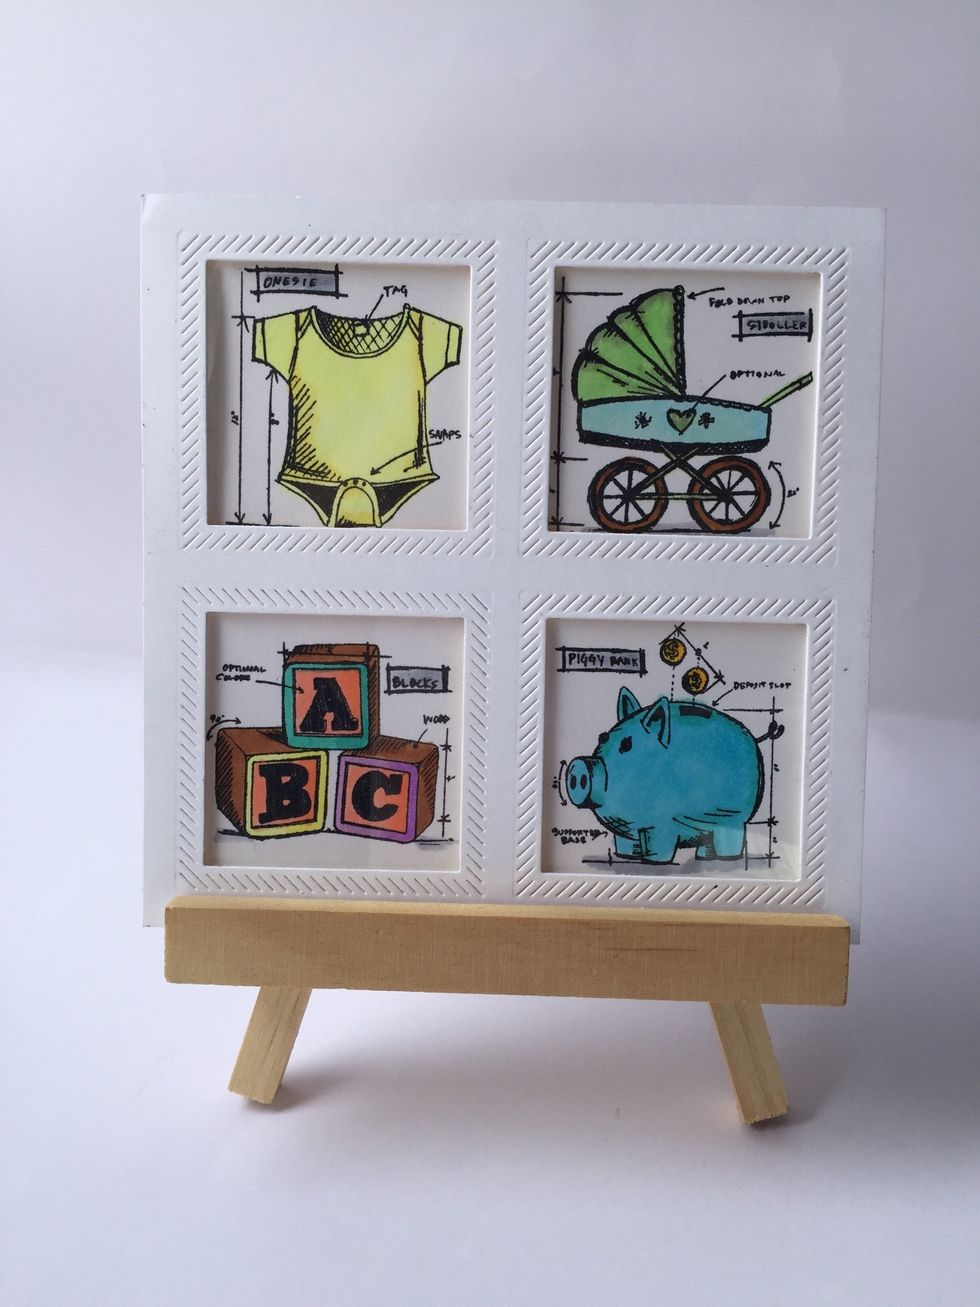
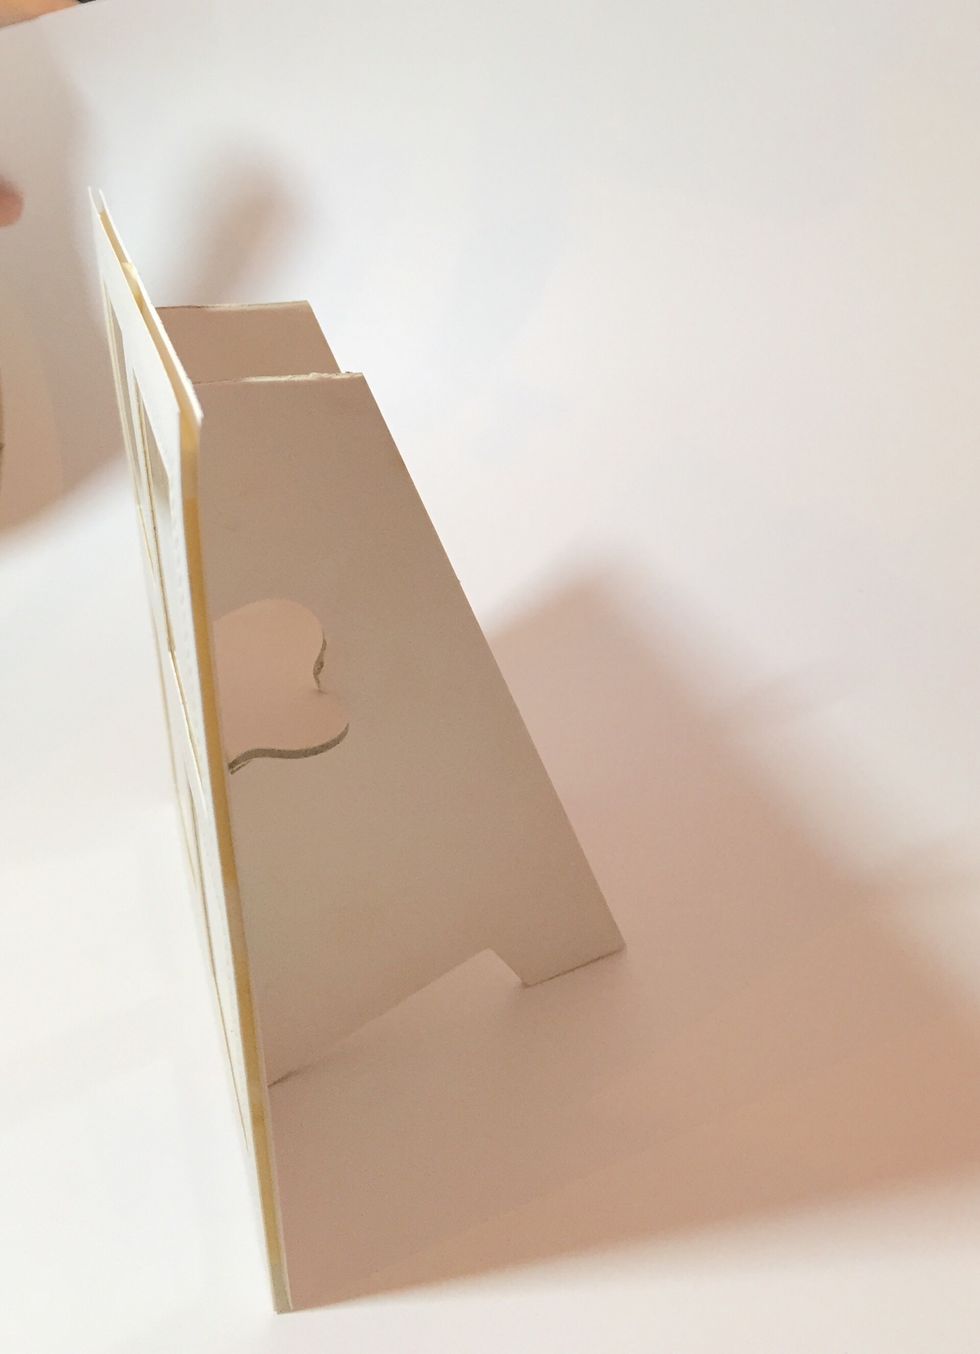
On a easel stand. Hope you guys had fun!