How to create a 3d radial symmetry paper sculpture
Create a 3D Radial Symmetry Paper Sculpture
10531
STEPS
TOOLS

Begin with a refresher on these two simple folds. Triangle Fold and Kite Fold.
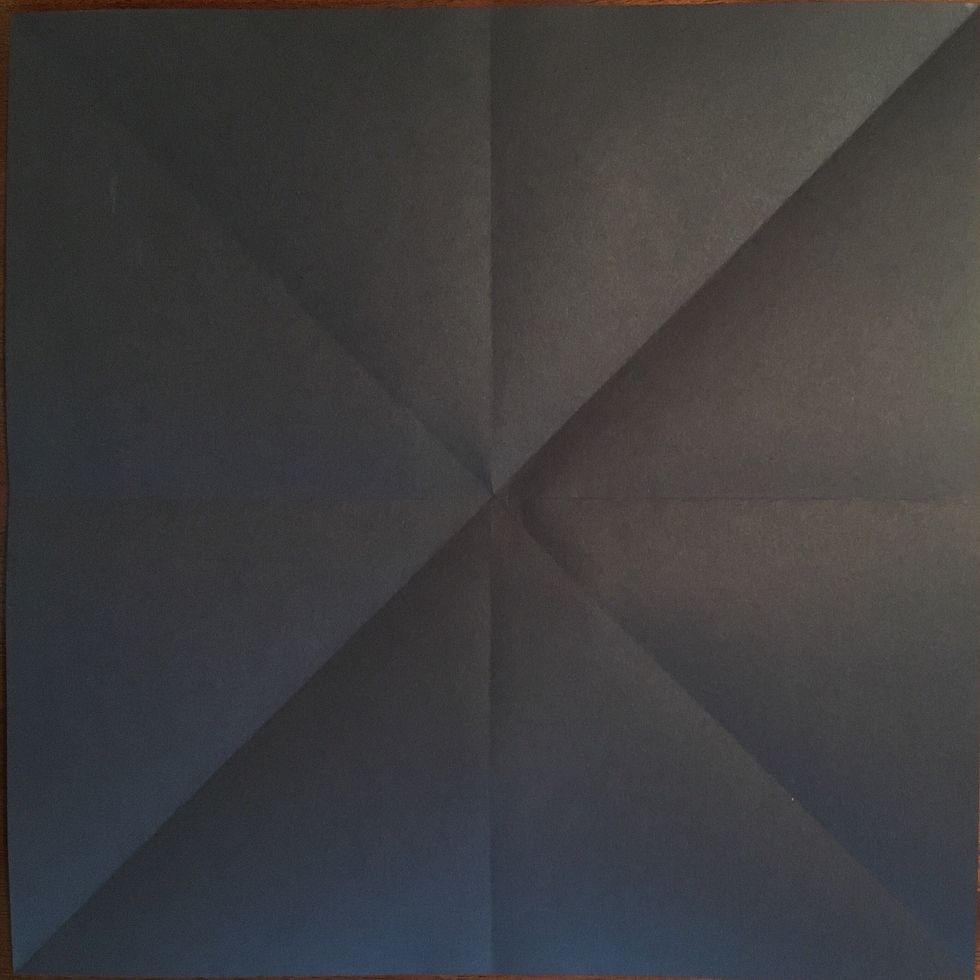
Fold your 12x12 paper into 8 equal parts. Horizontal fold, vertical gold and both diagonal folds.
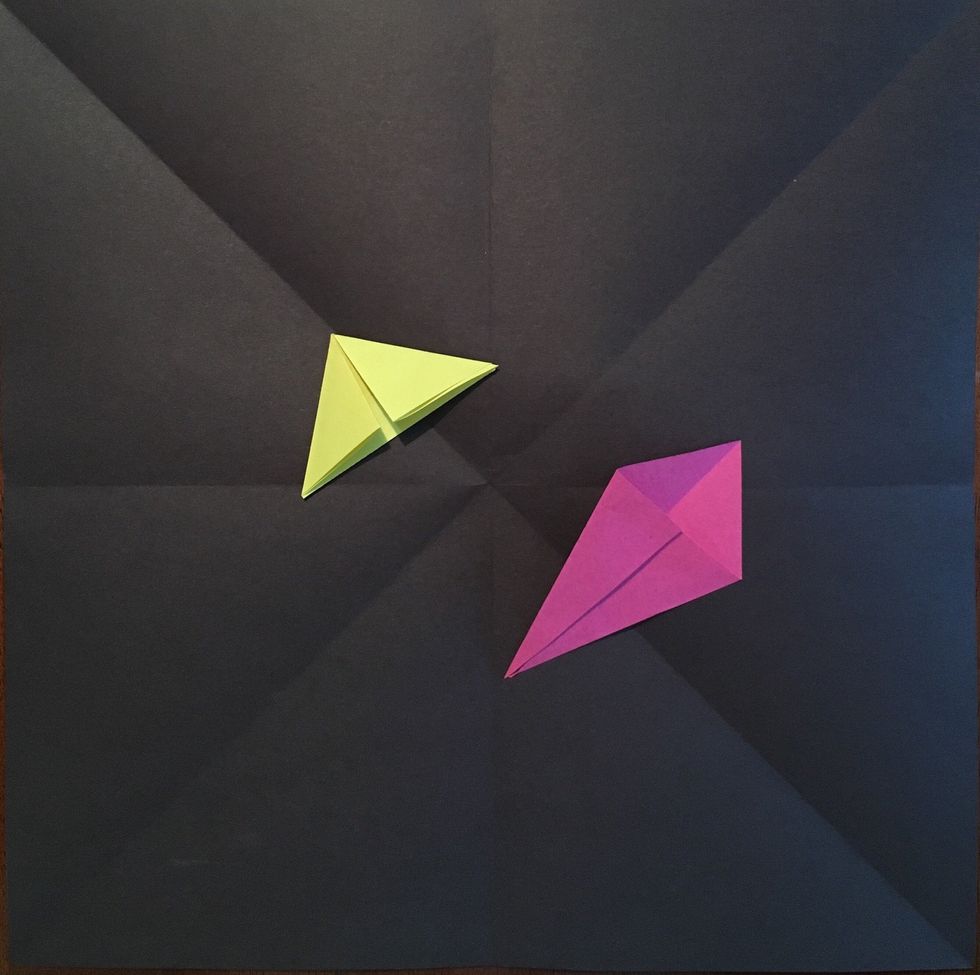
Choose a shape fold to begin with! Triangles or kites?
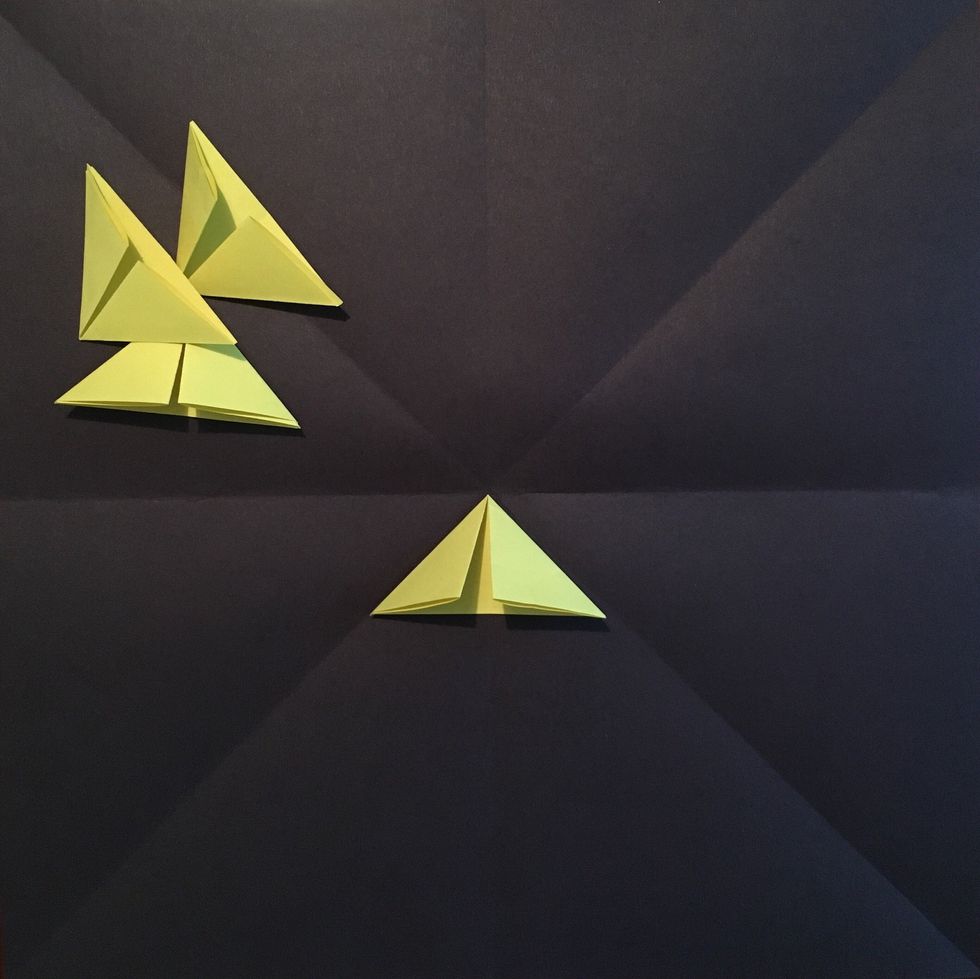
Make sure your shape fits inside the fold lines. Use them as a guide throughout this project.

Arrange your first set of fold shapes and securely glue the bottoms. Keep in mind, this is a sculpture, make sure the folds are lose and facing upward!

Next, choose another fold shape for your second row. Not sure? Try them out!
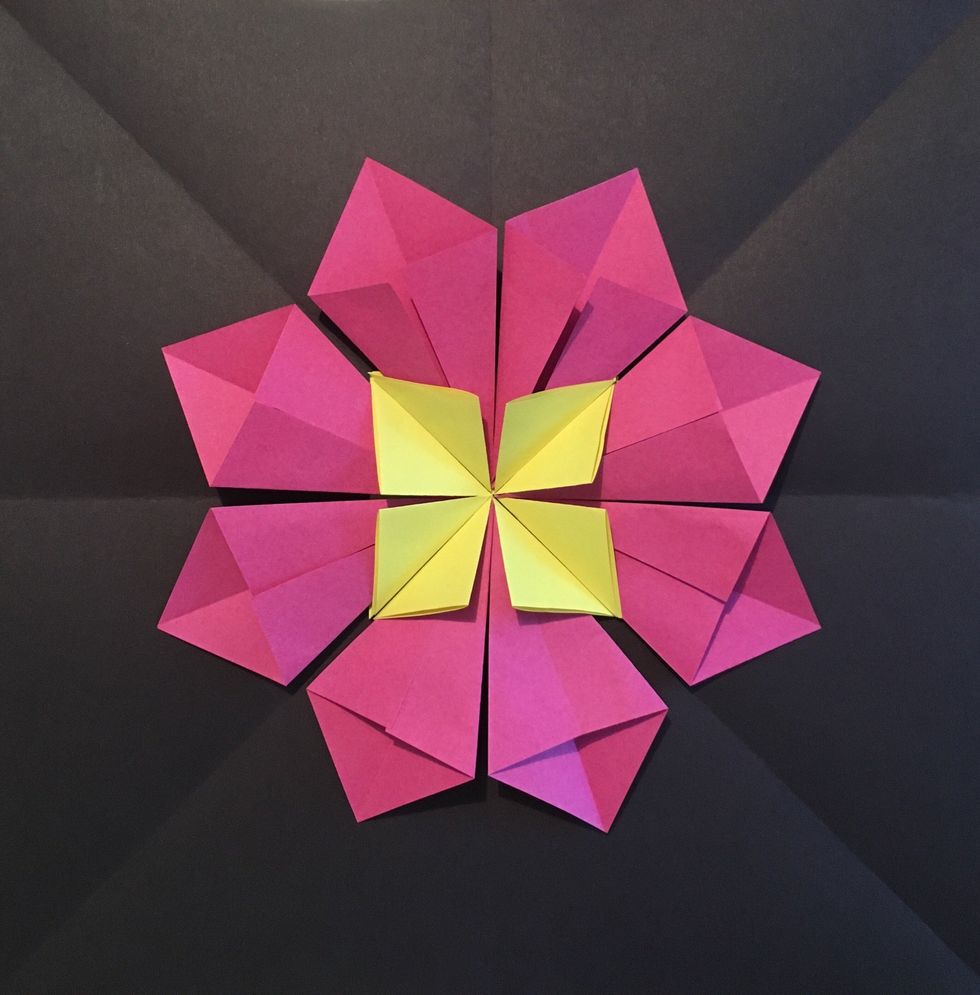
Kites?
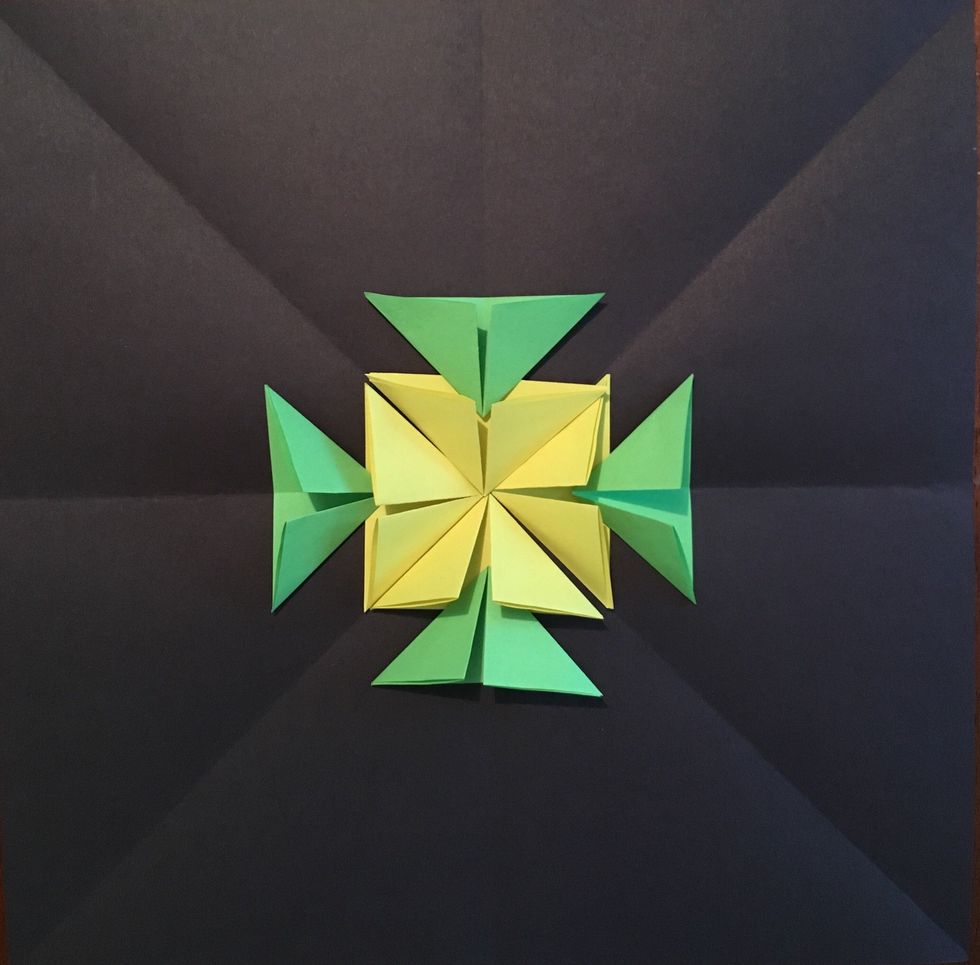
Or Triangles?

Use a glue stick to secure your desired shape. Make sure your using the fold lines on your large paper as a guide for your shapes each row.
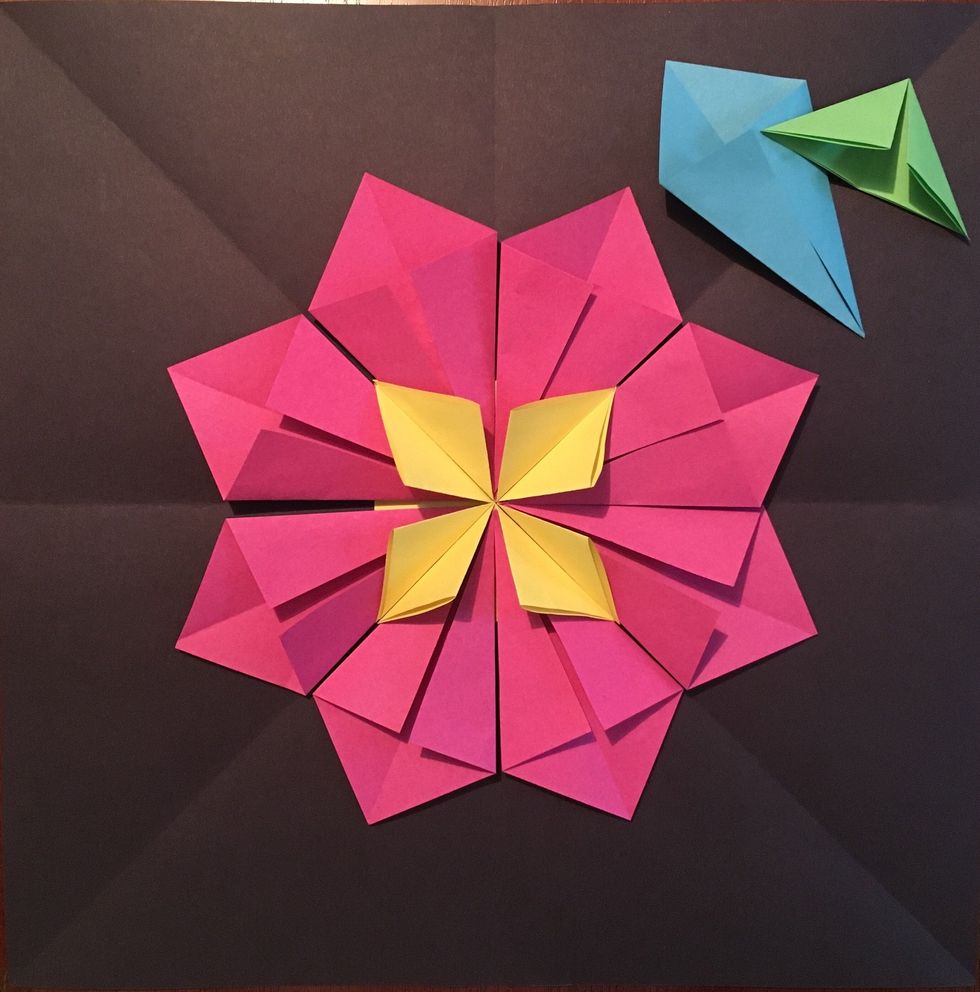
Choose another fold shape for row 3! Triangles or kites?
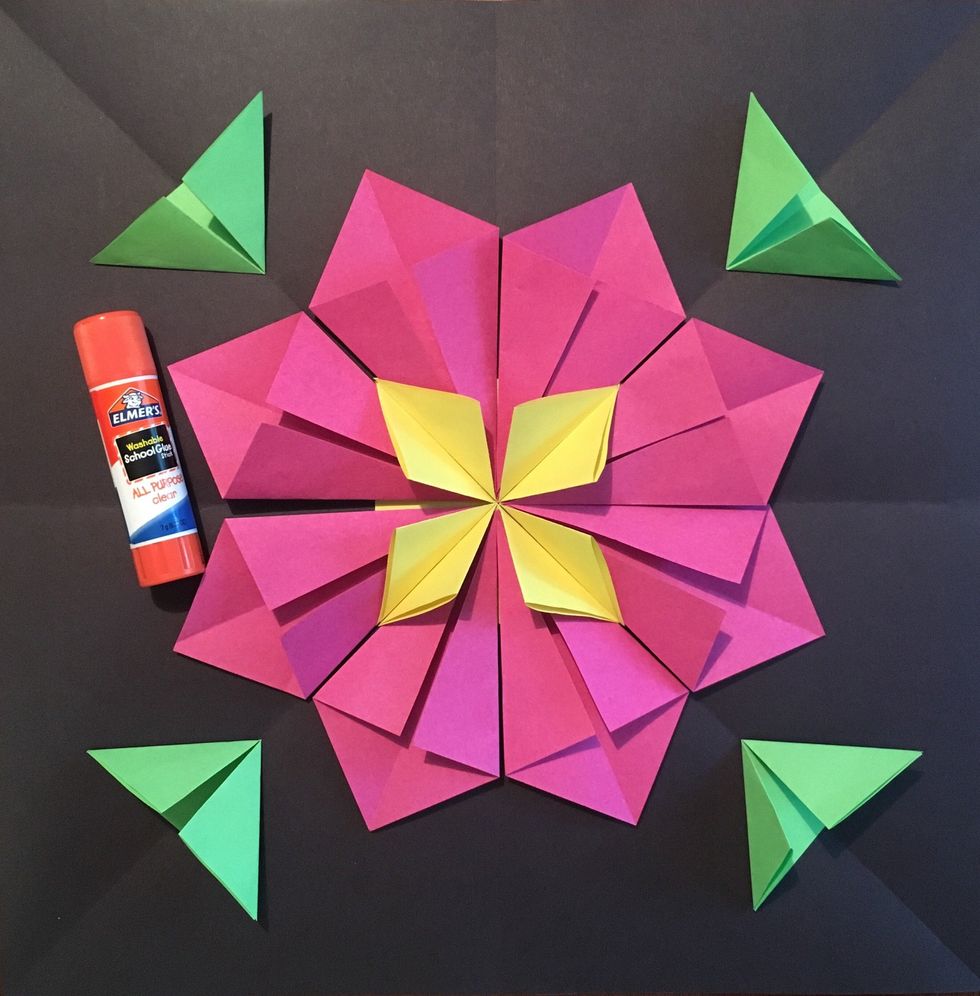
Place your next shape in desired location. Keeping radial symmetry in mind. When you've found the right spot, attach with glue.
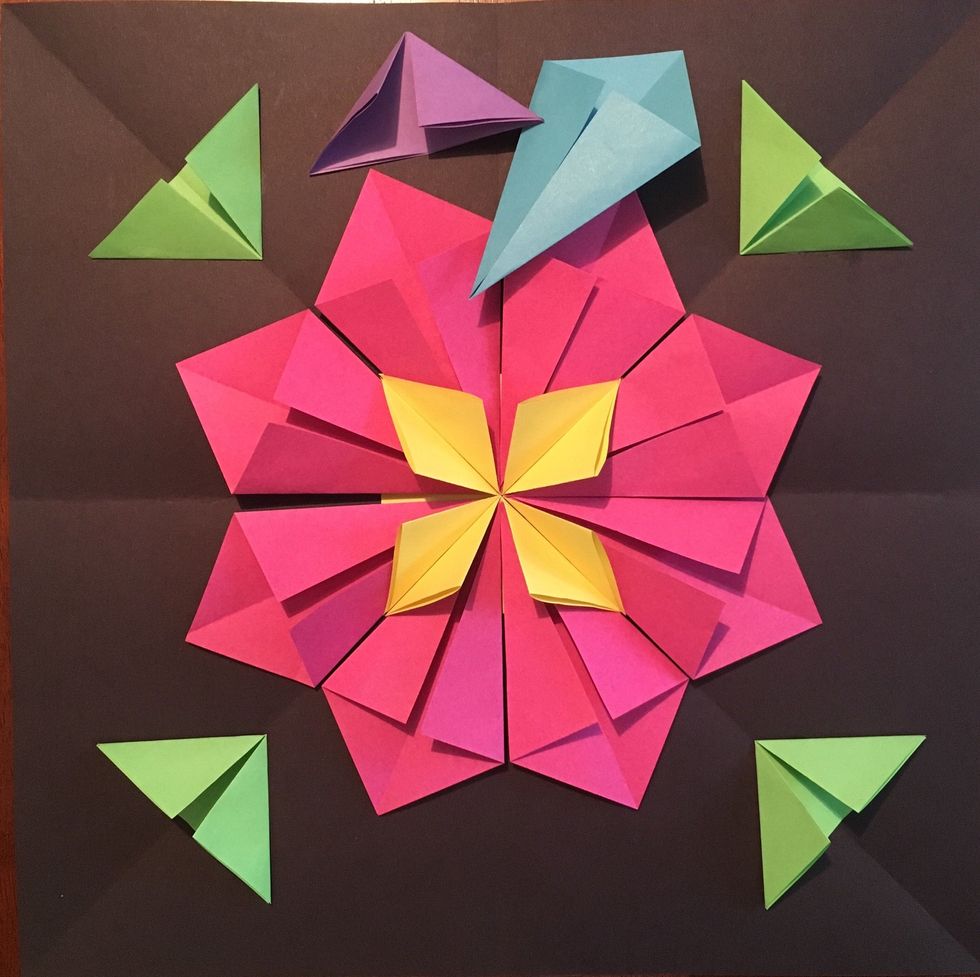
Choose another fold shape.

Find the right spot you like and glue them on!
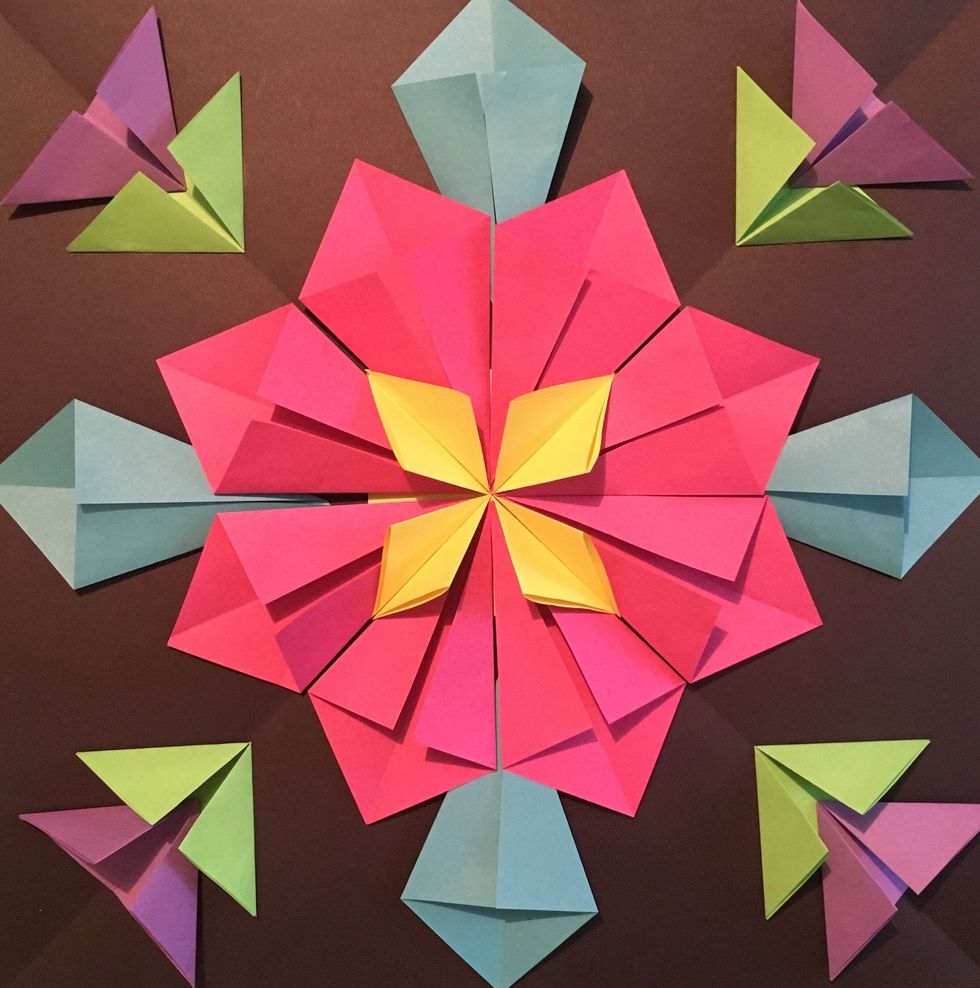
Your design is done when you decide! Check out some alternative designs!
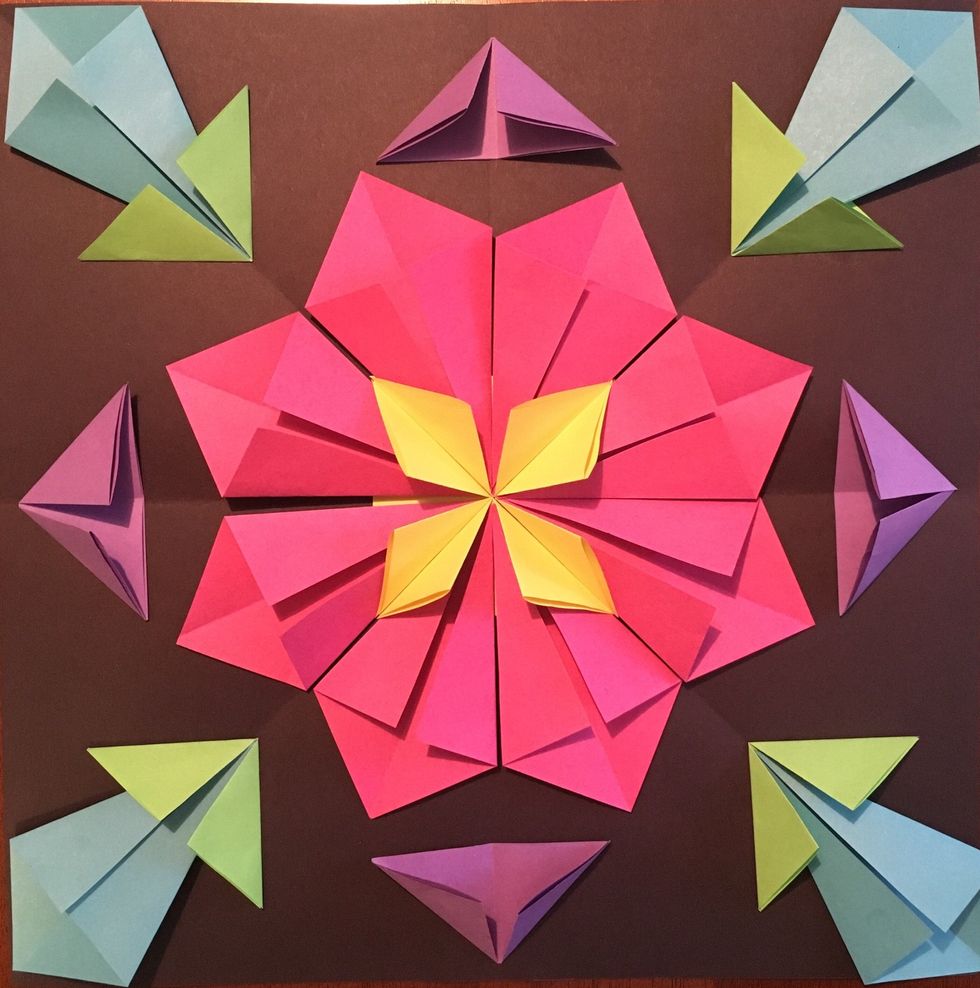
Simply change the location of shapes, keeping radial symmetry in mind, and you can create very unique and beautiful designs!
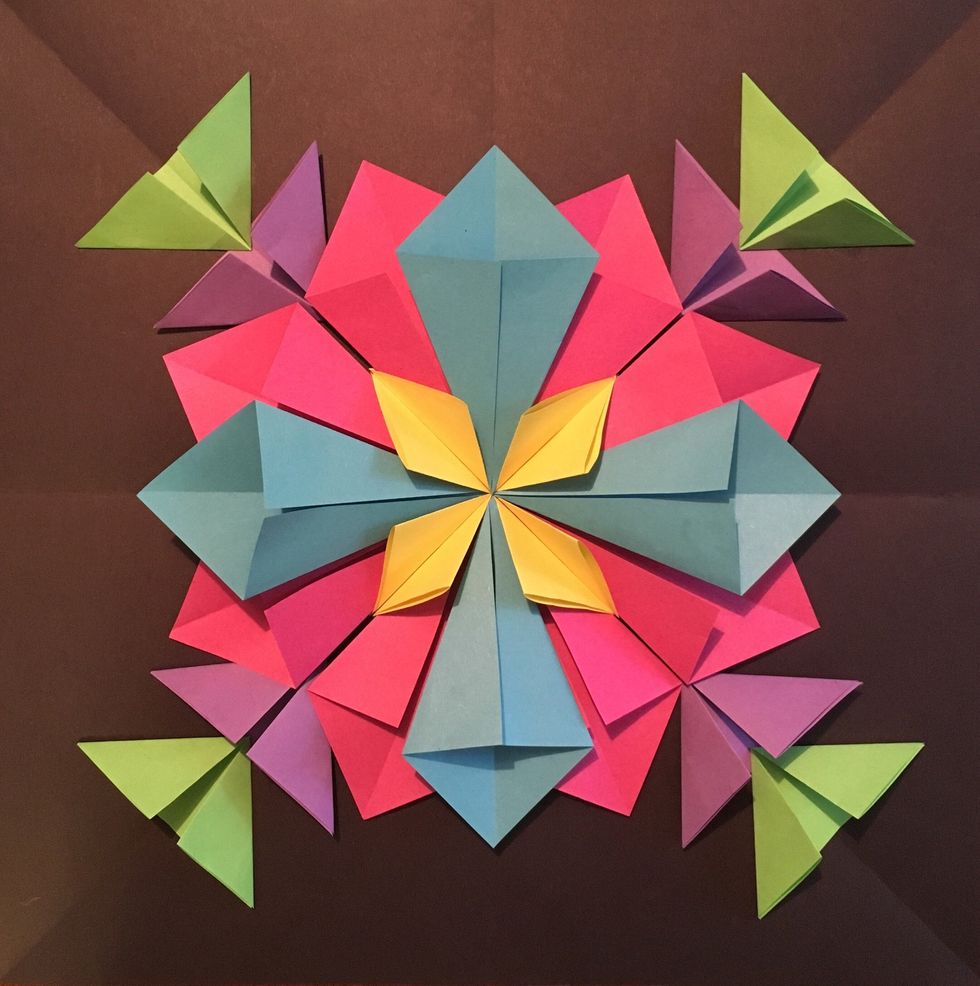
Good luck, have fun and get creative!
- 12x12 Square Paper
- 3x3 Square Papers (various colors)
- Glue Stick
The Conversation (0)
Sign Up