The Conversation (0)
Sign Up
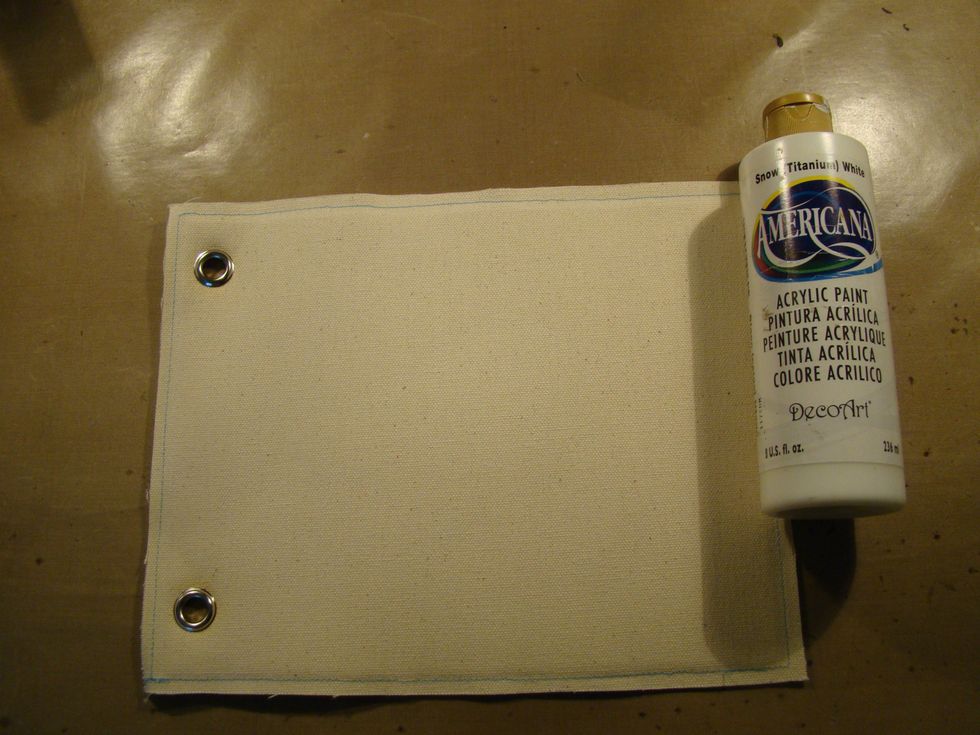
Choose your canvas surface. Mine was a page from my Mixed Media Journal Book. Don't prep with gesso.
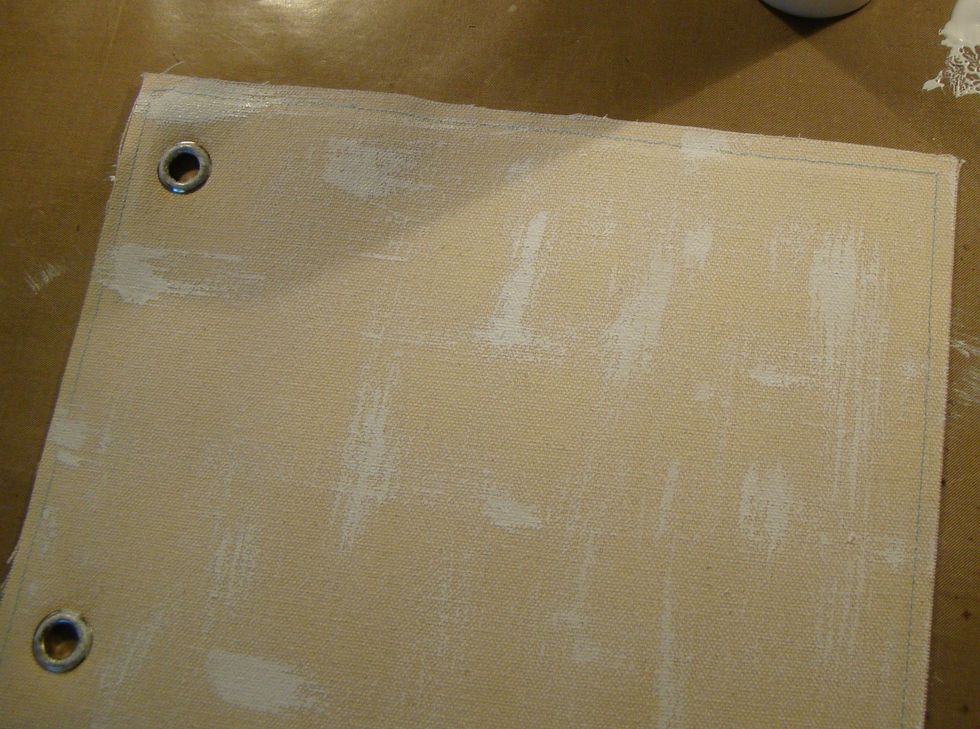
Using white acrylic paint, dry brush strokes randomly.
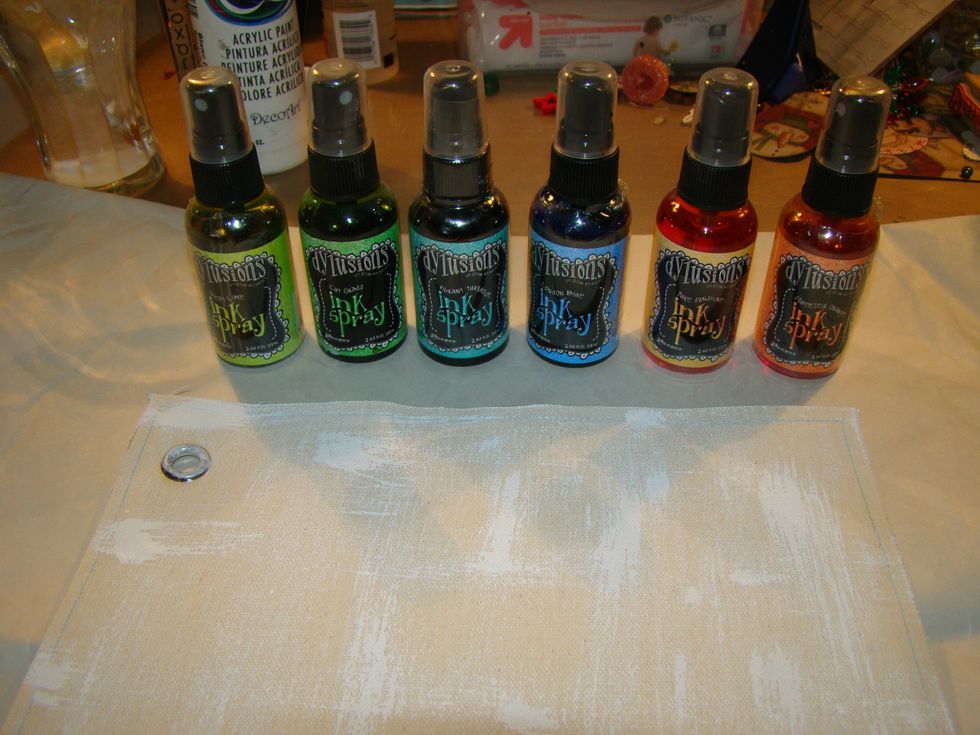
Choose your colors of Dylusion Sprays. I have found when you gesso the surface first it takes the intensity of these colors away and I wanted vibrancy on this project.
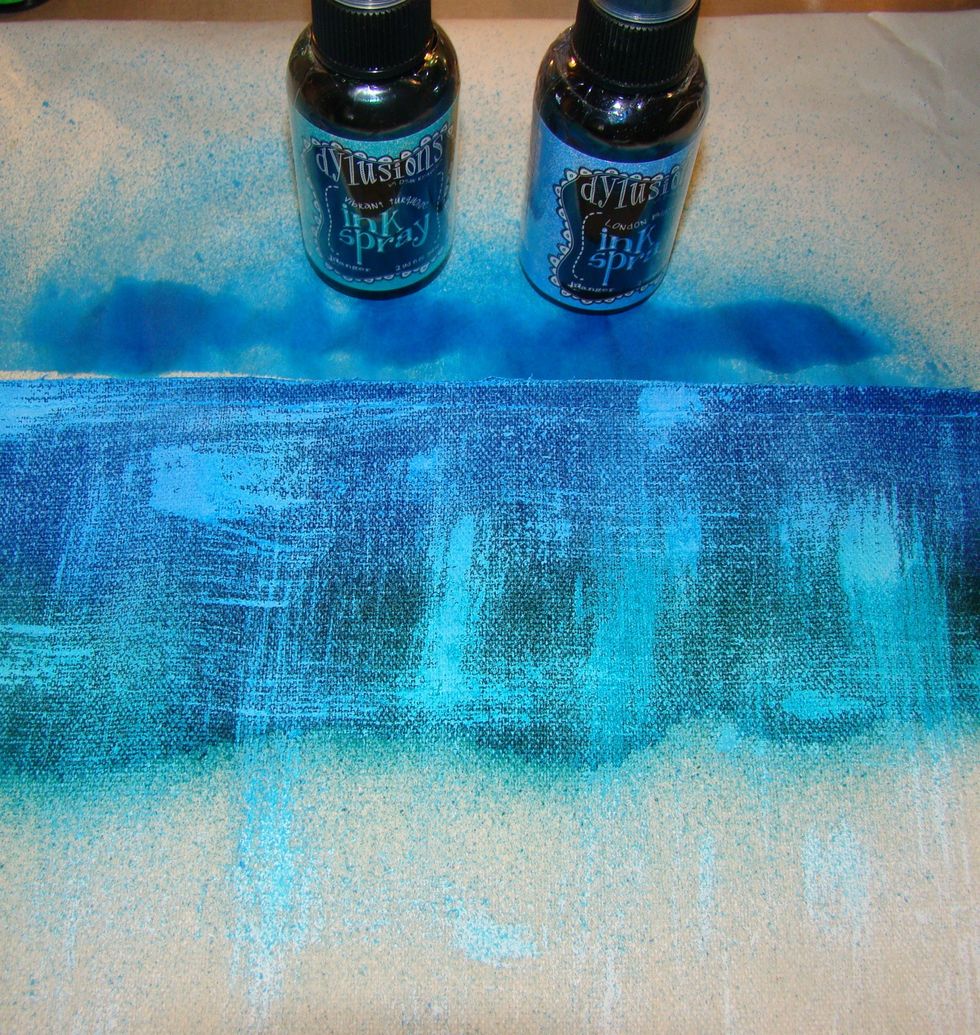
Add each color and heat set or allow to dry so colors will not blend together. See how subtle the white dry brush is under the Dylusion Sprays.
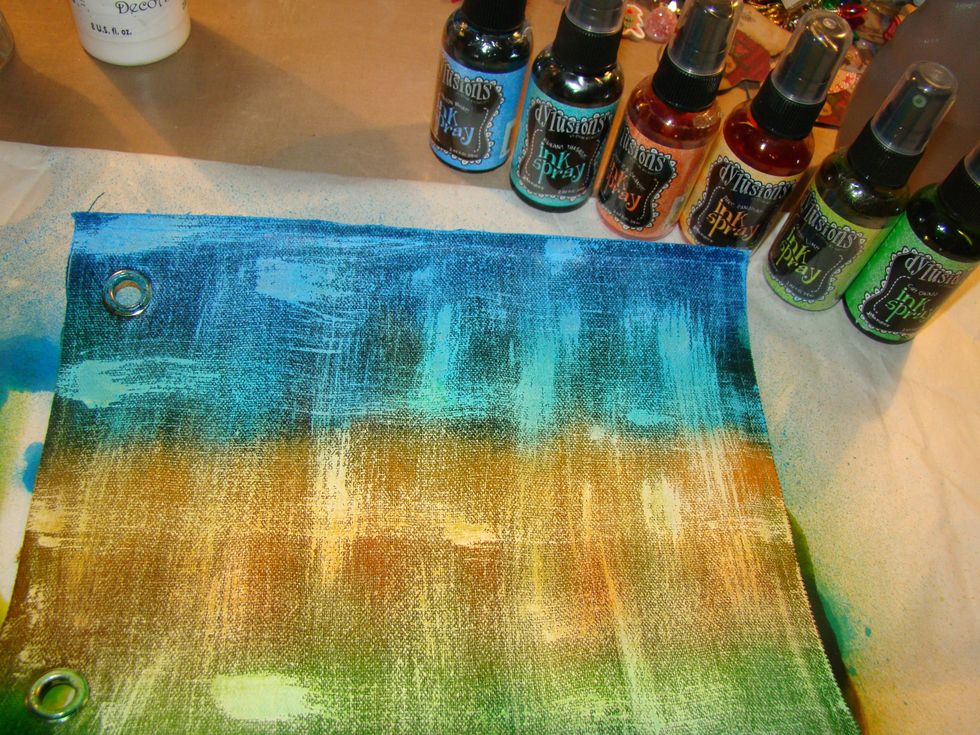
Continue adding your beautiful colors. Allow to dry completely. (This is a hard part for me because I am very impatient)
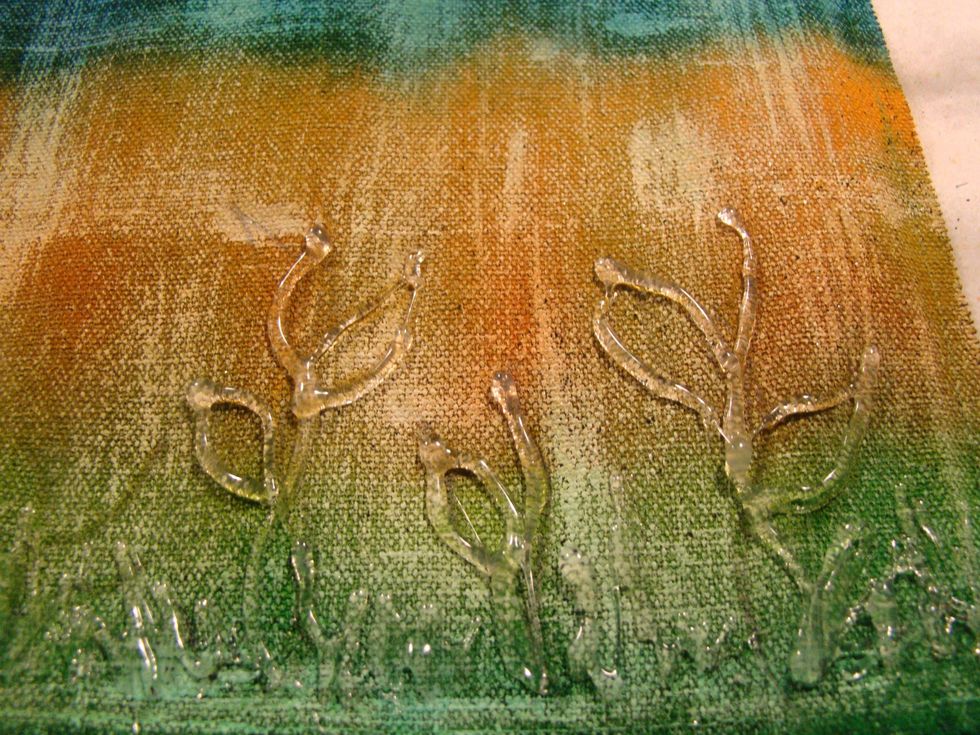
Using your hot glue, draw stems with leaves, grass etc. The glue gun is a great way to add dimension to any project, then you can just paint or gesso over the top.
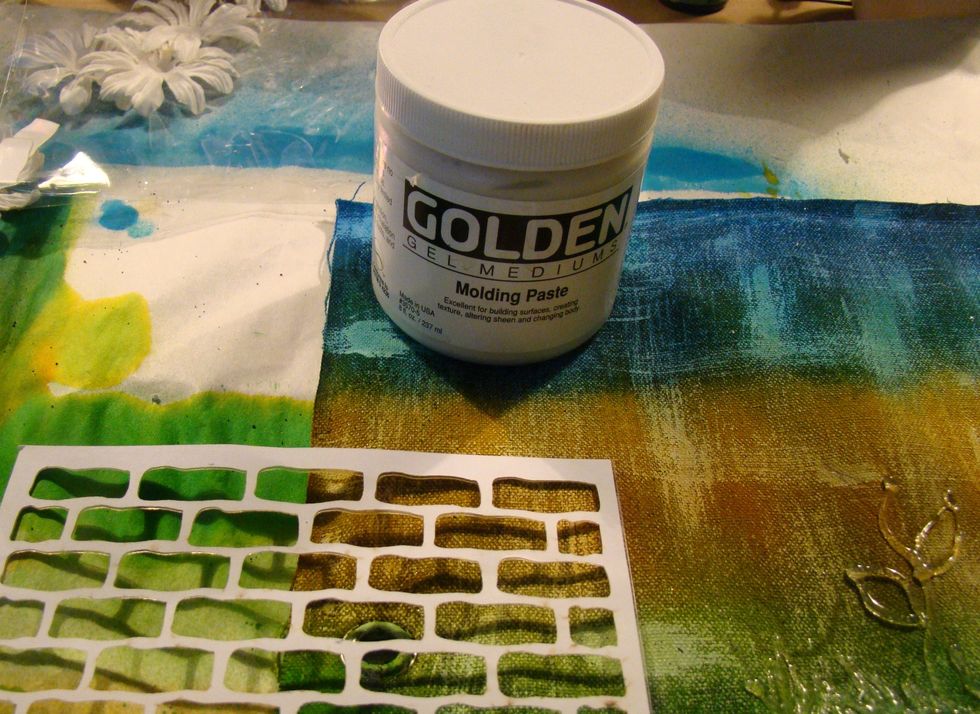
Using your brick stencil, apply molding paste and allow to dry completely. You will notice that the Dylusions will bleed into the modeling paste, but that is ok, that's the look you want.
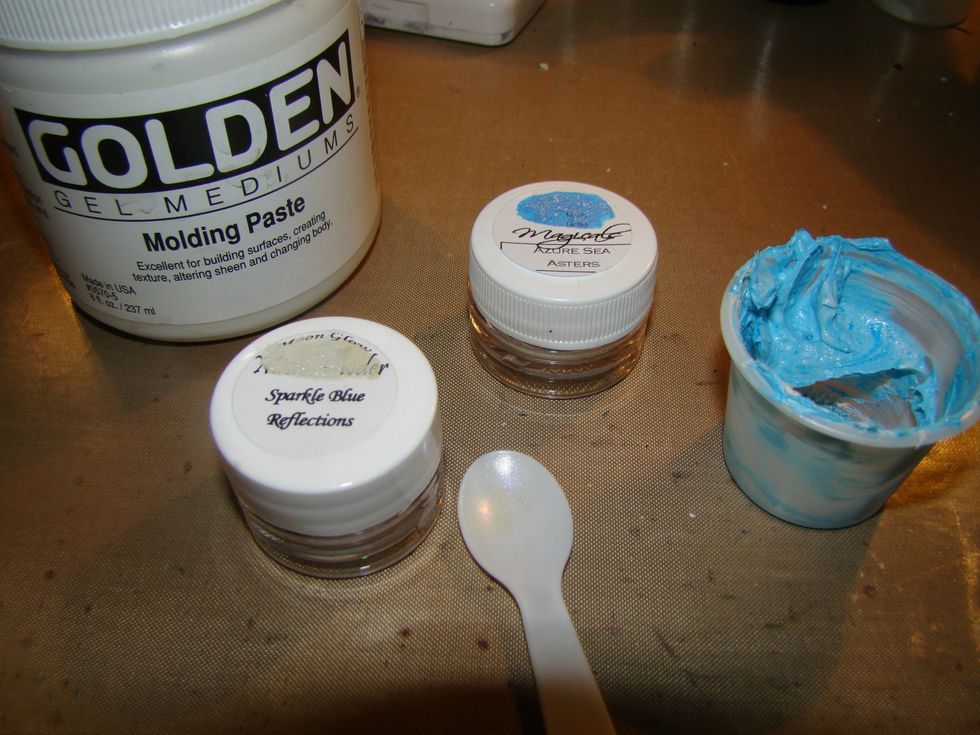
Using your molding paste, make free form clouds in the sky leaving peaks for texture. Mix a small amount of molding paste with Magical Micas and top the clouds with a bit of this mixture.
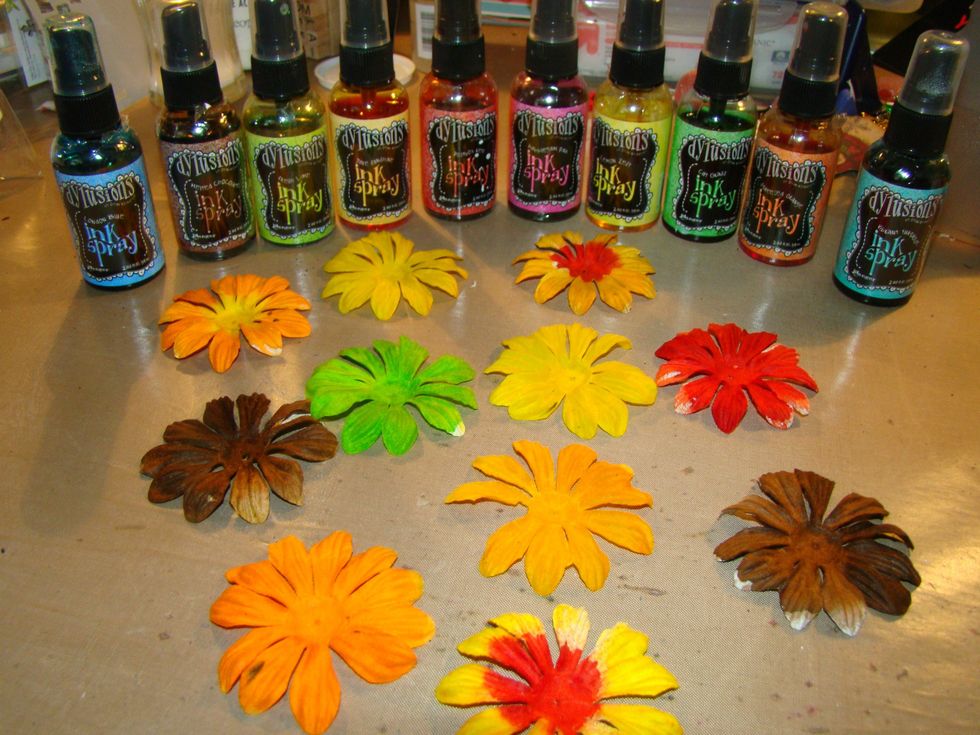
While everything else is drying prepare your flowers. Spray in your custom colors with Dylusions and heat set.
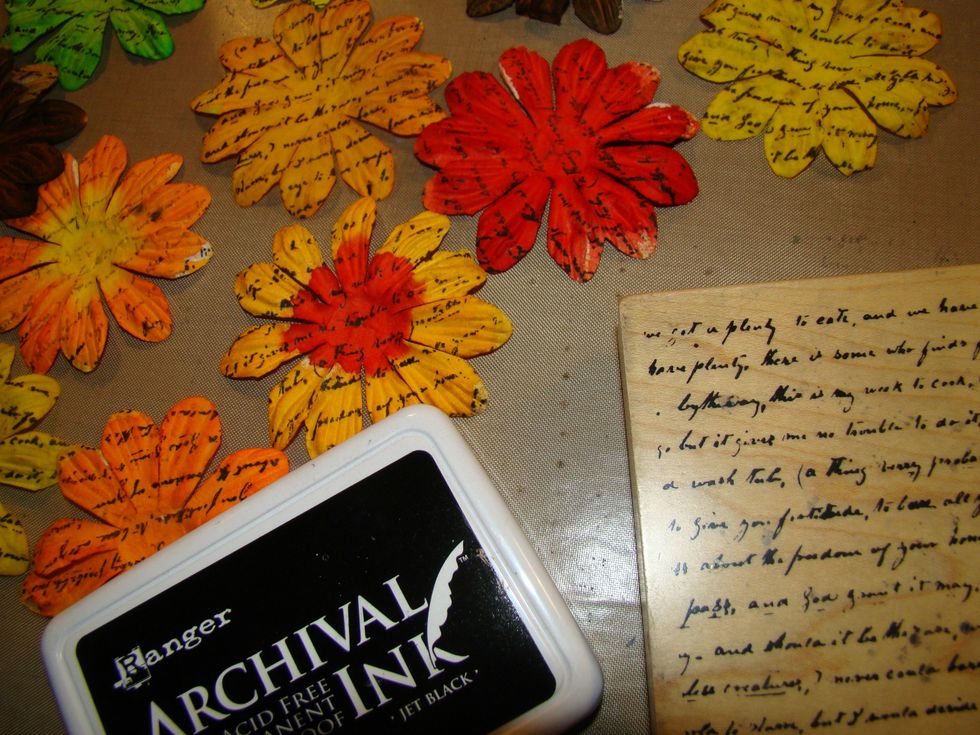
Using Archival Ink, stamp script across all the flowers and on the back side.
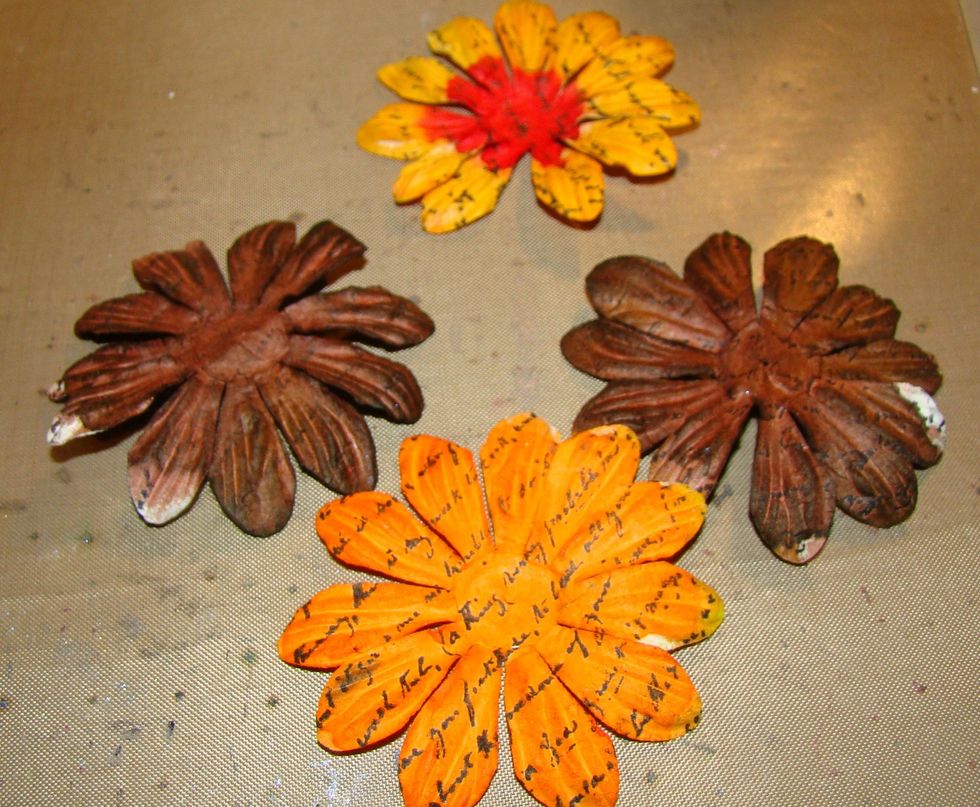
Now for the 3D flowers, you will need 4 for this flower.
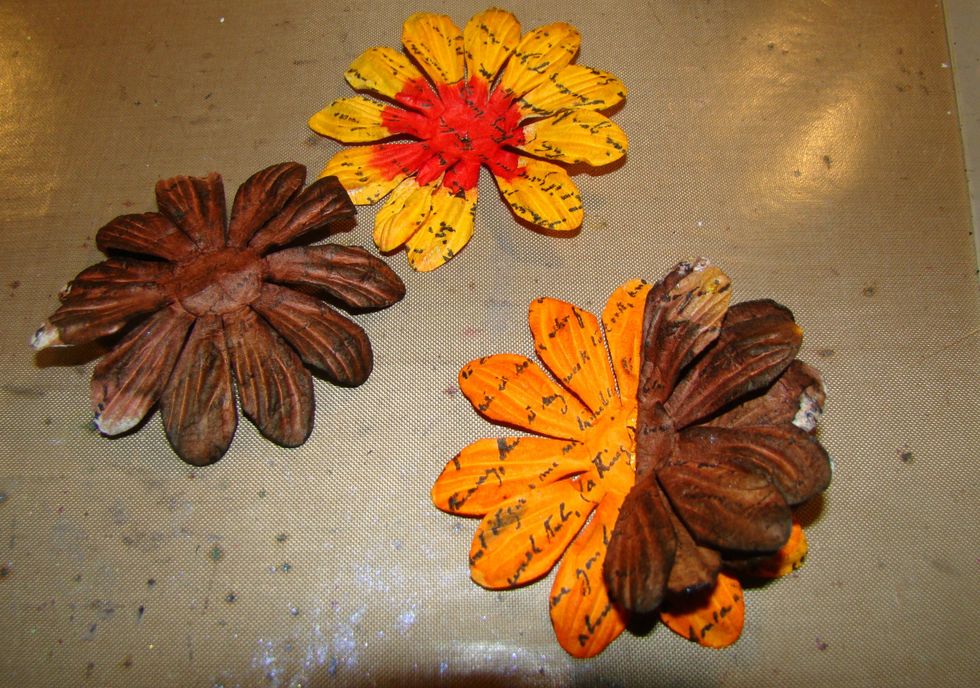
Take 1 brown flower and fold in half and glue, take the other brown flower and fold in half and glue to the other side. Glue your last flower to the top and fluff all the petals.
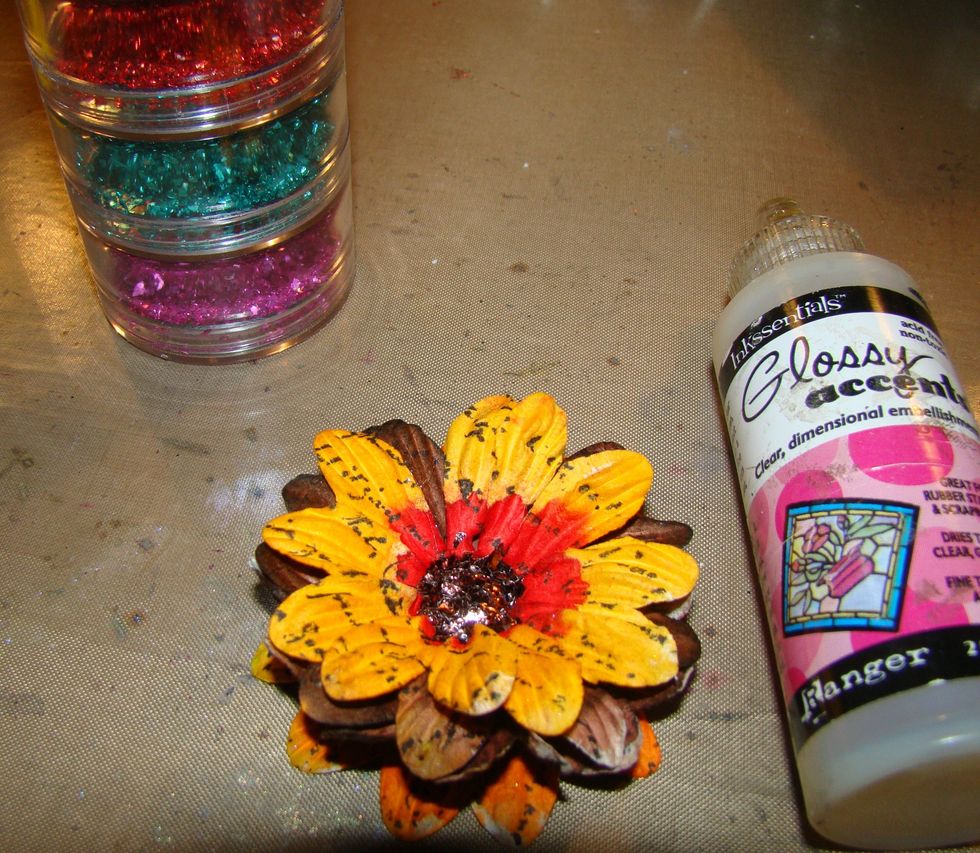
Apply German Glass Glitter with Glossy Accents for the centers. You can also use, button, seed beads etc.
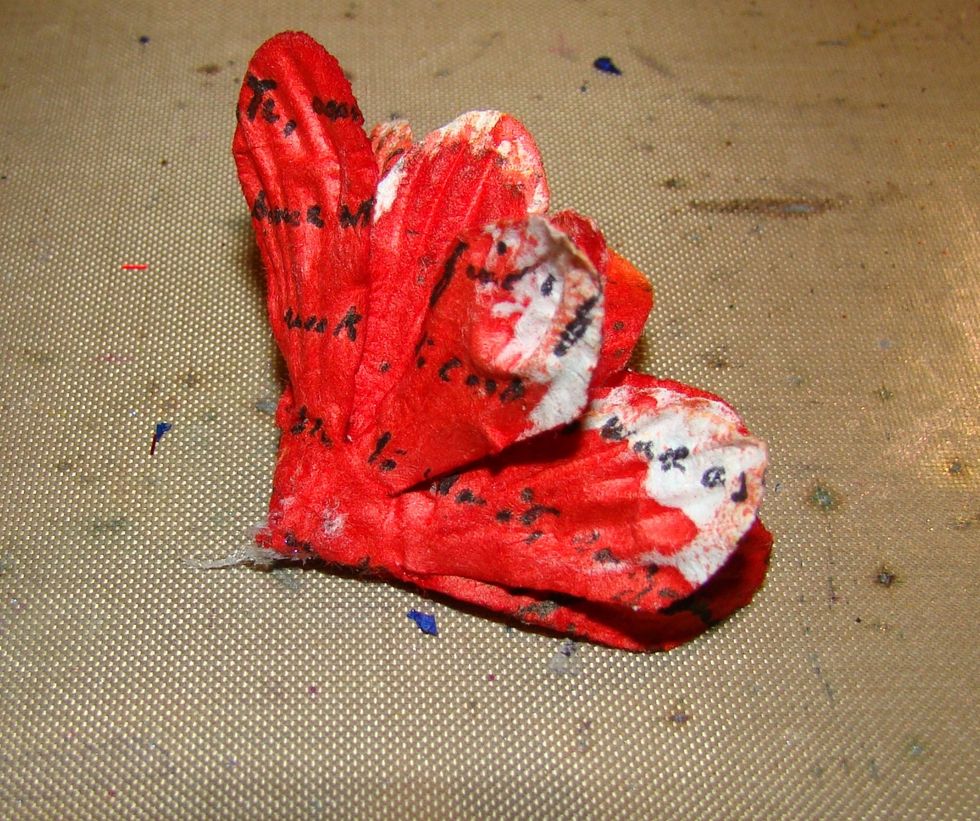
For the small flowers, take one daisy fold in half and then fold in half again and glue together. Dip the tip of the flower in German Glass Glitter.

Your glue gun art will be dry now, so take green acrylic paint and paint the stems, leaves, and grass
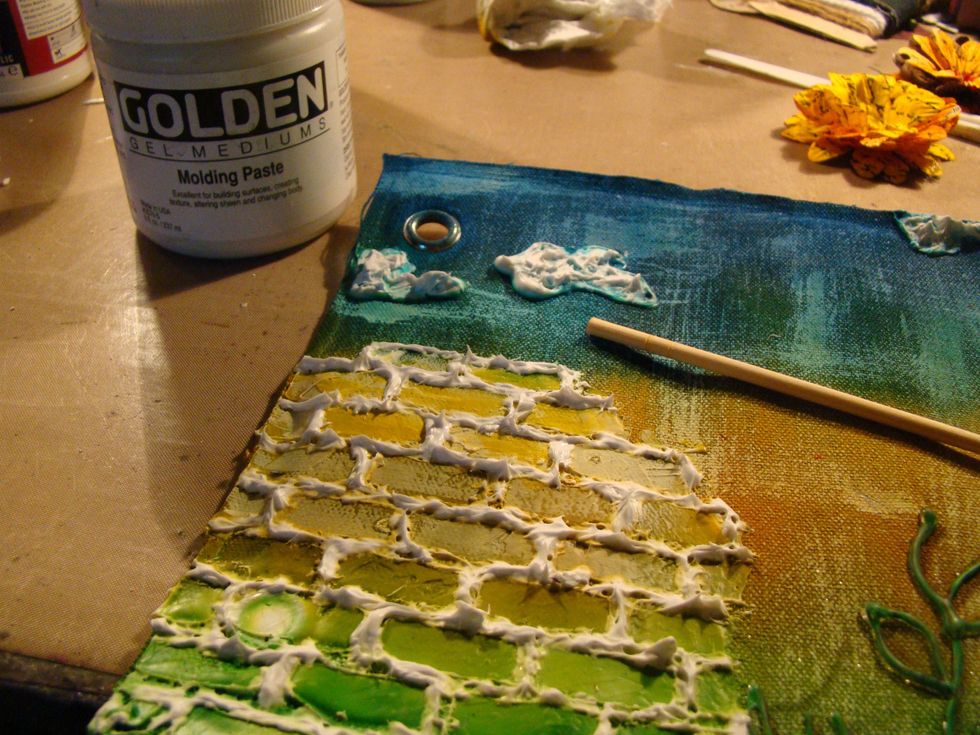
Using your Molding Paste, add in the crevices of your bricks. I used a wooden dowel to apply.
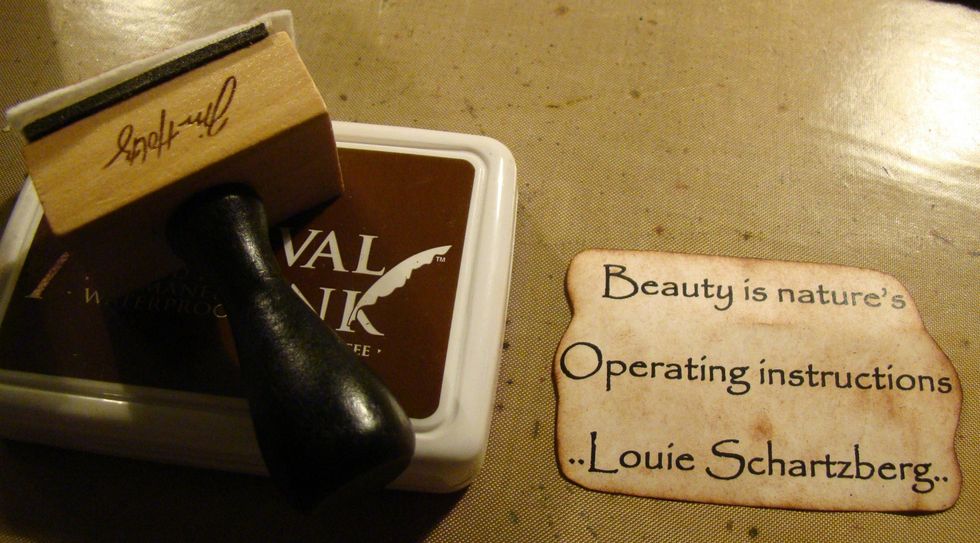
Print out your sentiment and using brown Archival Ink for edges & the entire surface. Archival ink is permanent and will not bleed on your project when applying with Glue & Seal
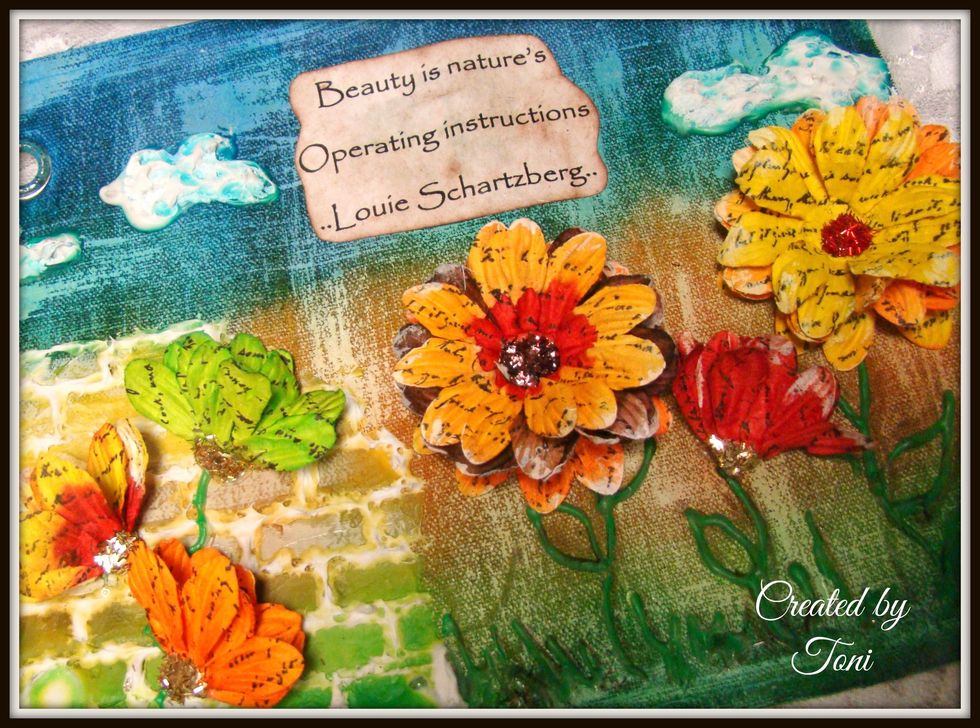
Glue your sentiment on and use the hot glue gun to apply your pretty flowers. I dry brushed the flowers a bit with white acrylic paint for added texture and interest.
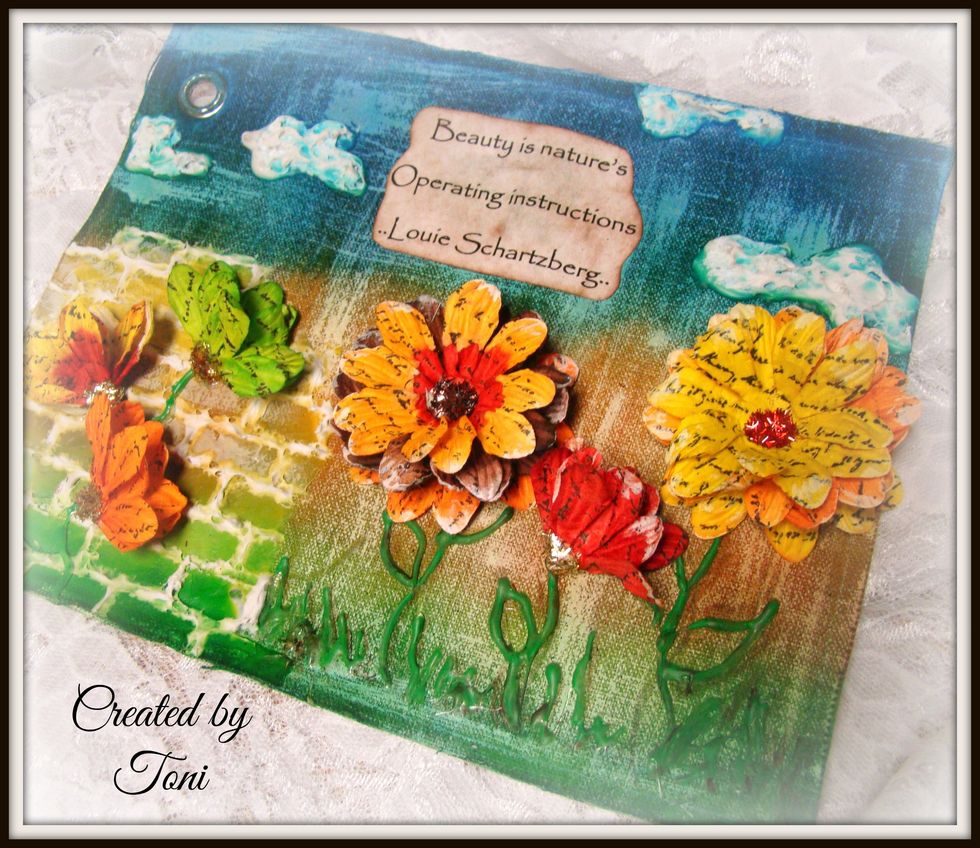
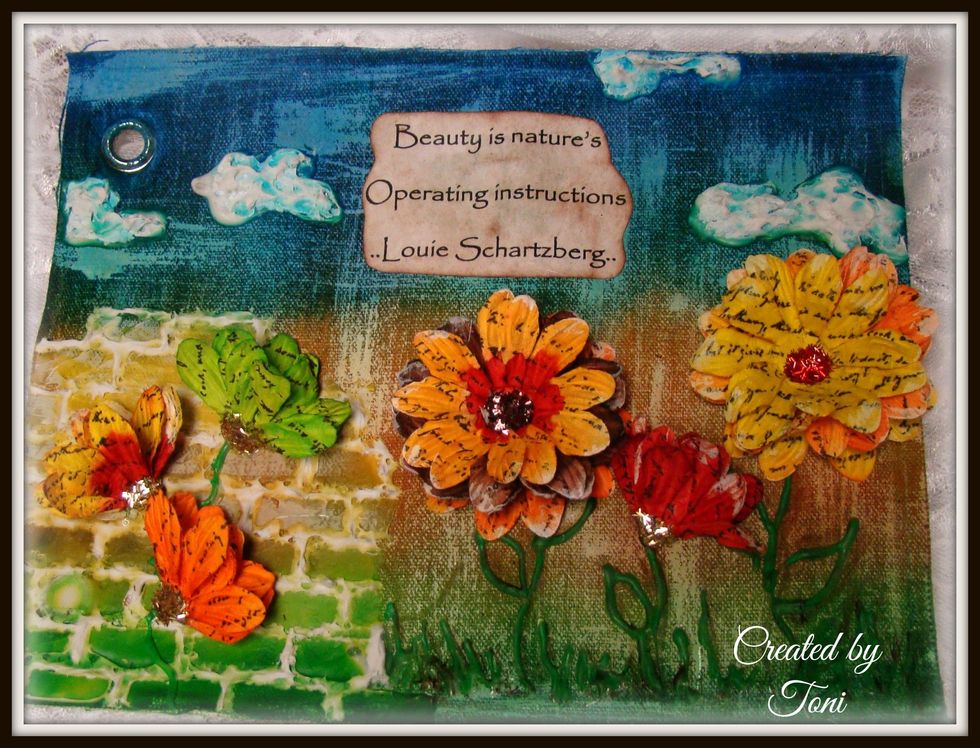
And there you have it... a quick little masterpiece... I want to say this took me probably 4 hours, mostly waiting around for items to dry.
Thank you for stopping by and for more creative inspiration check out my blog @ http://www.toni-burks.blogspot.com/