The Conversation (0)
Sign Up
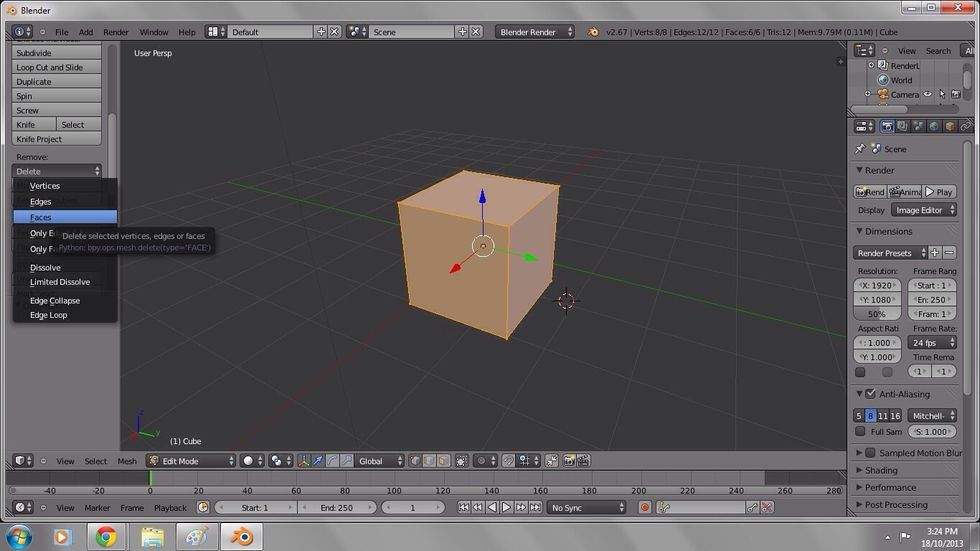
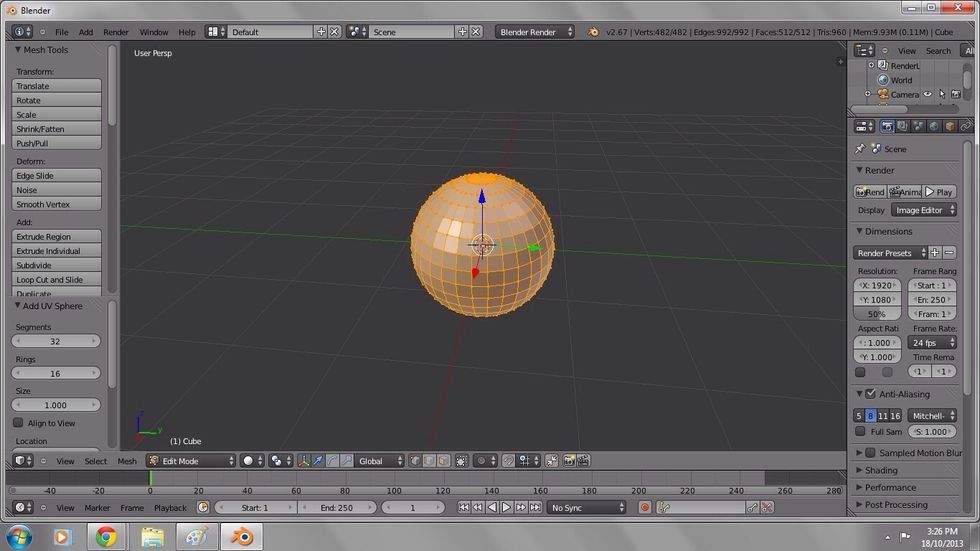
When you create a new file in blender by default there is a mesh cube. Press A on the keyboard to select all points or vertices.
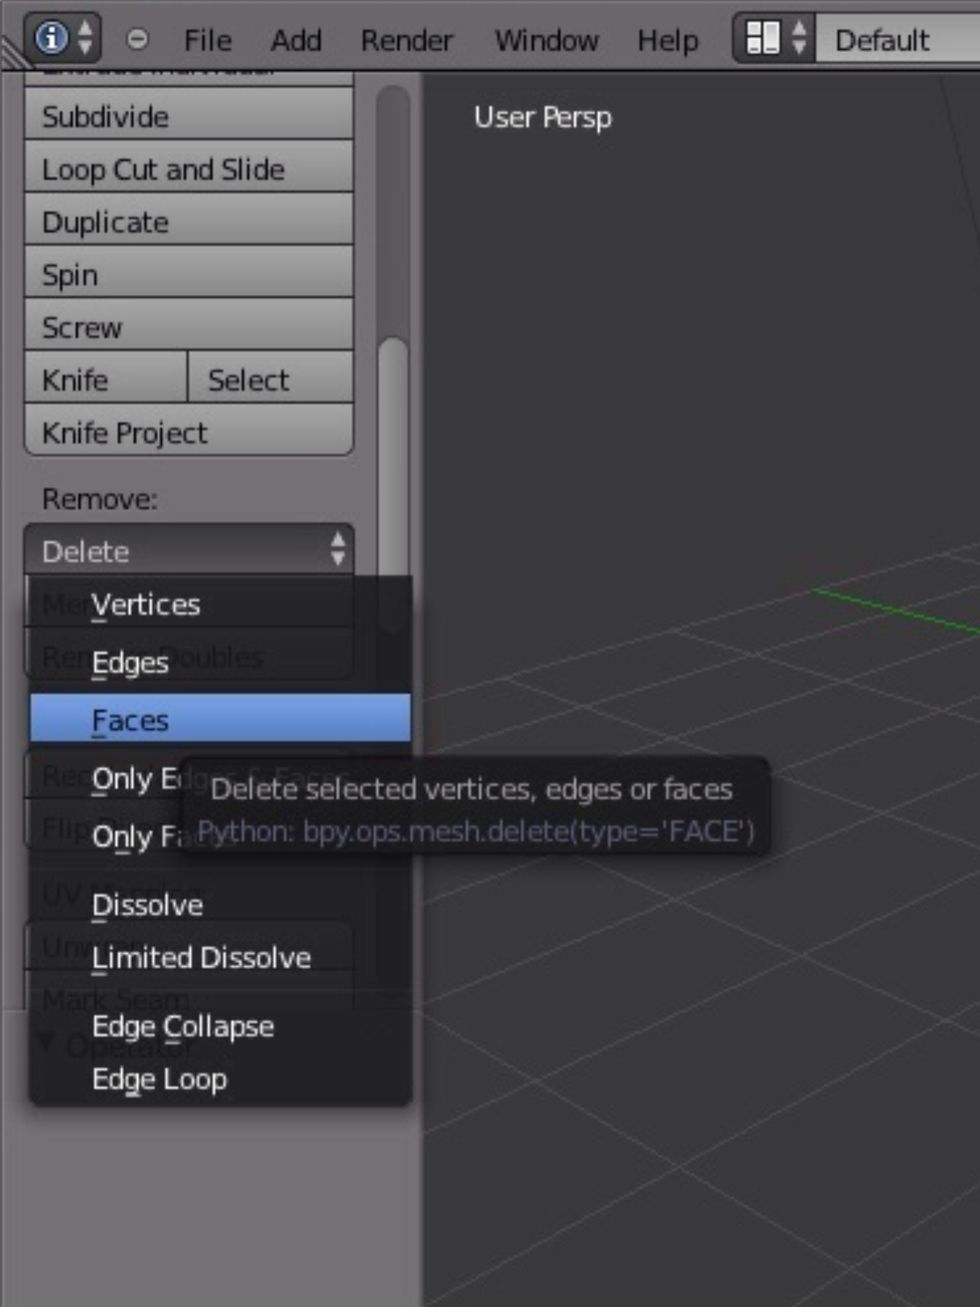
In the right hand panel, scroll until you see delete, select delete faces.
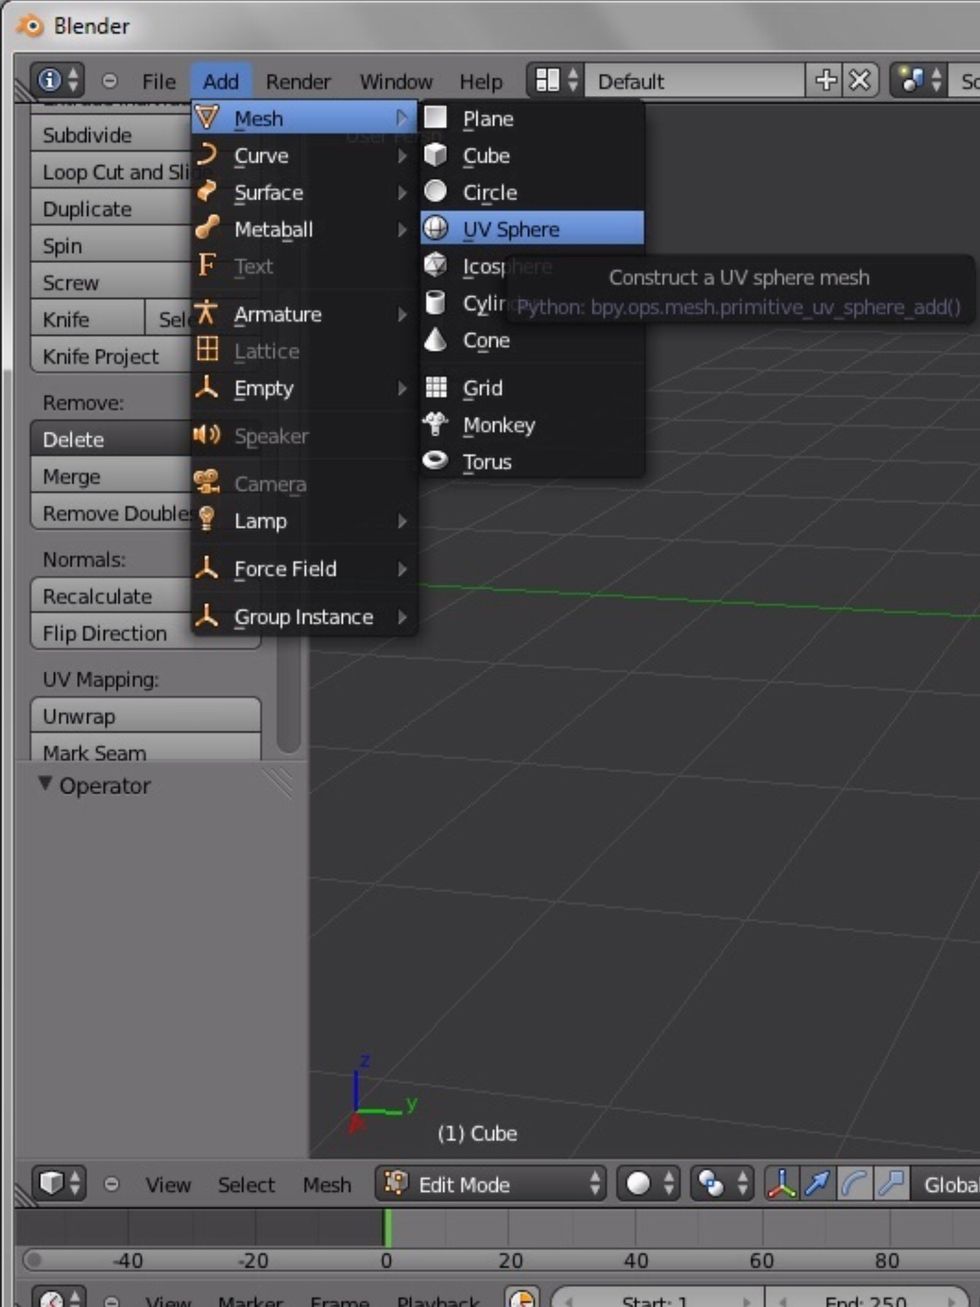
Go to the add tab, select mesh, then UV sphere.
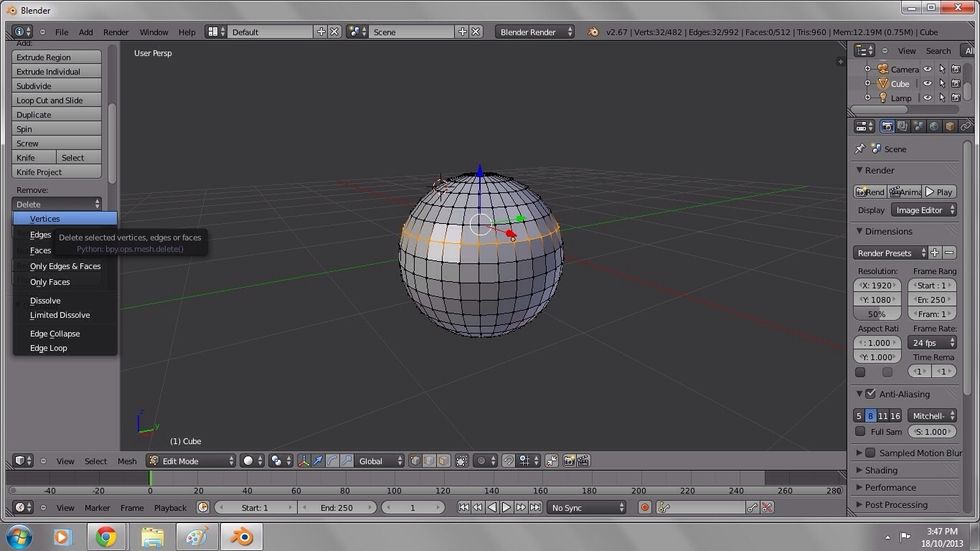
By pressing ALT 'something' you can select loops of vertices. Decide where you'd like your cup to terminate and select the line of vertices above that point.
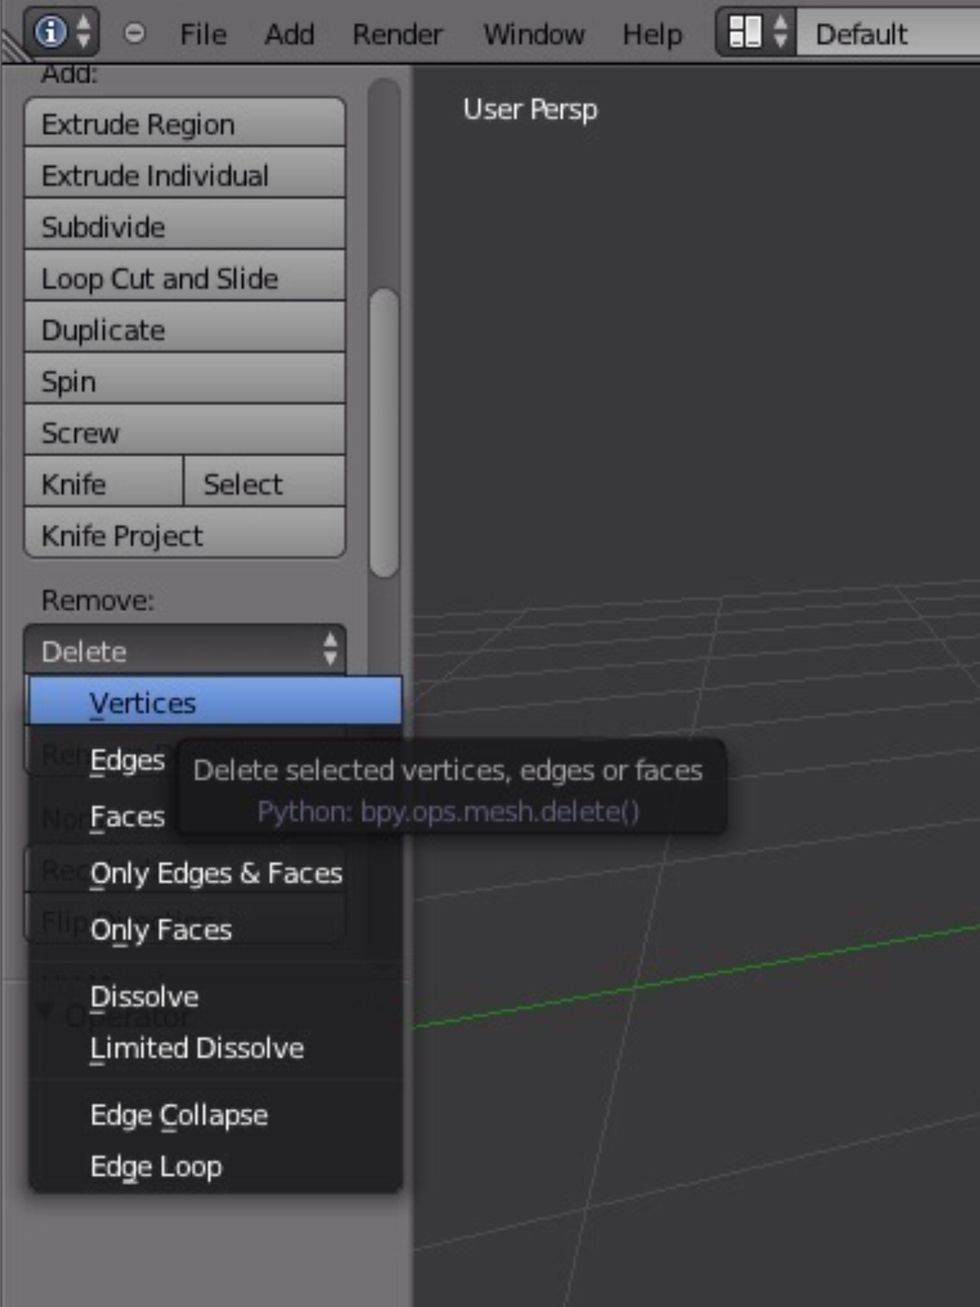
Click delete vertices.
With ALT 'something' select the unnecessary vertices left at the top of the sphere and click delete vertices.

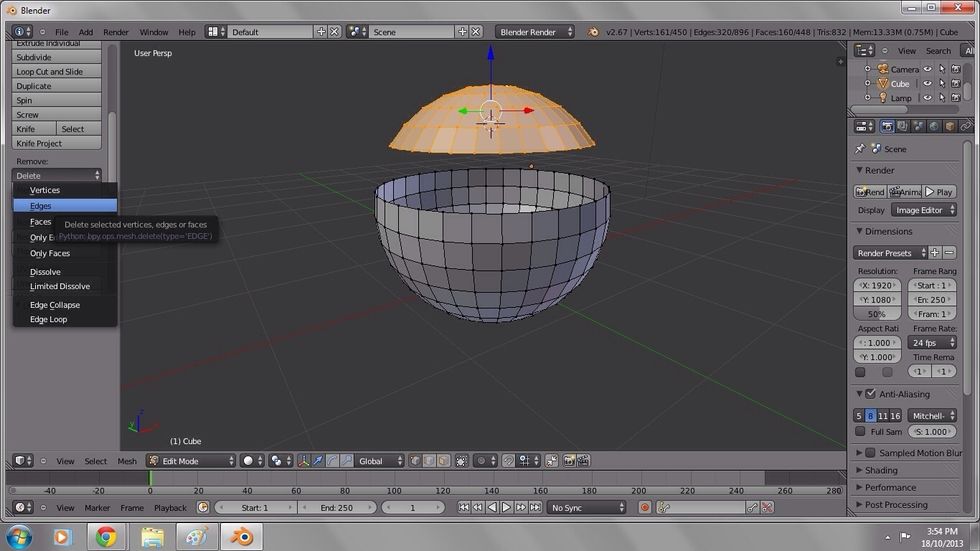
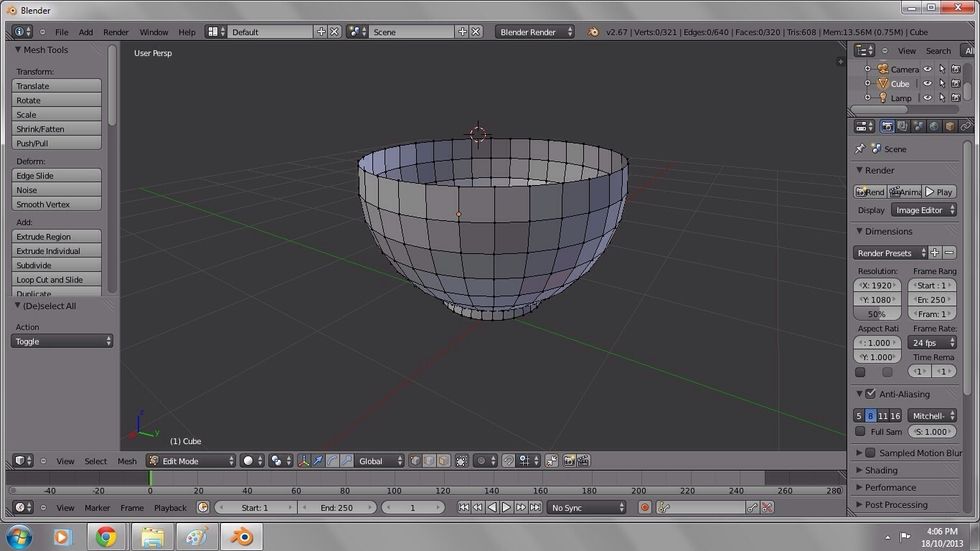
Now you have the base of your cup, only now it looks more like half a ball.
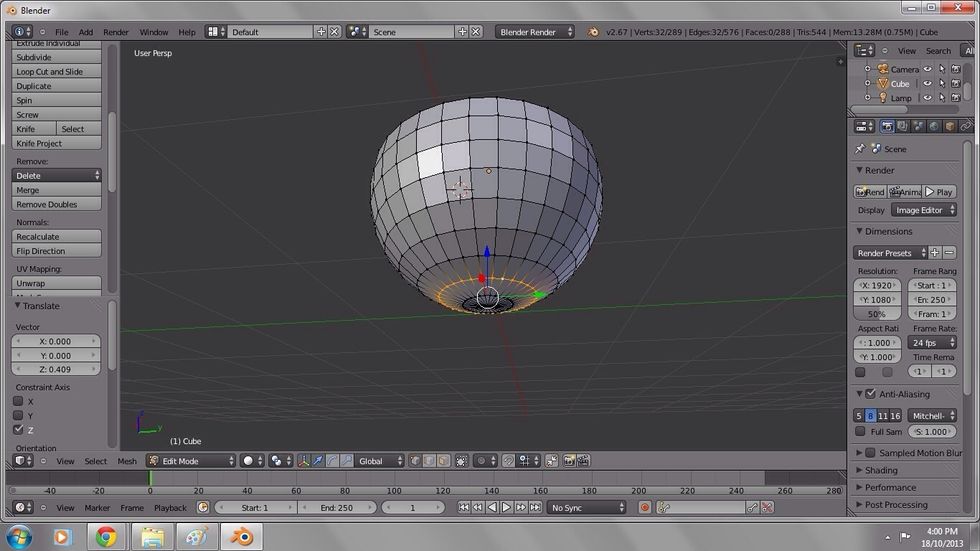
To make it more of a cup shape, select a row of vertices near the bottom of the sphere. This will become the base.
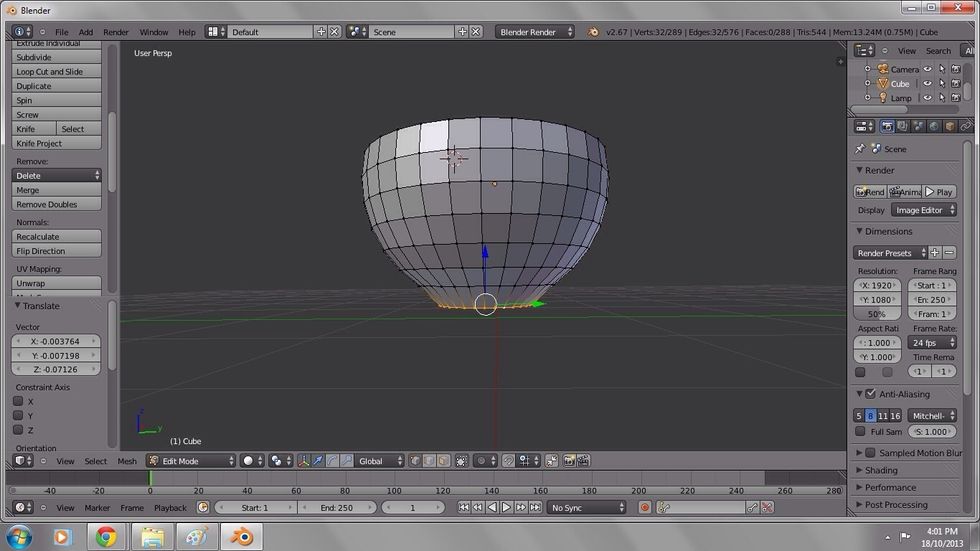
Use the keyboard shortcut G to transform or 'grab' the vertices, pull downward slightly to create the base. You can always use CTRL Z to undo a mistake.
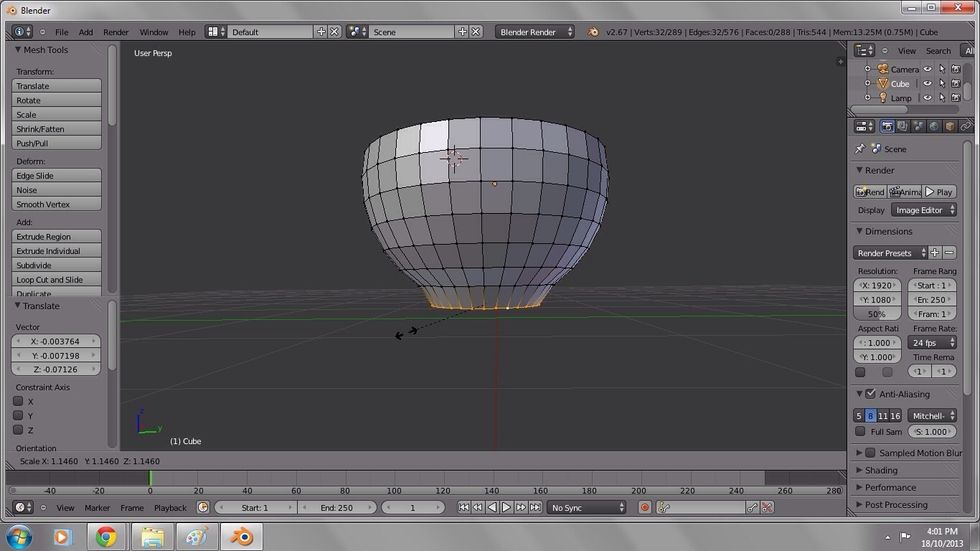
Now, with the same vertices selected, use scale (shortcut S) and pull outward to slightly widen the base.
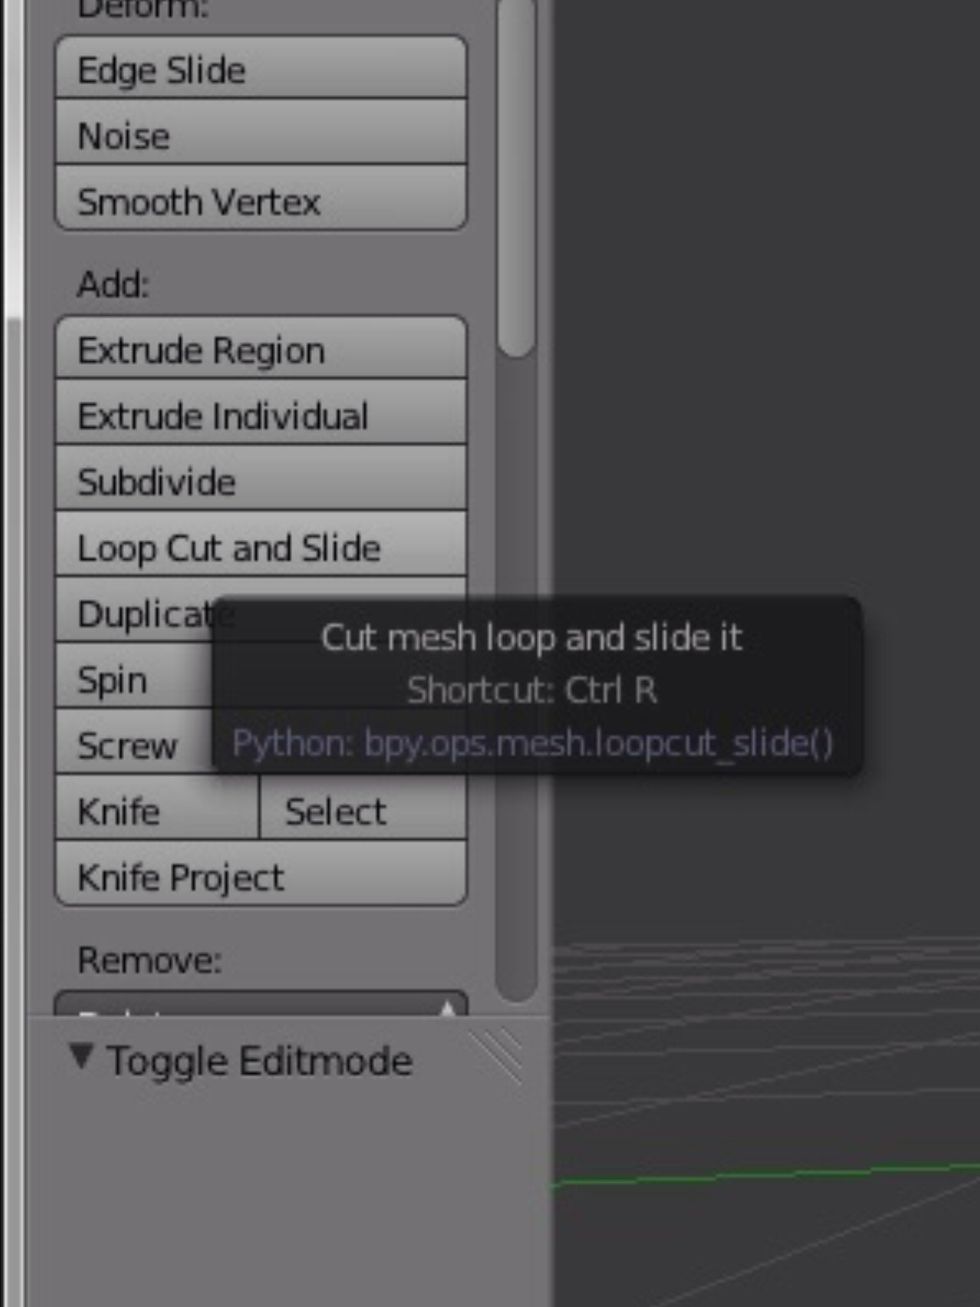
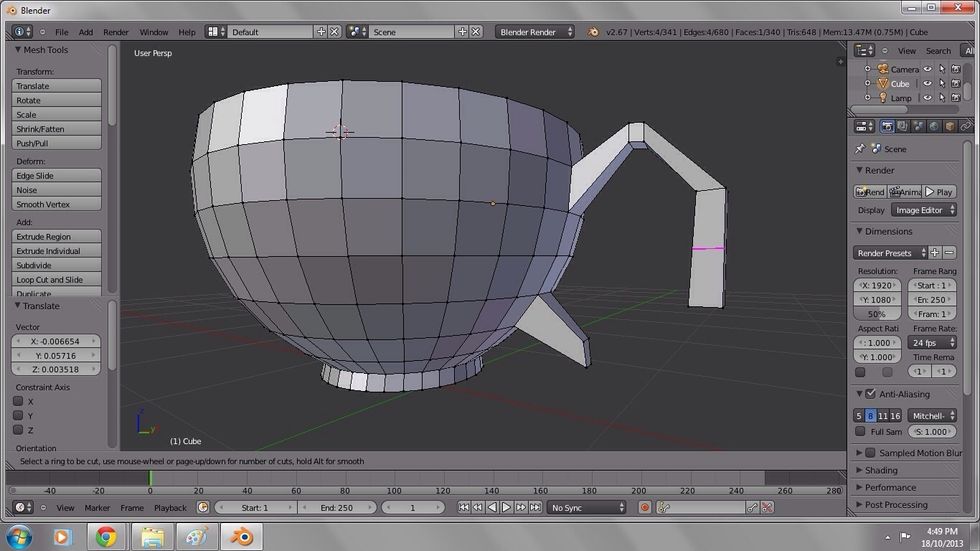
To get a bit more shape, I add a loop cut, this is a new row of vertices.
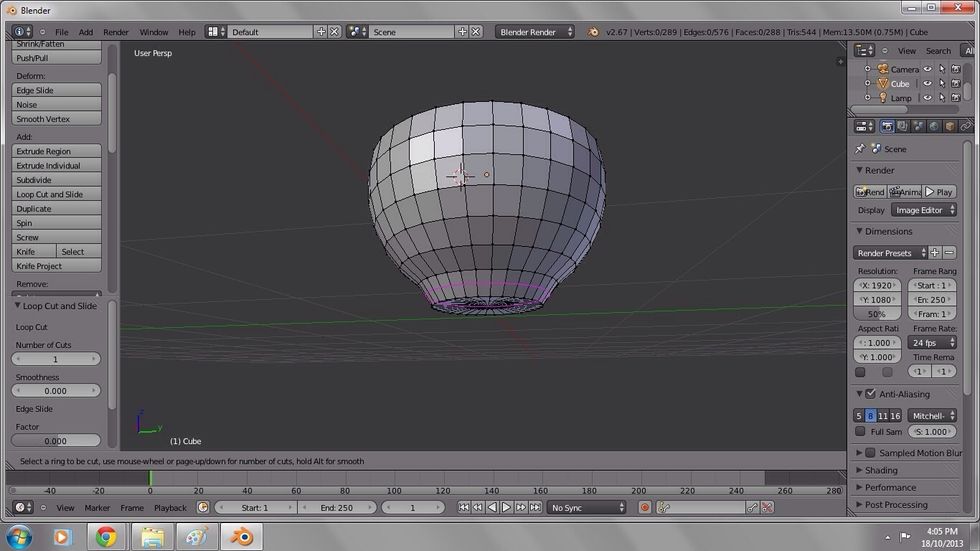
Left click to add your loop cut.
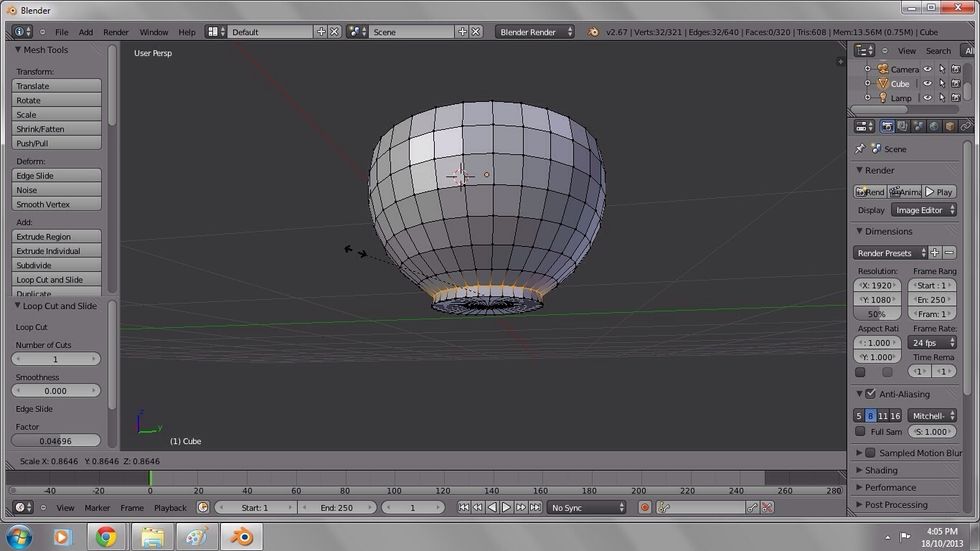
With the vertices of the new loop selected, use scale (shortcut S) to make the loop smaller, this gives more definition to the bottom of the cup.
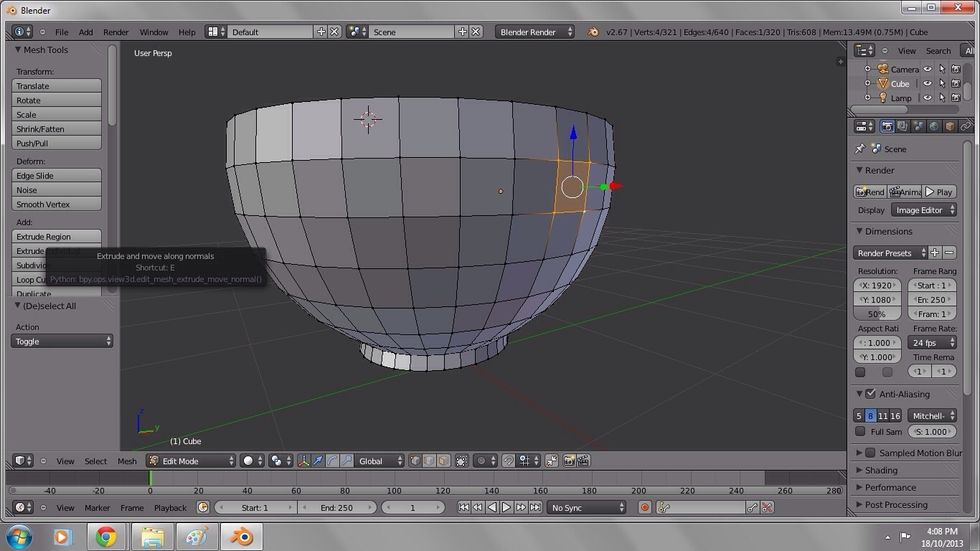
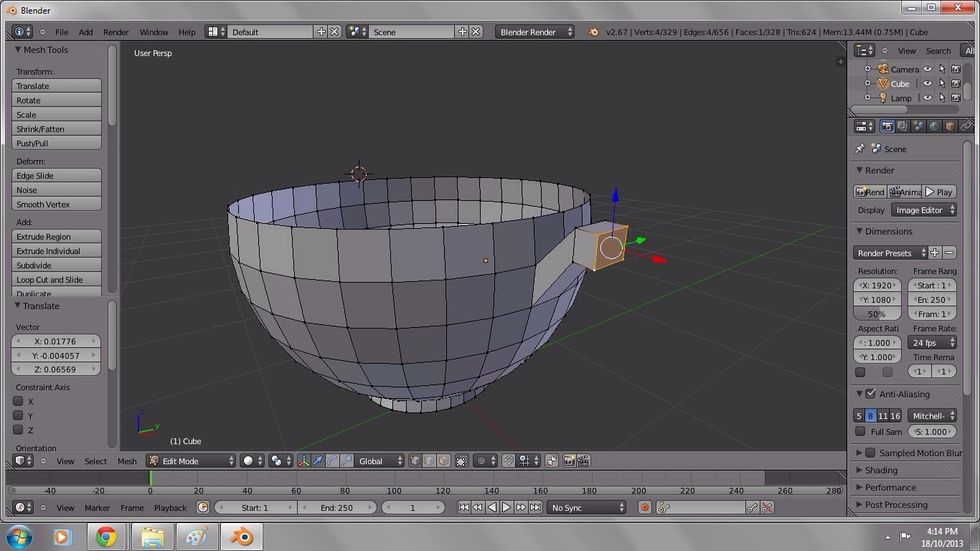
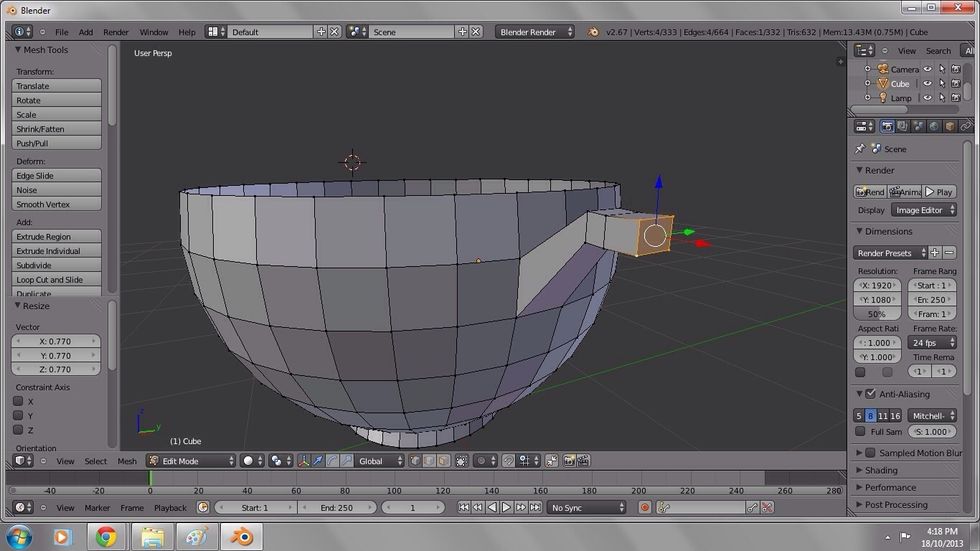
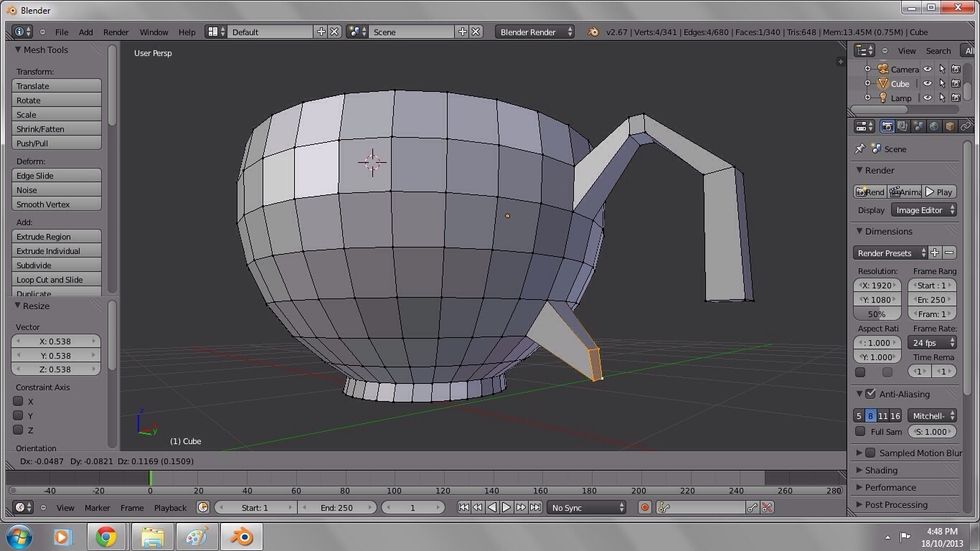
Select four vertices on the side of the cup to become the base of the upper cup handle. You can select multiple vertices with shift left click.
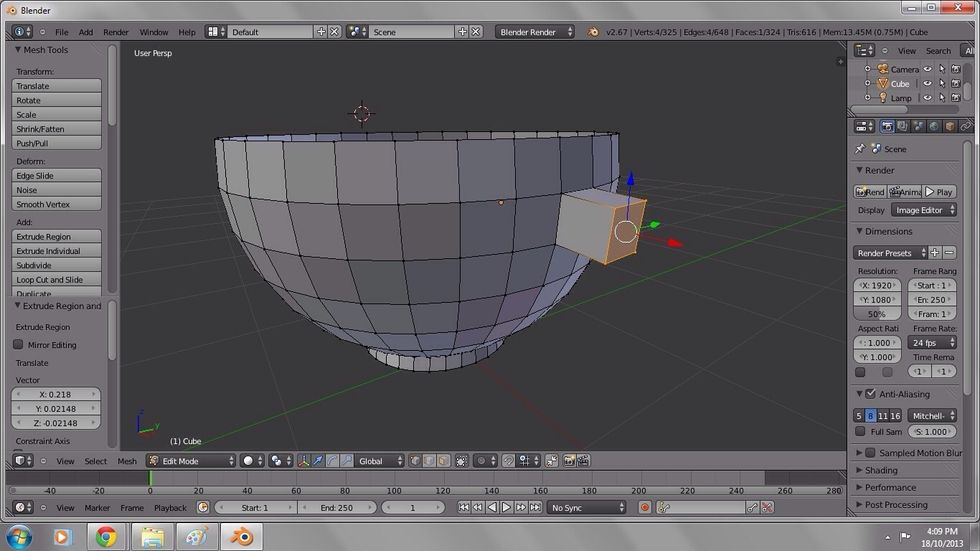
Extrude (shortcut E) the region outward to start off the handle.
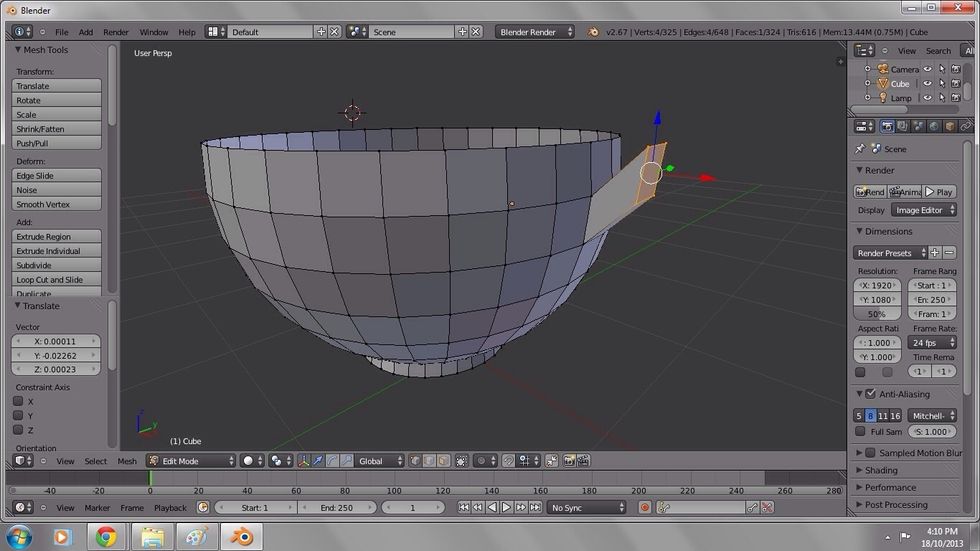
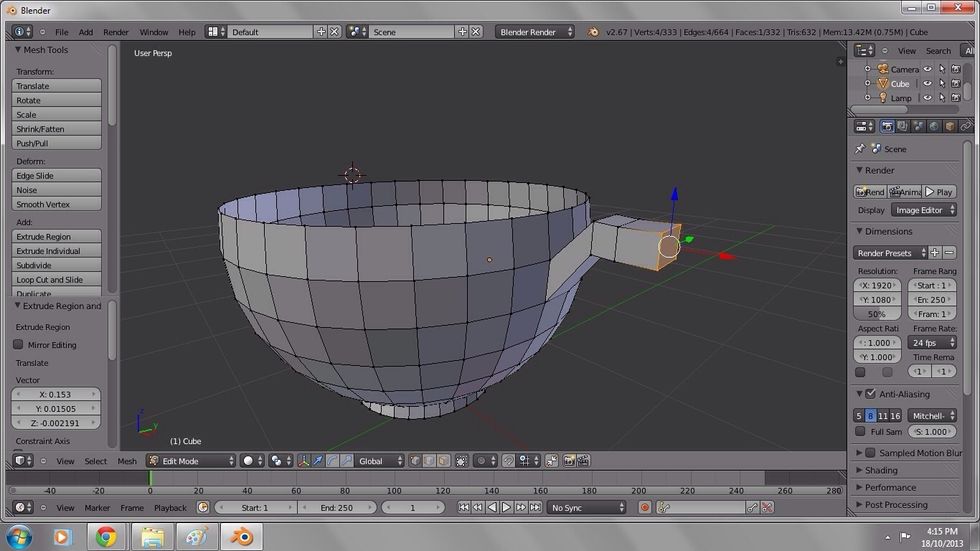
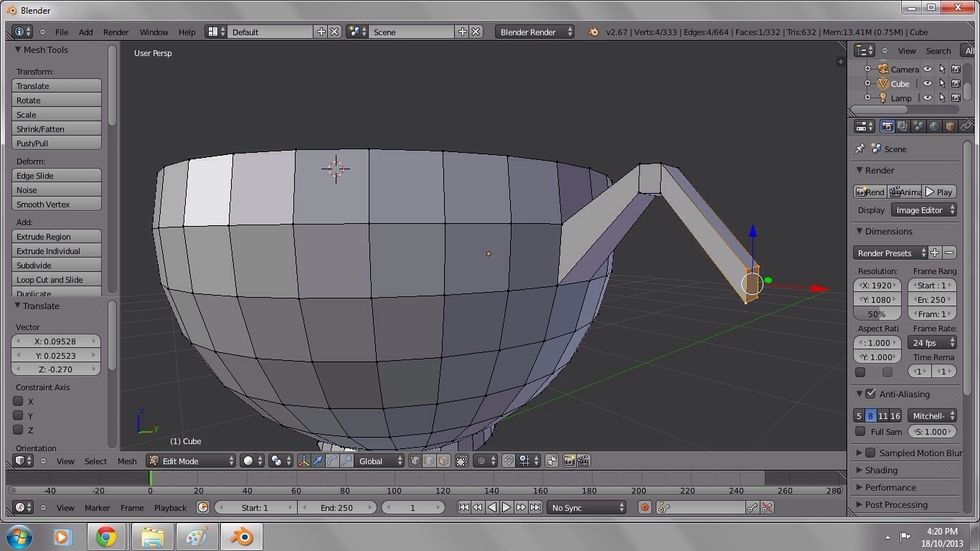
To give the handle more of a point use transform (shortcut G) to pull the vertices upward.
With the same vertices selected, extrude (shortcut E) outward.

My handle's looking too thick, if this happens you can always select the vertices above or beneath an object and use transform (shortcut G) to pull them up or downward.
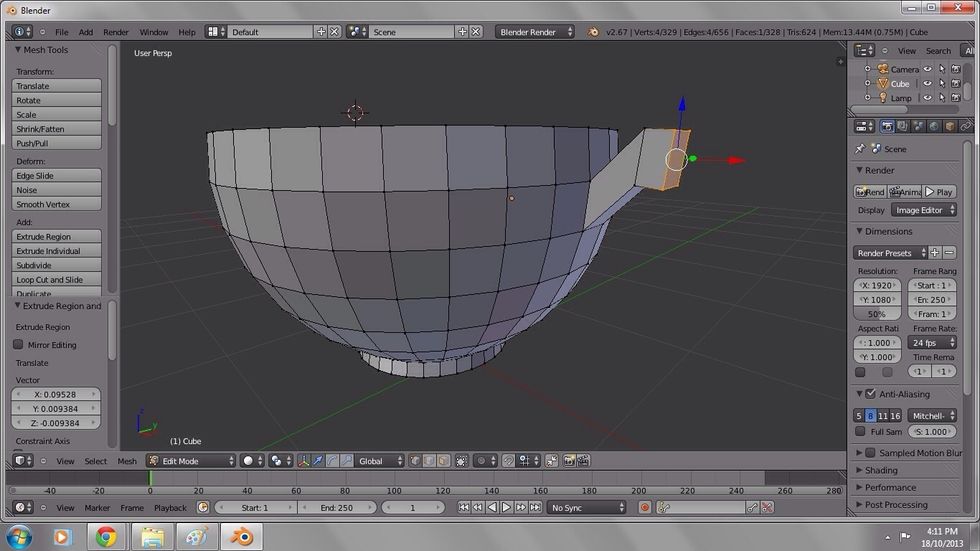
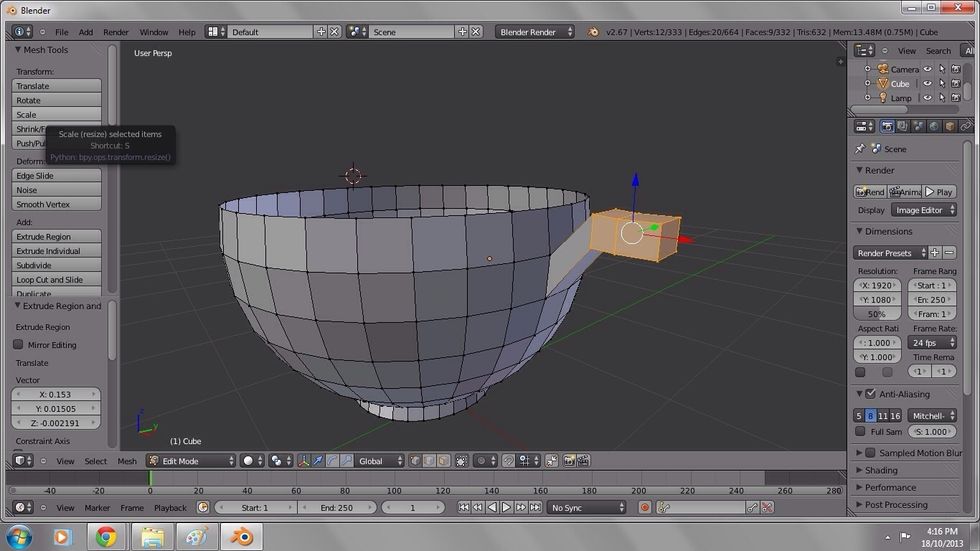
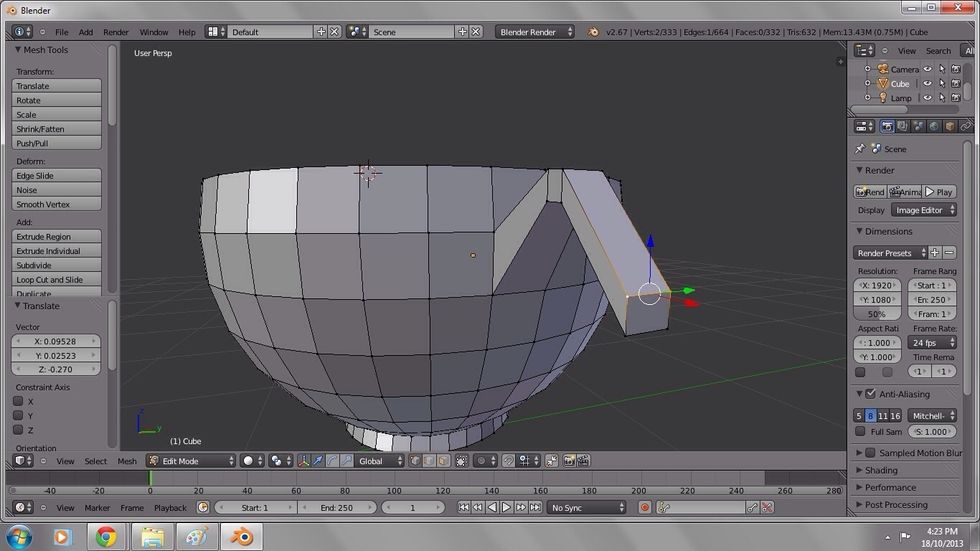
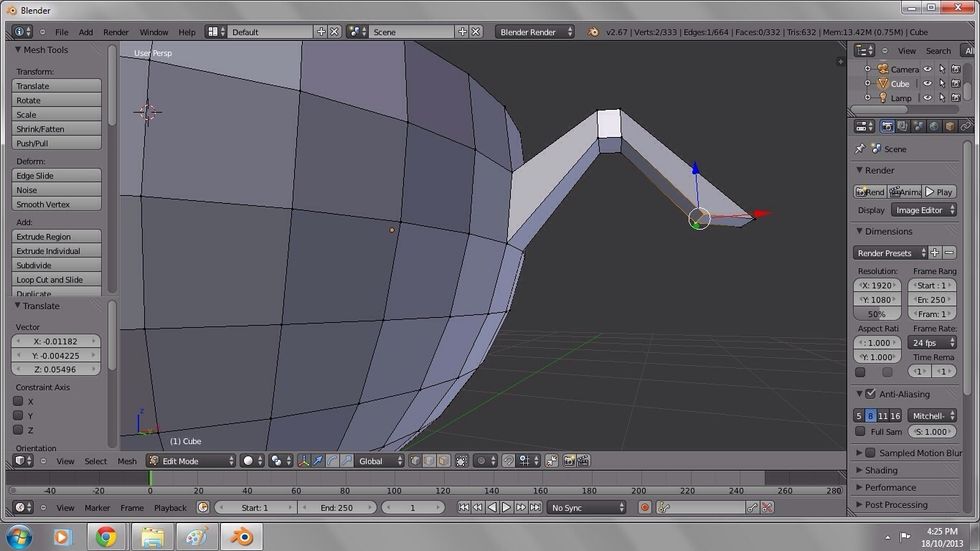
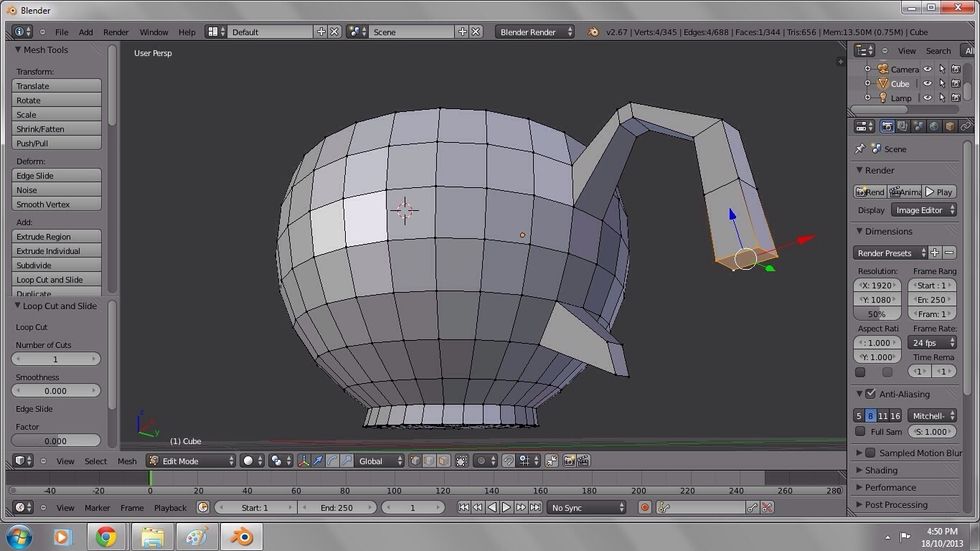
Select the face on the end of the handle.
Extrude (shortcut E) the face outward.
You may need to select the past two extrusions made to size them down a little.
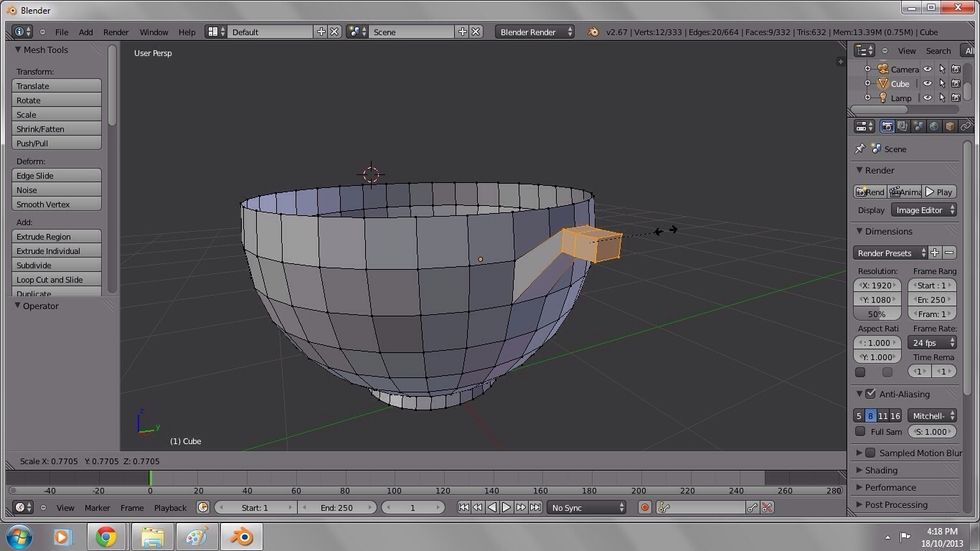
Scale (shortcut S).
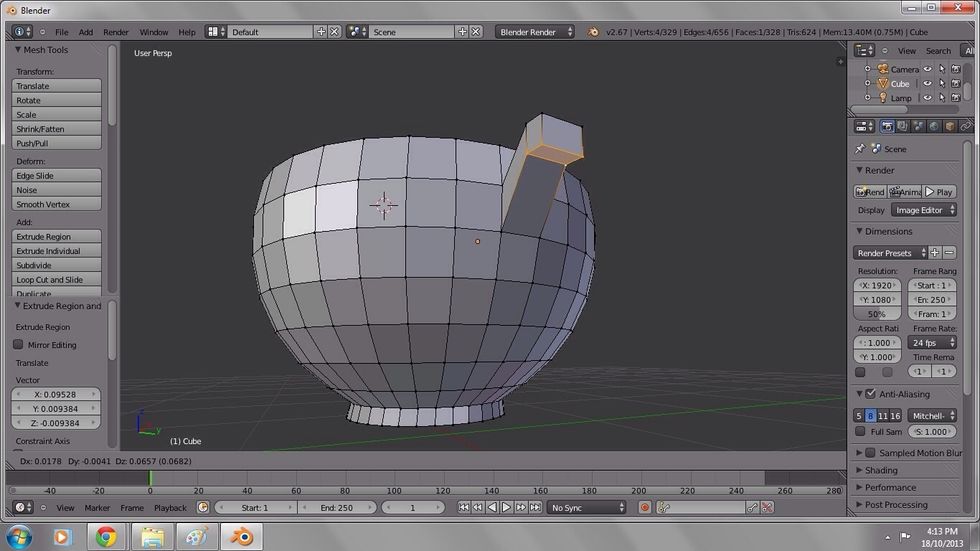
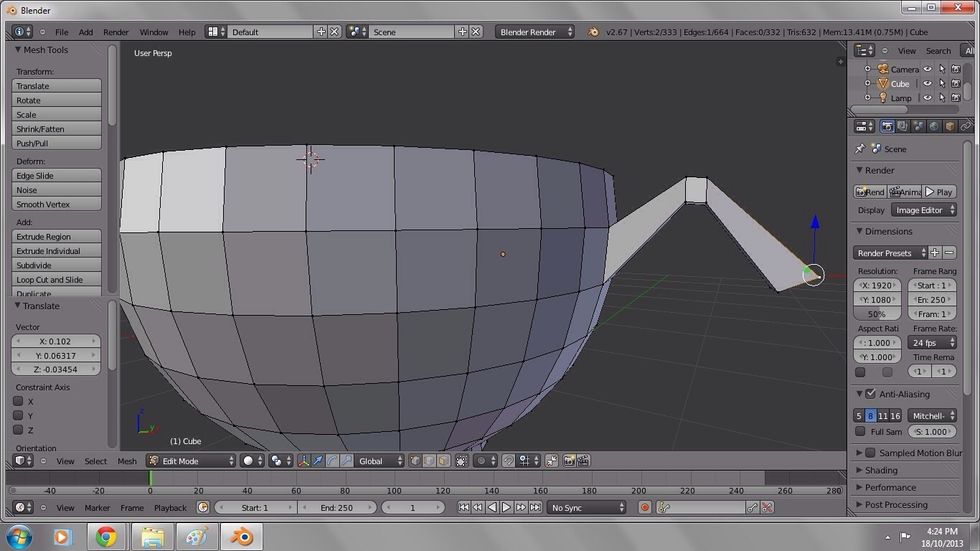
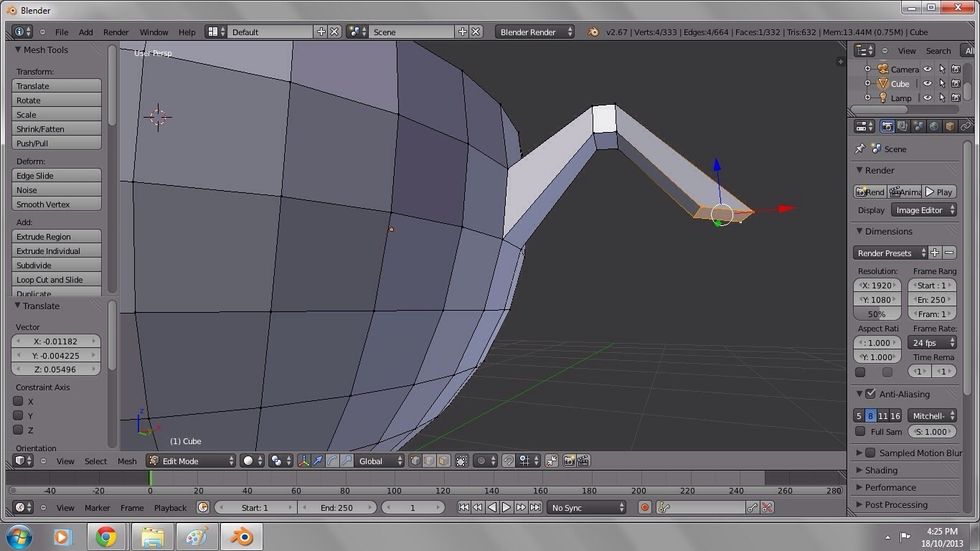
Select the face on the end of the handle.
Use transform (shortcut G) to pull the faces downward, creating a more handle-like structure.
Select the two top vertices on the end of the handle.
Pull them slightly down and outward with transform (shortcut G).
Use transform on the two lower vertices of the face, pull them slightly upward to create a flatter surface.
Select the face.
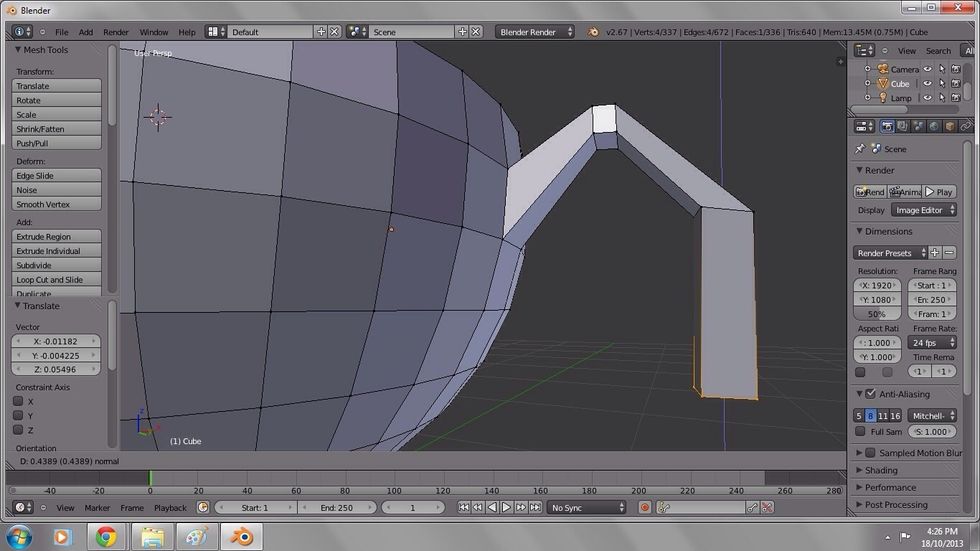
Extrude (shortcut E) downward.
Now select the face that you want for the lower base of the handle.
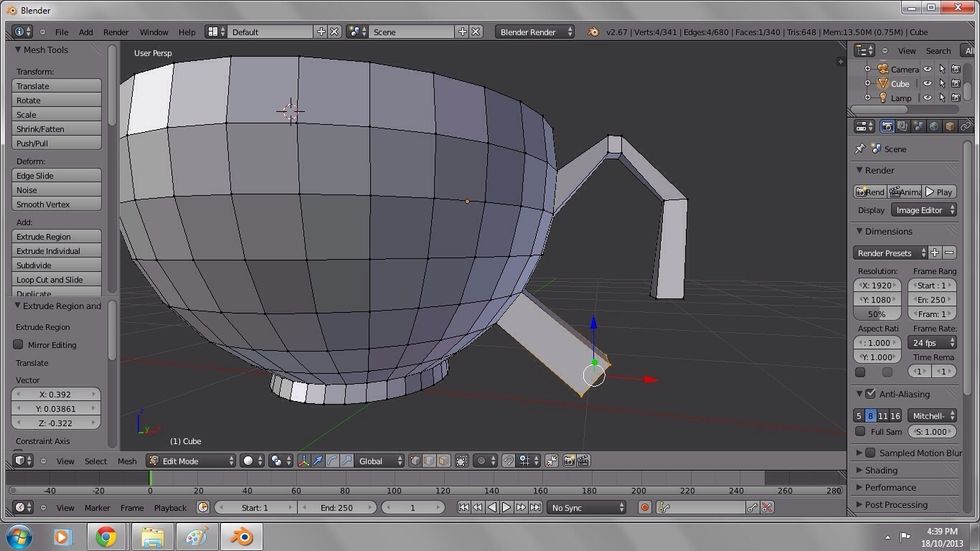
Extrude (shortcut E) outward.
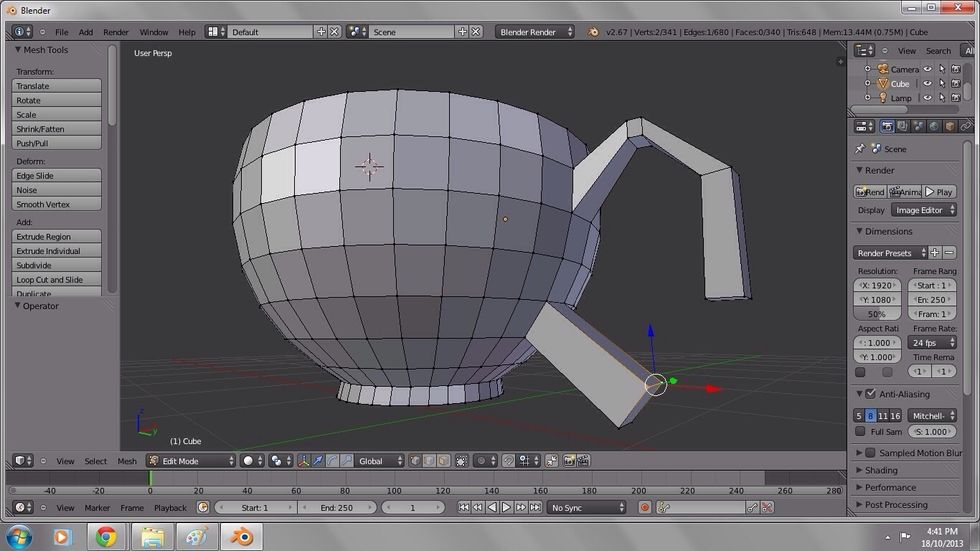
Select the two upper vertices of the previously extruded face.
Use transform (shortcut G) to pull the vertices inward.
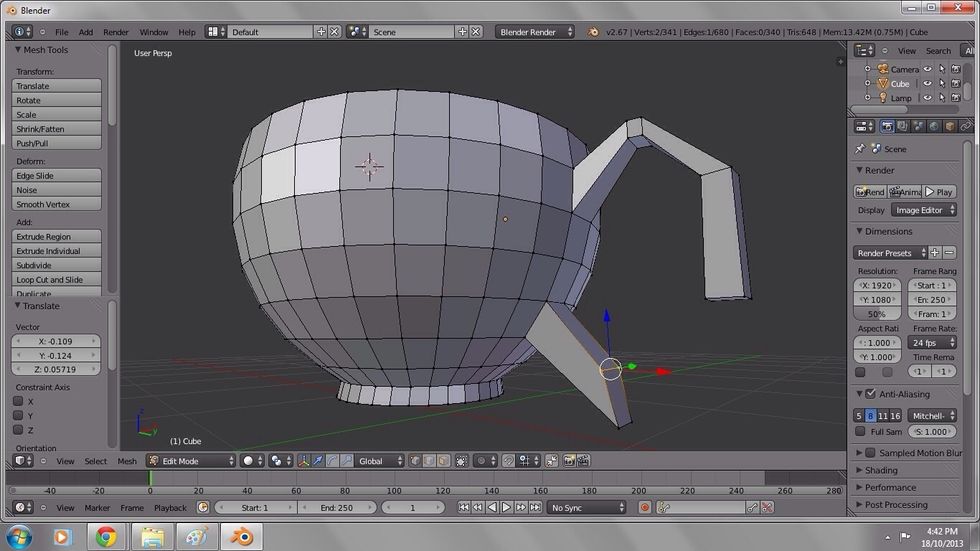
Select the face.

Use scale (shortcut S) to size down chunkier parts of the handle, making it more dainty.
Use transform (shortcut G) to pull the bottom of the handle up if it's too low.
Add a loop cut (shortcut CTRL R) to the middle of the handle if it's long.
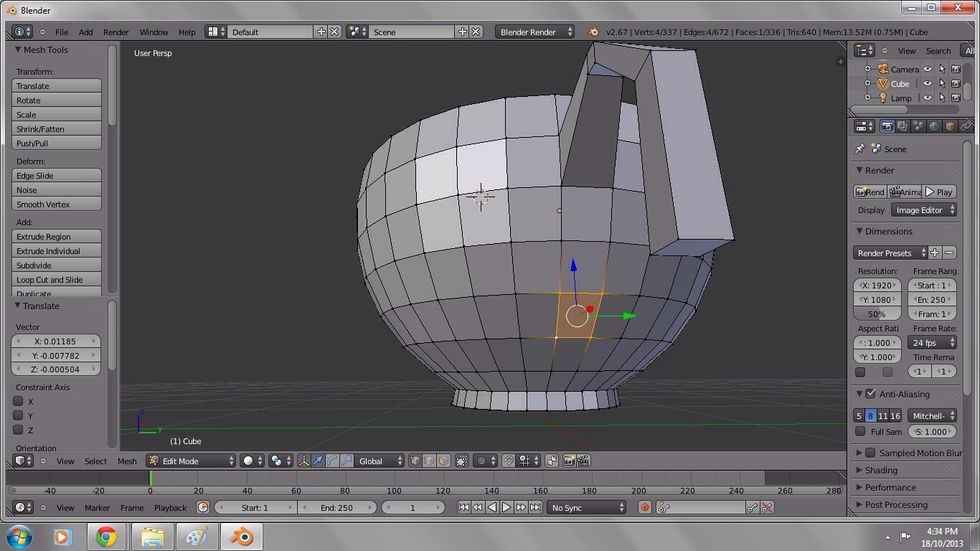
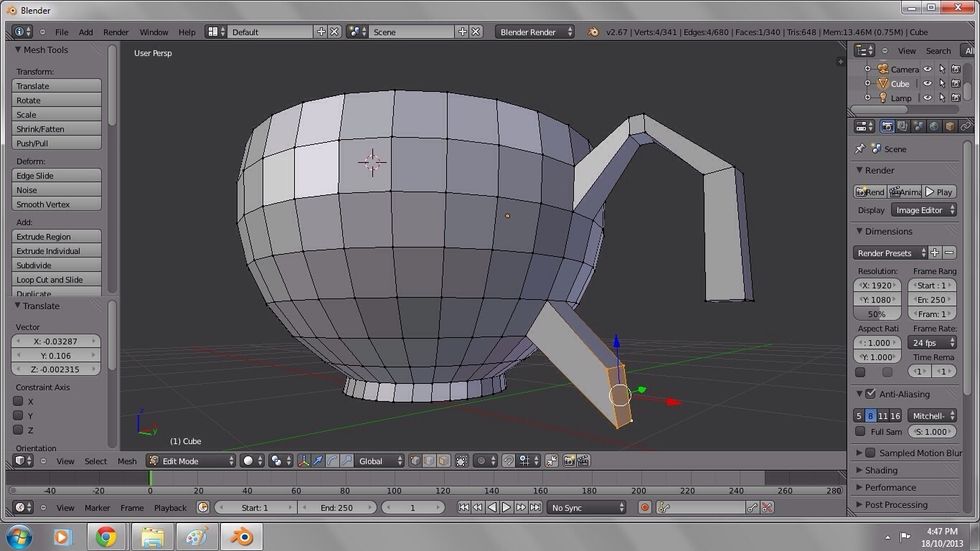
Select the bottom face of the middle of the handle.
Use transform (shortcut G) to pull it toward the base of the handle.
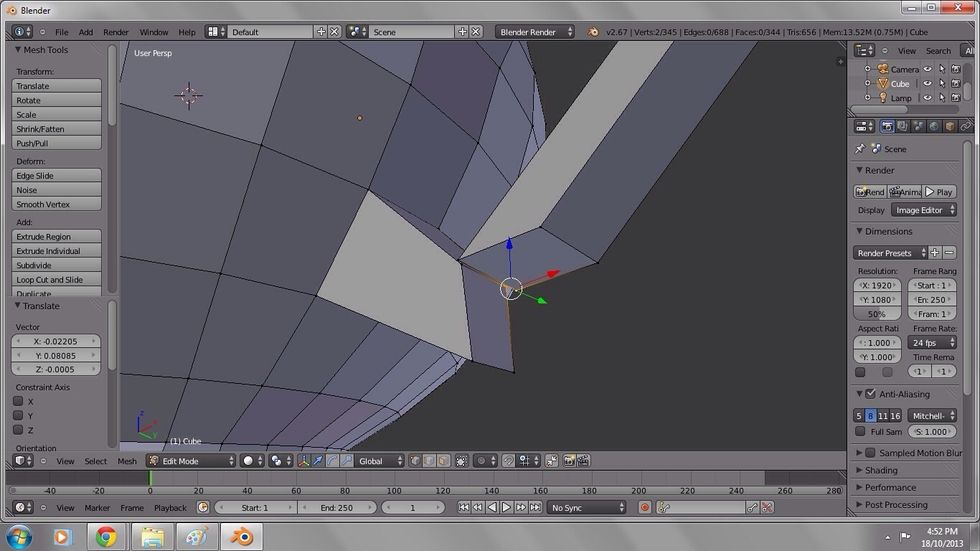
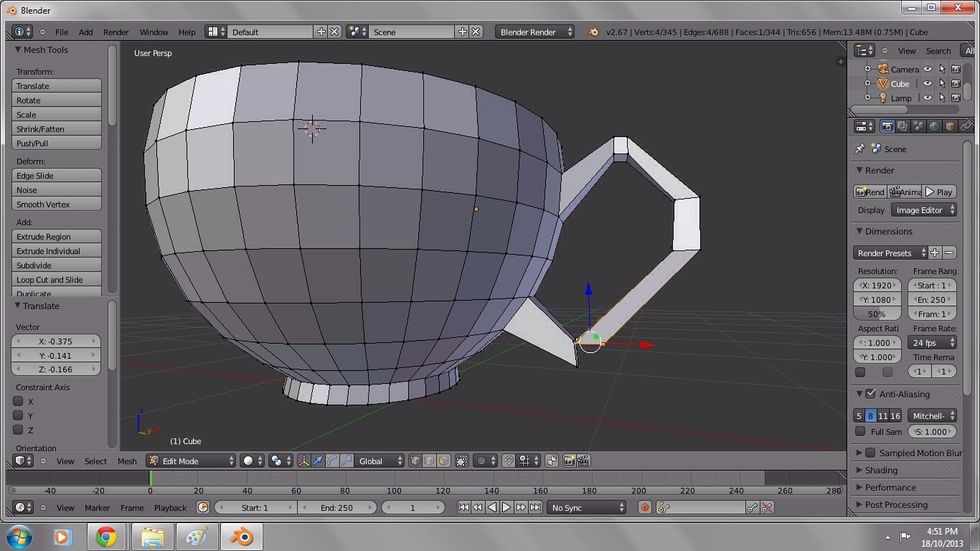
When merging the vertices together make sure to select the lower base first, then the handle.
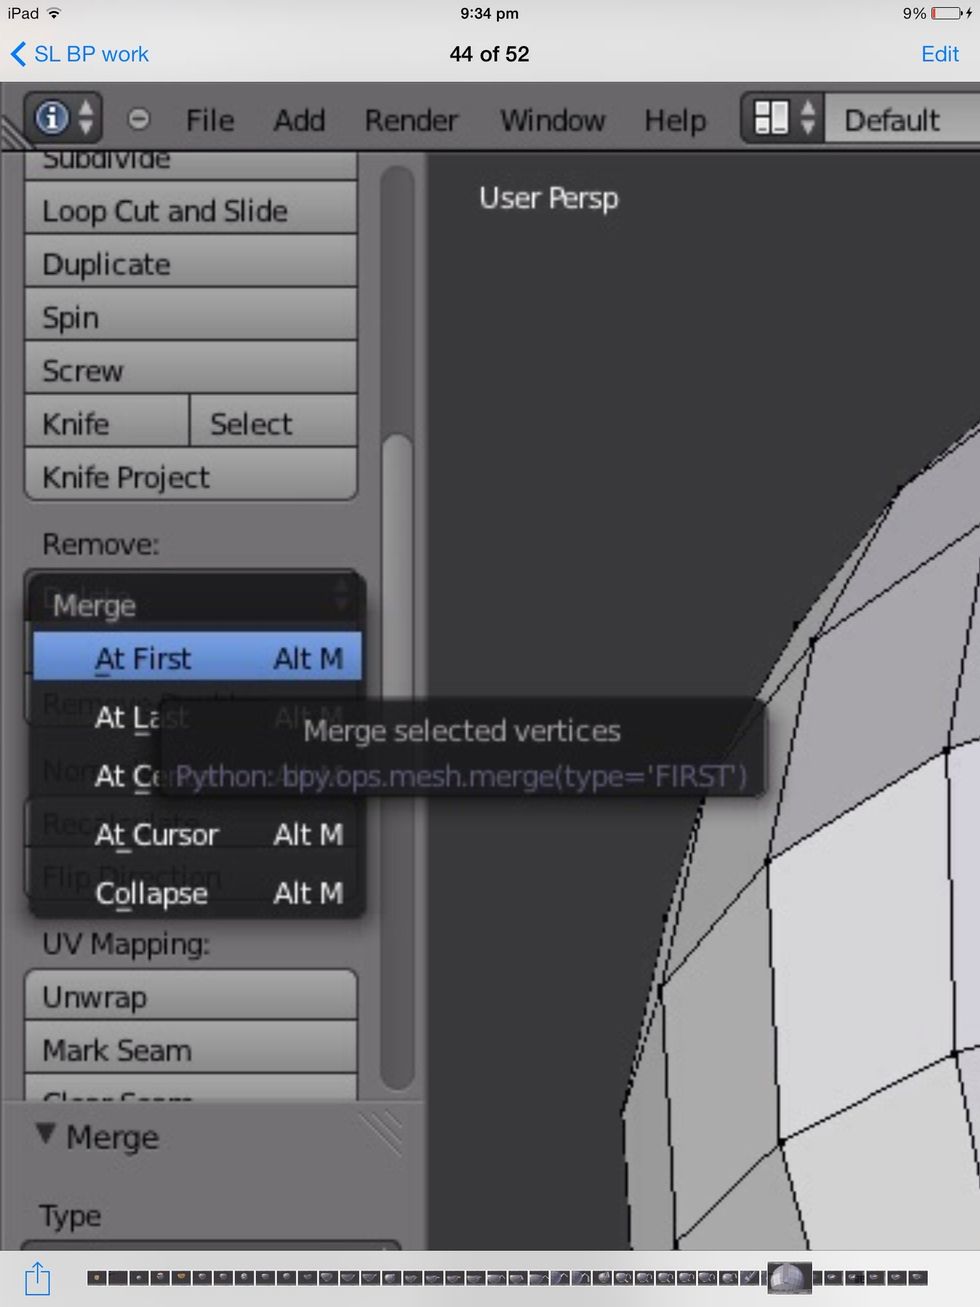
Merge (shortcut ALT M).
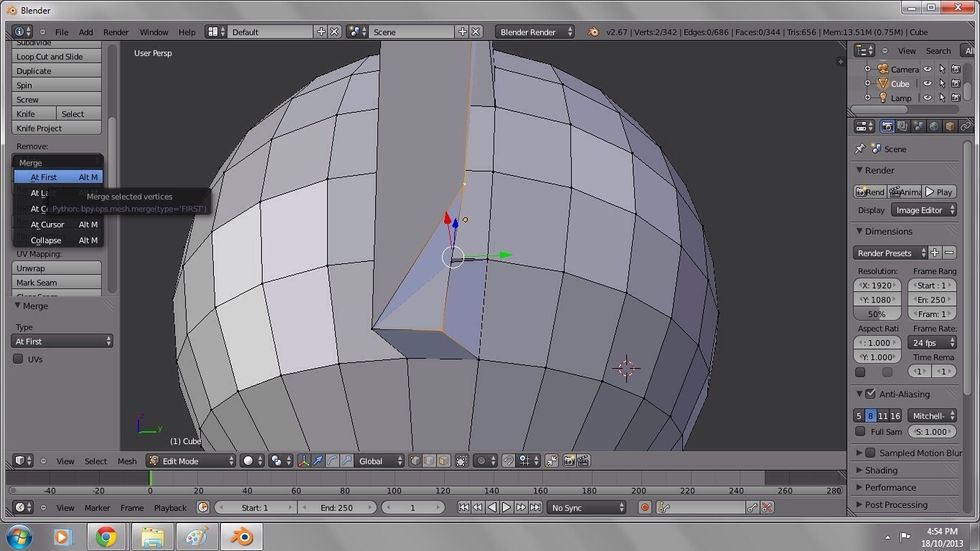
Merge (shortcut ALT M) until all eight vertices are merged together into four.
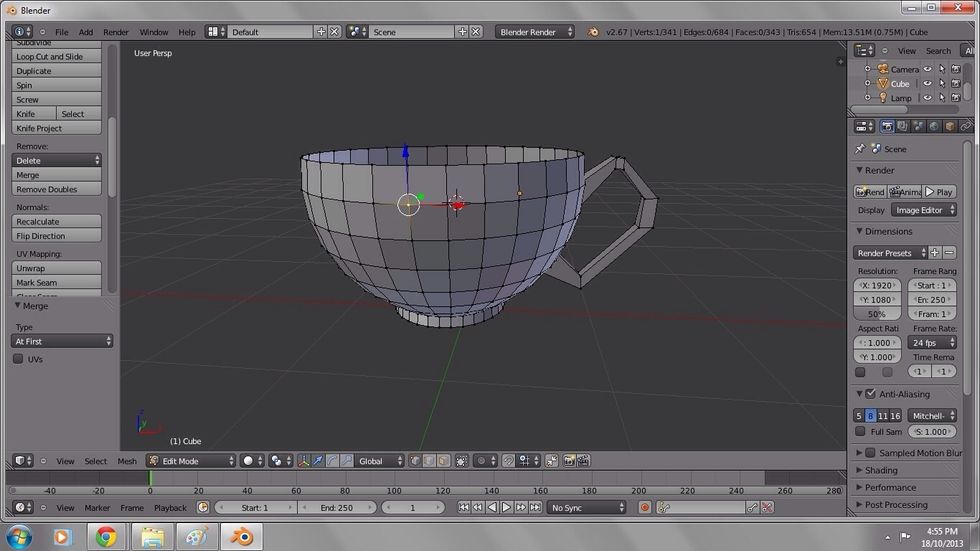
Almost done! On the right hand side of you screen, there's a little picture of a wrench. This is the modifier tool.
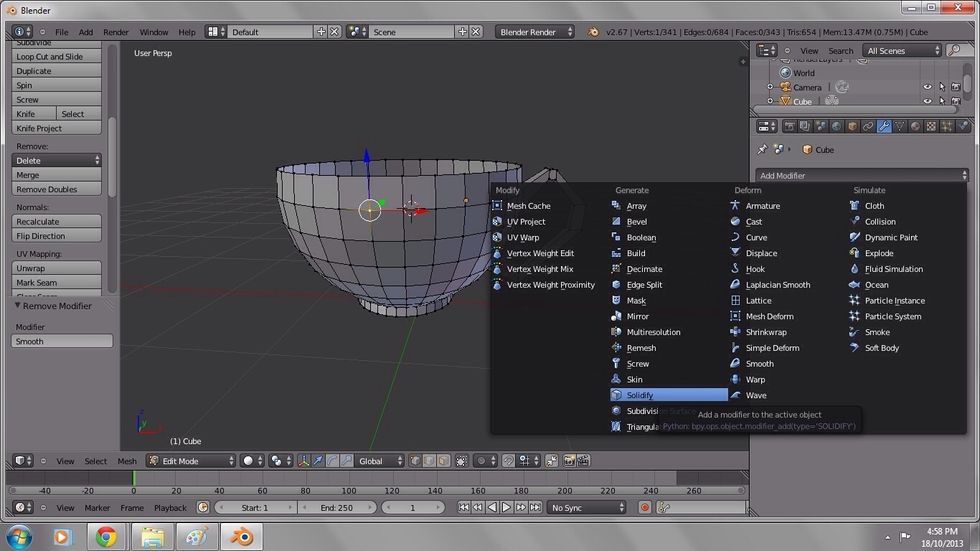
Modifiers add a removable effect to your mesh without altering it's original structure. Add solidify.
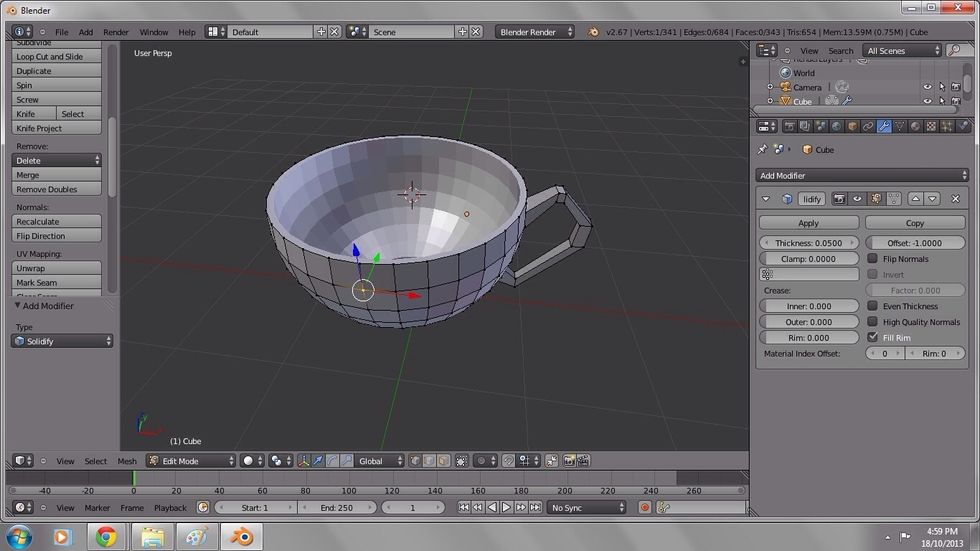
On the right of the screen there's the thickness level. For this cup, I set it at 0.0500. When you've decided the level of thickness click apply.
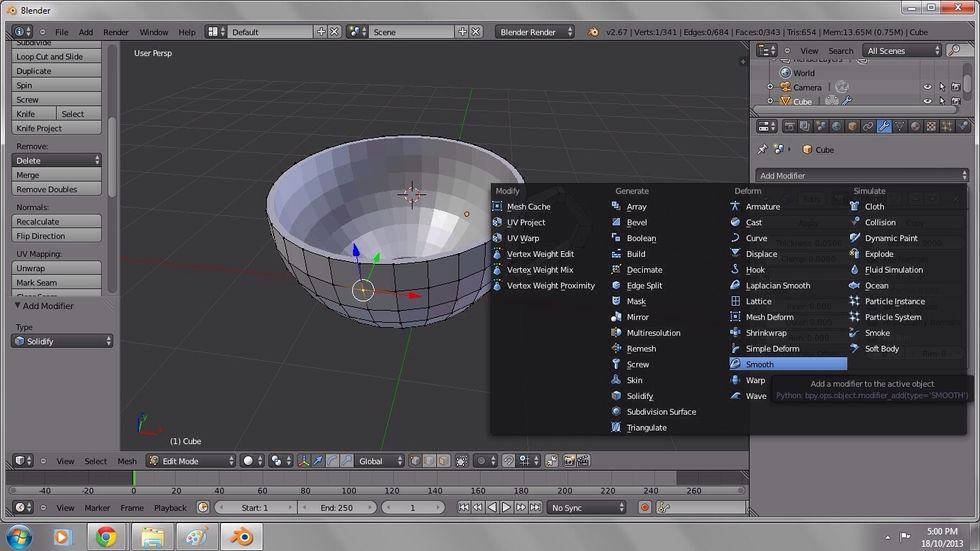
Add another modifier, smooth.
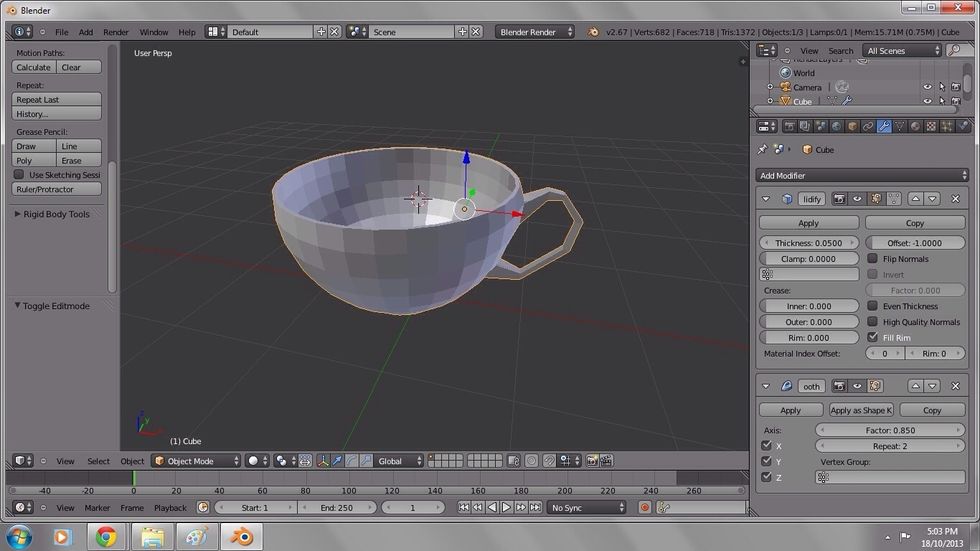
I set smooth at a factor of 0.850 with two repeats, you may want more or less.
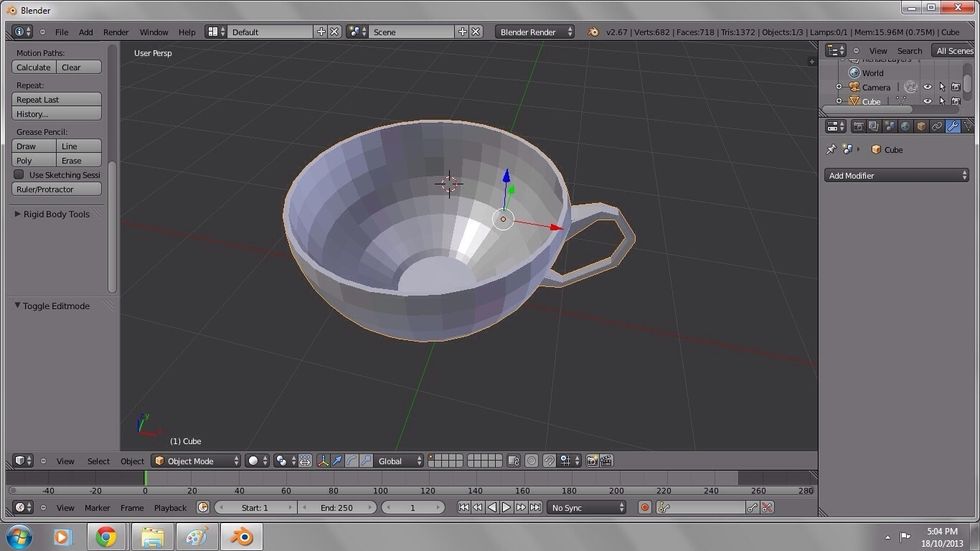
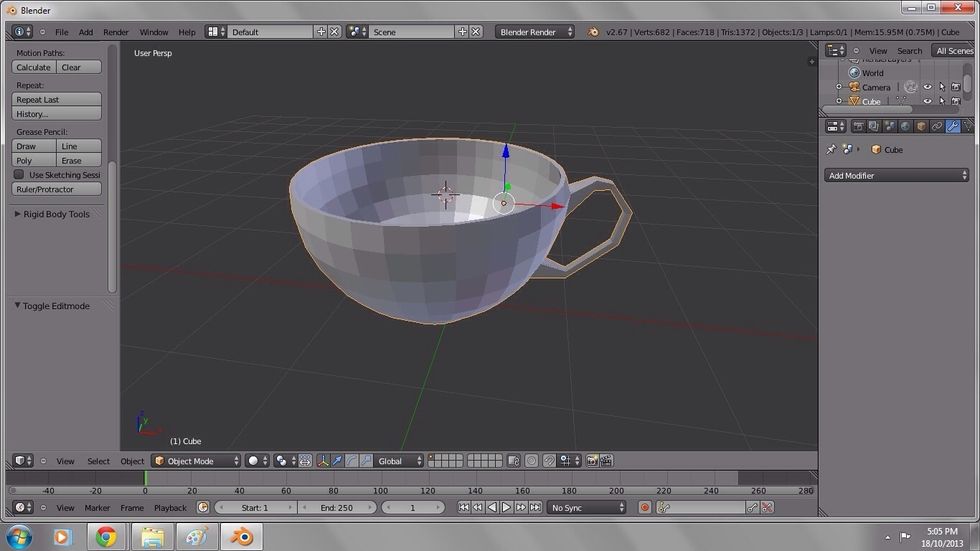
Done!