The Conversation (0)
Sign Up
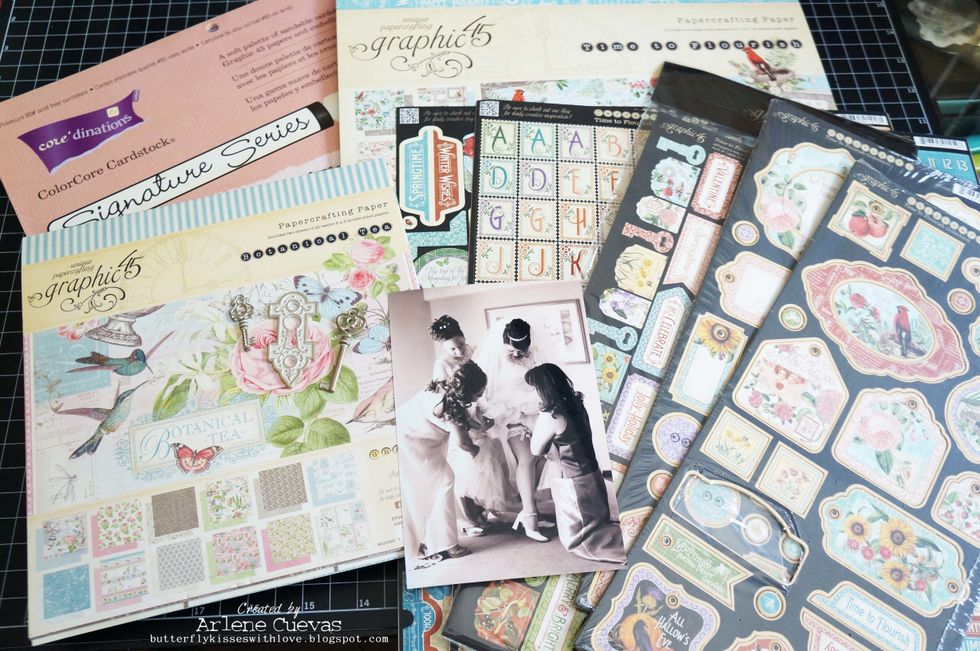
The first step is to select your photo and supplies. I'll be using Graphic 45's Time to Flourish and Botanical Tea collections for this page.
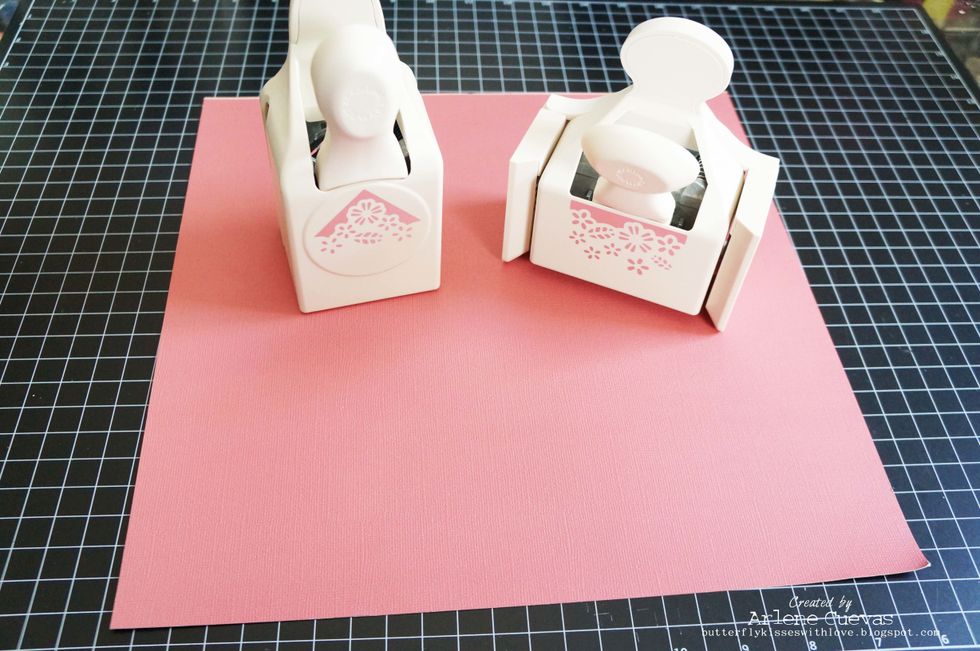
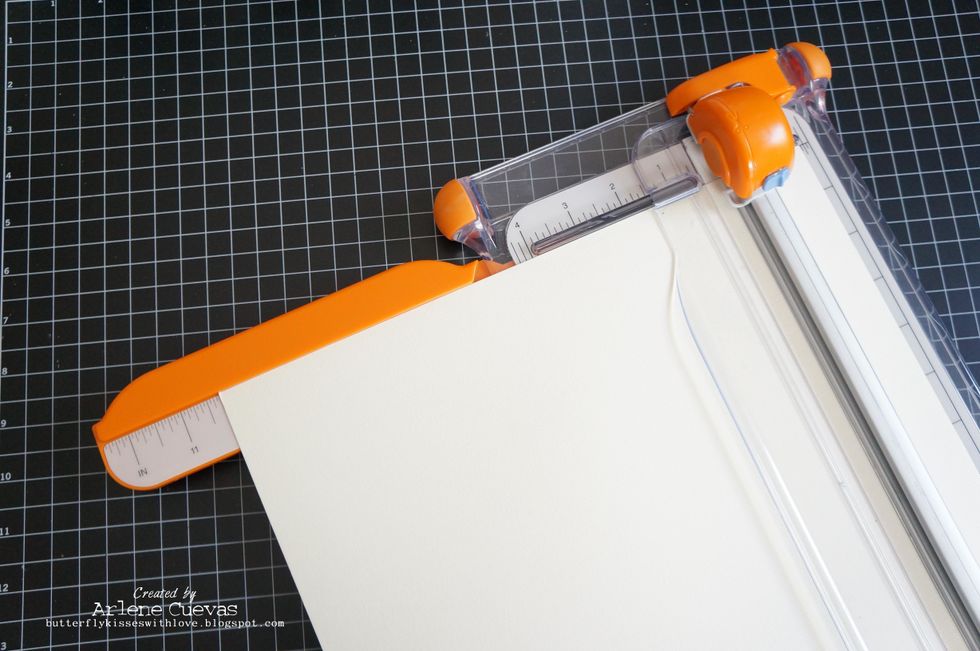
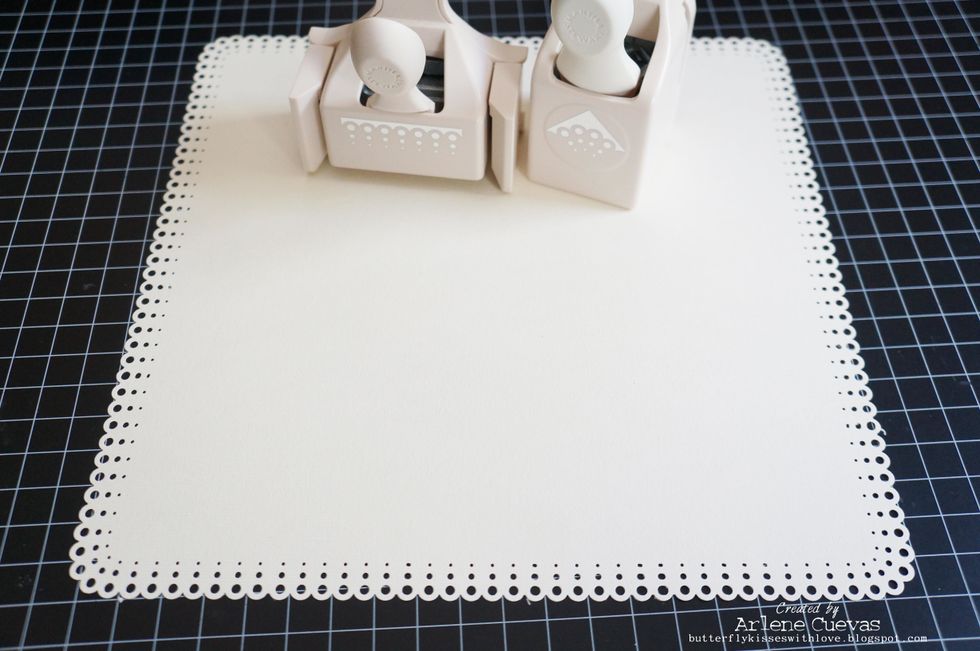
I'm using Coordinations Graphic 45 Signature Series 12x12 card stock as the base of my page. I'll be using a Martha Stewart corner/border punch set to accent the edges...
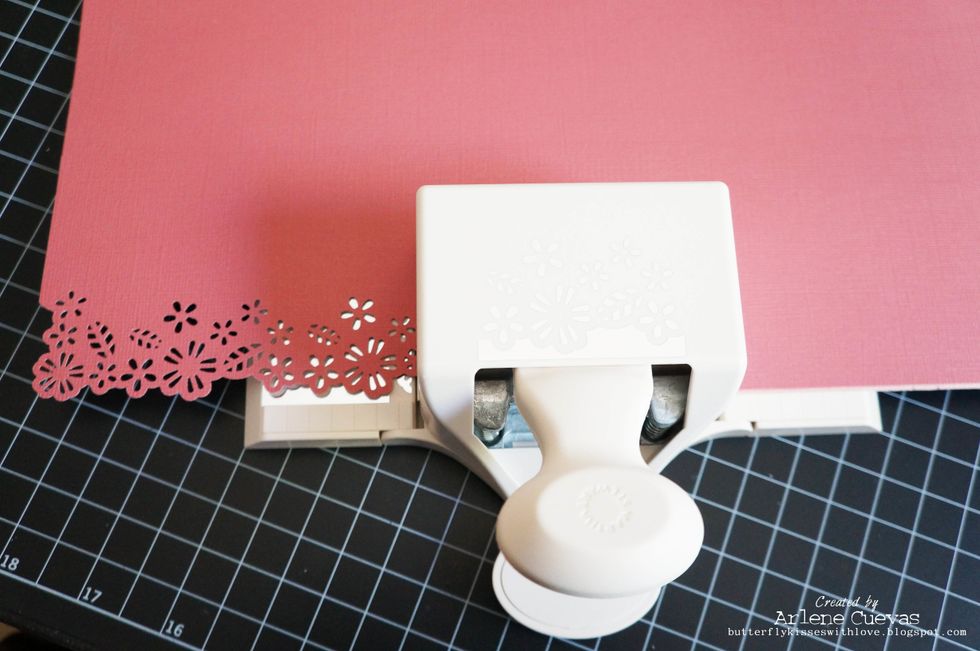
Following the instructions for the Martha Stewart punch set, punch along all 4 edges/corners of the card stock. If you don't have a punch set, you could choose to leave the edges as is or distress.
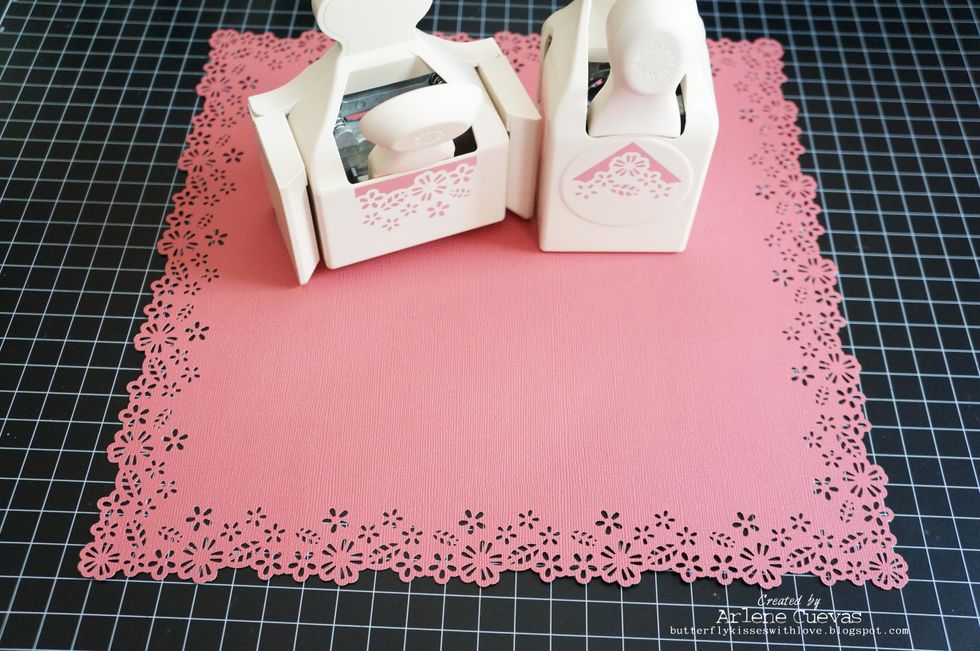
When you're done, the page will look like this. Beautiful! :-)
I'm adding another layer of card stock cut at 10 1/4" x 10 1/4".
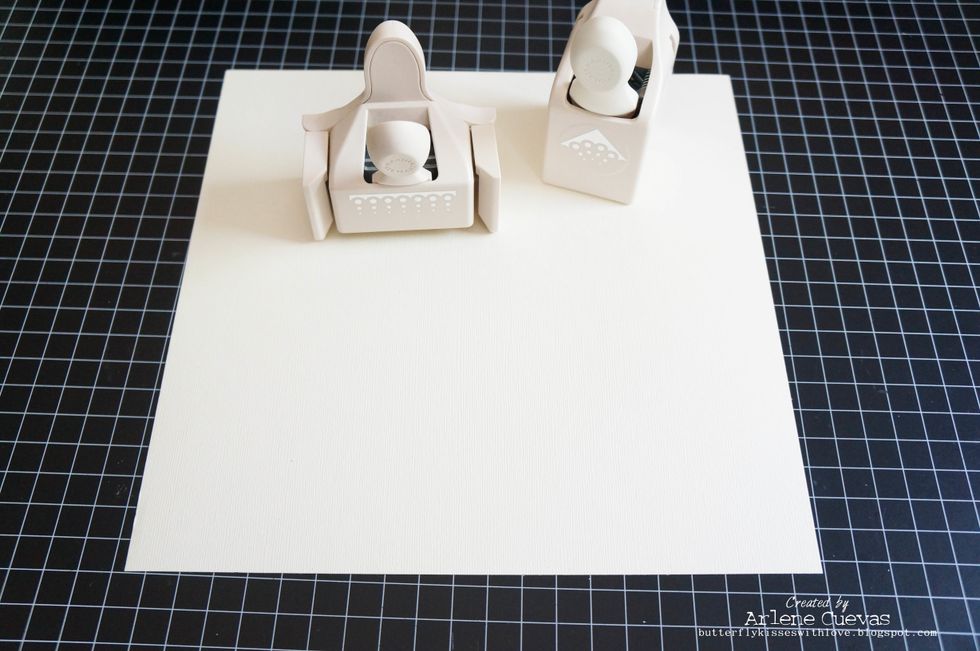
Choose a different corner/border punch set, or choose to keep the page as is or distress.
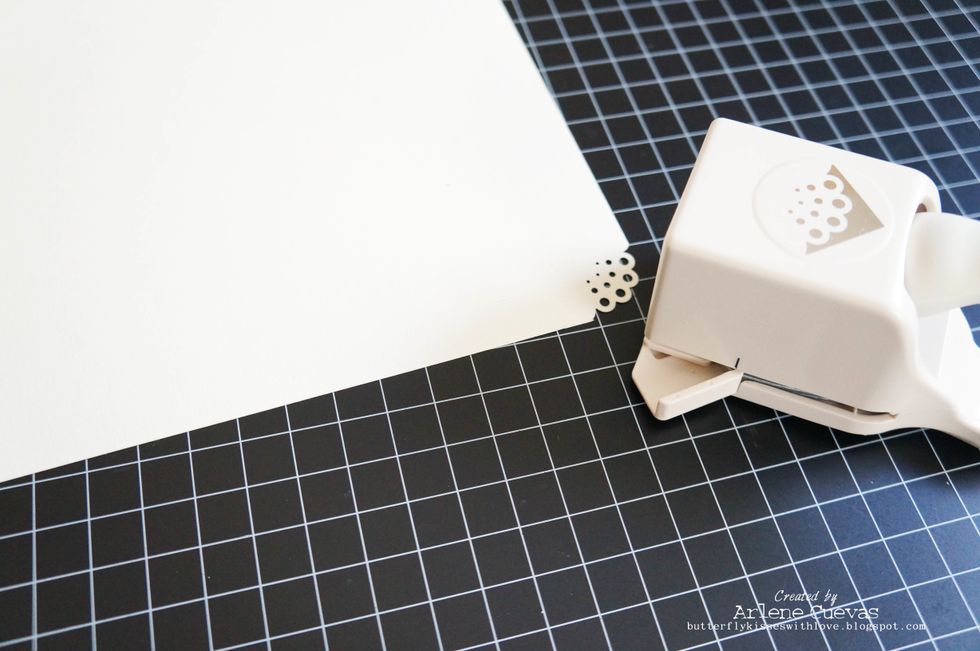
Start by punching one corner...
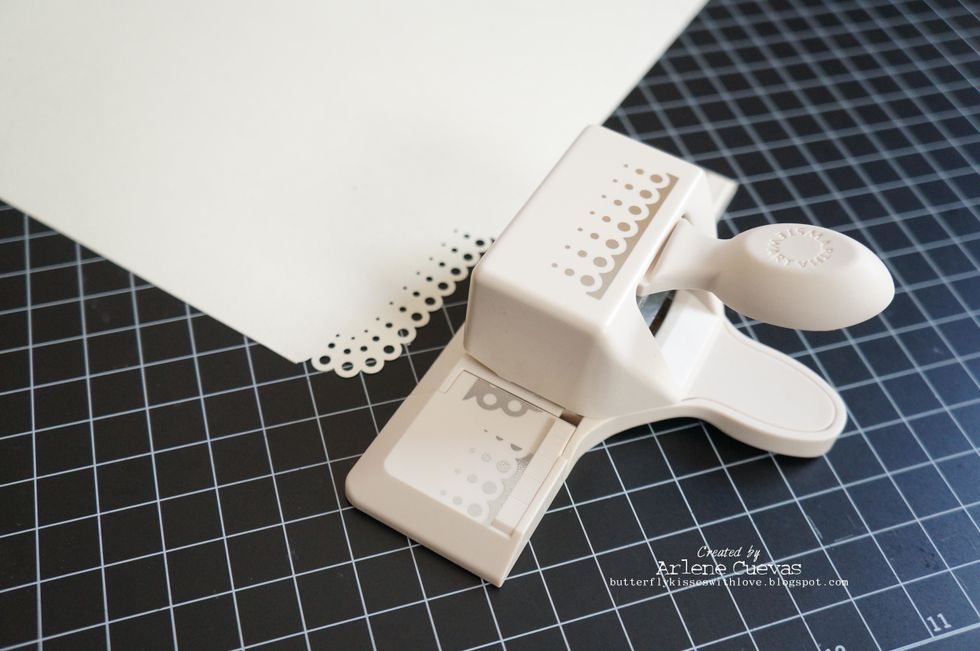
... then use the border punch to punch the edges of the card stock.
Here's what the final layer looks like...
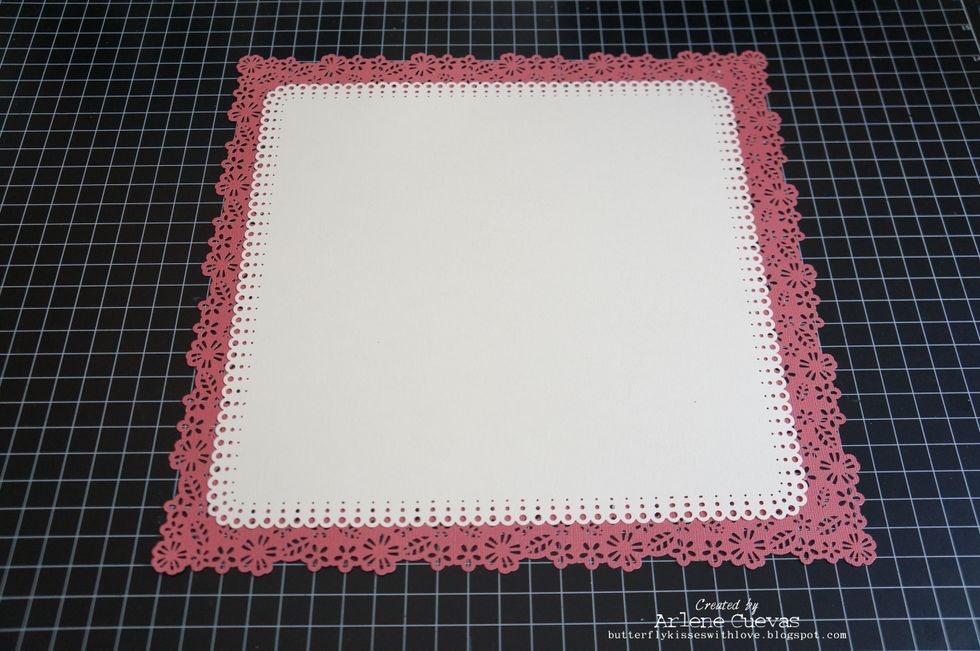
Layer the two sheets of card stock just like this...
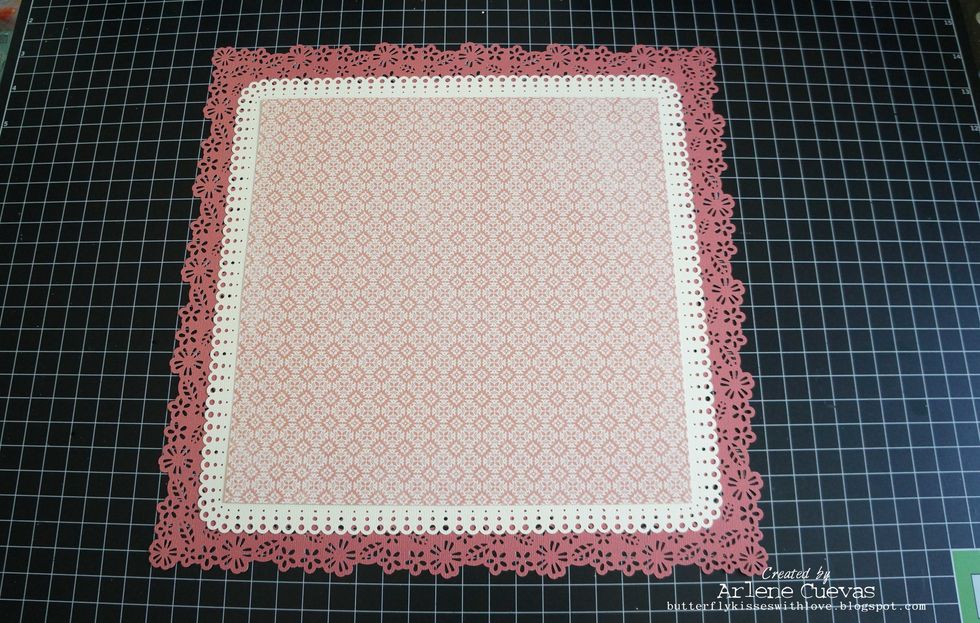
Cut a piece of designer paper to 9" x 9" and layer on top...
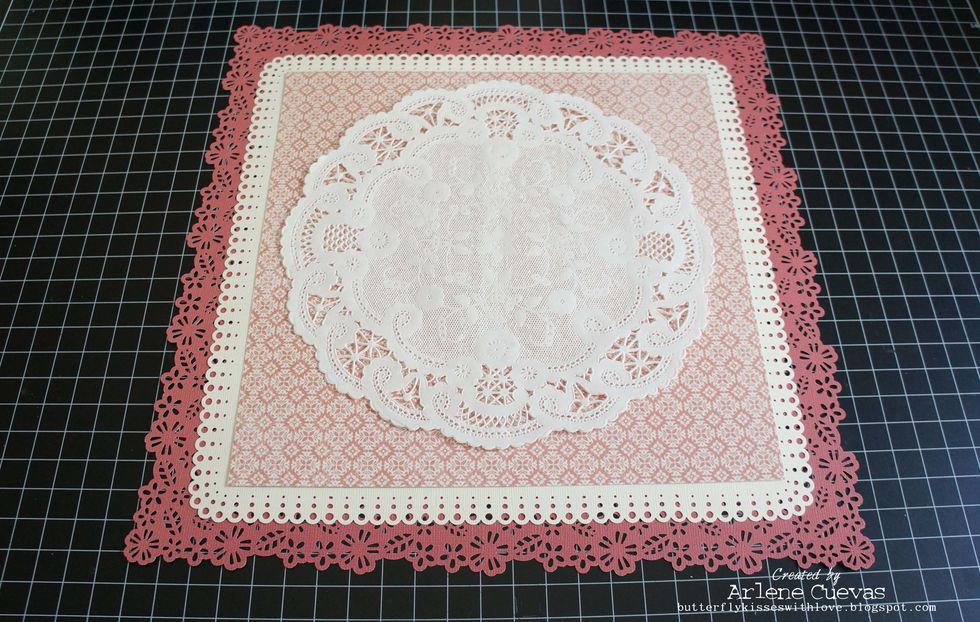
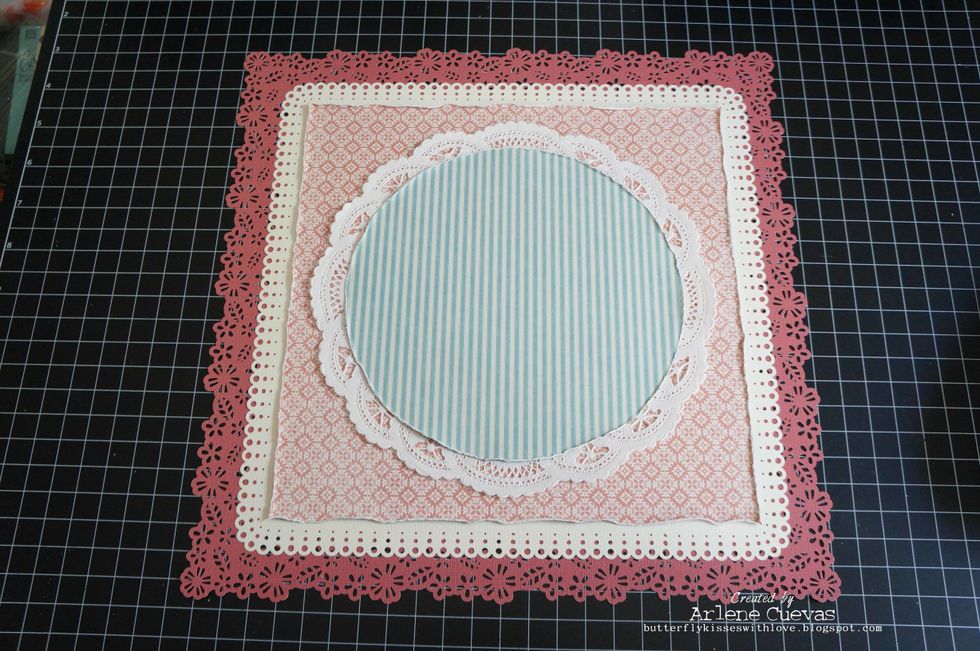
Add a large 8" doily.
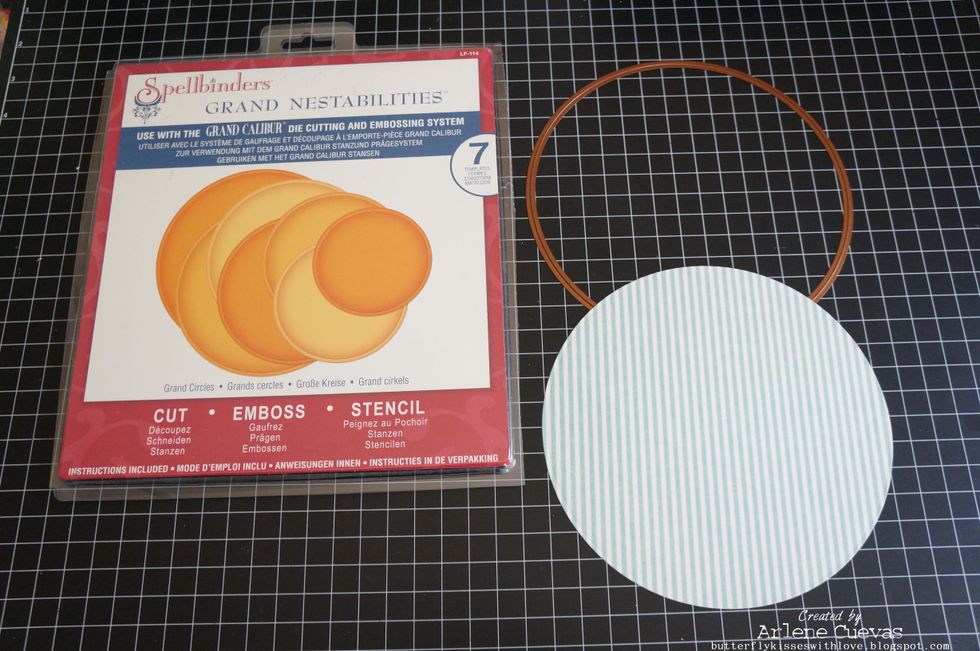
I used the Spellbinders Grand Nestabilities Circles die (and Grand Calibur die-cutting machine) to cut out a large circle with design paper...
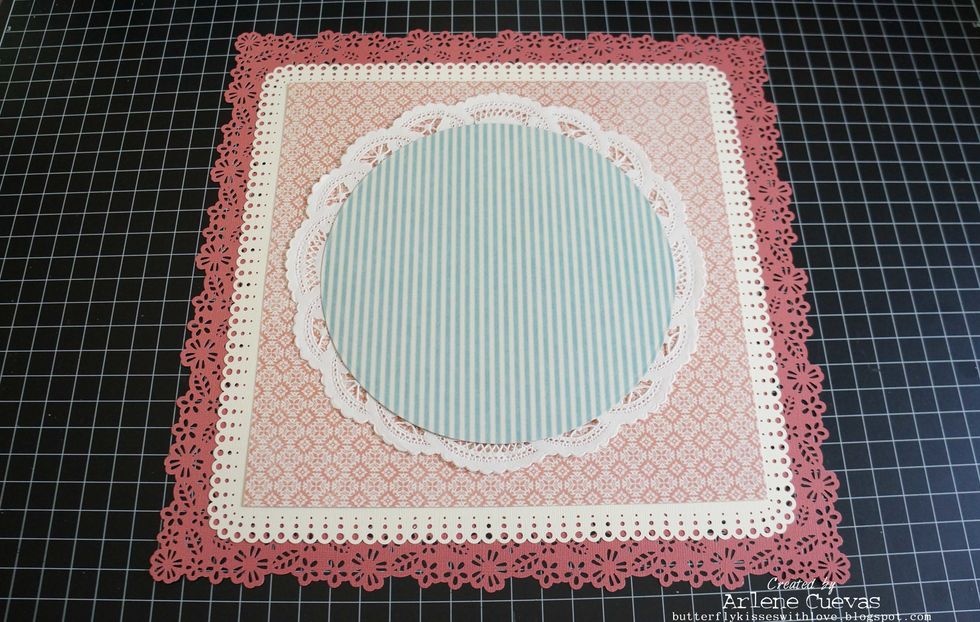
The circle will layer nicely over the white doily like this...
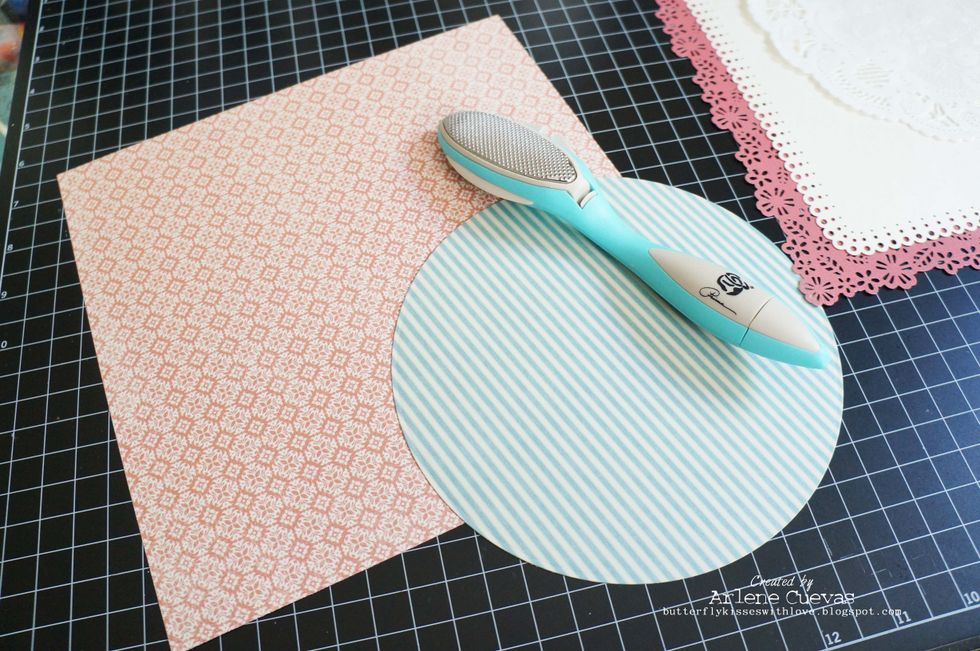
But before I start to adhere all the layers down, I will be distressing the edges of the papers using a paper distressing tool...
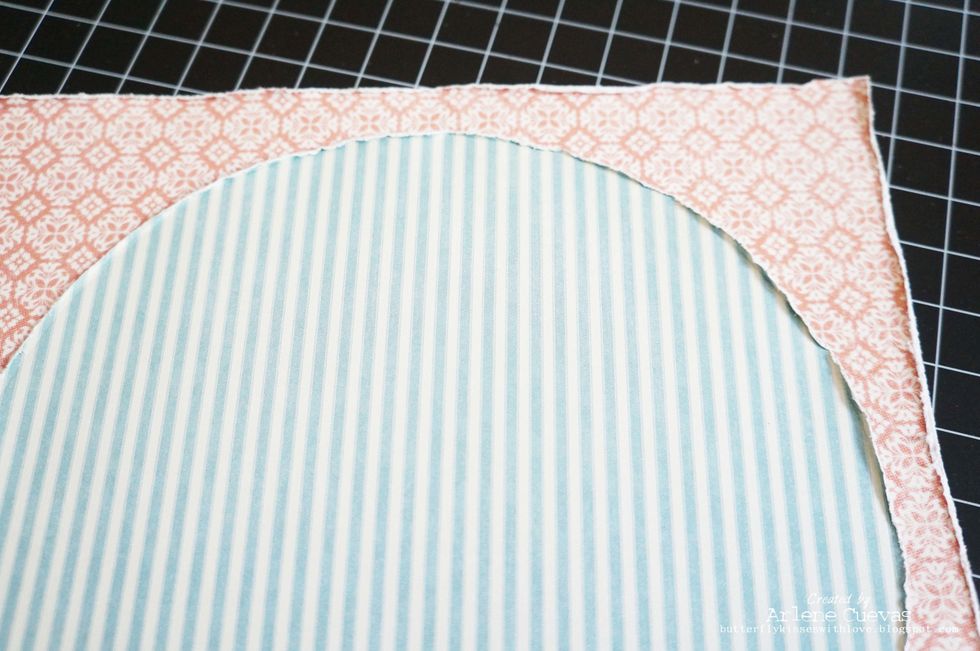
Here is what the "roughed up" edges look like...
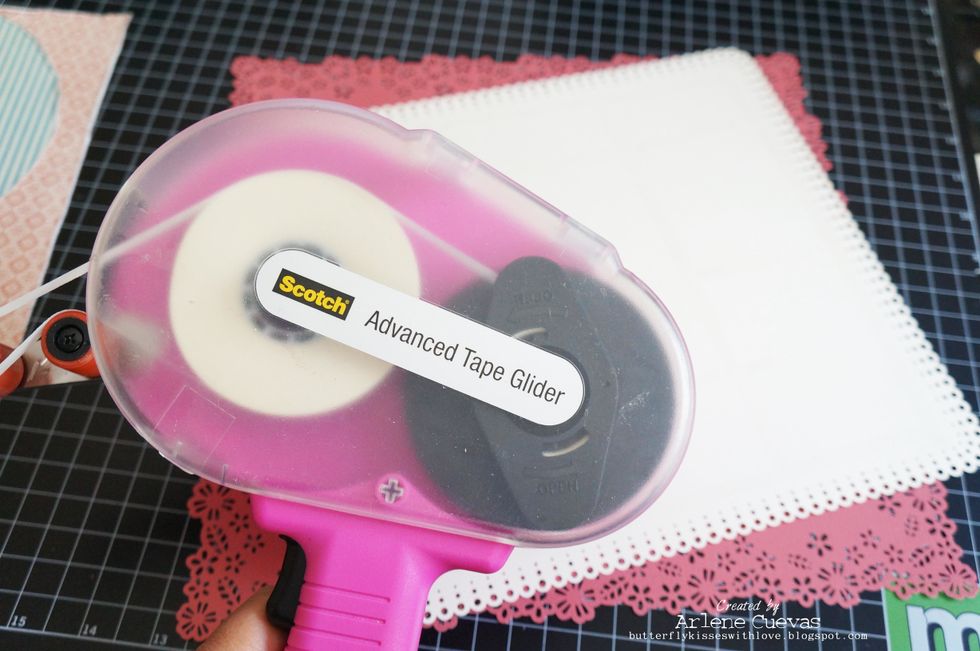
I'm using my 3M tape glider to adhere the layers down on the page...
The layers are all adhered down... now the FUN part, it's time to embellish!
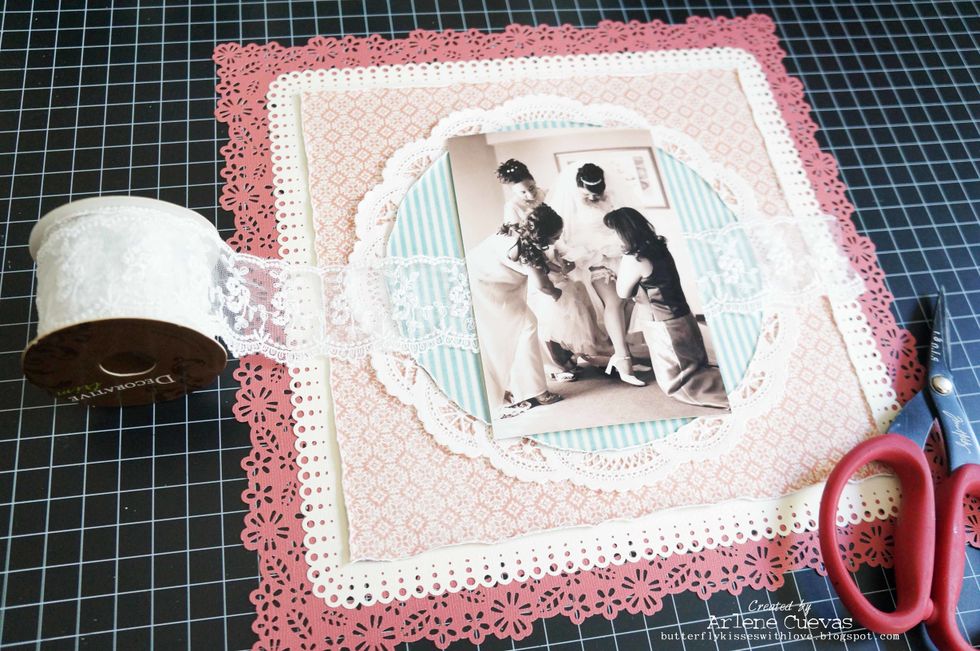
I'll be adding a few layers of this dainty lace trim under the photo...
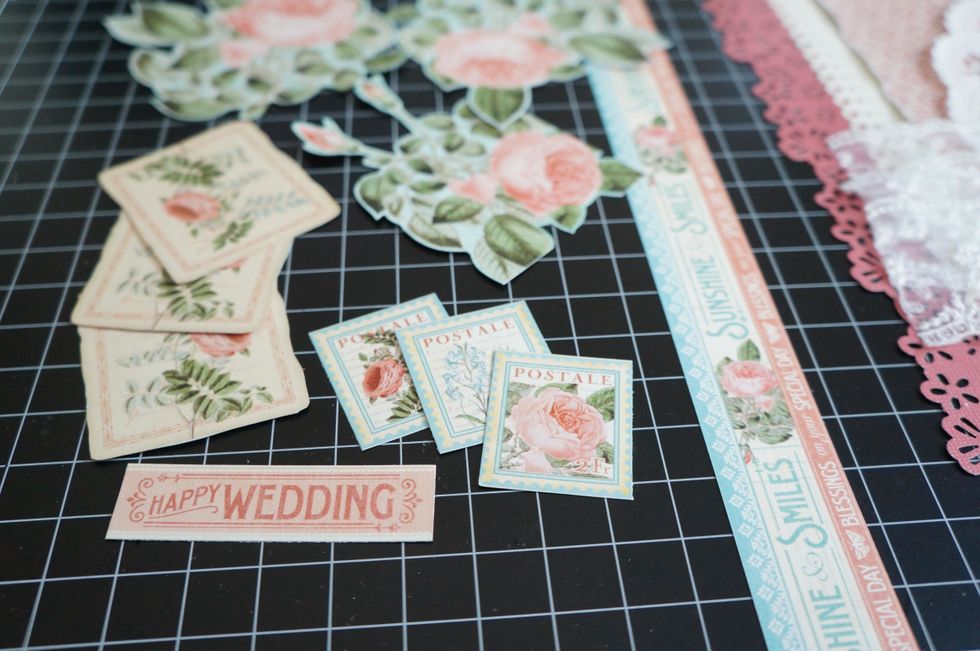
I fussy cut flowers and elements from the Time to Flourish and Botanical Tea papers to add to the page...
Here is what the page looked like before I adhered everything down. I usually play around with the elements and move them around the page until I'm satisfied with where things will go...
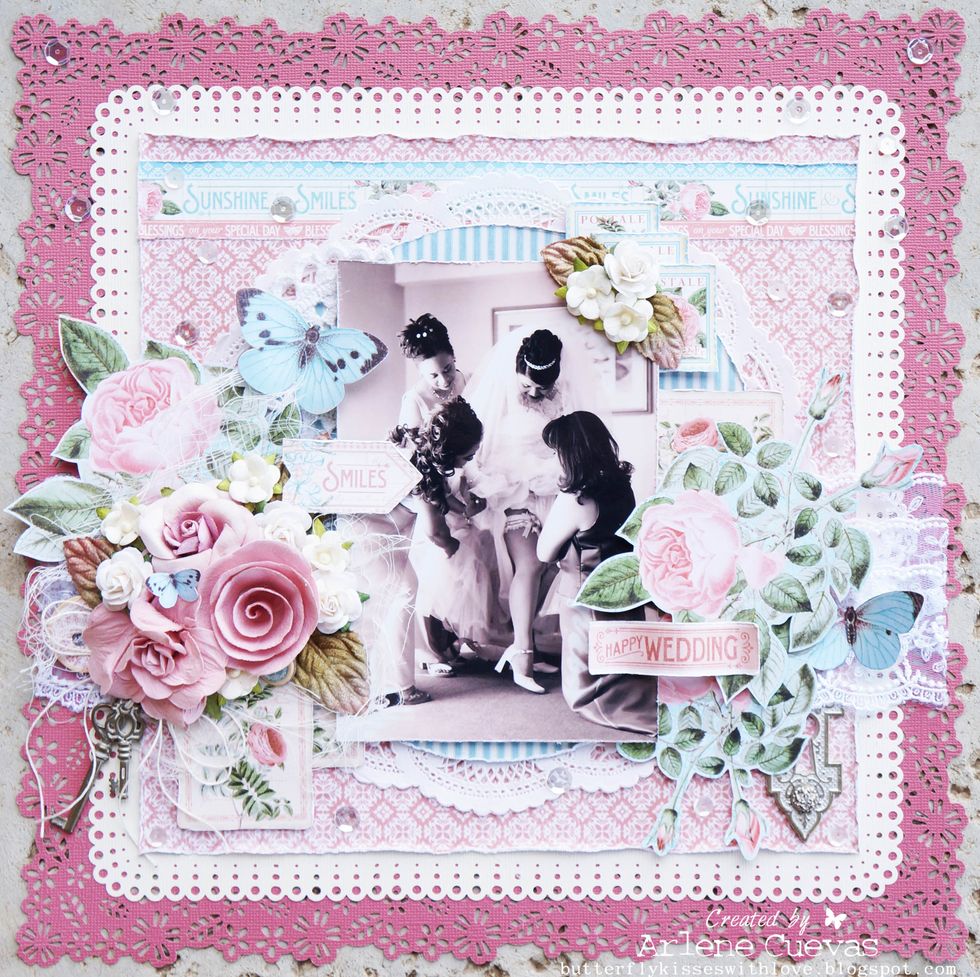
... And here is the finished page!
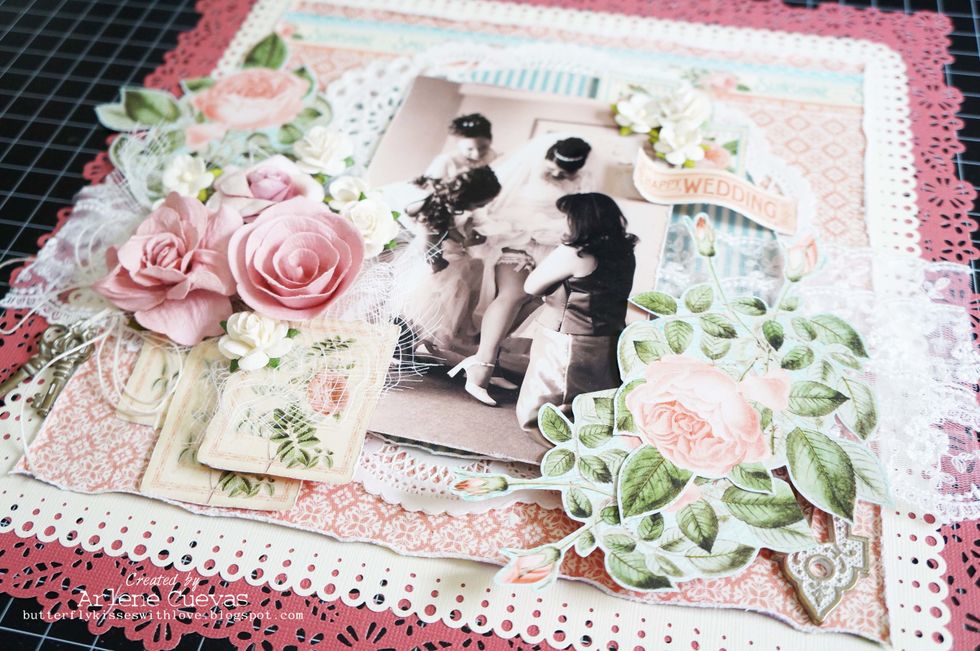
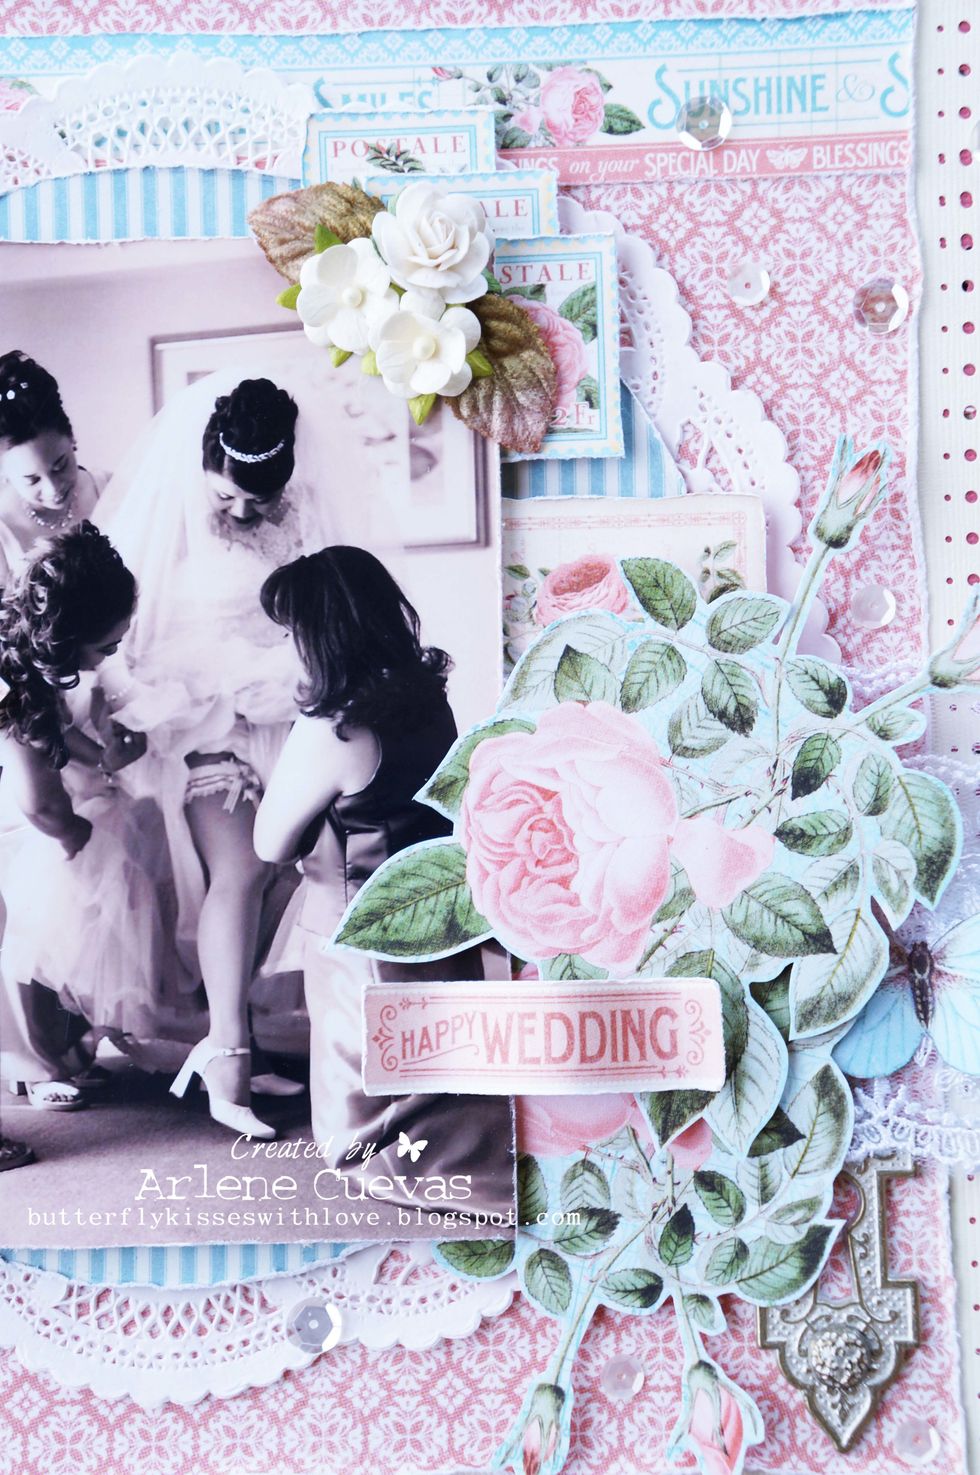
I added cheesecloth under the cluster of flowers to add dimension and interest. The postage stamps from the Graphic 45 papers are always a fun element to accent with.
Close up...
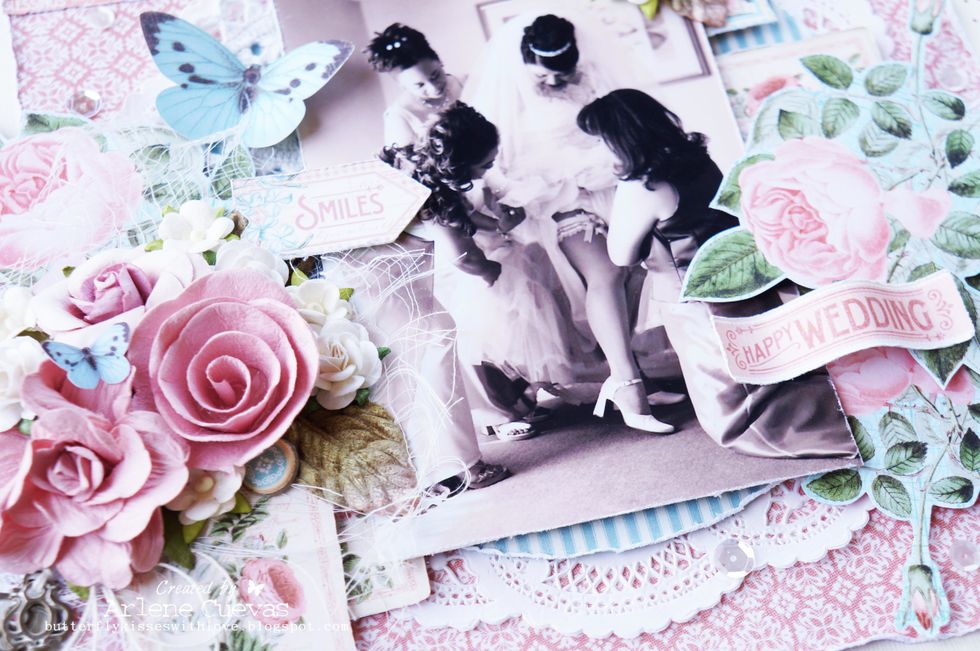
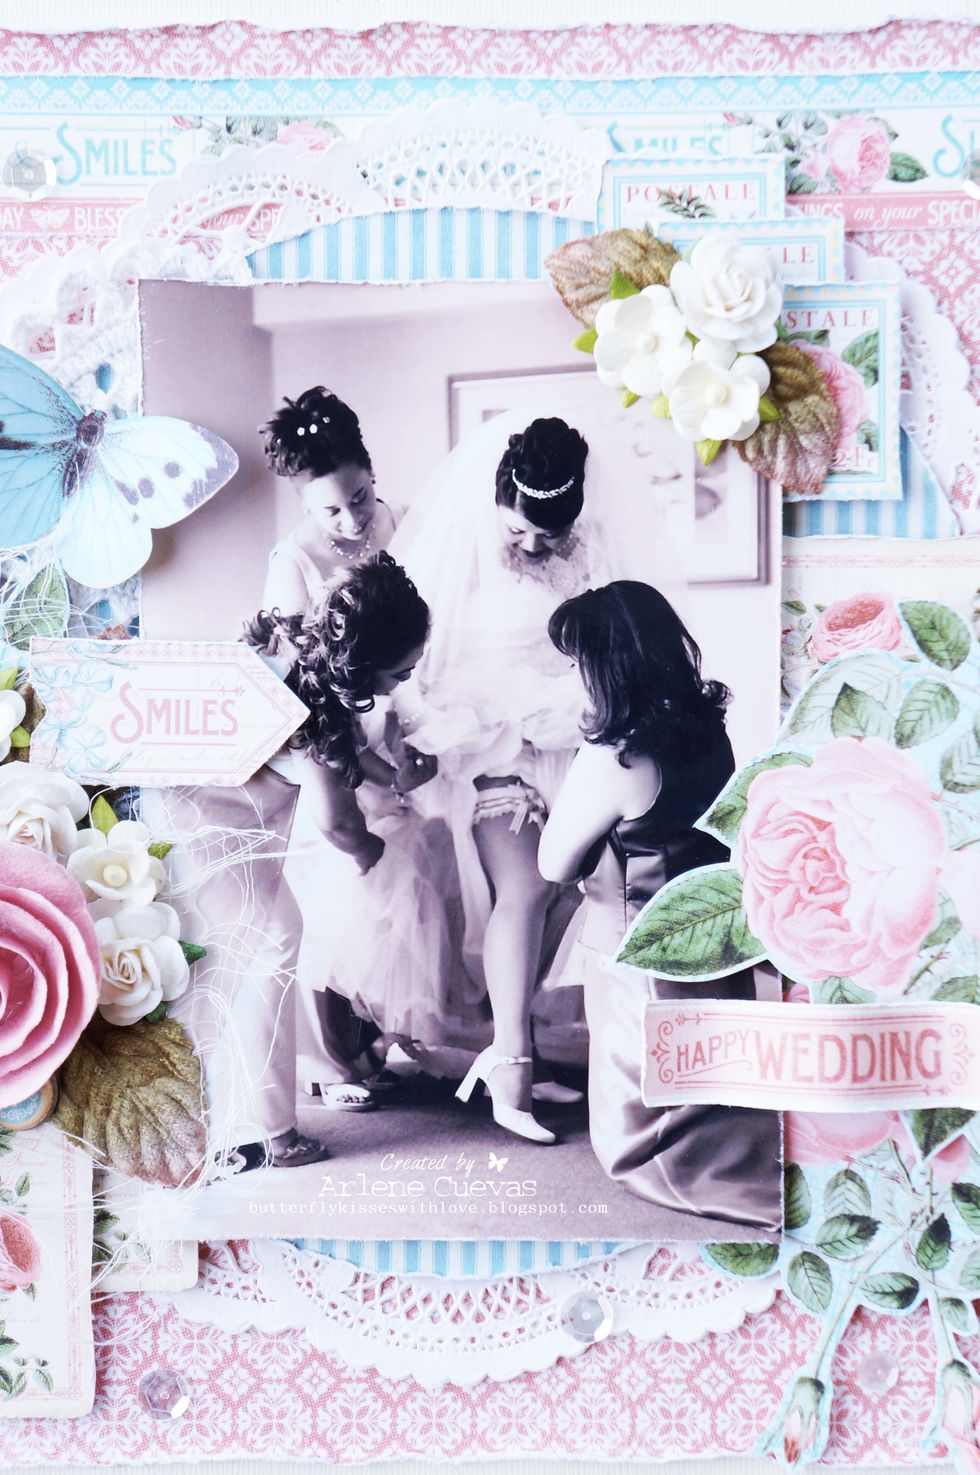
TIP: Using a black and white photo will ensure it coordinates nicely with the papers used on the page.
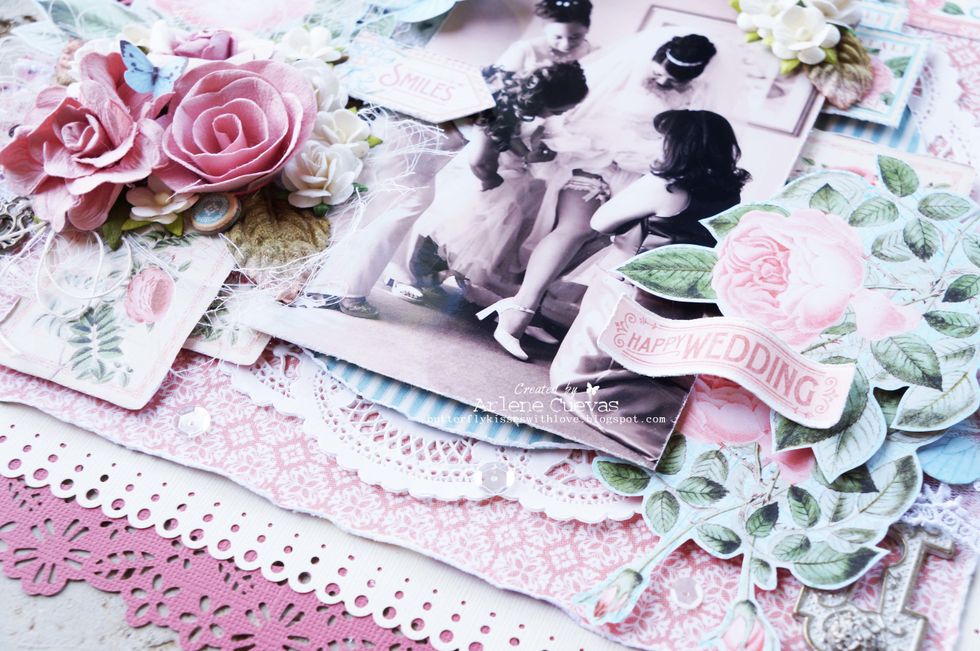
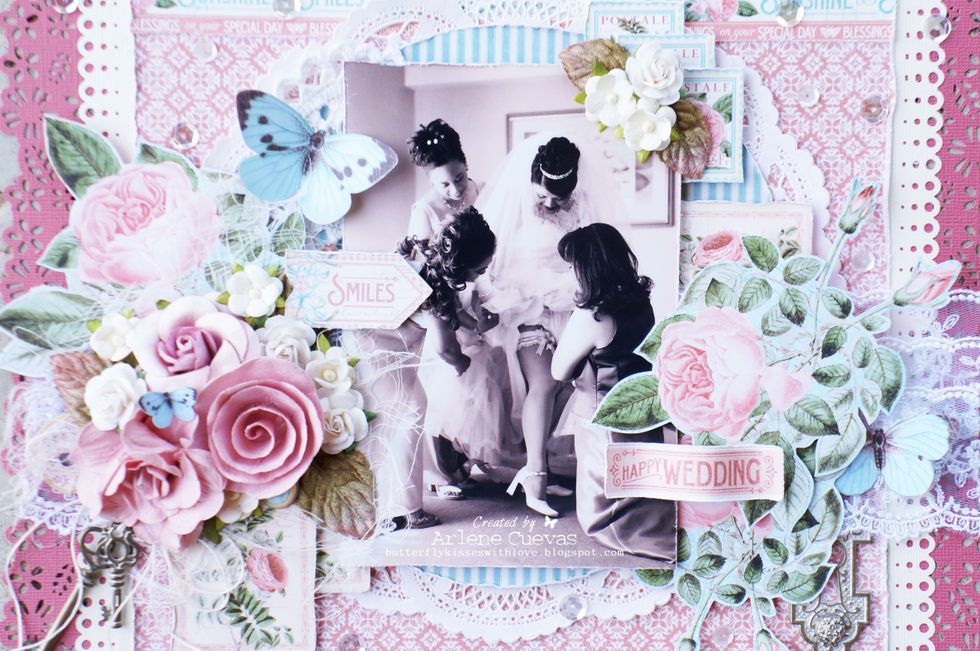
Distress and curl the sentiment to add dimension and life to the page...
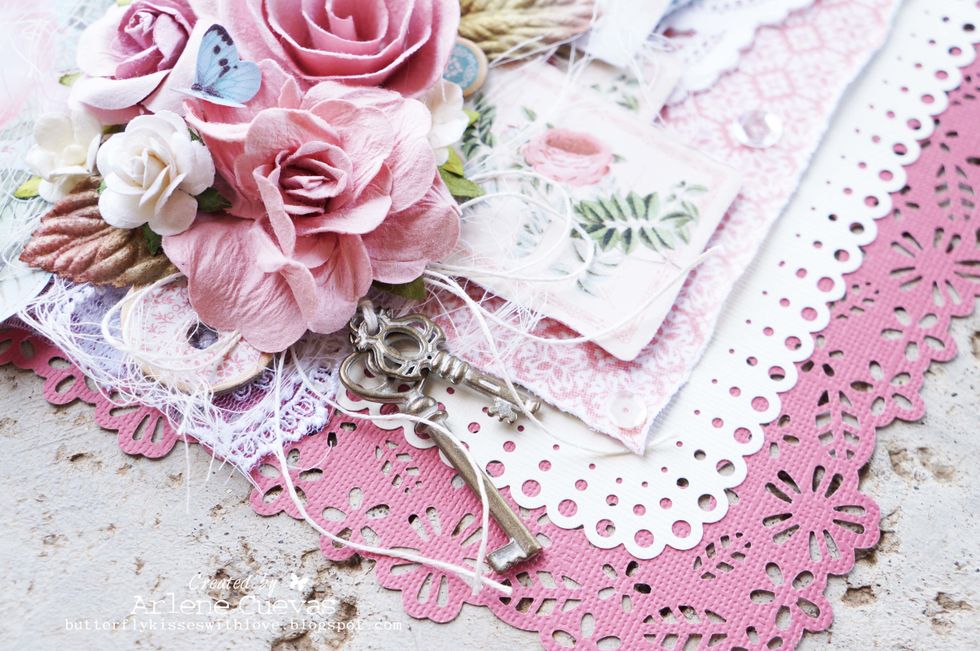
Dangle a few of the Shabby Chic Ornate Metal Keys from the cluster of flowers using twine...
Thank you for joining me for this tutorial! Find me on Facebook at Arlene Butterflykisses!