The Conversation (0)
Sign Up

Emboss the tags with your choice of embossing folder

Cut out several images from various papers in the 8x8 paper pad.
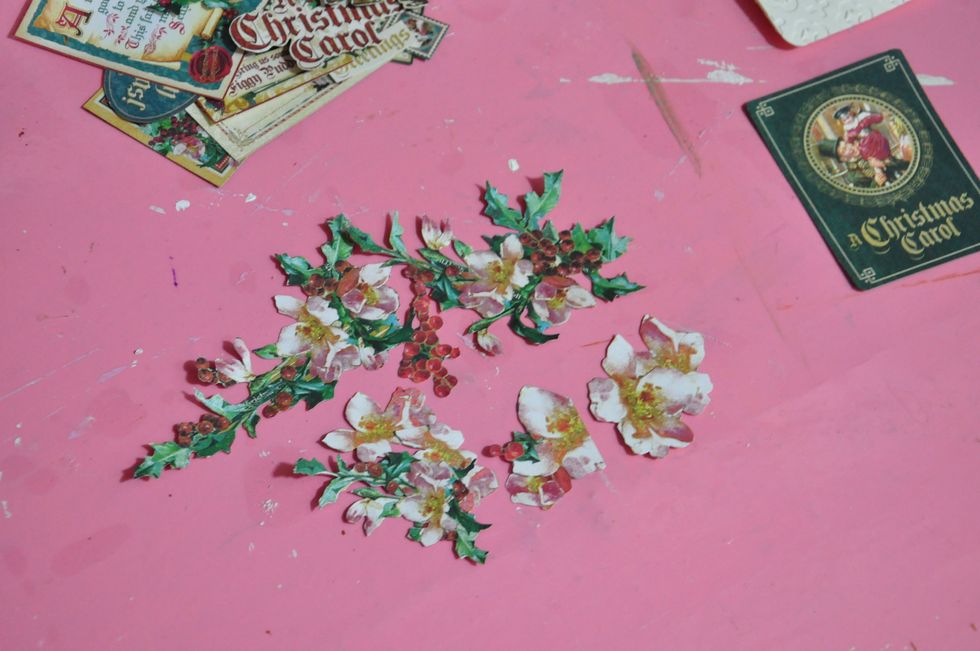
Cut out some flowers and leaves too
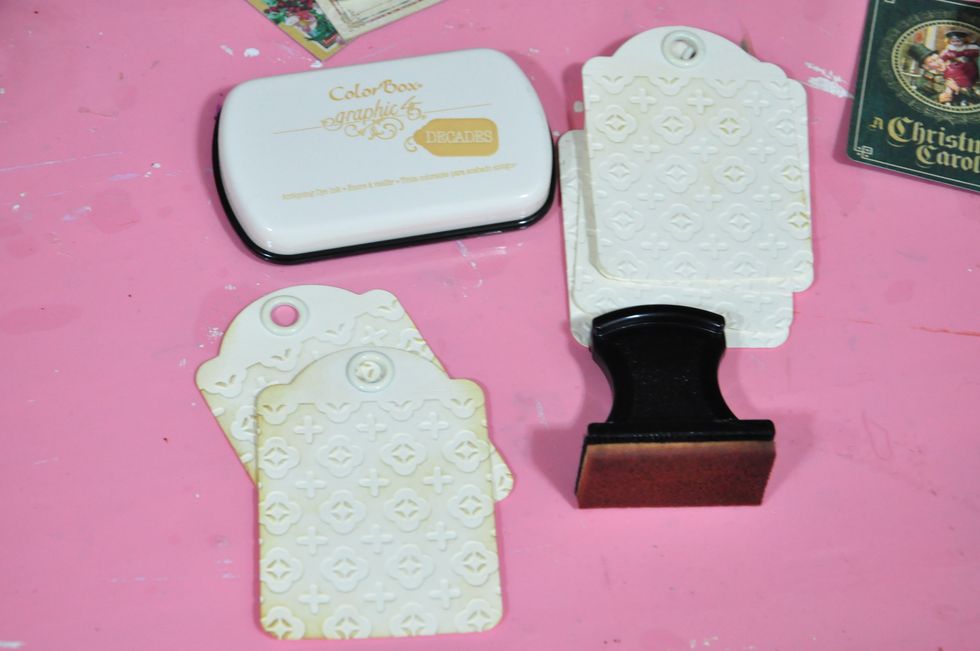
Ink the edges of the tags

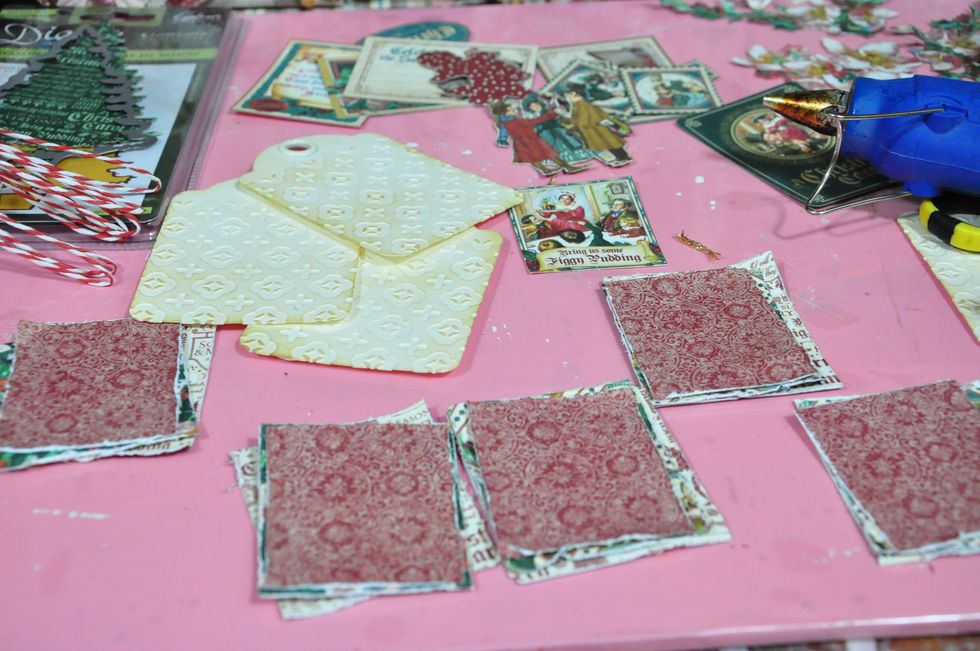
Cut three pieces of papers with different patterns. Distress the edges
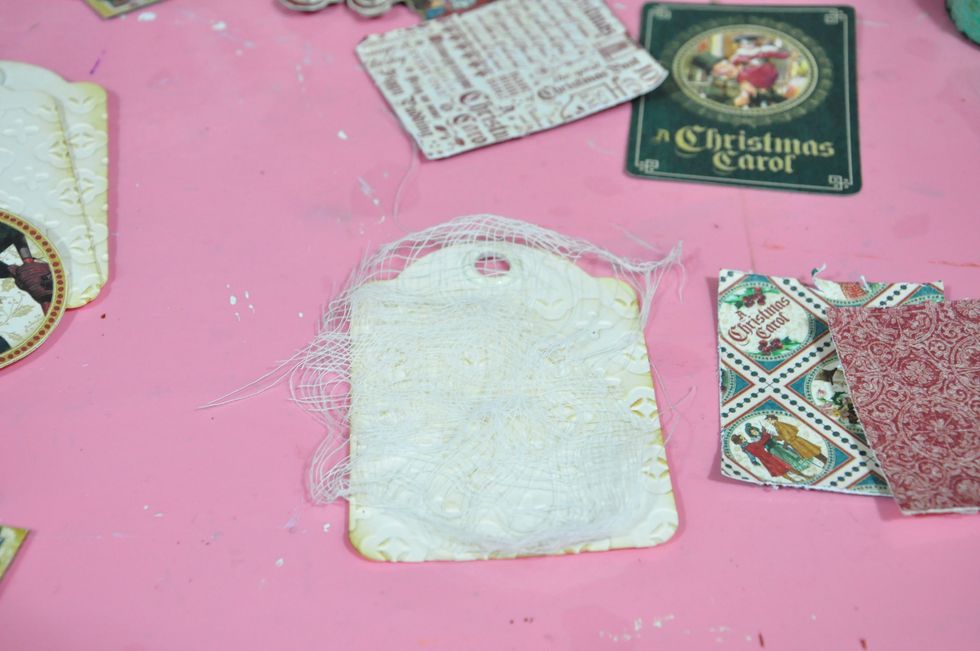
Adhere a piece of gauze

Layer the distressed papers and cut out images as seen in the image

Tie some trims to complete the tag
You can cut everything ahead of time before assembling each tag. This way, it's easier and faster.
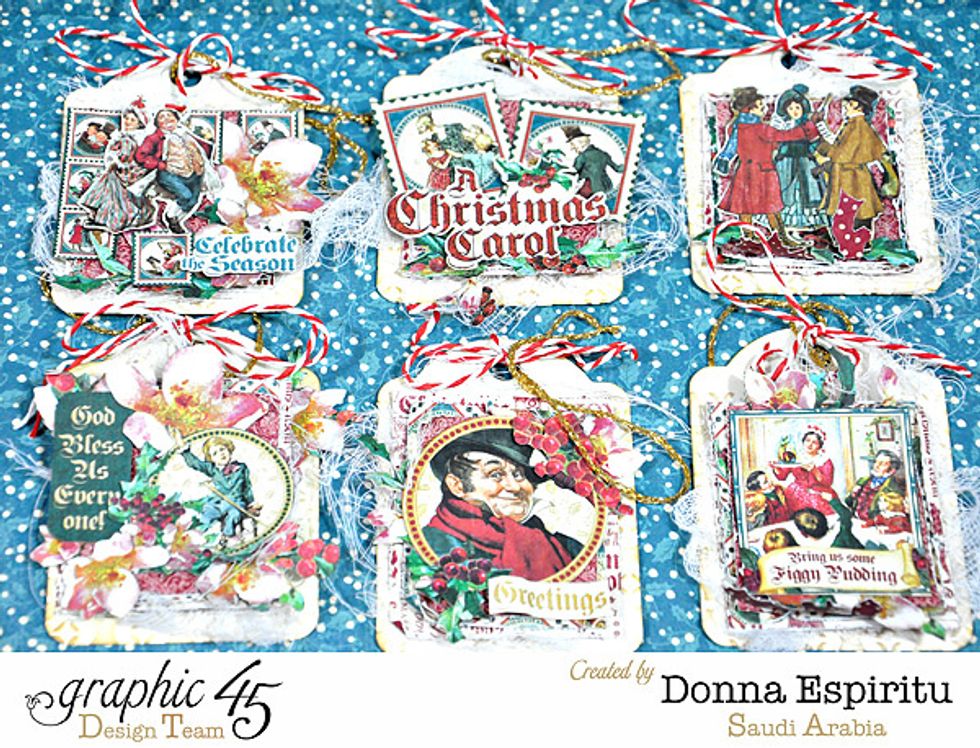
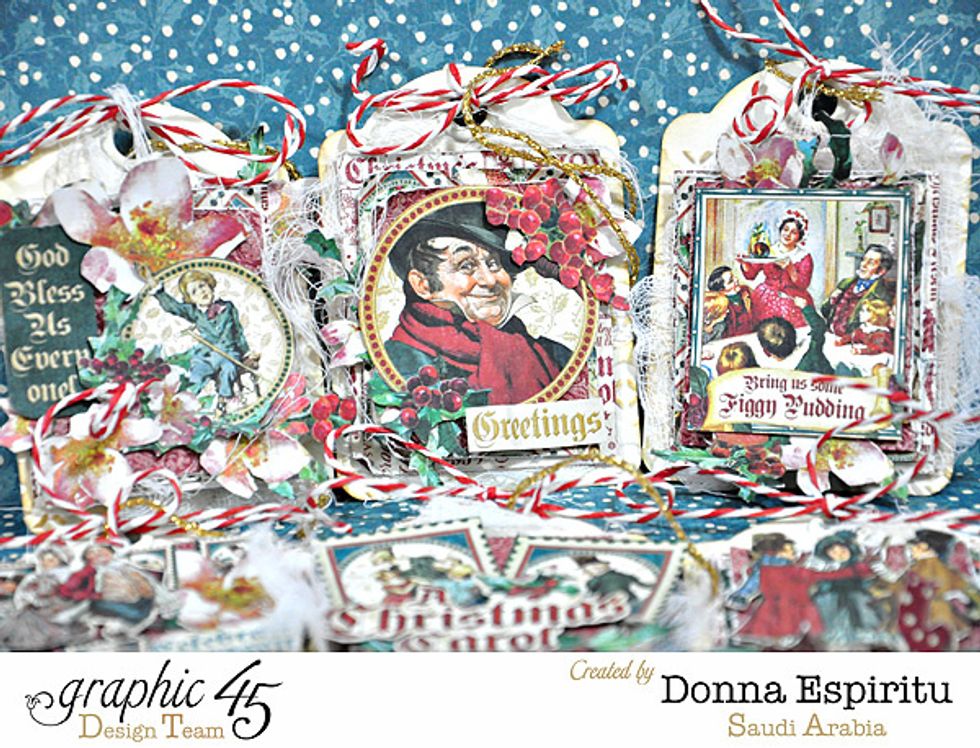
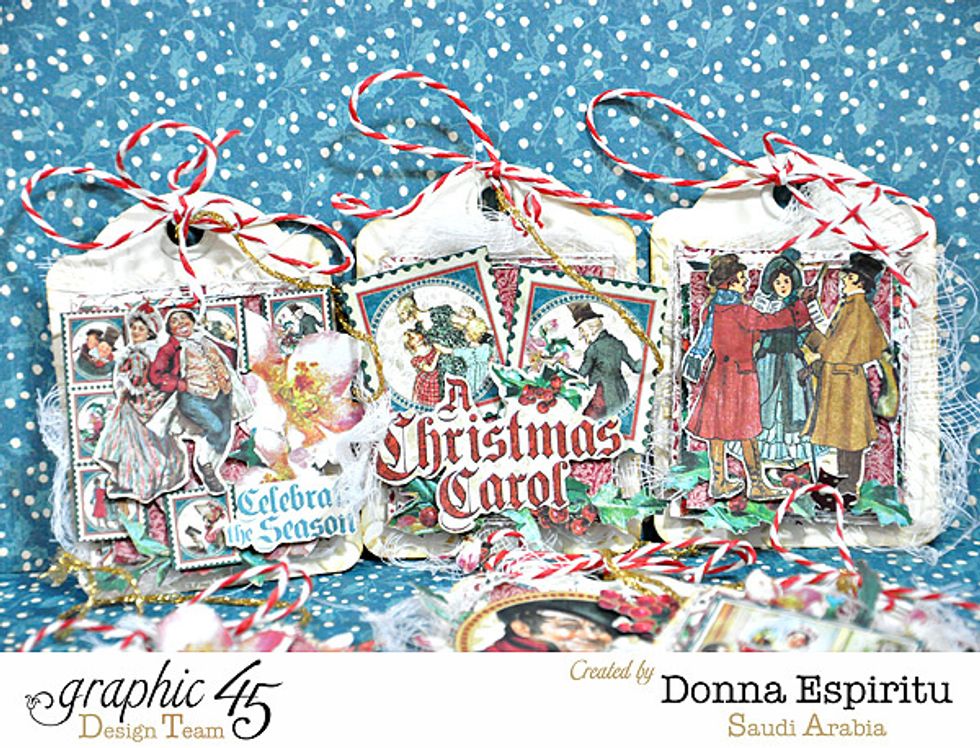
Here are the finished tags.
Thank you and have fun creating your own tags!