The Conversation (0)
Sign Up
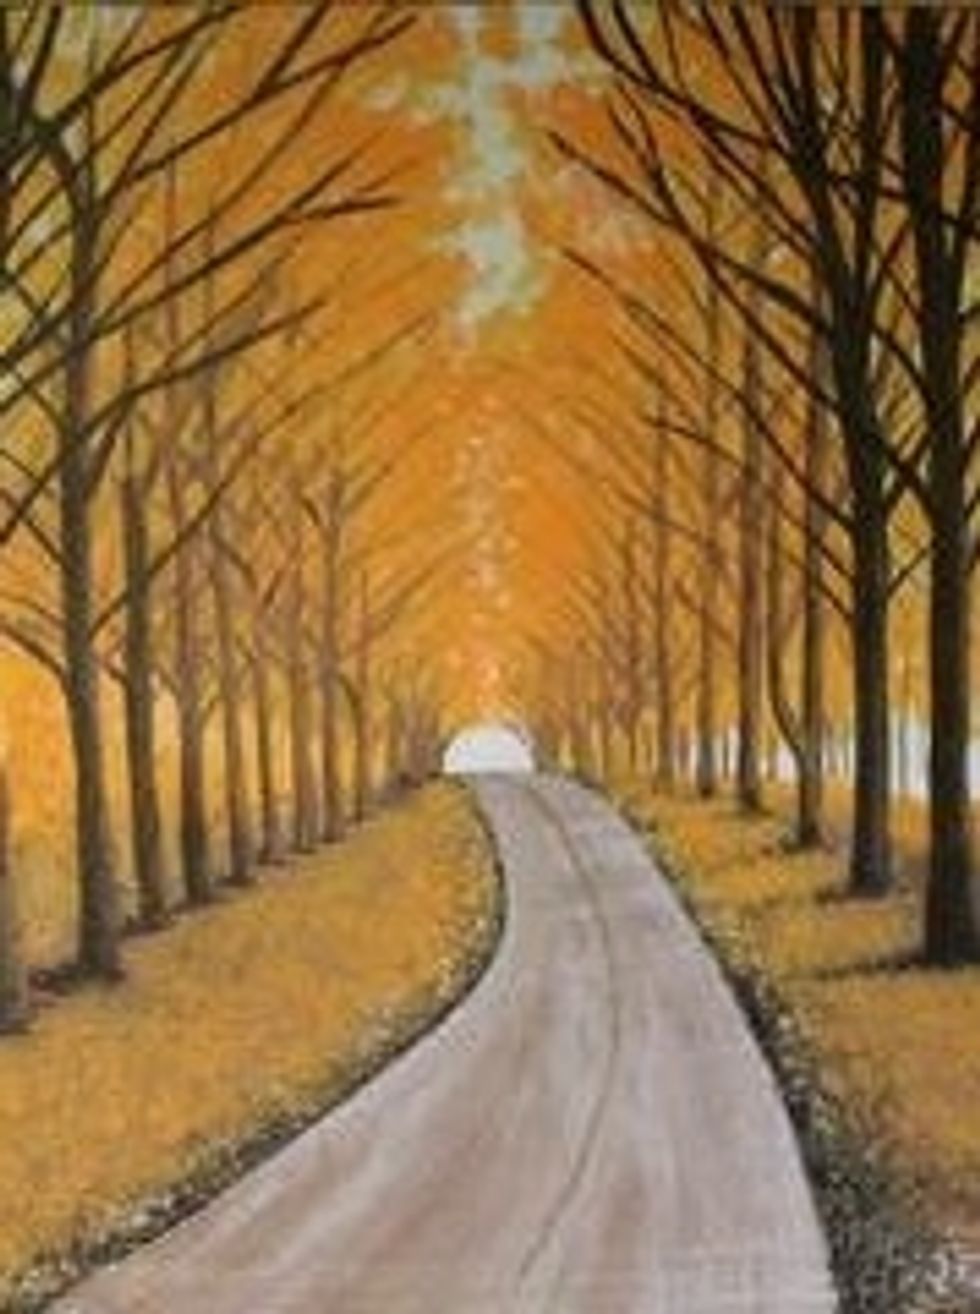
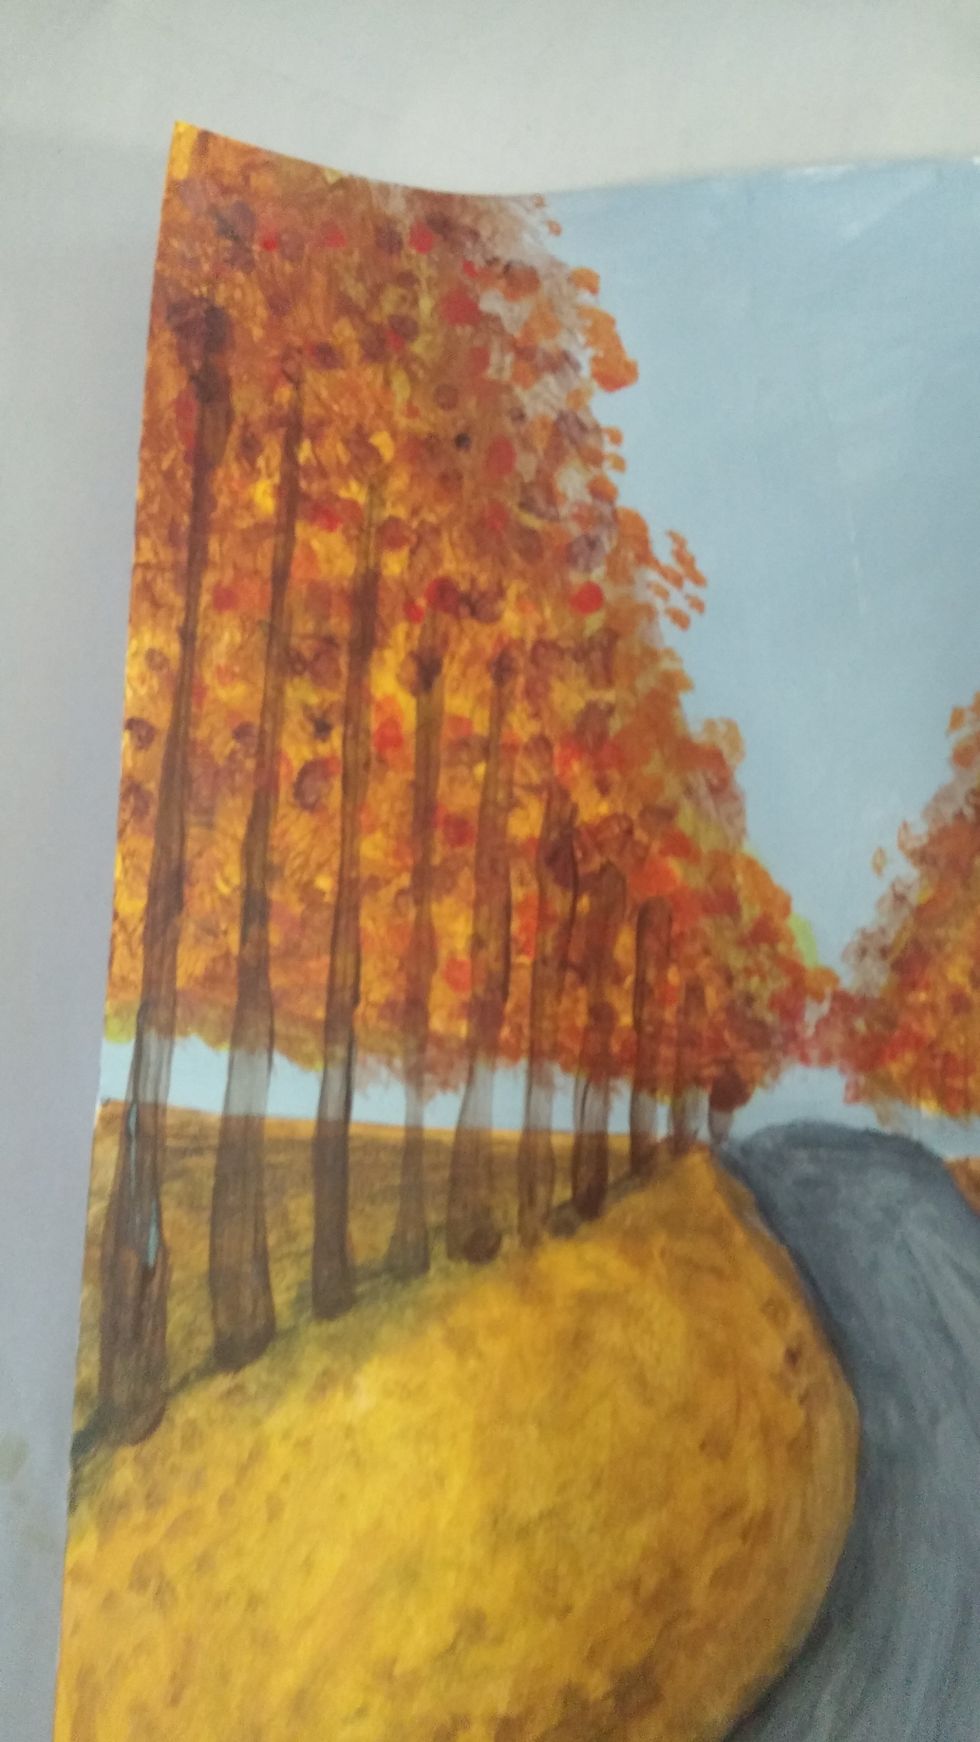
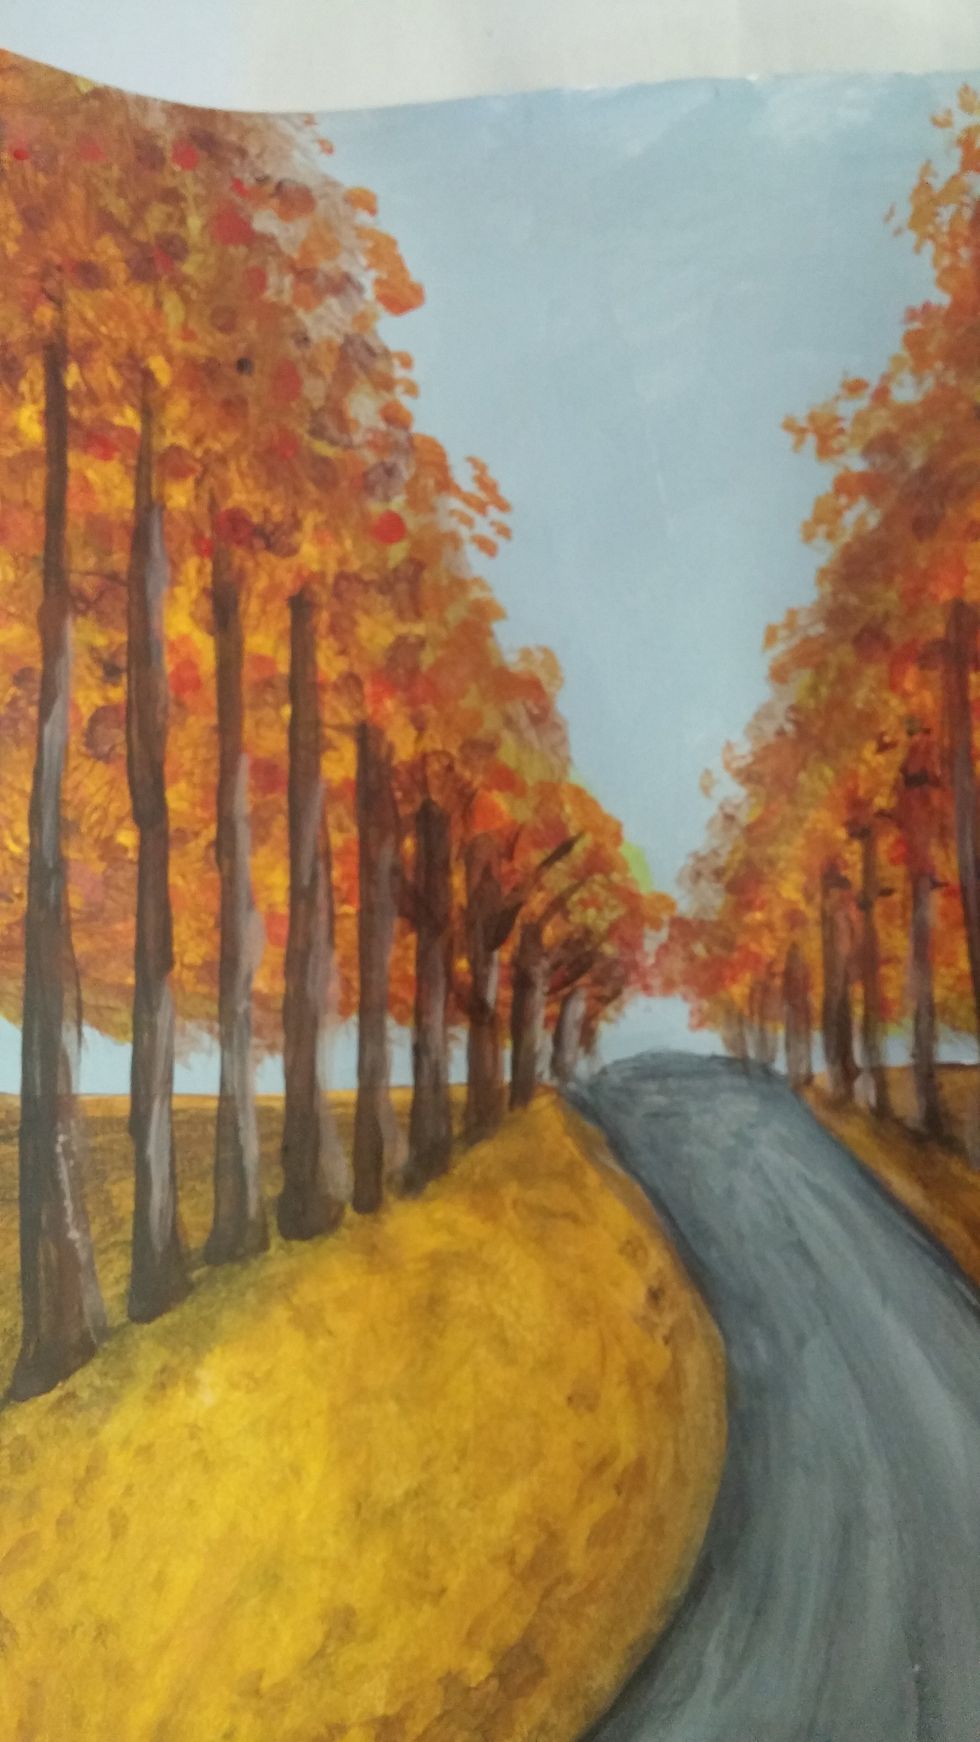
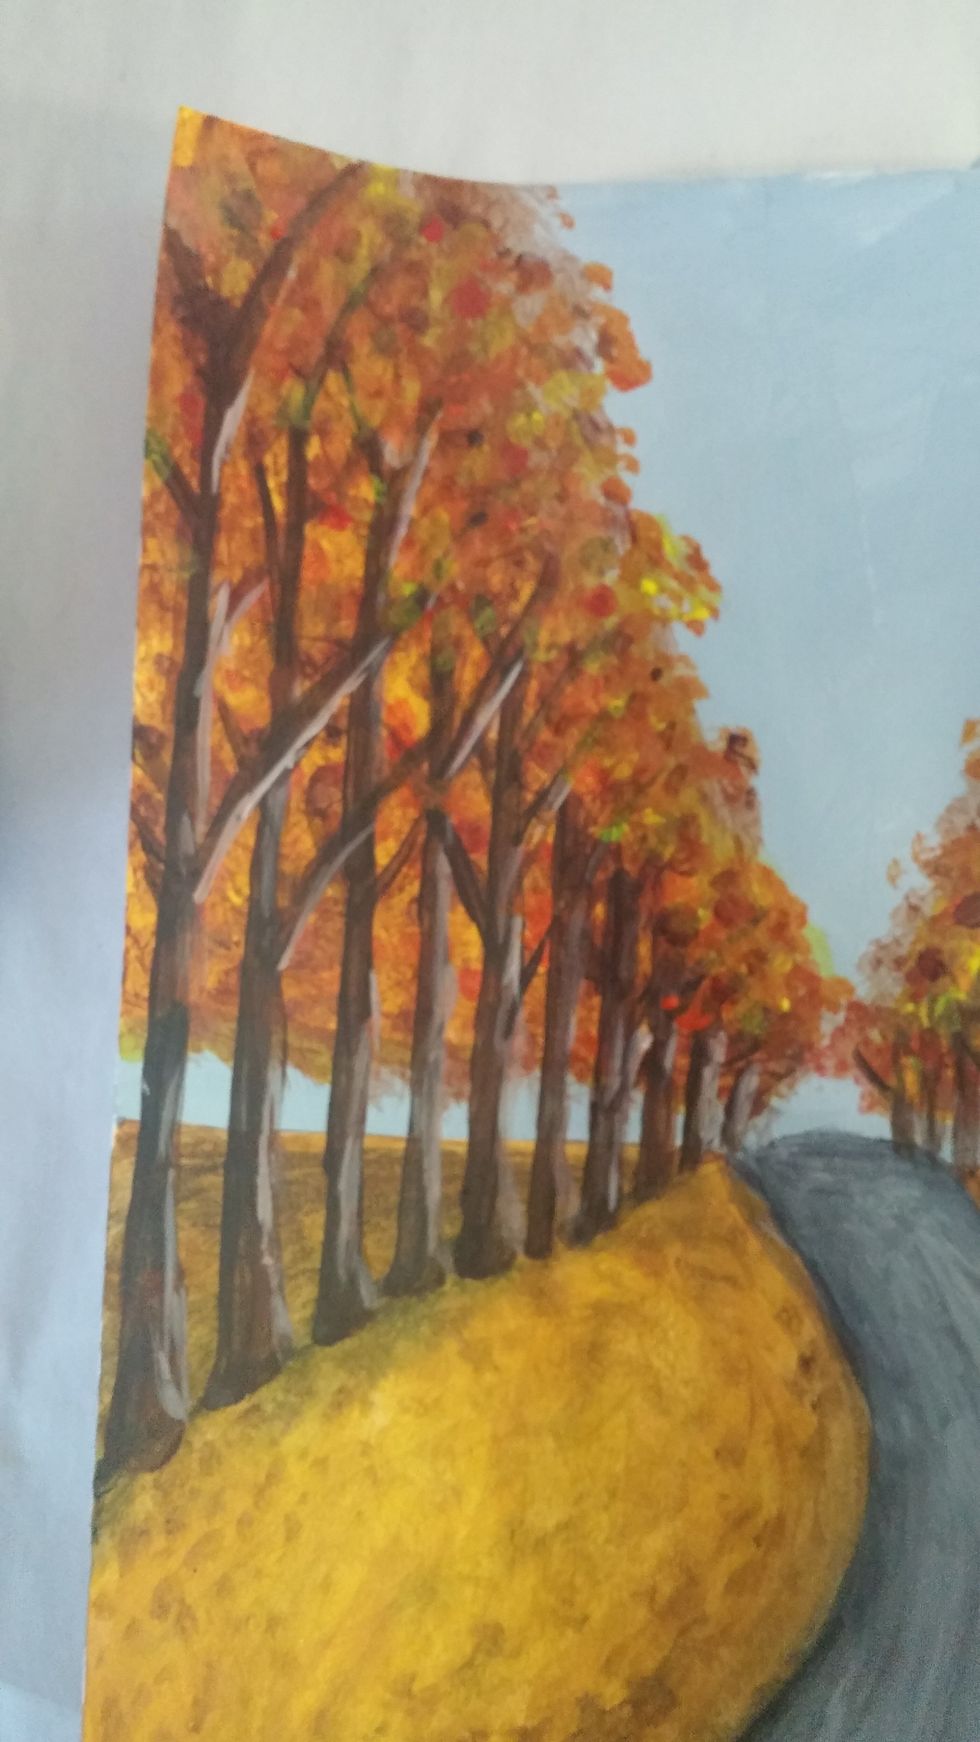
This is the reference photo for this project.
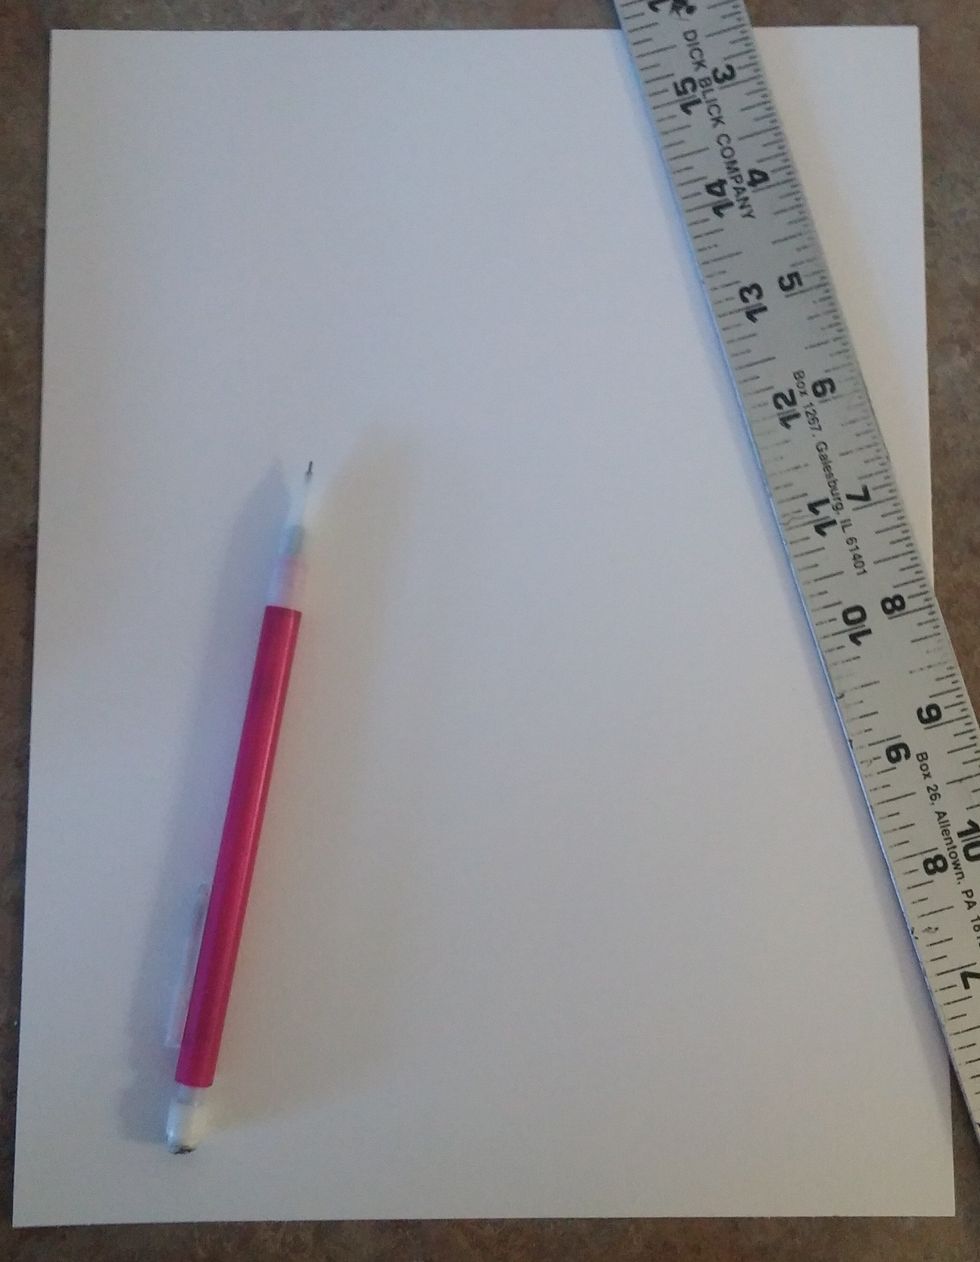
Start with a 10 1/2 x 8 inch piece of thick drawing paper, a pencil, and a ruler
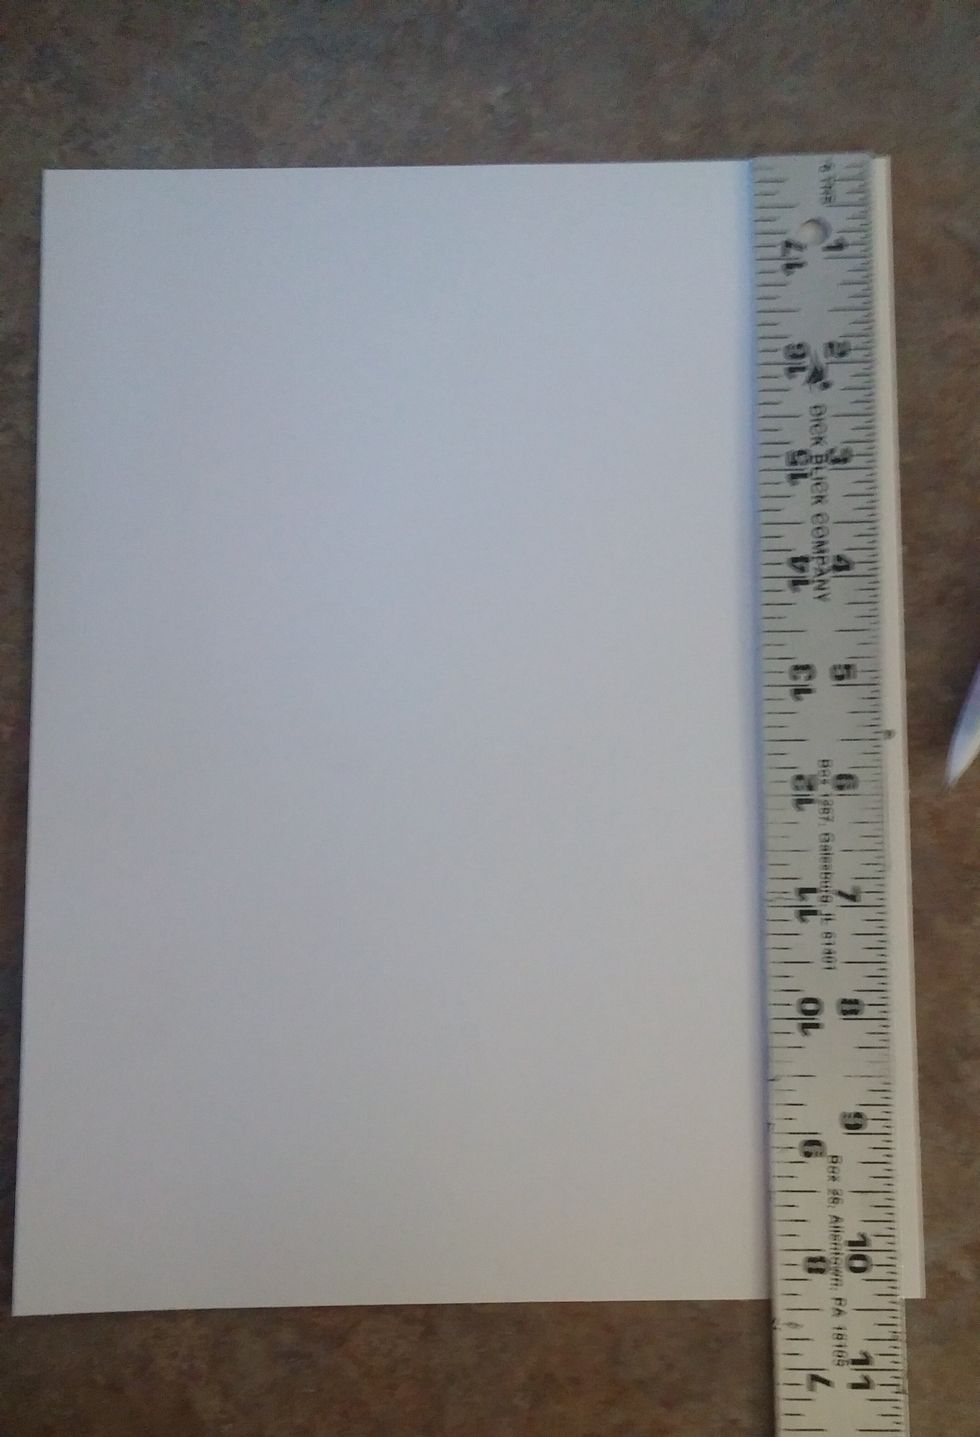
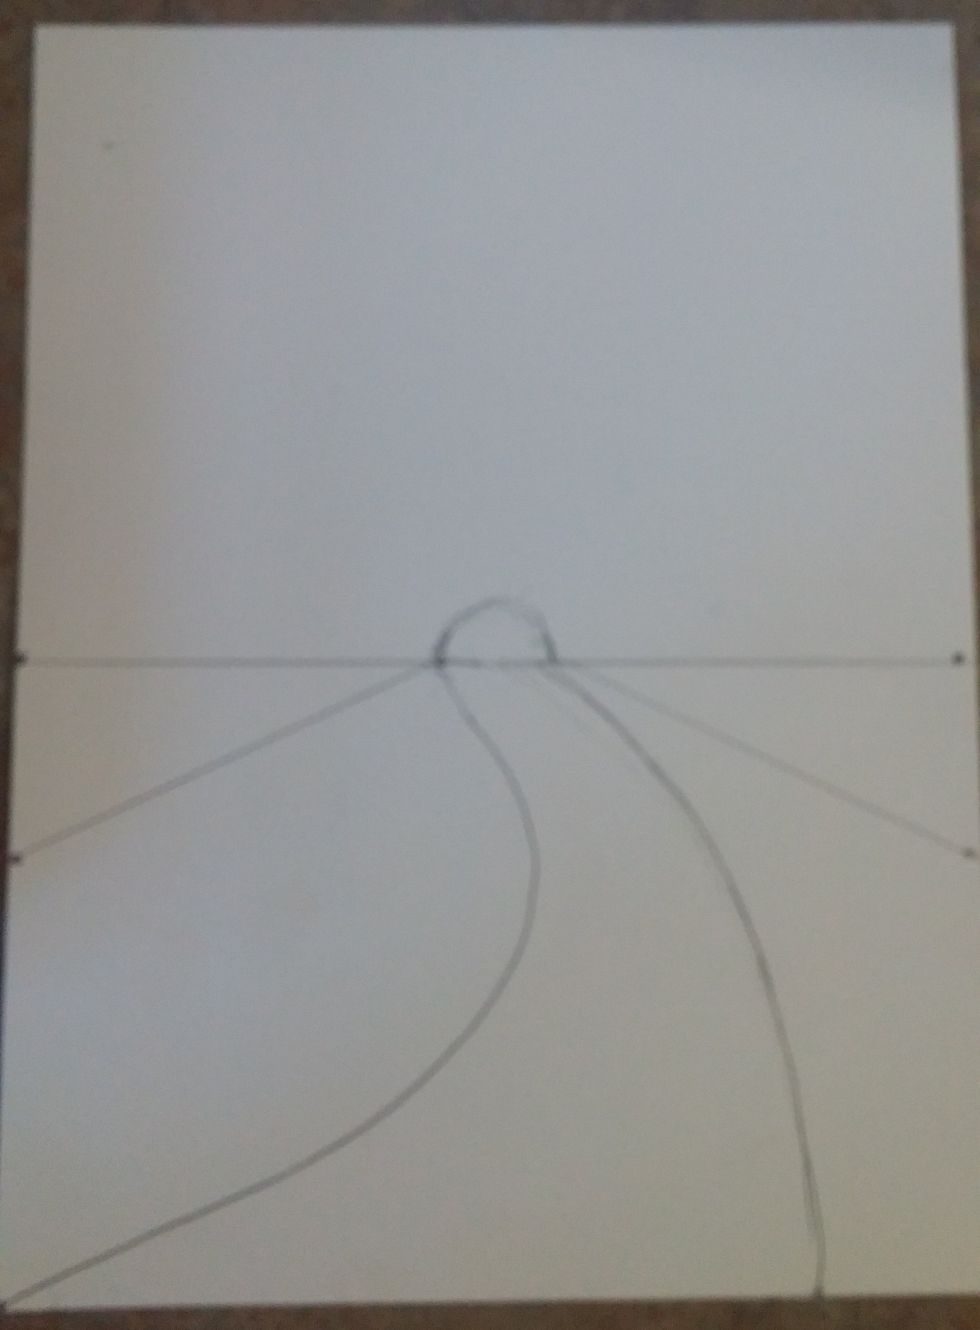
Putting the ruler along the side, make a mark at 5 1/2 inches on both the left an right side of the paper
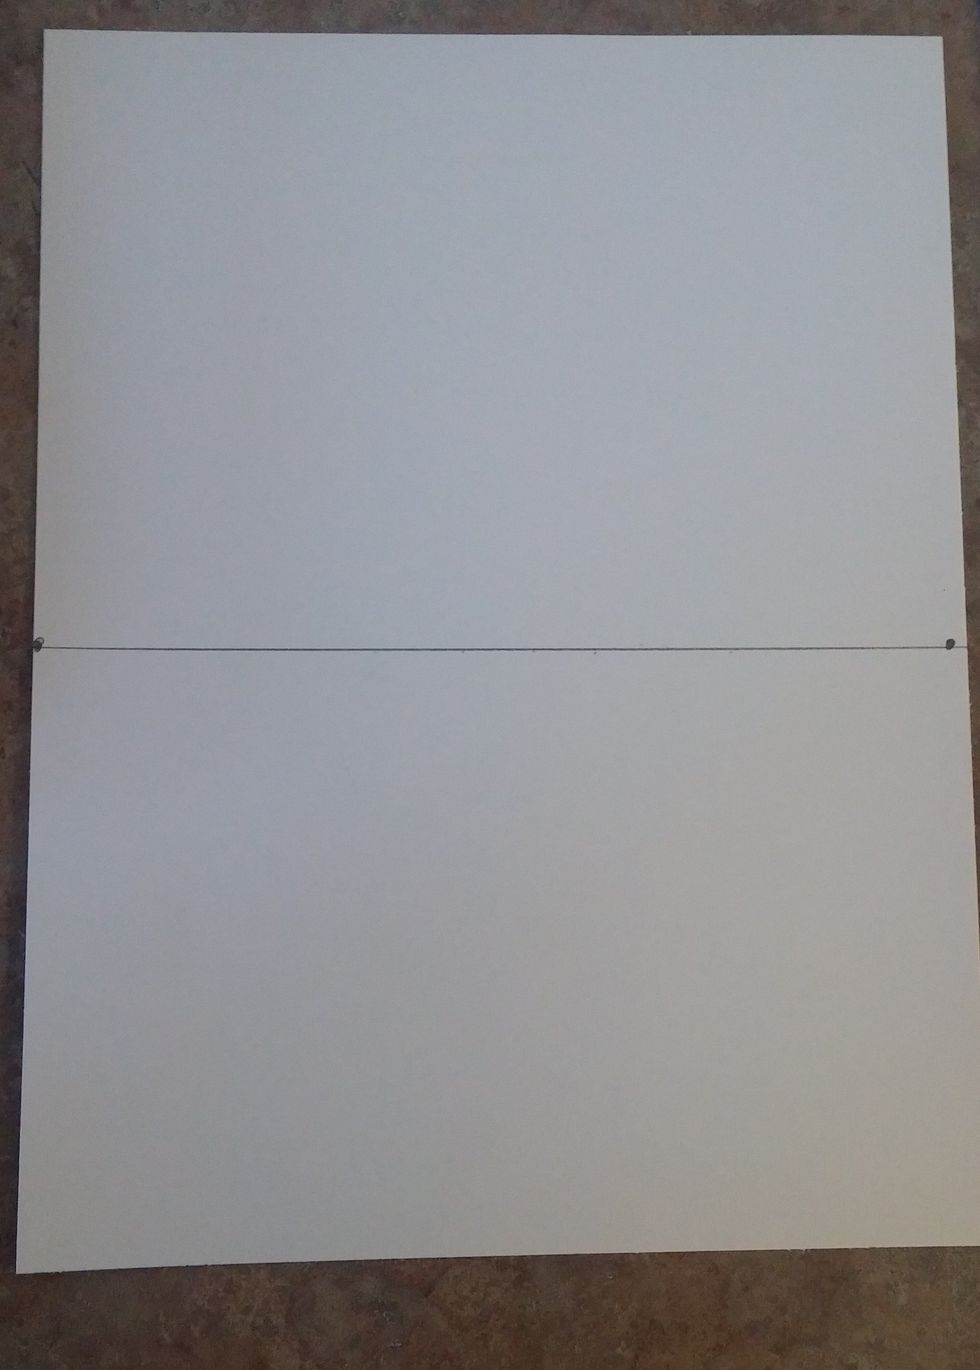
Connect the two dots previously made. This is the horizon line at 5 1/2 inches across the paper.
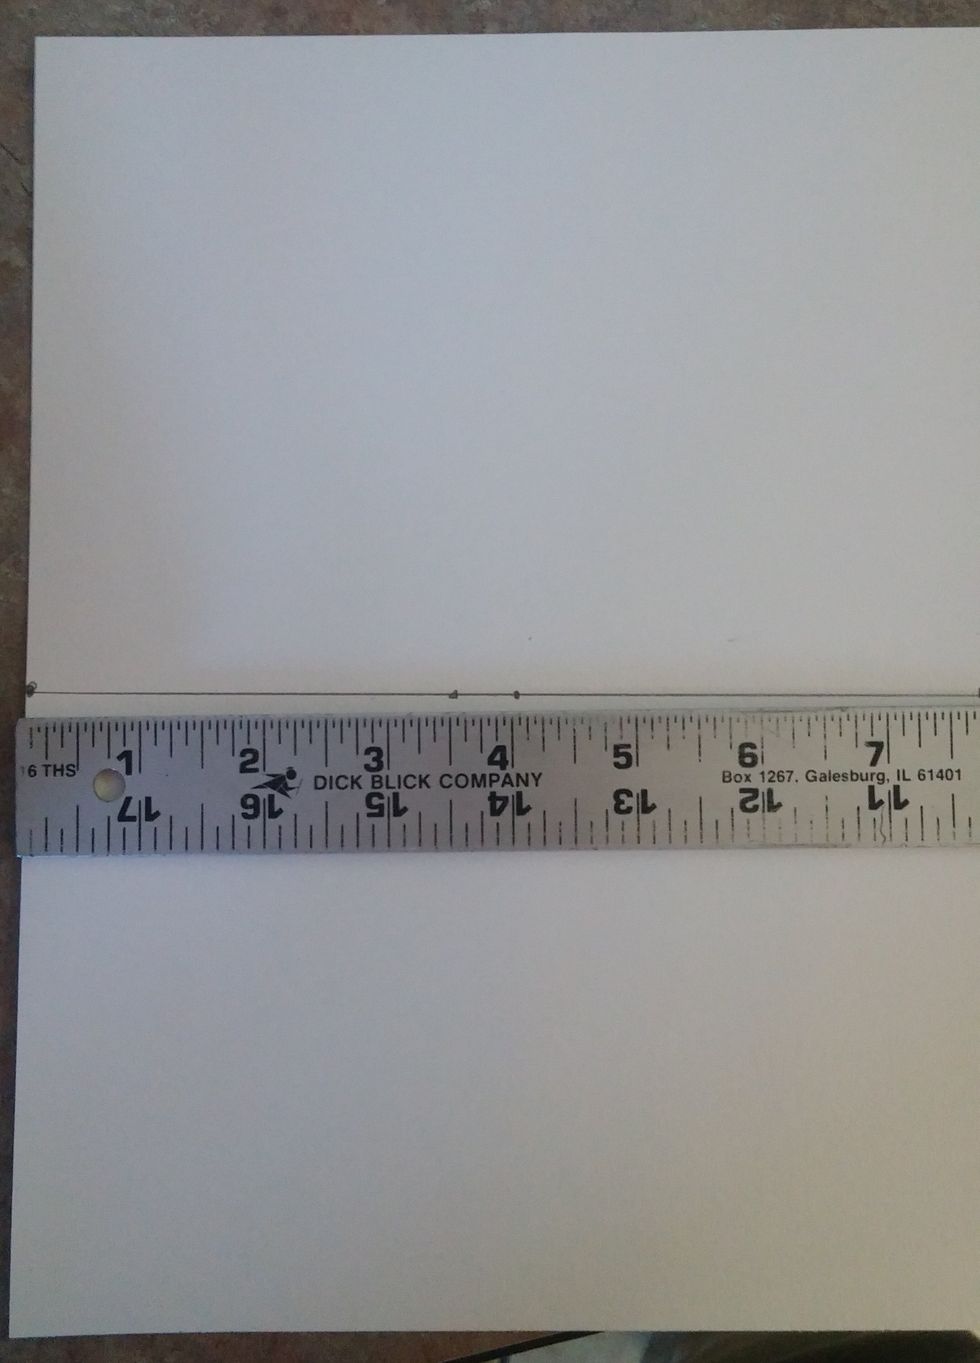
Now we will create the opening in which the vanishing point is. Lay the ruler at the horizon line and make a mark at 3 1/2 and 4 inches. This is the tree opening and vanishing point.

Place the ruler at the very bottom of the paper left to right. Make one mark in the bottom corner close to the 0 mark
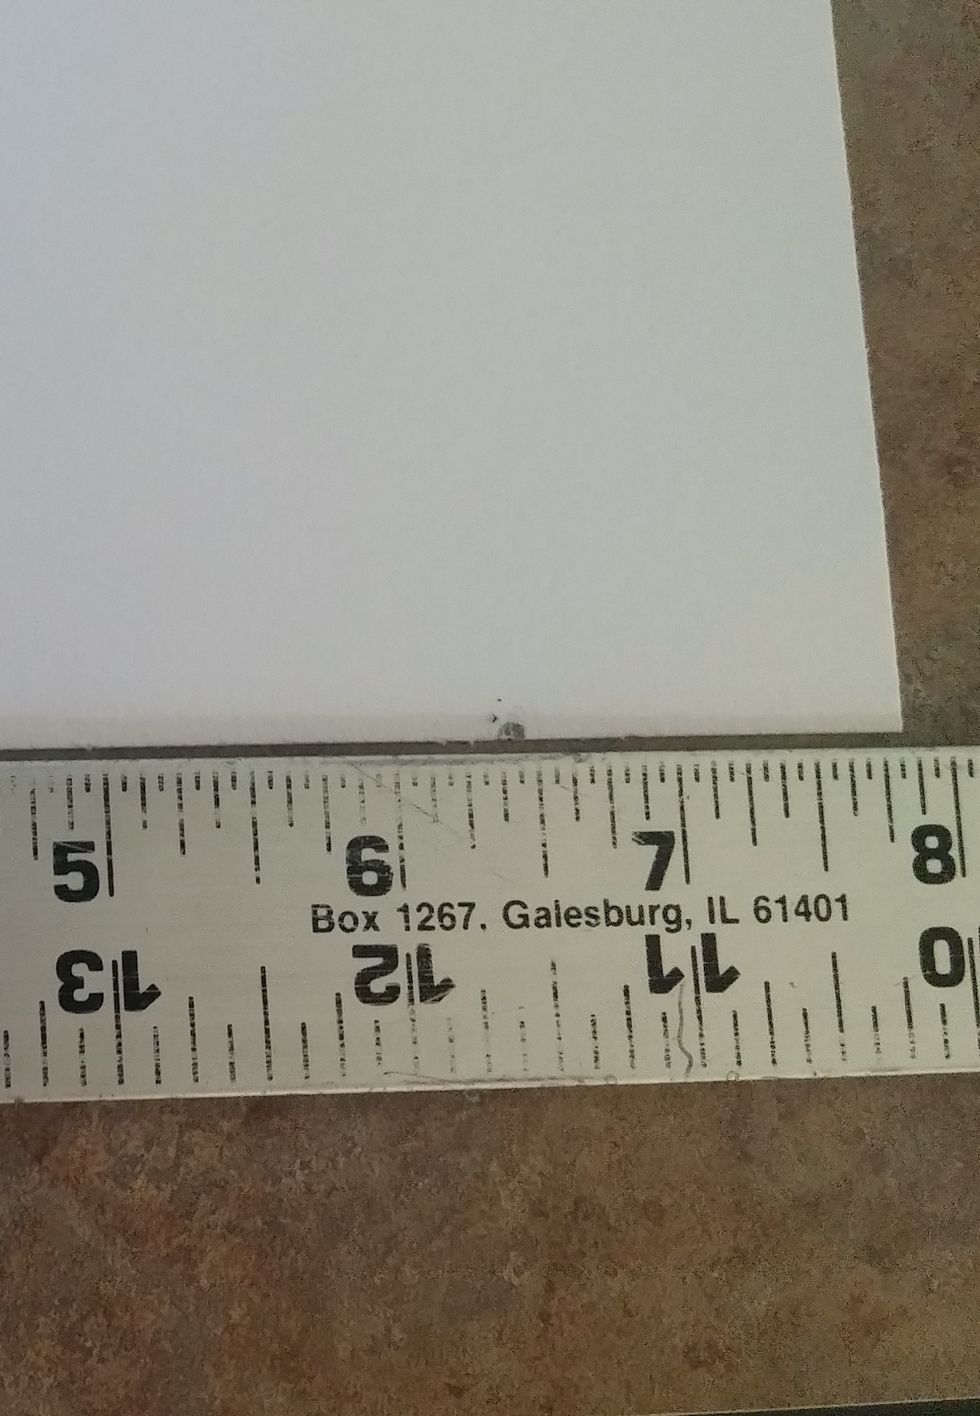
Also make a mark at the very bottom of the paper at about 6 1/2 inches.

Make a slightly curved line going from the 6 1/2 inch (the right dot) dot to the right most dot on the horizon line. This is your curved path.

Make a very curved line and connect the corner dot to the left most dot on the horizon line.
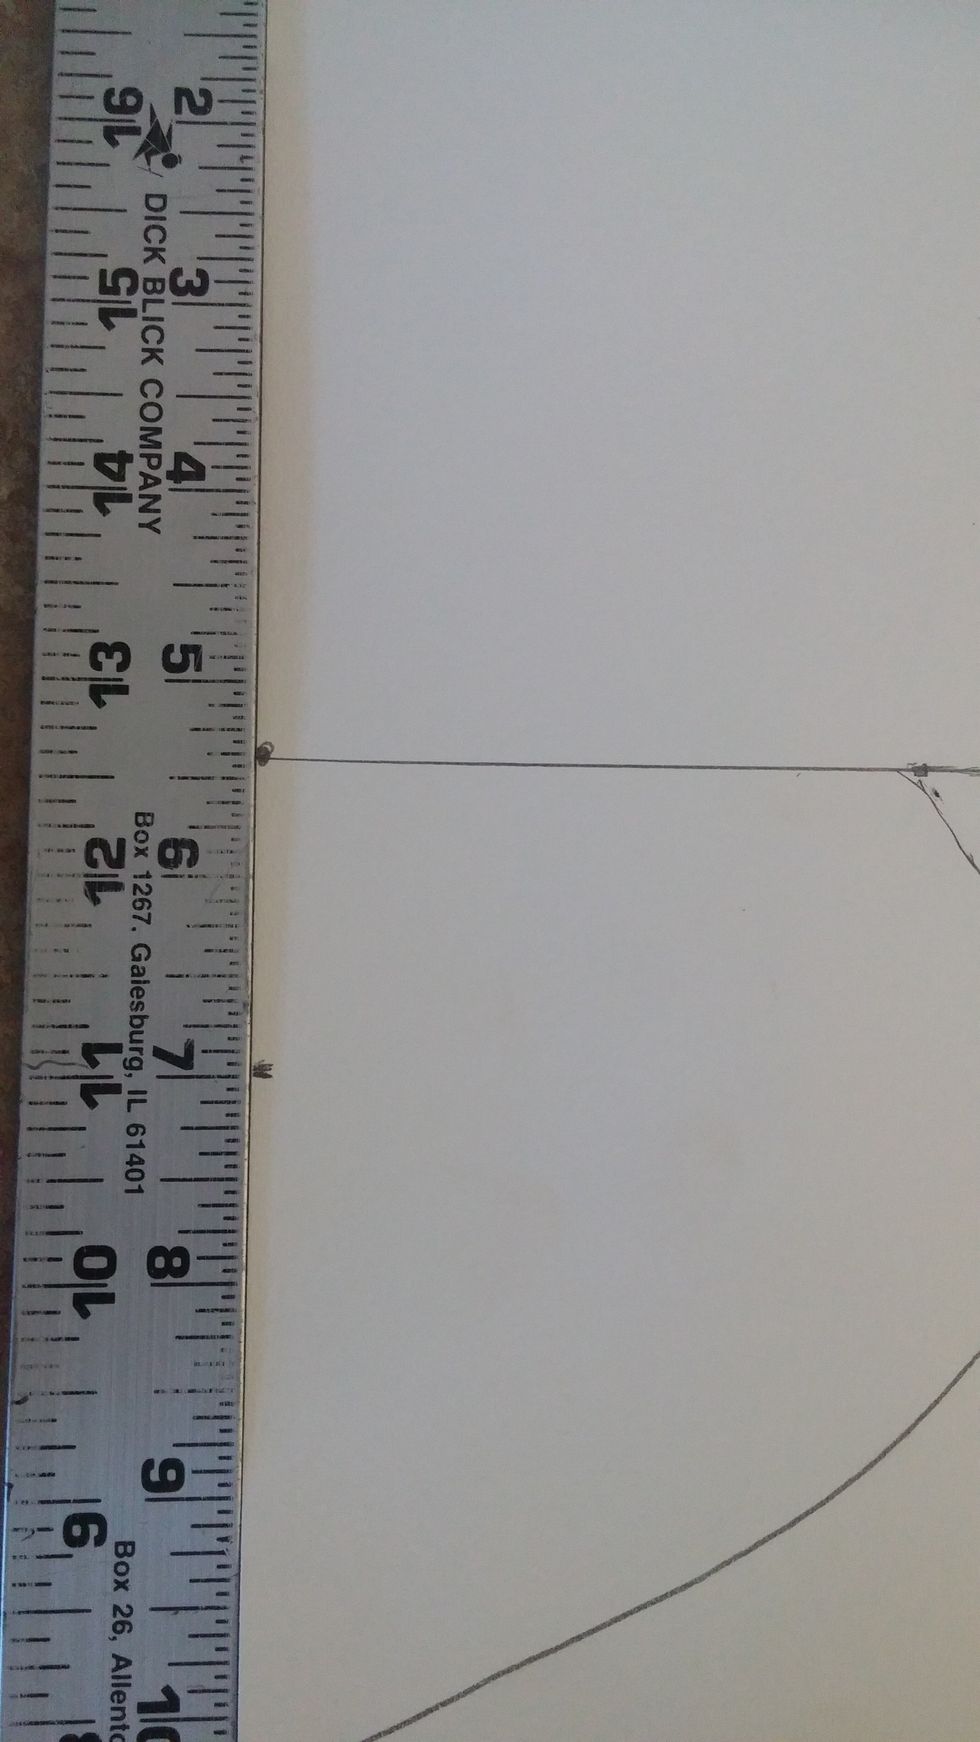
Place the ruler along the left side of the paper. Make a mark at the 7 inch mark down.
Do the same on the other side (the right side) at the 7 inch mark
Connect the dots we just made at 7 inches to the tree opening or the vanishing point with straight lines. This will be were the trees will line up.
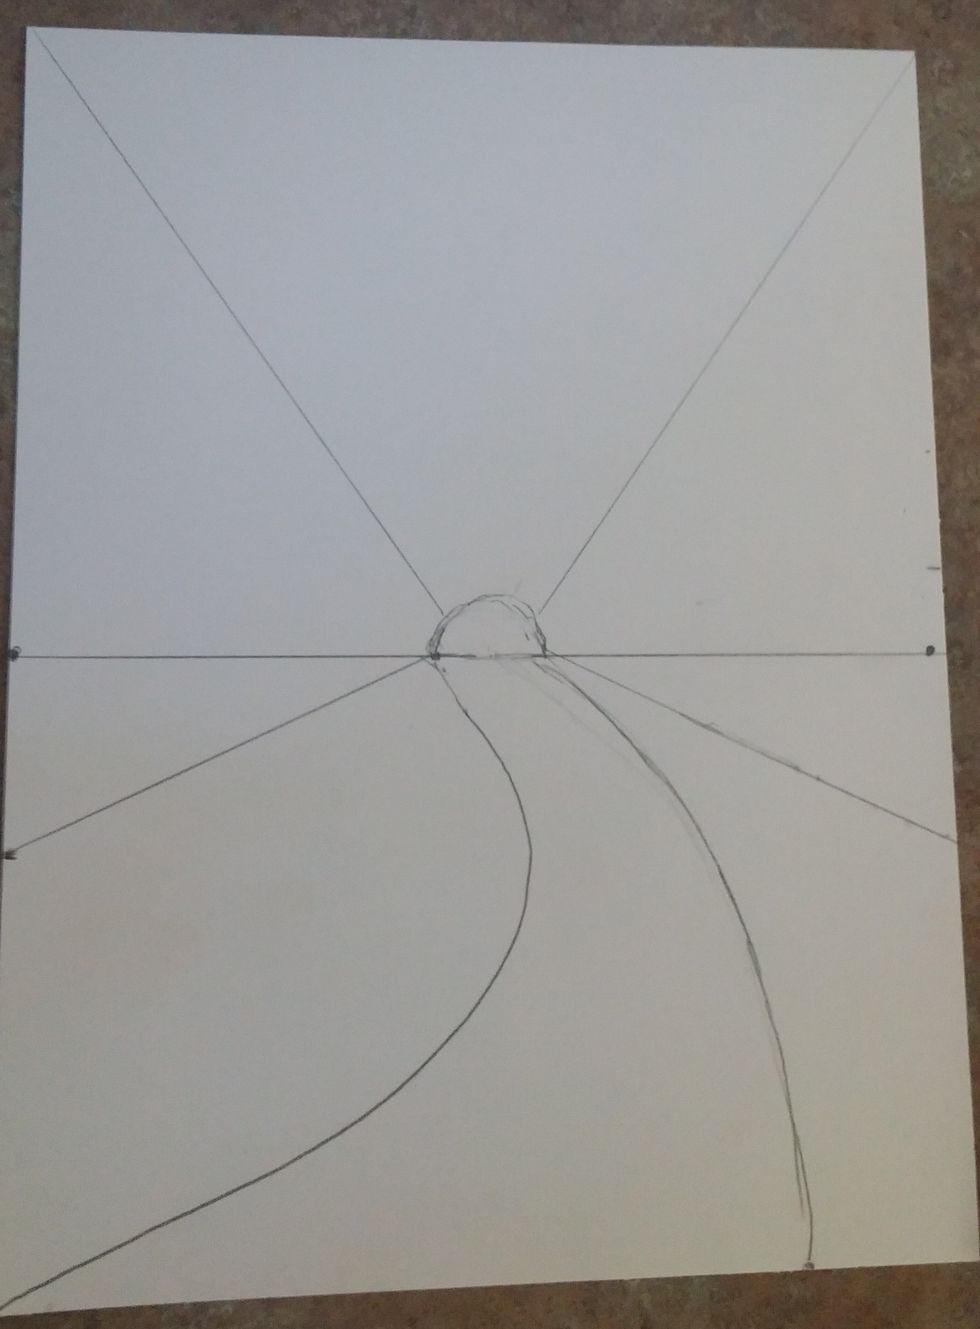
Make a line going from each corner to the vanishing point (in the center of the tree opening)
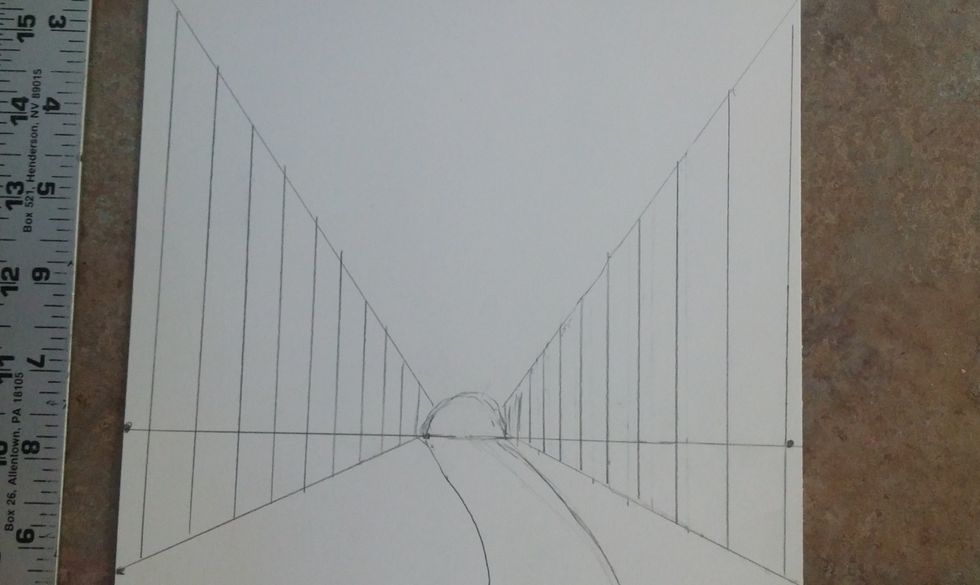
Mark where the trees will sit. Make straight up and down lines. make the ones closest further apart and the lines further away closer together and smalle. The lines go from top line to bottom line
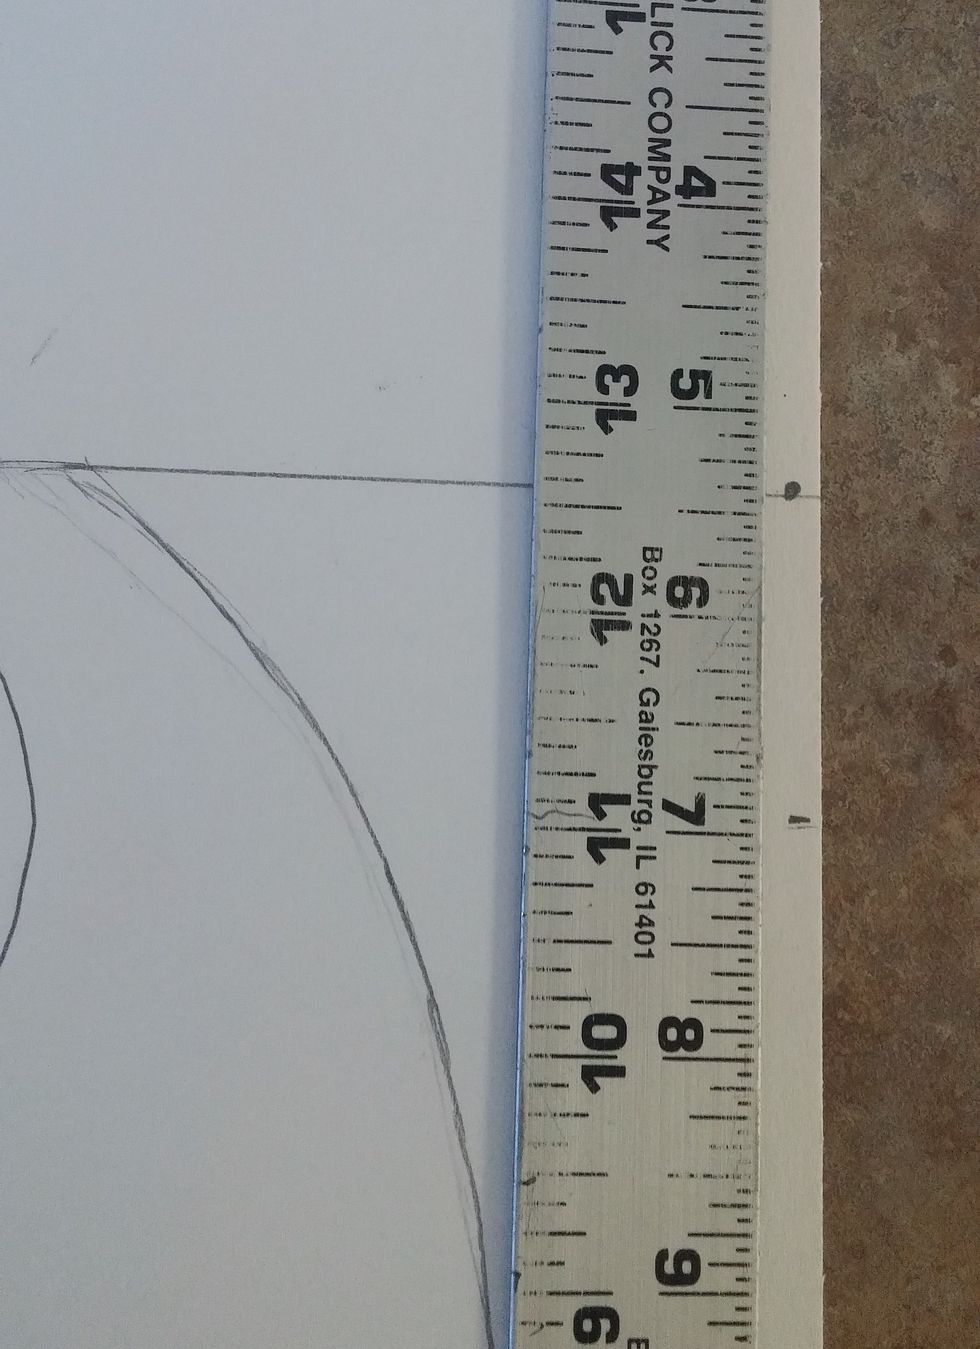
Place ruler at top of paper. make a mark at 3 1/2 inches and 4 1/2 inches

Connect these dots to the vanishing point. This will serve as the space between the left and right trees, where the most amount of sky will show.
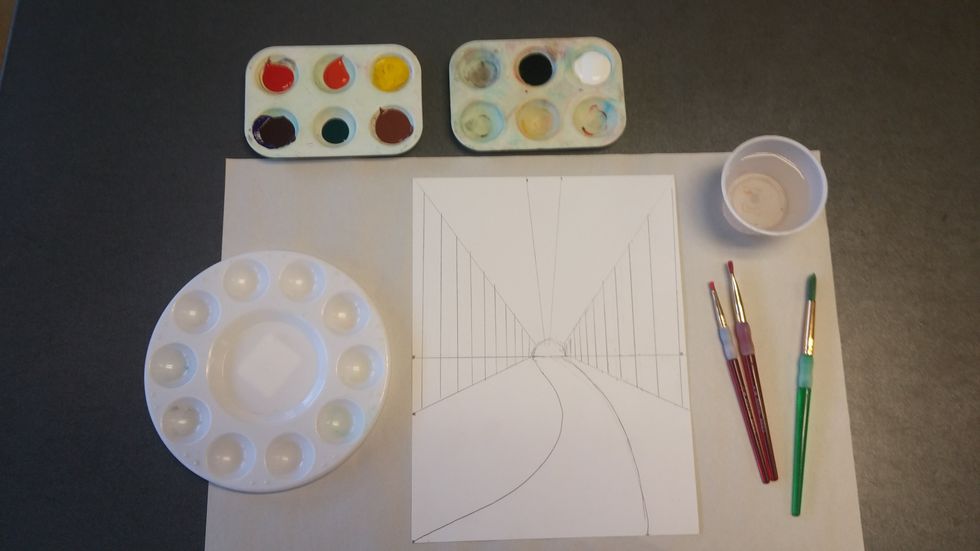
Prepare your space. Have your colors (depending on the season you chose) in a pallet and a clean pallet for mixing. Have several sizes of brushes and a cup of water.
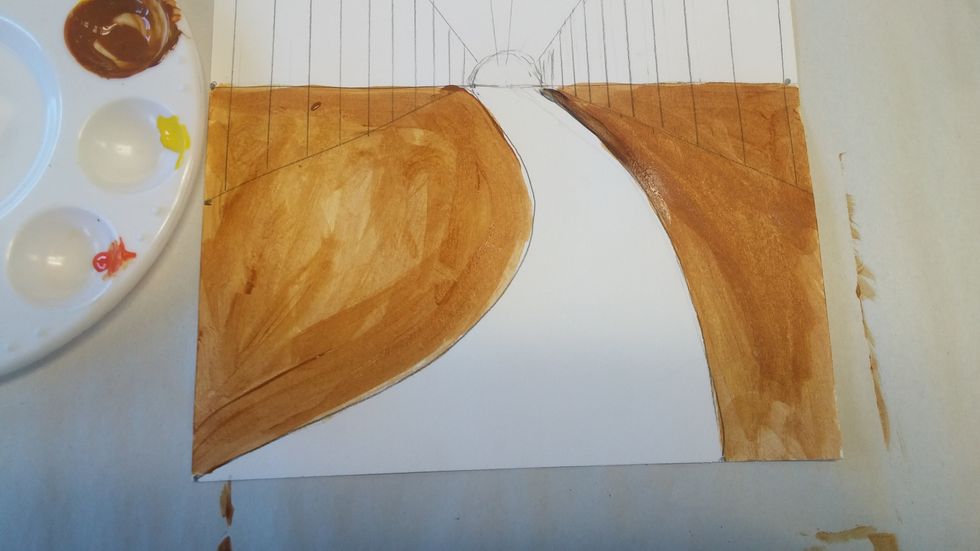
Start with the ground and paint one base color wherever the ground is. Choose what you think best fits an overall base color. For fall I chose a yellow brown (overall color of leaves on the ground).
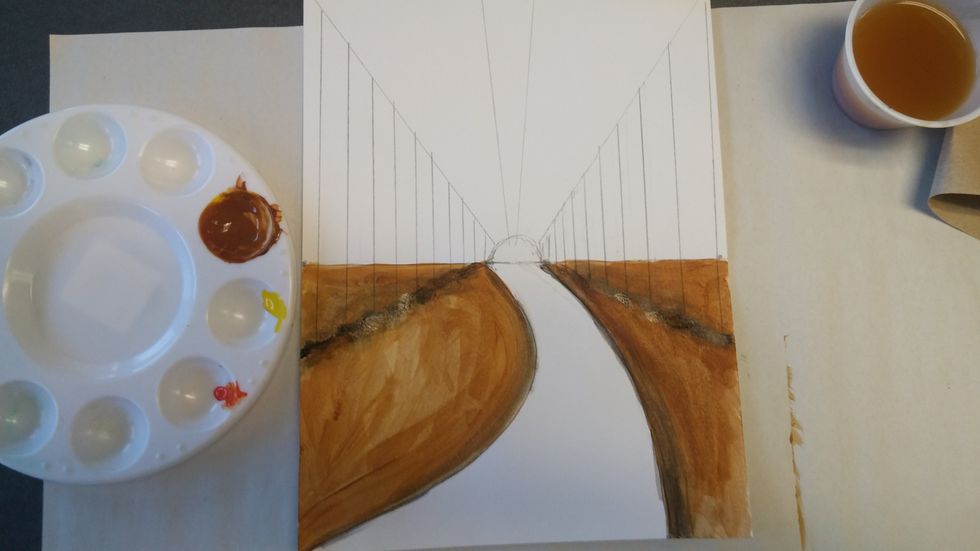
Create a shadow underneath where the trunks of your rees will sit. Also add shadows around the pathway
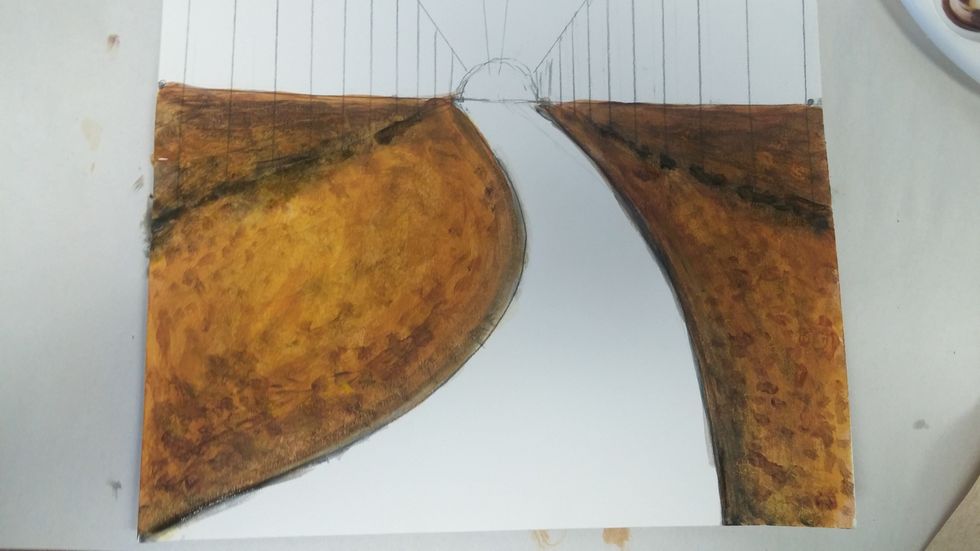
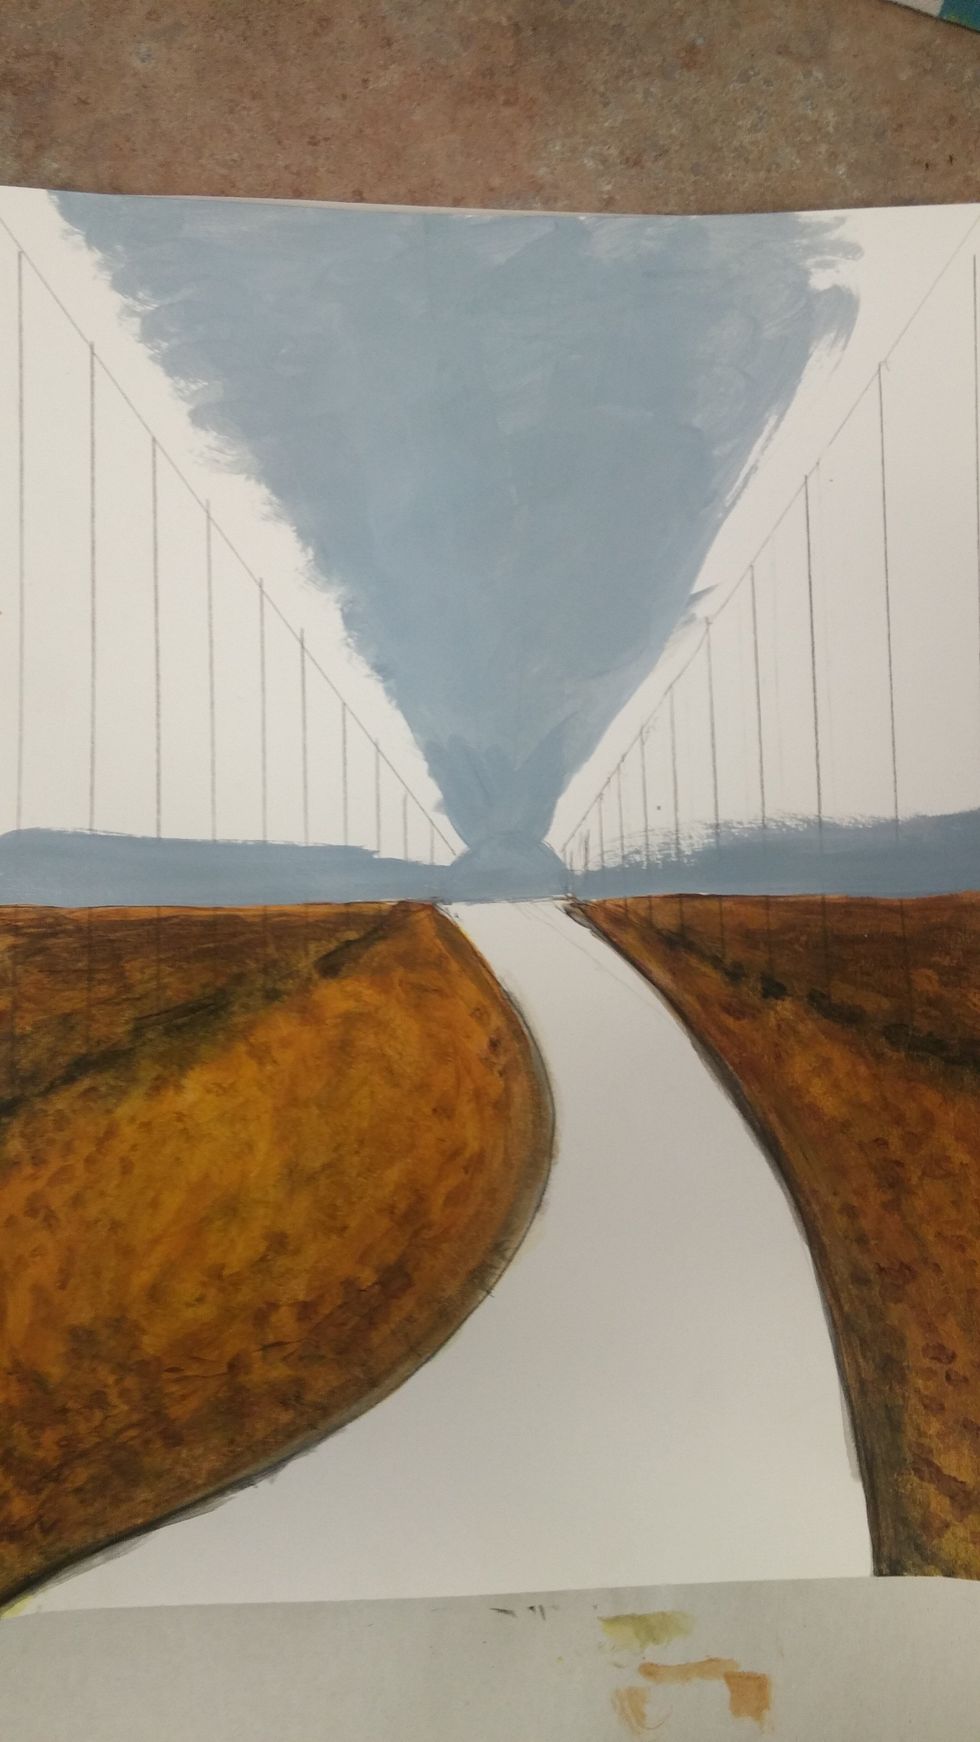
Mix a sky color best fitting the season. (Fall has a blue-gray) Fill in the areas you think the sky would peak through the leaves or trunks of trees.

Mix a good pathway color depenting on the material. This is a road so I made a gray base color. Paint this all over the pathway.
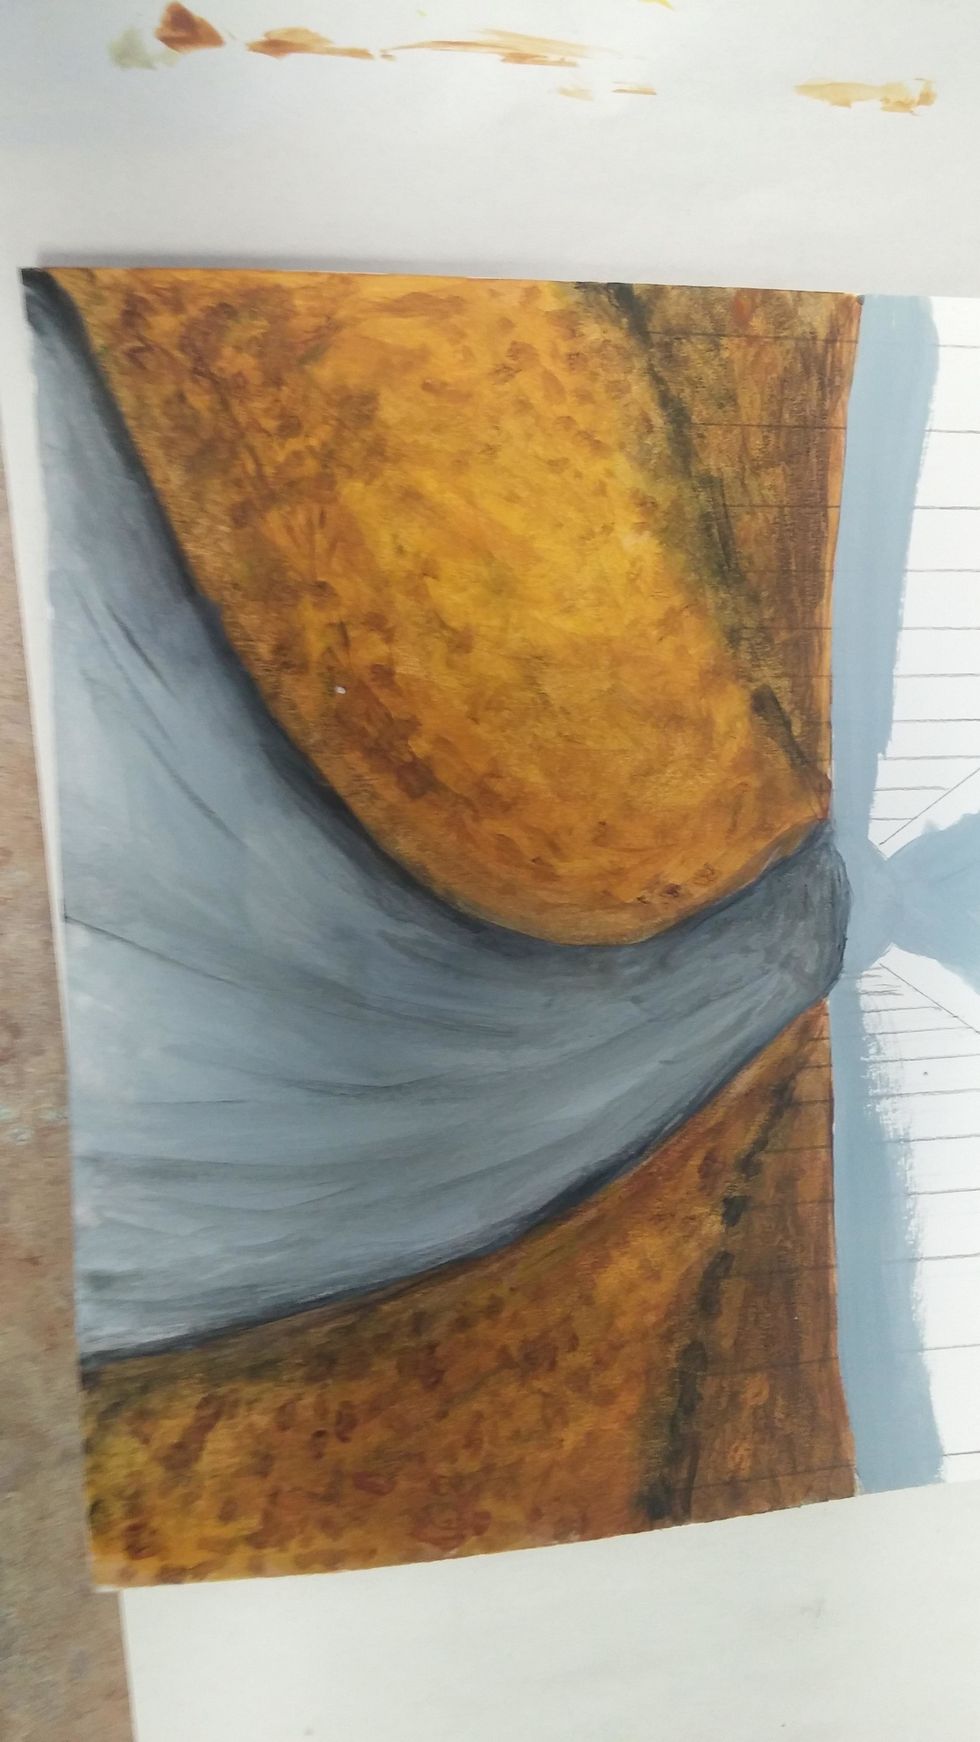
Mix a darker pathway color. Add shadow around the edges and towards the back of the path. Also adding texture (like the subtle lines) gives it more depth.

Choose a base color for the leaves, whatever color would be a good base to layer on top of. For fall I chose a rich yellow. Paint this in every part that will be the leaves.
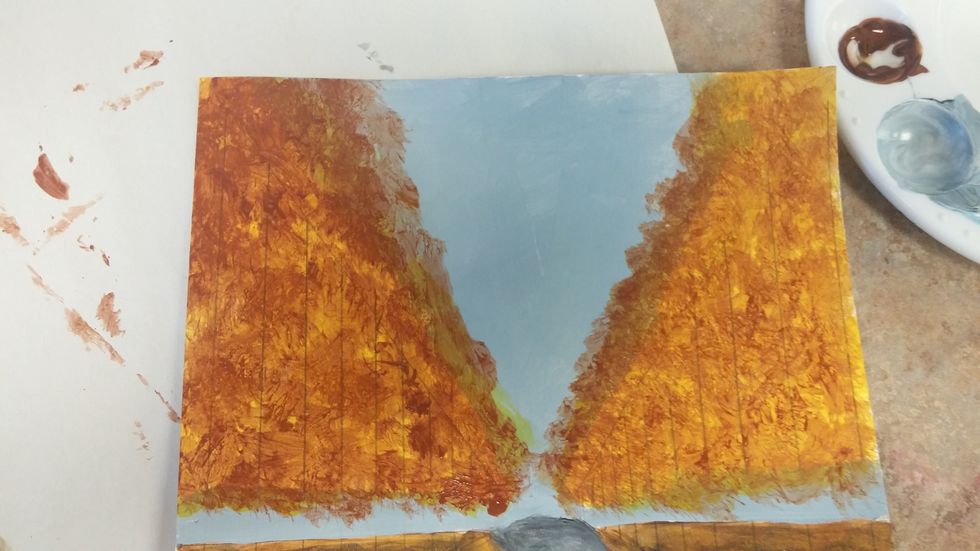
Mix the color you most see in the leaves (fall has this warm brown). Dab and dot all over the base color, allowing for some of the base color to show through.

Choose another color you see in the leaves (fall has a lot of reds) and agian dab and dot more sparingly on the leaves area.

If applicable mix another color you see (like this red-purple) and dab and dot even less than the last in the leaves. This mix of colors adds more depth.
Don't be afraid to bring the leaves colors into the sky area and make the leaves stick out into the sky area. This keeps it looking like it really clumped together.
USe the richest base color for the trunks. Follow the guidelines to place the trunks of the trees on both sides

Mix three good tree trunk colors. I made a rich brown, a darker brown *a shade) and a lighter brown (a tint). These are going to be your trunk and branch colors.

Thicken the trunks and give them a woody texture. Be sure to use the shade for shadow and the tint for a highlight in the direction of the light source only. This creates more depth in the trunks.
Start to add branches. be sure to start form the back and work your way forward, this way the overlap is going in the right direction.
Make branches on every trunk, remembering that the tree closest to us will have the longest and biggest branches. Add shadows and highlights to parts of the branches as well.
Go back to the leaves colors and start pacing some dabs and dots at the ends of some of the branches. This makes them look like the branches are holding leaves.
Add more and more of the leaves colors to the ends of the branches. Don't overdo it, just add bunches here and there.
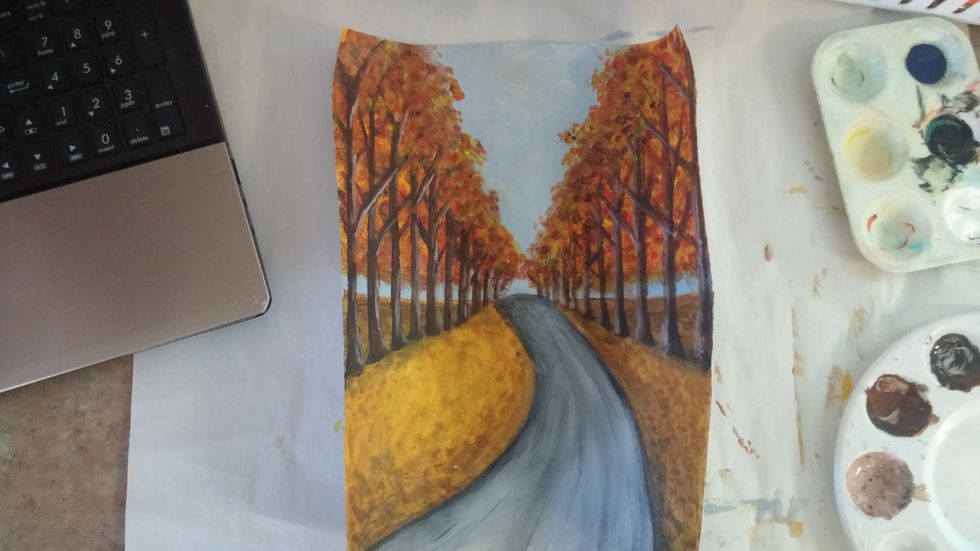
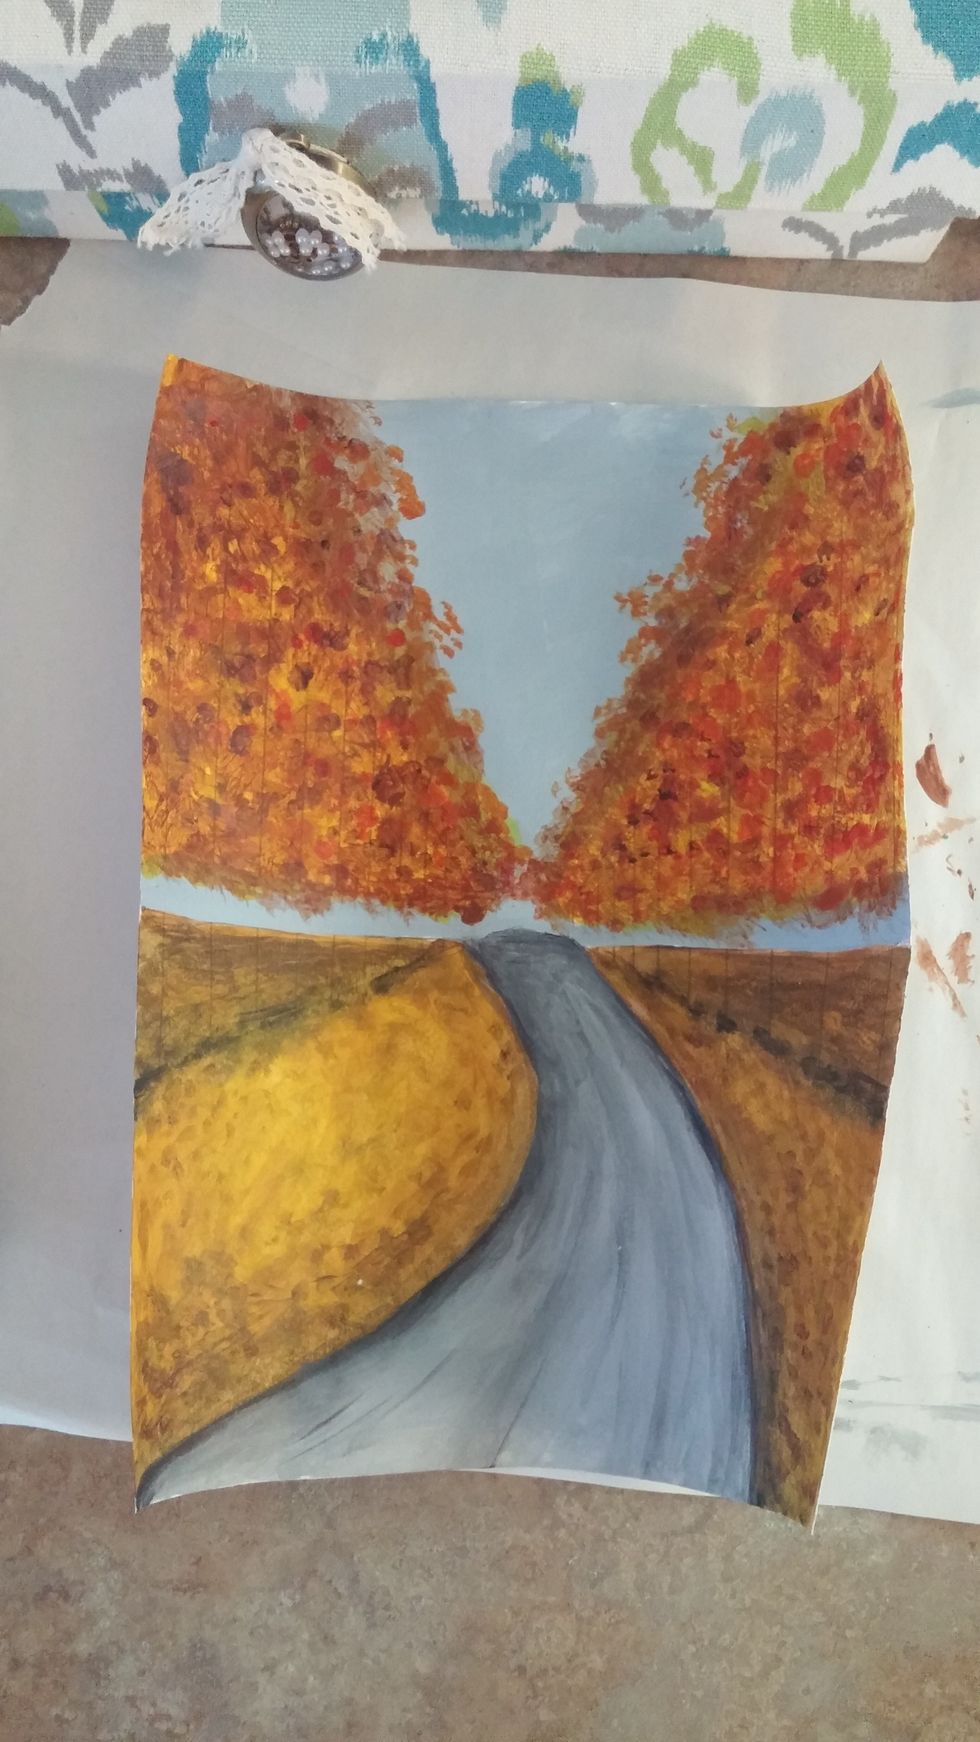
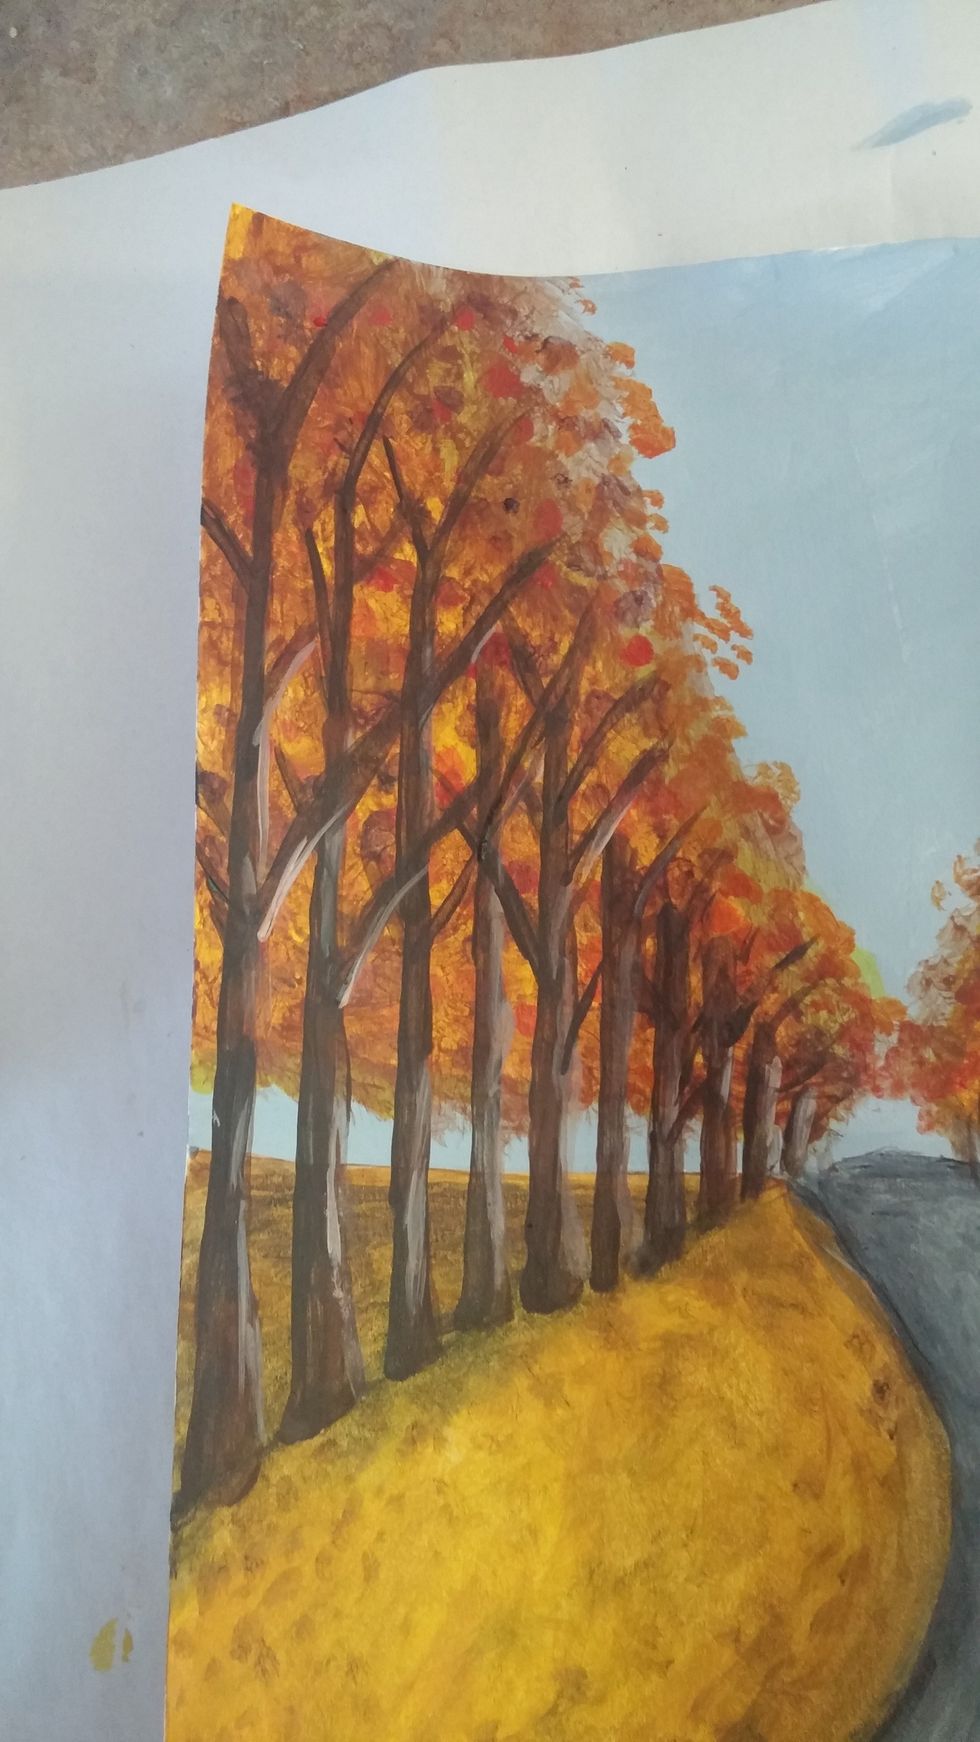
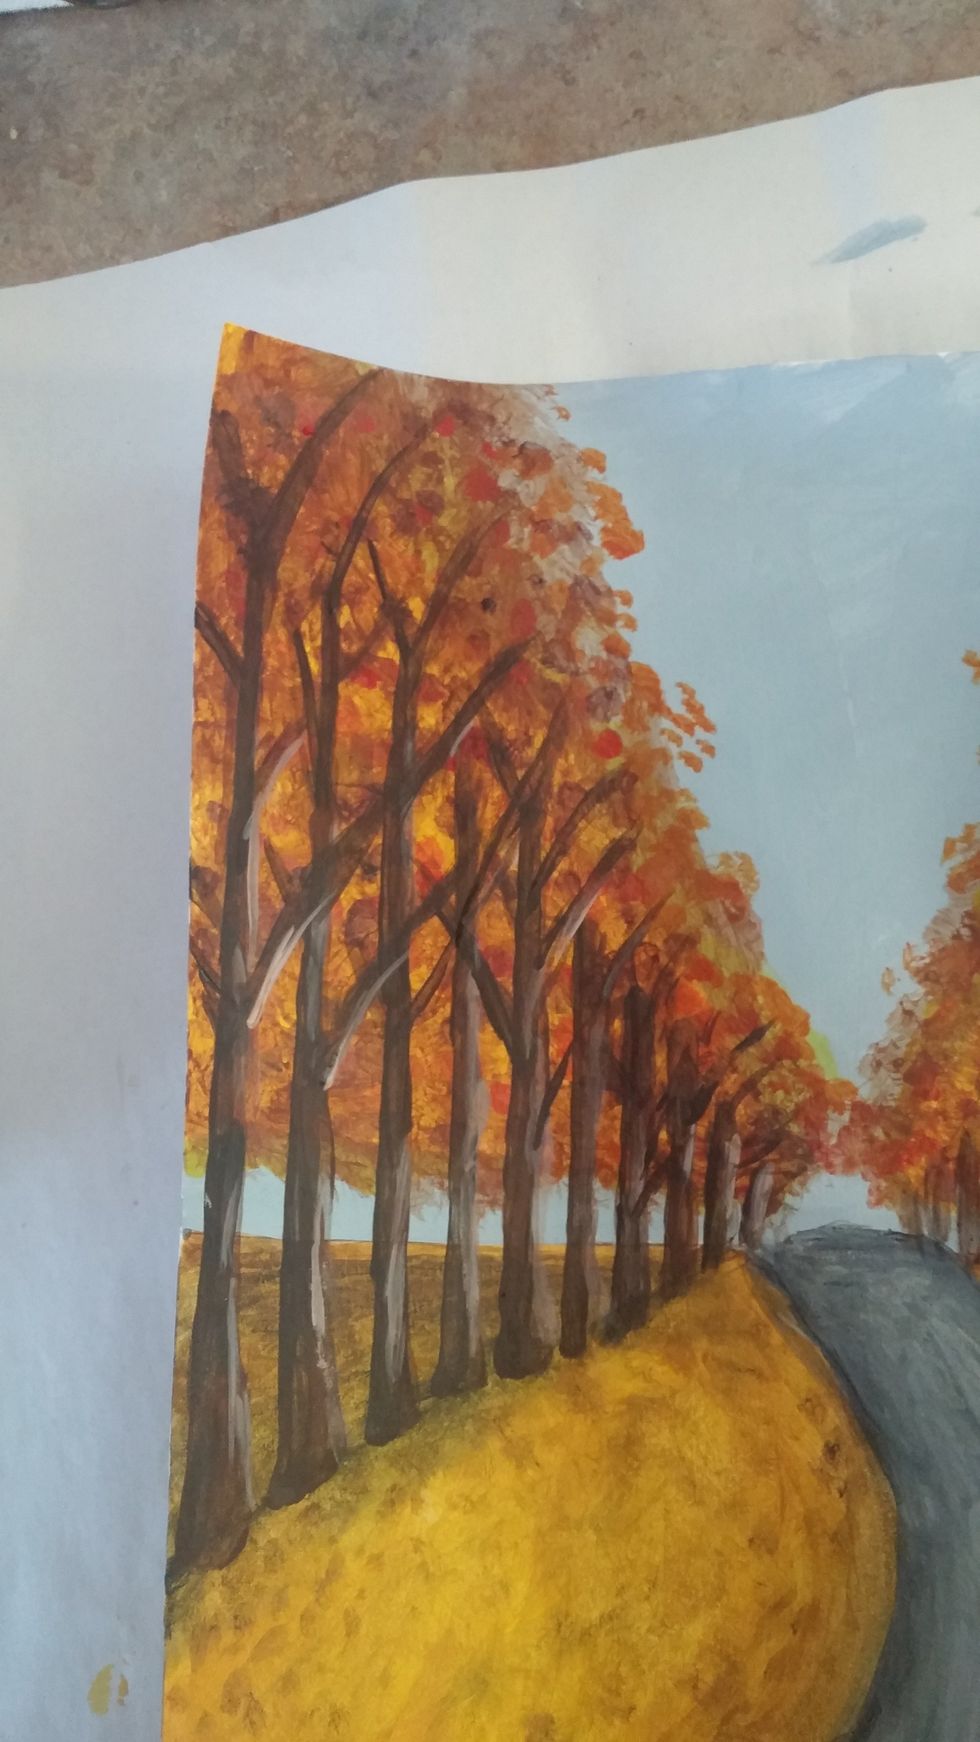
This is what the end result may look like. It's ok if it doesn't. Each persons artwork should be diffrent and everyone has thier own style. Be proud of the work you created.