The Conversation (0)
Sign Up
You can find these at most stores. If you go through a lot of them you can find bulk packs on eBay for crazy cheap.
Where to buy: art shops, Walmart, amazon, eBay, etc...
If you don't know how to convert your own image to stencil form check out strix.org.uk/stencil/ for an easy way. OR Stencilpunks.com, stencilry.com, spraypaintstencils.com are all awesome sites
Find at any craft/art shop and places like target
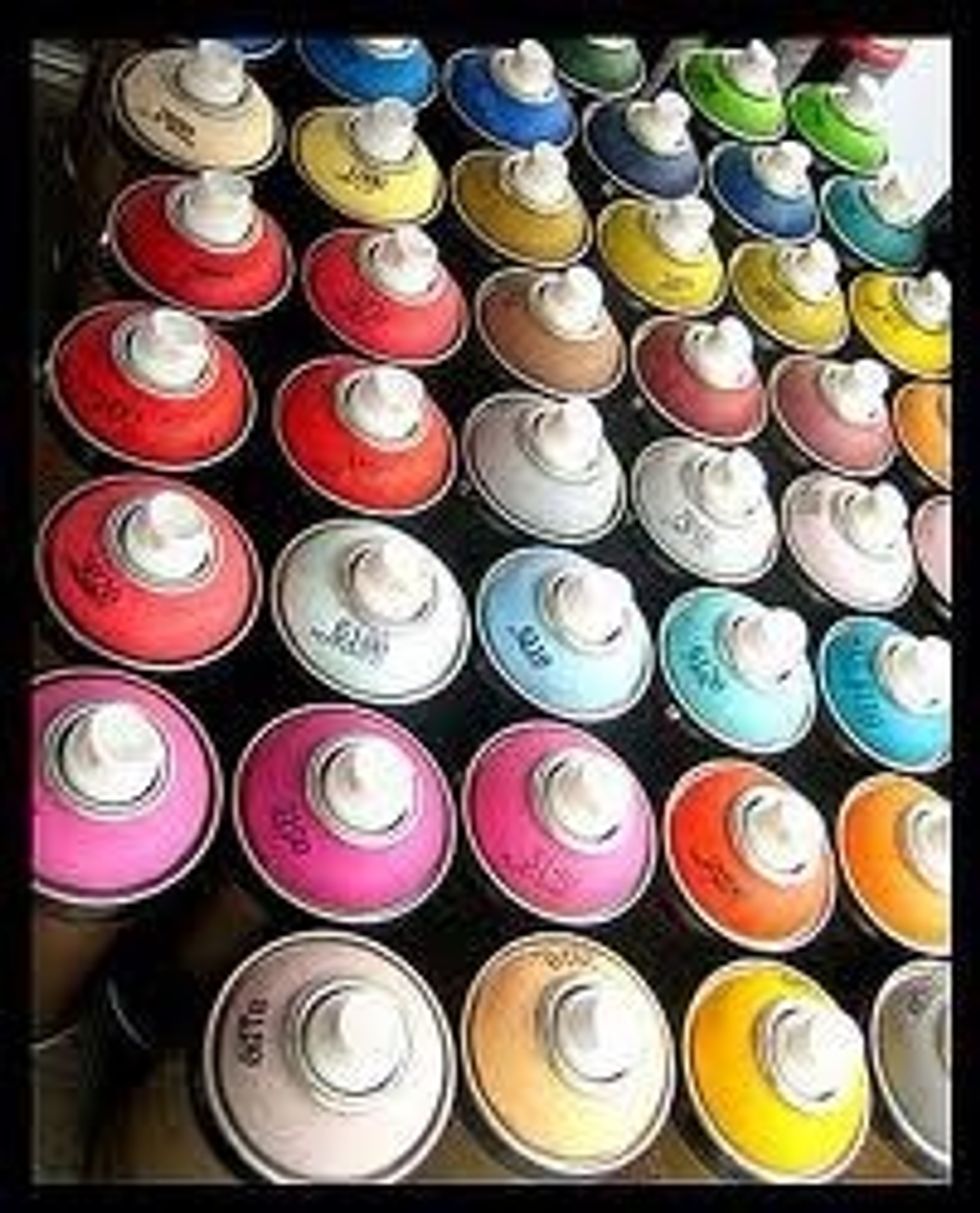
If you're just learning I'd just use the cheap as dirt no brand spray paint from like Walmart, otherwise get the good stuff! (Ironlak, Montana, etc... krylon can be pretty good too.

Street art !
Have at least two different colors.
Canvas! Or ... cardboard, wood scraps, poster board, the street!- oh jk I so totally do not condone street art...
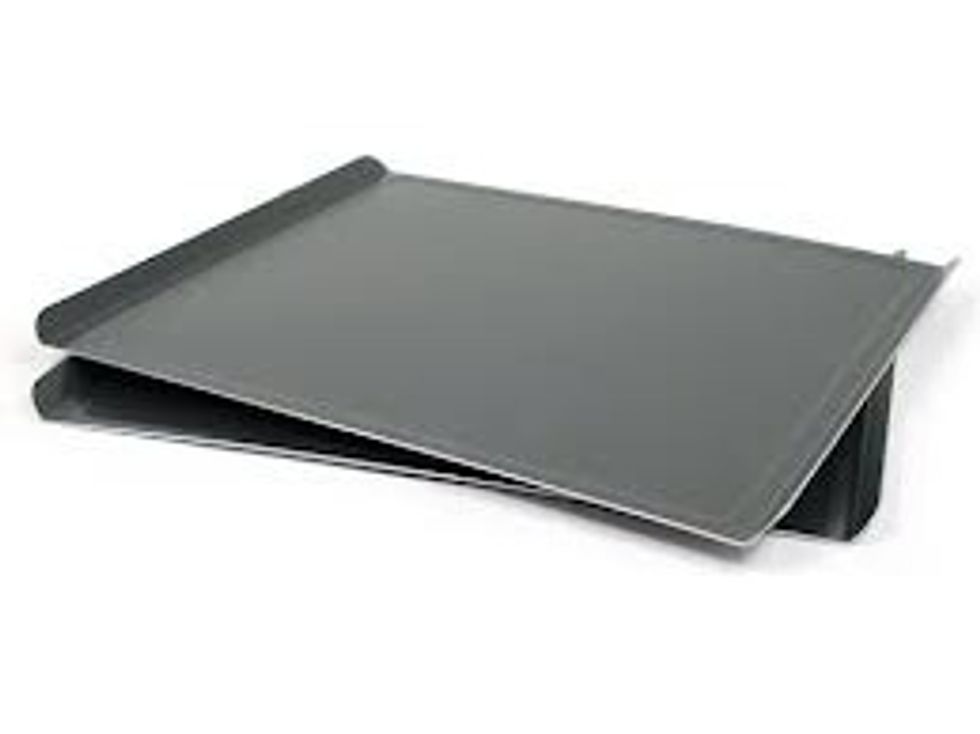
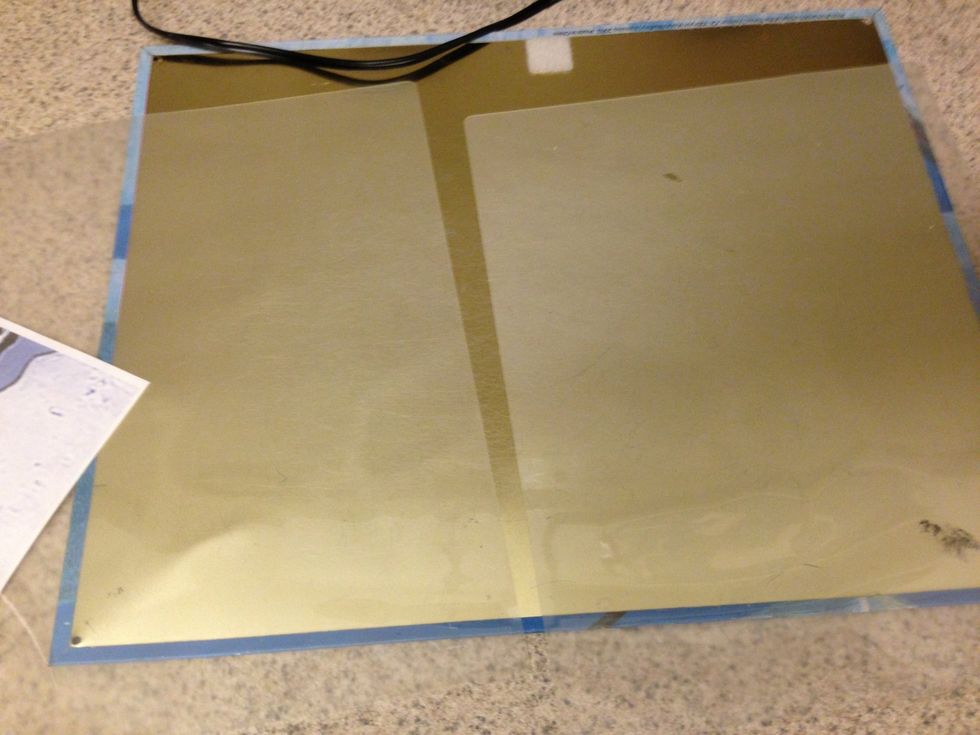
This is for cutting your stencil. It is the best/easiest surface I discovered. Easily find one or something similar (just needs to be a metal flag surface) at a thrift store for cheap..
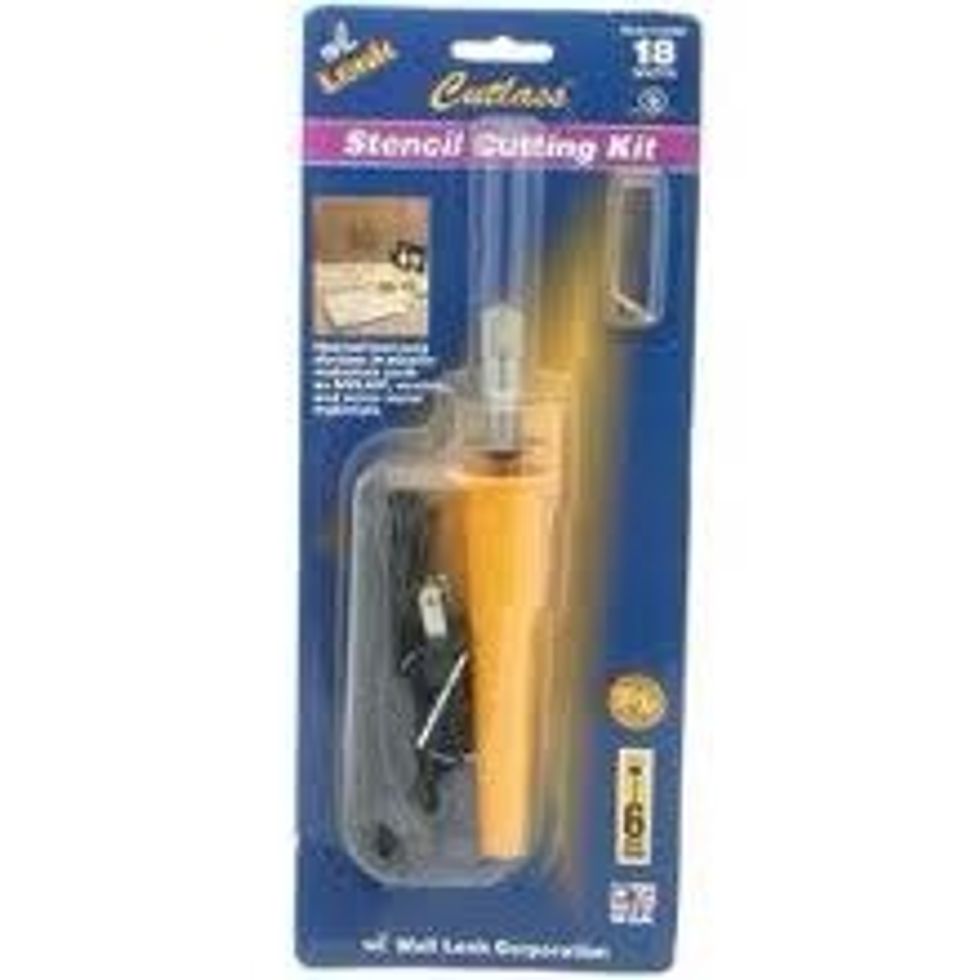
First, find an area you can work that has an outlet that will allow your stencil cutter to reach the cookie sheet you will cut the stencils on- turn the cutter on so it heats up!
Side note: usually stencil cutters come with a few extra screw on tip options (calligraphy, wide, thin, etc..) Using the thinnest, pointiest one works best in my experience, especially for detailing.
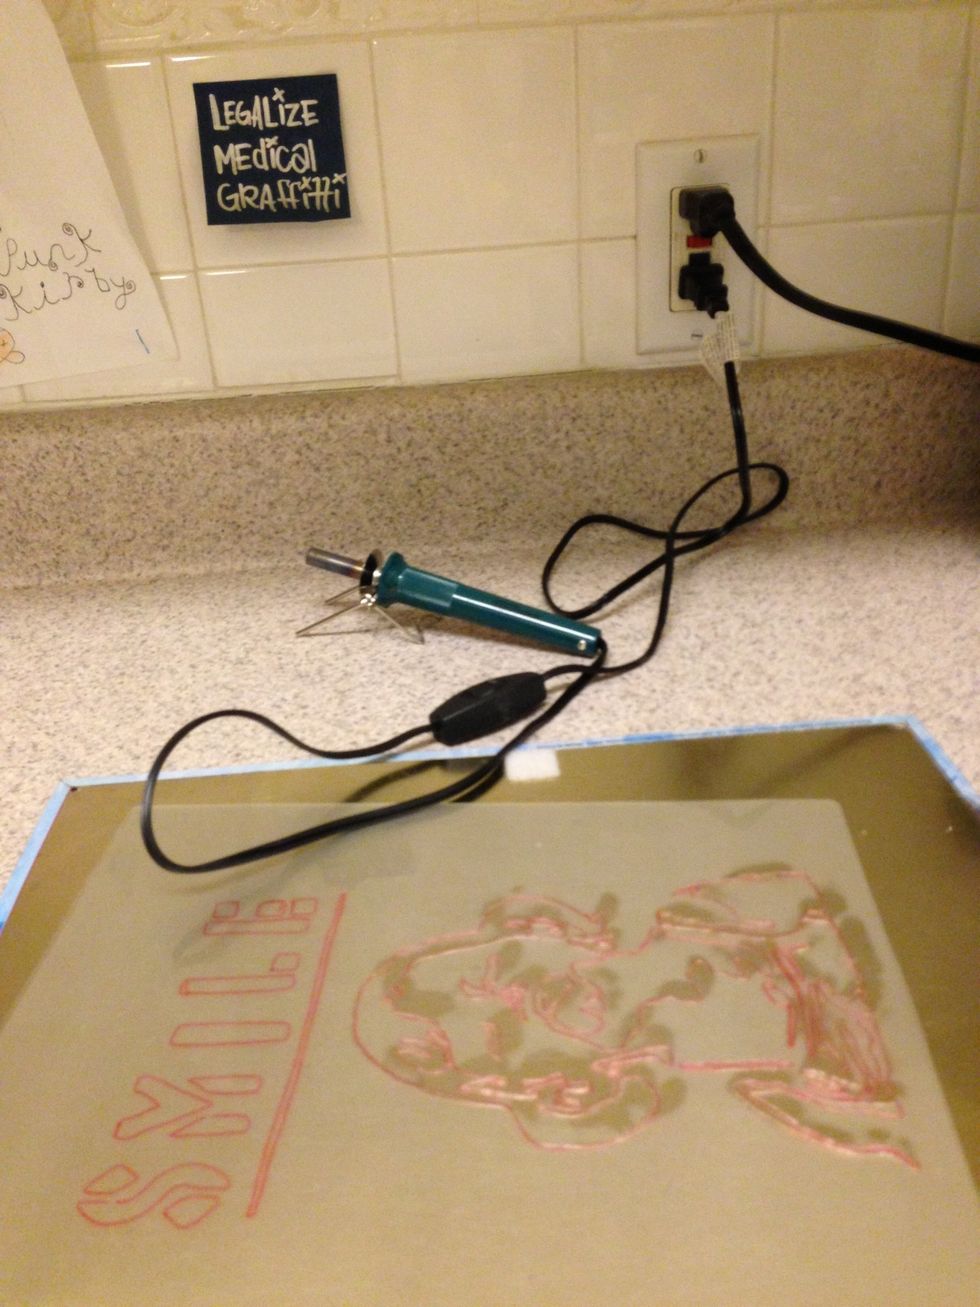
Like so... (For me, my kitchen counter is the easiest since the outlets are level with the countertops)
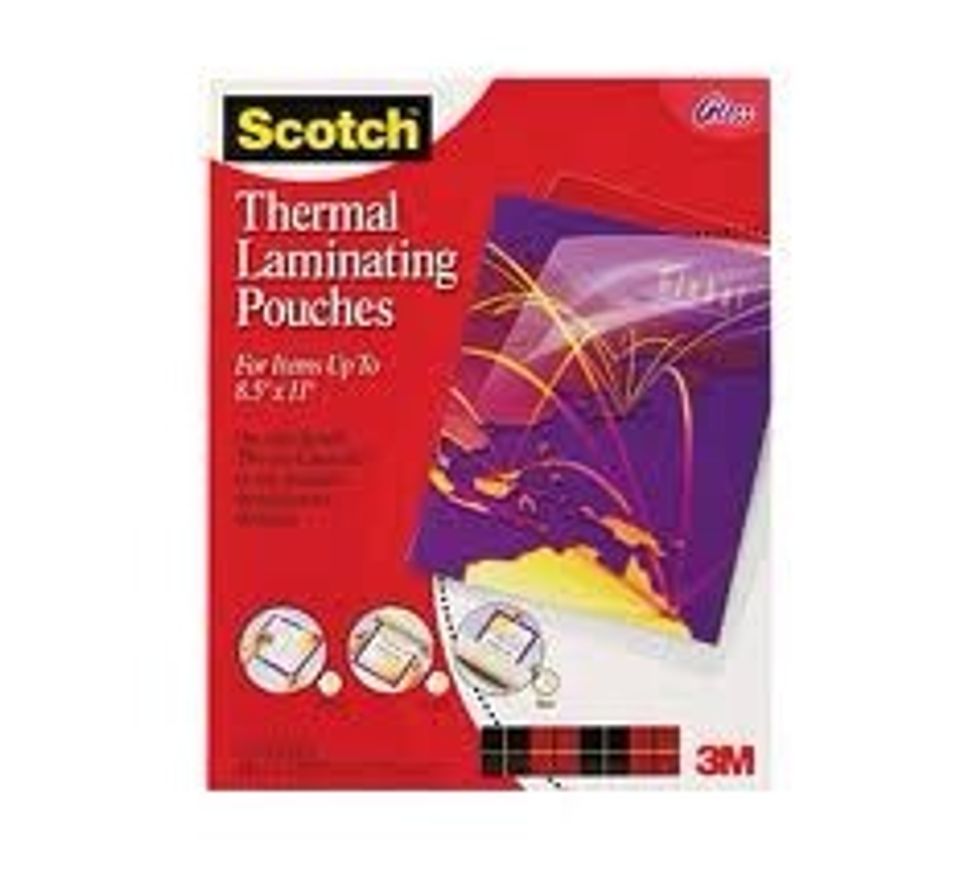
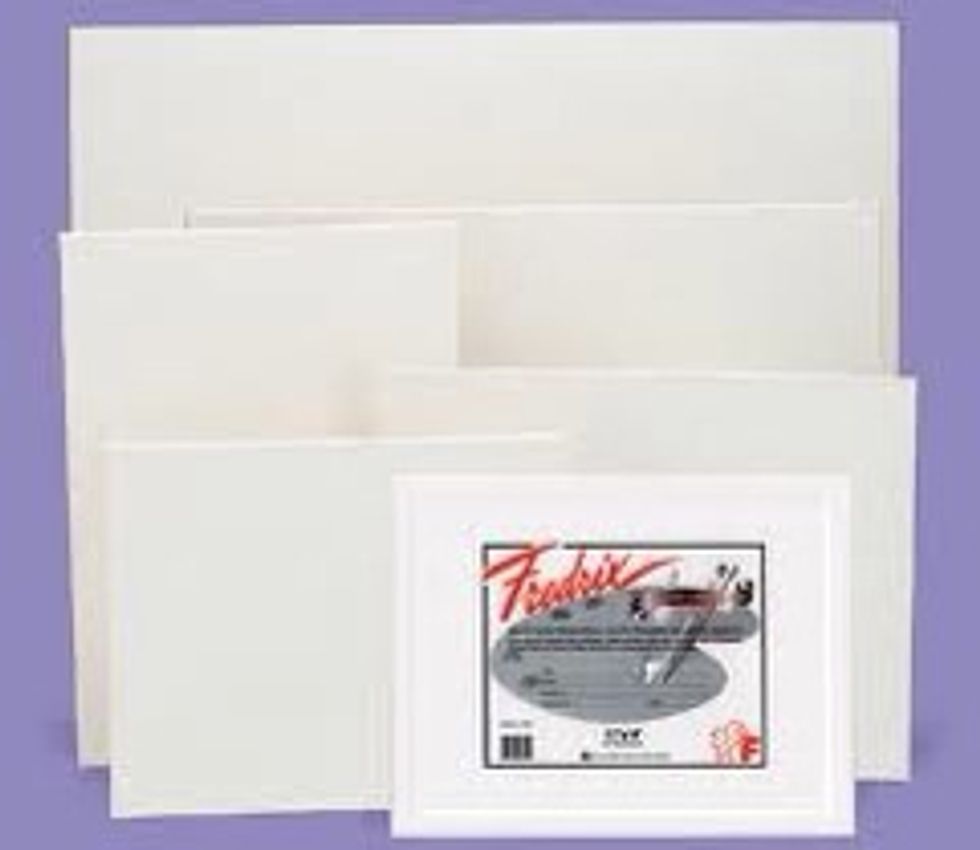
Okay, now take your image, which you should have printed out (use draft mode n save ink!), and place it underneath ONE laminating sheet or "1/2 a sheet"- (tear the sheets in half so you end up w/ 2)
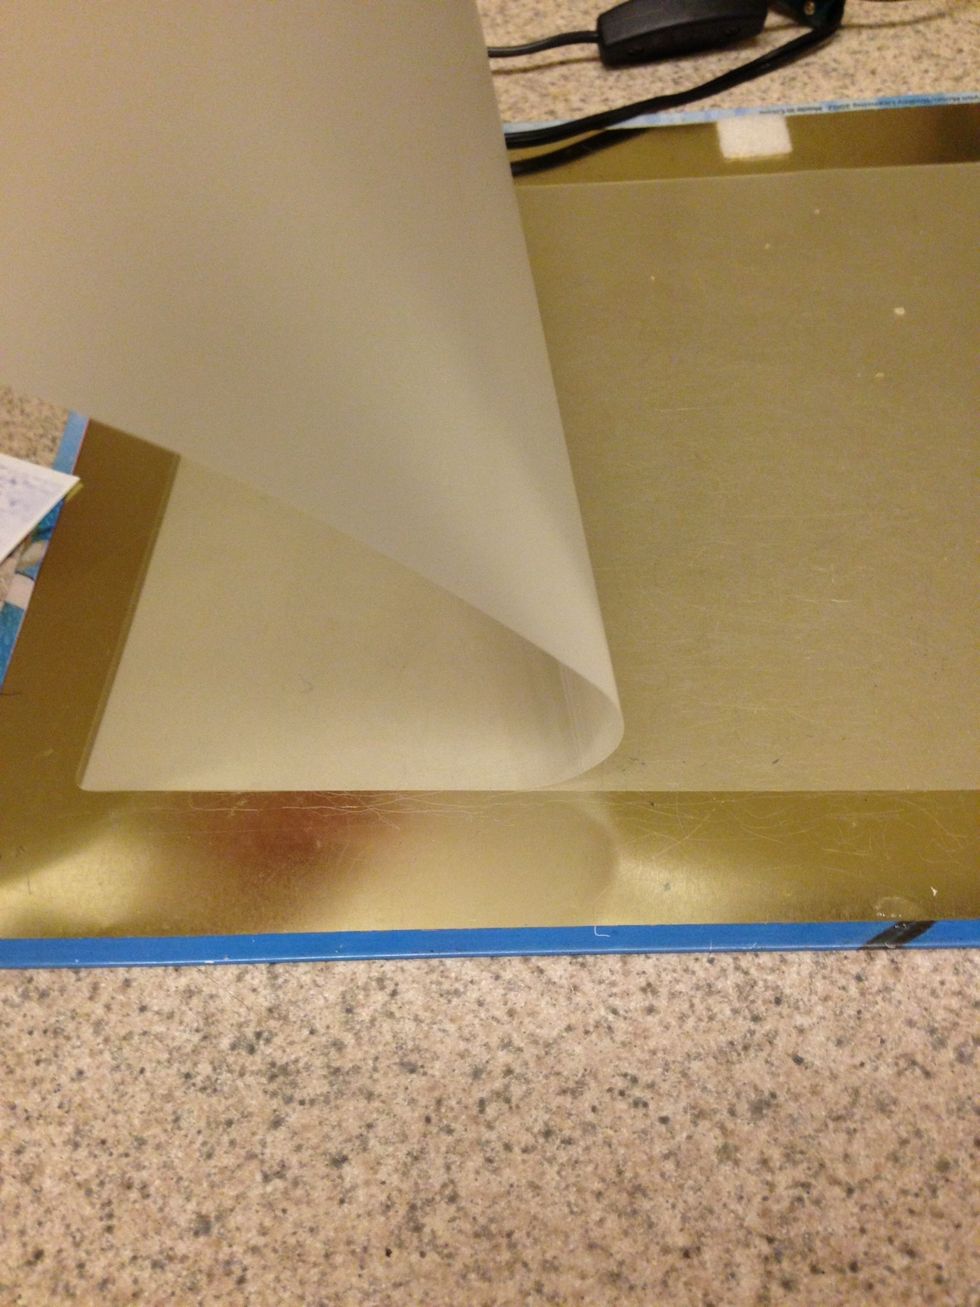
A laminating sheet fresh outta the package
A laminating sheet "ripped" in half
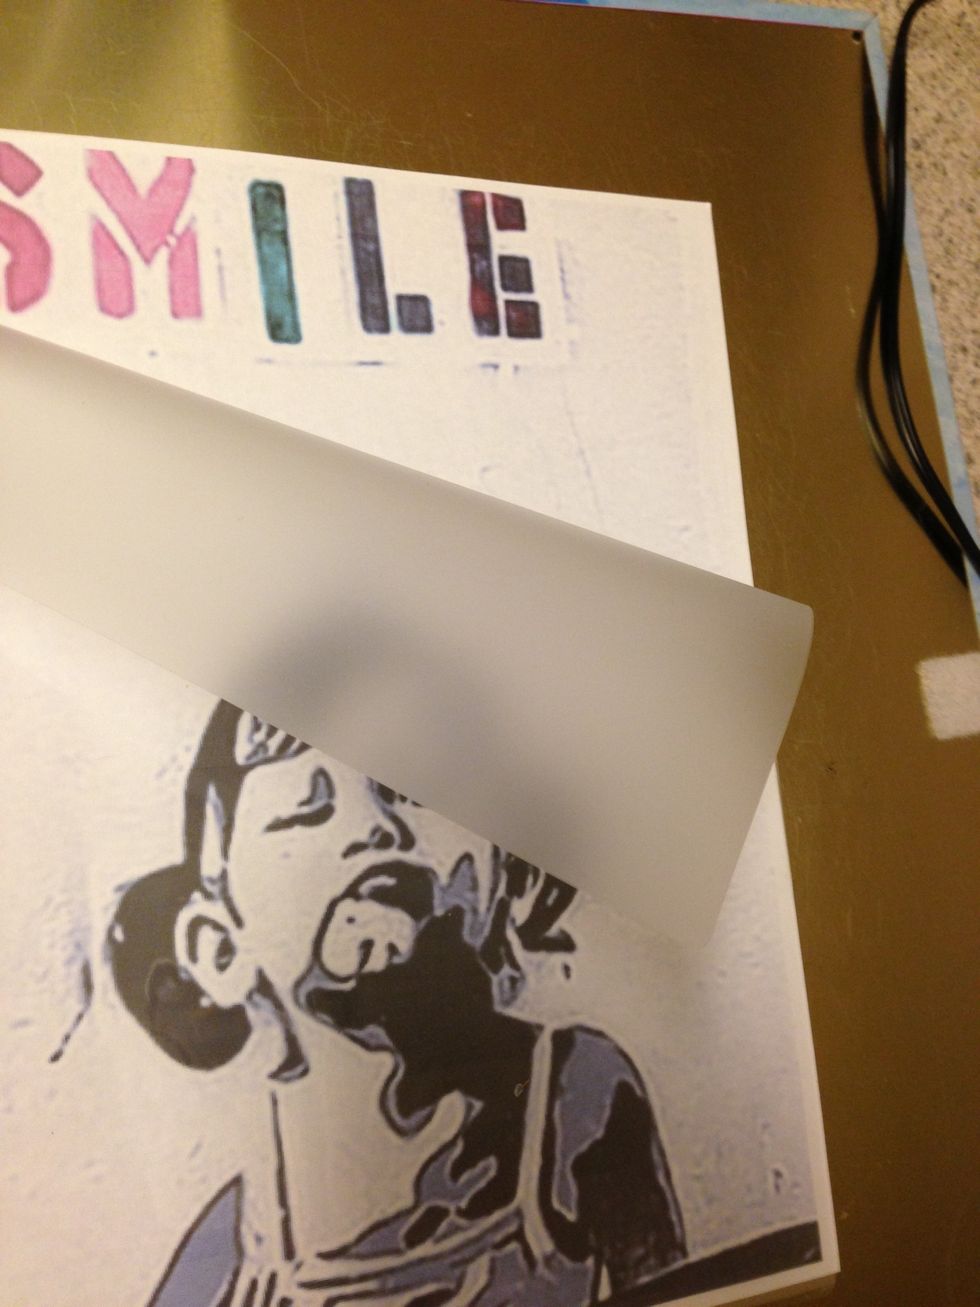
Chosen image underneath laminating sheet
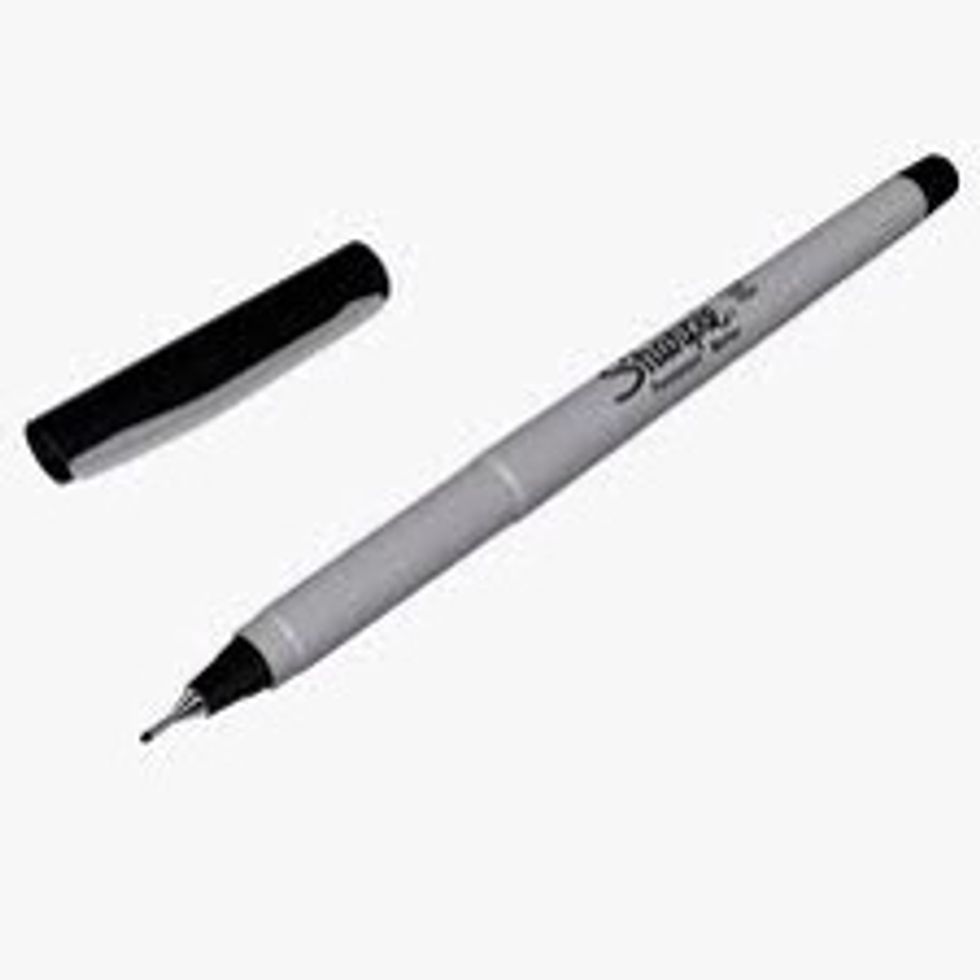
Now trace the stencil image onto the laminating sheet using your sharpie- if you mess up use the 2nd color sharpie to "re-do" that area so you know the right lines to cut.
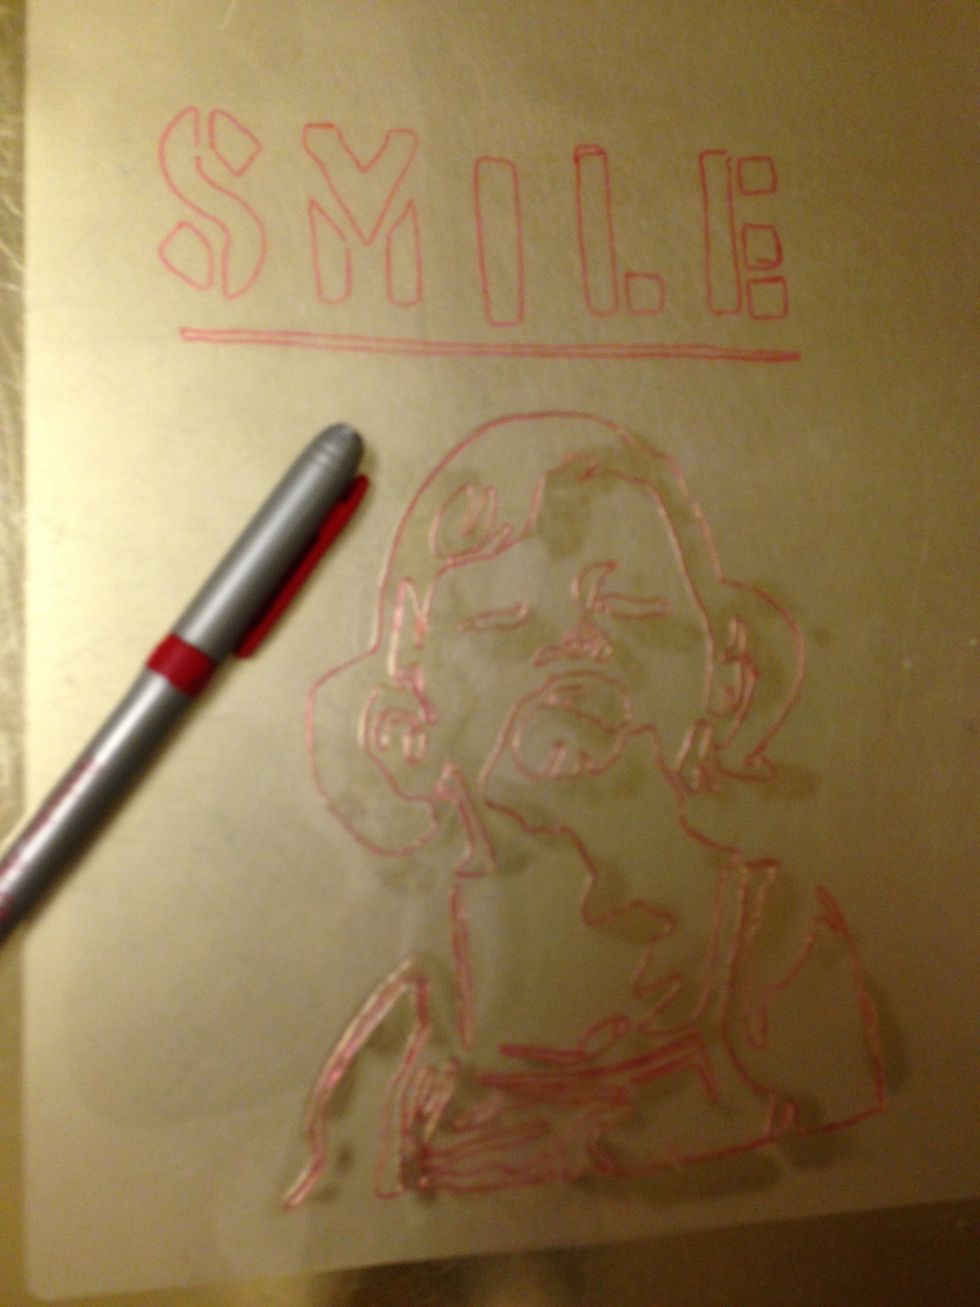
All black single layer stencils are easiest to trace/cut. If making a multilayer stencil, use ONE lam. sheet for each layer (grey area, black area, white area, etc..) and make sure to label each.
Now put your finished traced image onto the cookie sheet and grab your stencil cutter and basically "cut" out the image. Go slow! Get a feel for how the cutter feels when you're cutting.
When you're done cutting, carefully tear out the pieces of your image and examine closely to make sure you didn't miss a spot or if you need to touch up any areas.
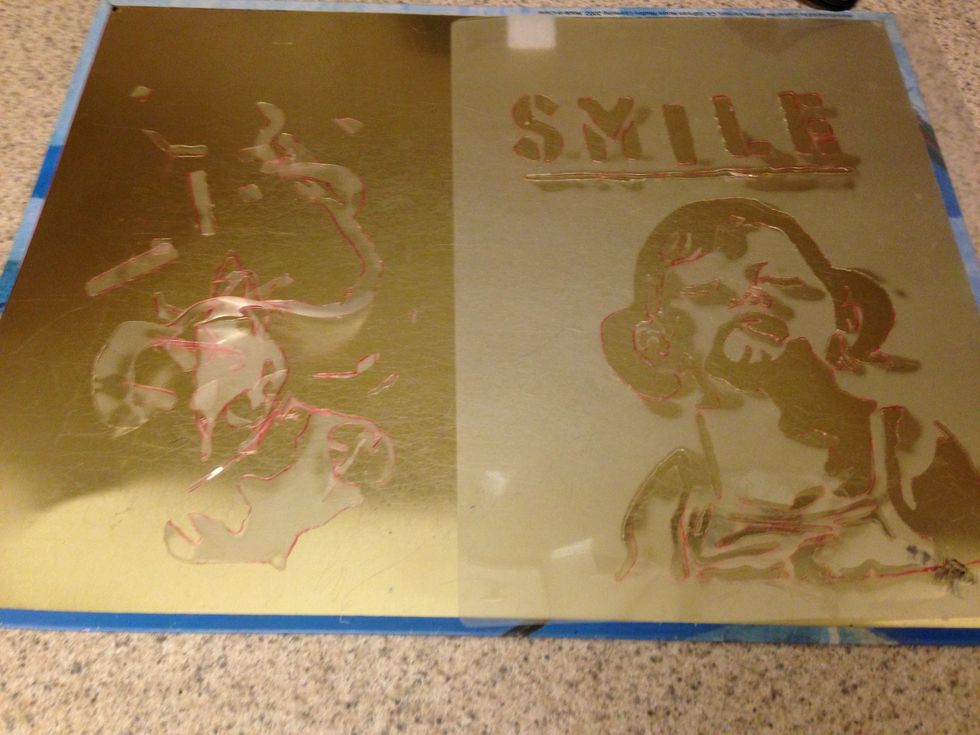
The pieces and the completely cut out stencil.
Now choose what you are gonna spray the stencil on. Pick out your spray paint color. Go outside to spray! Using a moving box is very helpful- just place the stencil on chosen item in box and spray!
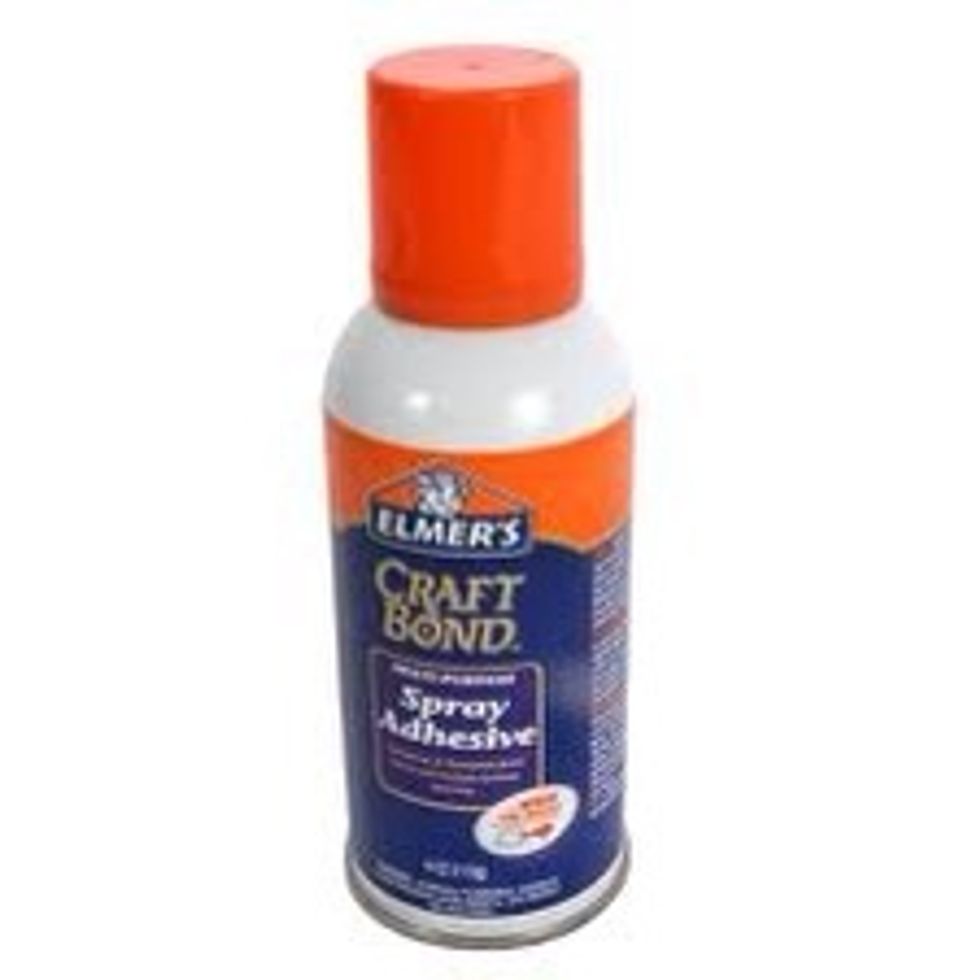
Oh yeah... give a quick spray or two of the adhesive over area you place the stencil on BEFORE spraying.
Optional: having scrap poster board and blue painters tape on hand can come in handy(if you are spraying multiple colors or don't want overspray) to block off areas you don't want paint on
Now you're done! Hang up your new art piece and stare at it in admiration.
Extra tip: if you plan on reusing your stencil, let it dry on a flat surface then use a cheap folder to store your stencils- I recommend placing them in-between sheets of wax paper!
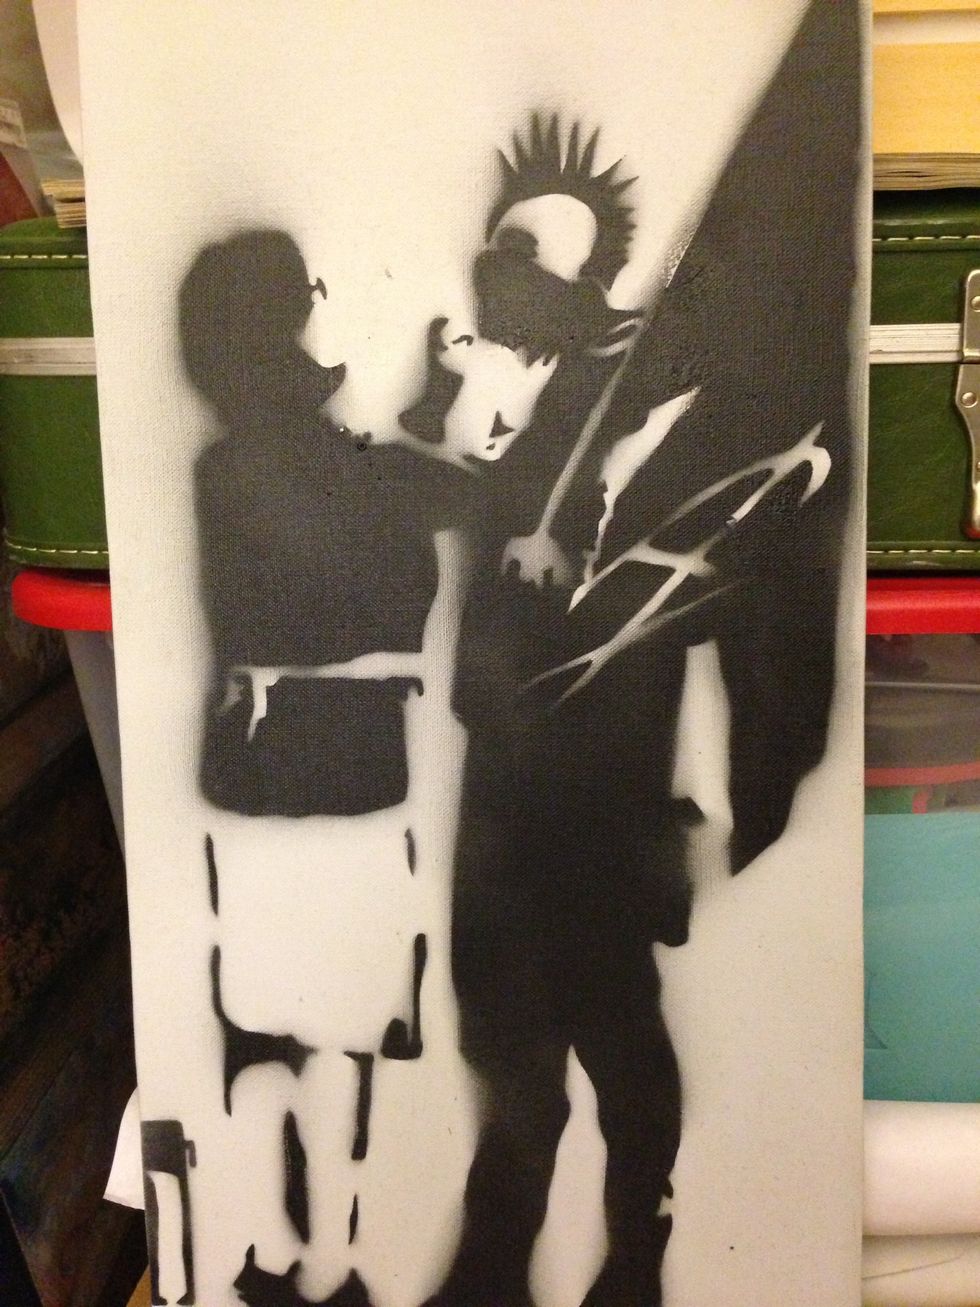
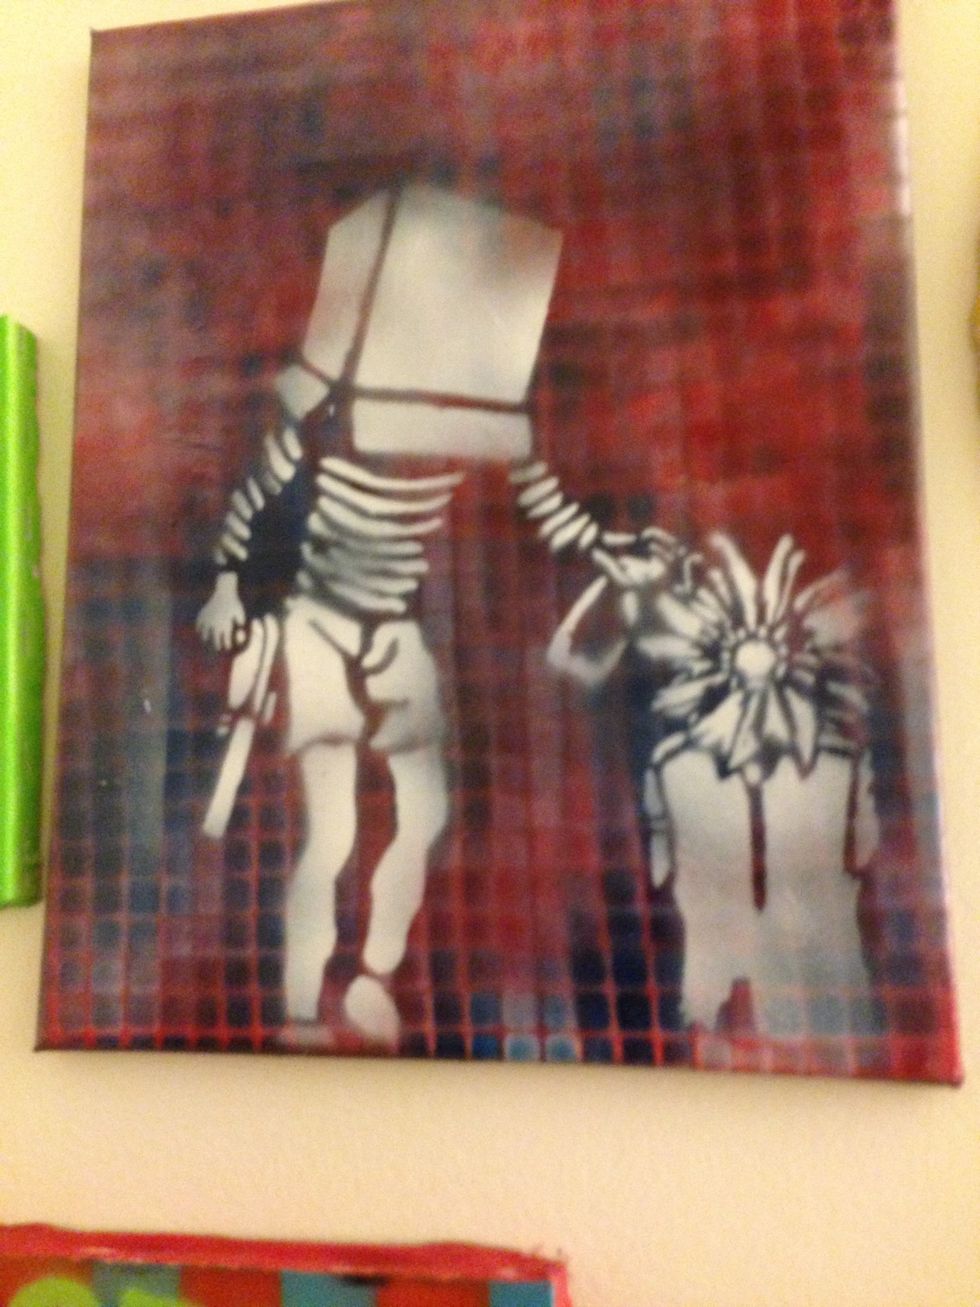
Punk and mum
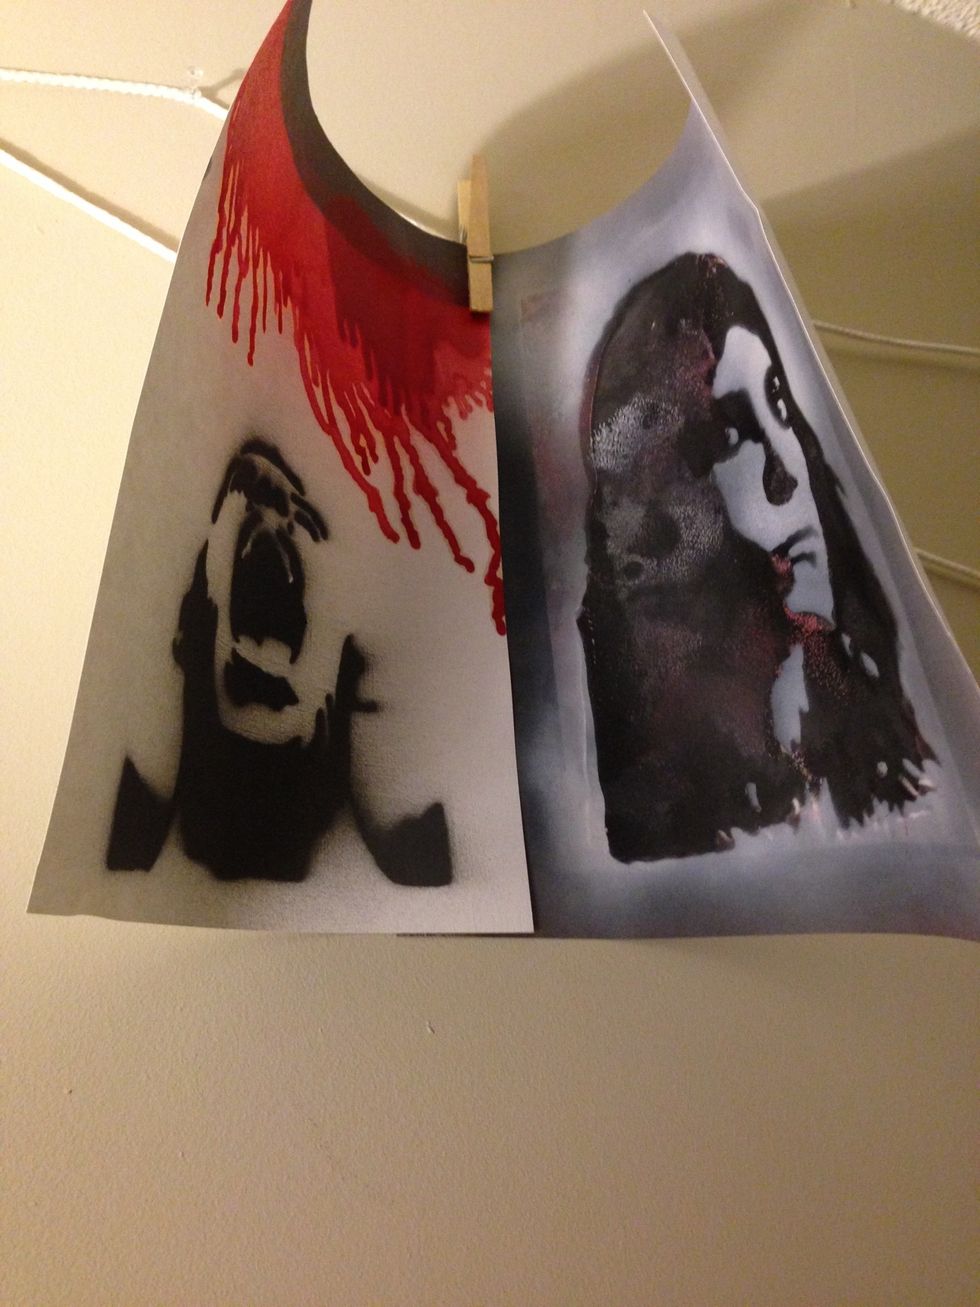
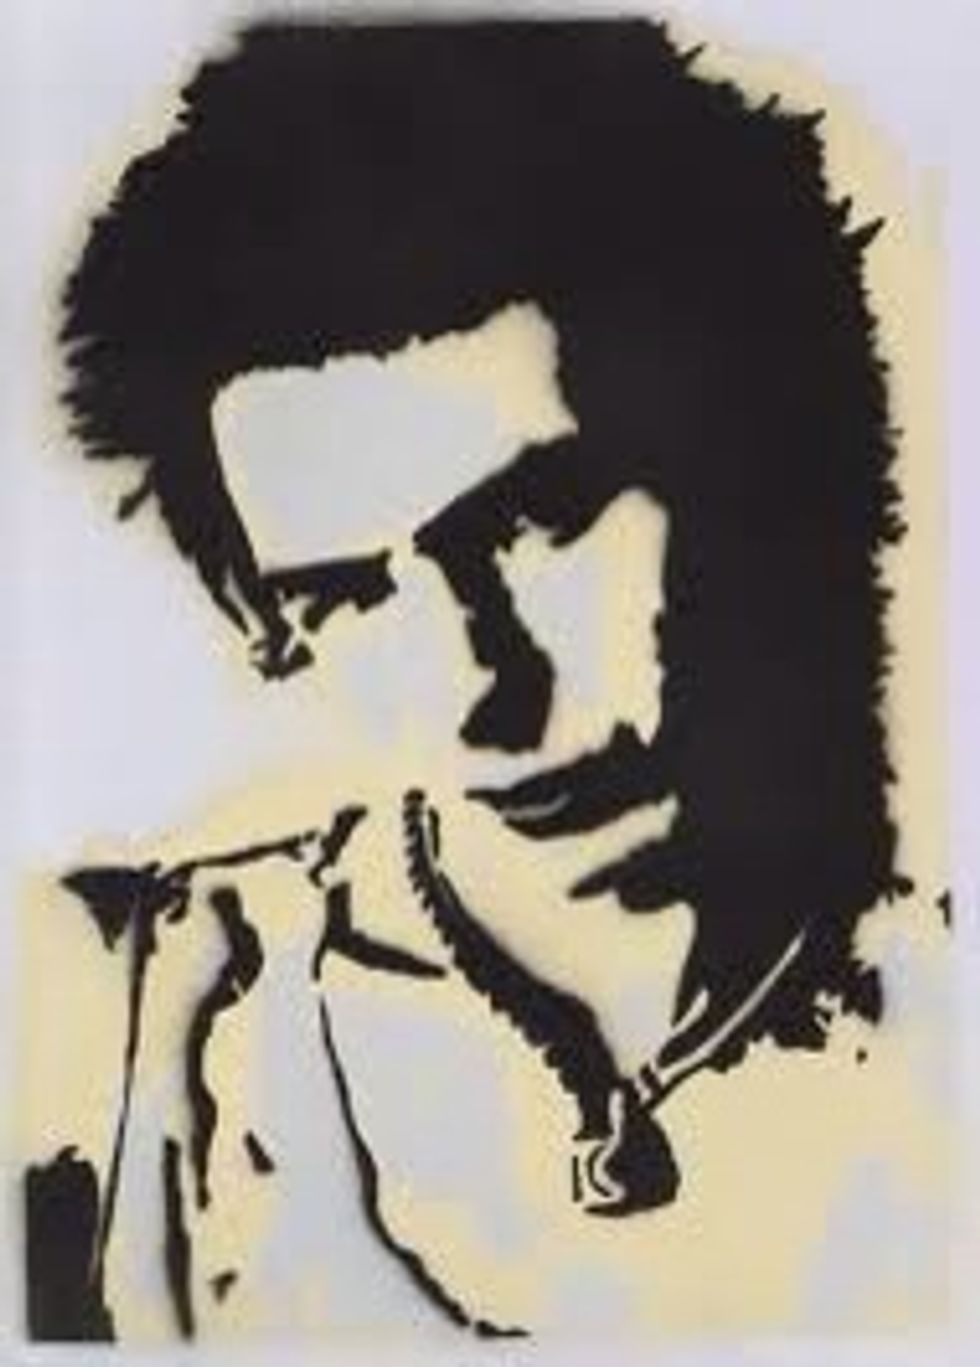
Screaming guy/patti smith
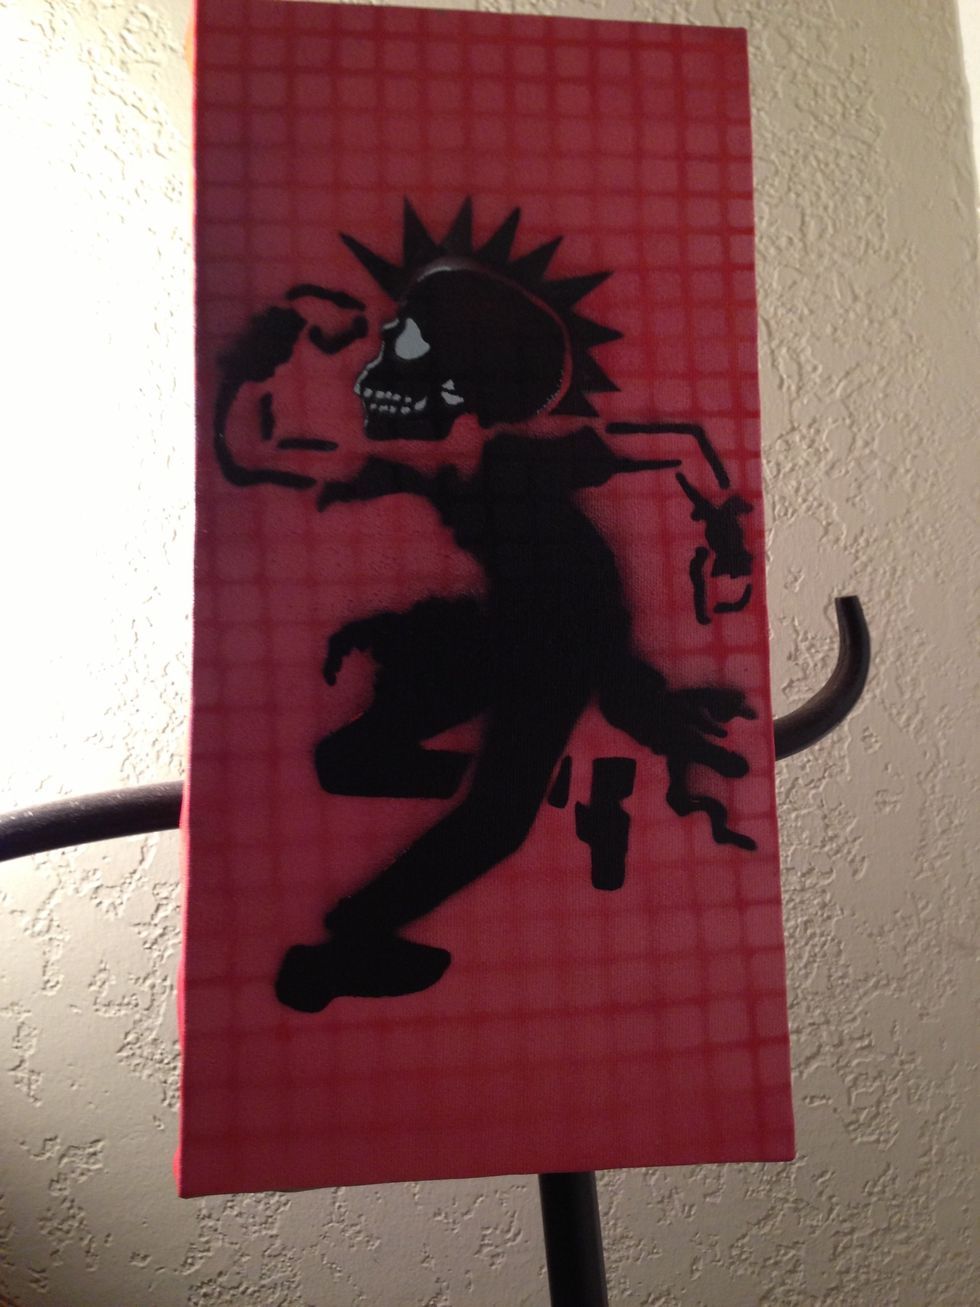
Lil punk dude
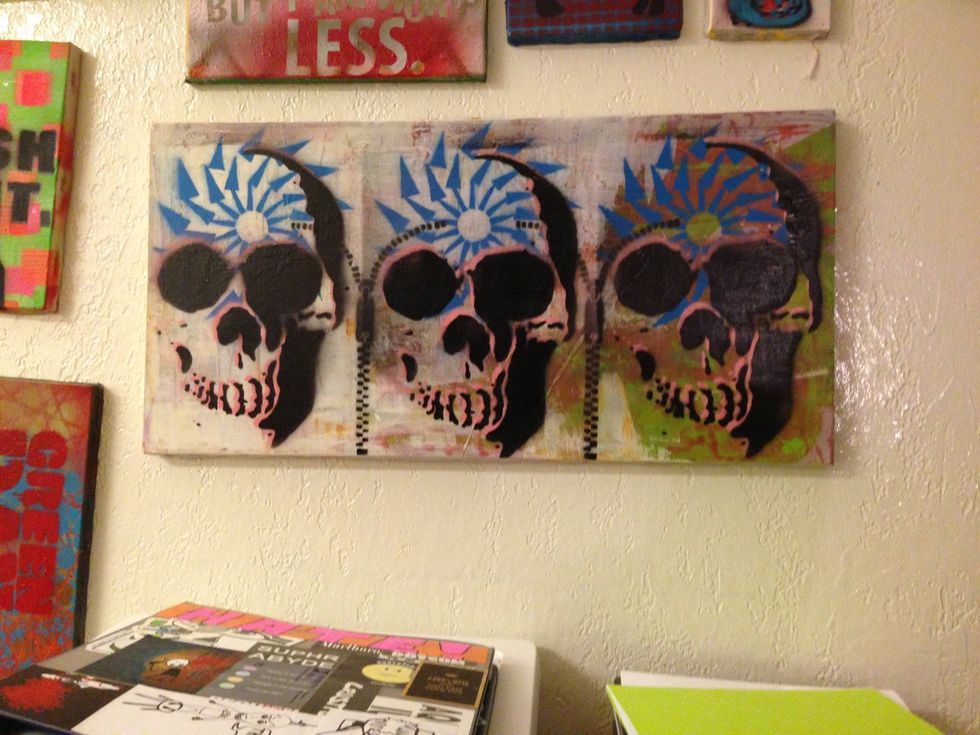
Triple skulled
Strangeness

Thanks for checking out this guide!