The Conversation (0)
Sign Up
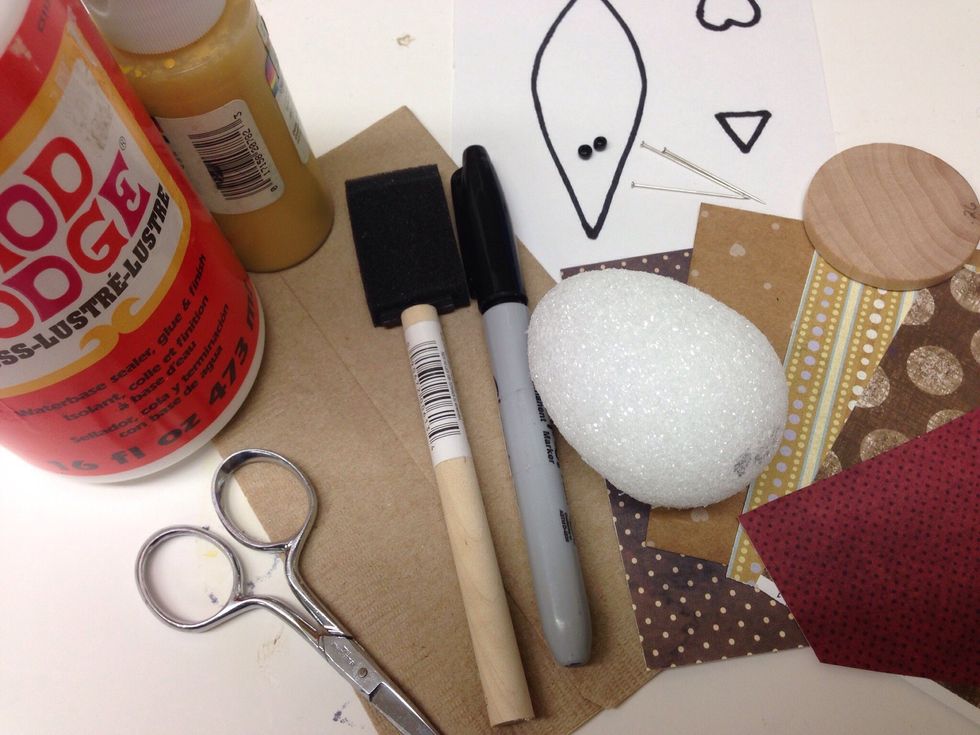
These are the items you will need to make a Tom T. Turkey project. Download pattern template: http://benfranklincraftswi.com/wp-content/uploads/2014/11/turkey-pattern.pdf
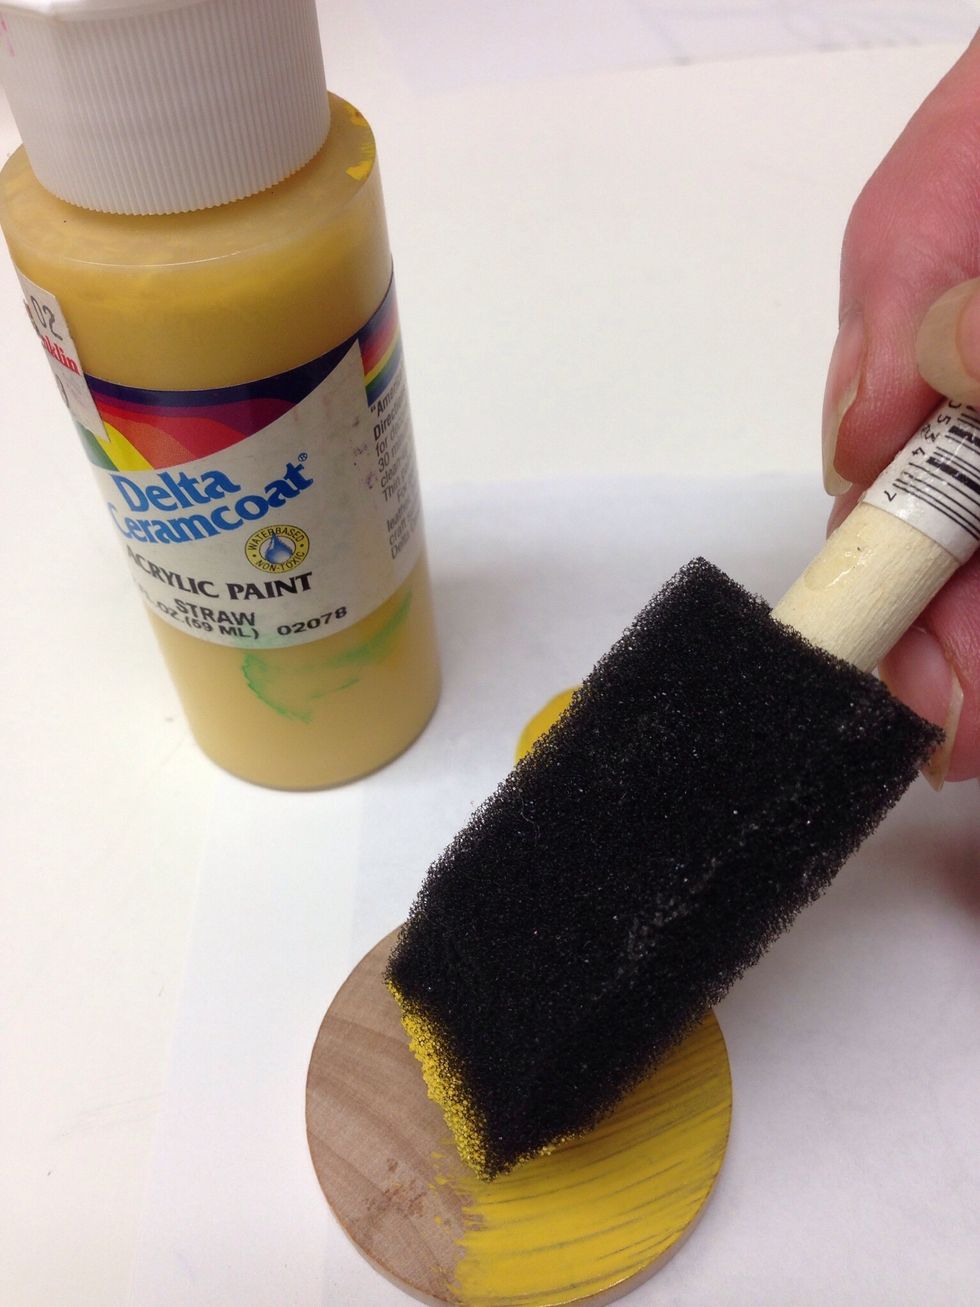
Use your foam brush to add a coat of paint to the wooden disk. Paint the top and sides. It's ok to leave the bottom unpainted. Set aside to dry.
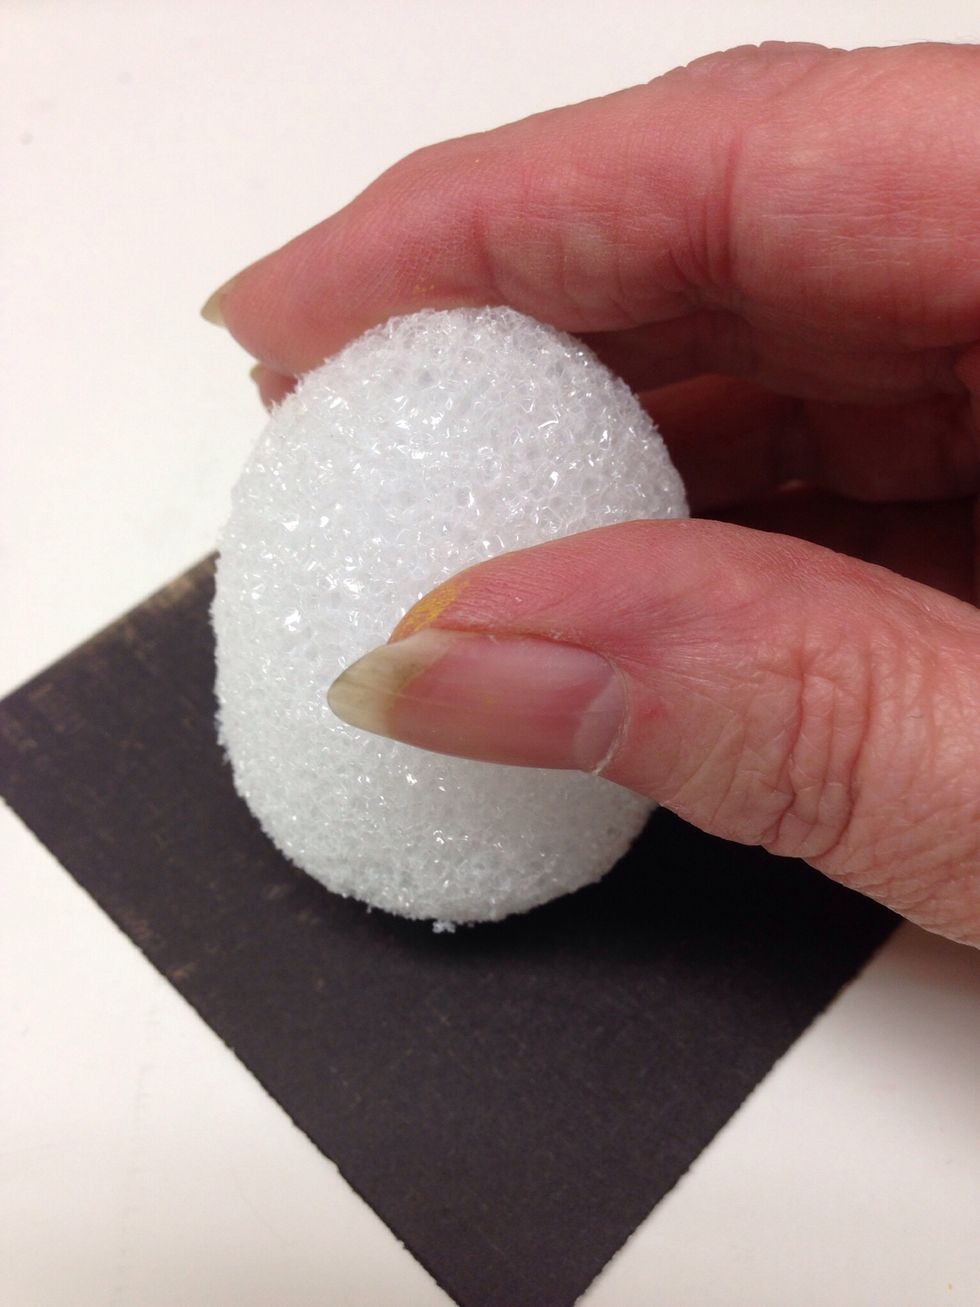
Firmly press the bottom of the styrofoam egg into your work surface. Twist it back and forth a little bit to flatten the bottom.
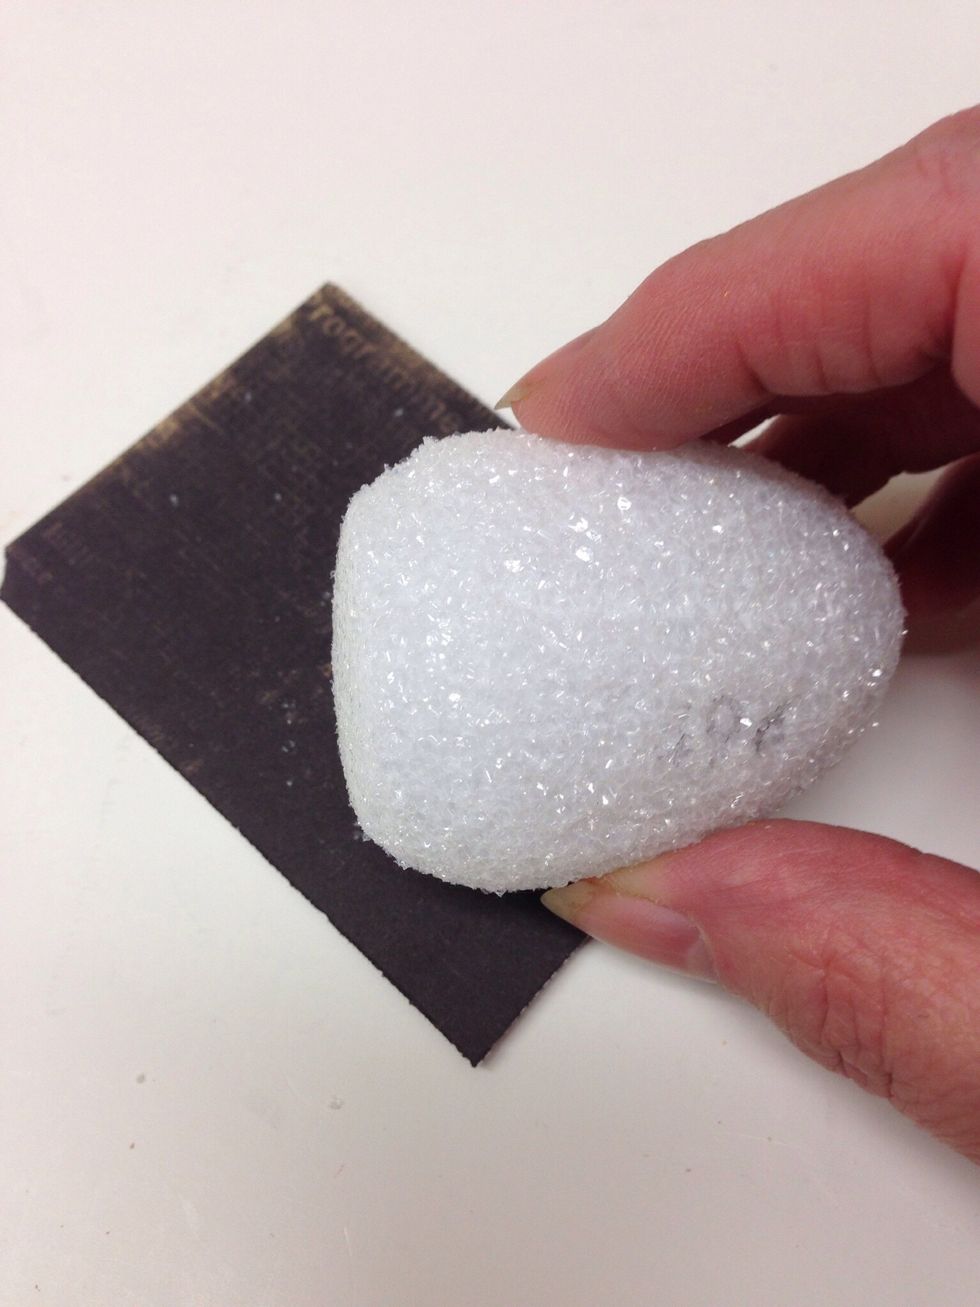
This is what your egg will look like after you flatten the bottom.
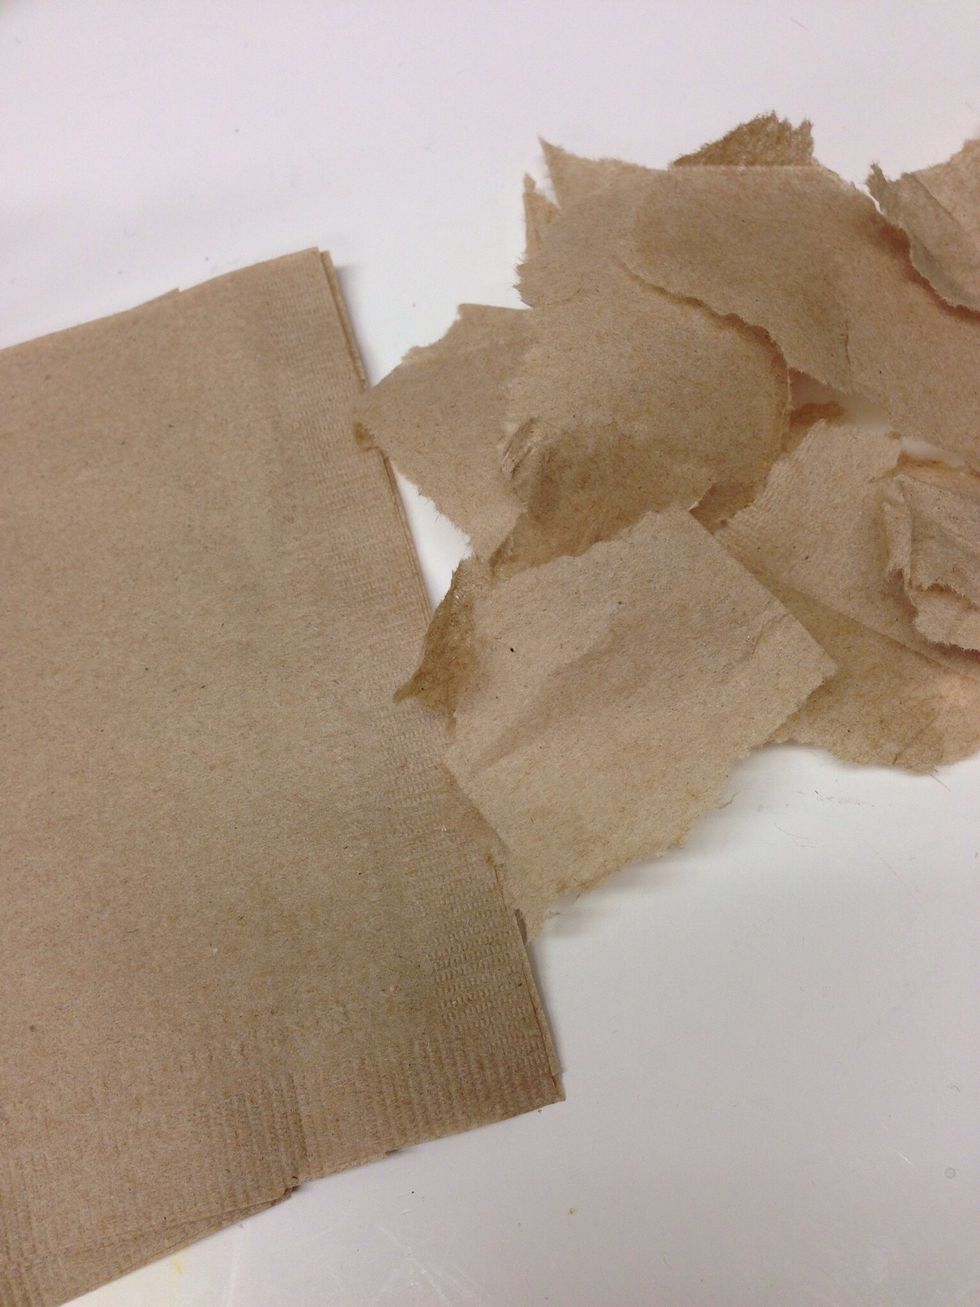
Tear a napkin up into pieces of 1-2 inches. Fast food restaurants are a good source for this type of napkin - or you can substitute brown tissue paper.
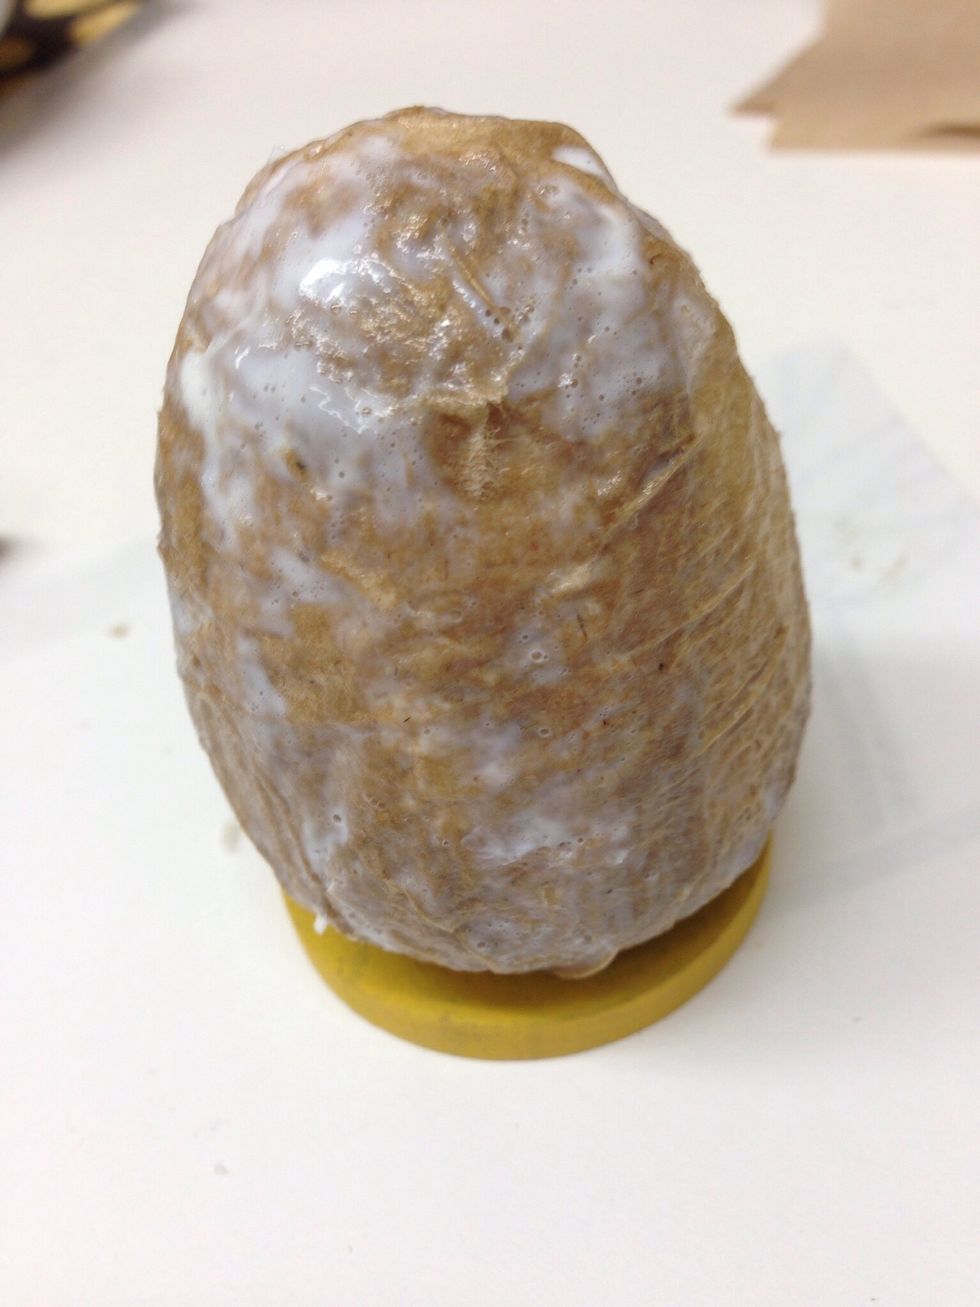
Press the bottom of the body on top of the wooden disk. As the Mod Podge dries, the two pieces will stick together. You may want to add a 2nd layer of napkin pieces if you notice any gaps when dry.

Download & print Tom's pattern here: http://benfranklincraftswi.com/wp-content/uploads/2014/11/turkey-pattern.pdf. Trace & cut feather on 7 different papers. Be sure one is light enough to write on.
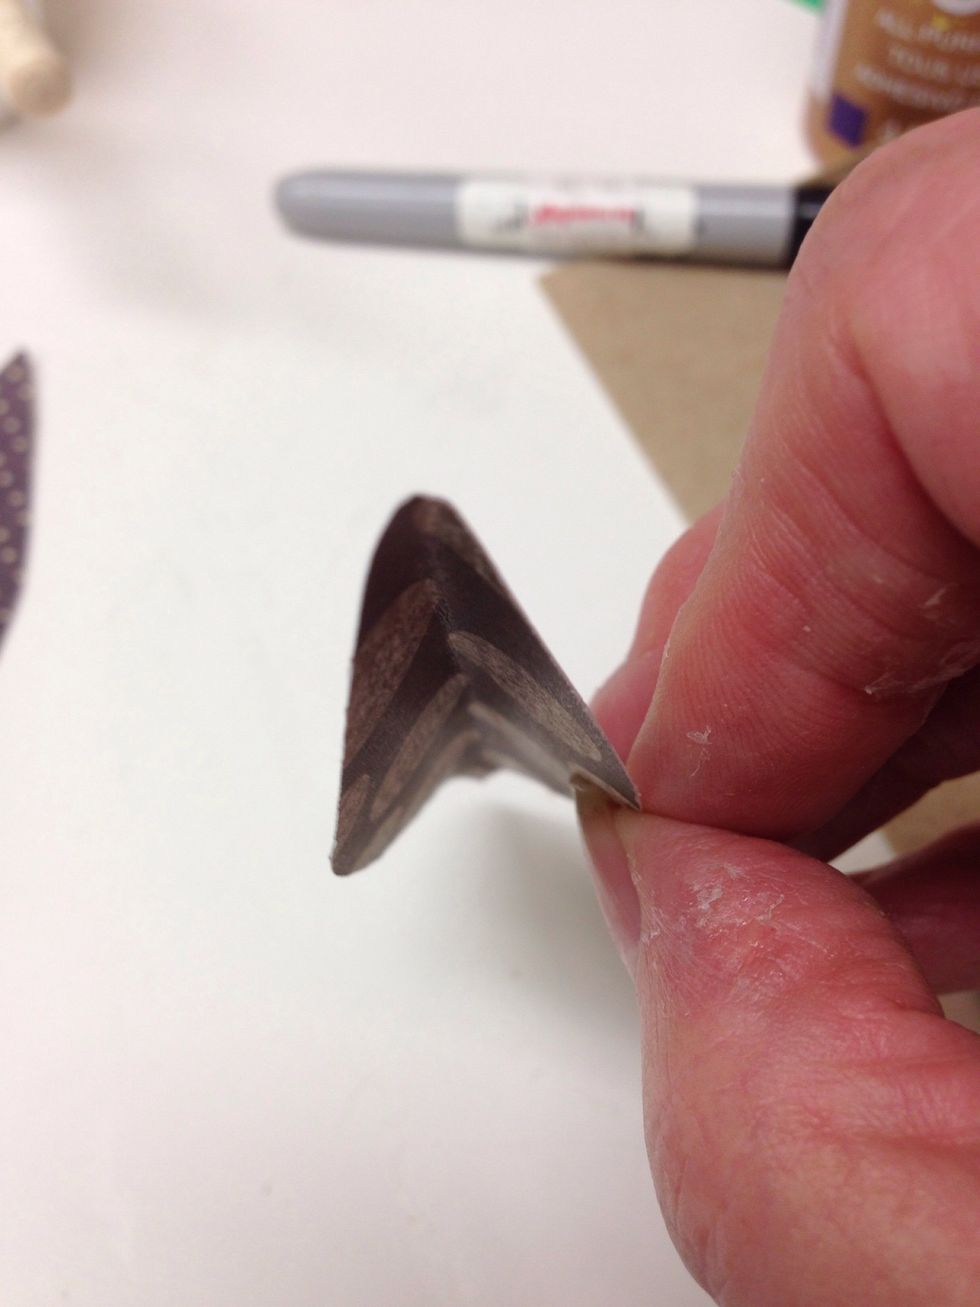
Cut out feathers and gently fold them in half. You don't need a hard crease.

With the feather folded, use scissors to make a few snips near the top edge. Repeat for each feather.
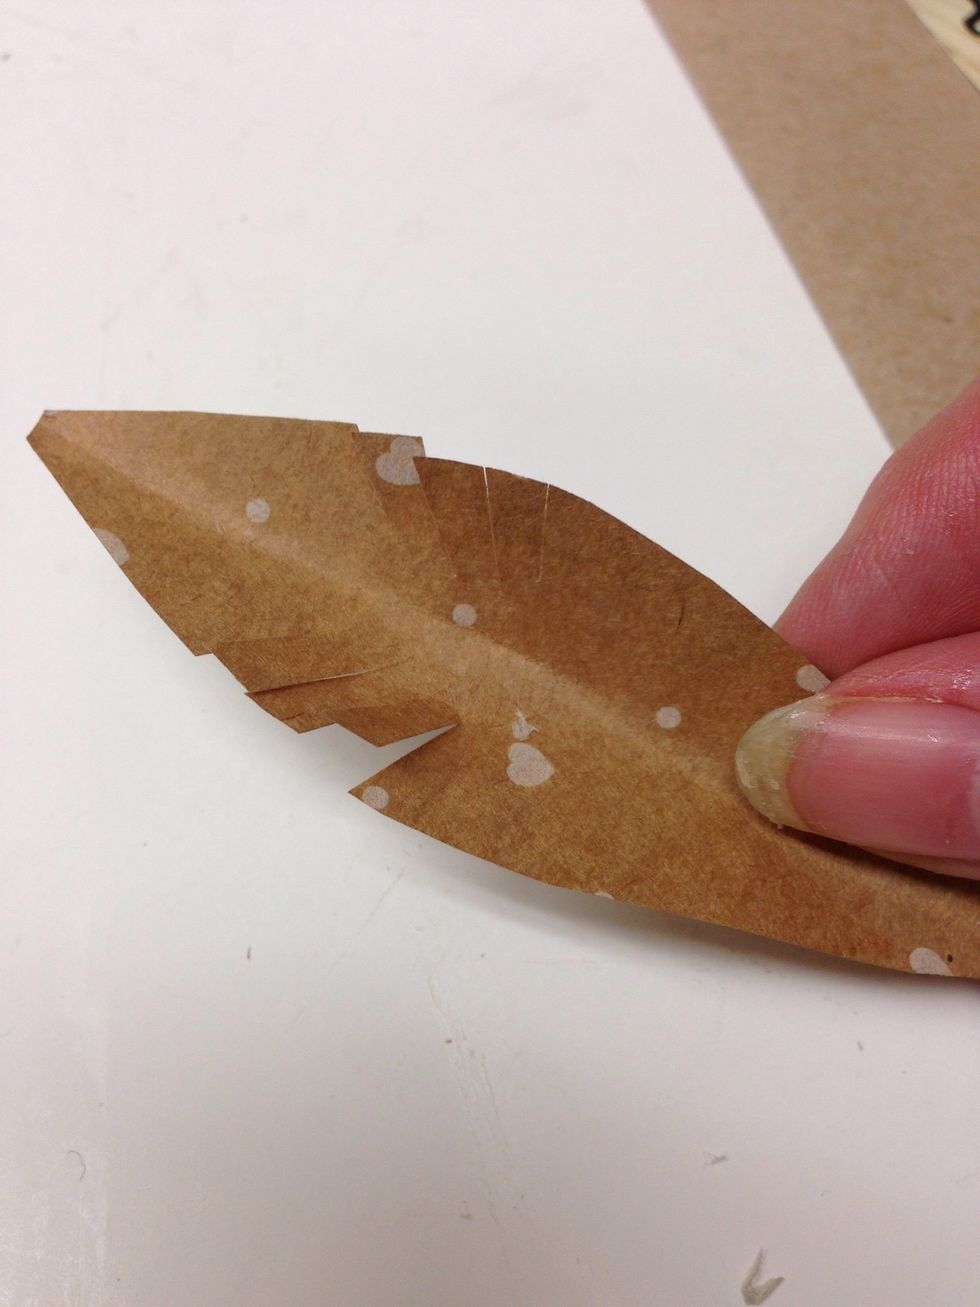
Your feather will now look something like this. You can gently bend the snipped sections for more texture if you like.
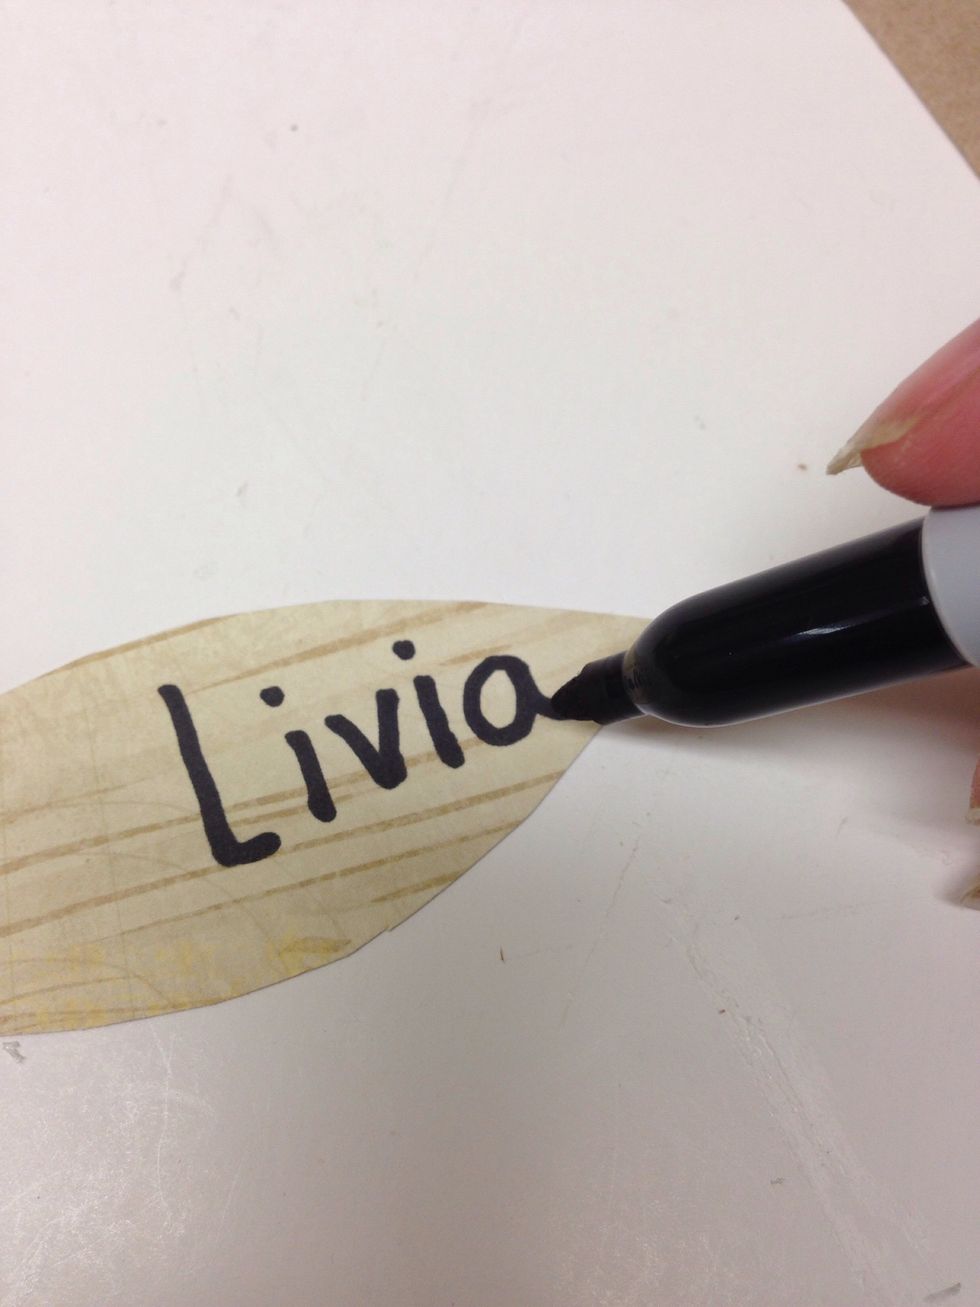
Use a dark marker to write a guests' name on a light colored feather. TIP: It helps to start with the last letter and go backward so you don't run out of room!

Put a drop of glue on the base of one of the feathers. Set another feather on top, but tip it a little away from the first feather.
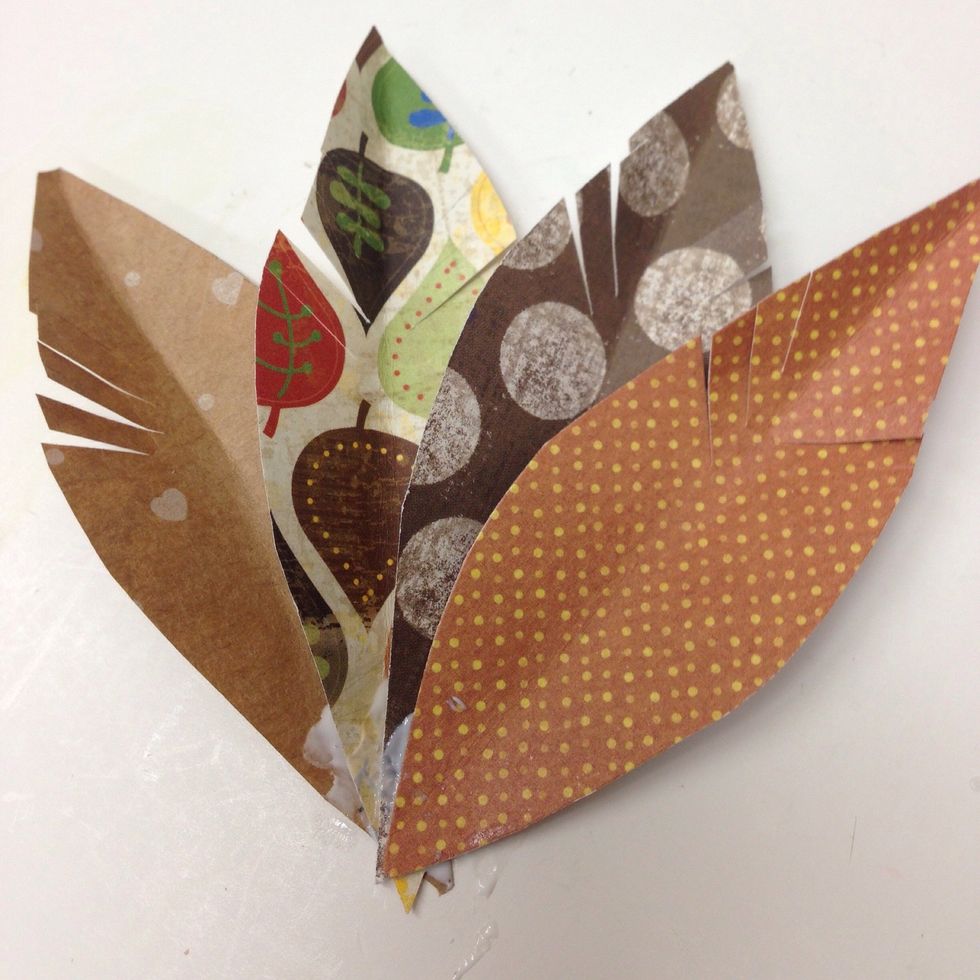
Continue gluing and layering the feathers. You can gently reposition them if needed while the glue is still wet.
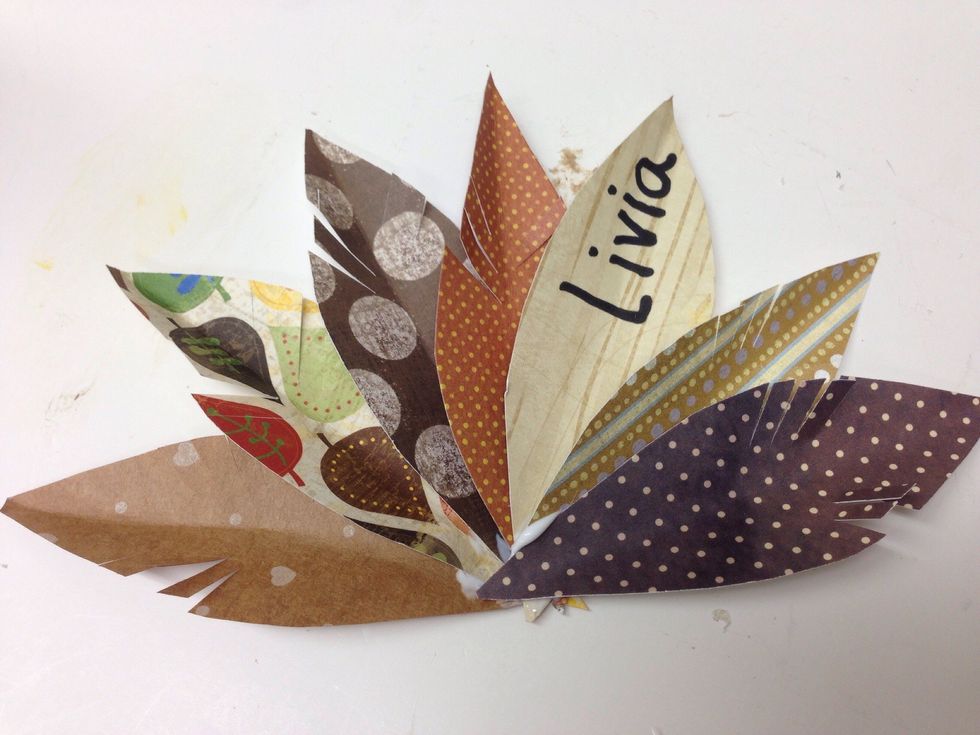
When all the feathers are glued together, they will look something like this. The first and last feathers are straight across from each other.
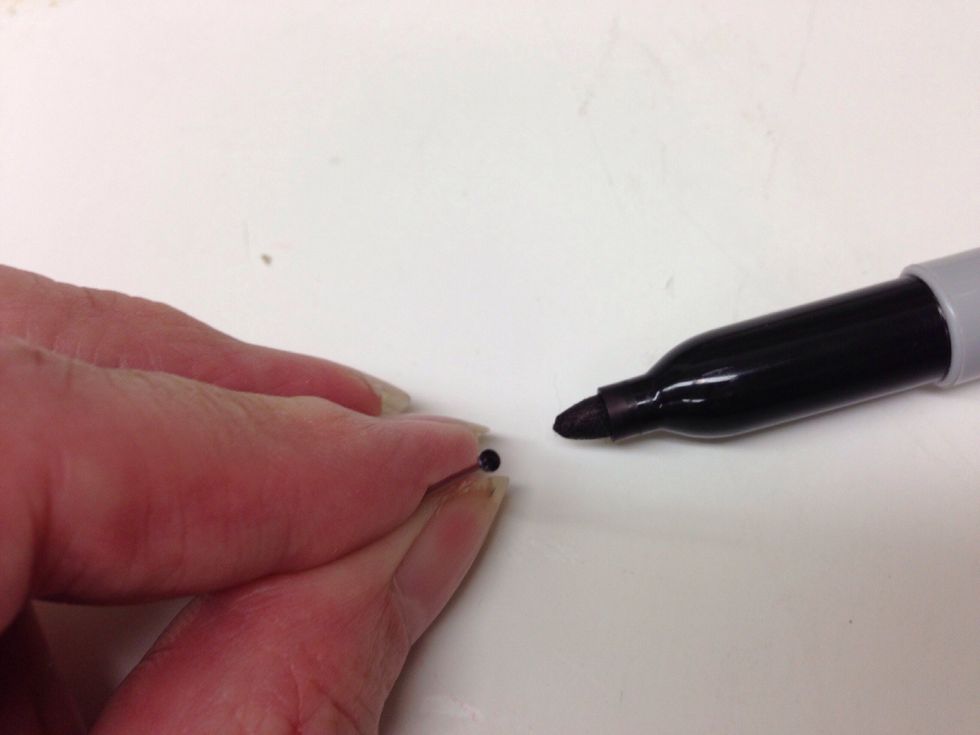
Use a Sharpie marker to blacken the head of 2 straight pins.
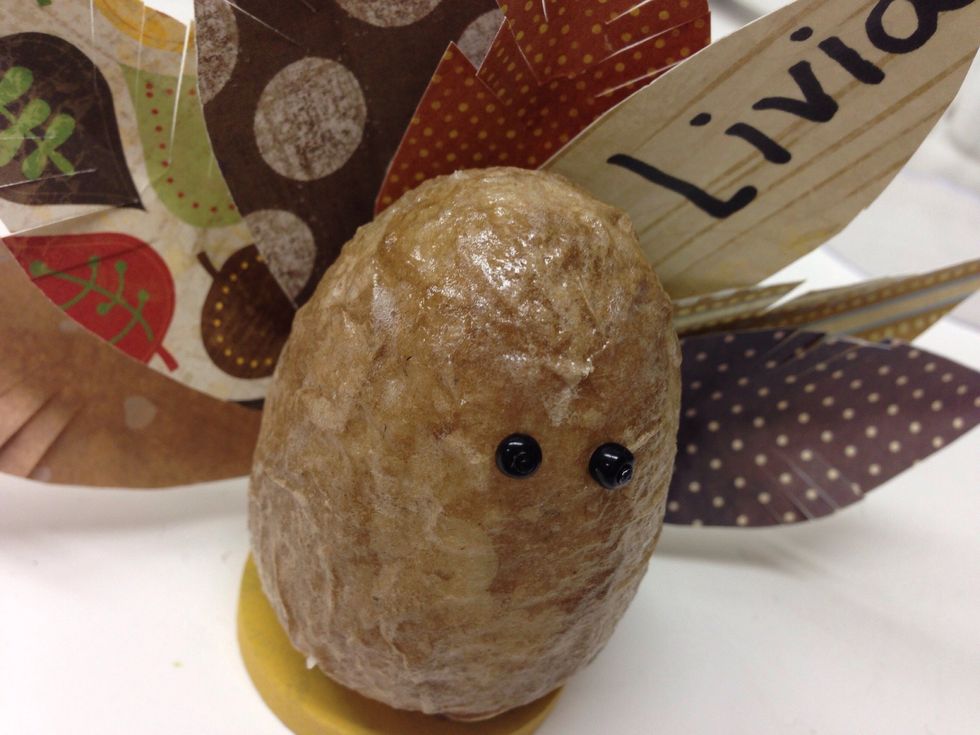
"I can see," exclaims Tom T. Turkey! He's almost ready for Thanksgiving!

Trace the heart shaped pattern on red paper for the turkey wattle. Cut out.
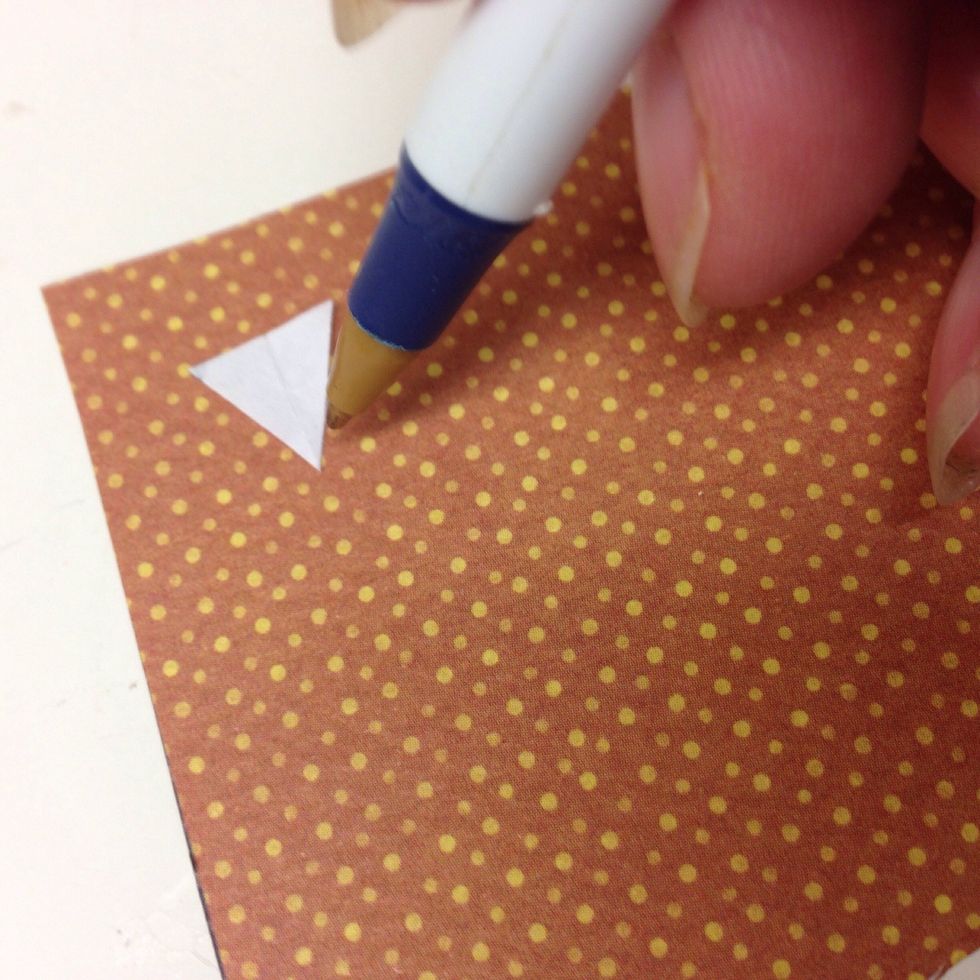
Trace the triangle shaped pattern on orange or yellow paper for the turkey's beak. Cut out.
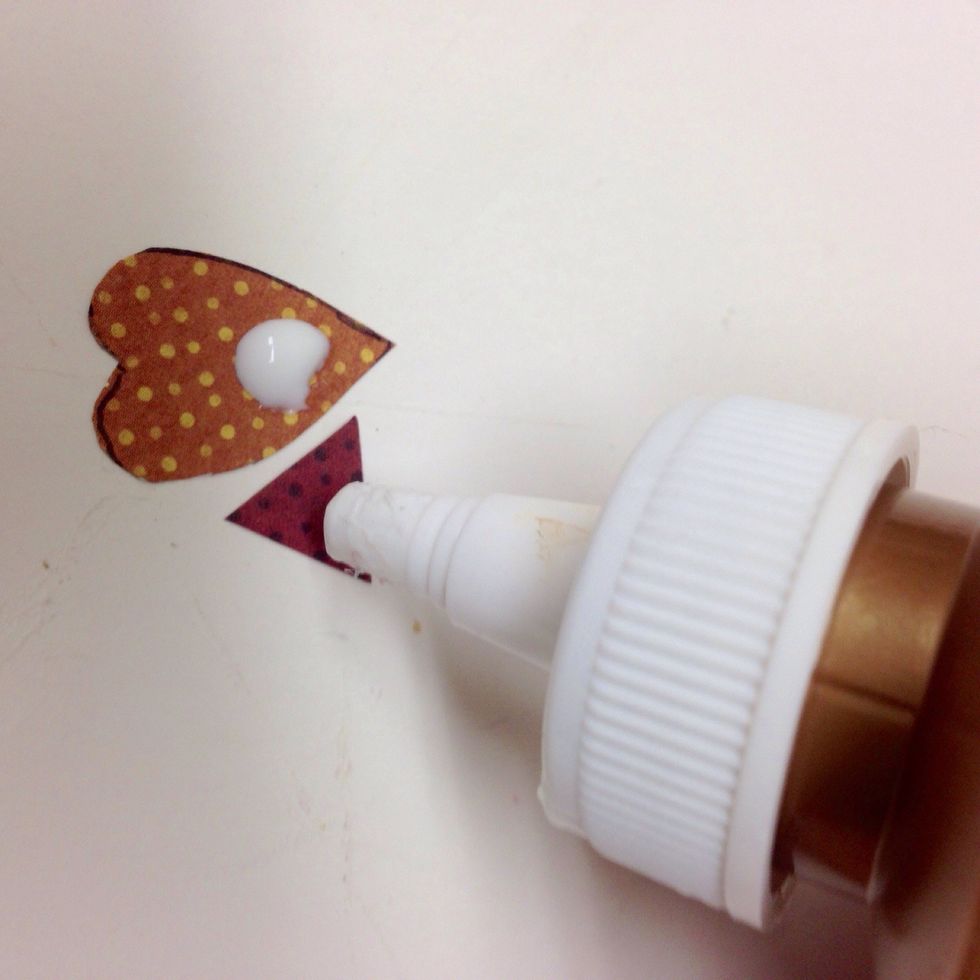
Put a dot of glue on the BACK of these paper pieces.
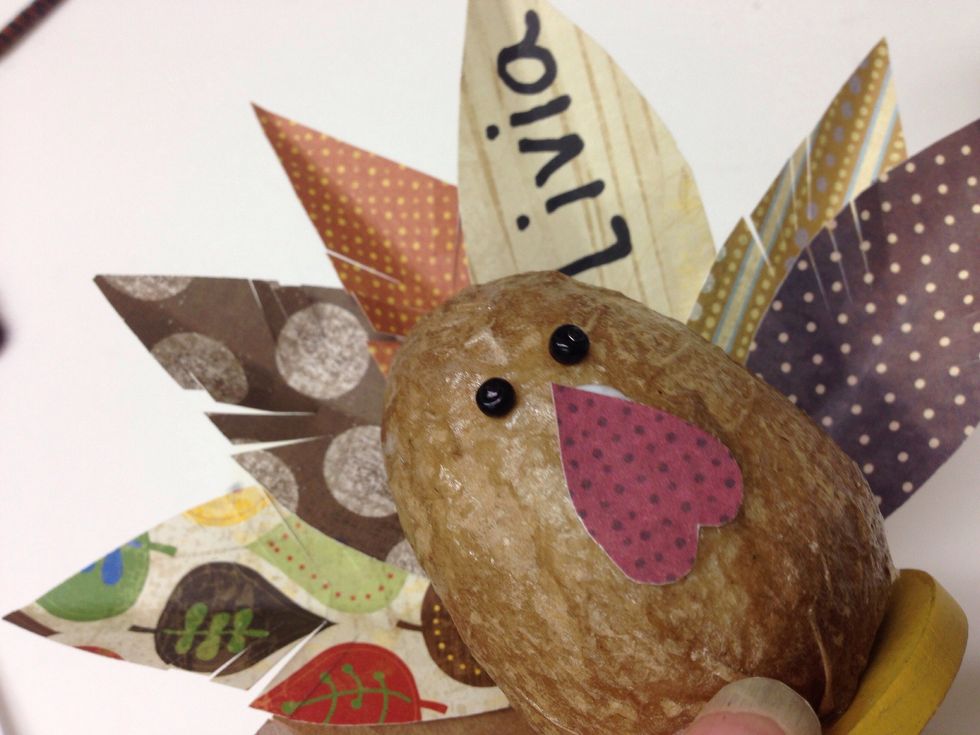
Lay the wattle piece centered on the turkey body below the eyes.
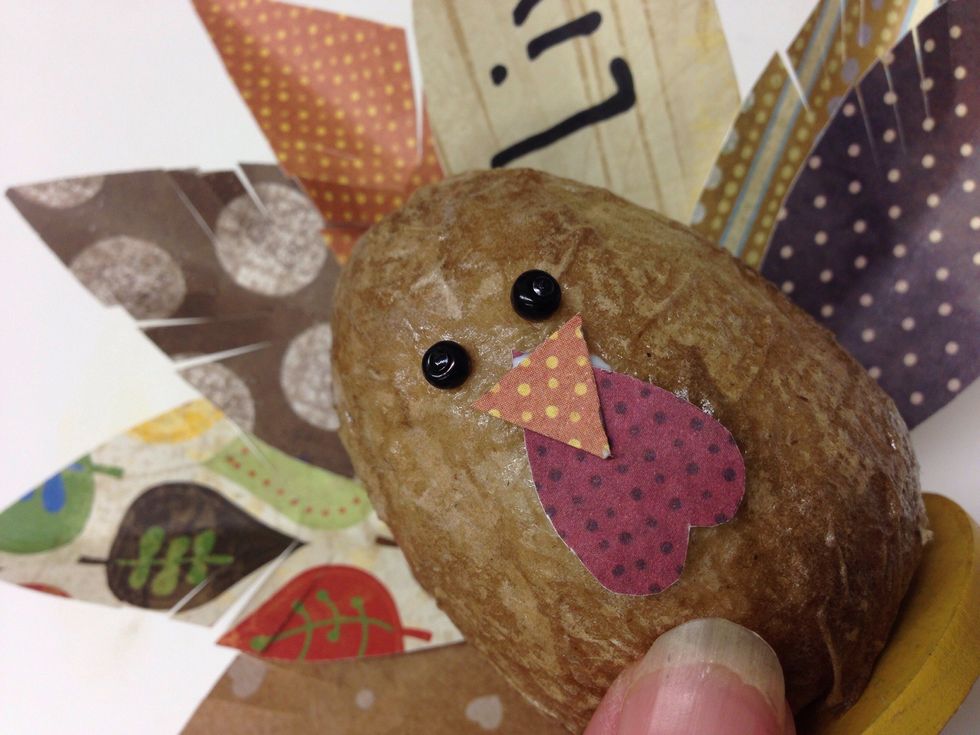
Lay the beak on top of the wattle pointing downward.
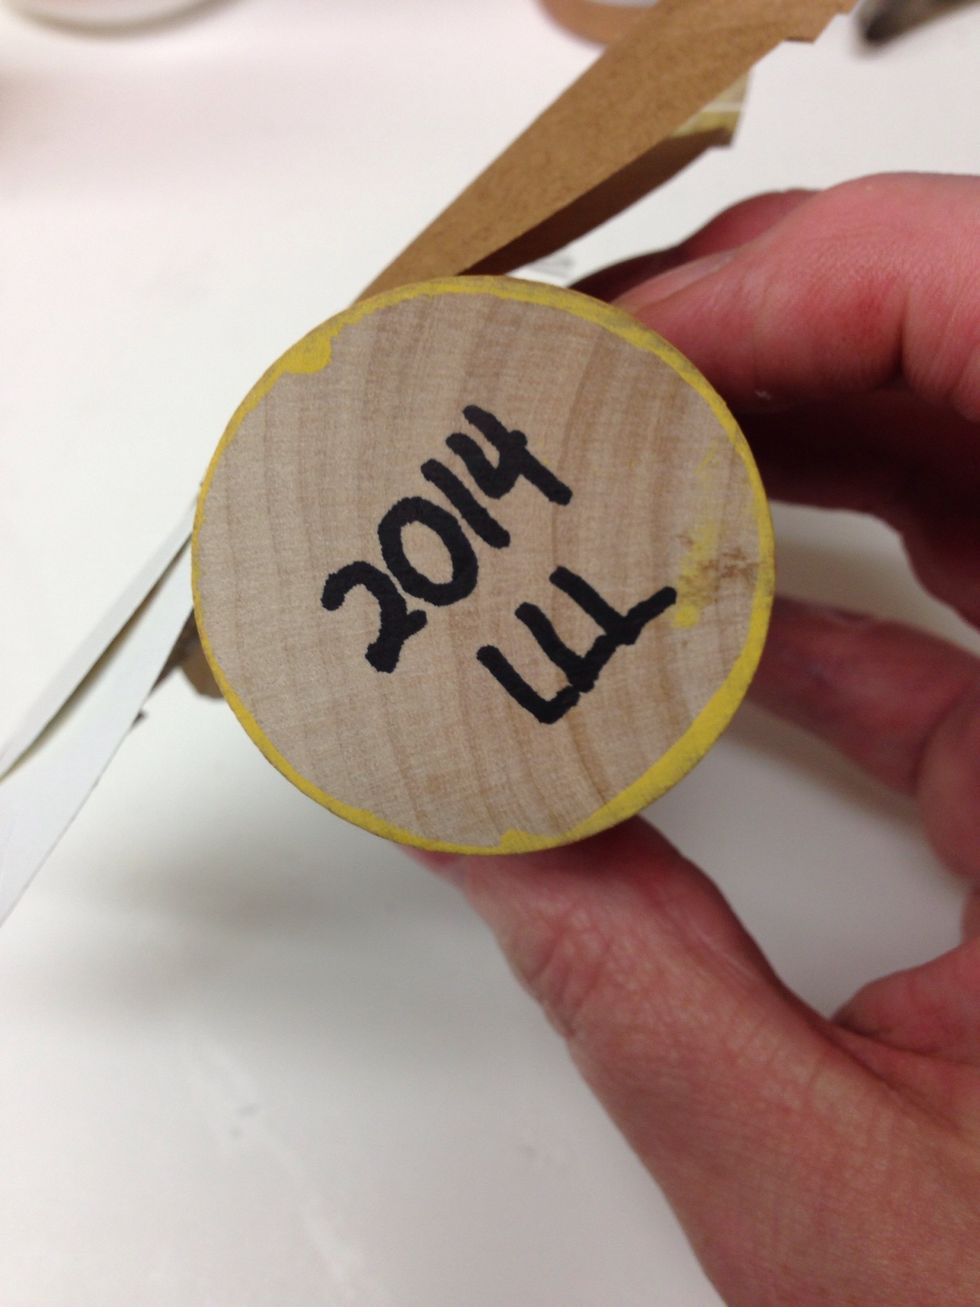
If you plan to keep Tom for future use, it makes a nice memory to put your initials & the year on the bottom with your Sharpie.
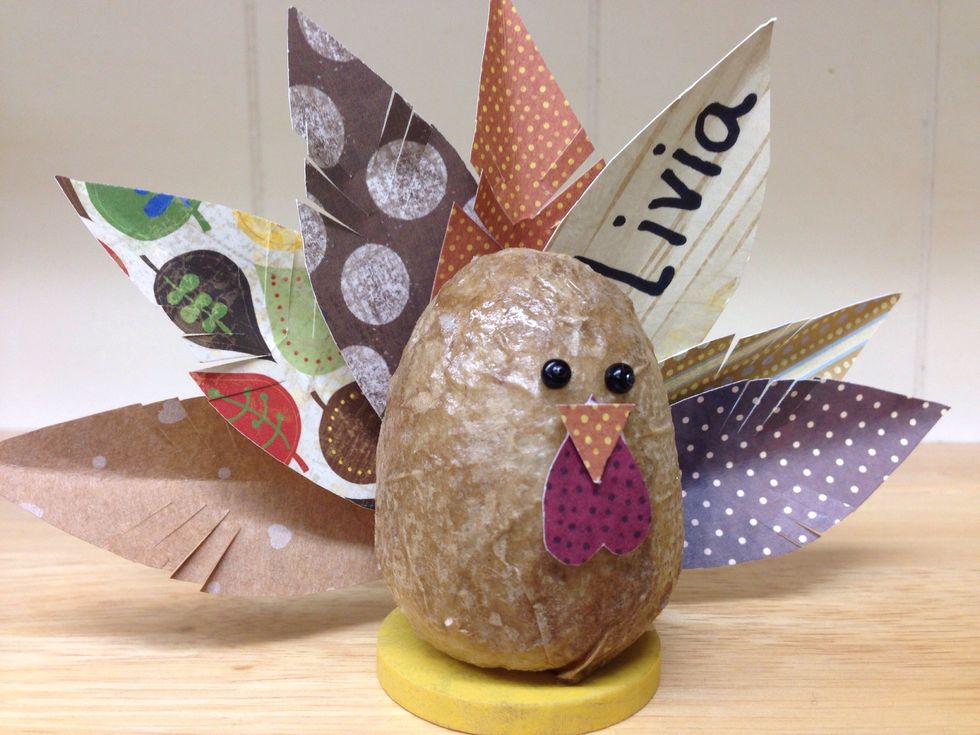
Tom T. Turkey is ready to decorate your Thanksgiving table...and to tell everyone where they need to sit!
We hope you enjoy making Tom T. Turkey. Watch for another seasonal craft coming next week!