The Conversation (0)
Sign Up
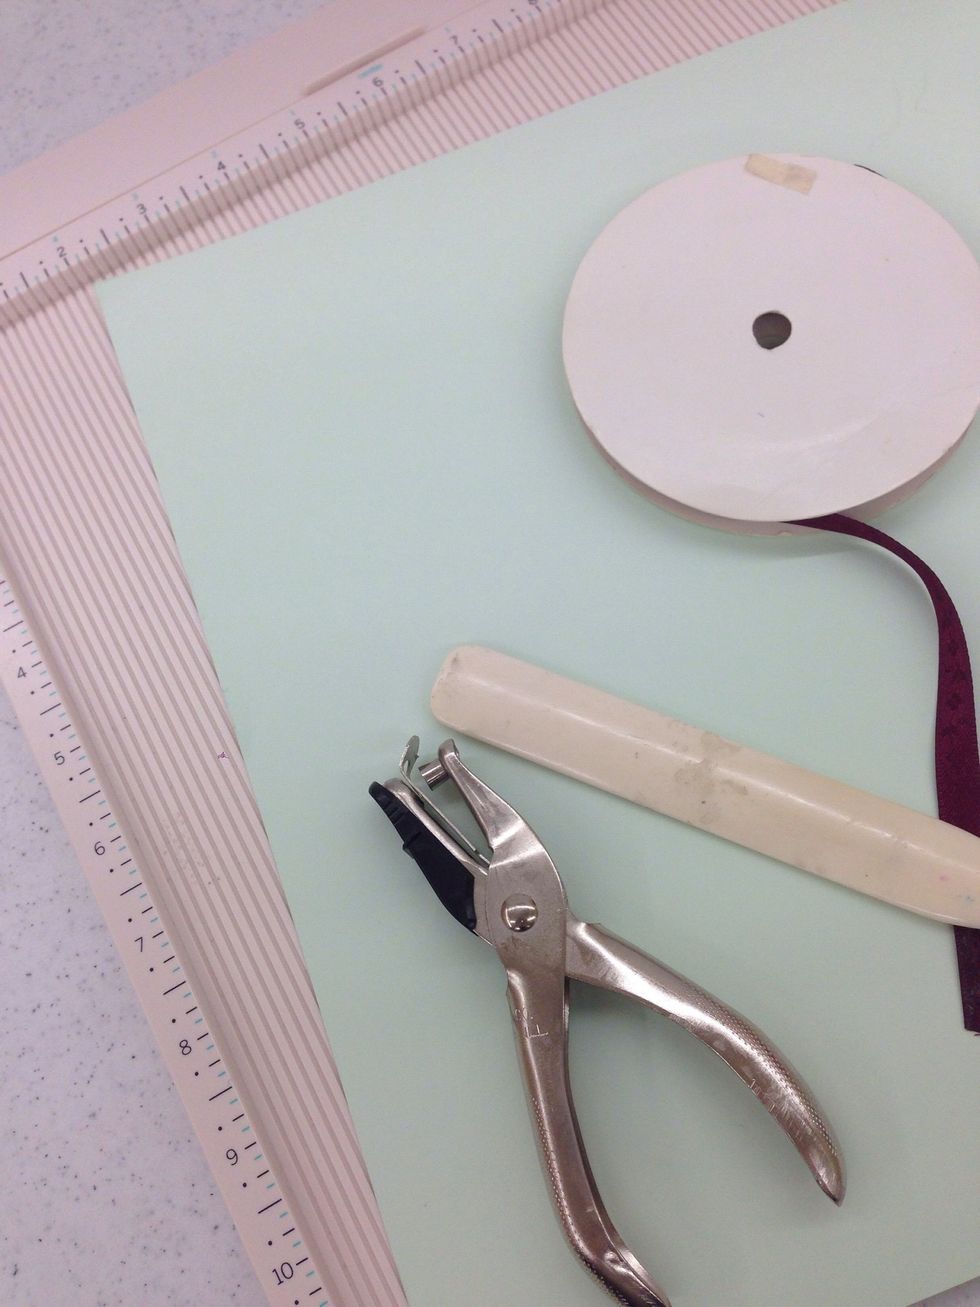
These are the supplies you need for this project. We used plain paper to show the folds better. This project works well with patterned scrapbook paper. You can use up some extra paper from your stash!
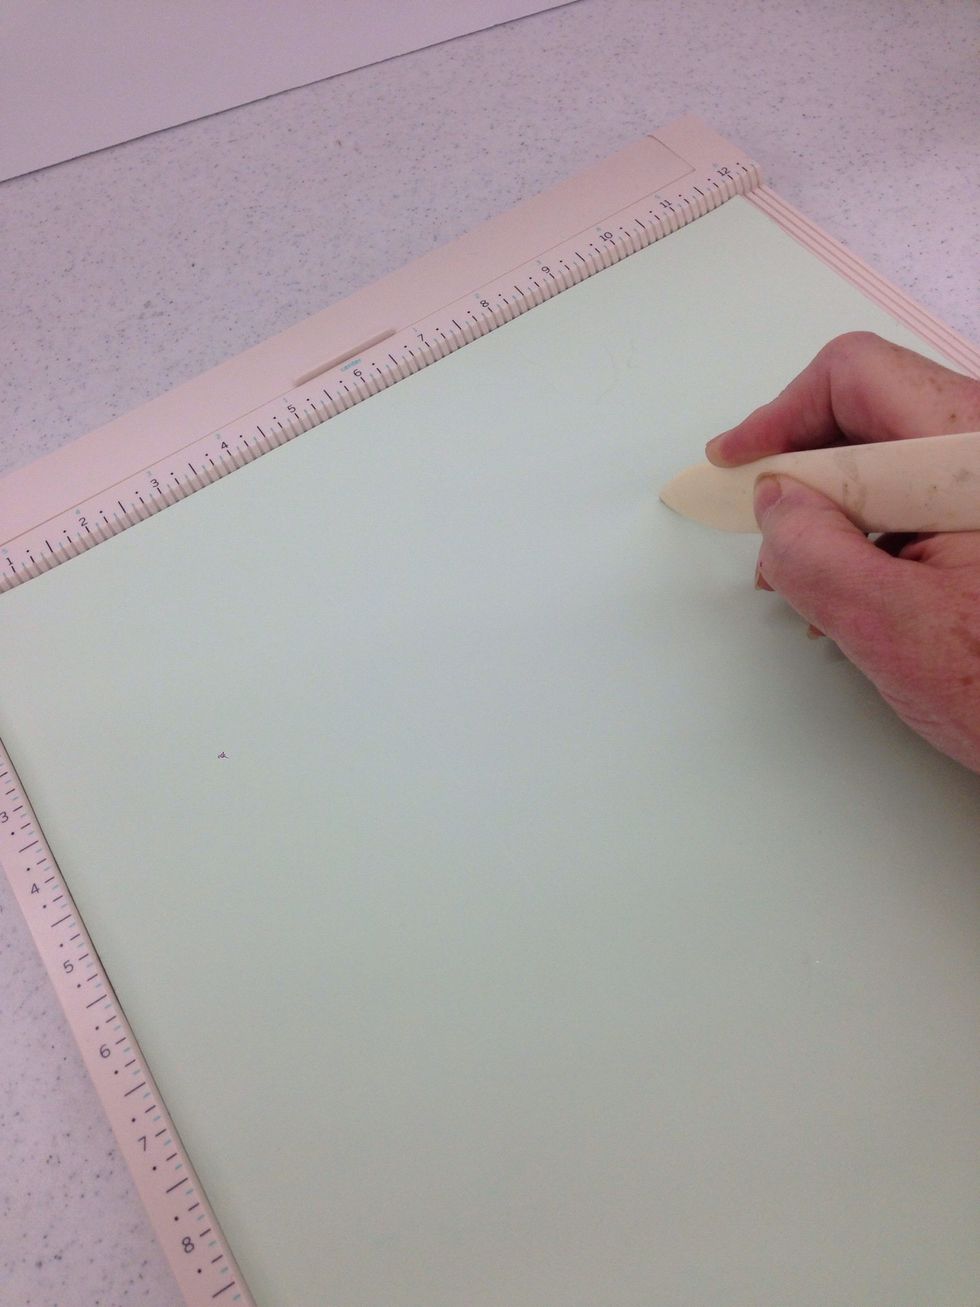
Use your scoring board and bone folder to score the paper at 4 inches and 8 inches. Turn the paper a quarter turn and repeat the scoring at 4 and 8 inches.
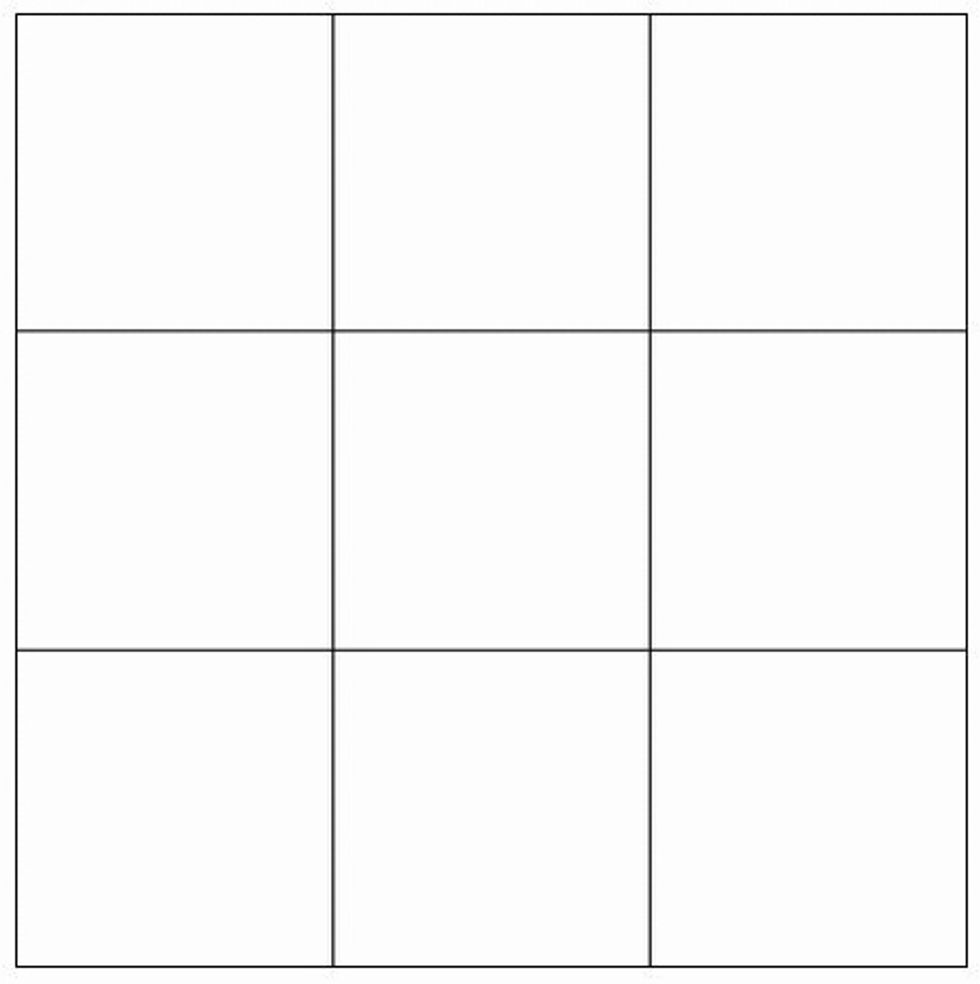
Your paper will look like this.
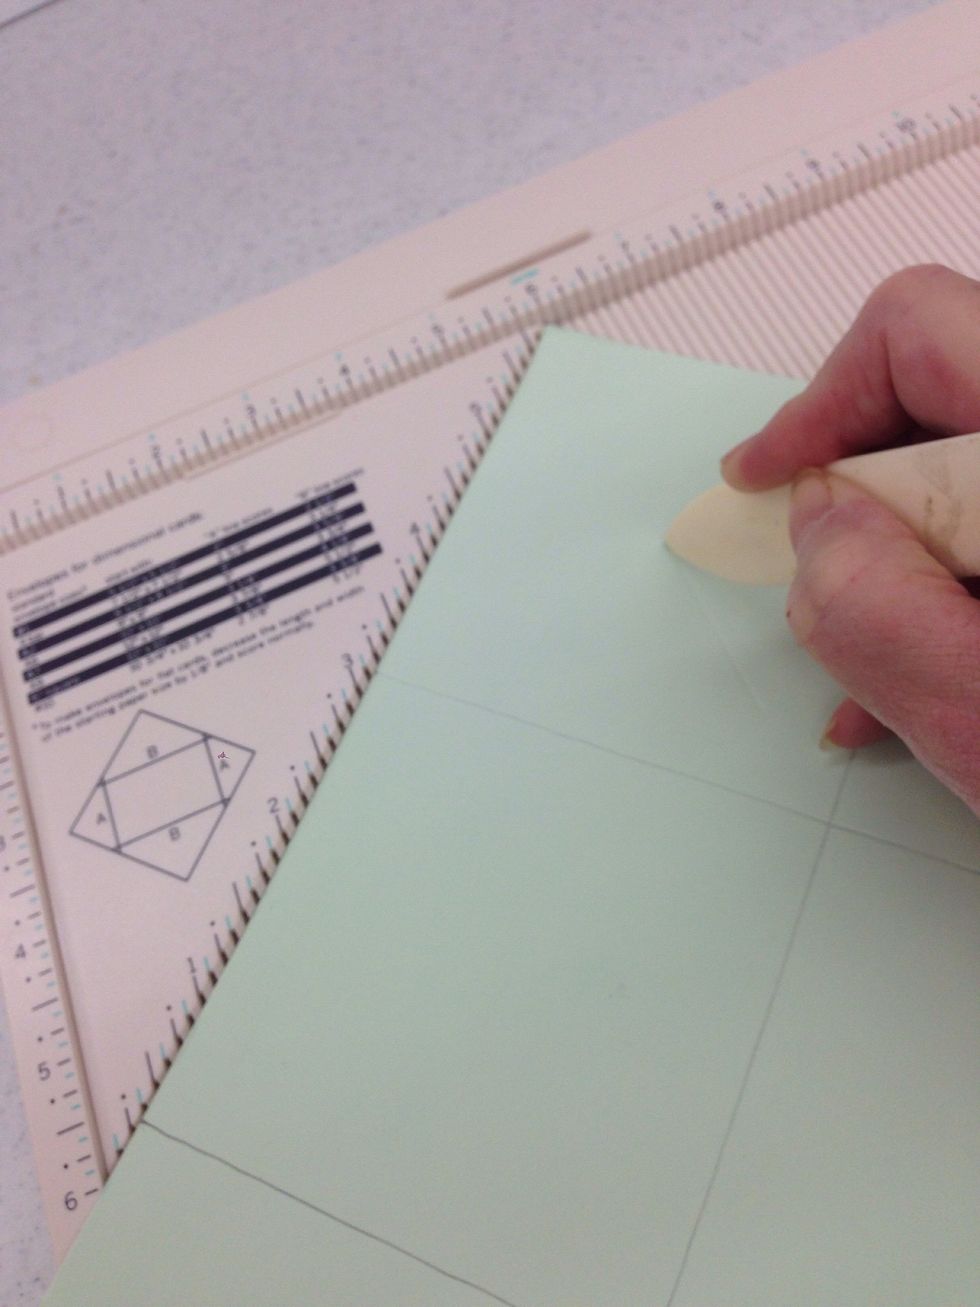
Score each corner diagonally.
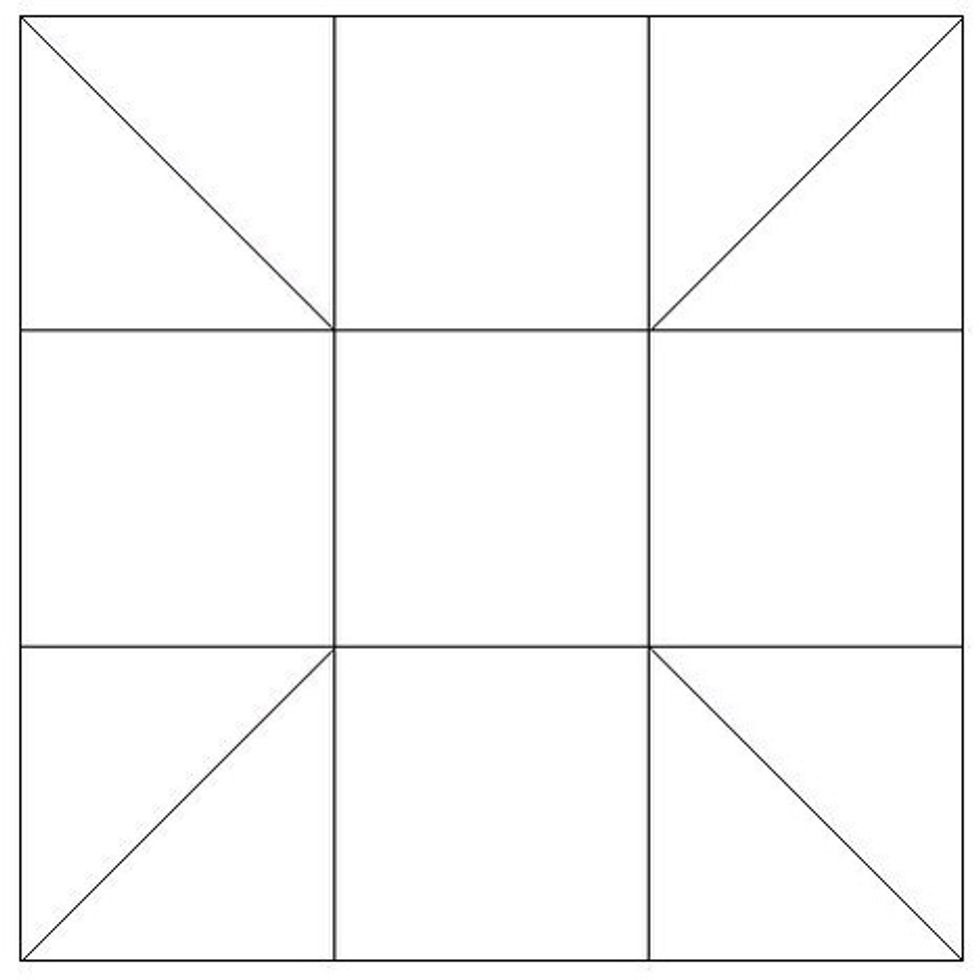
Your paper will now look like this.

Fold and crease along each scored line.
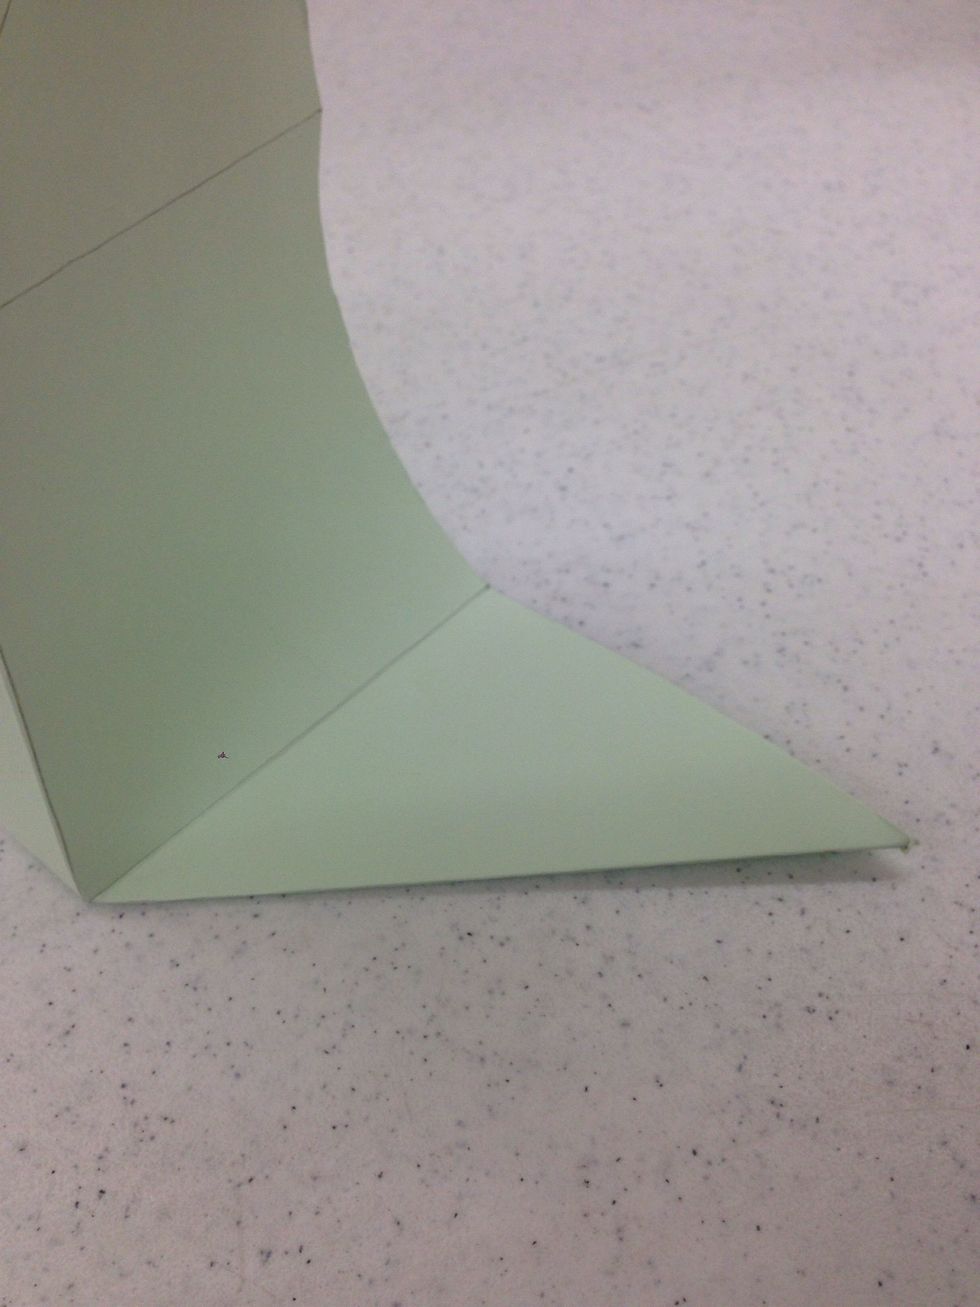
Fold and crease each diagonal line. Be sure the fold does not extend into the base of the basket.
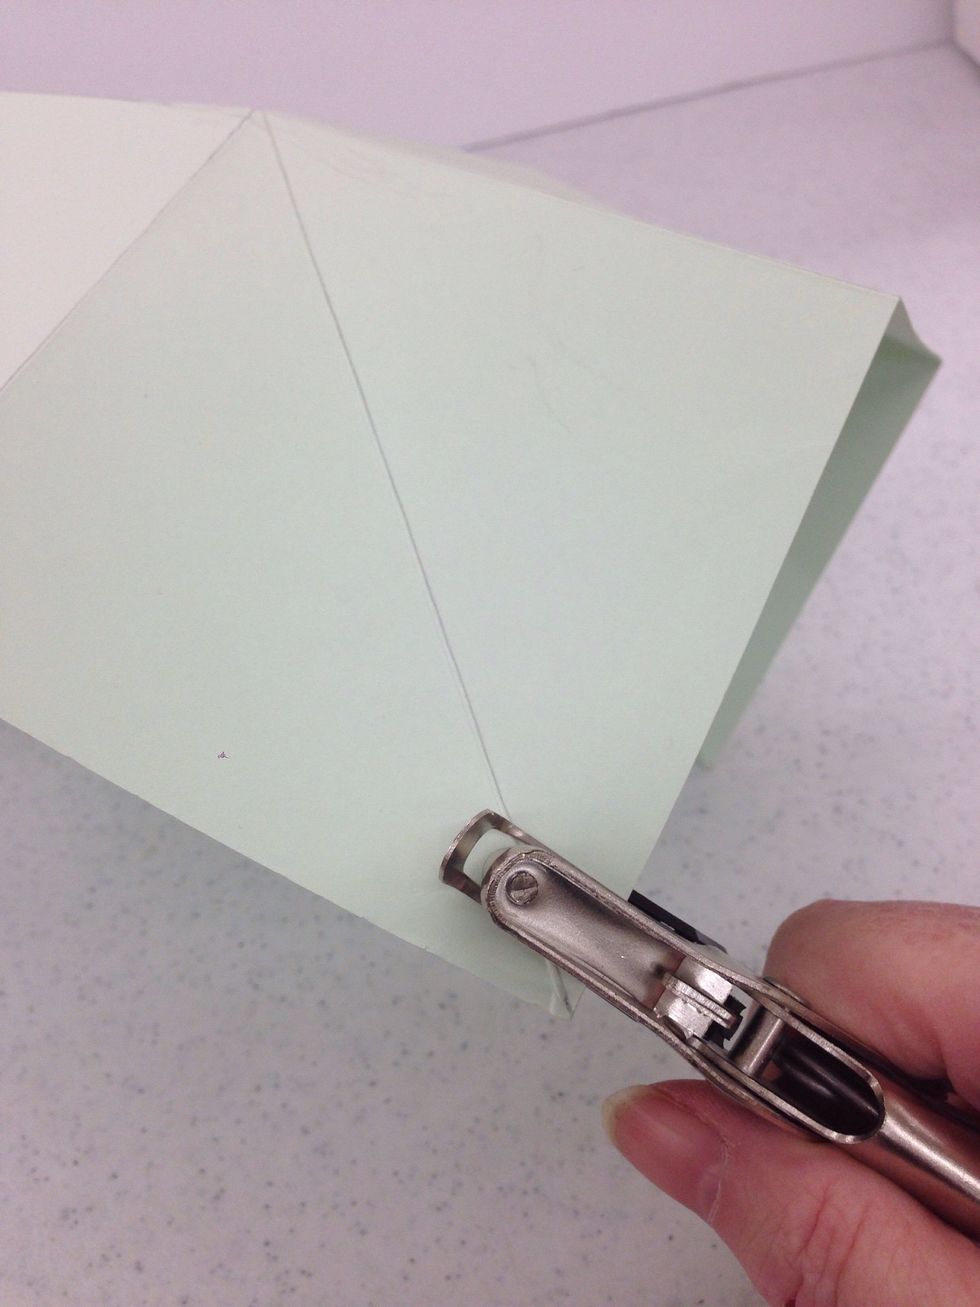
Use a hole punch to punch a hole about half an inch from each corner.
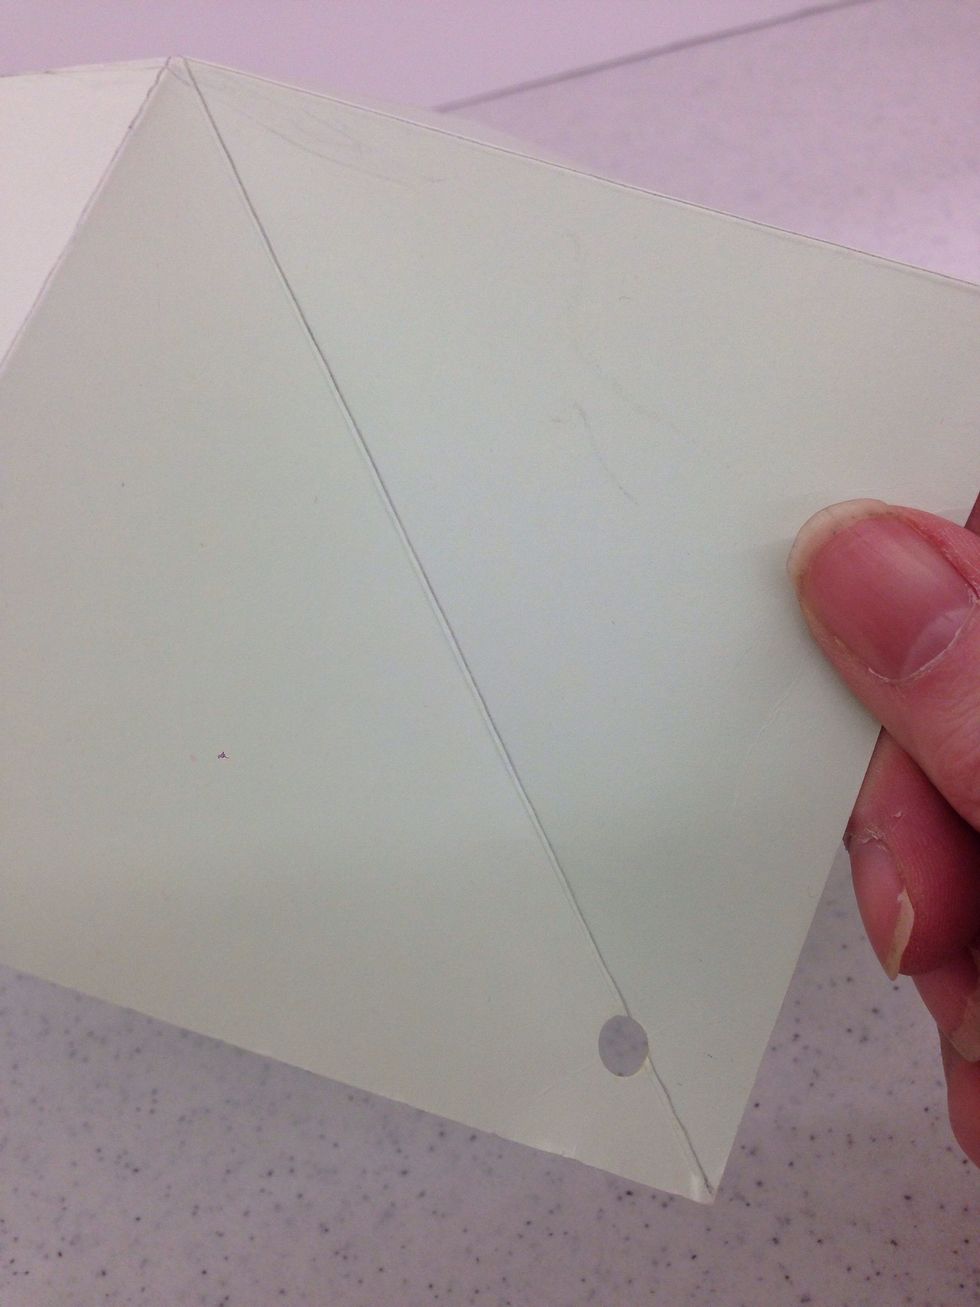
Your corner holes will look like this.
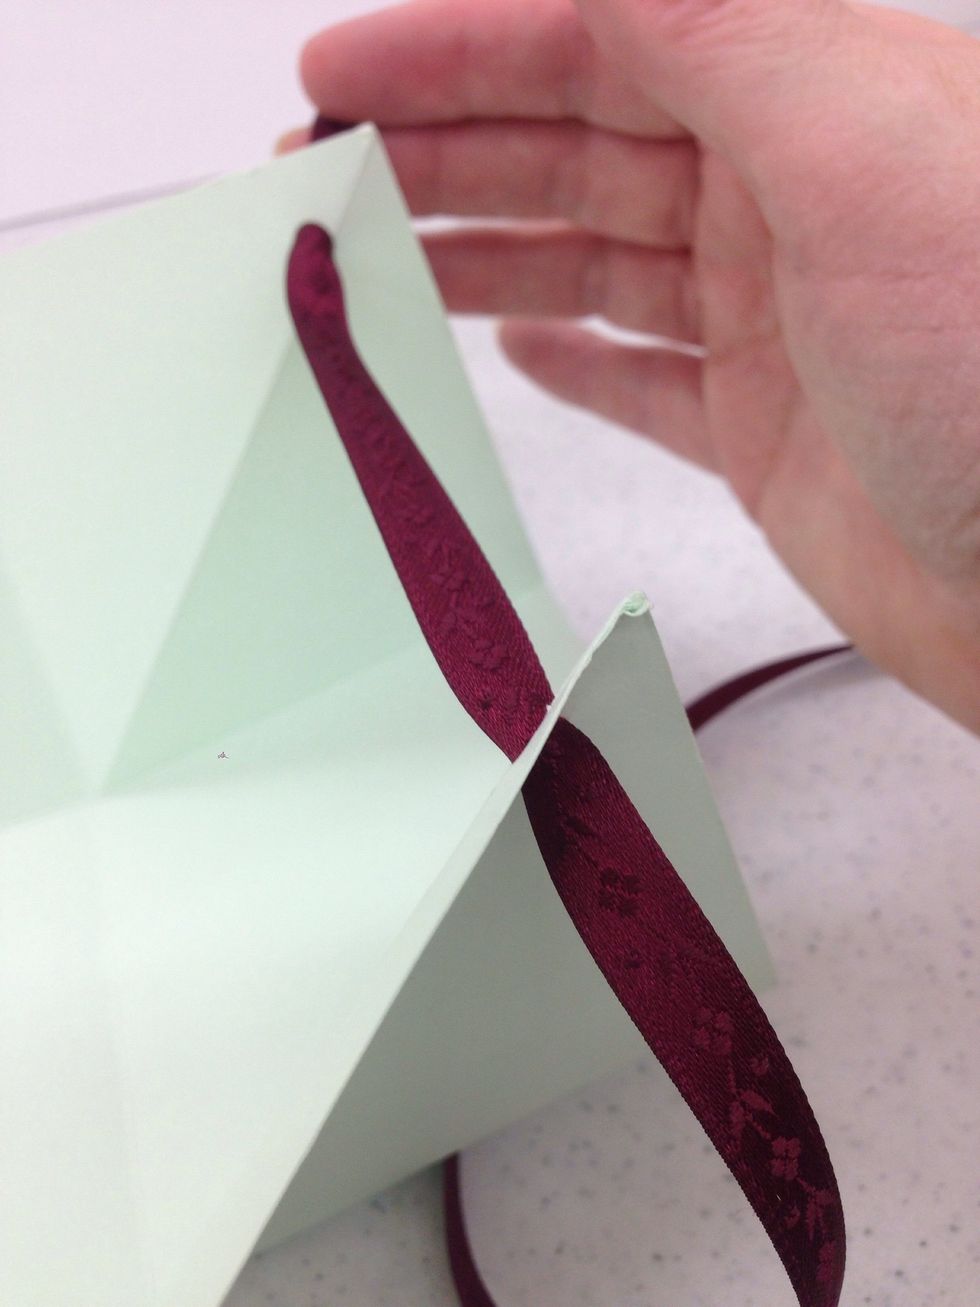
Thread the ribbon in and out of each hole around the basket.
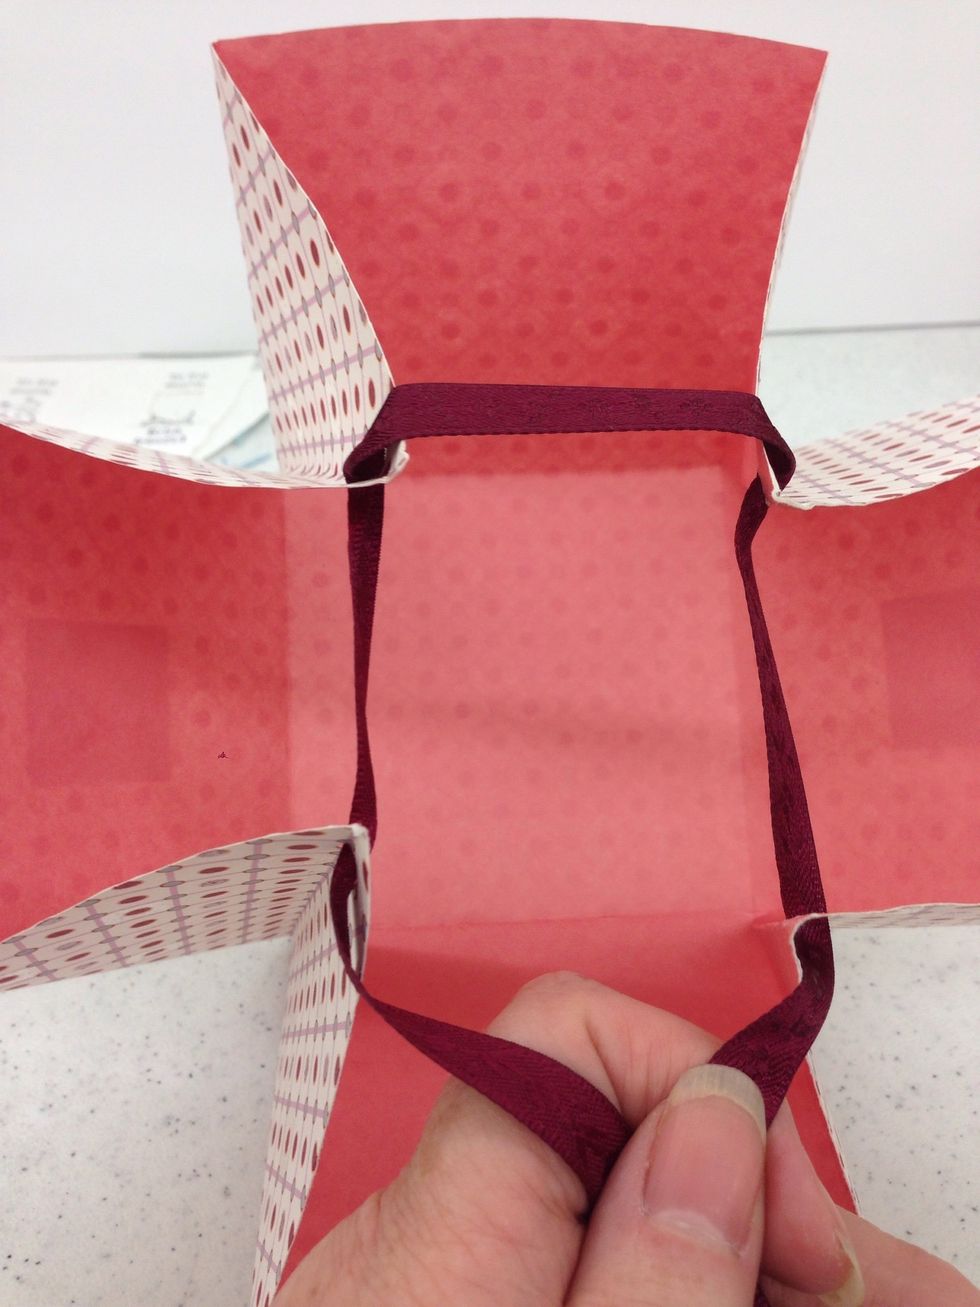
insert your gift in the basket, then gently pull the ribbons together and tie them into a bow.
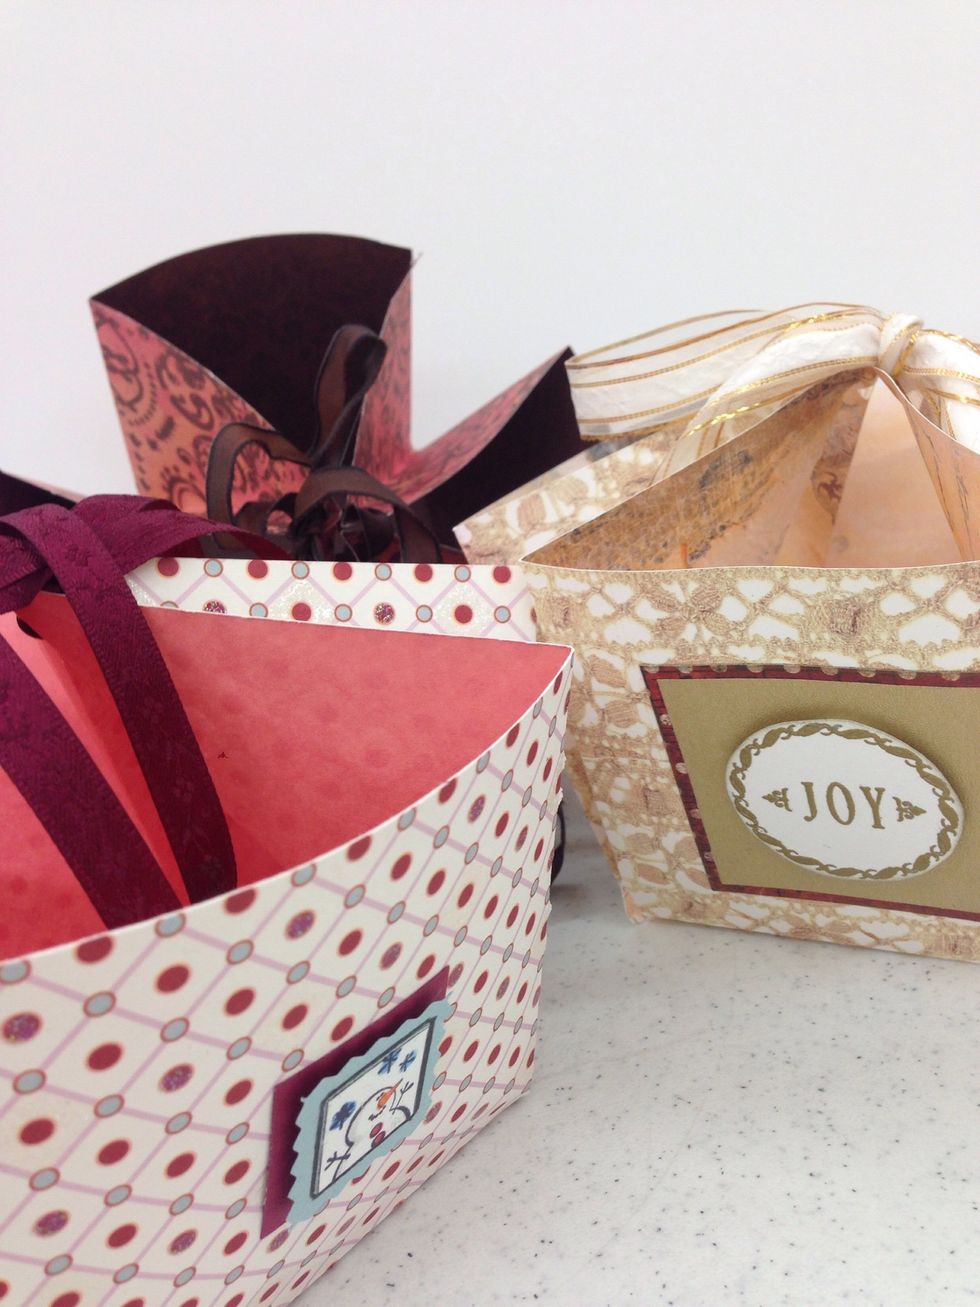
The square sides of the basket are a great place to add embellishments. Draw pictures, use rubber stamps, add flowers or other bling before folding and tying the basket.
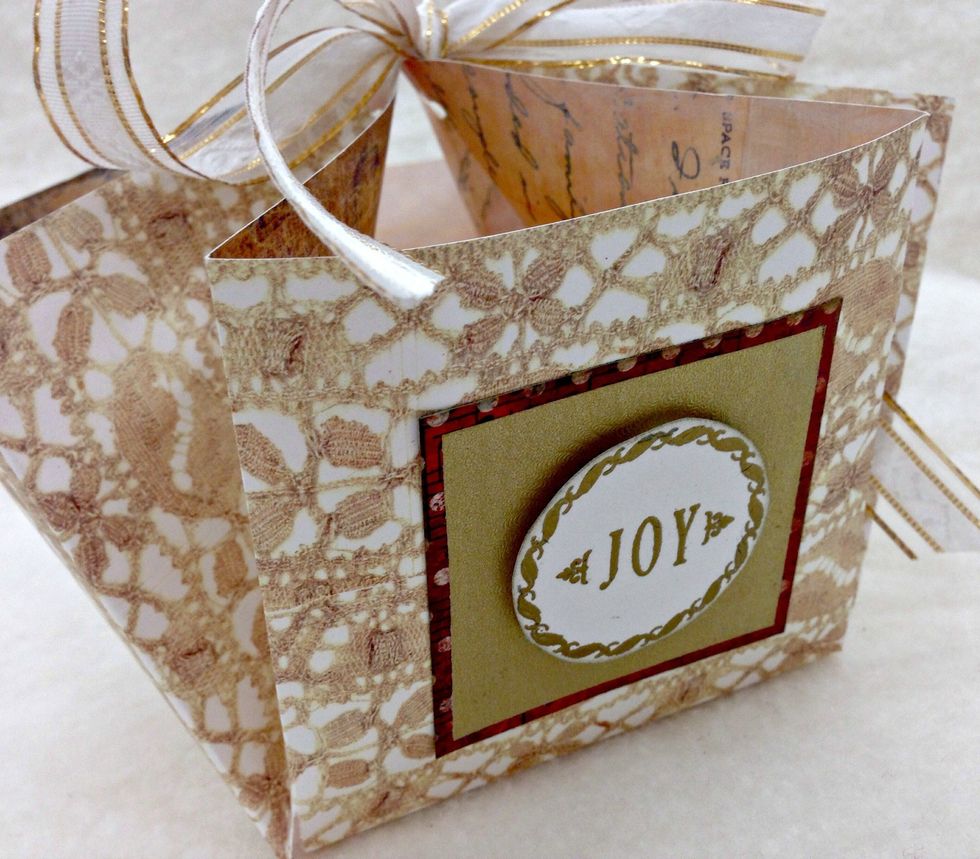
Enjoy sharing your beautiful basket with someone you love!
We hope you enjoyed Crafting the Holidays with us for 2014! We would love to see your finished baskets. Please post them to www.facebook.com/pages/Ben-Franklin-Crafts/333747557922