The Conversation (0)
Sign Up
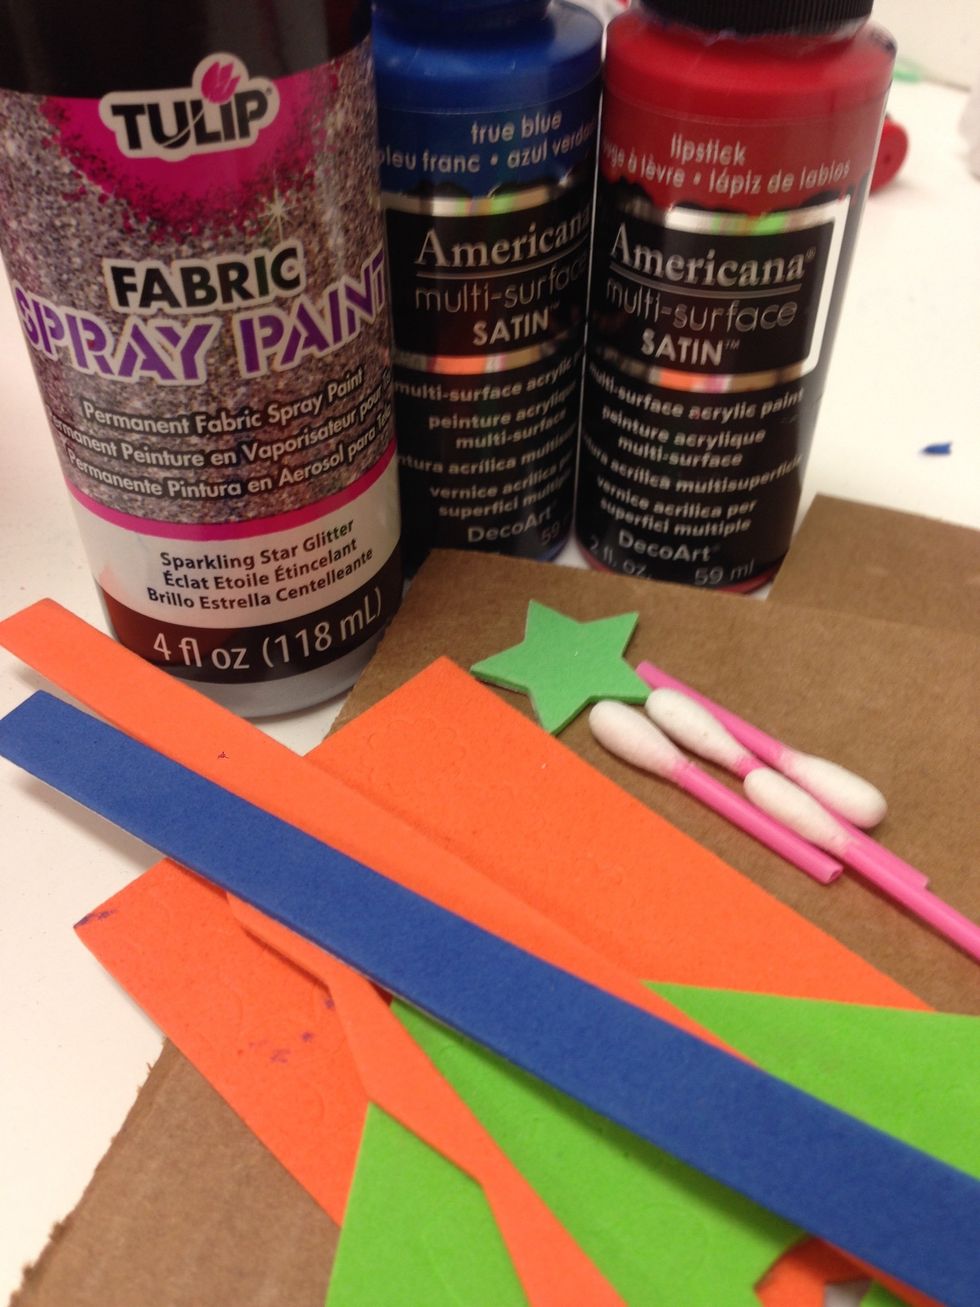
These are some of the supplies you will use to make your t-shirt.
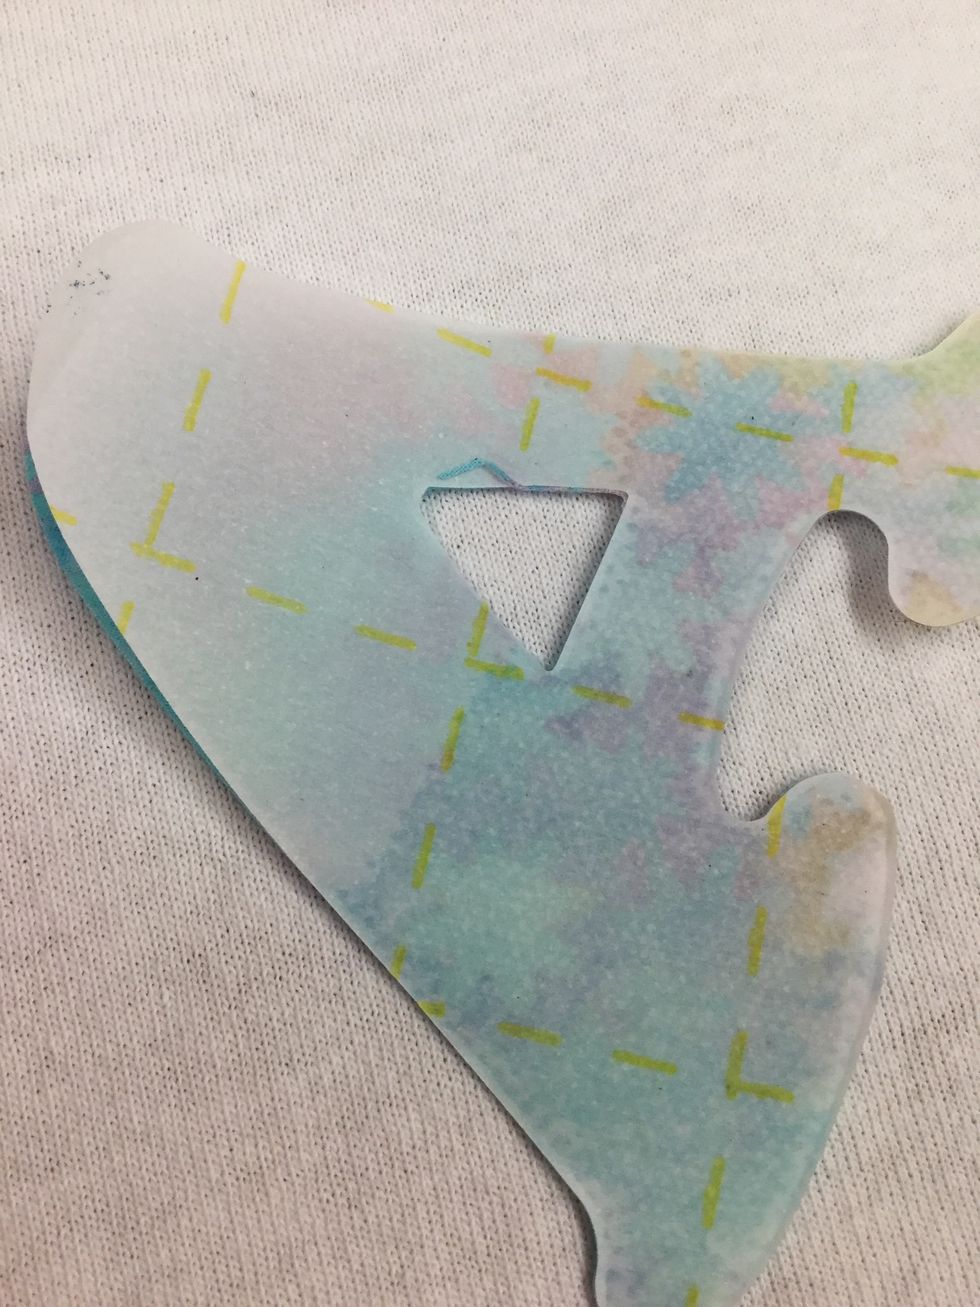
Adhere Heat N Bond to fabric pieces. Use die cut machine (available for rental at Ben Franklin Crafts) to cut out letters, paper side up. Peel paper backing from letters and set aside to use later.
Lay out letters on t-shirt and temporarily press in place by rubbing with finger. Do not use an iron!

Spray lightly over letters with blue fabric spray paint.

You won't need too much! Set aside to dry while you design your fireworks stamps.
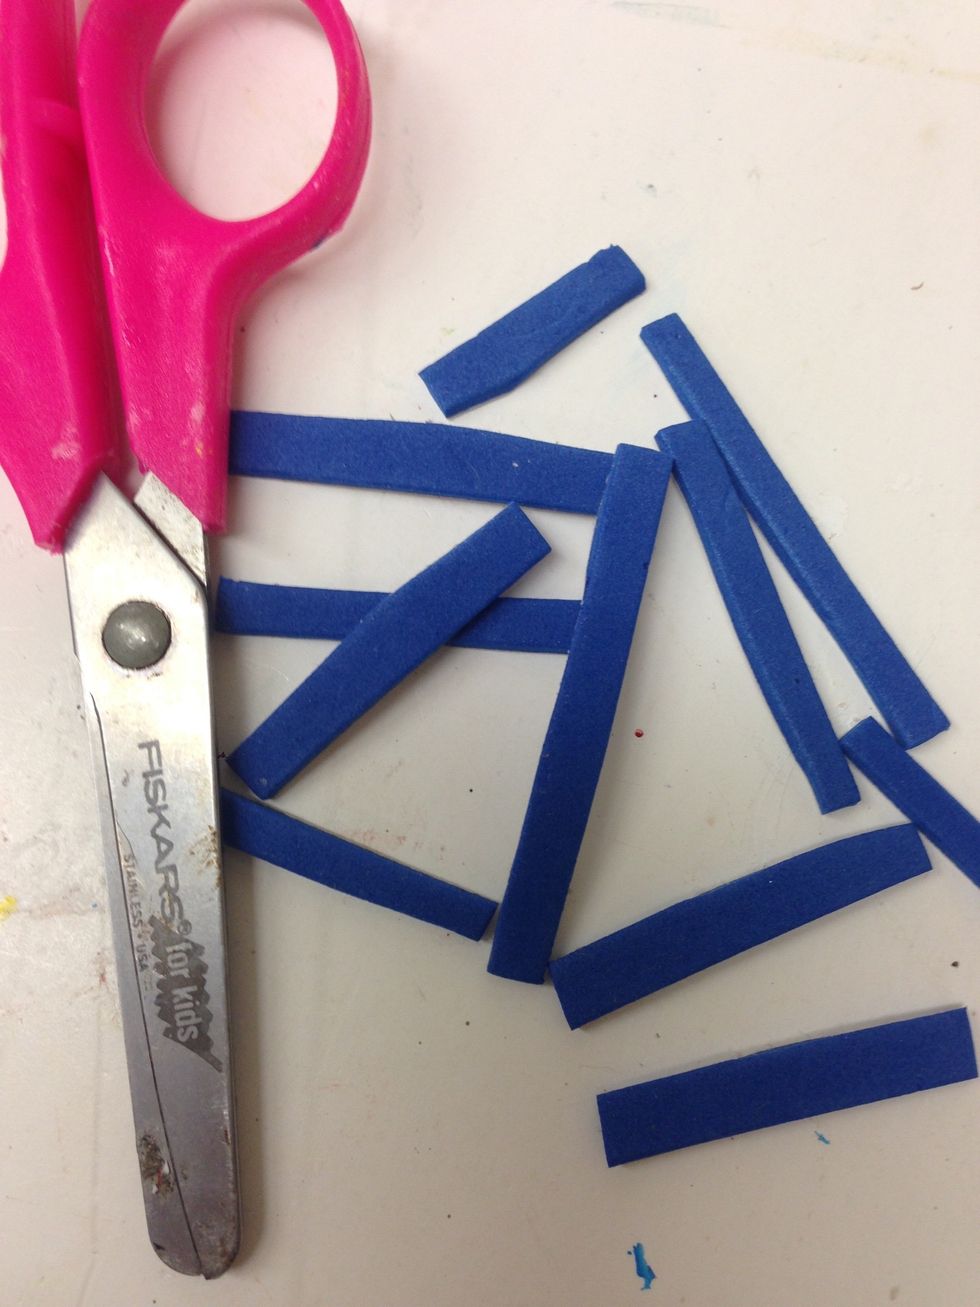
Cut pieces of adhesive backed craft foam into narrow strips.
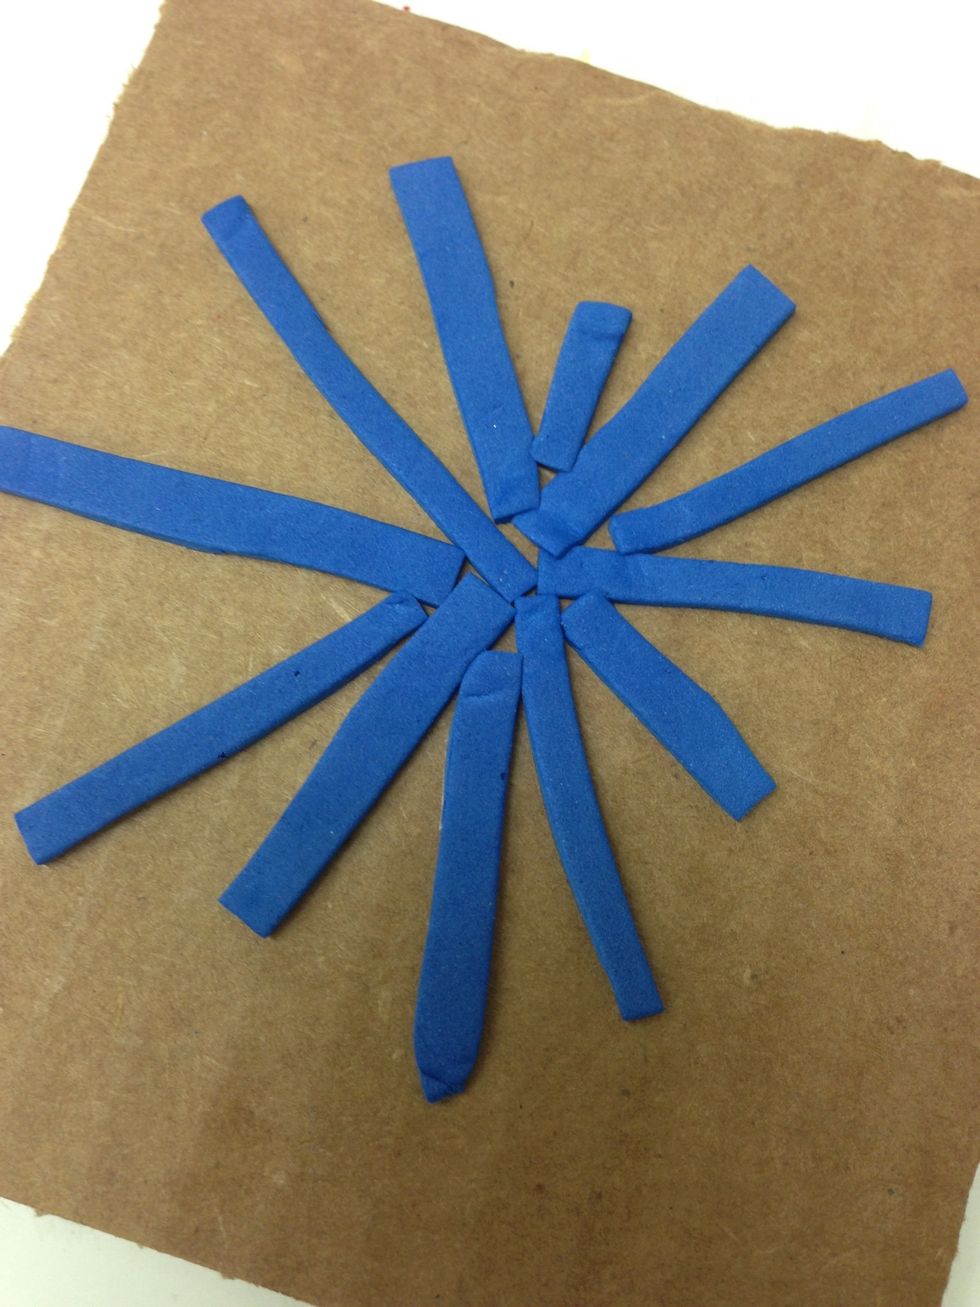
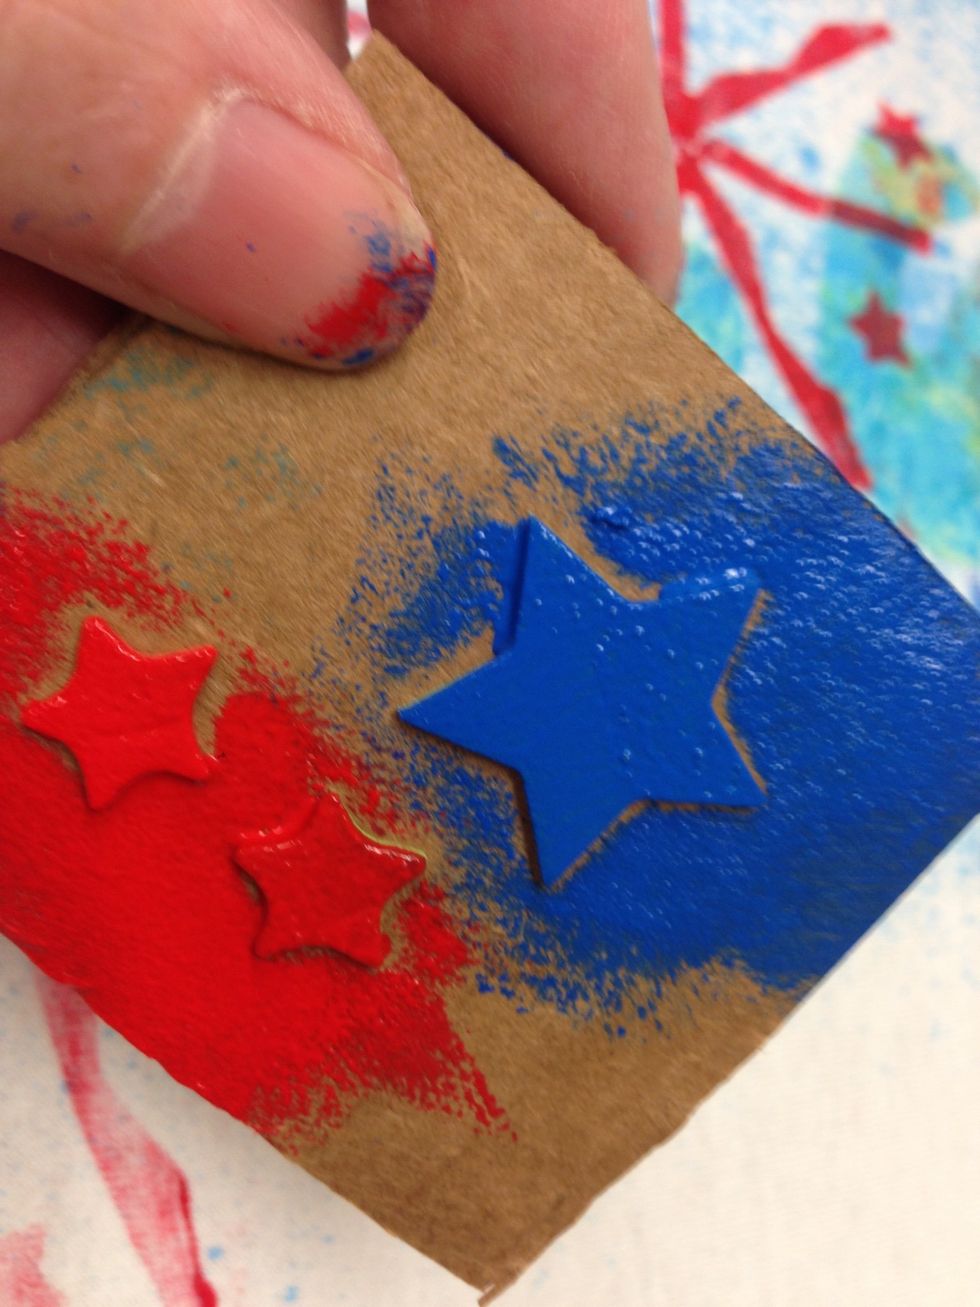
Arrange the pieces of foam on cardboard scraps and stick in place. We used 4-1/2" and 2-1/2" square pieces of cardboard.
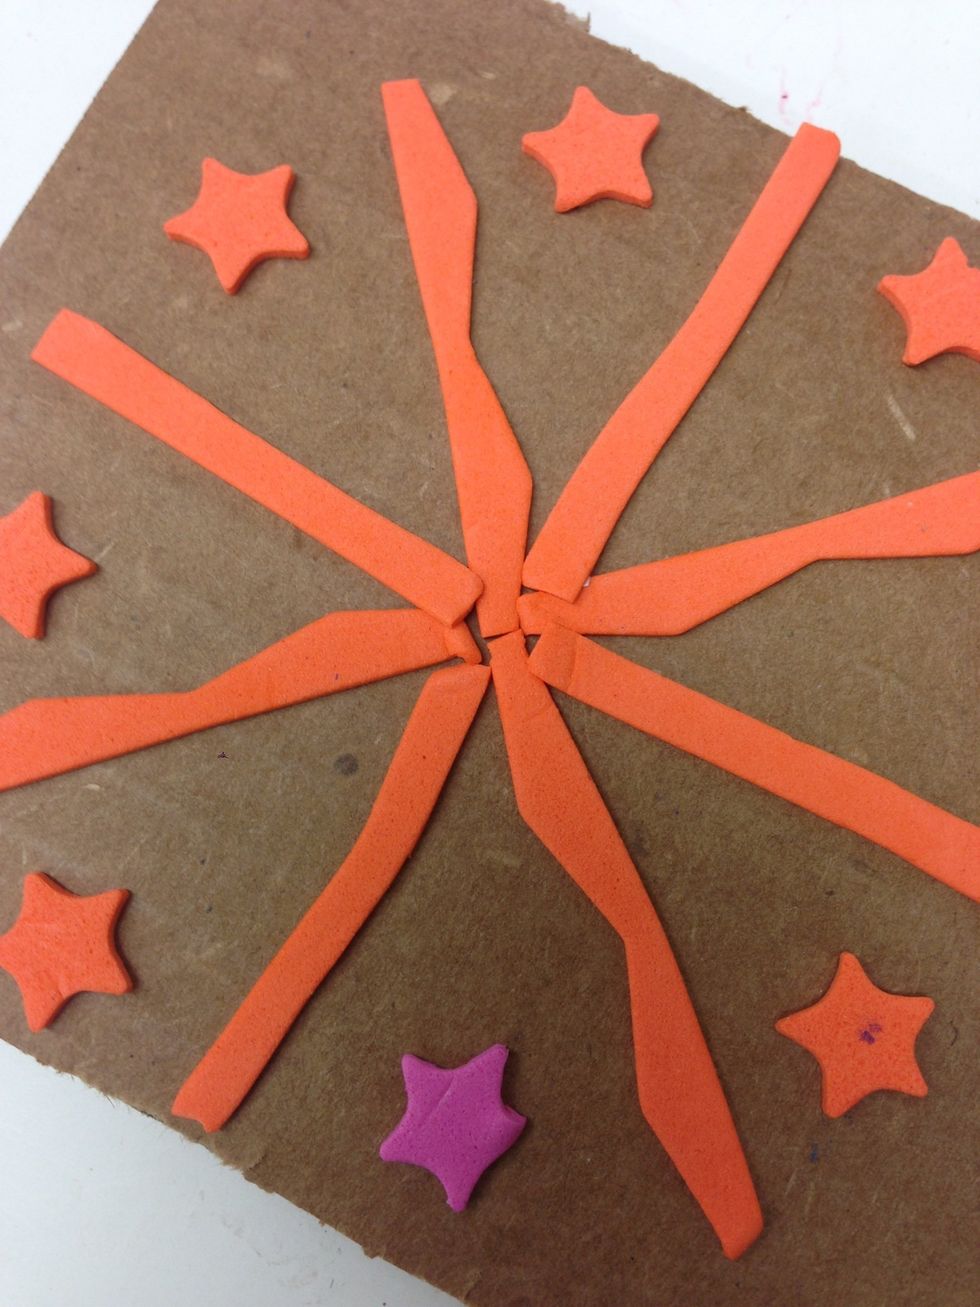
Another stamp example. You can use decorative scissors, too!
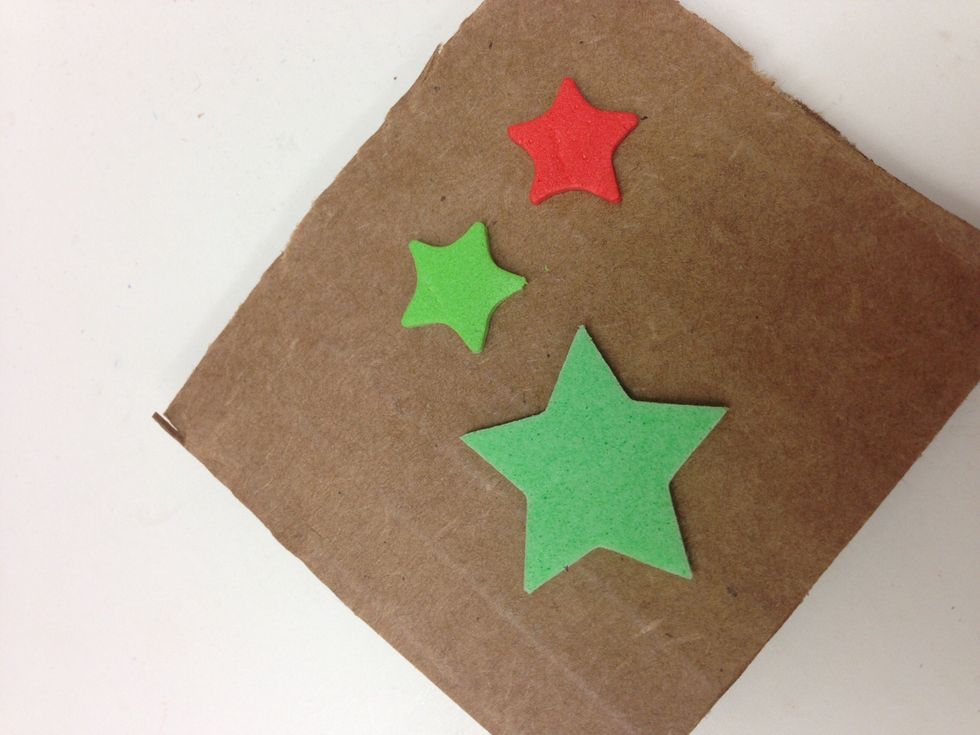
This is our small stamp.

Use the foam piece to apply paint to stamp. Lightly tap foam up and down to cover.
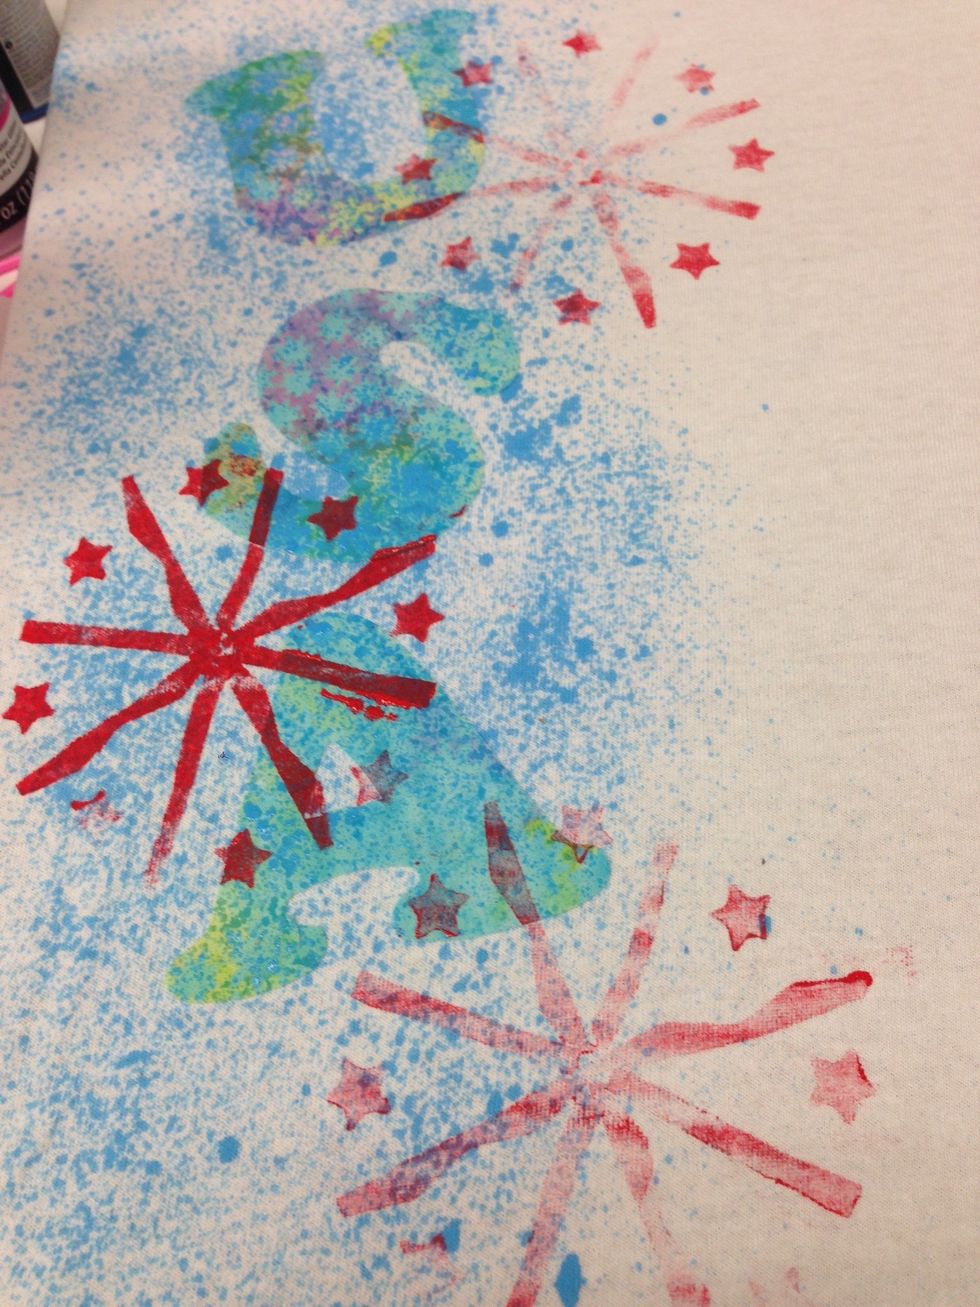
Stamp the fireworks image over the letters. Remember to keep the paper over the letters as you stamp. You will be able to stamp 1-2 times before reapplying the paint. Repeat with your other stamps.
If you are careful, you can use both paint colors at the same time.

Use the Q-tip ends to add dots around the design.
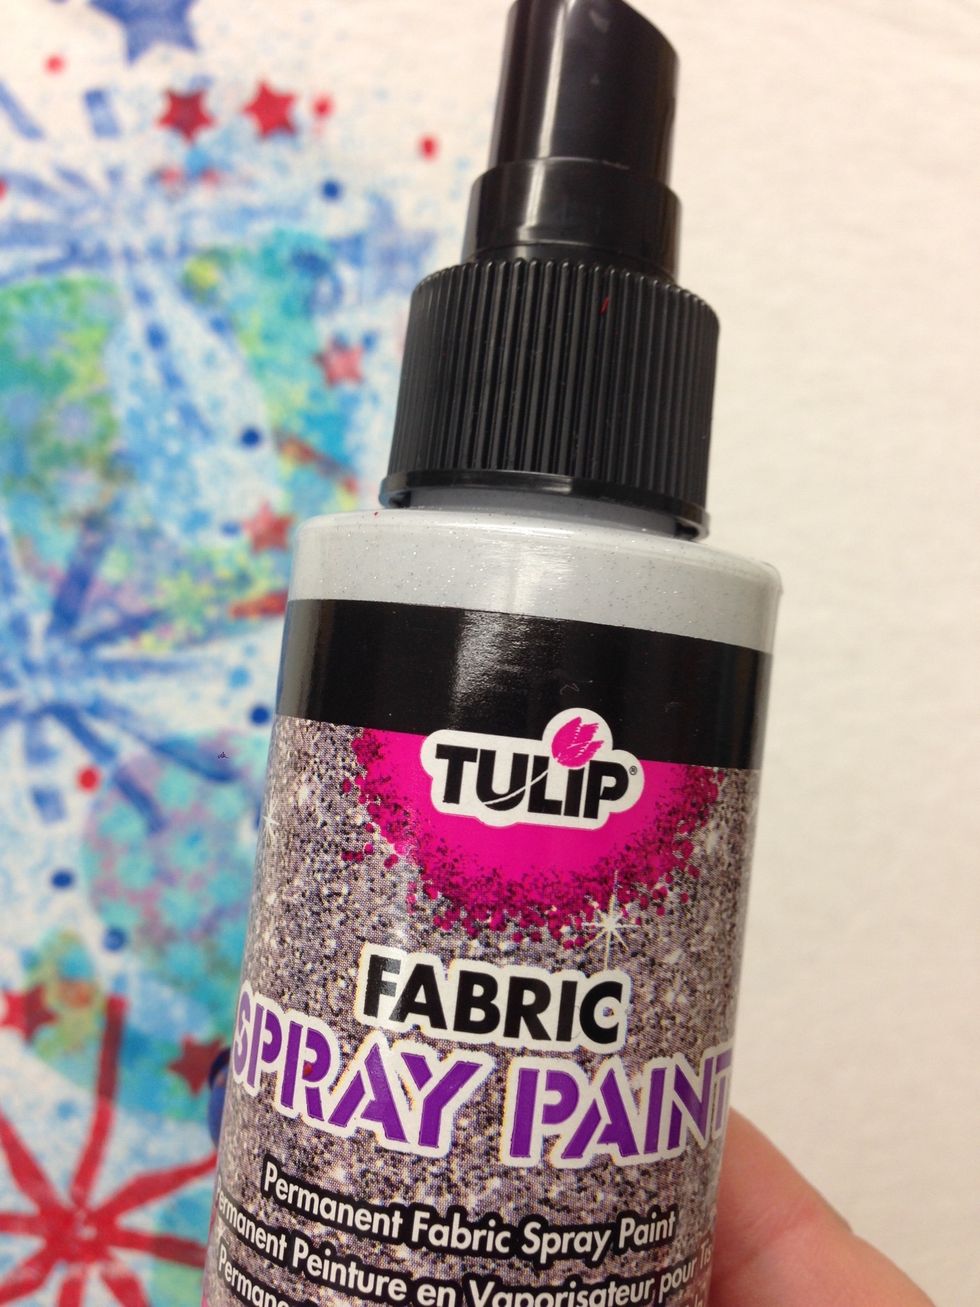
If you like, mist a little silver fabric spray over the design to add sparkle.

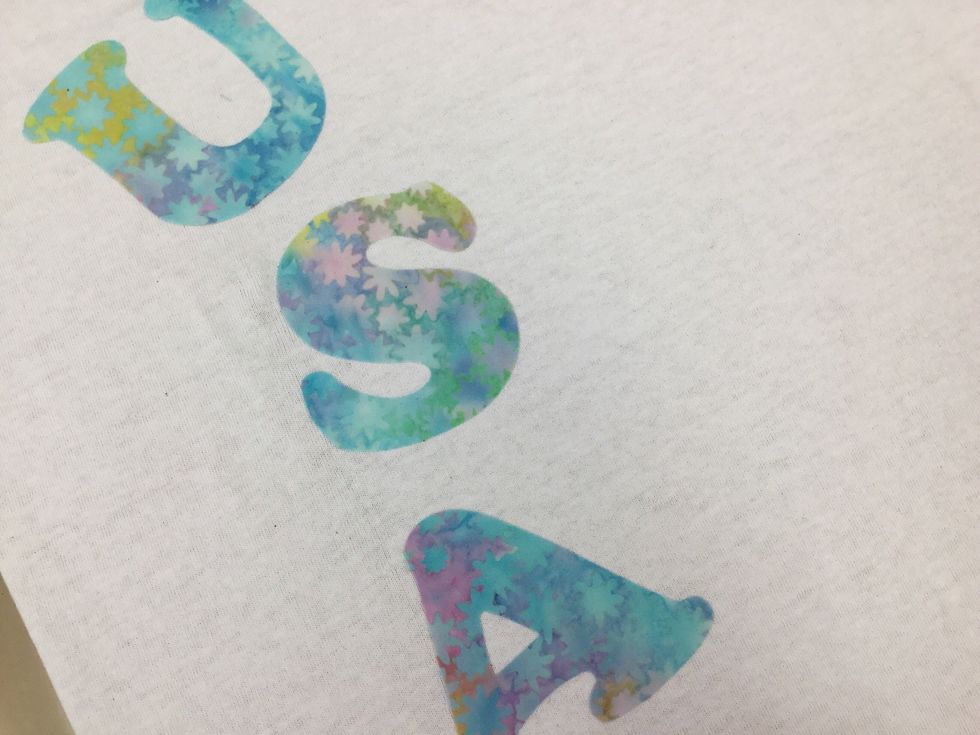
Peel off the fabric letters and admire your work!
Finishing: Let your shirt dry for at least 2 hours. Turn inside out, placing a cloth or paper towels between the design and the back. Iron over the design area using high heat to set.
Washing: turn inside out to wash. Use cool water, and preferably hang to dry.
We would love to see YOUR completed USA T-Shirt! Upload a photo to our Facebook page: on.fb.me/1L3o004