The Conversation (0)
Sign Up
Gather fabric pieces and trims. If purchasing items, you will need multiples of the length you have decided on for your flag.
Determine how wide and long your flag will be. The wood piece needs to be a little longer than the overall width. Fabric and trims for the stripes can be cut to the length of the flag.
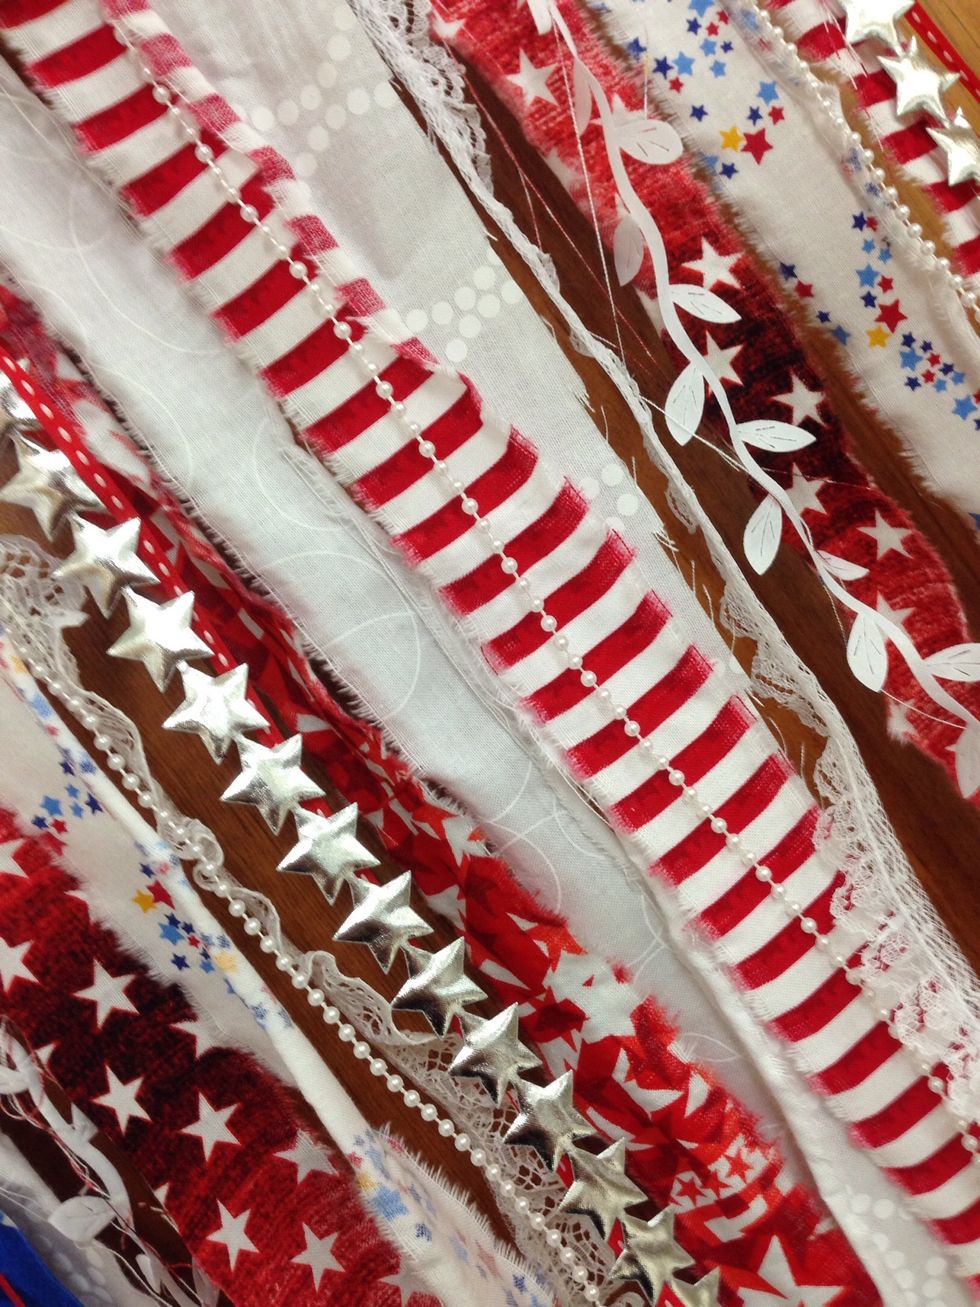
Rip fabric pieces for the stripes into strips that are 1-2" wide.
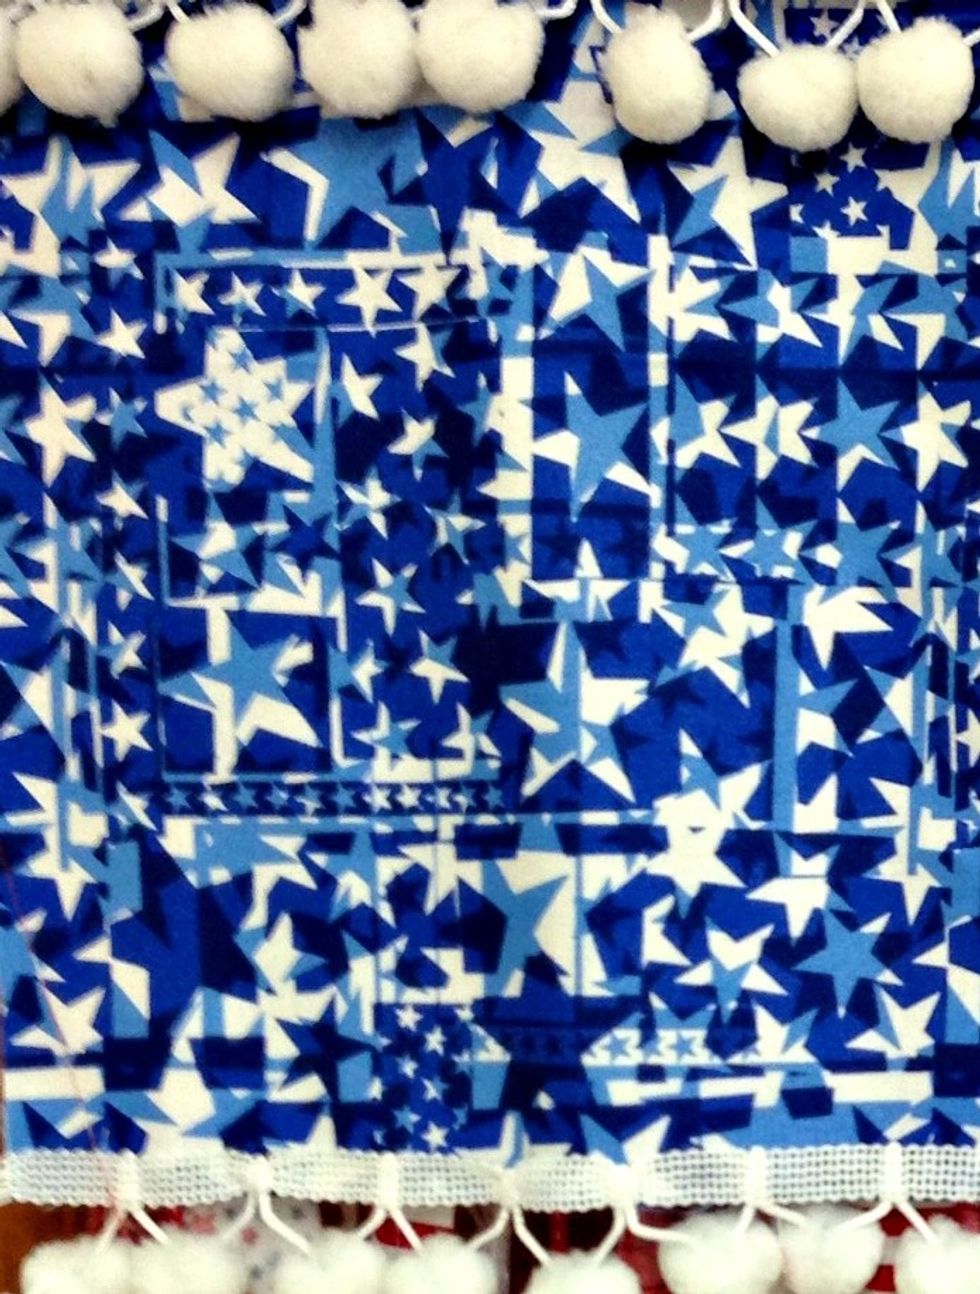
Rip a piece of fabric for the star section so it's about 1/2 as wide and long as you plan the flag to be.
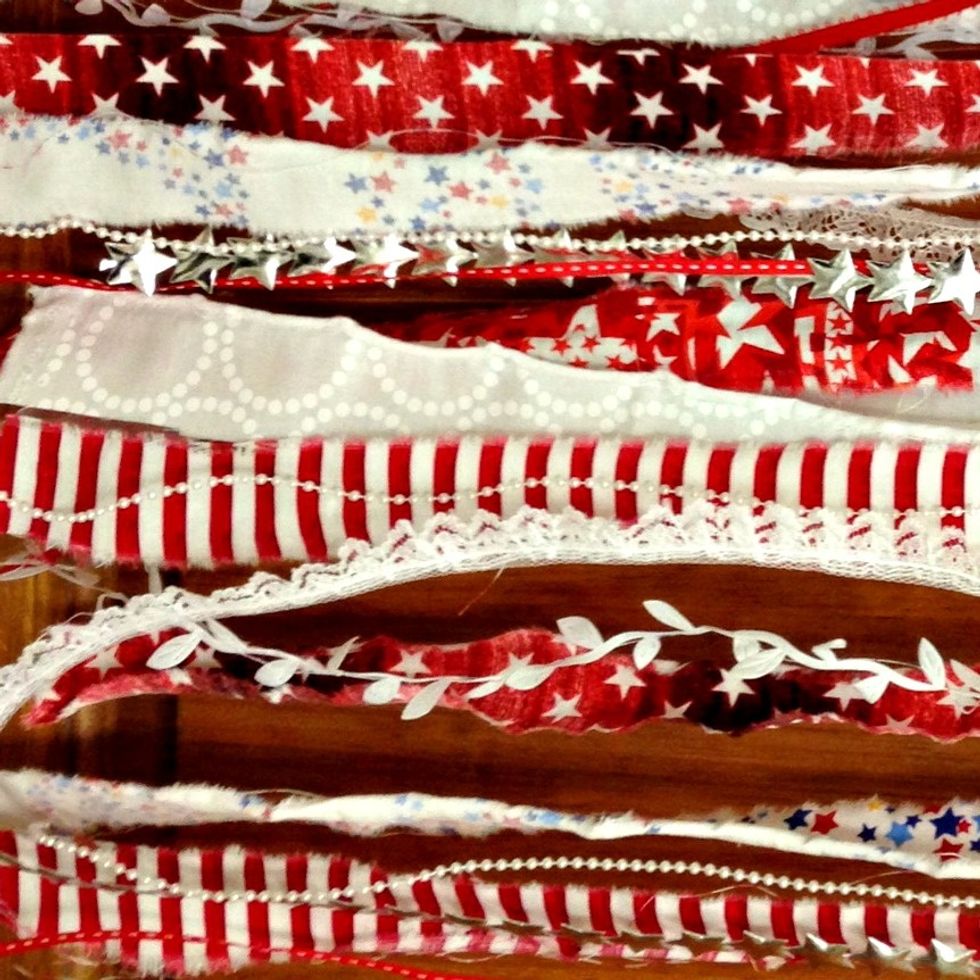
Take time to layout the fabric pieces and trims in an order that's pleasing.
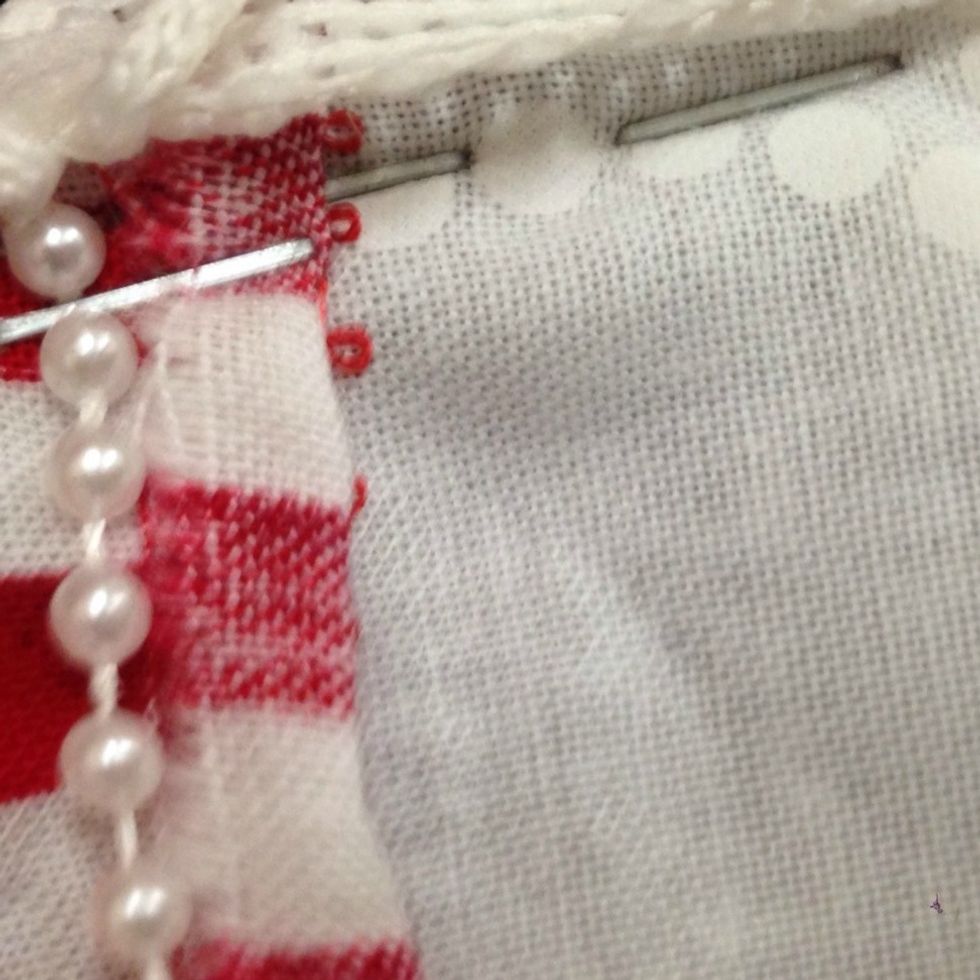
One at a time, staple the fabric and trim strips on to the wood piece. You'll use 1-2 staples per strip or trim, depending on the width.
Place the star section over the strips and staple in place.
Use a hot glue gun to add vintage trim (or other trims of your choice) to the entire top of the flag banner and to the lower edge of the blue section.
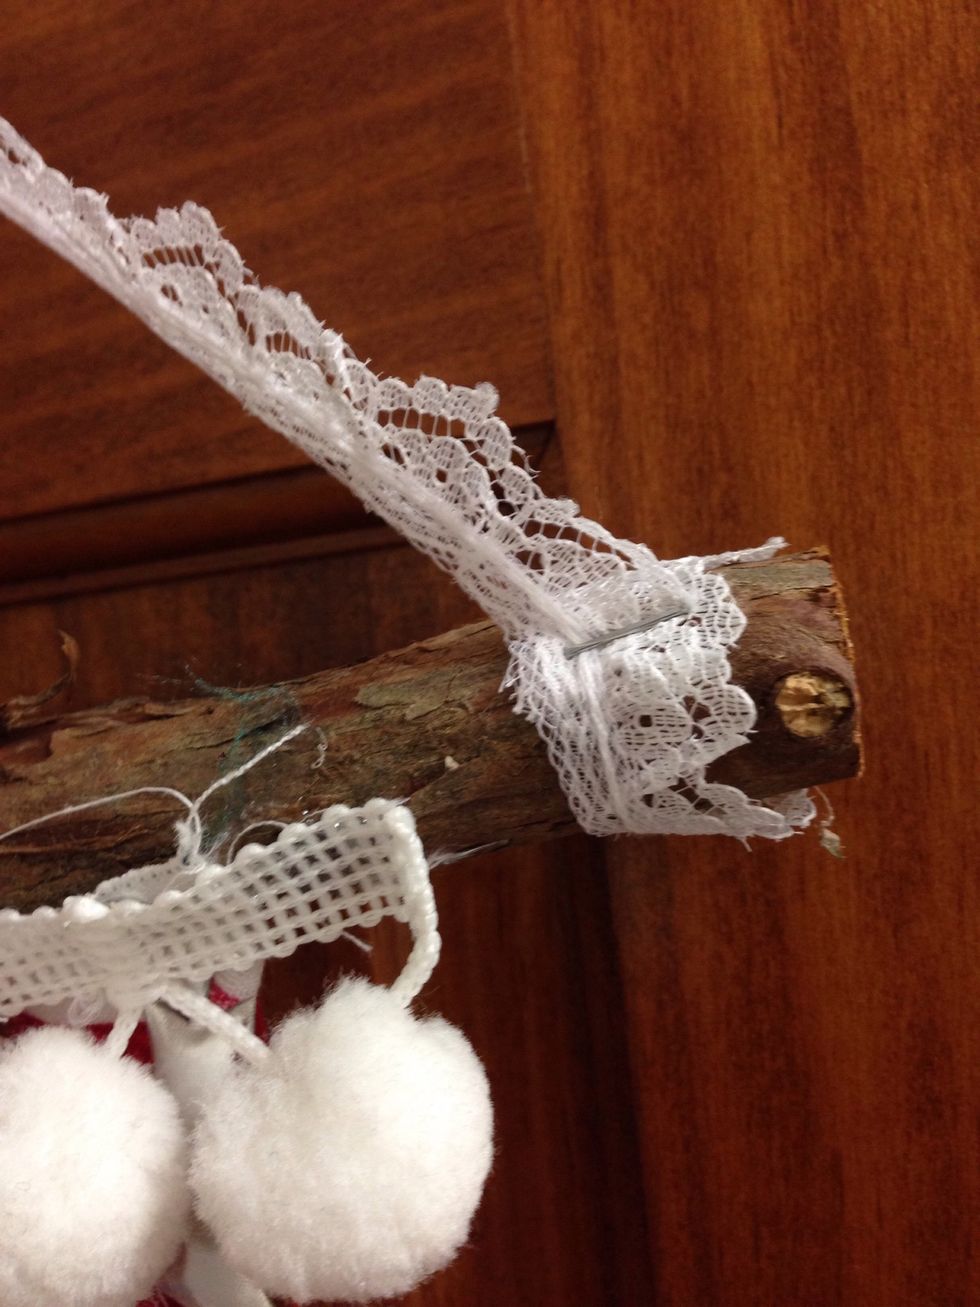
For the hanger, fasten a piece of lace or fabric to both ends of the wood piece using the staple gun or glue gun.

Hang the Shabby Flag on your door and get ready to accept some compliments from your friends and neighbors!
We would love to see YOUR completed Shabby Flag! Upload a photo to our Facebook page: on.fb.me/1L3o004