The Conversation (0)
Sign Up
Day 1 Dyeing Station Supplies: hot water in kettle, bucket/large pot for dyeing, wooden stick for stirring, RIT fabric dye, timer, white men's crew socks, fabric scissors
Day 1 Scented Pinecone Station Supplies: pinecones, ziploc bags, essential oils, eye droppers, allspice, cinnamon, whole spices
Day 1 Painting Station Supplies: paint brushes, plastic lids or plates for paint, acrylic paints, toothpick, wooden buttons
Day 1 Gluing & Cutting Station Supplies: pre-cut jute, pre-cut ribbon, berries, evergreen, hot glue, hot glue gun, scissors, traced heart, traced circle
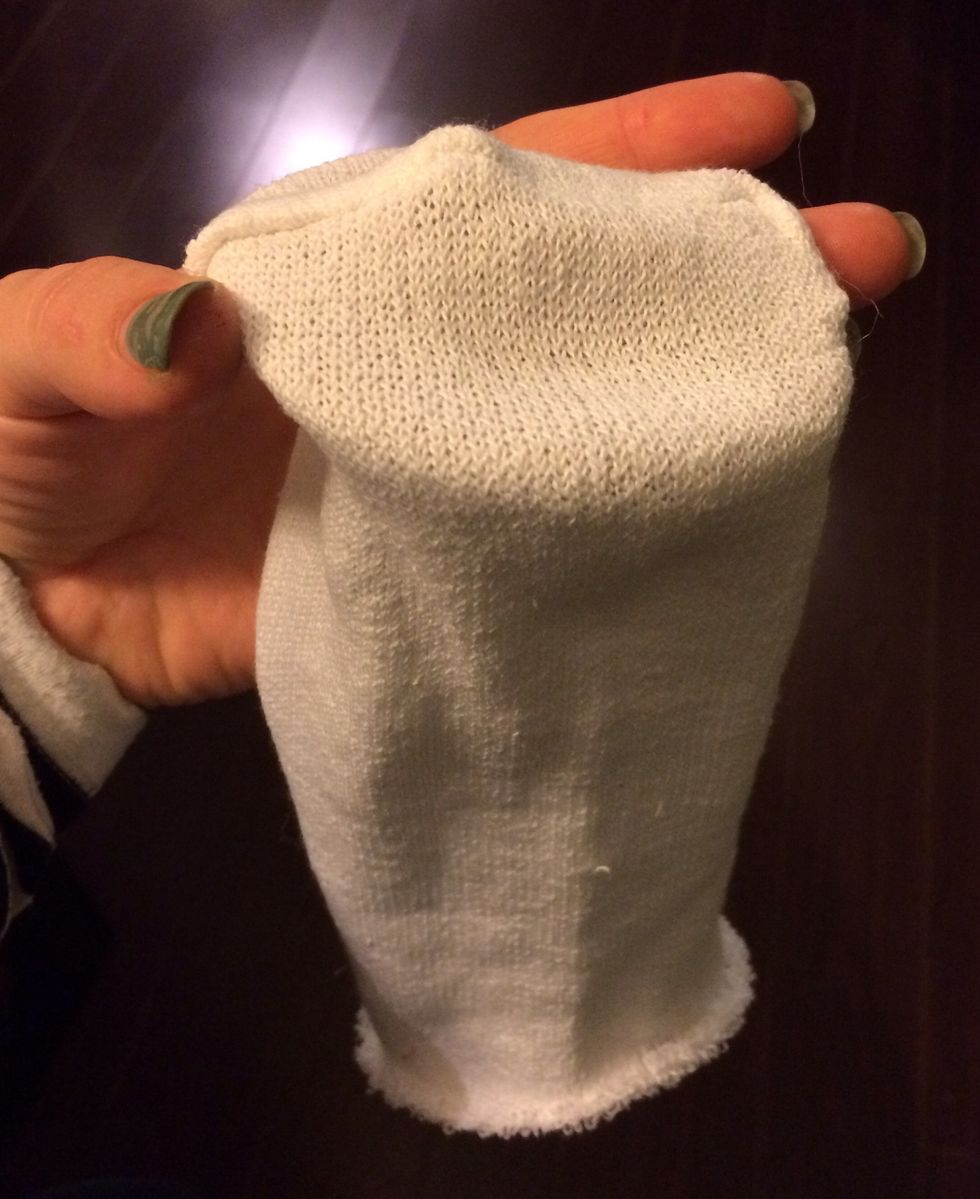
DAY 1: Discuss project with kids. Give each child a sock. With assistance from adult volunteers, guide students to cut at the top of the heel, in a parallel line to the bottom. Put aside foot portion.
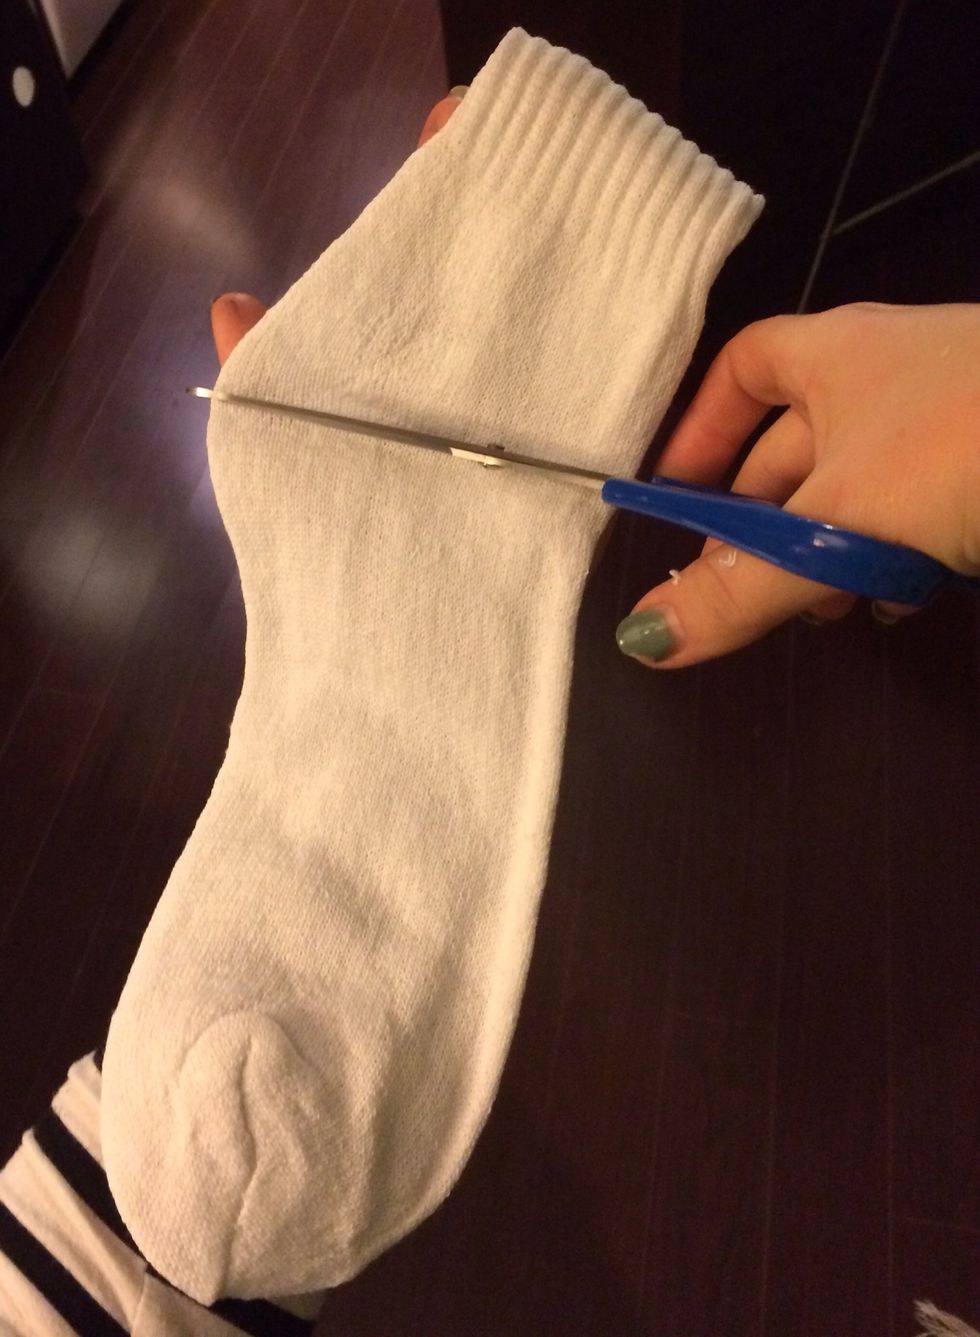
Use fabric scissors if difficult to cut.
The top of the cut sock will be used to make a snow hat for the snowman, so cut it slightly smaller, to about 4-5" in length.
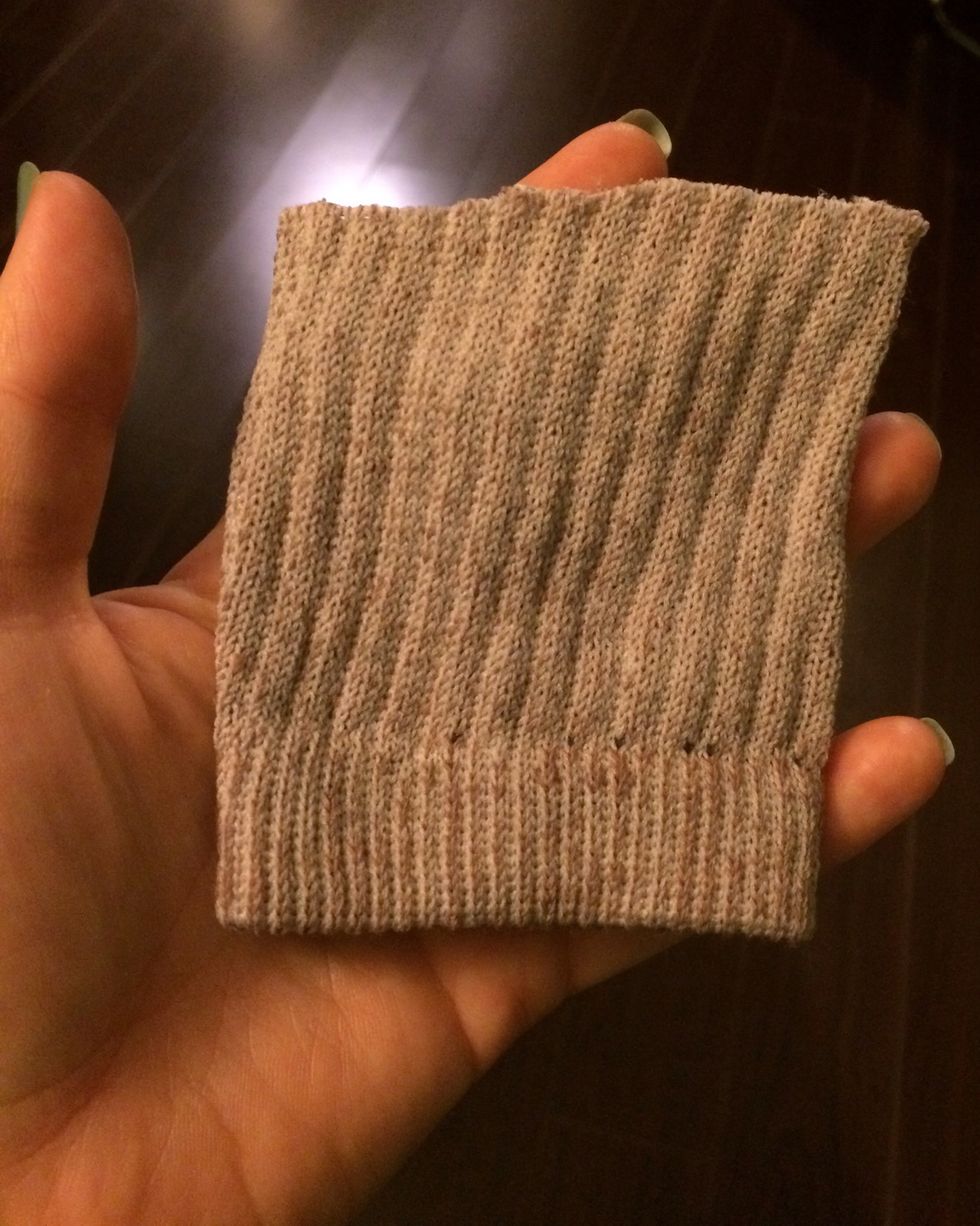
It will look like this after dyeing.

Using bowl or pot for dyeing, add hot water from the kettle, and dye amount as stated on package. Have children add cut top of sock to prepared dye bowl. Discuss what dyeing does to material.
Assign a "dyeing supervisor" for every 5 minutes. Set a timer and allow a child to stir gently for this time. After 50-60 minutes everyone should have had a turn helping agitate the dye bucket.
At the end of the dyeing time, carefully drain dye water, and rinse each sock until it runs clear. Hang to dry, to be ready for Day 2 of project.
While children take turns stirring the dye bucket, the others will make scented pinecones, paint buttons, and create a hat embellishment, and cut out paper shapes for the project.
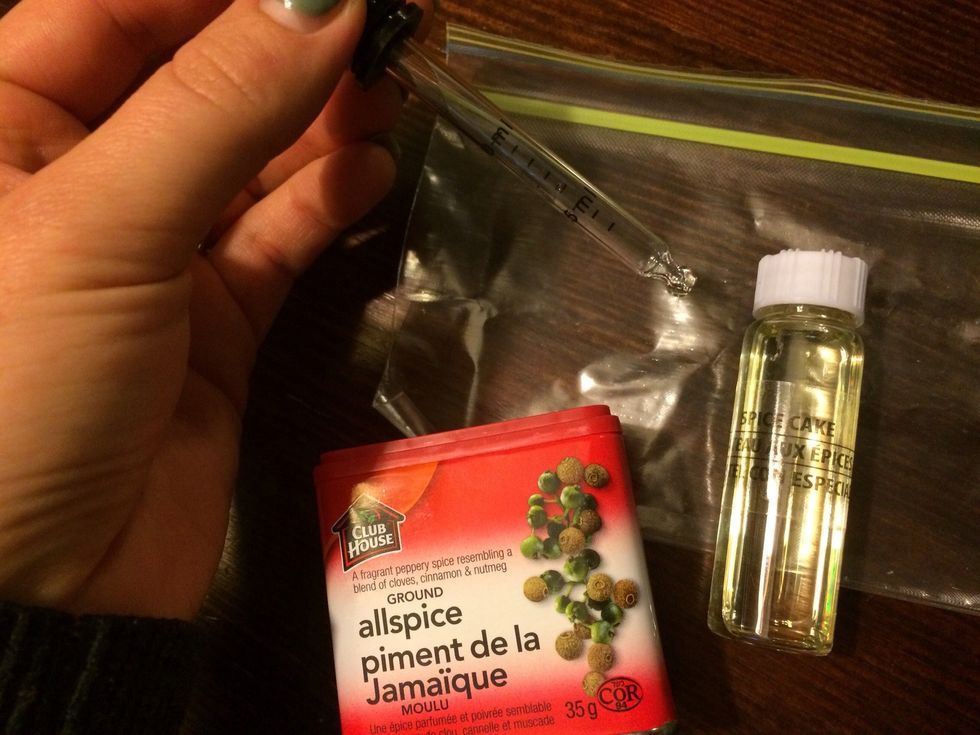
At the Pinecone Station, show children the whole spices (in a separate bottle) that go into allspice. Using dropper, assist children in placing 2 drops of each essential oil onto each pinecone.
Placed "oiled" pinecones into their ziploc bags. Children can gently sprinkle in allspice, and extra cinnamon if wanted, into ziploc bag. Zip close and have children shake for two minutes. Set aside.
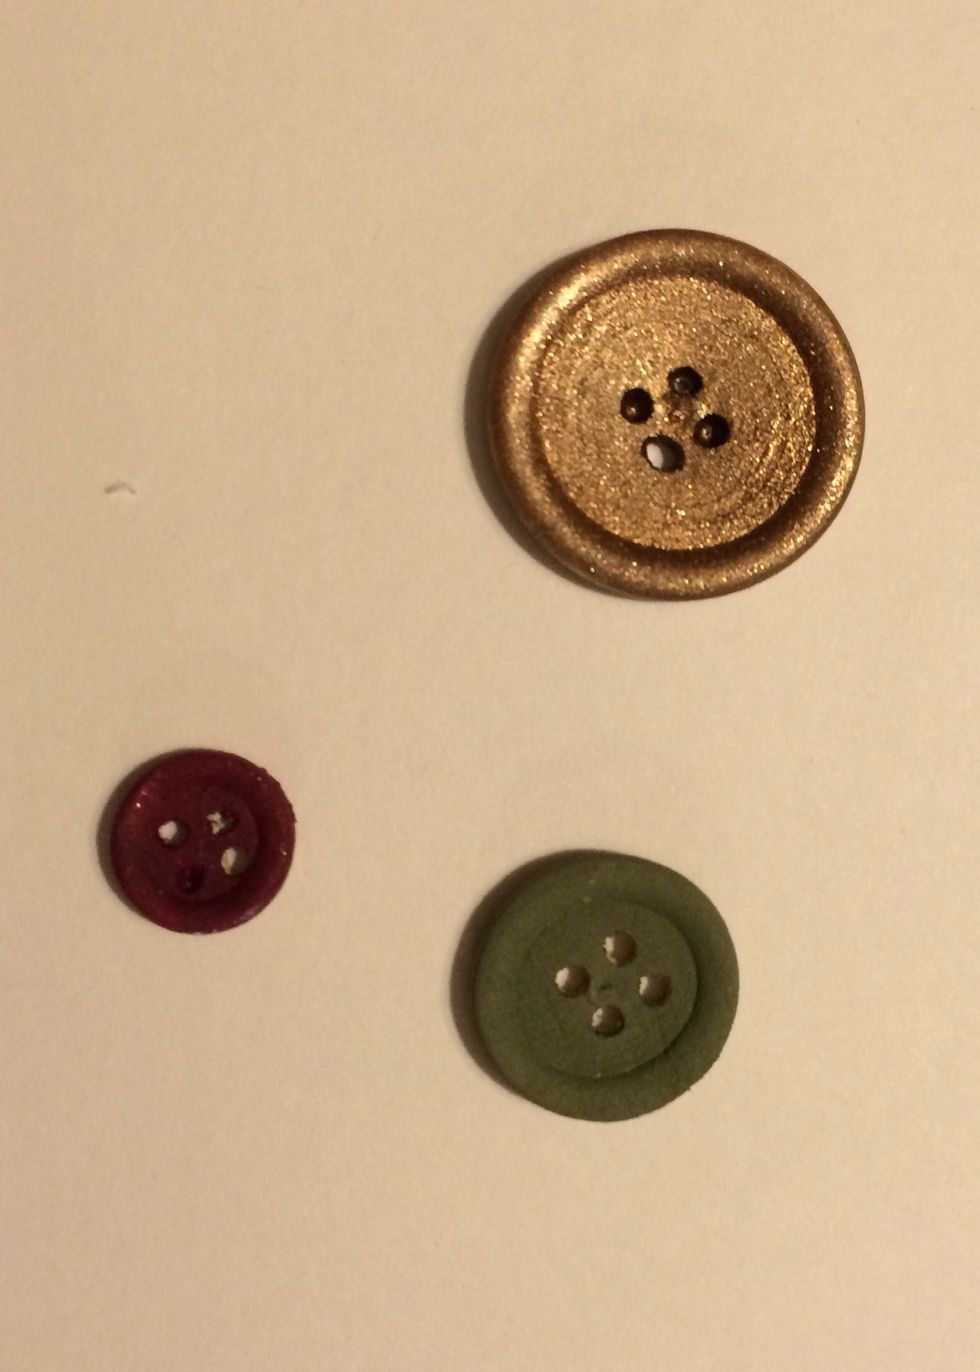
At painting station, each child receives 3 buttons. Instruct children to paint very thin coats of acrylic paint, allowing paint to dry between coats. Encourage good technique. Paint toothpick orange.
At the Gluing & Cutting Station, kids will create an embellishment for the snow hat. A hot glue gun is needed and supervision at all times. Kids will also work on their cutting skills to cut shapes.
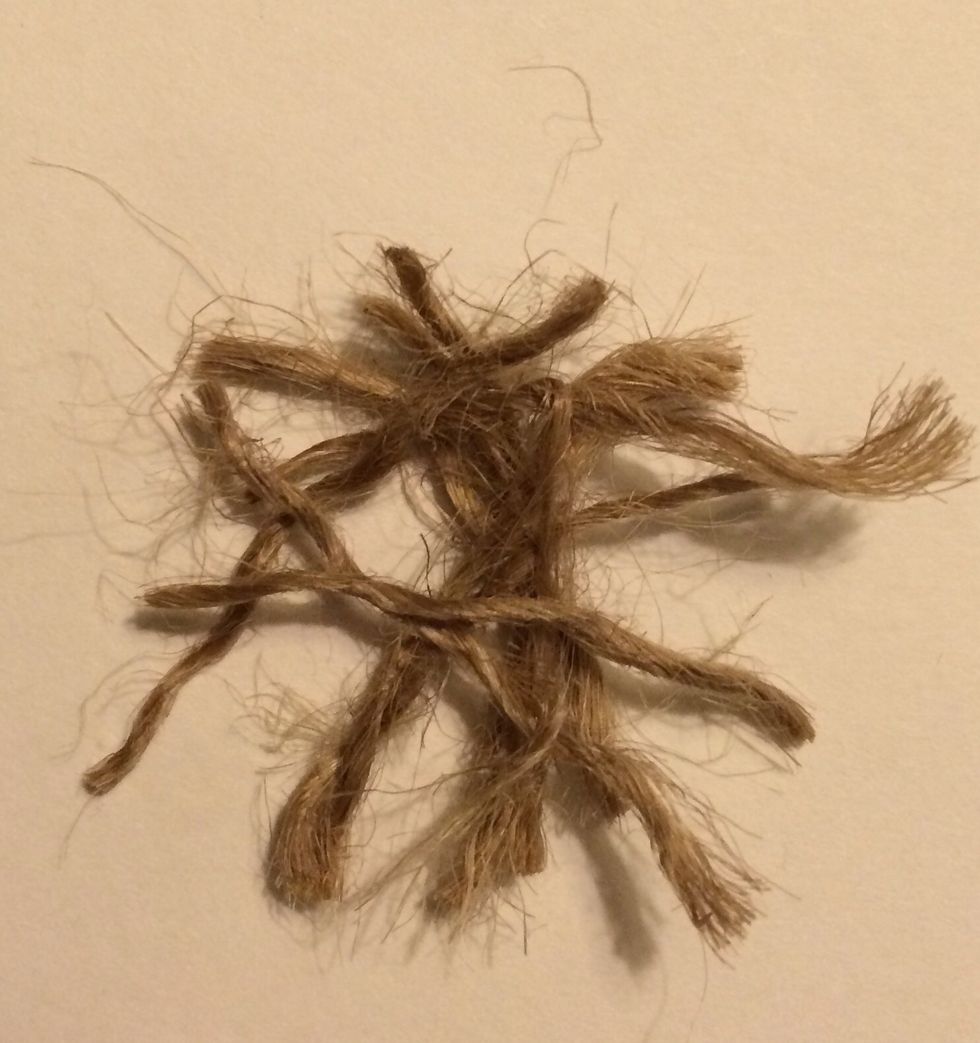
Have children unravel the jute into pieces, layering it to make a pile.

Place dab of hot glue onto back of ribbon piece. Lay rope pile on top. Caution: will be hot, so help the children place this.
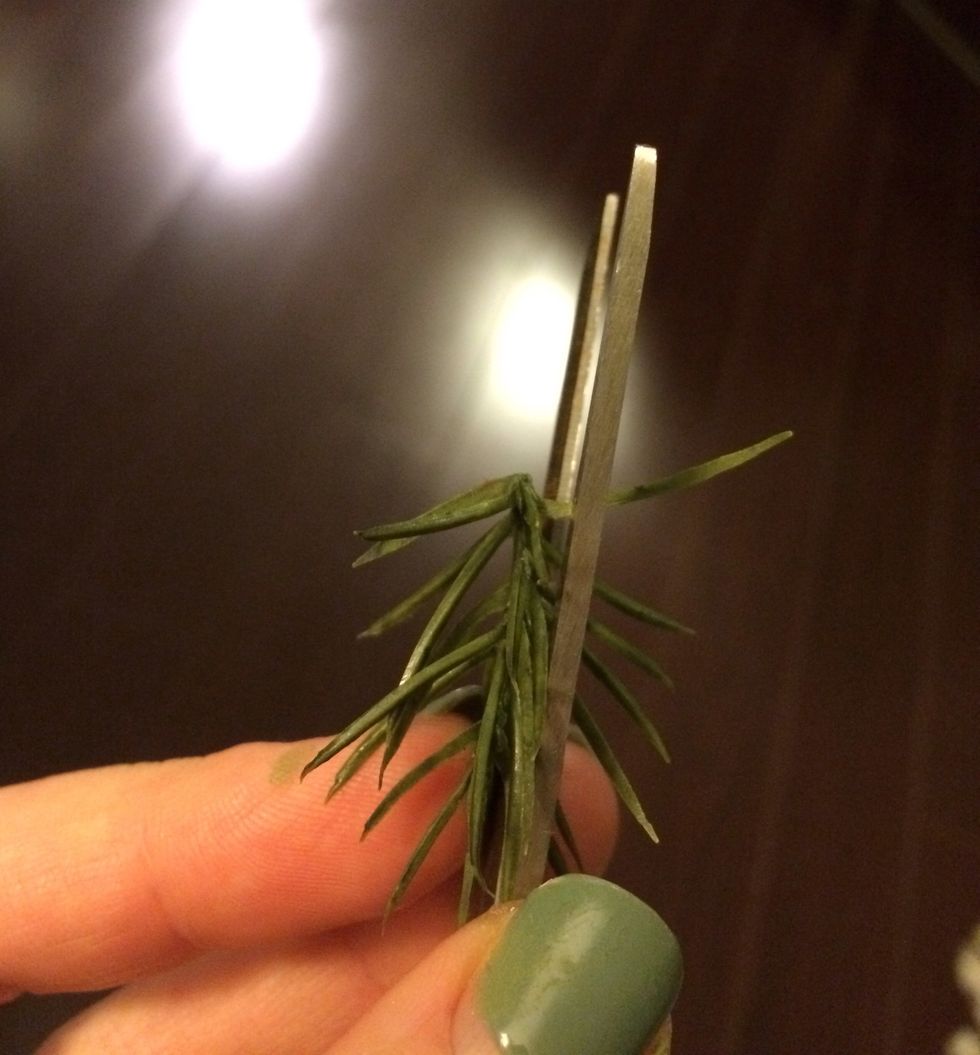
Cut the back of the evergreen piece to make one side flat for gluing.

Turn ribbon piece over, and glue on evergreen and berries. If you have time, do this part with generous amounts of cold glue.
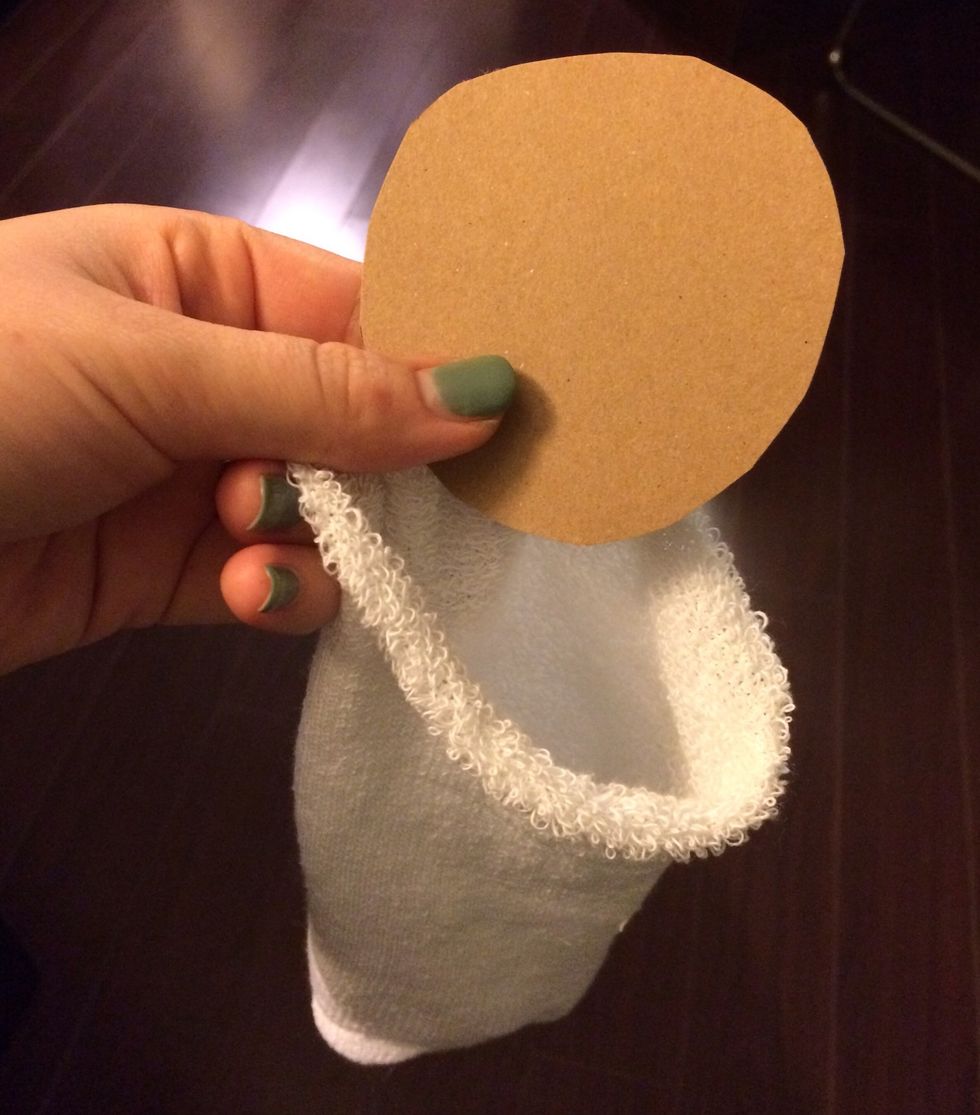
For the cutting portion of this Station, have children cut out traced circle. Set aside.
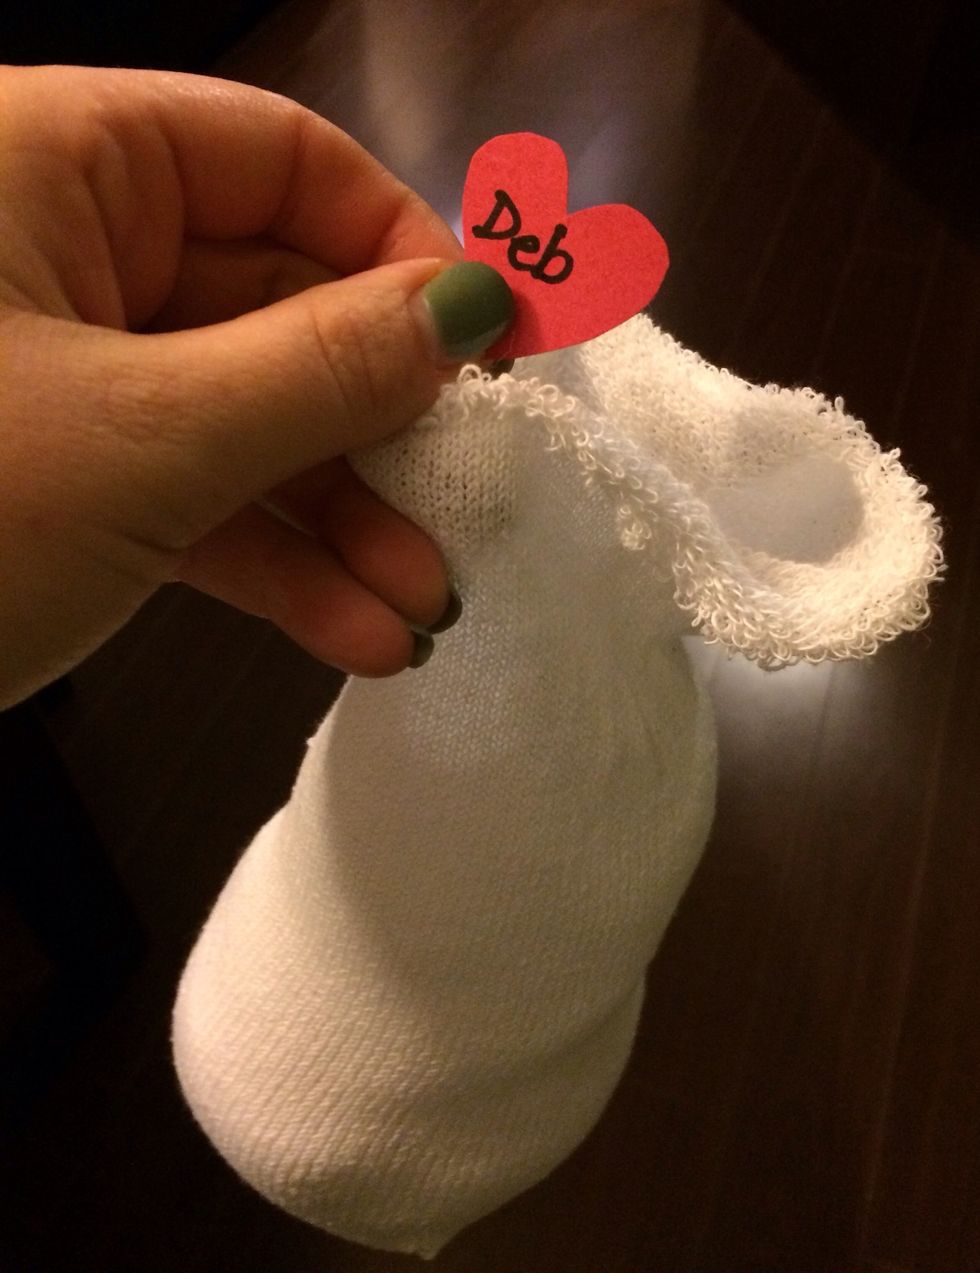
Children can carefully cut out traced heart, and write name on it. Set aside. You are done for Day 1.
Day 2 Stuffing Station Supplies: white sock bottom, cotton batting, scented pinecones, rubber bands, circle & heart shaped cut-outs
Day 2 Snowy Tree Station Supplies: scissors, large green chenille pipe cleaners, paint brushes, plastic plate, white acrylic paint, clear/white/or iridescent glitter, recycled paper
Day 2 Scarf Station Supplies: scissors, recycled paper, patterned fabric (pre-cut into lengths)
Day 2 Sewing Station Supplies: dyed sock (from Day 1), needle, thread
DAY 2: Today, the sock will be stuffed and shaped to resemble a snowman. This will be done at the Stuffing Station. The scarf will be fringed, the mini tree cut and painted, and the hat sewn together.
At the sock stuffing station, have children place circle cut out into bottom of the sock, lining up the sock seam in the middle of the circle.
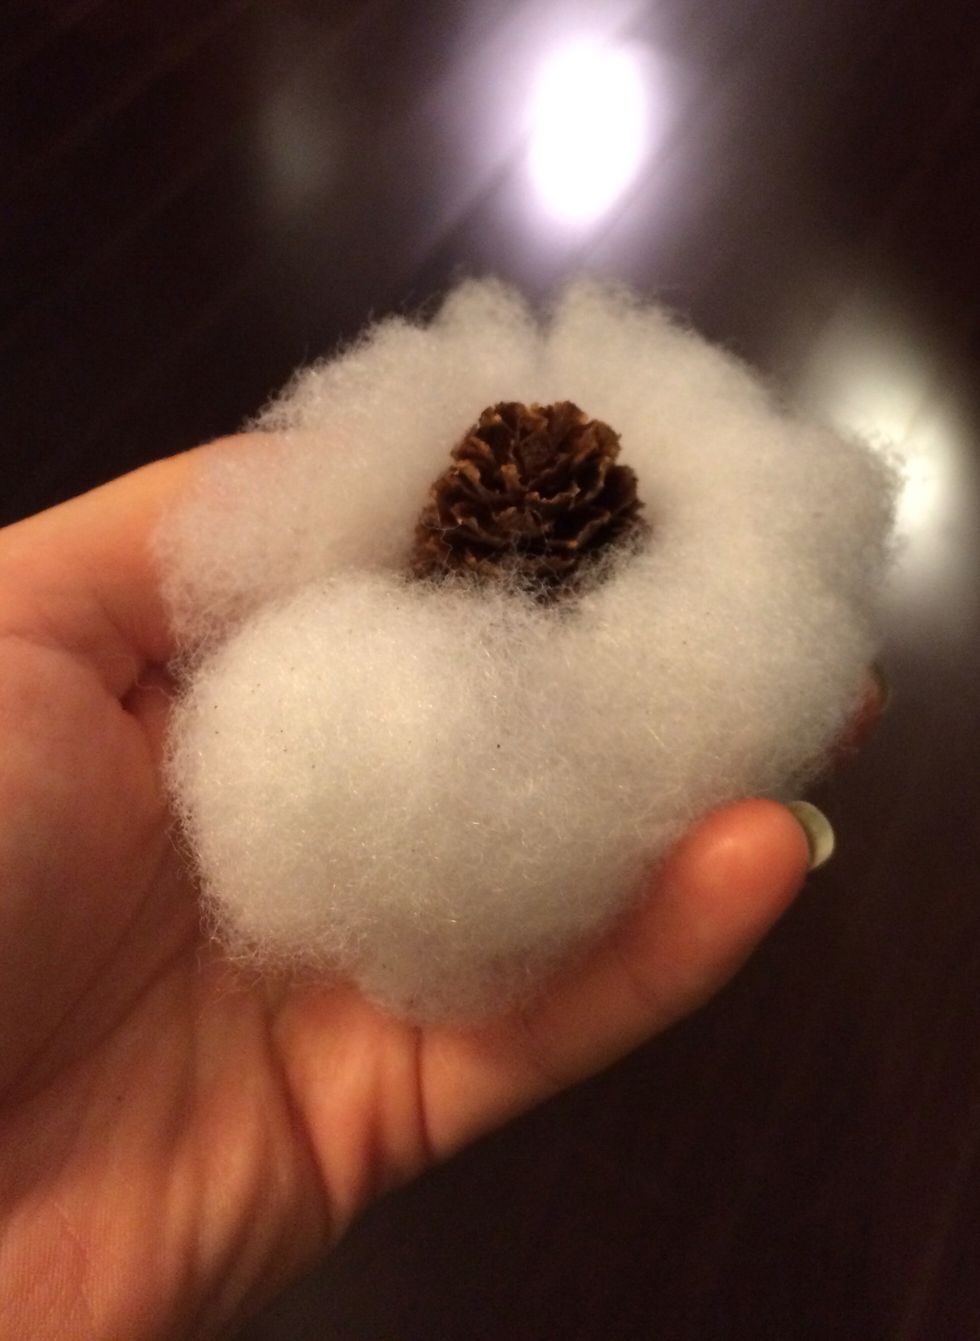
Grabbing one pinecone and cotton batting, make a ball, with the pinecone in the centre. Keep adding batting to the side to make a large ball. Stuff into bottom of sock.
Do the same with the second pinecone, only this time making the ball smaller.

Add a little bit of love to your snowman by hiding the heart in the top stuffing.
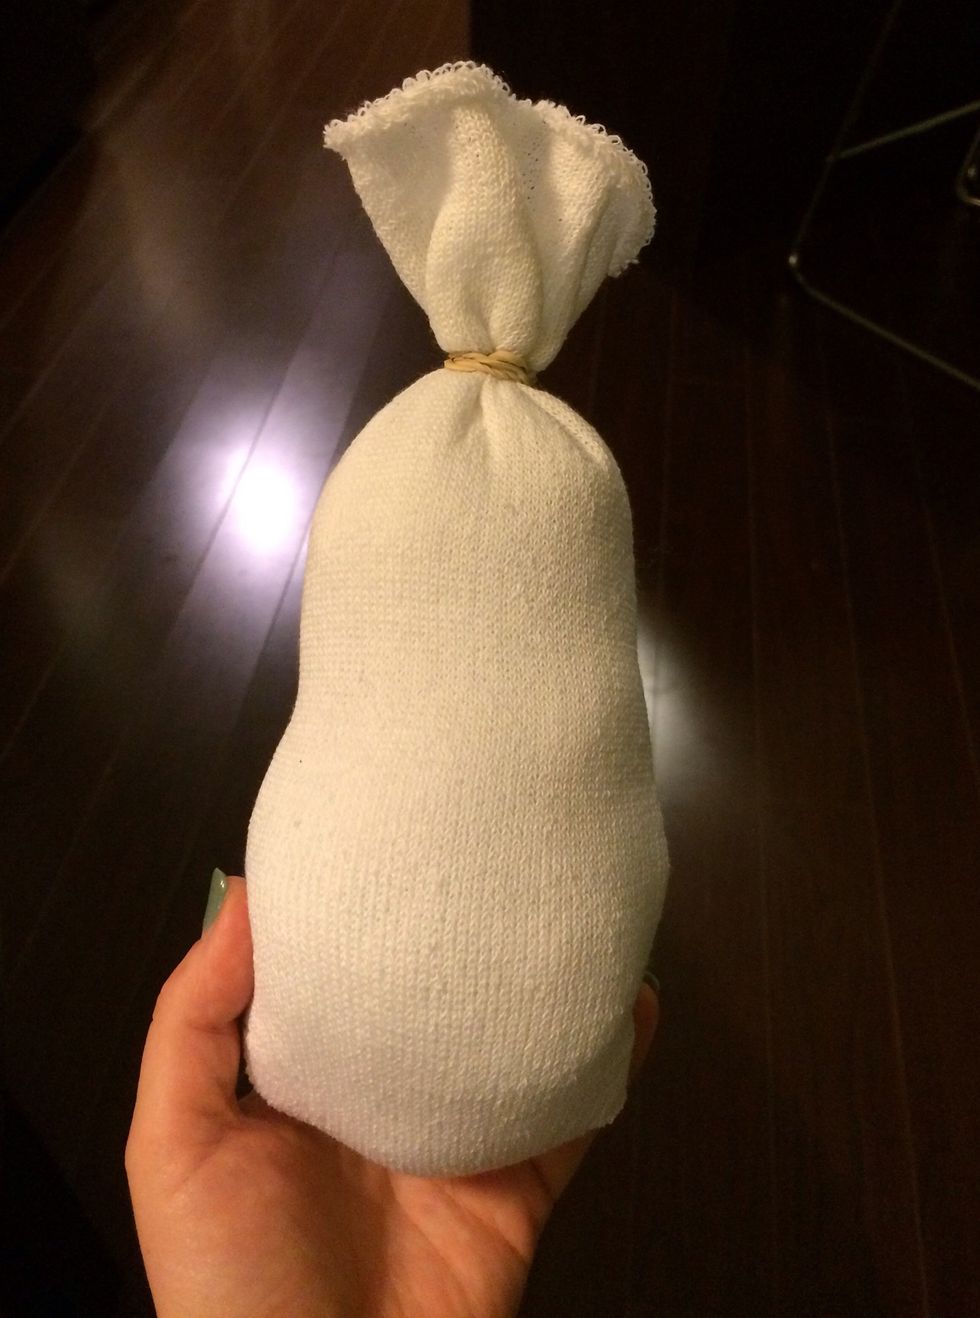
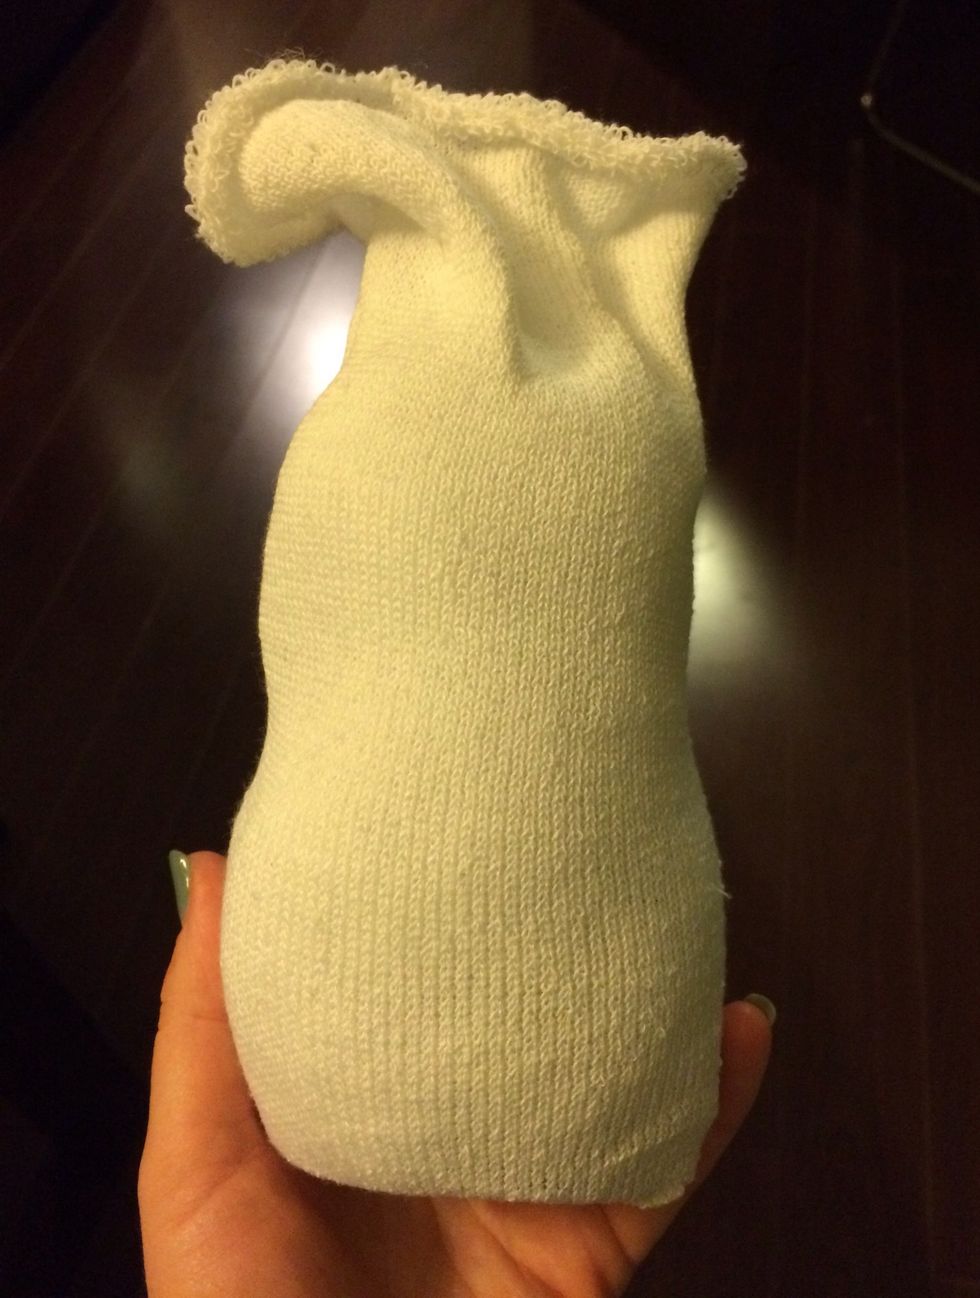
Place rubber band around top until tight. Cut off excess sock at end, leaving about 1.5" at the top.

Pull on stuffing to "fluff up" snowman, until he looks nice and rounded all the way around.
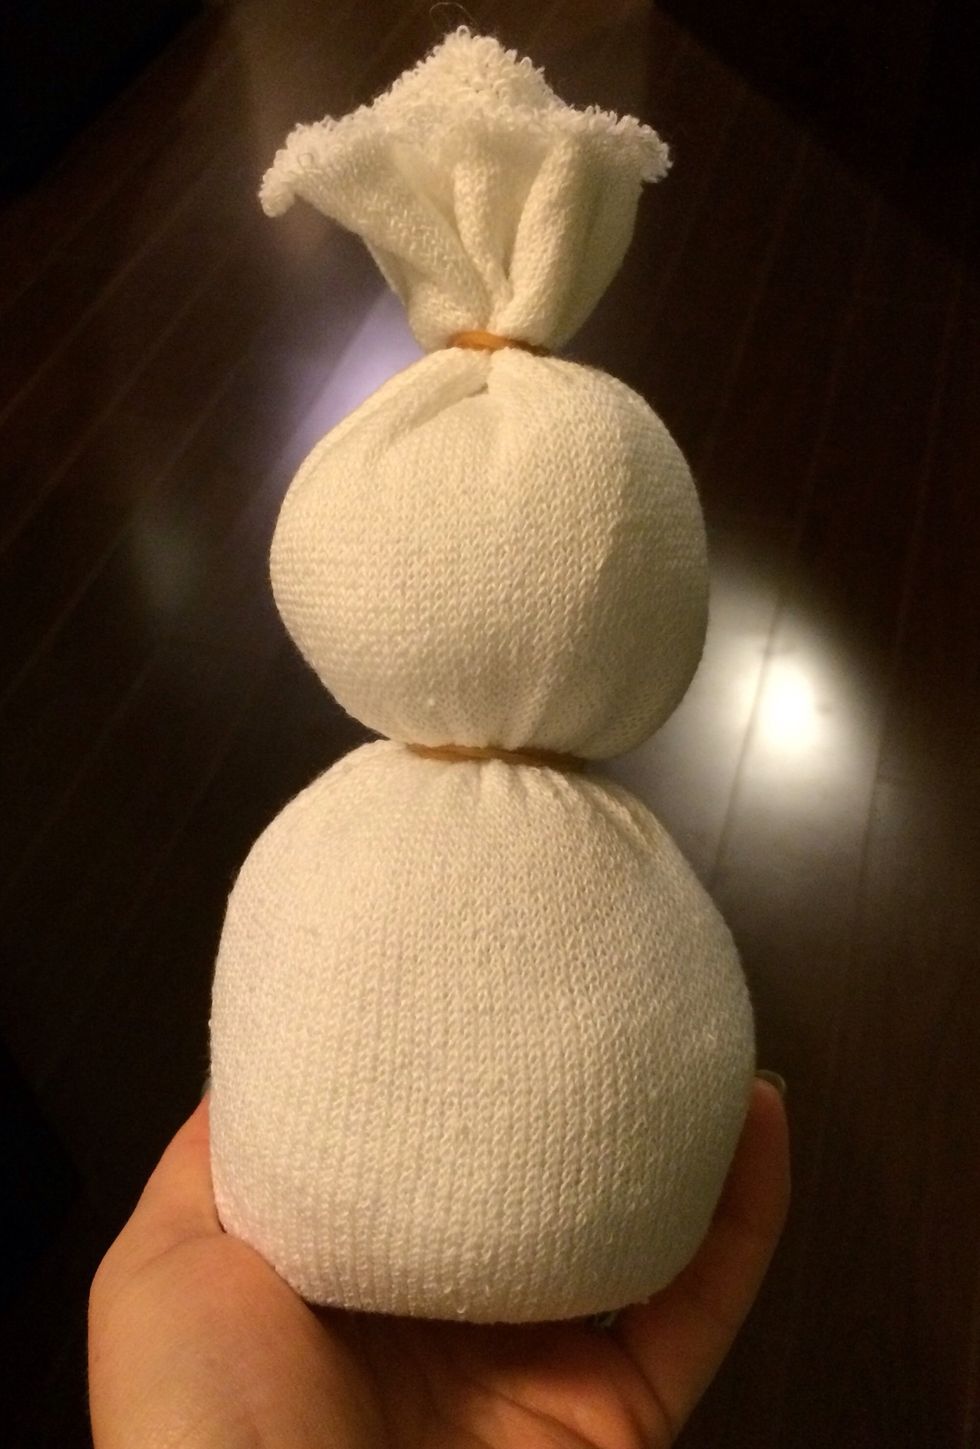
Next, create the head and body. Place second rubber band between two pinecone "balls", wrapping only once or twice (depending on rubber band), so that it is gathered but not too tight.

Using about 2.5" of large green chenille pipe cleaners, assist children in slowly cutting into a triangular, tree-like shape.
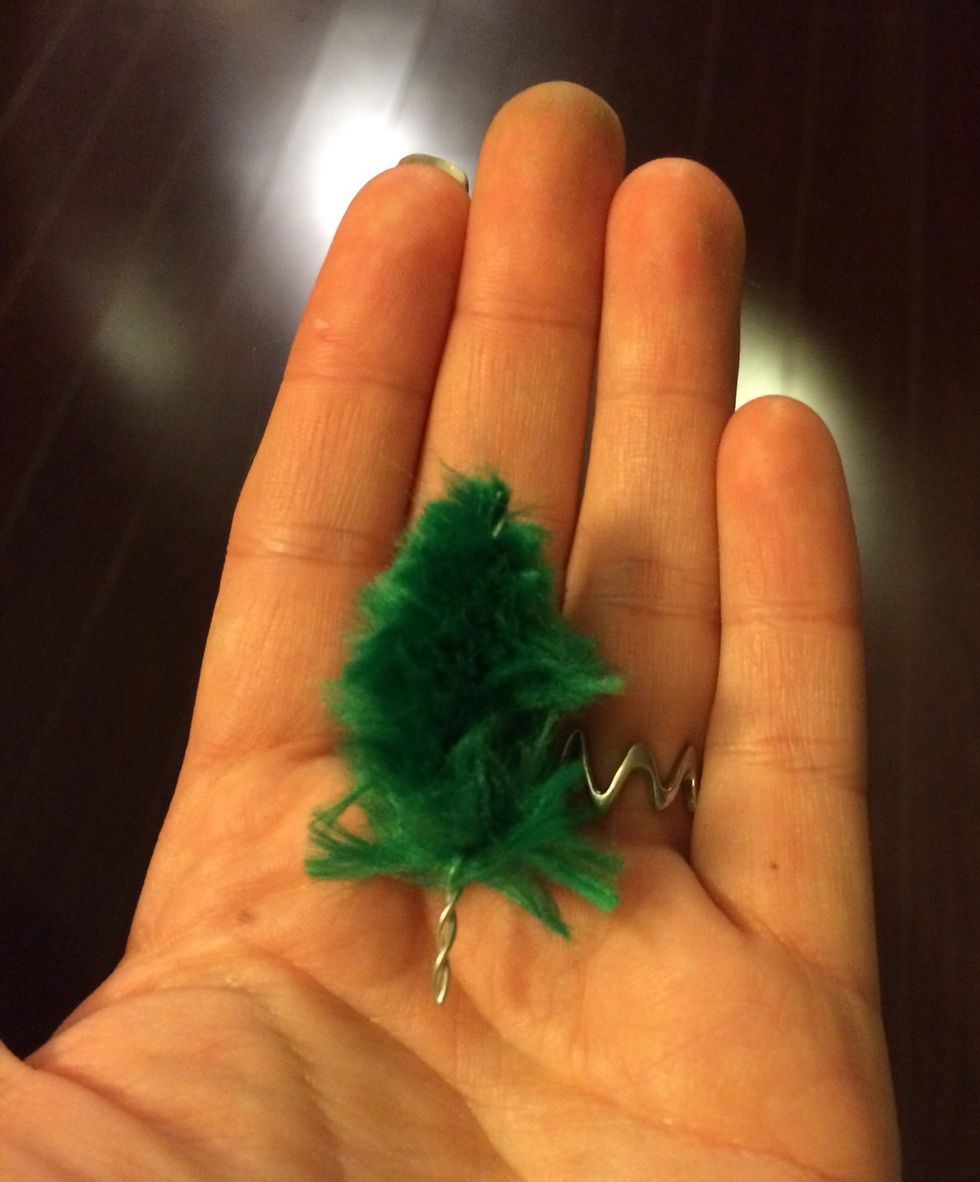
Gently pull off about 1/2" of the bottom green chenille to make it resemble the tree trunk.
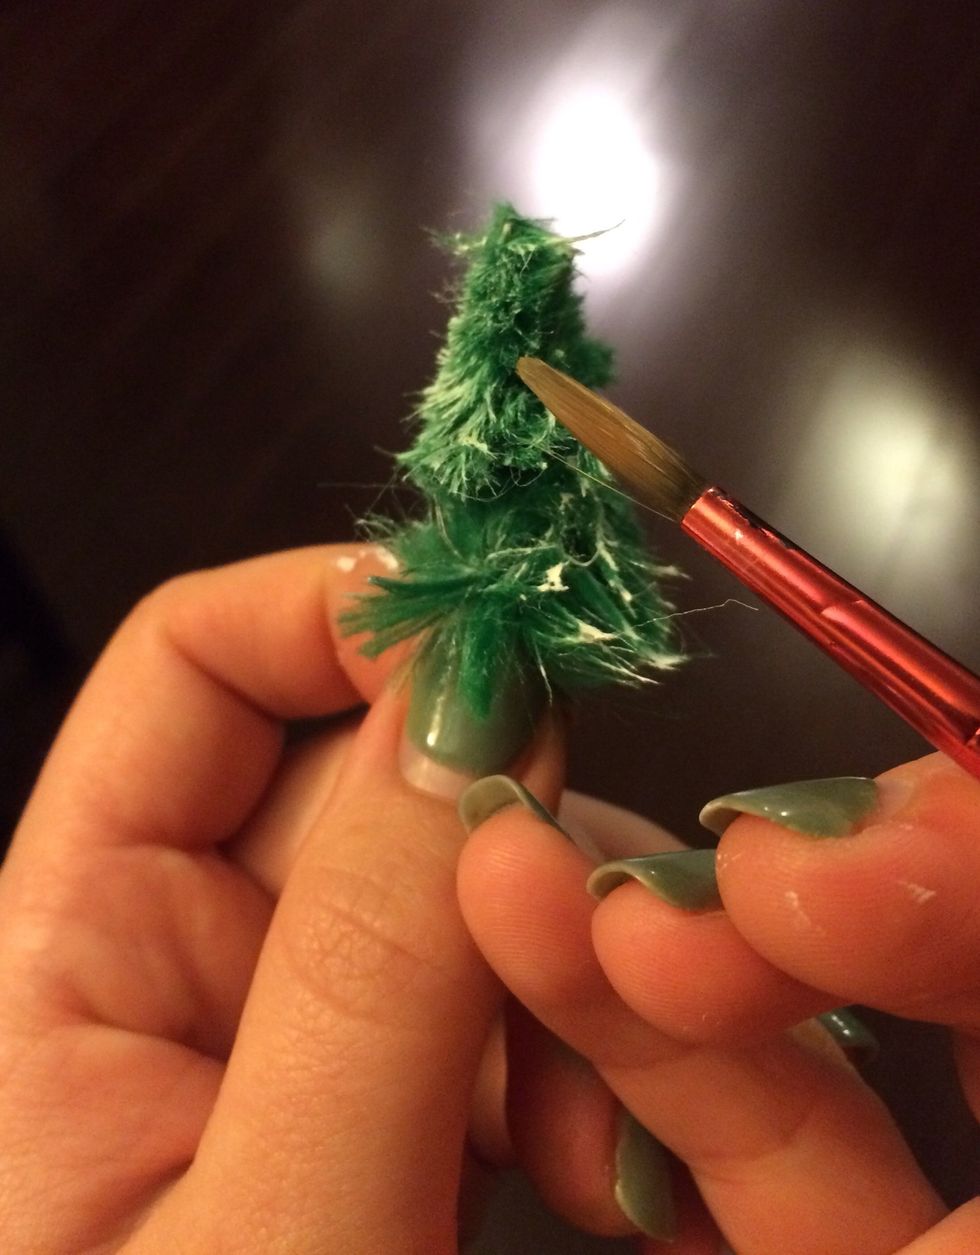
Using white acrylic paint and a paint brush, children will learn the technique of flocking: adding tiny particles (of paint) to a surface (the tree) to create texture (snow).
Hold tree by the trunk. Loading white paint lightly onto the brush, tap gently all over surface of green tree. Turn the tree and continue to tap on paint gently until all surfaces look snow covered.
While paint is still wet, hold tree over piece of paper, and lightly sprinkle with glitter. Gently shake off excess glitter onto the paper. Set snowy tree aside to dry. Reuse glitter for next child.
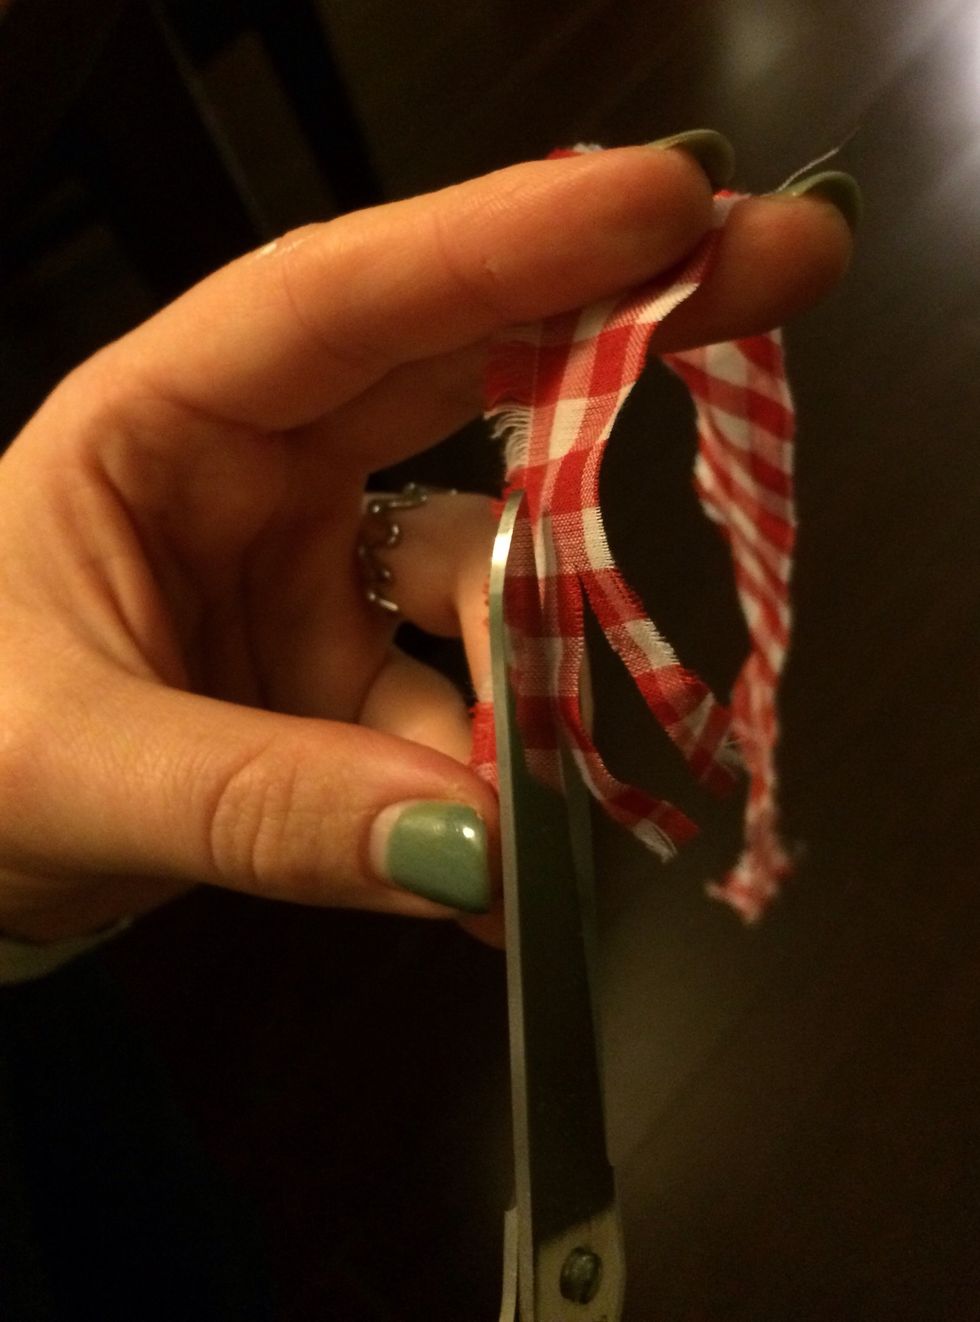
At the Scarf Station, pick one fabric pattern of choice. Children will first practice making fringe on paper, then when ready, move onto fringing both ends of the scarf. Set aside.
At the Sewing Station children will practice some sewing skills. This may be a first for many of them, and it is a simple way to familiarize them with stitching, which will be practiced more later on.

Hold dry, dyed sock from Day 1. You will be sewing this together to create the snowman's hat.

Have pre-threaded needle ready. Bunch up raw cut edge together, making S shapes.
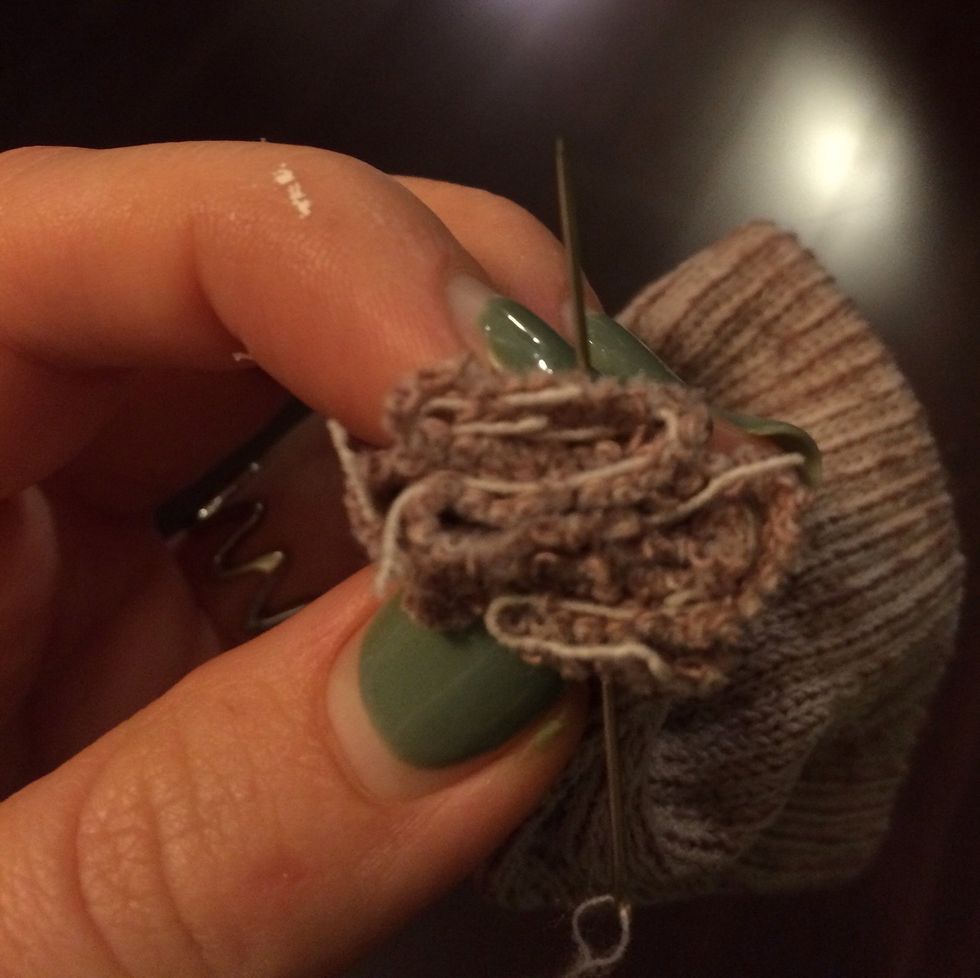
Make knot at end for children. Run needle through bunch of fabric a few times. Pull tight, and knot to finish.
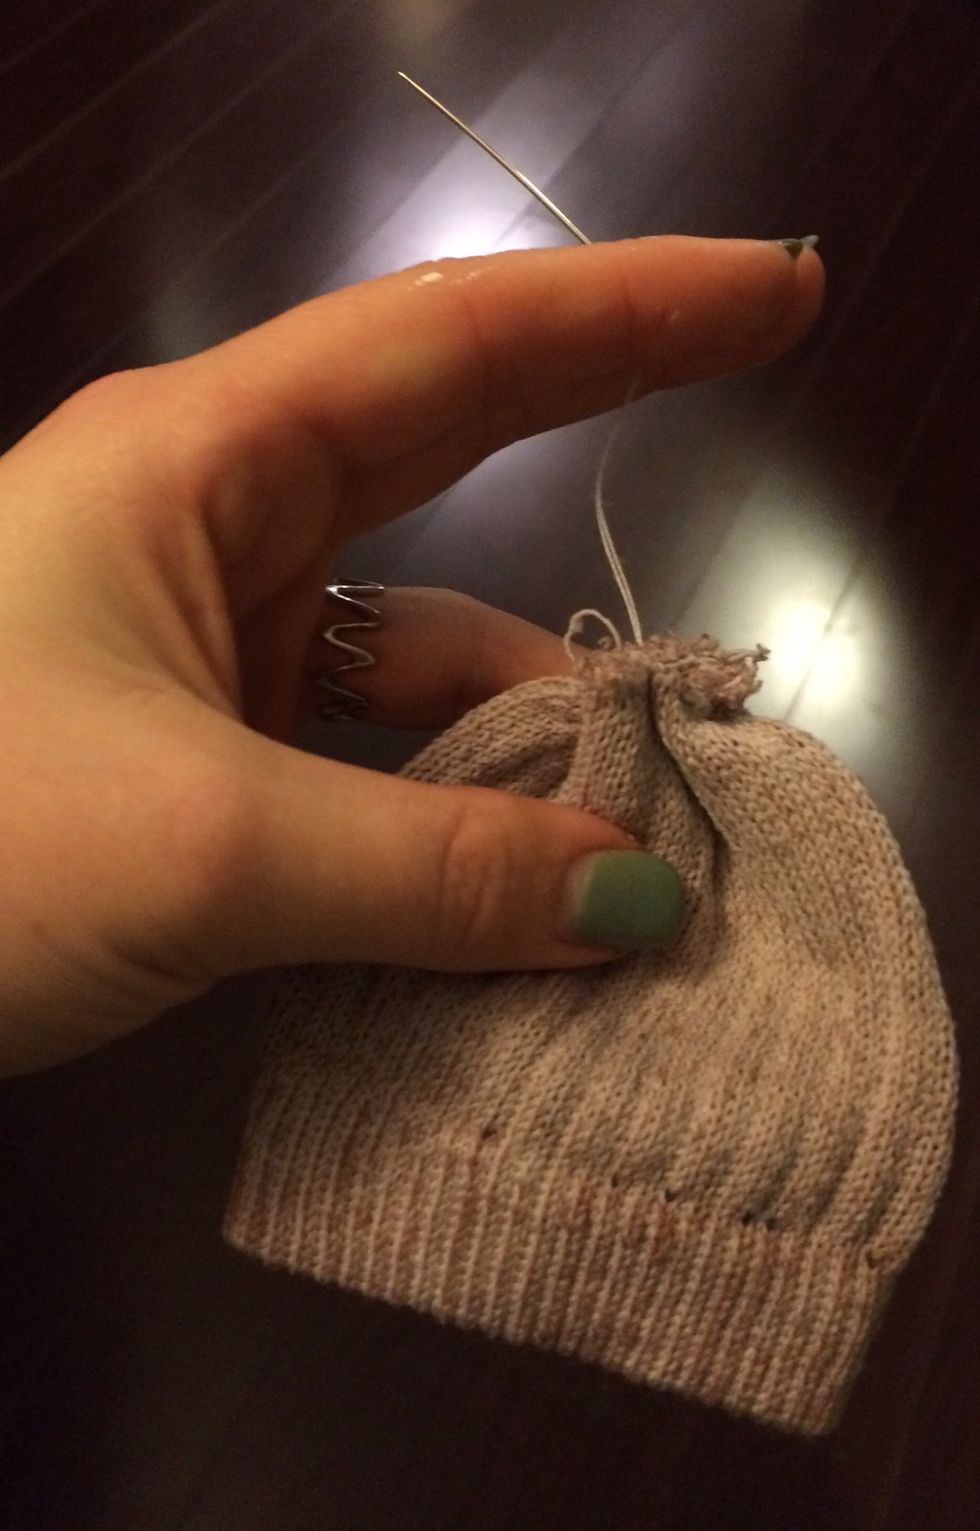
Cut and trim excess thread.

Turn hat inside out. Set aside for Day 3.
Day 3 Sewing Station Supplies: needle, thread, snowman body, painted wooden buttons, brown chenille pipe cleaner
Day 3 Hot Glue Station Supplies: hot glue, glue gun, scarf, hat, pompom, embellishment, Christmas tree
Day 3 Finishing Station Supplies: painted toothpick, pink pastel, black puffy fabric paint, mini candy cane
Day 3: Today children will be stitching again, and assembling all the many parts of the snowman they have set aside.

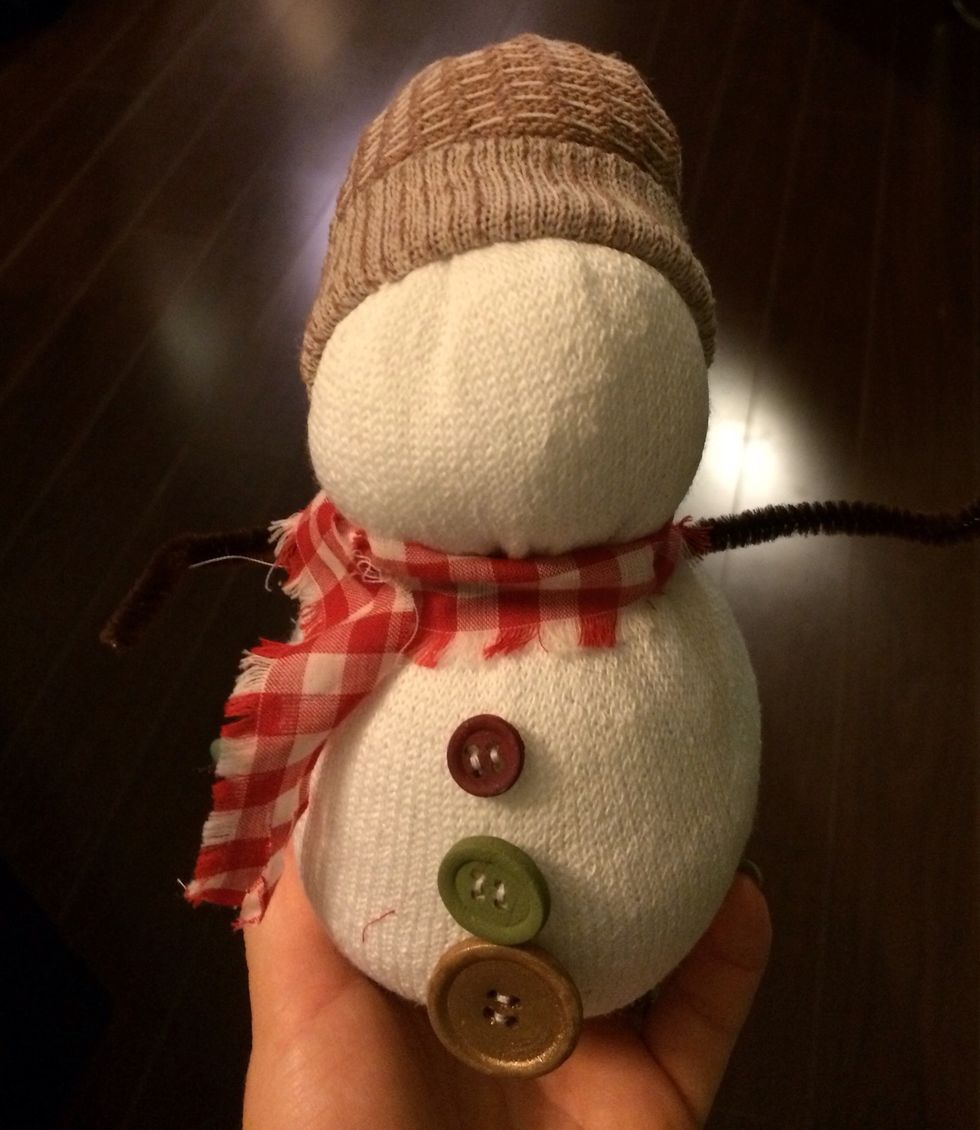
The painted wooden buttons will be sewn on today. Parent volunteer have needle and thread ready; you can double upon the thread if you like. Start a knot on the sock.
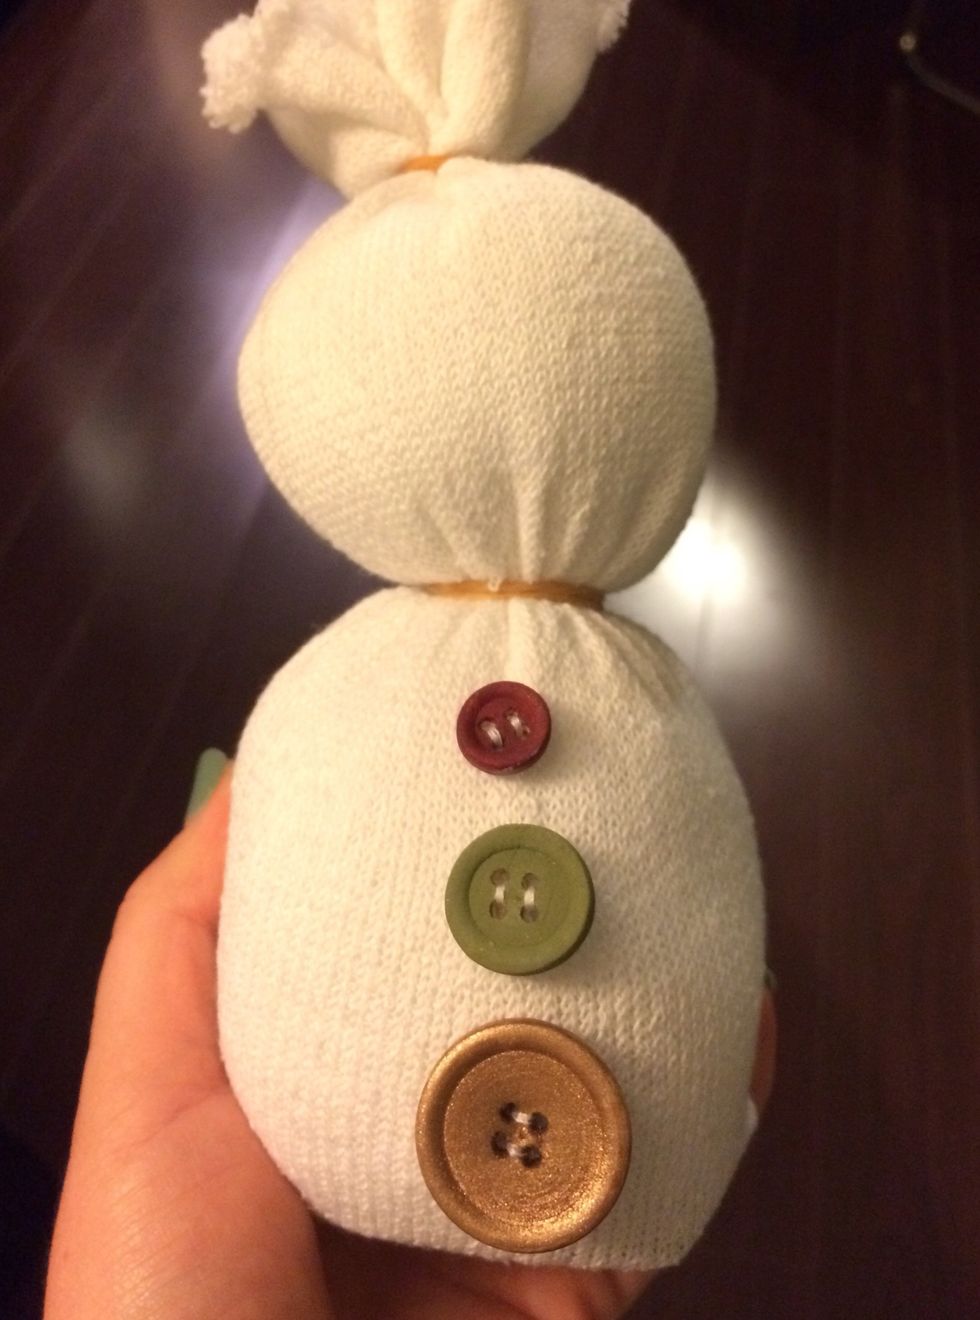
Allow the children creative license for where these are placed. Imperfection is part of what adds to the charm of a craft. Each button only needs to be threaded through 2x. Hot glue these if needed.
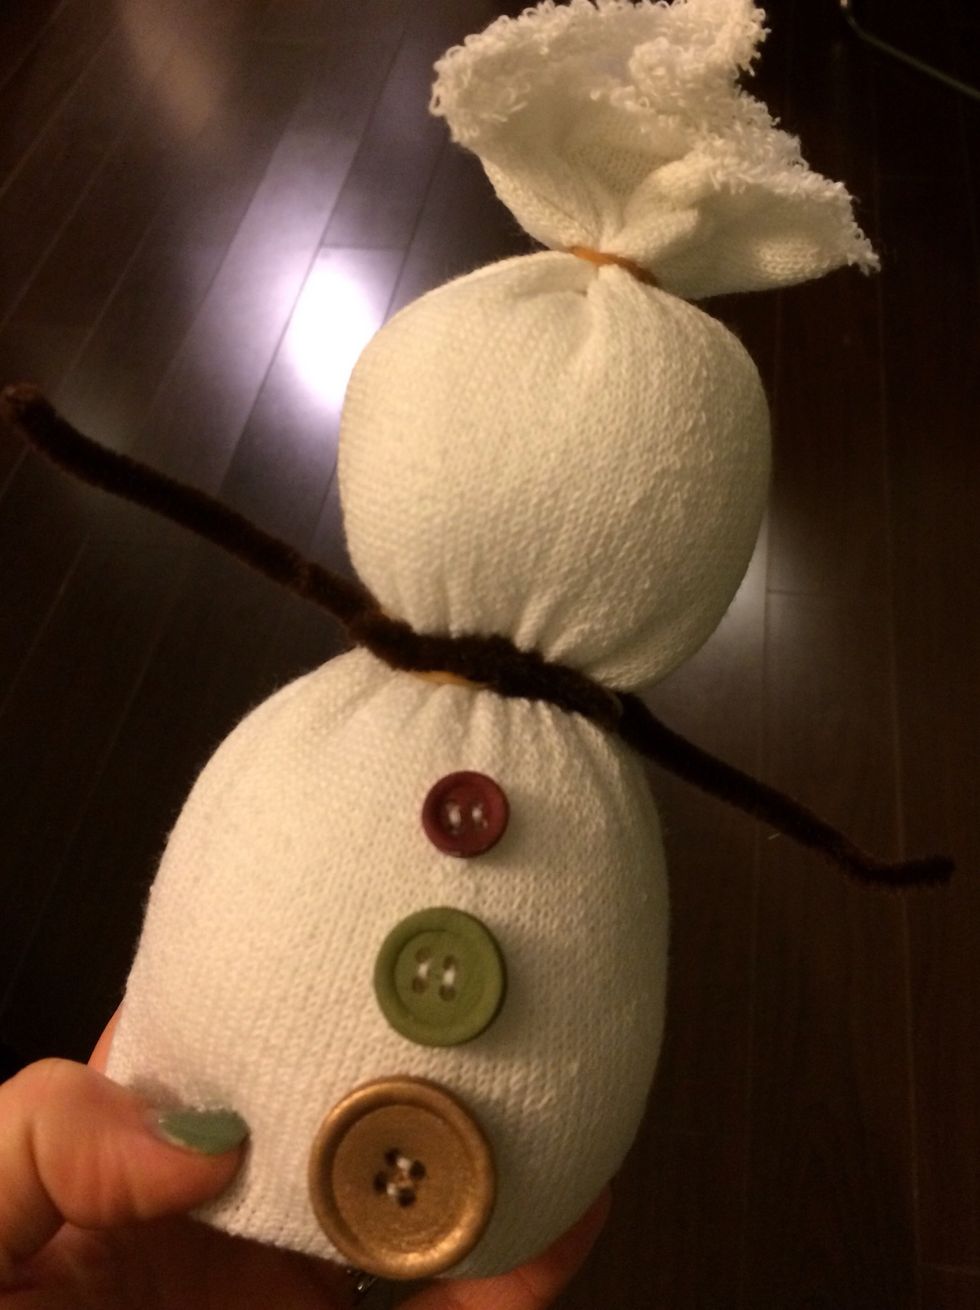
Using one brown chenille pipe cleaner, wrap it around the neck gently and twist it once, then bring each back to the side and tucks it out and under each side to make the arms.
The Hot Glue Station must be supervised by an adult. Many embellishments that have been set aside will be put together here.
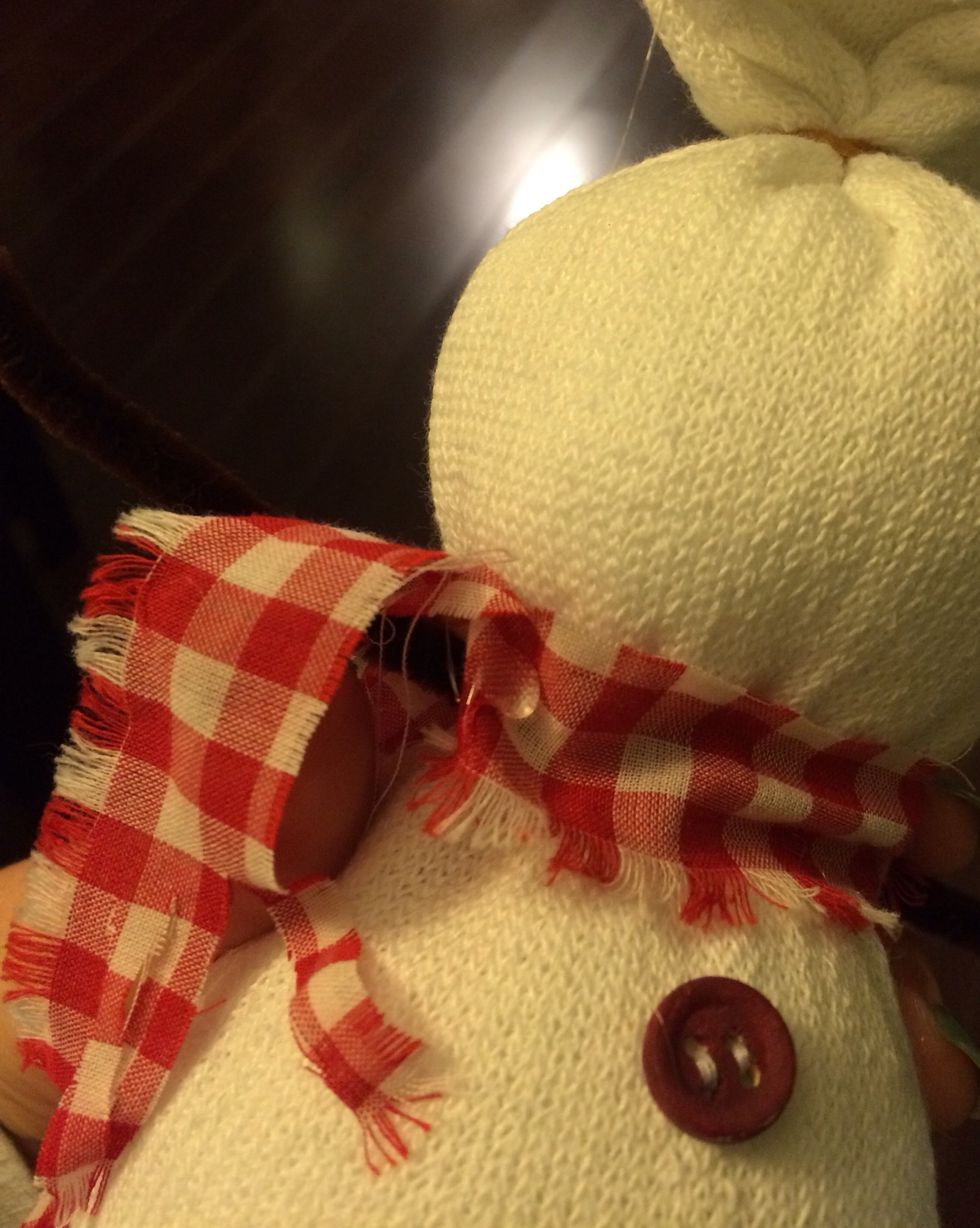
Assist children with placing the scarf as if it is wrapped around and thrown over the shoulder. Then using hot glue, dab a little to hold it in place. Tuck top part of scarf under the pipe cleaner.
Place hat on the head of the snowman. Roll up edge to make a rim for the hat.
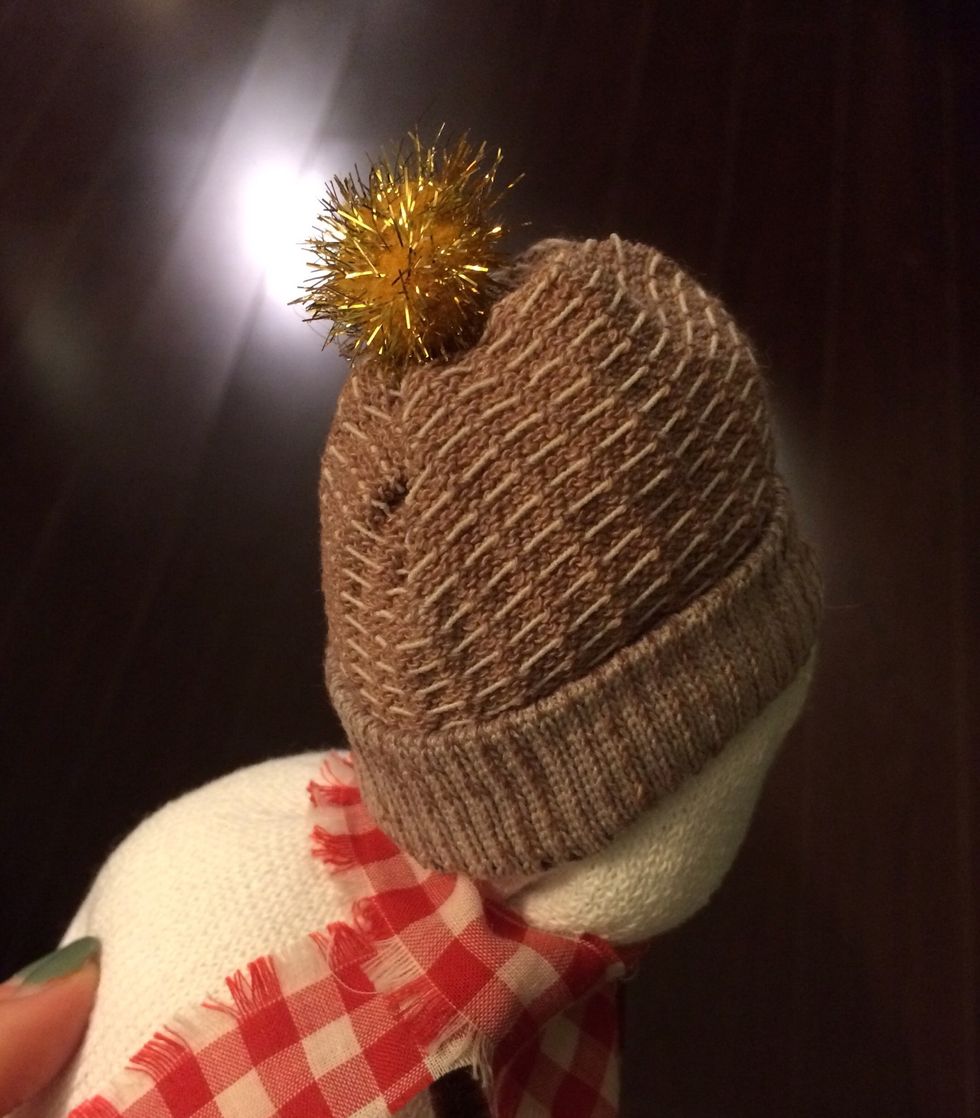
Using hot glue, glue pompom onto top of snow hat.
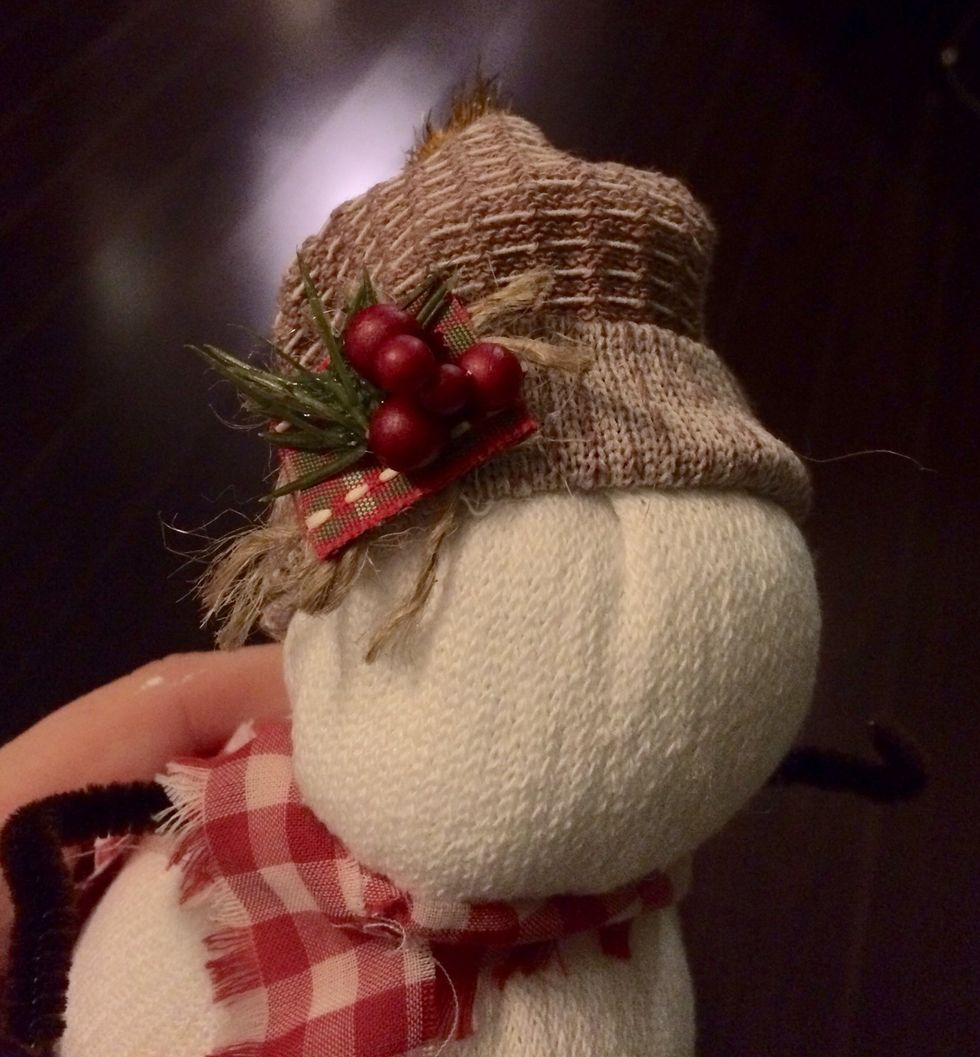
Then, use hot glue to attach embellishment (from Day 1) onto rim of hat.
Last stop- the Finishing Station! Guide children in placing nose and cheeks, and adult will paint on eyes.

Carefully poke toothpick (from Day 1) into the middle of the face.
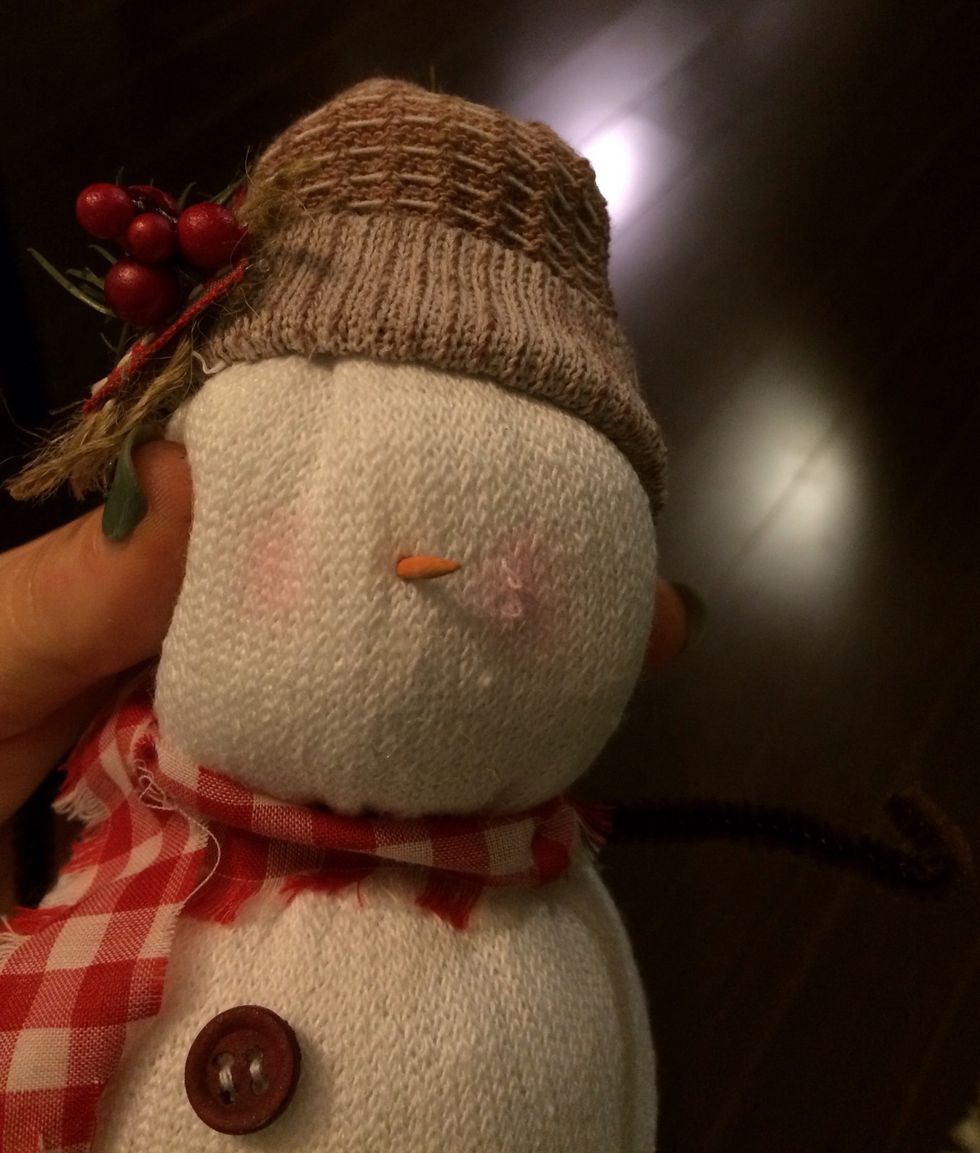
Using pink pastels, lightly tap blunt end of pastel onto the cheek area, and twist with a light touch. This should make a rosy cheek effect. Repeat on the other side.

Attach mini tree (from Day 2) to one hand of the snowman. Bend and twist the brown wire around it to secure it. If it needs extra help to secured add hot glue.
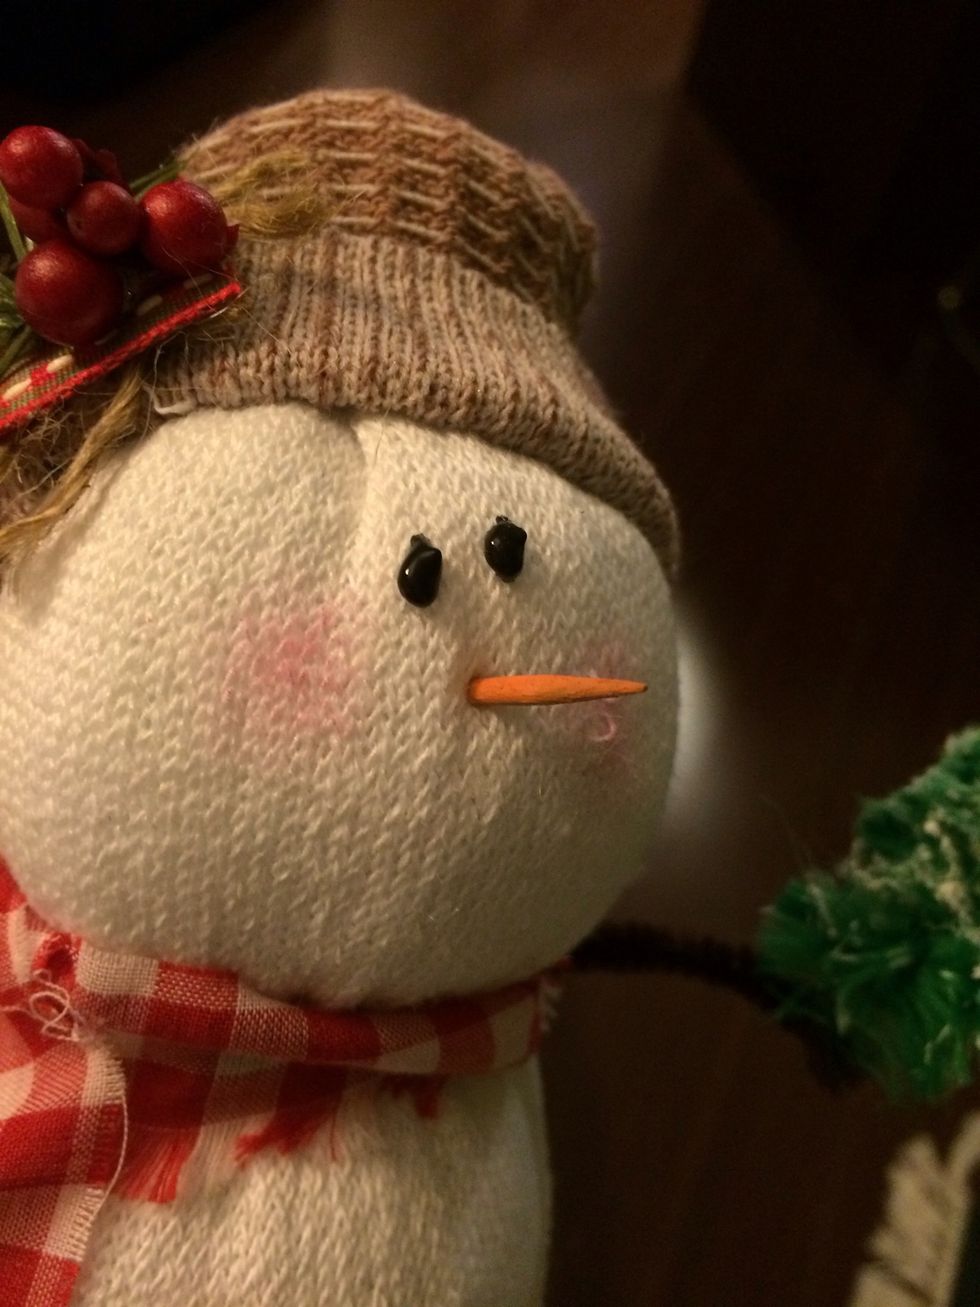
Adding eyes will be the last step. Using puffy black fabric paint, dot two little eyes on either side of the nose. Closer is cuter; and if you want a folk art style, place them offset, as pictured.

For an added treat, you can make the other arm into C shape, and hook on a mini candy cane.
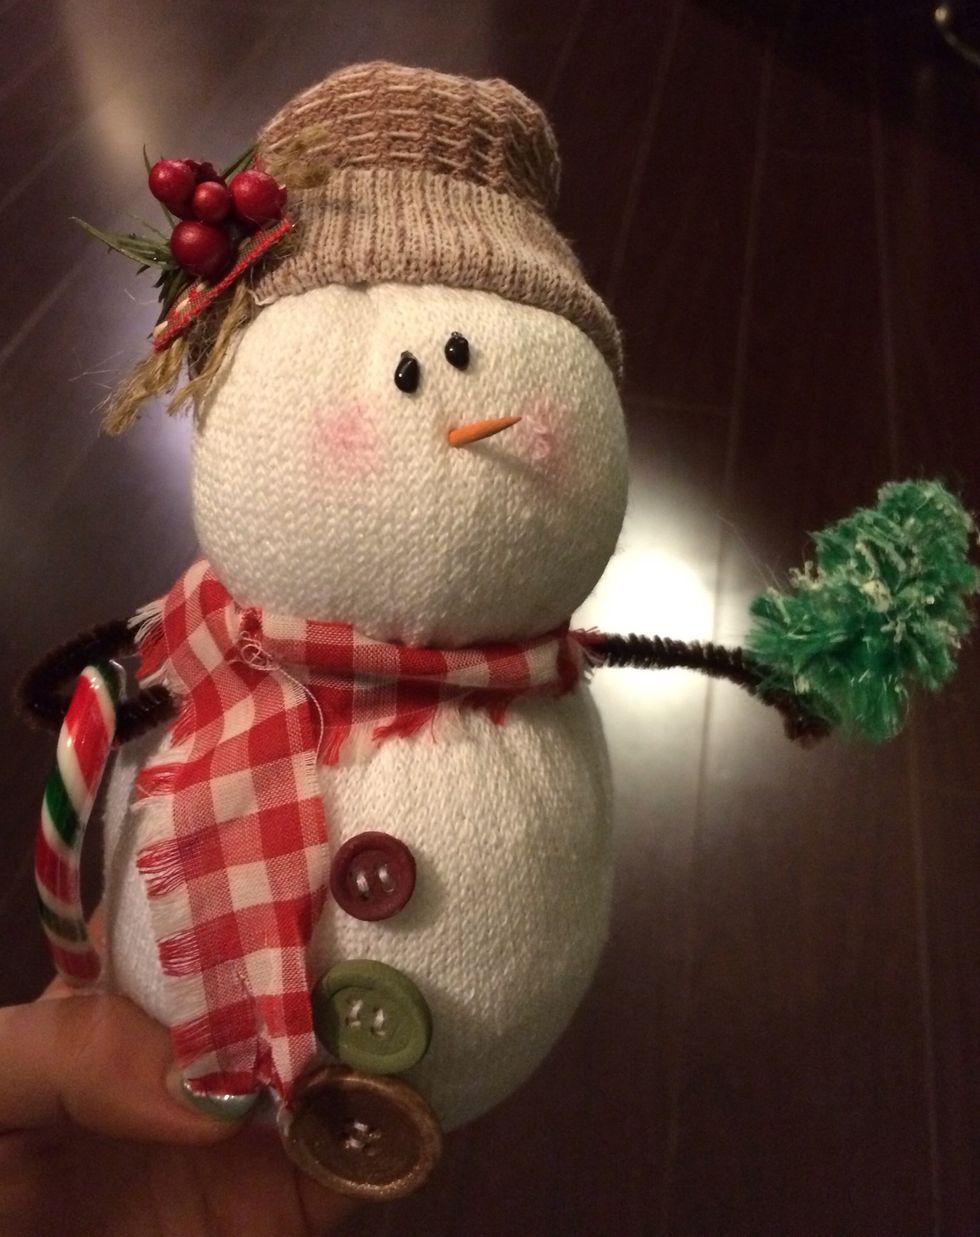
You're done! Carefully set this aside to dry for 24 hours, watching that the eyes don't smudge. All done!