The Conversation (0)
Sign Up

These are the supplies used for our t-shirt project.
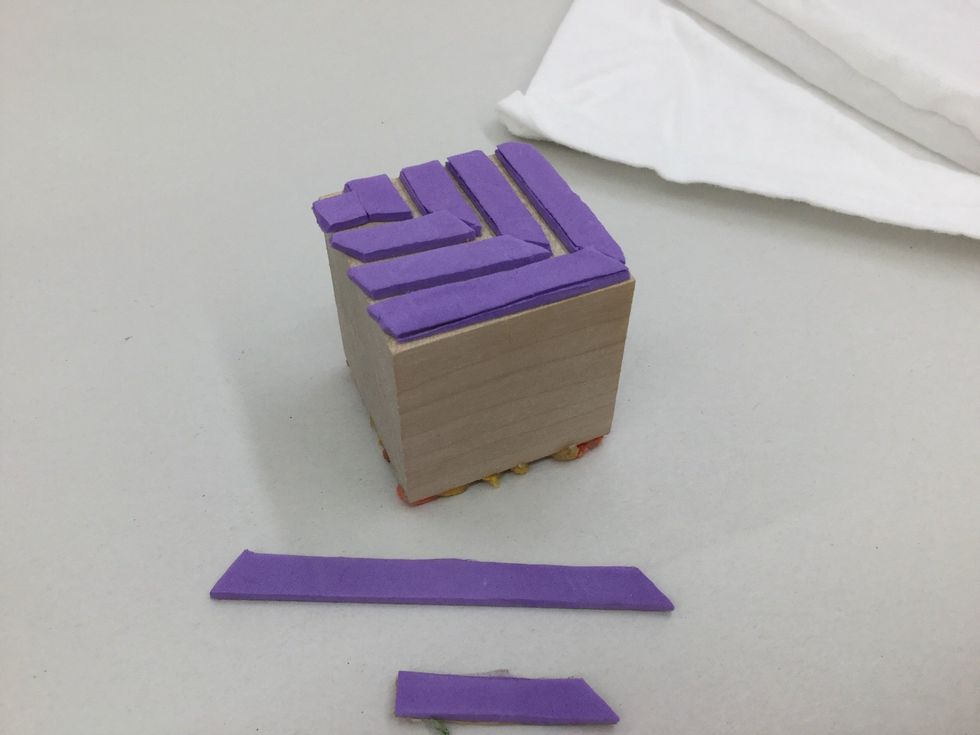
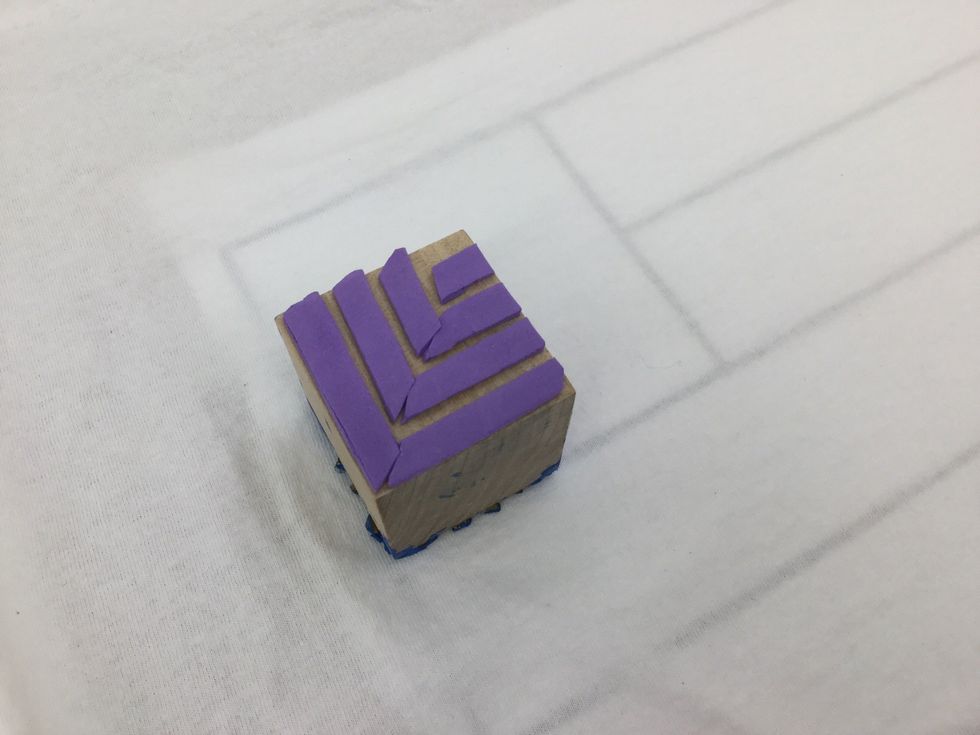
Cut pieces of adhesive backed craft foam and adhere to block for one of your stamp designs.
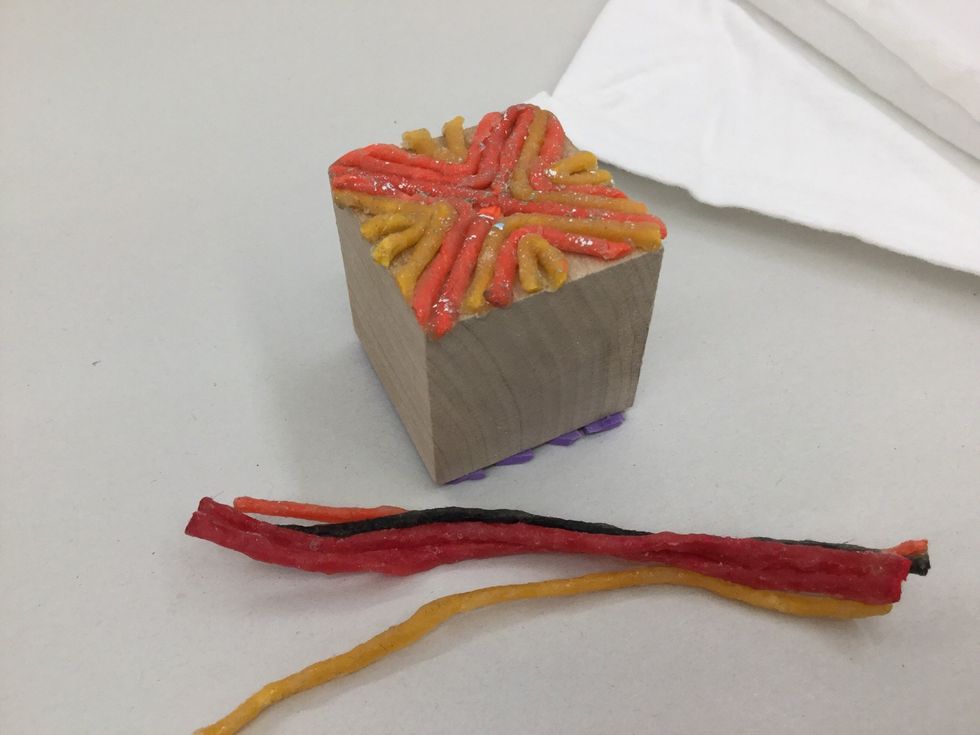
Cut pieces of wikki stix for the other side of the block. Don't overlap pieces - they won't print nicely.
Stretch t-shirt over a piece of cardboard, then slide template into place. Use it to guide the placement of your stamp prints. You can download a pdf copy of the template here: https://goo.gl/saViCj

Use a piece of sponge or paper towel to tap paint onto your design.
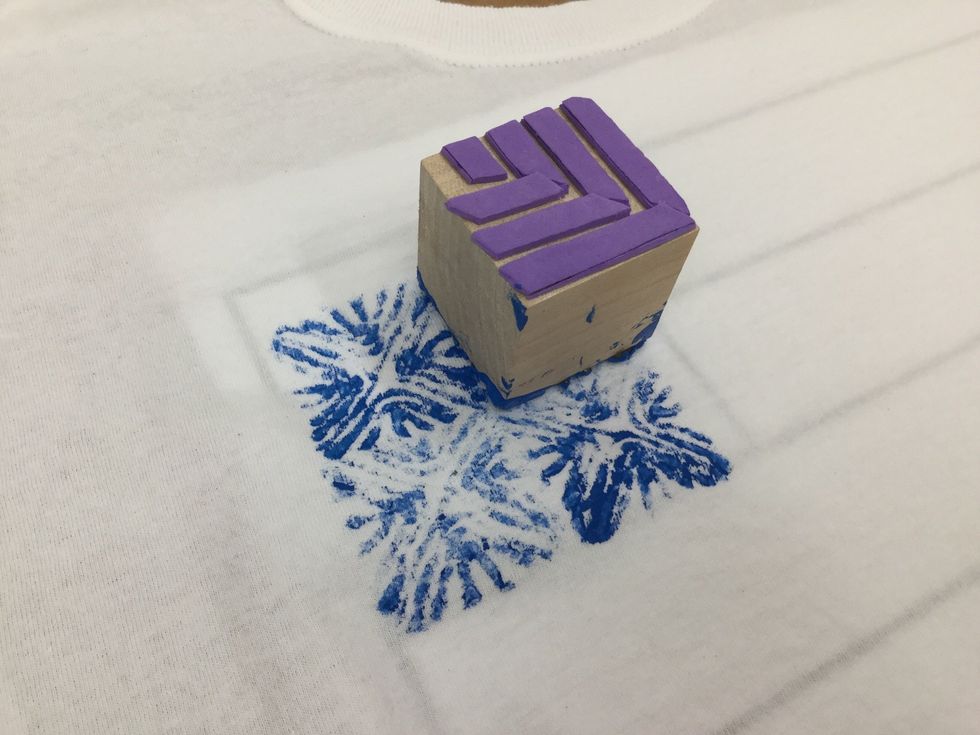
Align block as desired, press down and then lift off gently. You may stamp again for a lighter print, or add more paint for a darker print. Repeat with other design until the flag shape is complete.
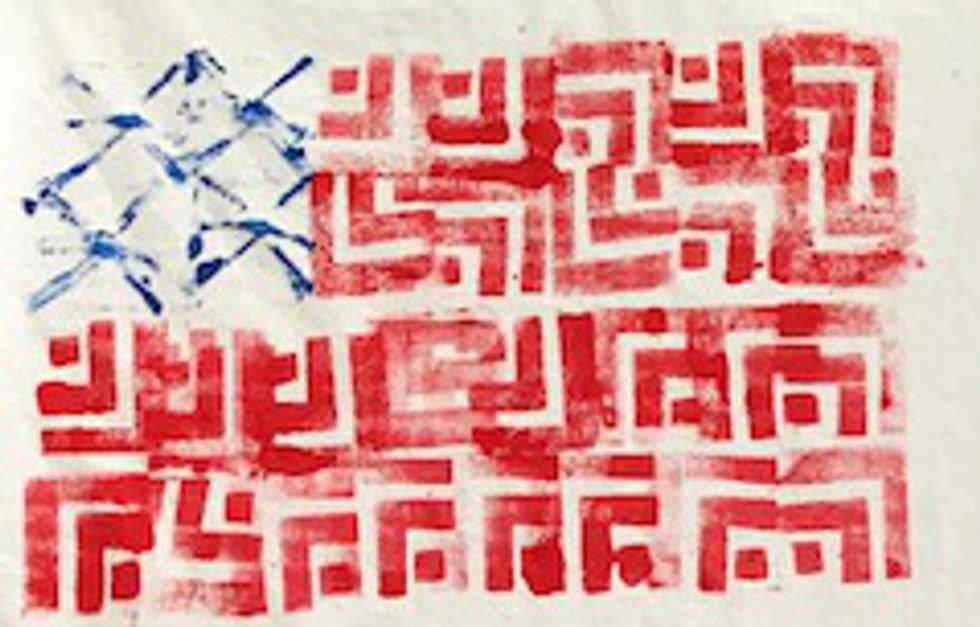
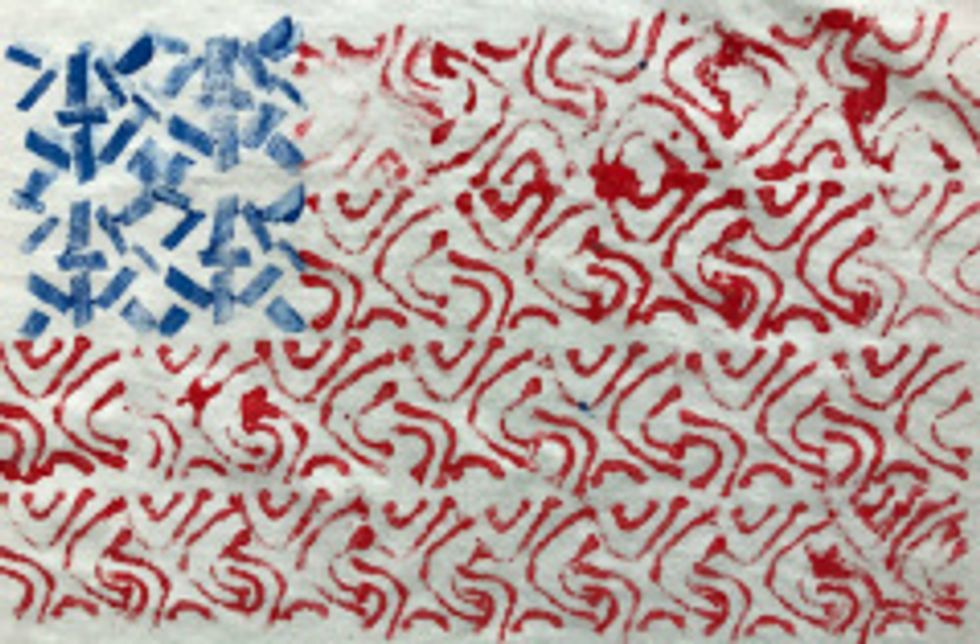
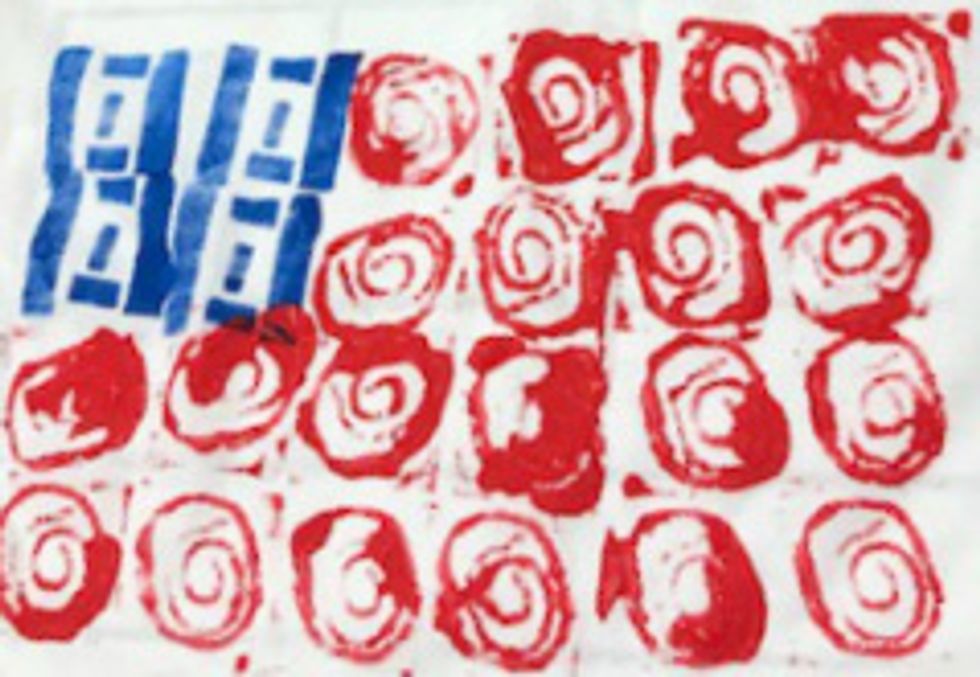
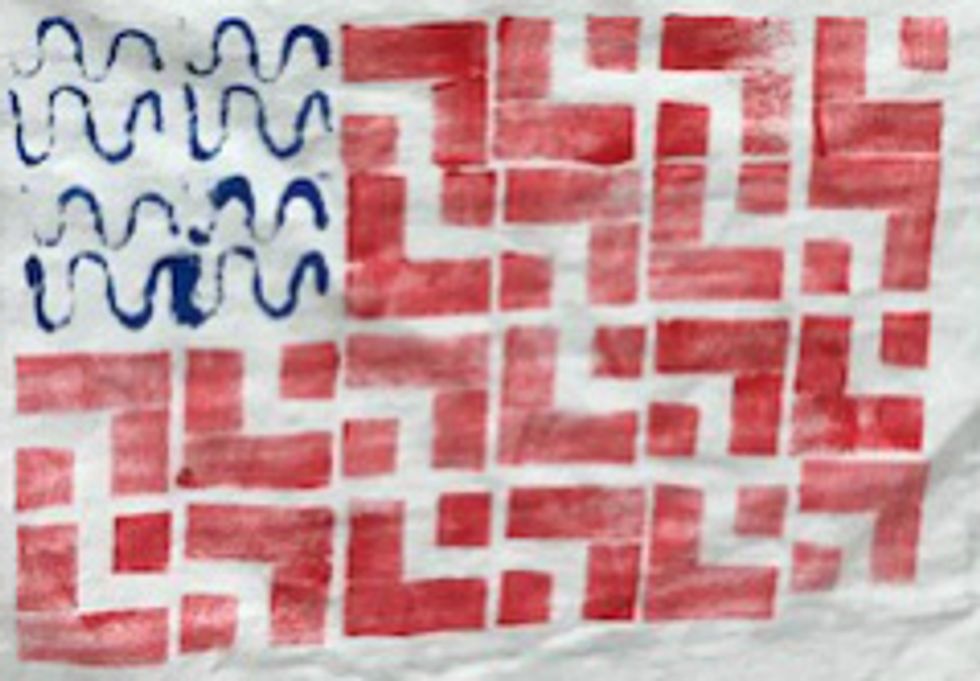
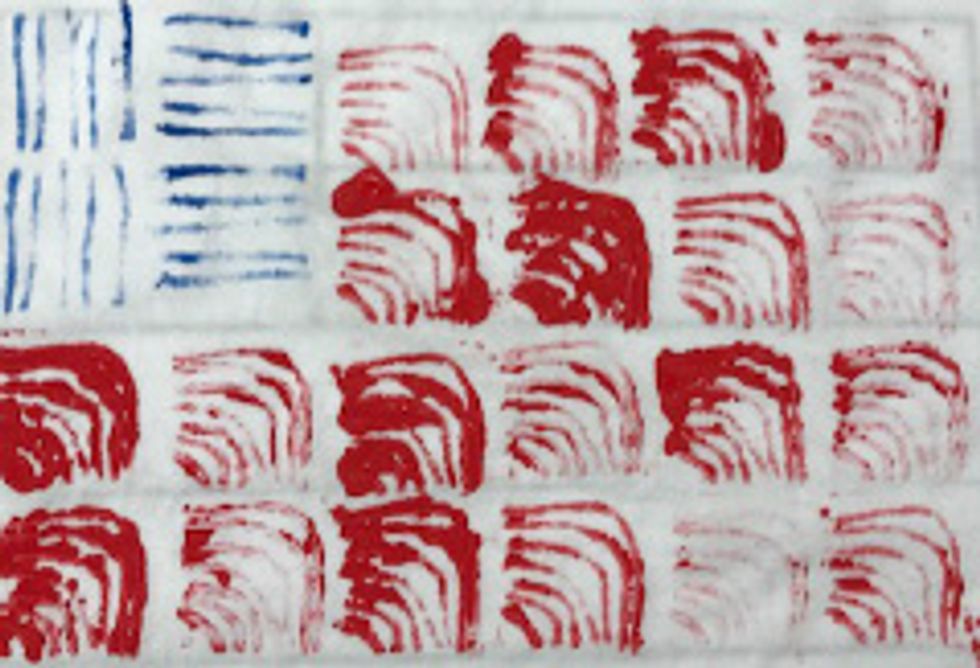
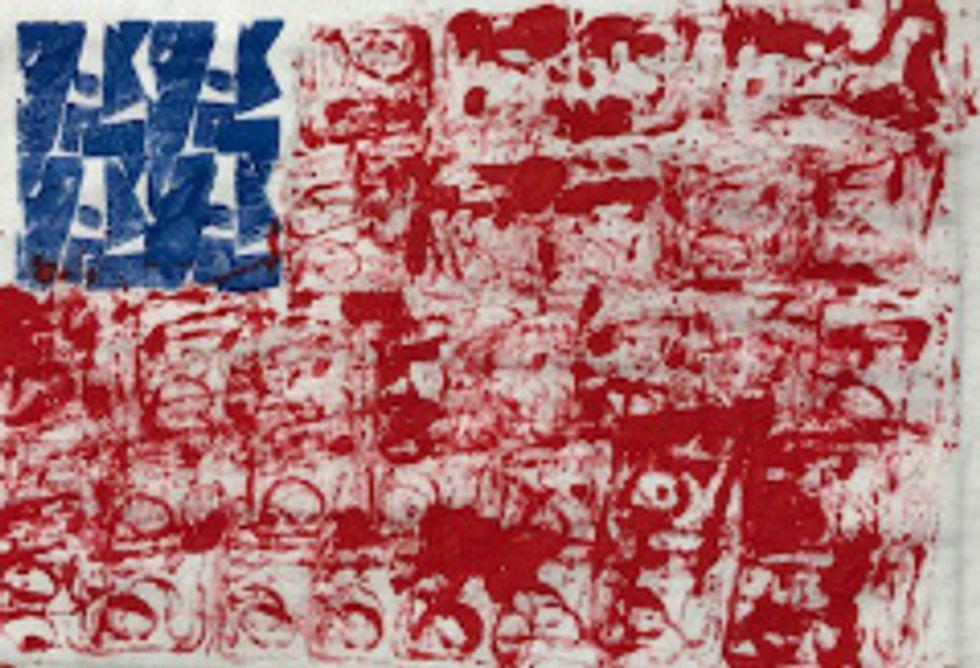
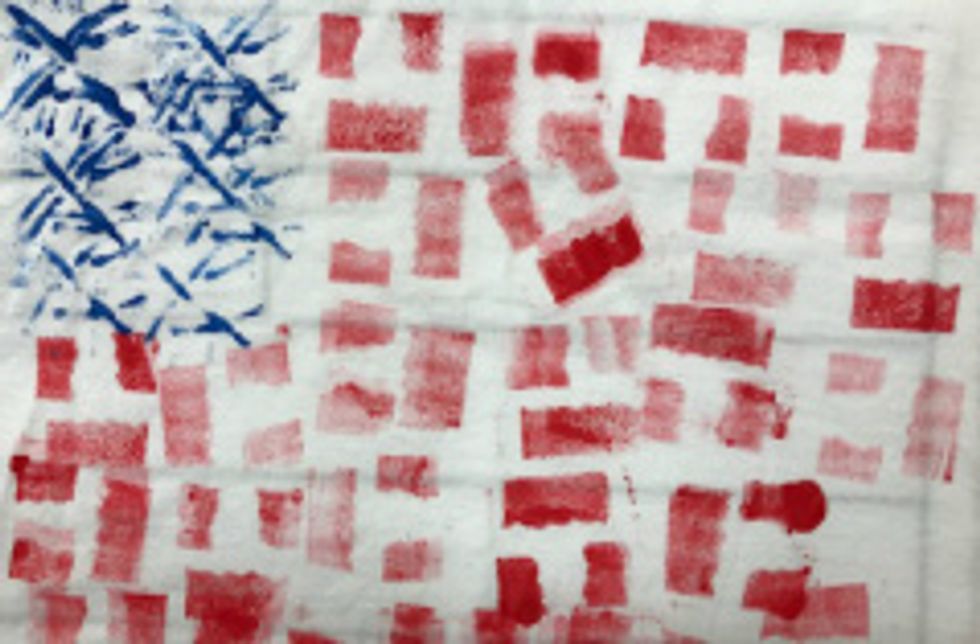
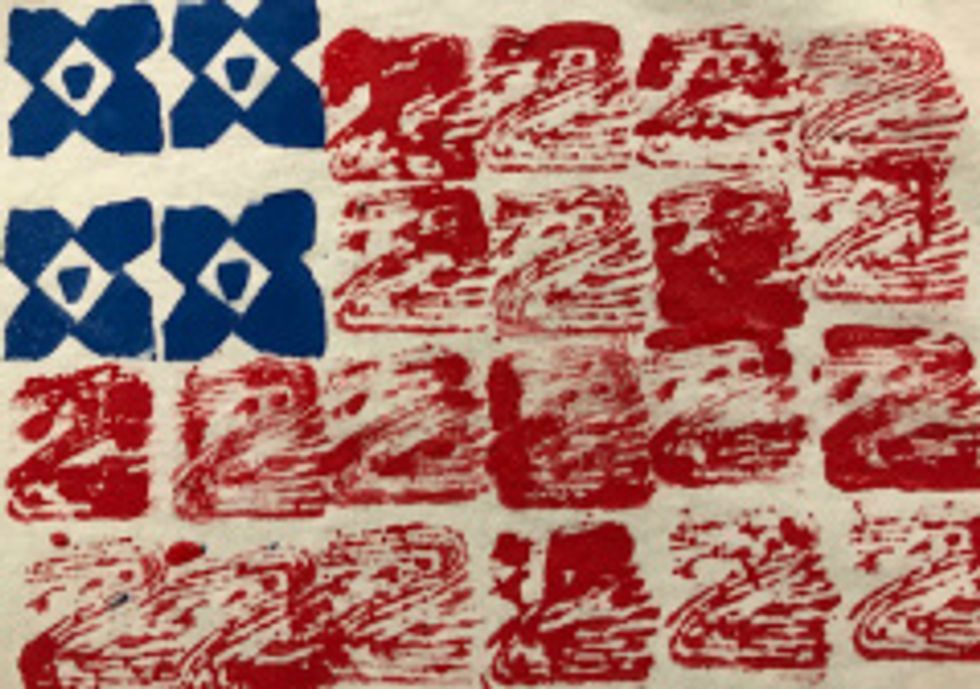
These designs were created by kids attending our Summer Staycation Crafts for Kids. Their designs were amazing!

We would love to see a picture of your finished project! Upload your photo to our Facebook page: goo.gl/eScFwF