The Conversation (0)
Sign Up
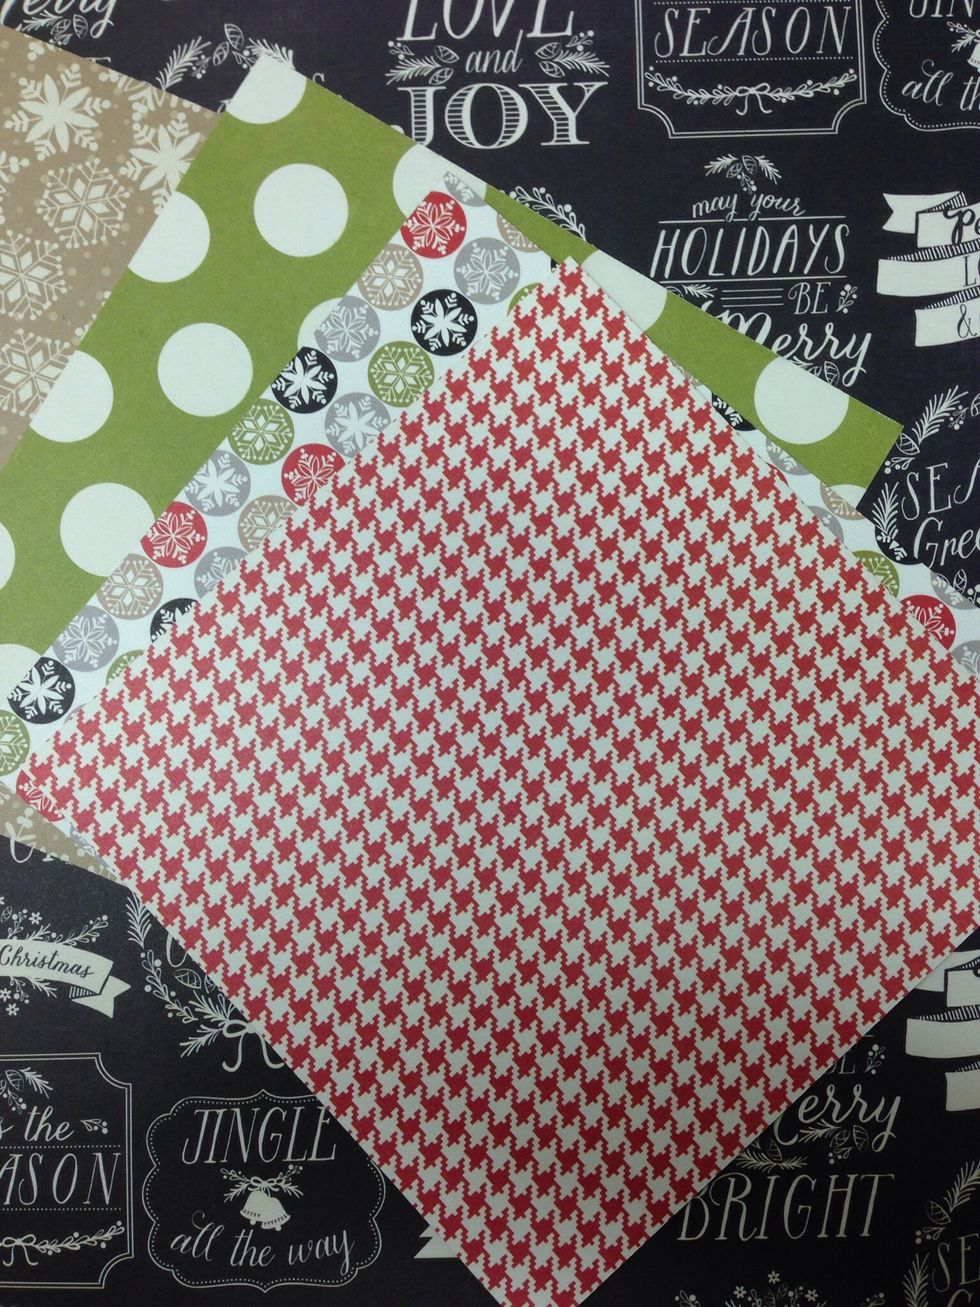
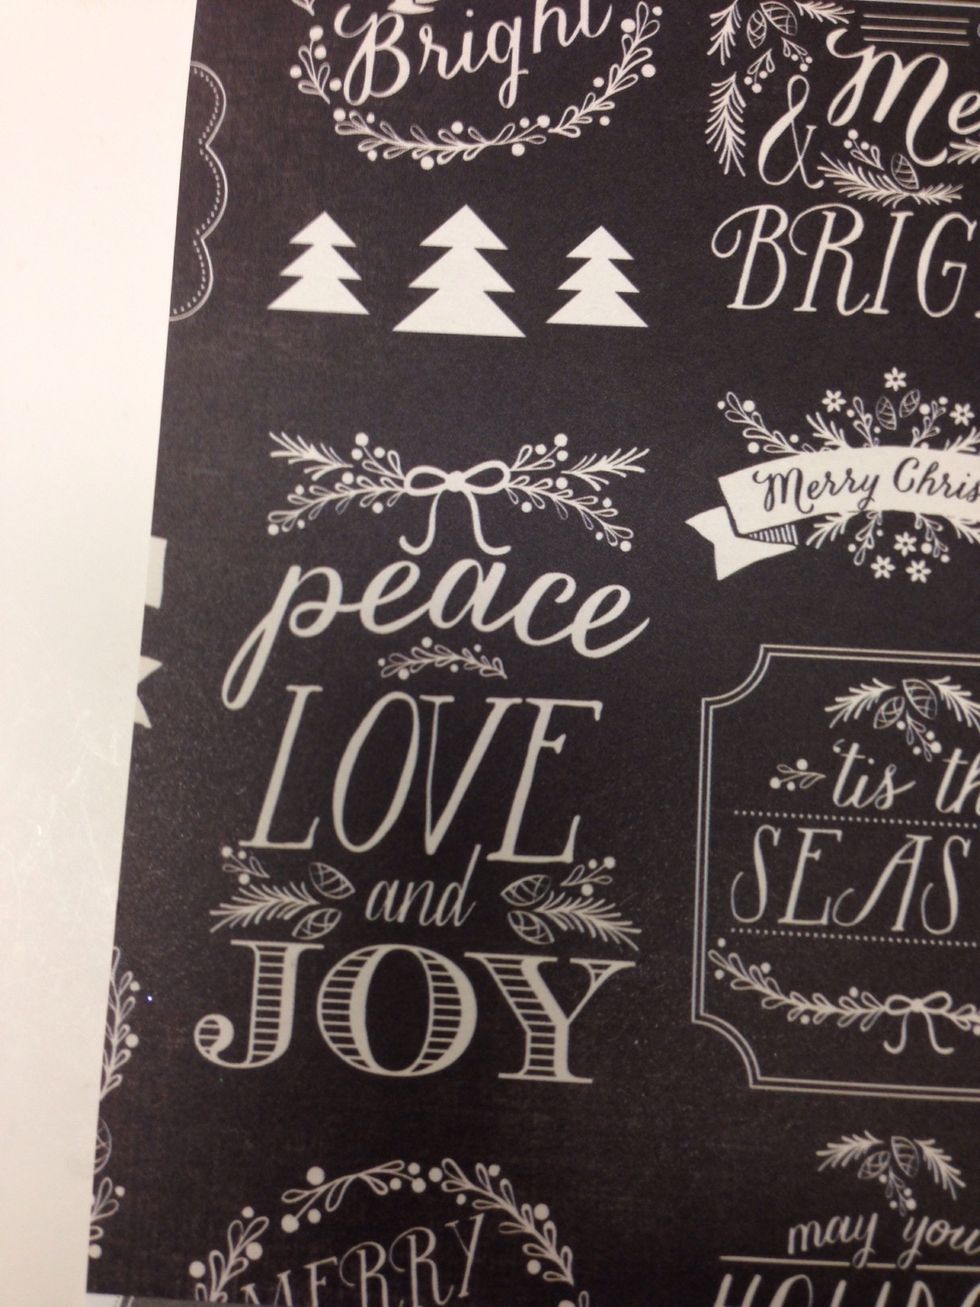
Choose papers that coordinate to your liking. TIP: many scrapbook papers have a different, but coordinating pattern on each side. We used papers from Pink Paislee's Merry & Bright collection.
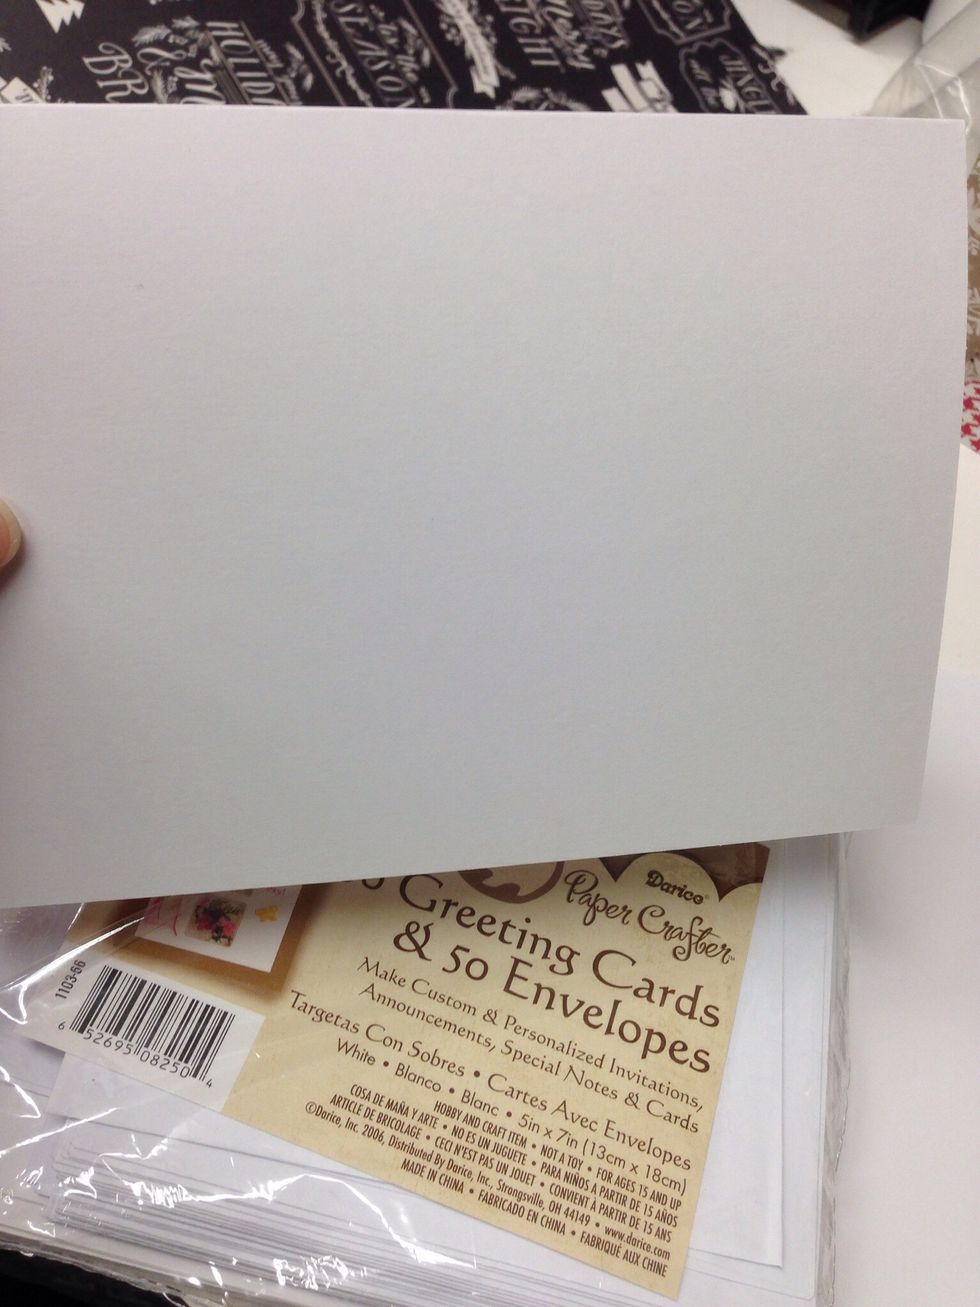
Fold the card blank in half along the score line.
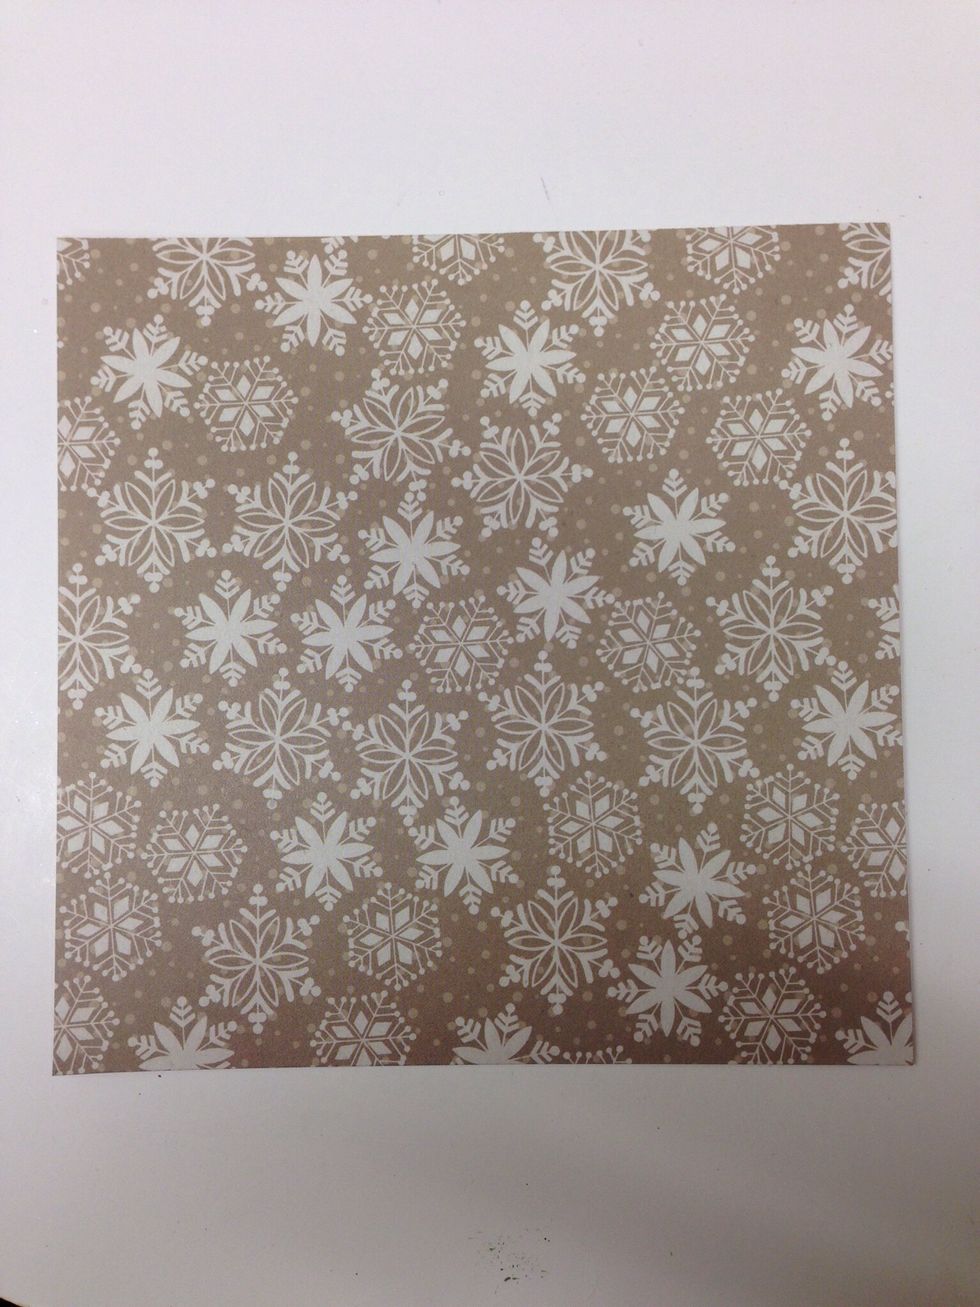
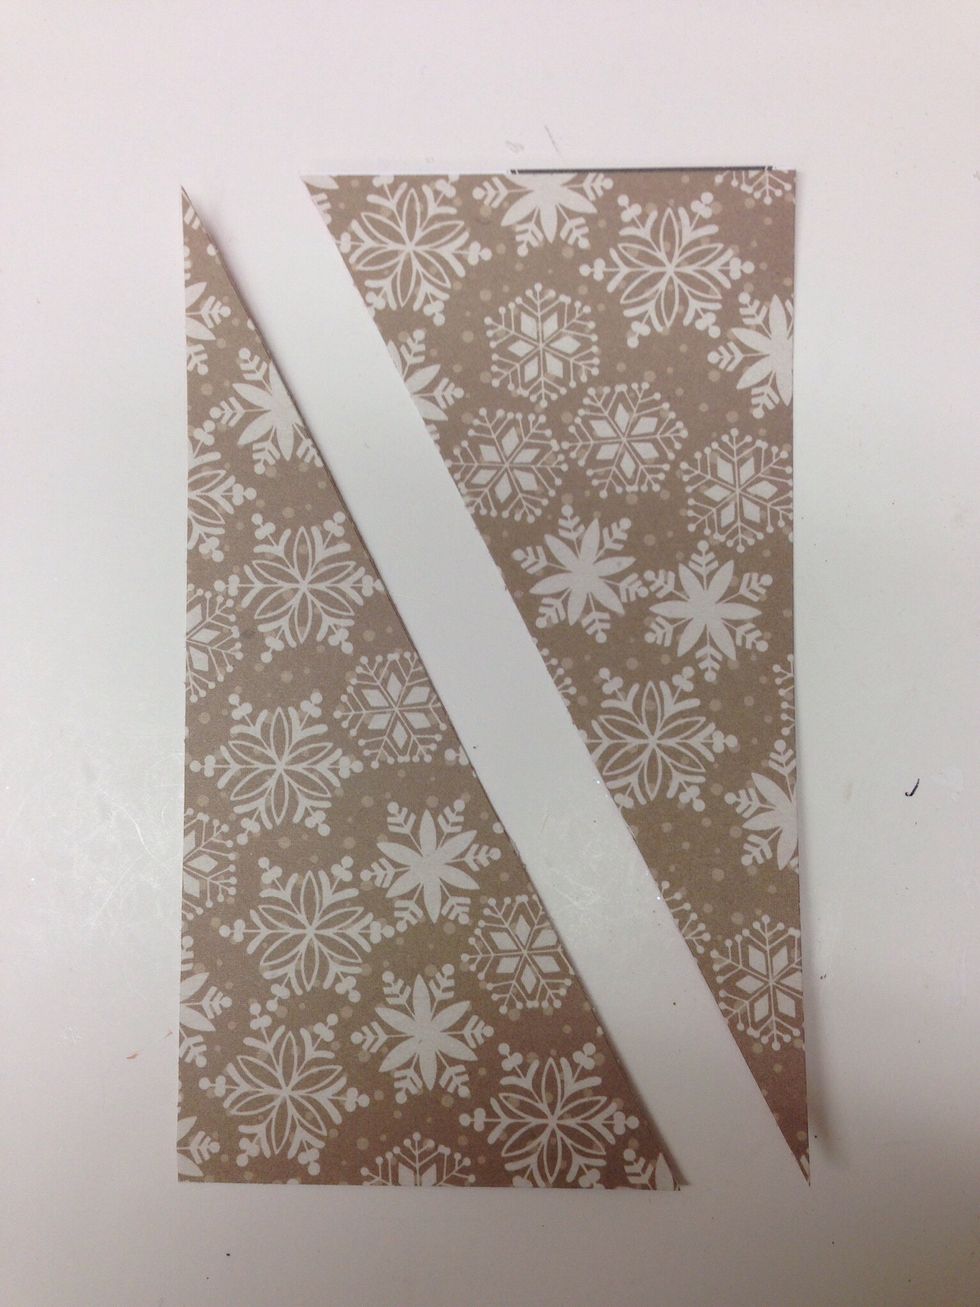
Use a paper trimmer to cut scrapbook paper into 6” squares.
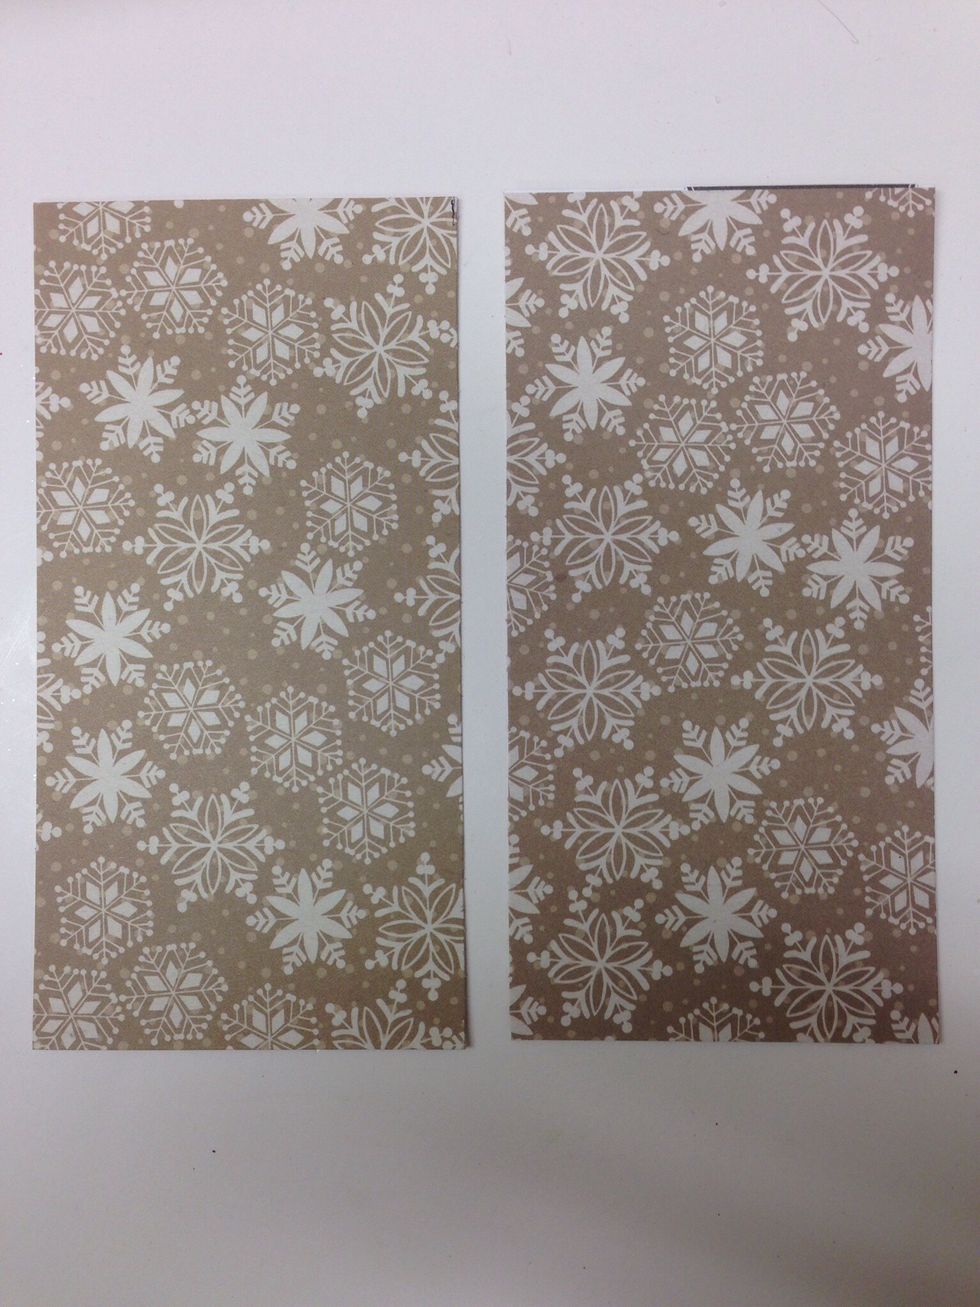
Use paper trimmer again to cut the squares in half. You will have two 3" x 6" rectangles from each square.
The triangles will look like this.
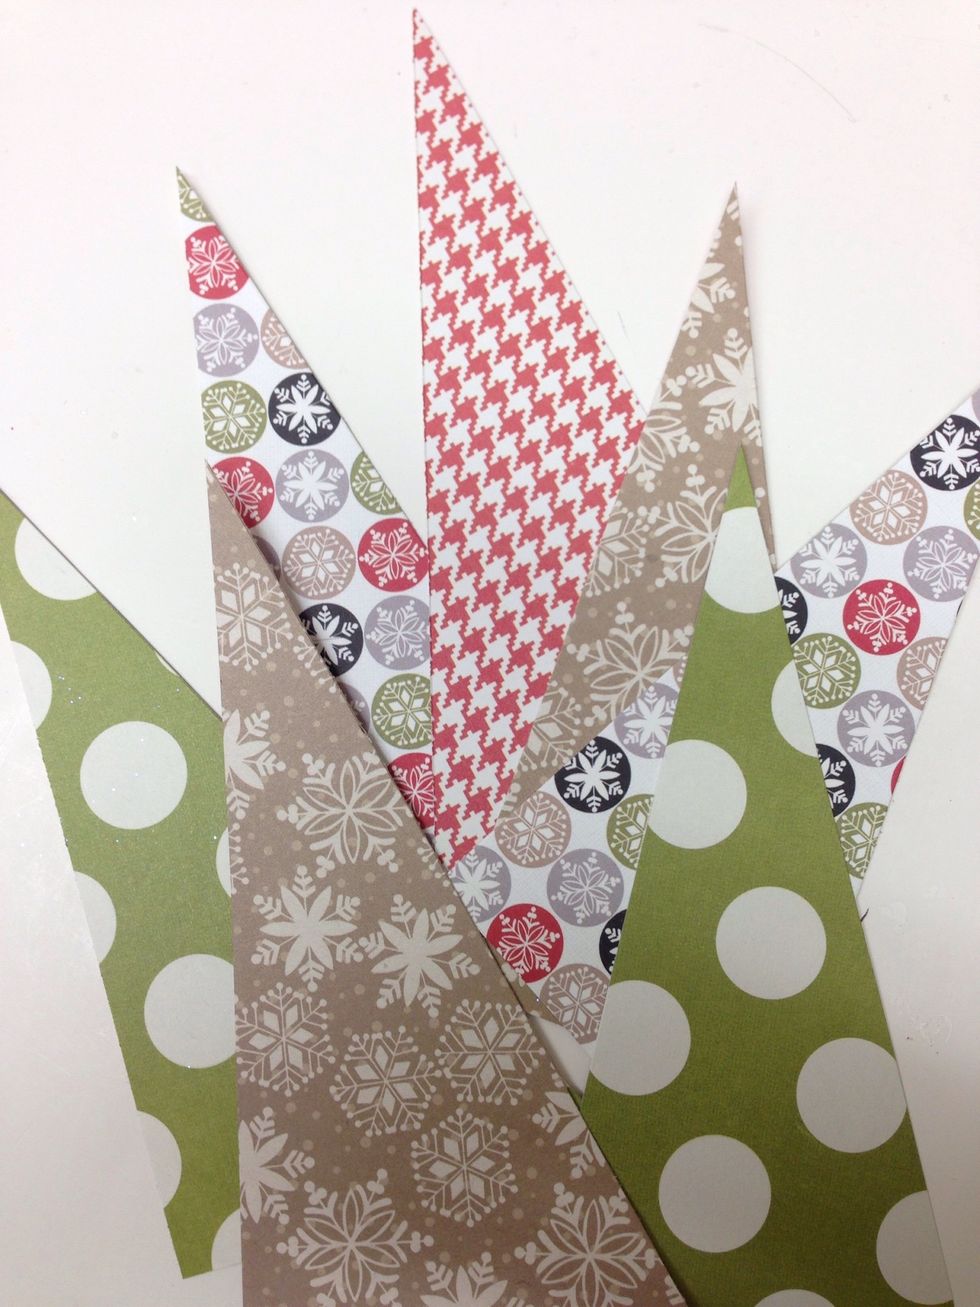
When your triangles are all cut, you are ready to assemble your card.

Use the glue stick to rub adhesive all over the front of the card blank.
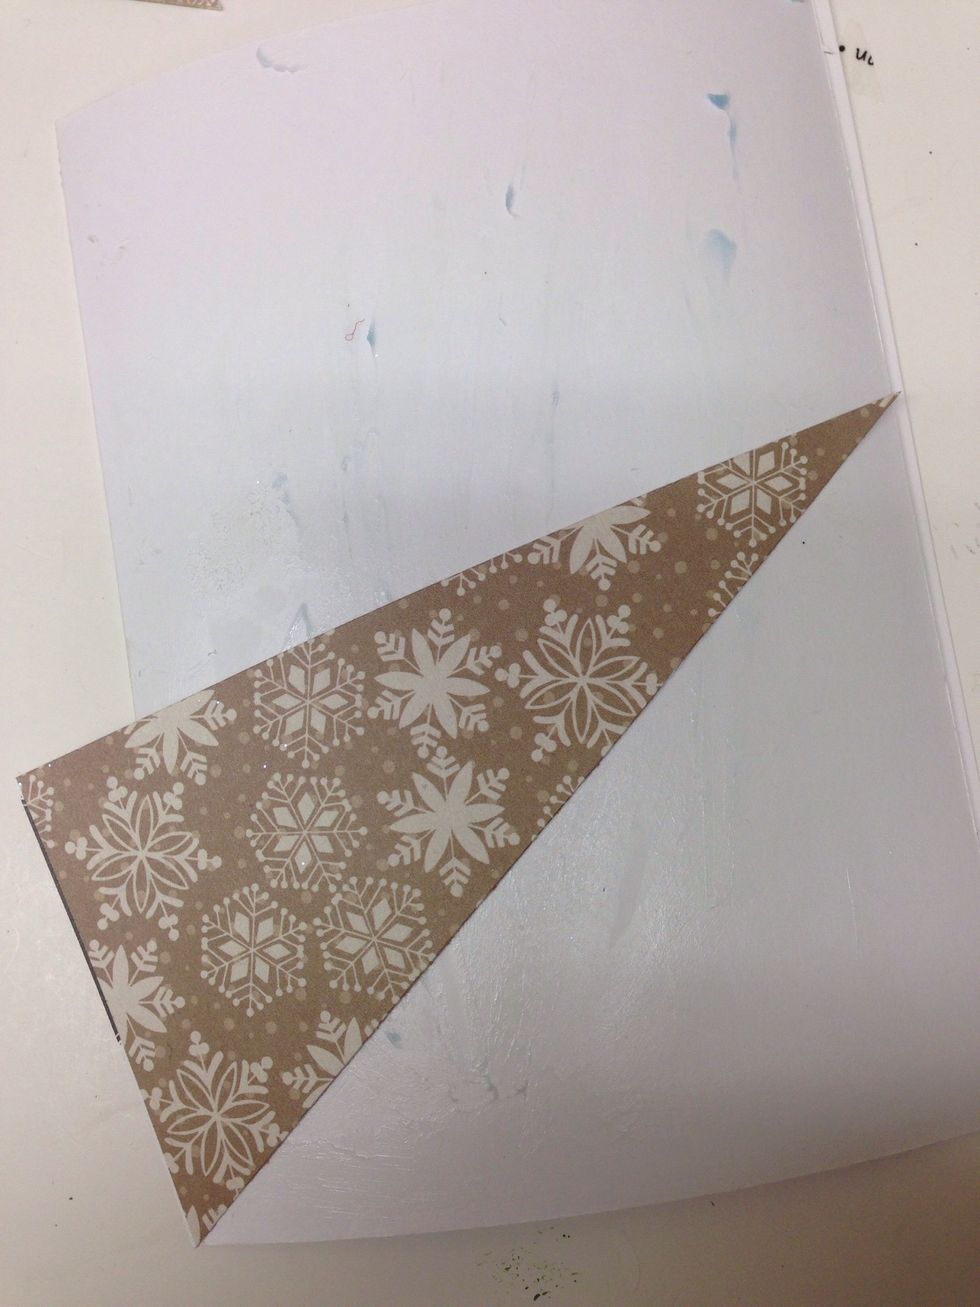
Lay the first triangle on your card. It's important to start in the bottom left corner. Align the first triangle like the one shown in the picture.
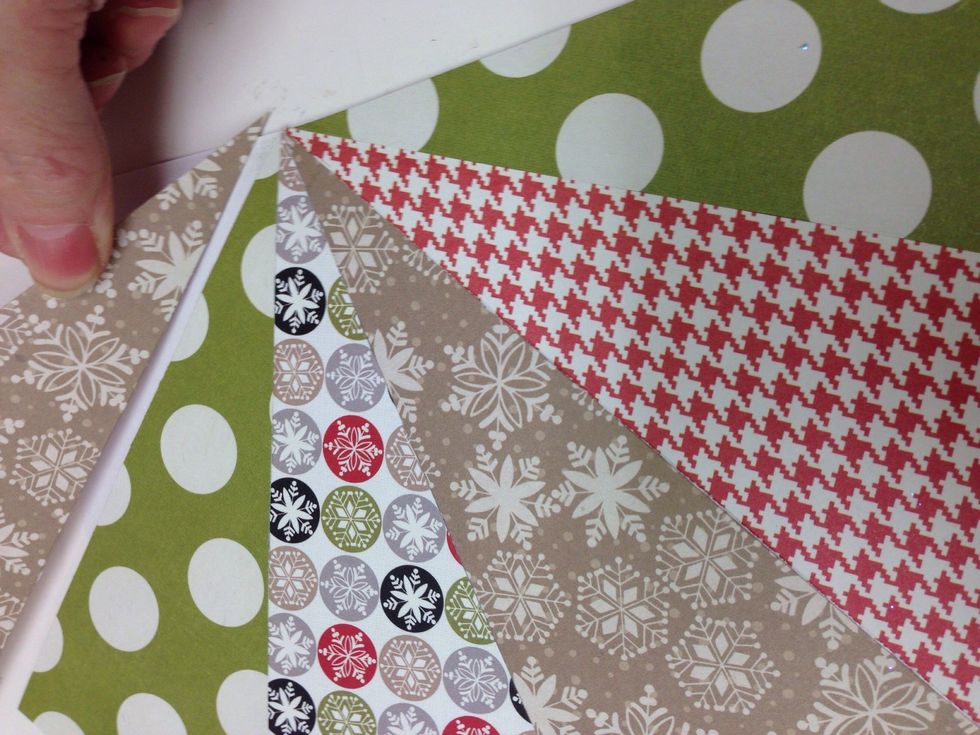
Continue to add triangles one at a time until the entire card blank is covered.

When you turn the card over you will see the triangle edges extending beyond the card blank.
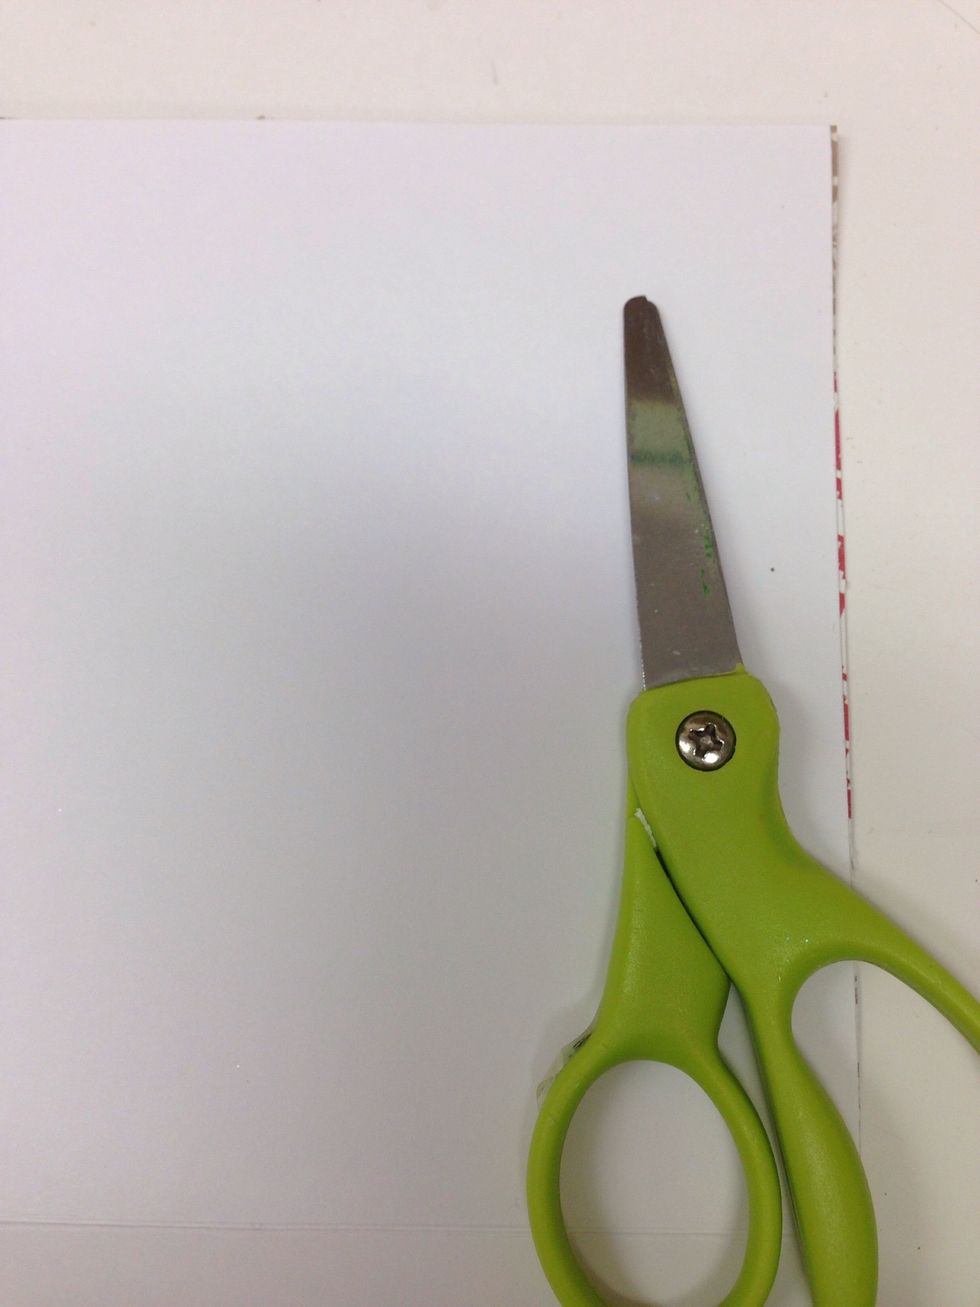
Use scissors to trim the extending pieces close to the card blank.
Decide where you would like to add one or two of the SRM stickers.
Remove the backing and press them in place. Trim the overhanging edges off with your scissors.
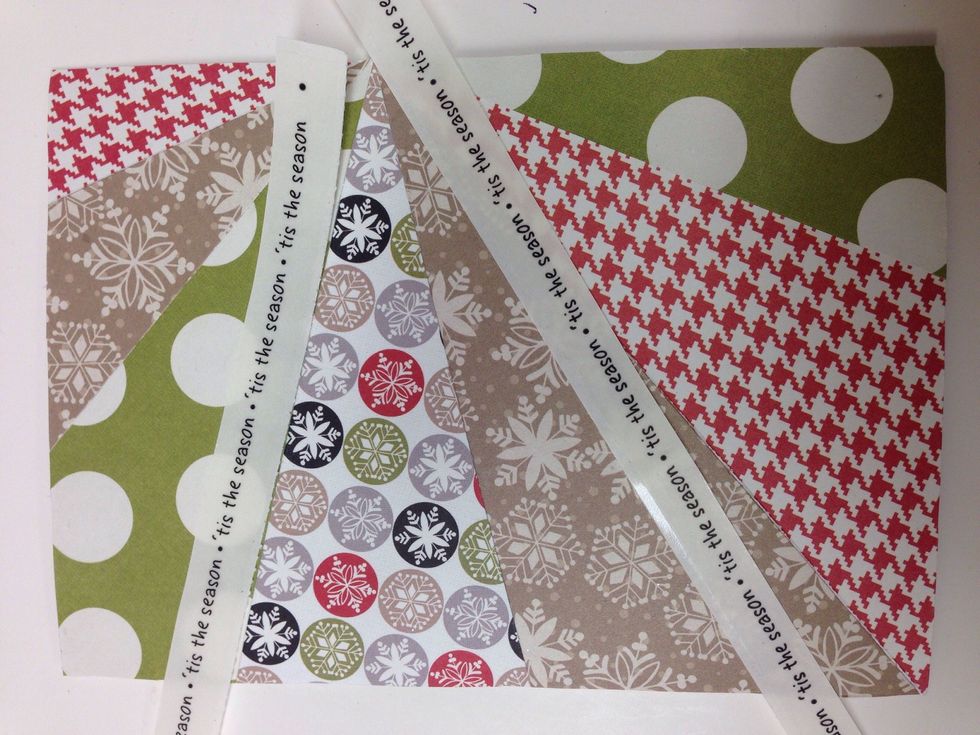
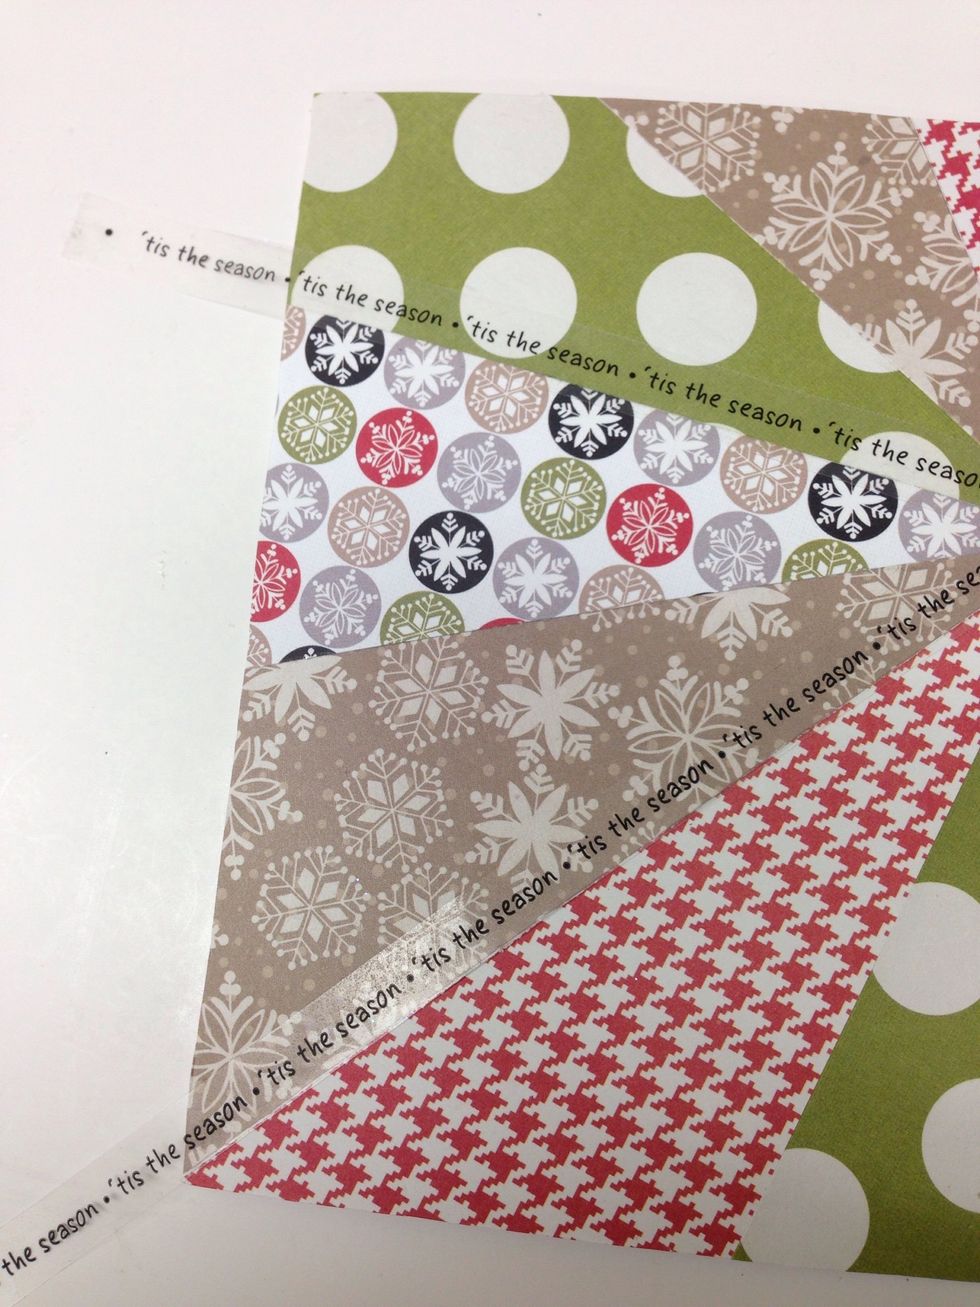
Choose a scrapbook paper phrase or sticker to add to your card. This paper is Tis the Season from Pink Paislee's Merry & Bright collection.
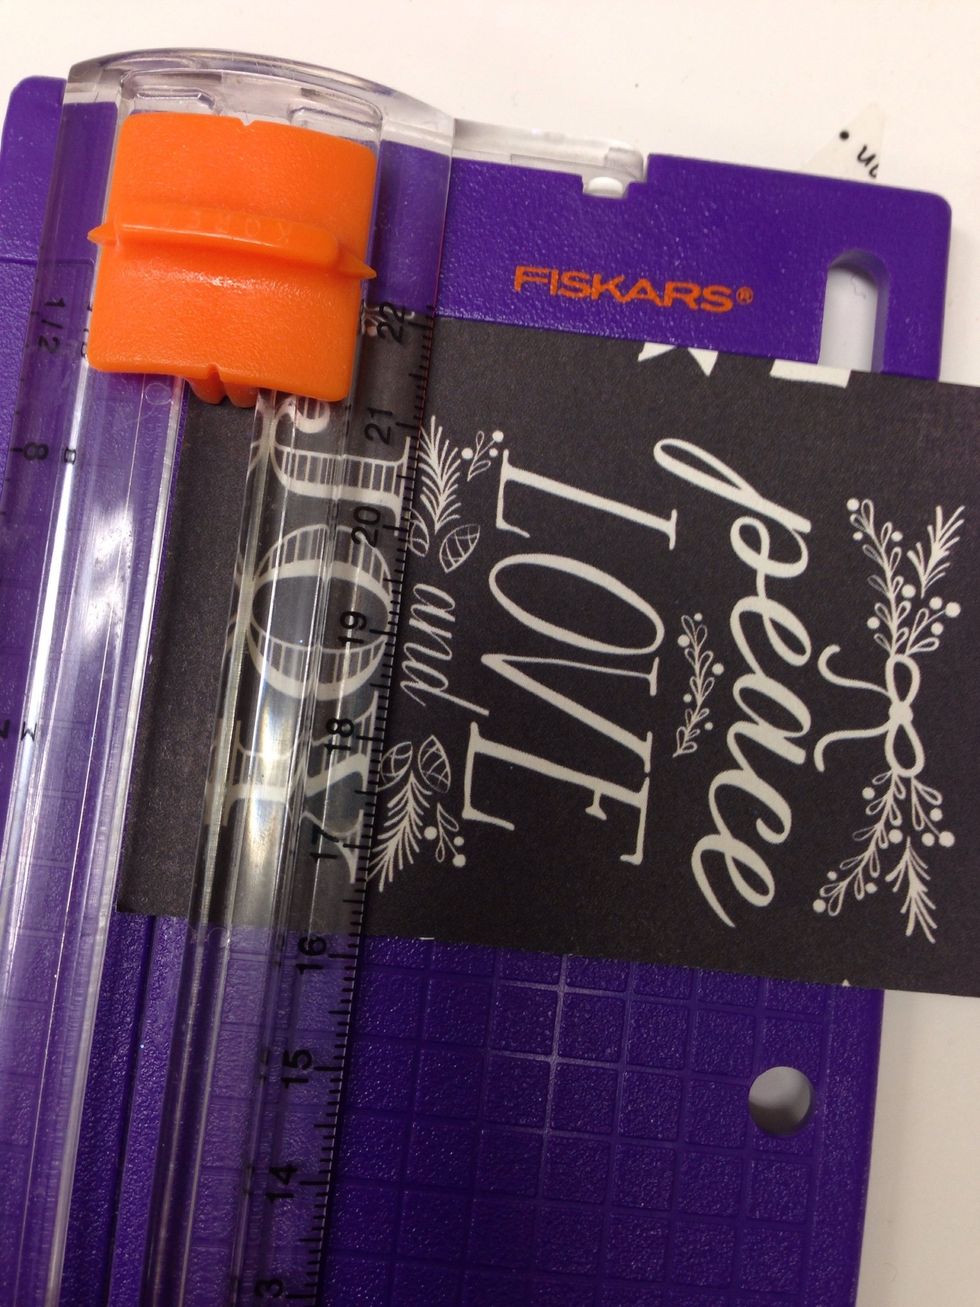
Trim the phrase to the size desired.
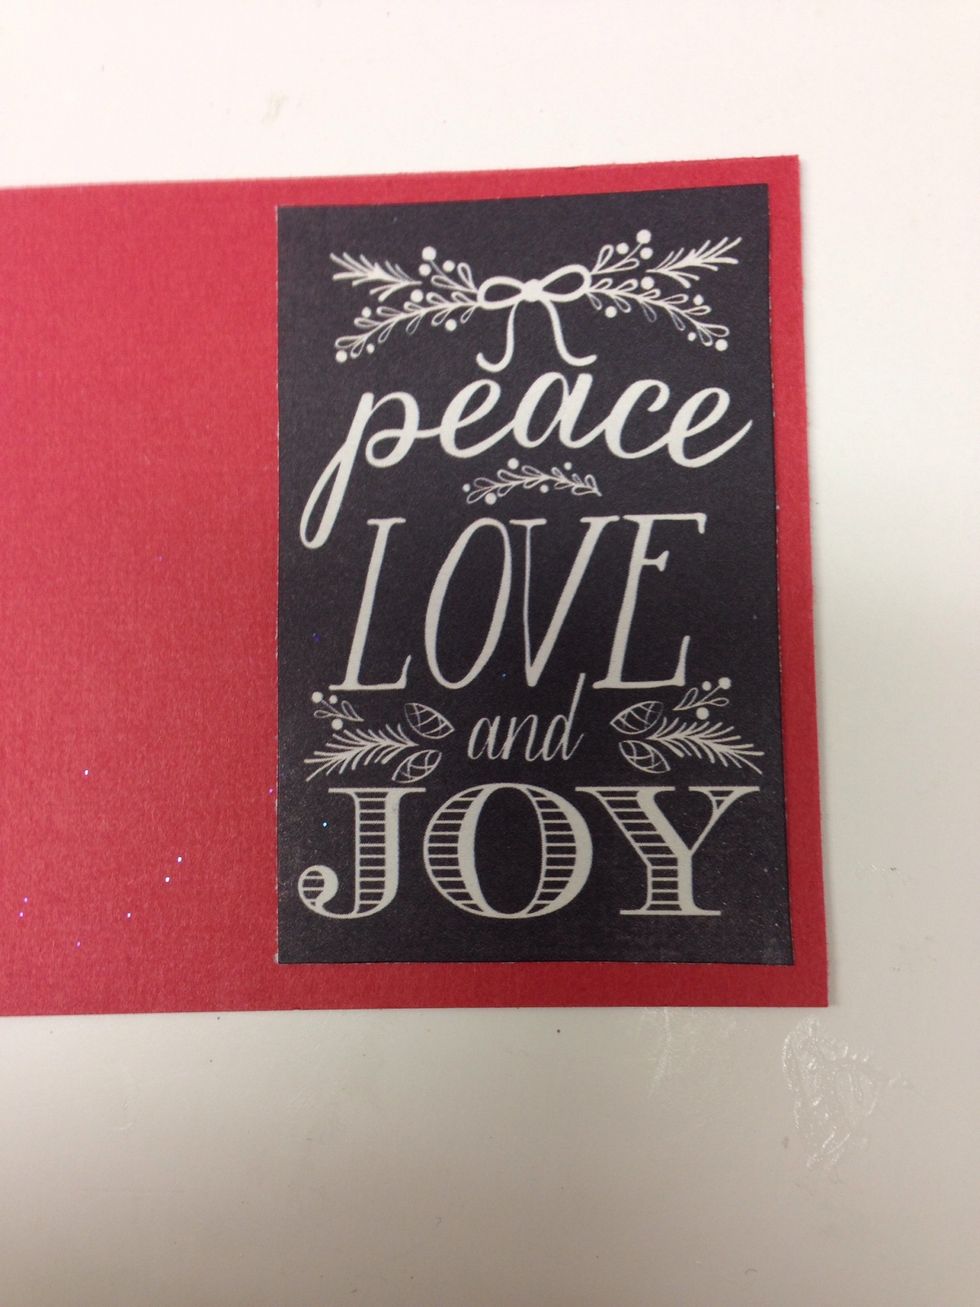
Adhere the phrase to a piece of solid cardstock and trim to size. Leave a narrow border of solid cardstock around the phrase.
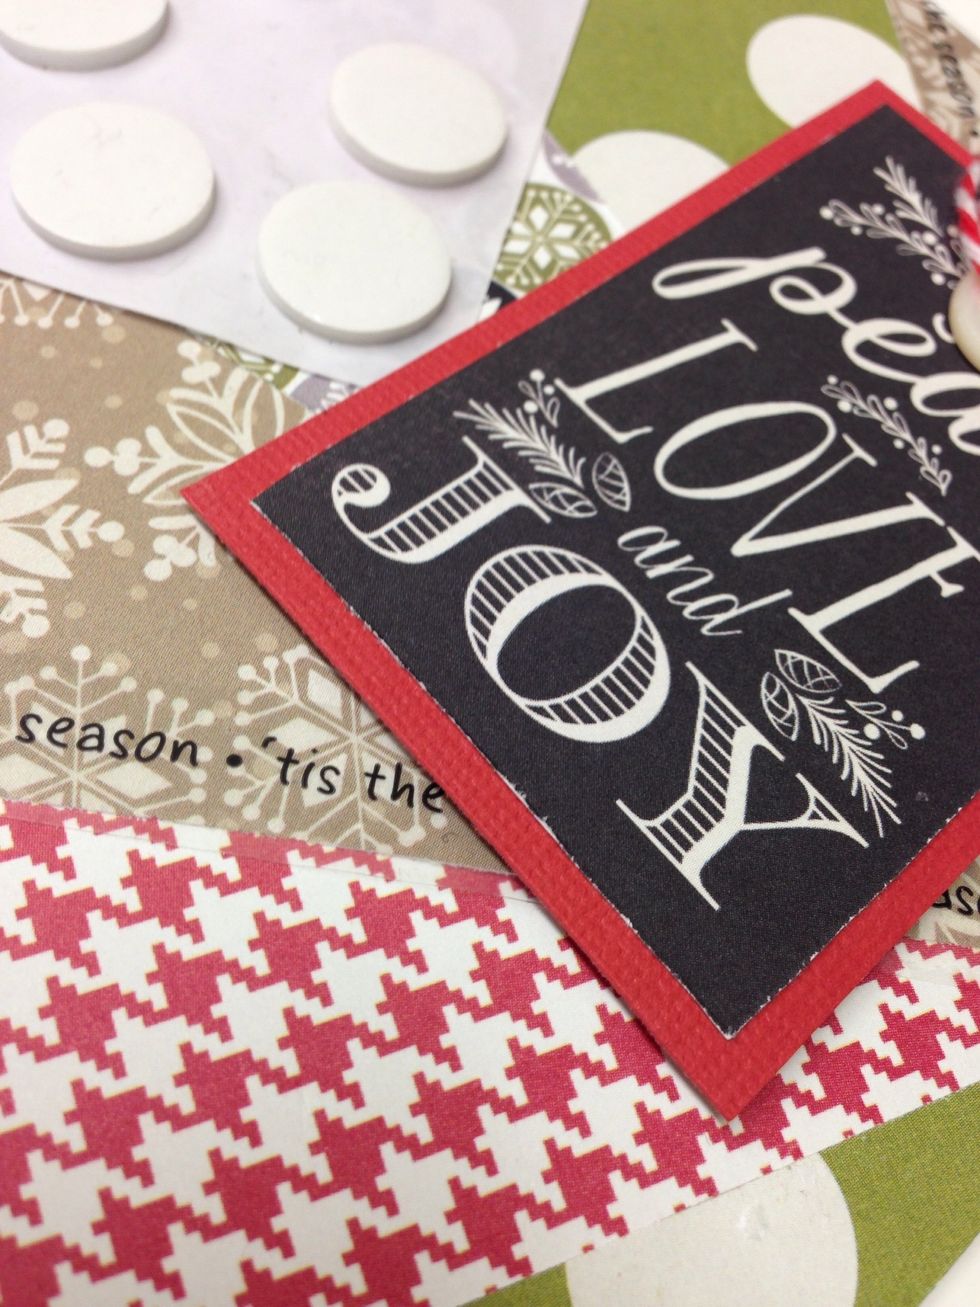
Put a pop dot in each corner of the phrase assembly to add a little dimension to your card. Place it in the desired position on the card.
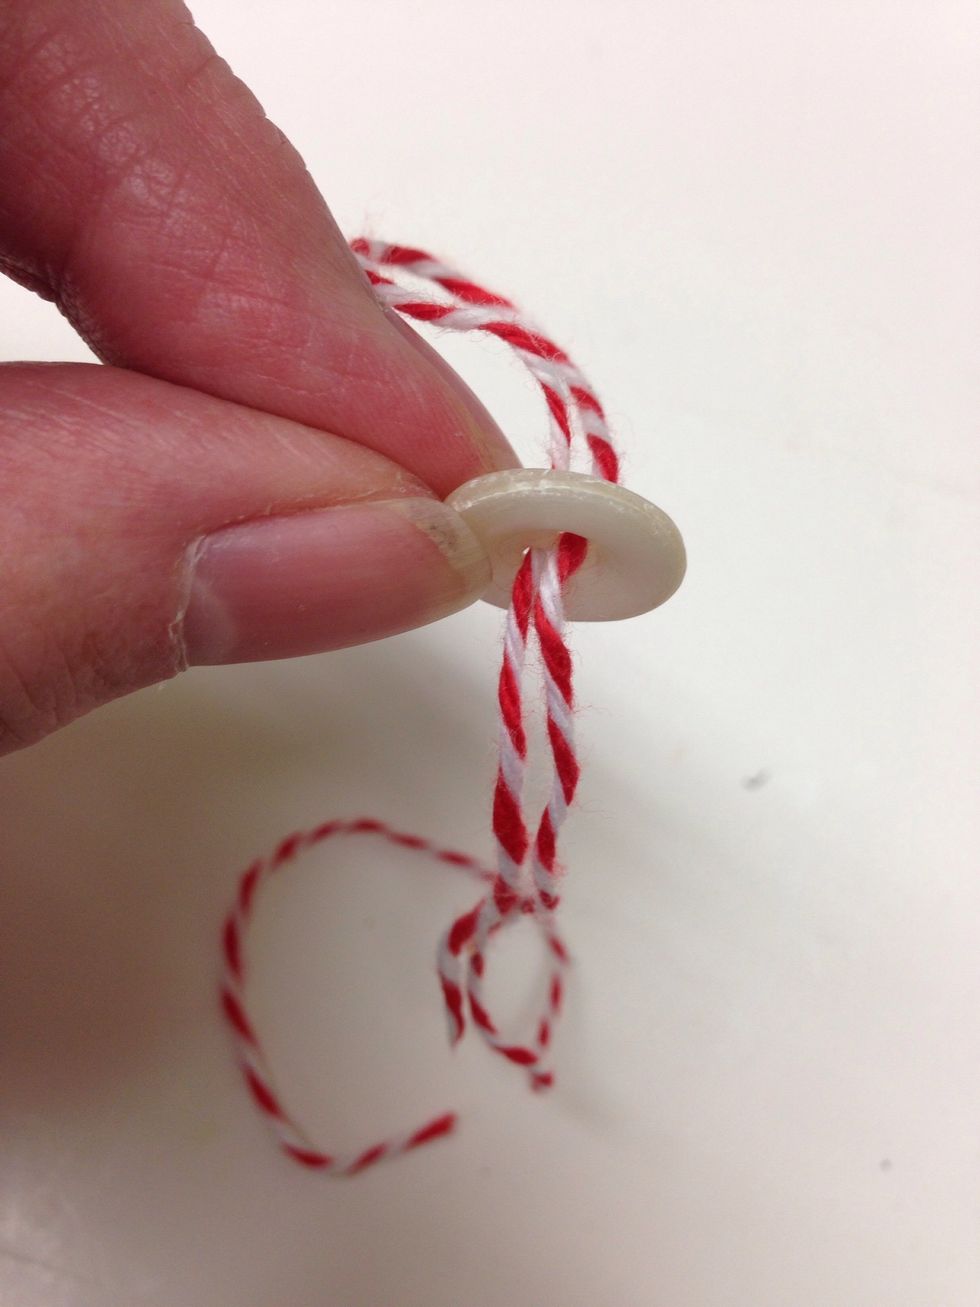
Thread a piece of bakers twine through the holes on your button.
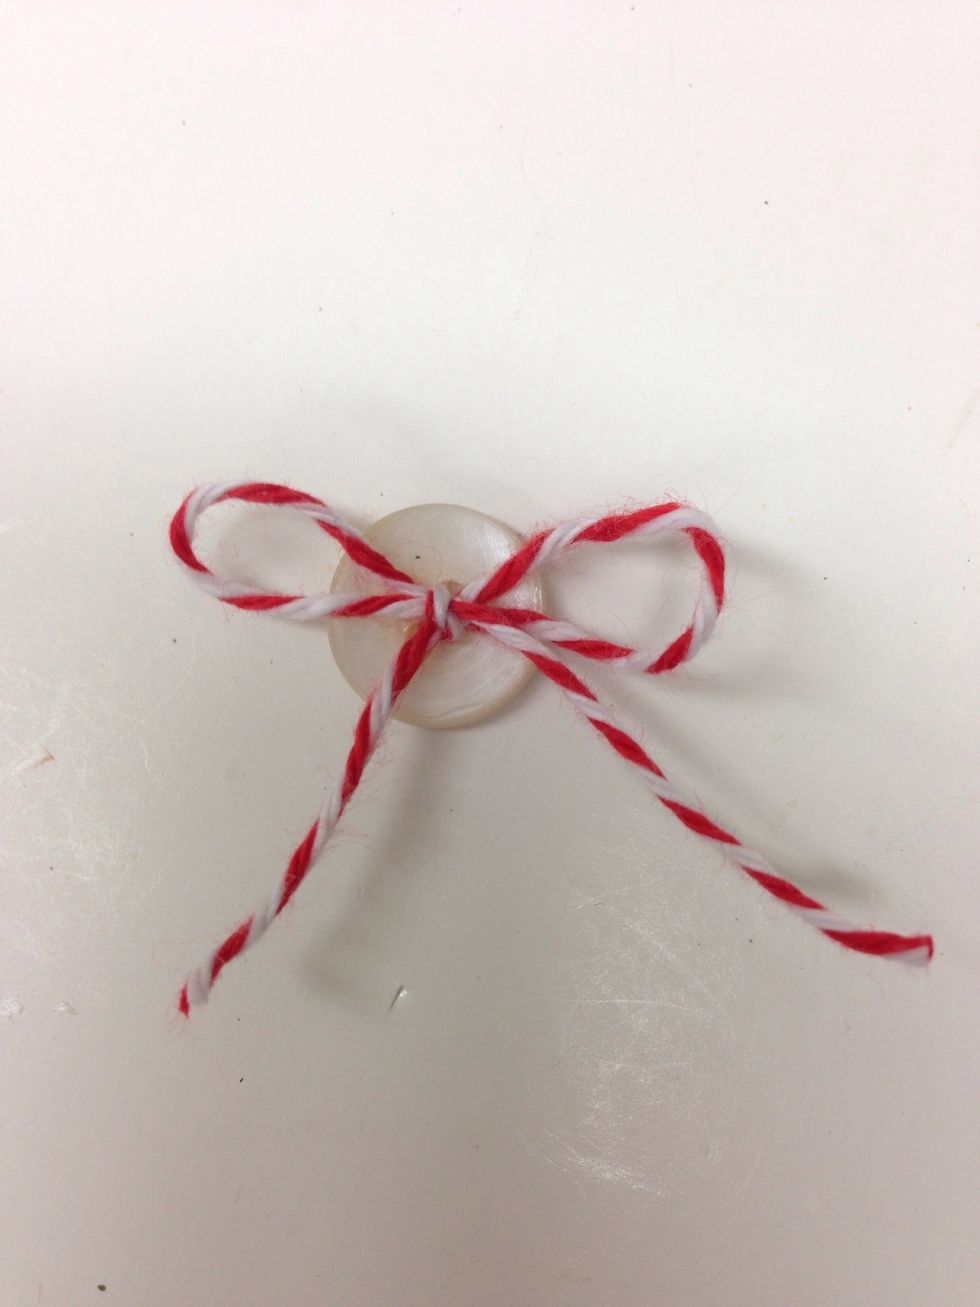
Tie the bakers twine into a bow.

Add a dot of tacky glue where you plan to place the button.
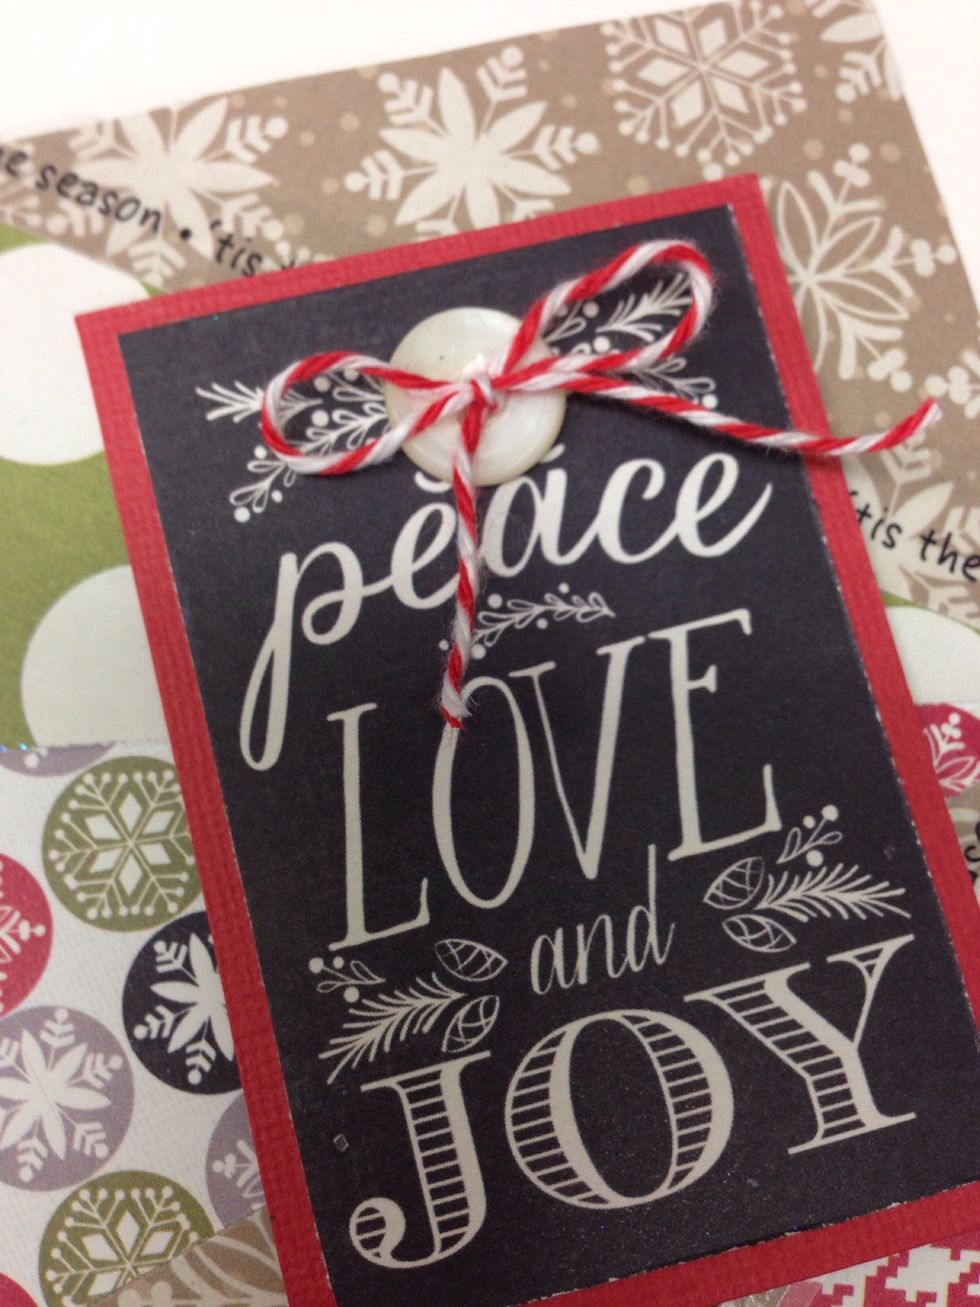
Layer the button on top of the glue. Allow to dry.
We hope you enjoy making this Patchwork Christmas Card. Watch for another seasonal craft coming next week!